Hello,
So the other day I went driving for a bit and ended up outside of Red Rock Canyon which is closed due to the pandemic. There were wildflowers all over though so I decided to take some pictures. It started off East of the entrance and close to the road meaning close to my vehicle. I got the pictures that I wanted then drove to see if I could frame things differently. I ended up walking for a few minutes and realized that I took off my CPL (polarizing) filter and left it on the passenger seat. I also enjoyed the way that the sky looked and didn’t want to lose it so I didn’t go back to the vehicle.

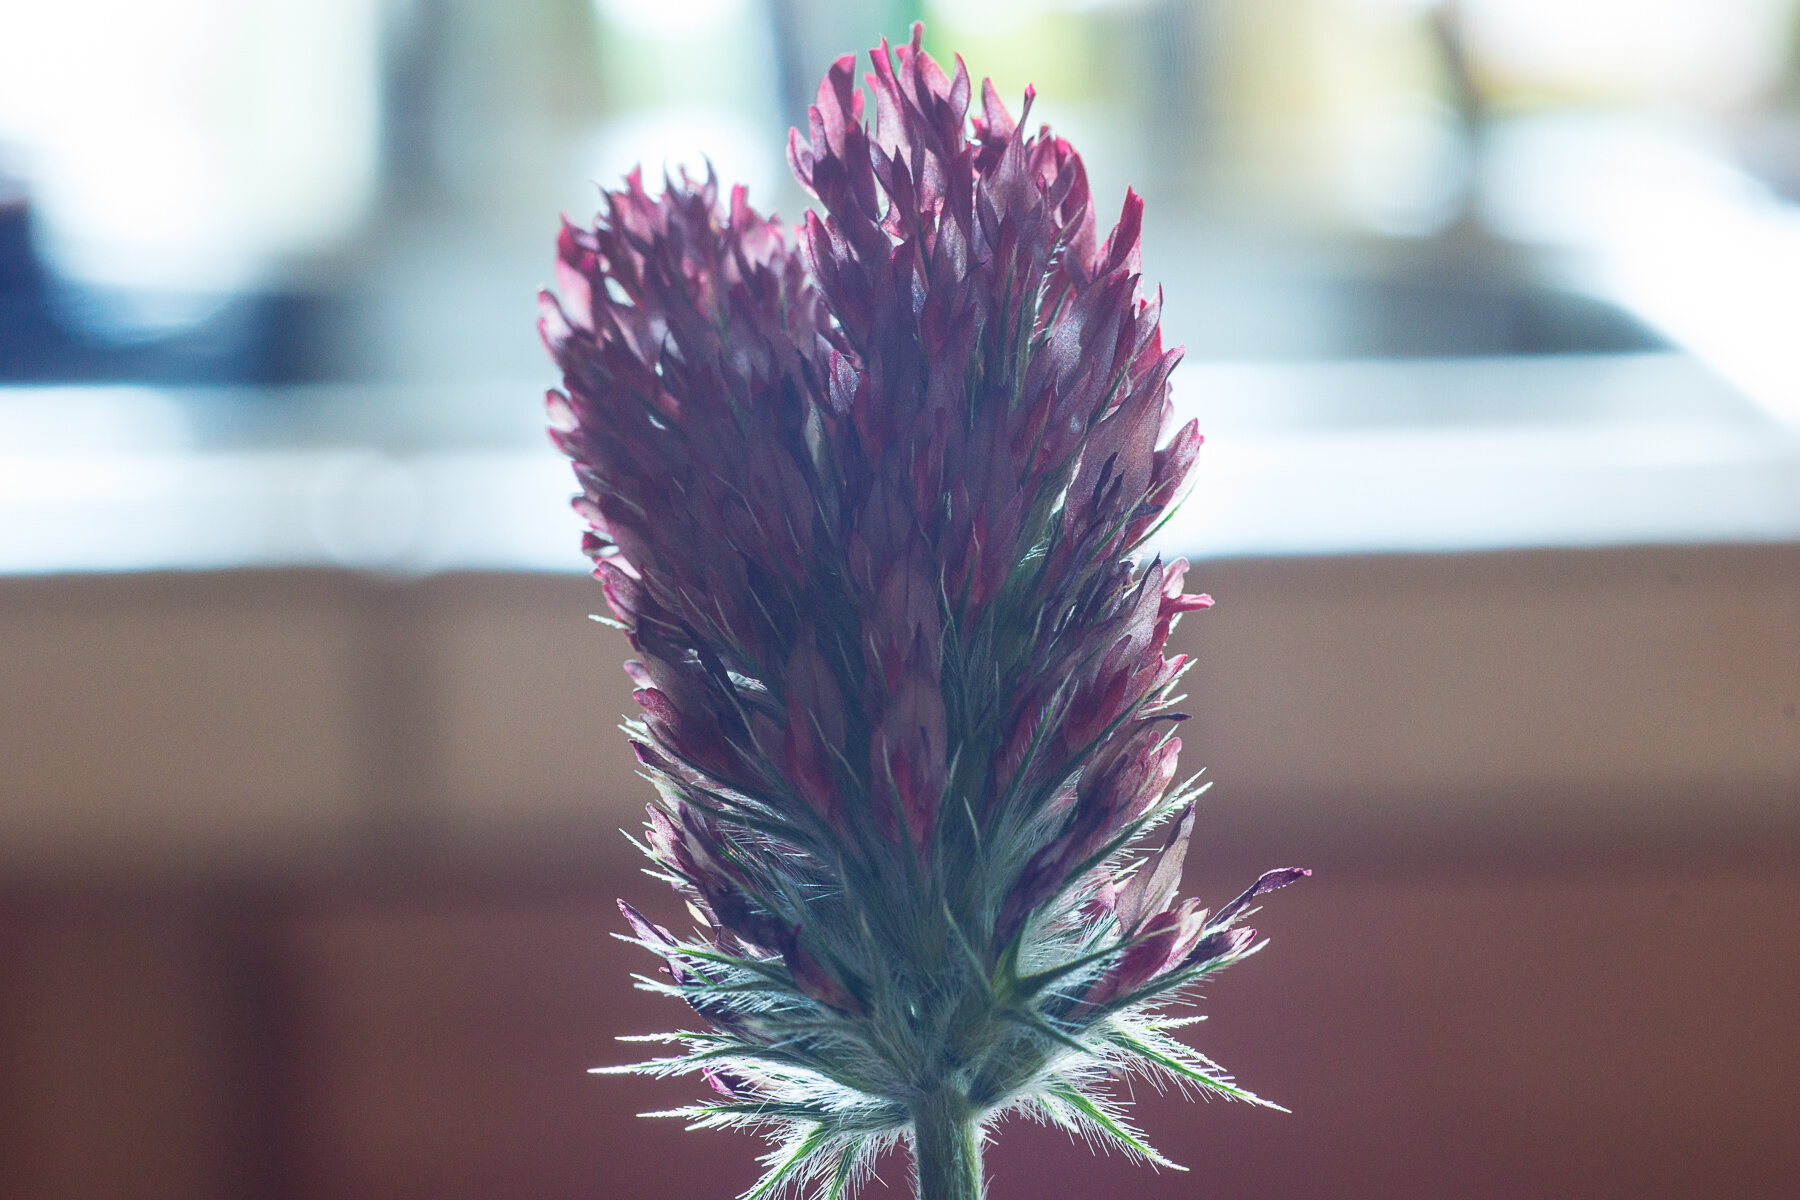
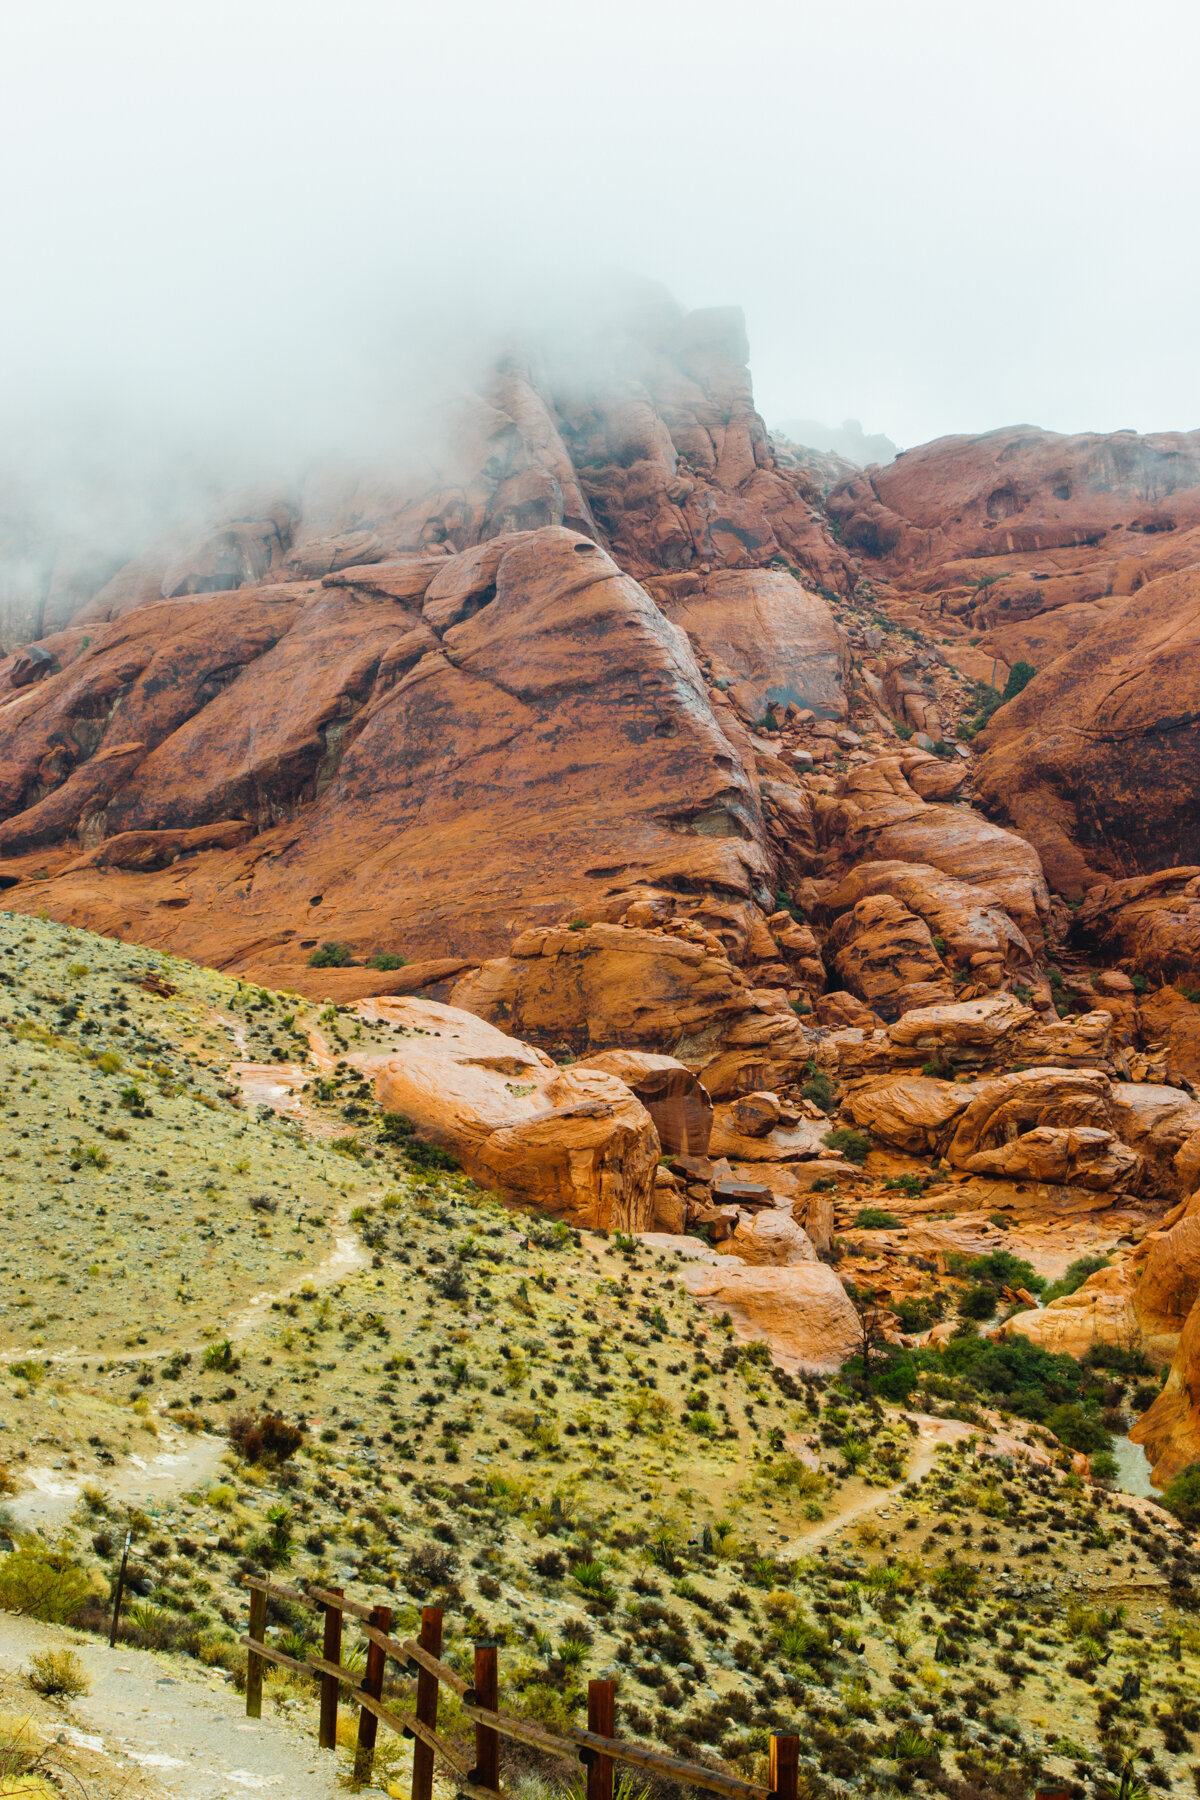
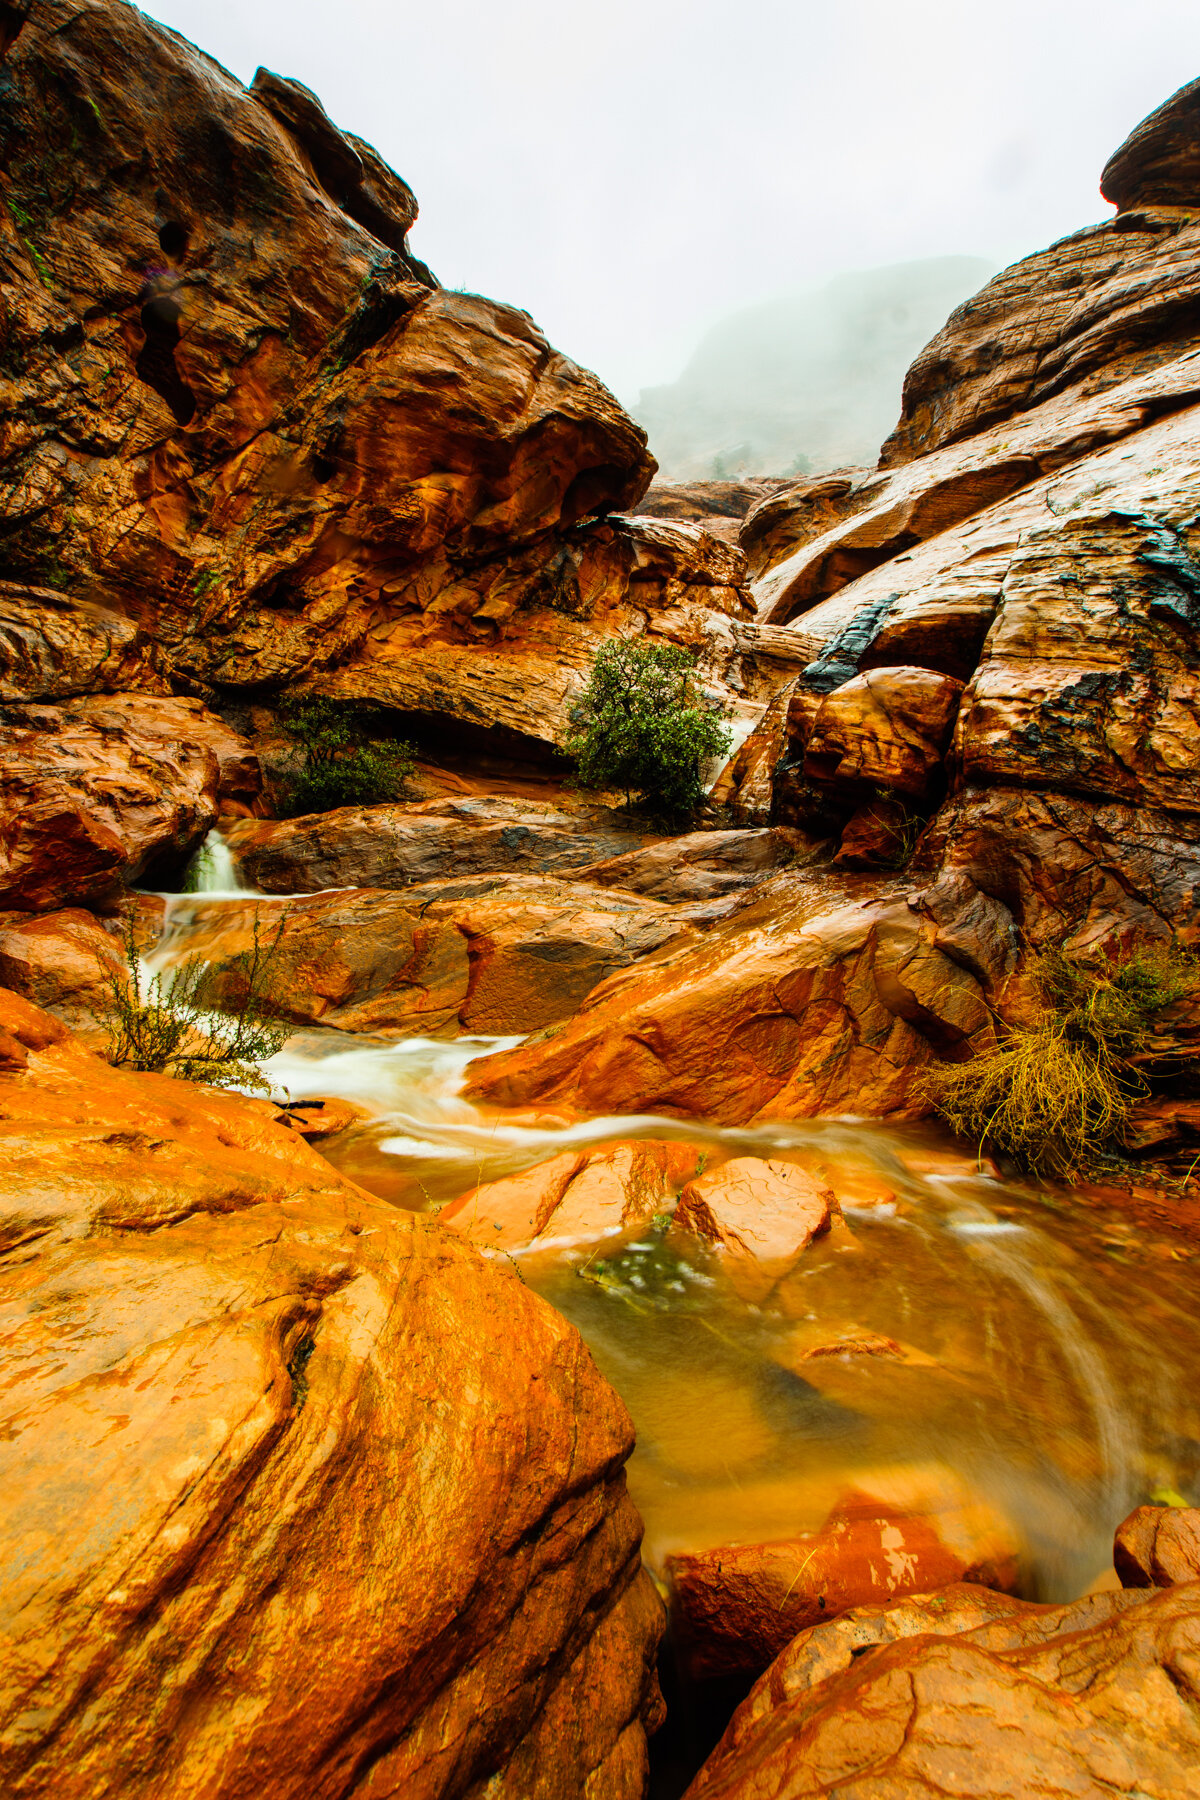
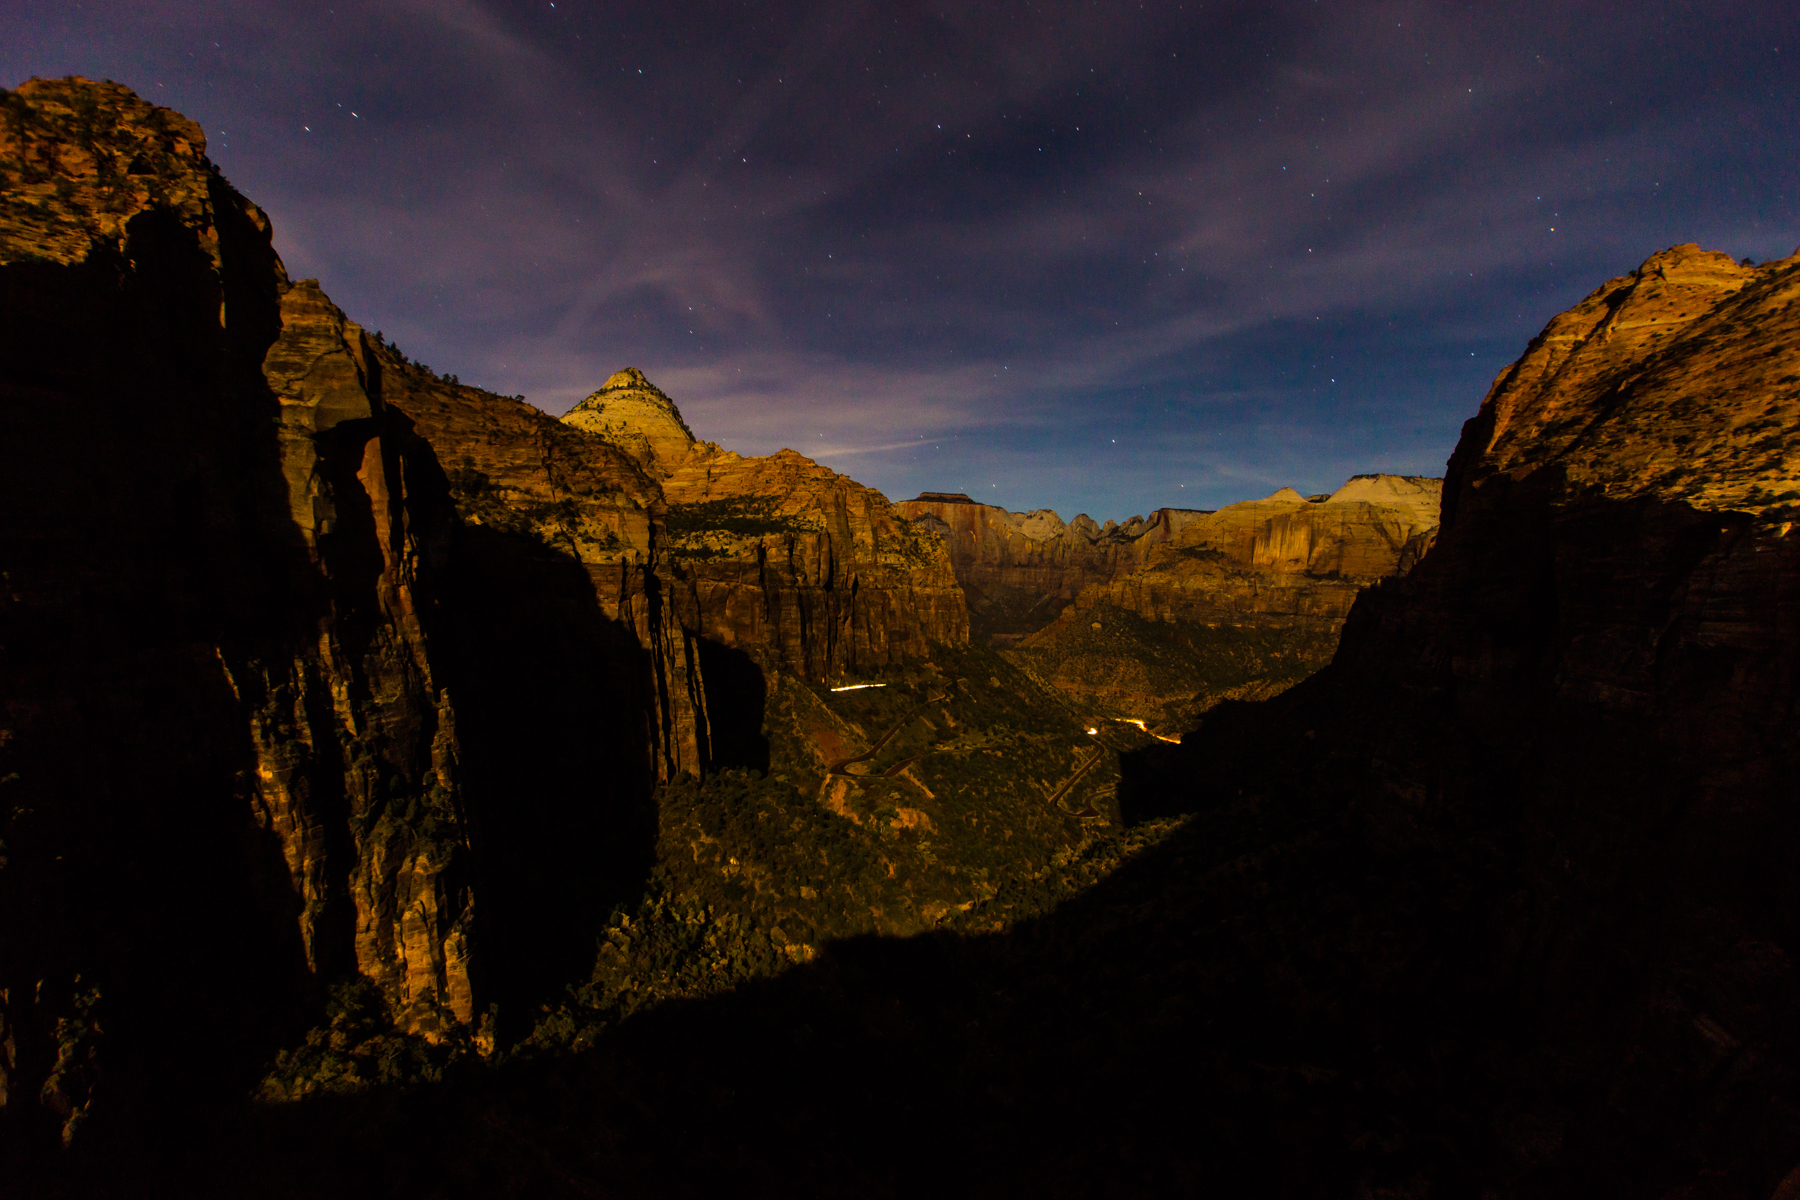
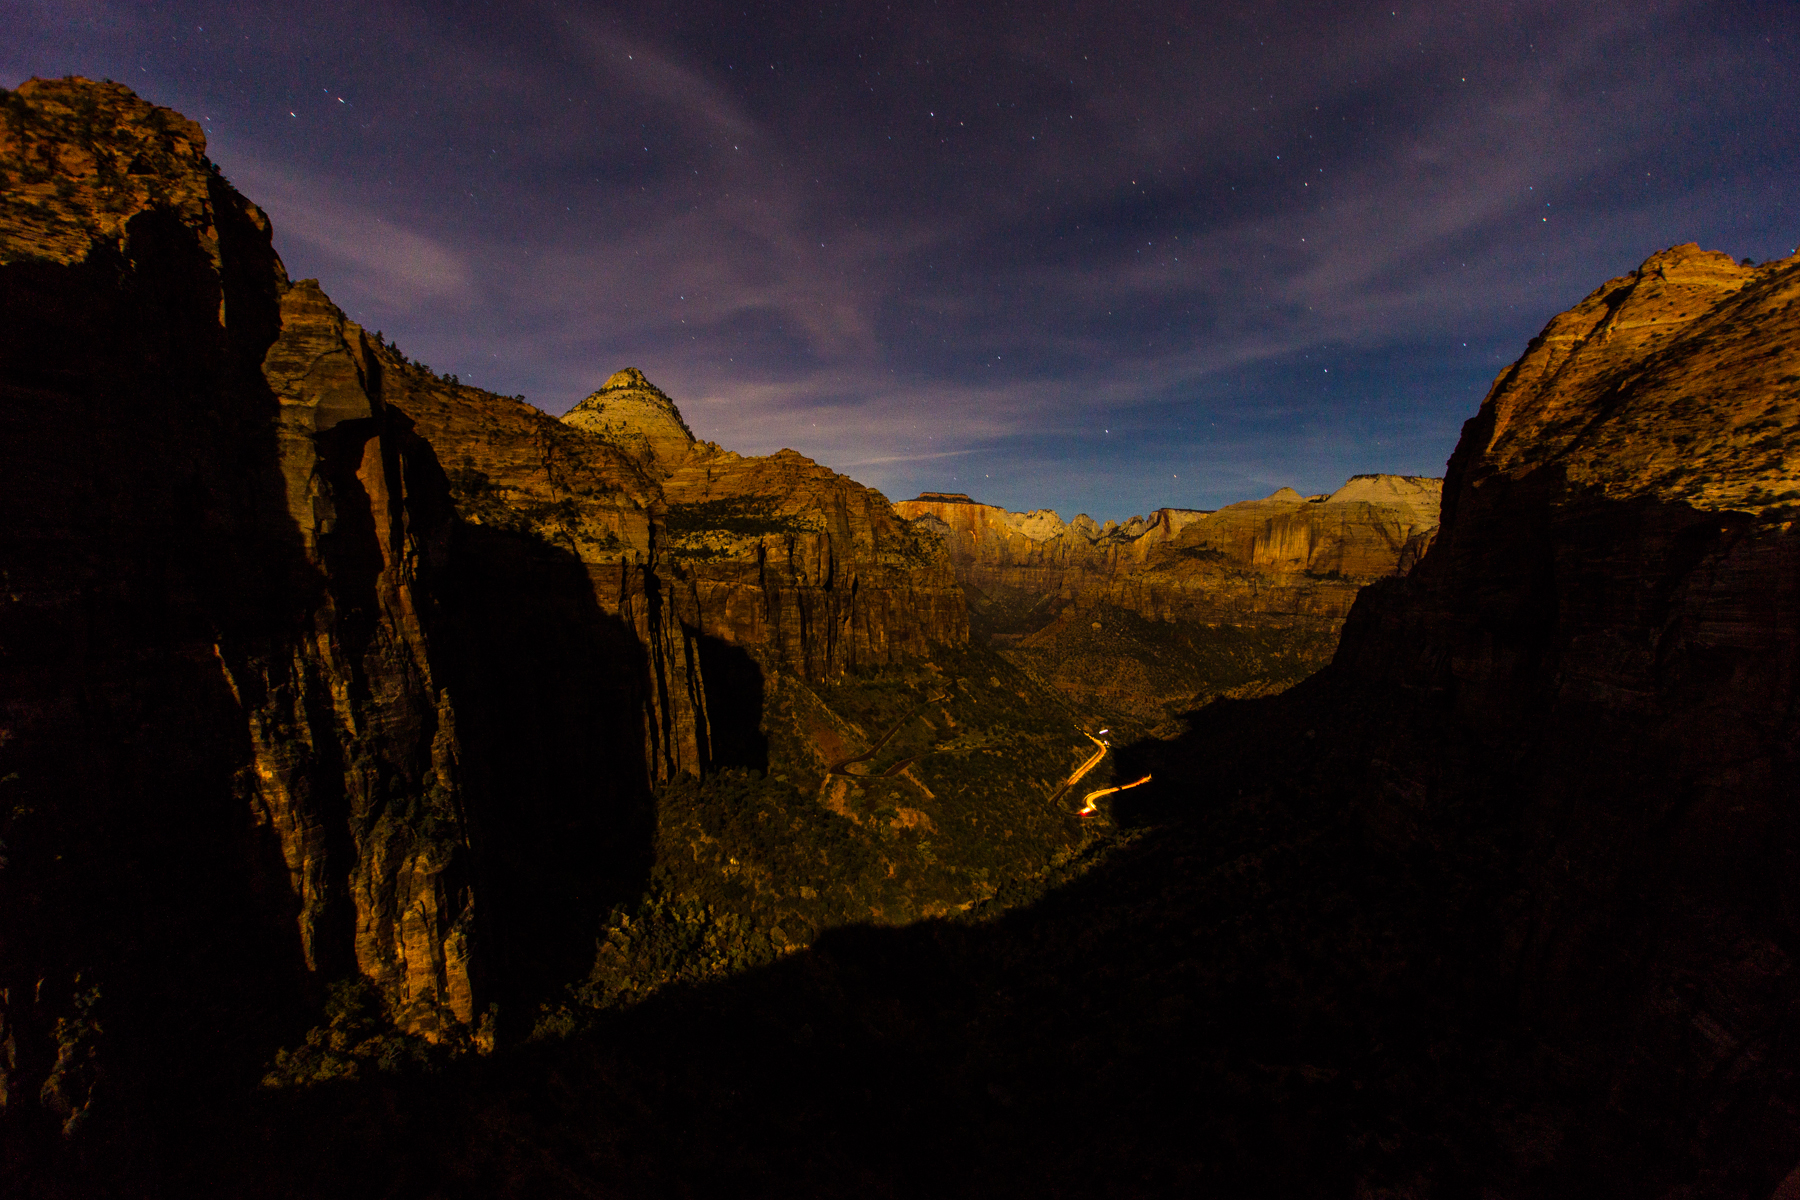
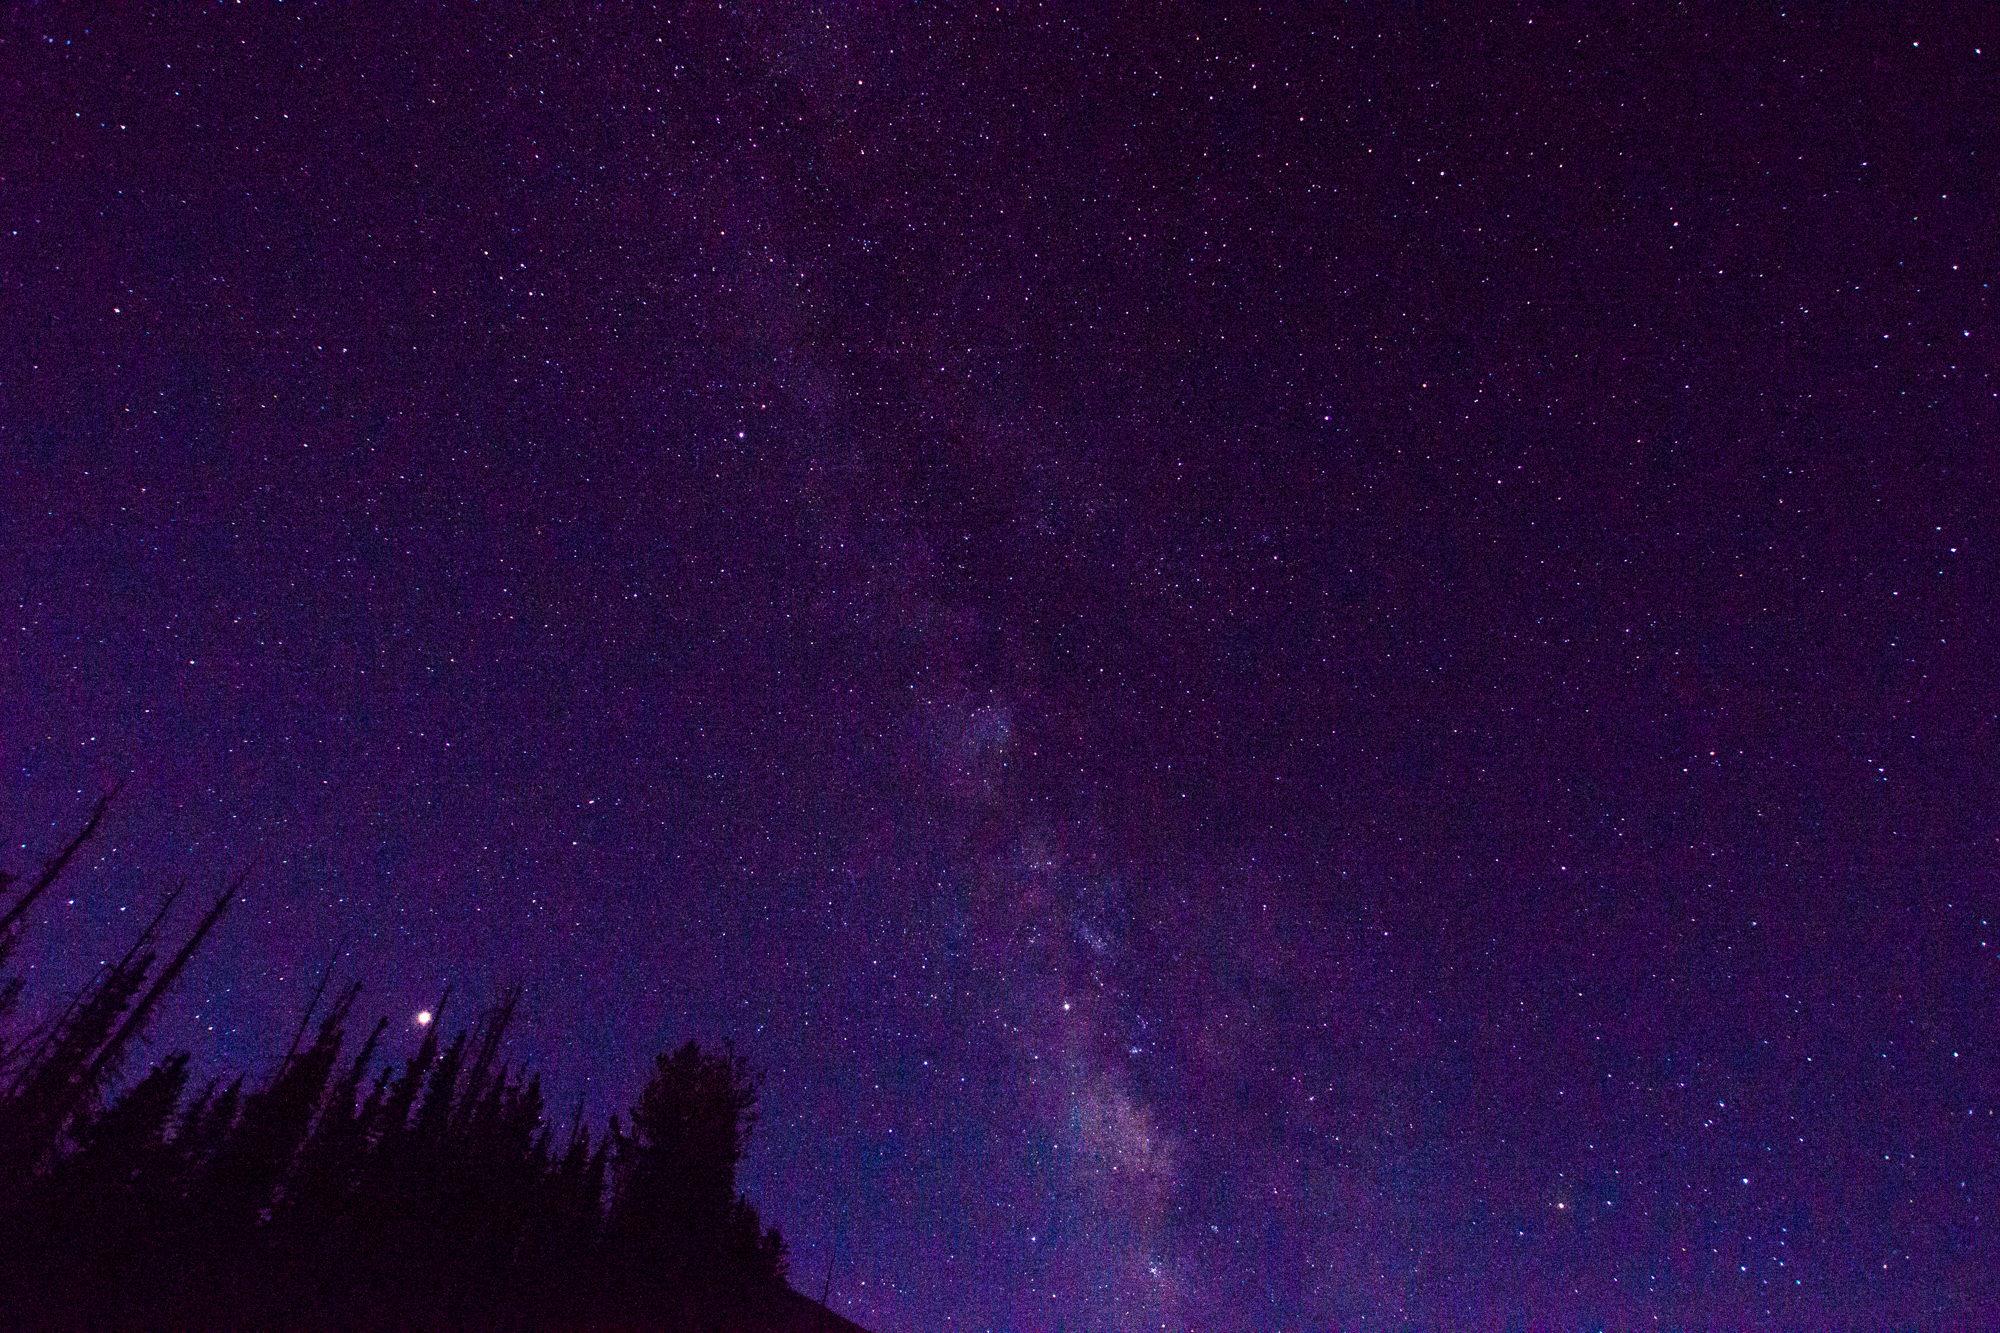
This was just East of the entrance with a CPL filter on. More are in the Red Rock folder
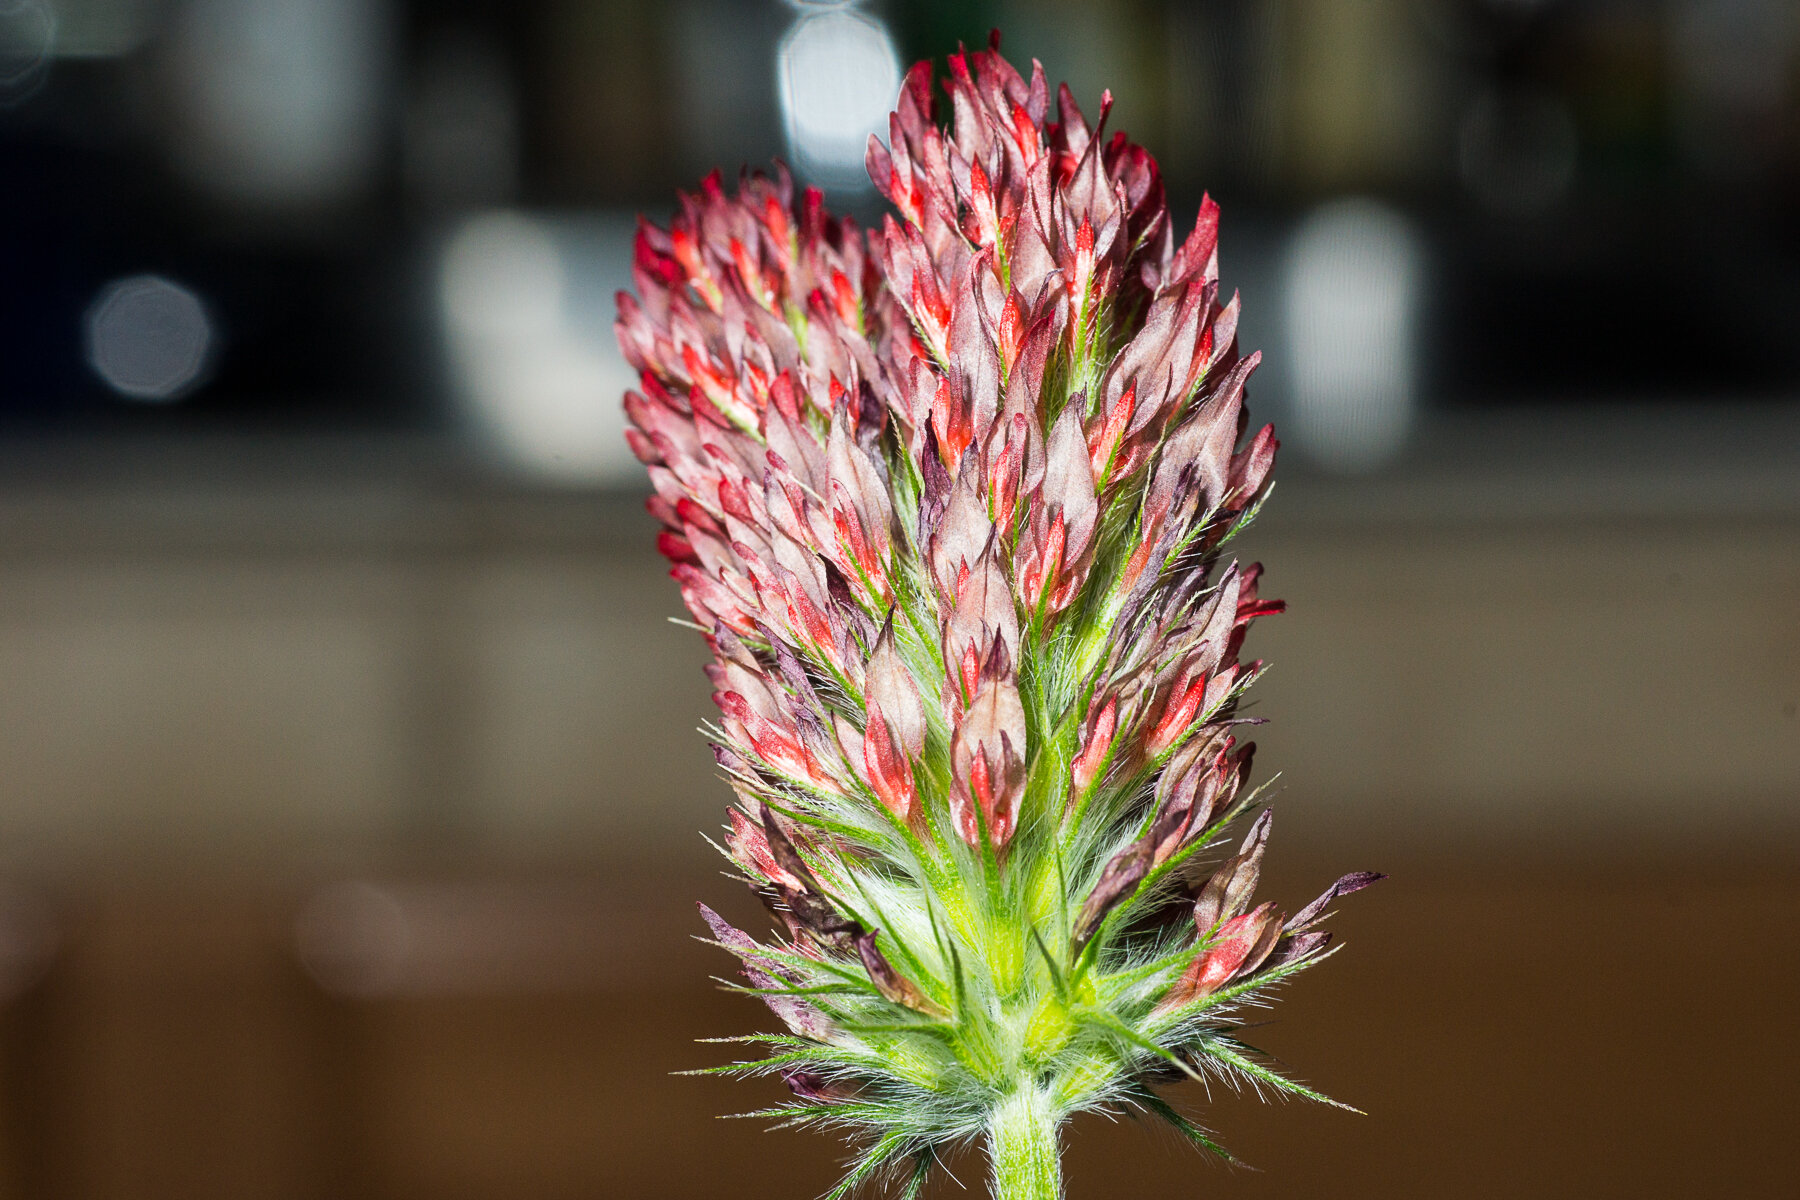
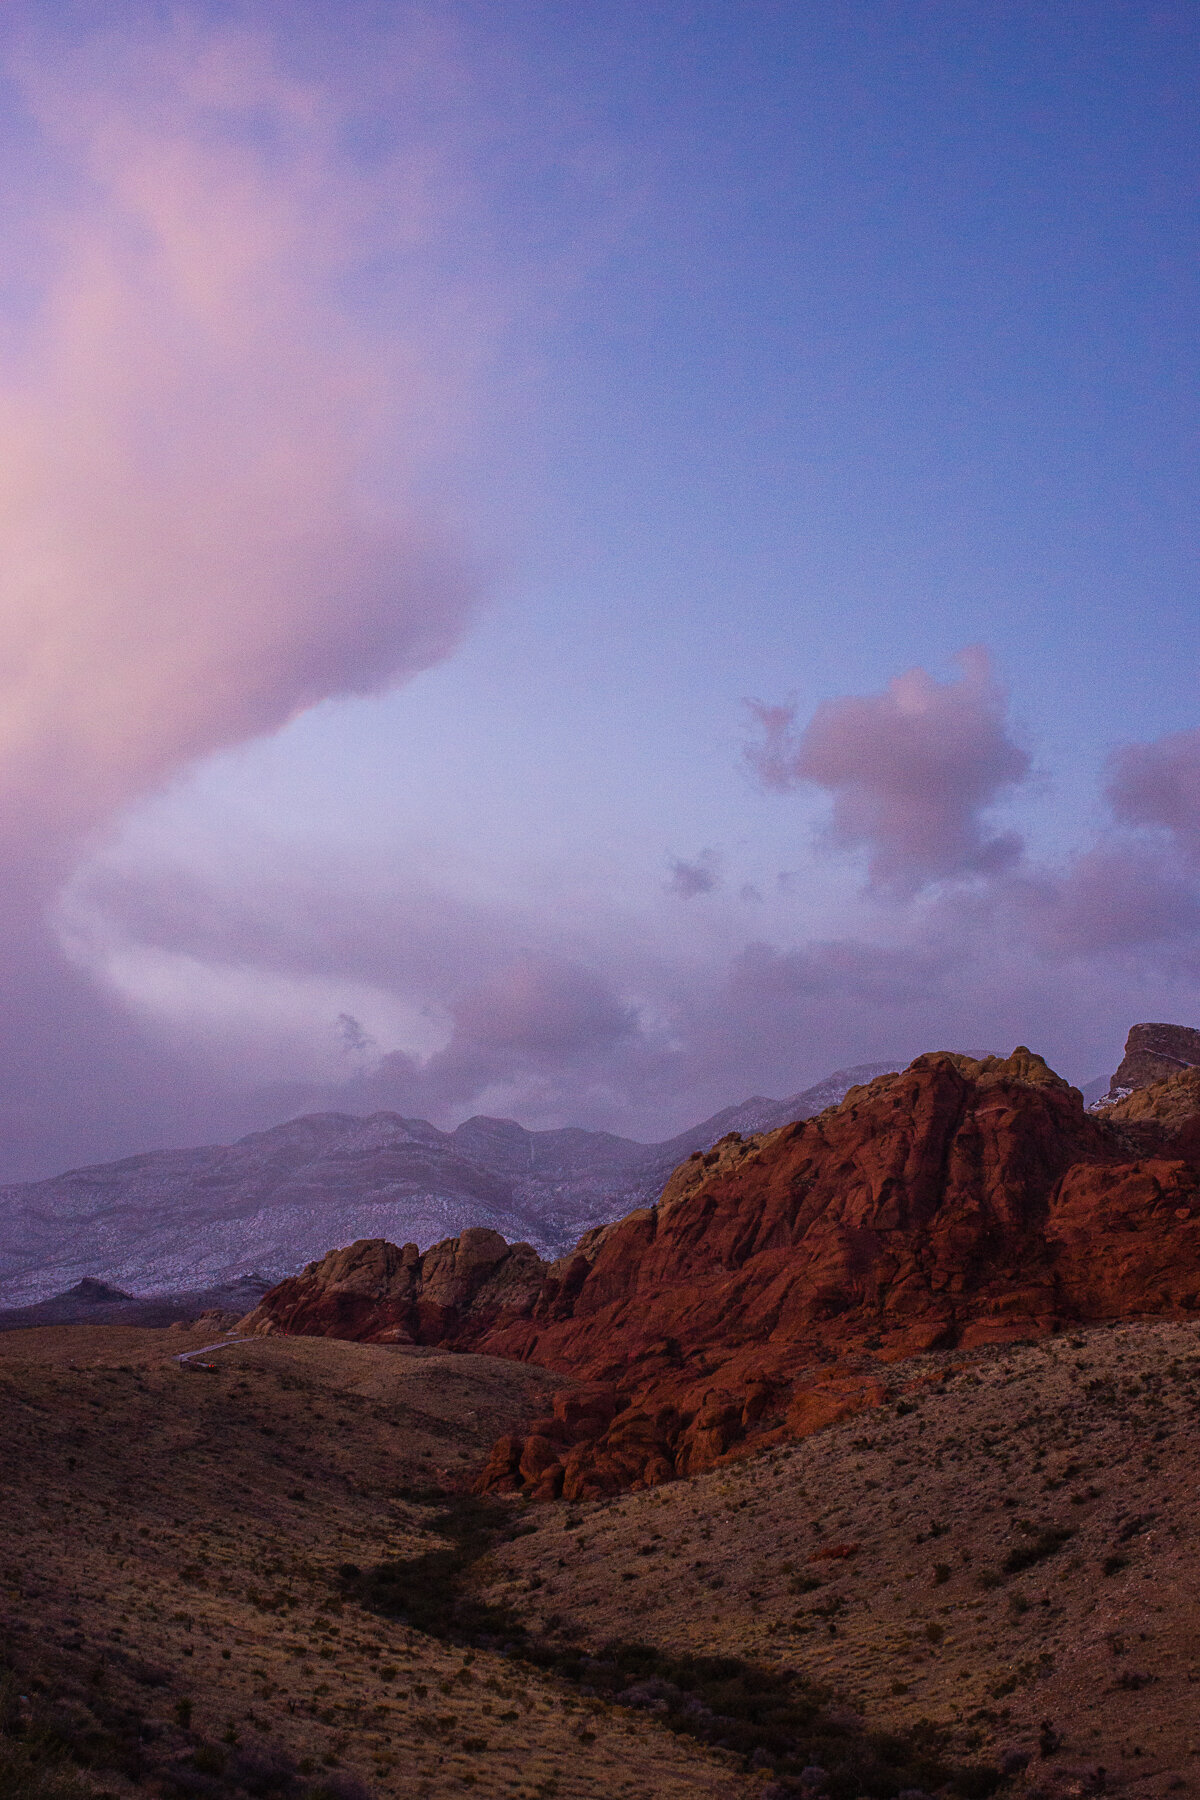
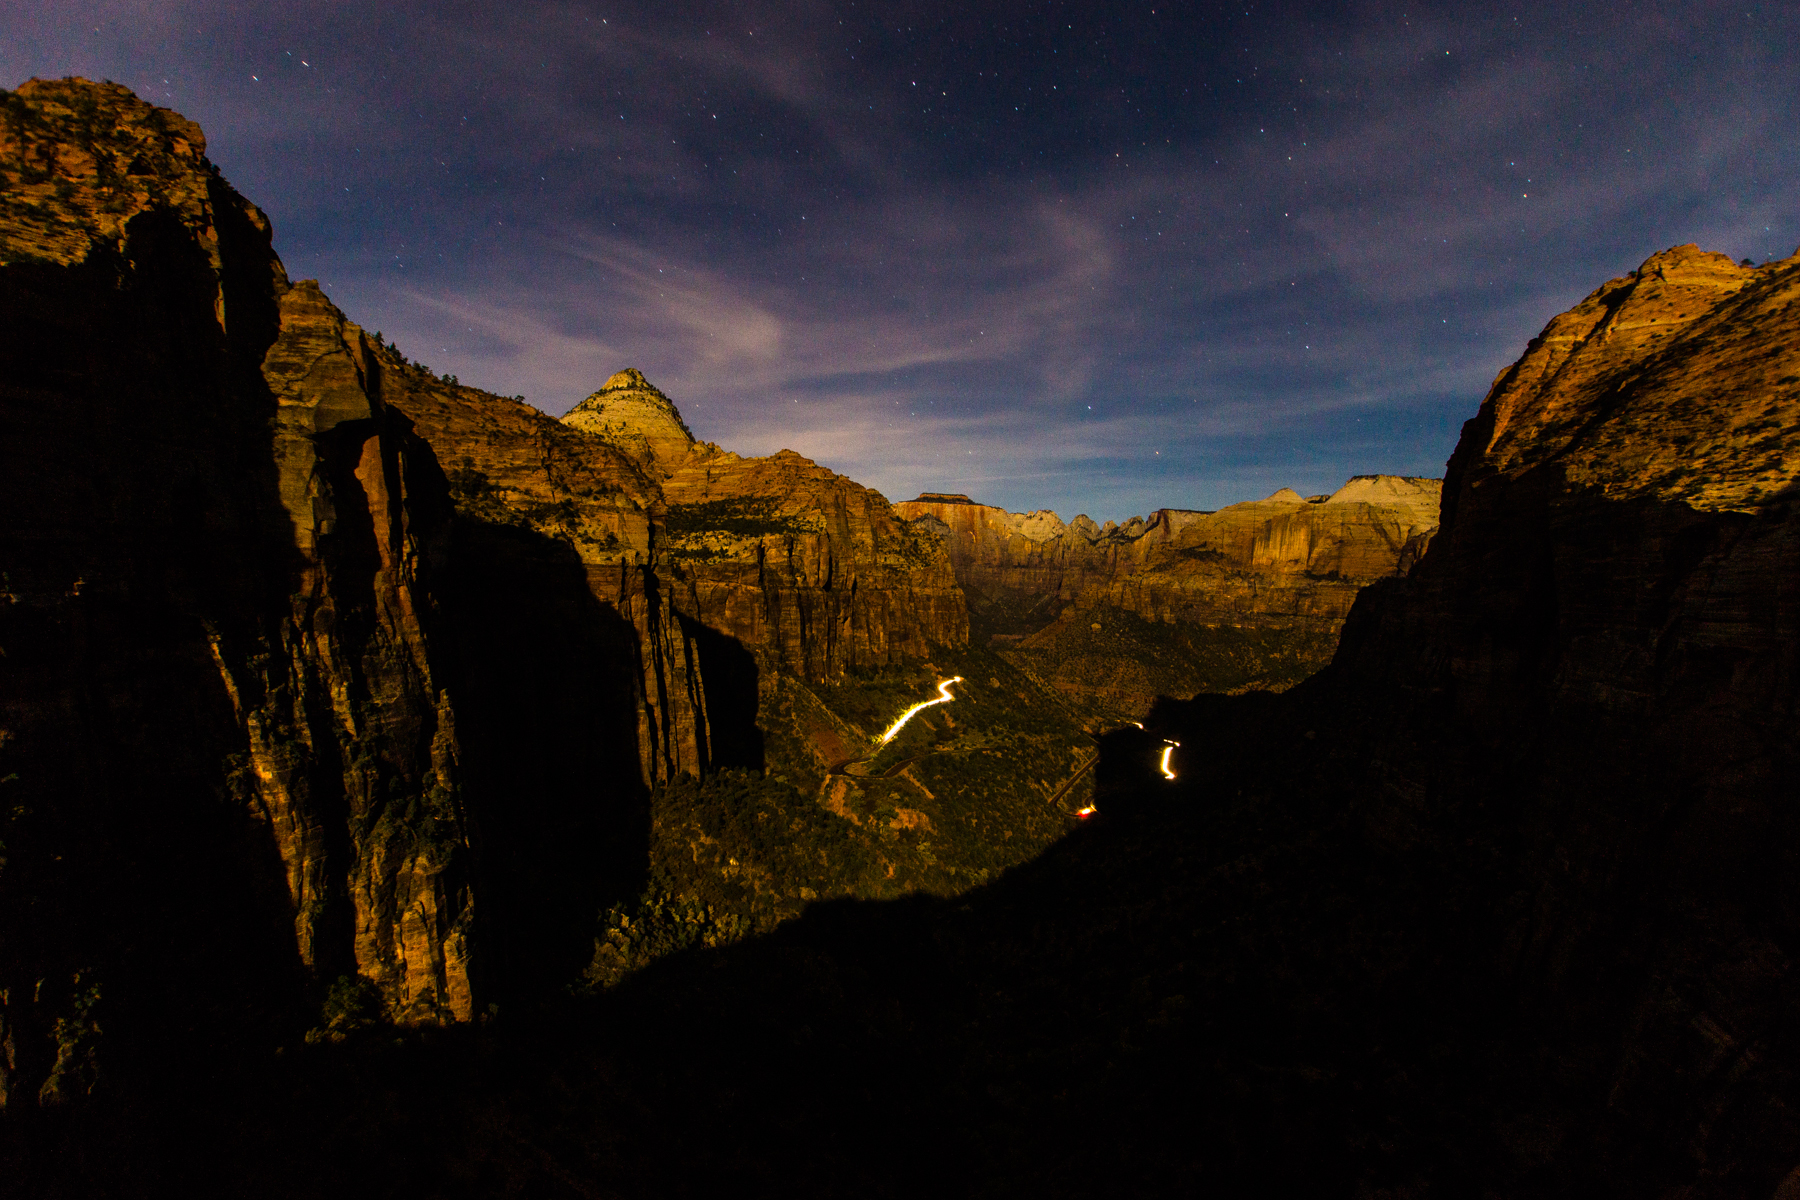
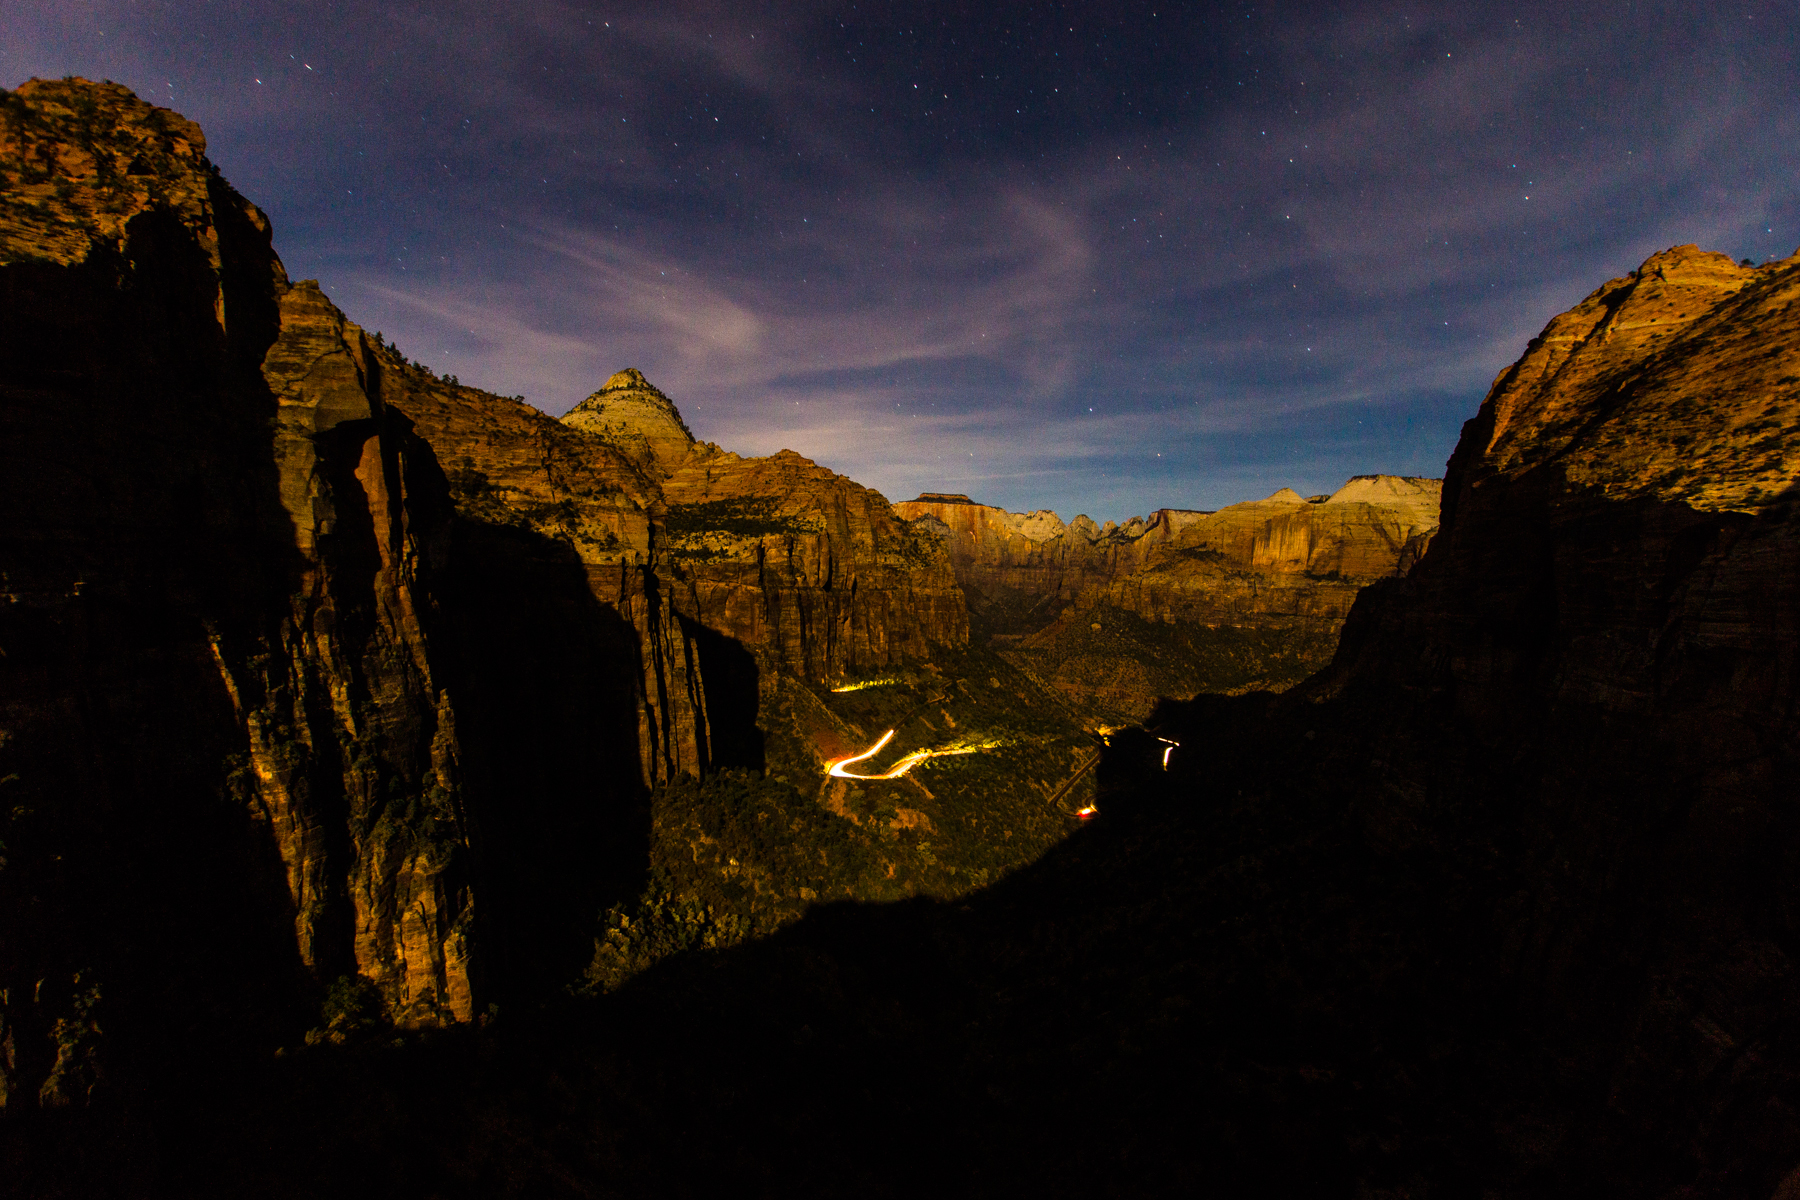
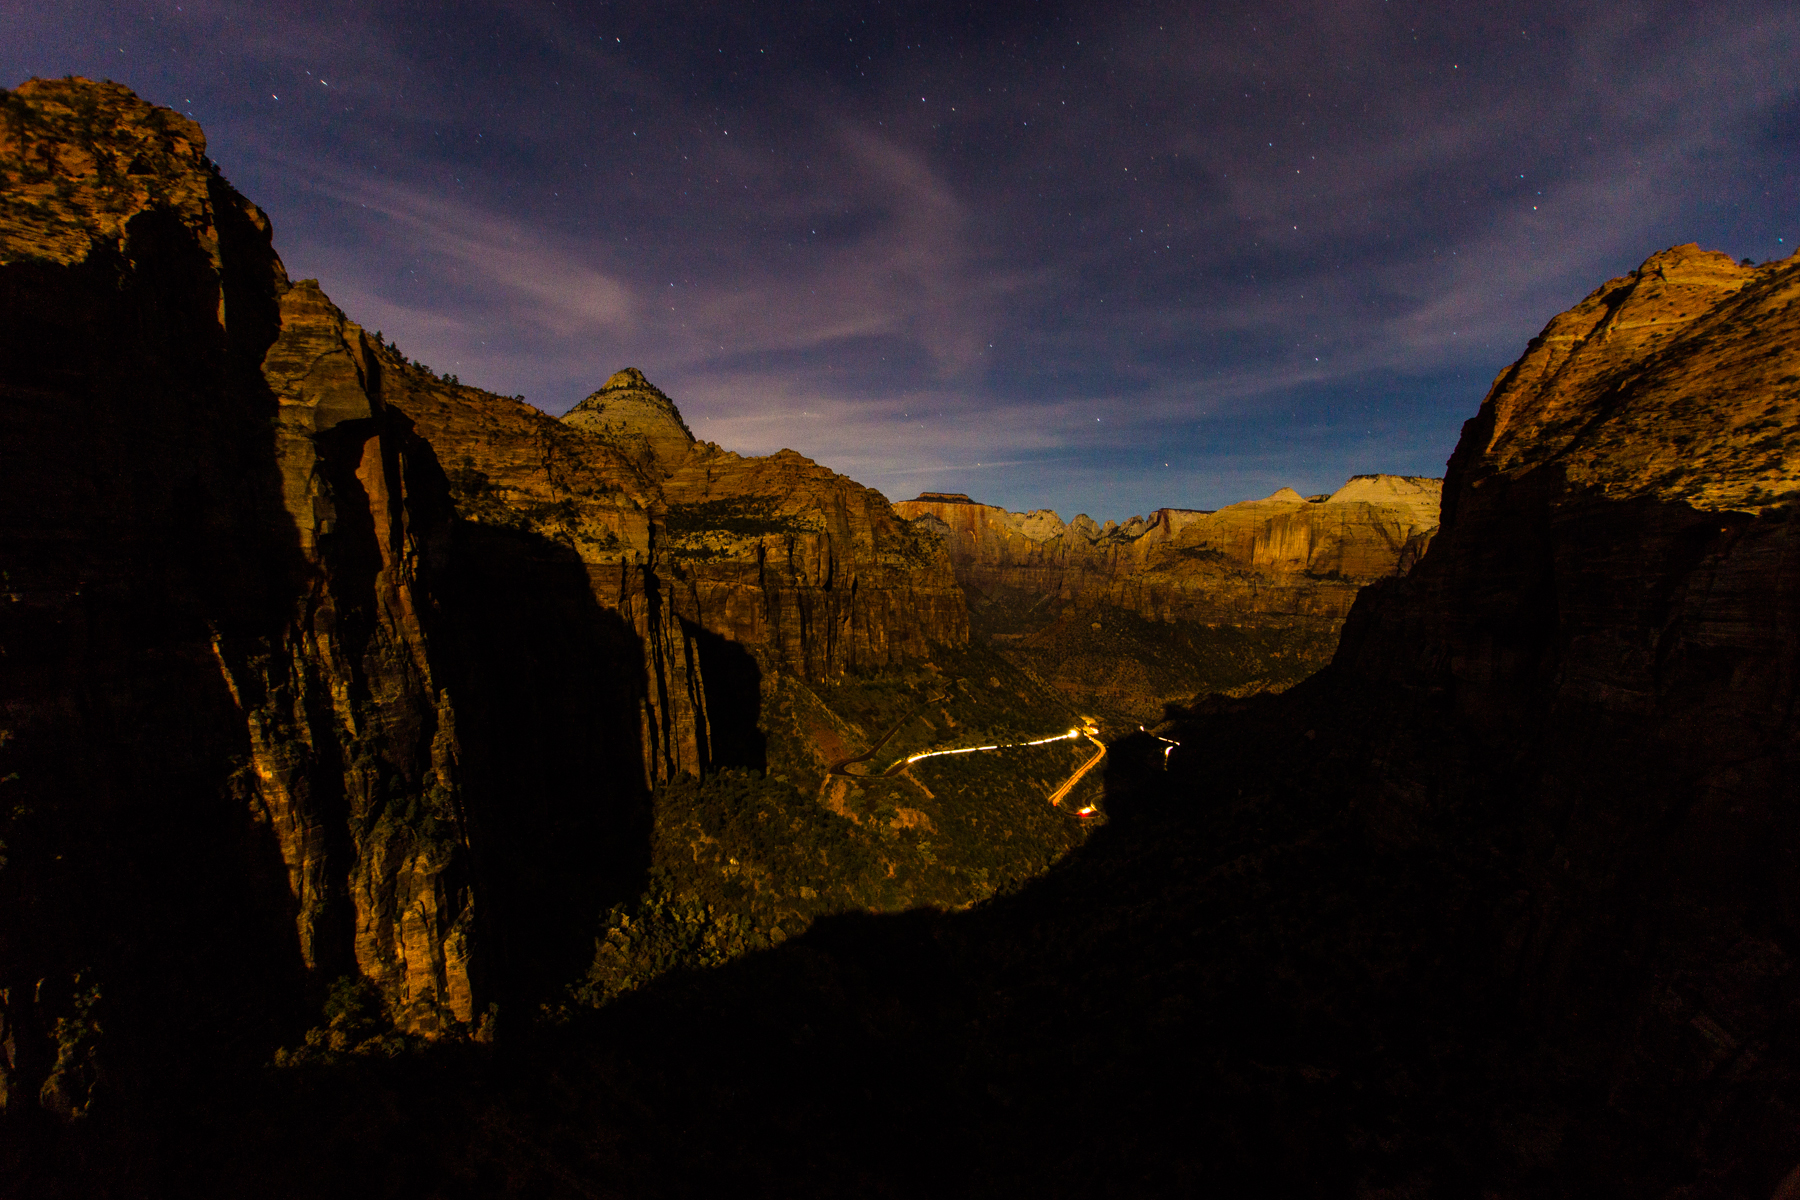
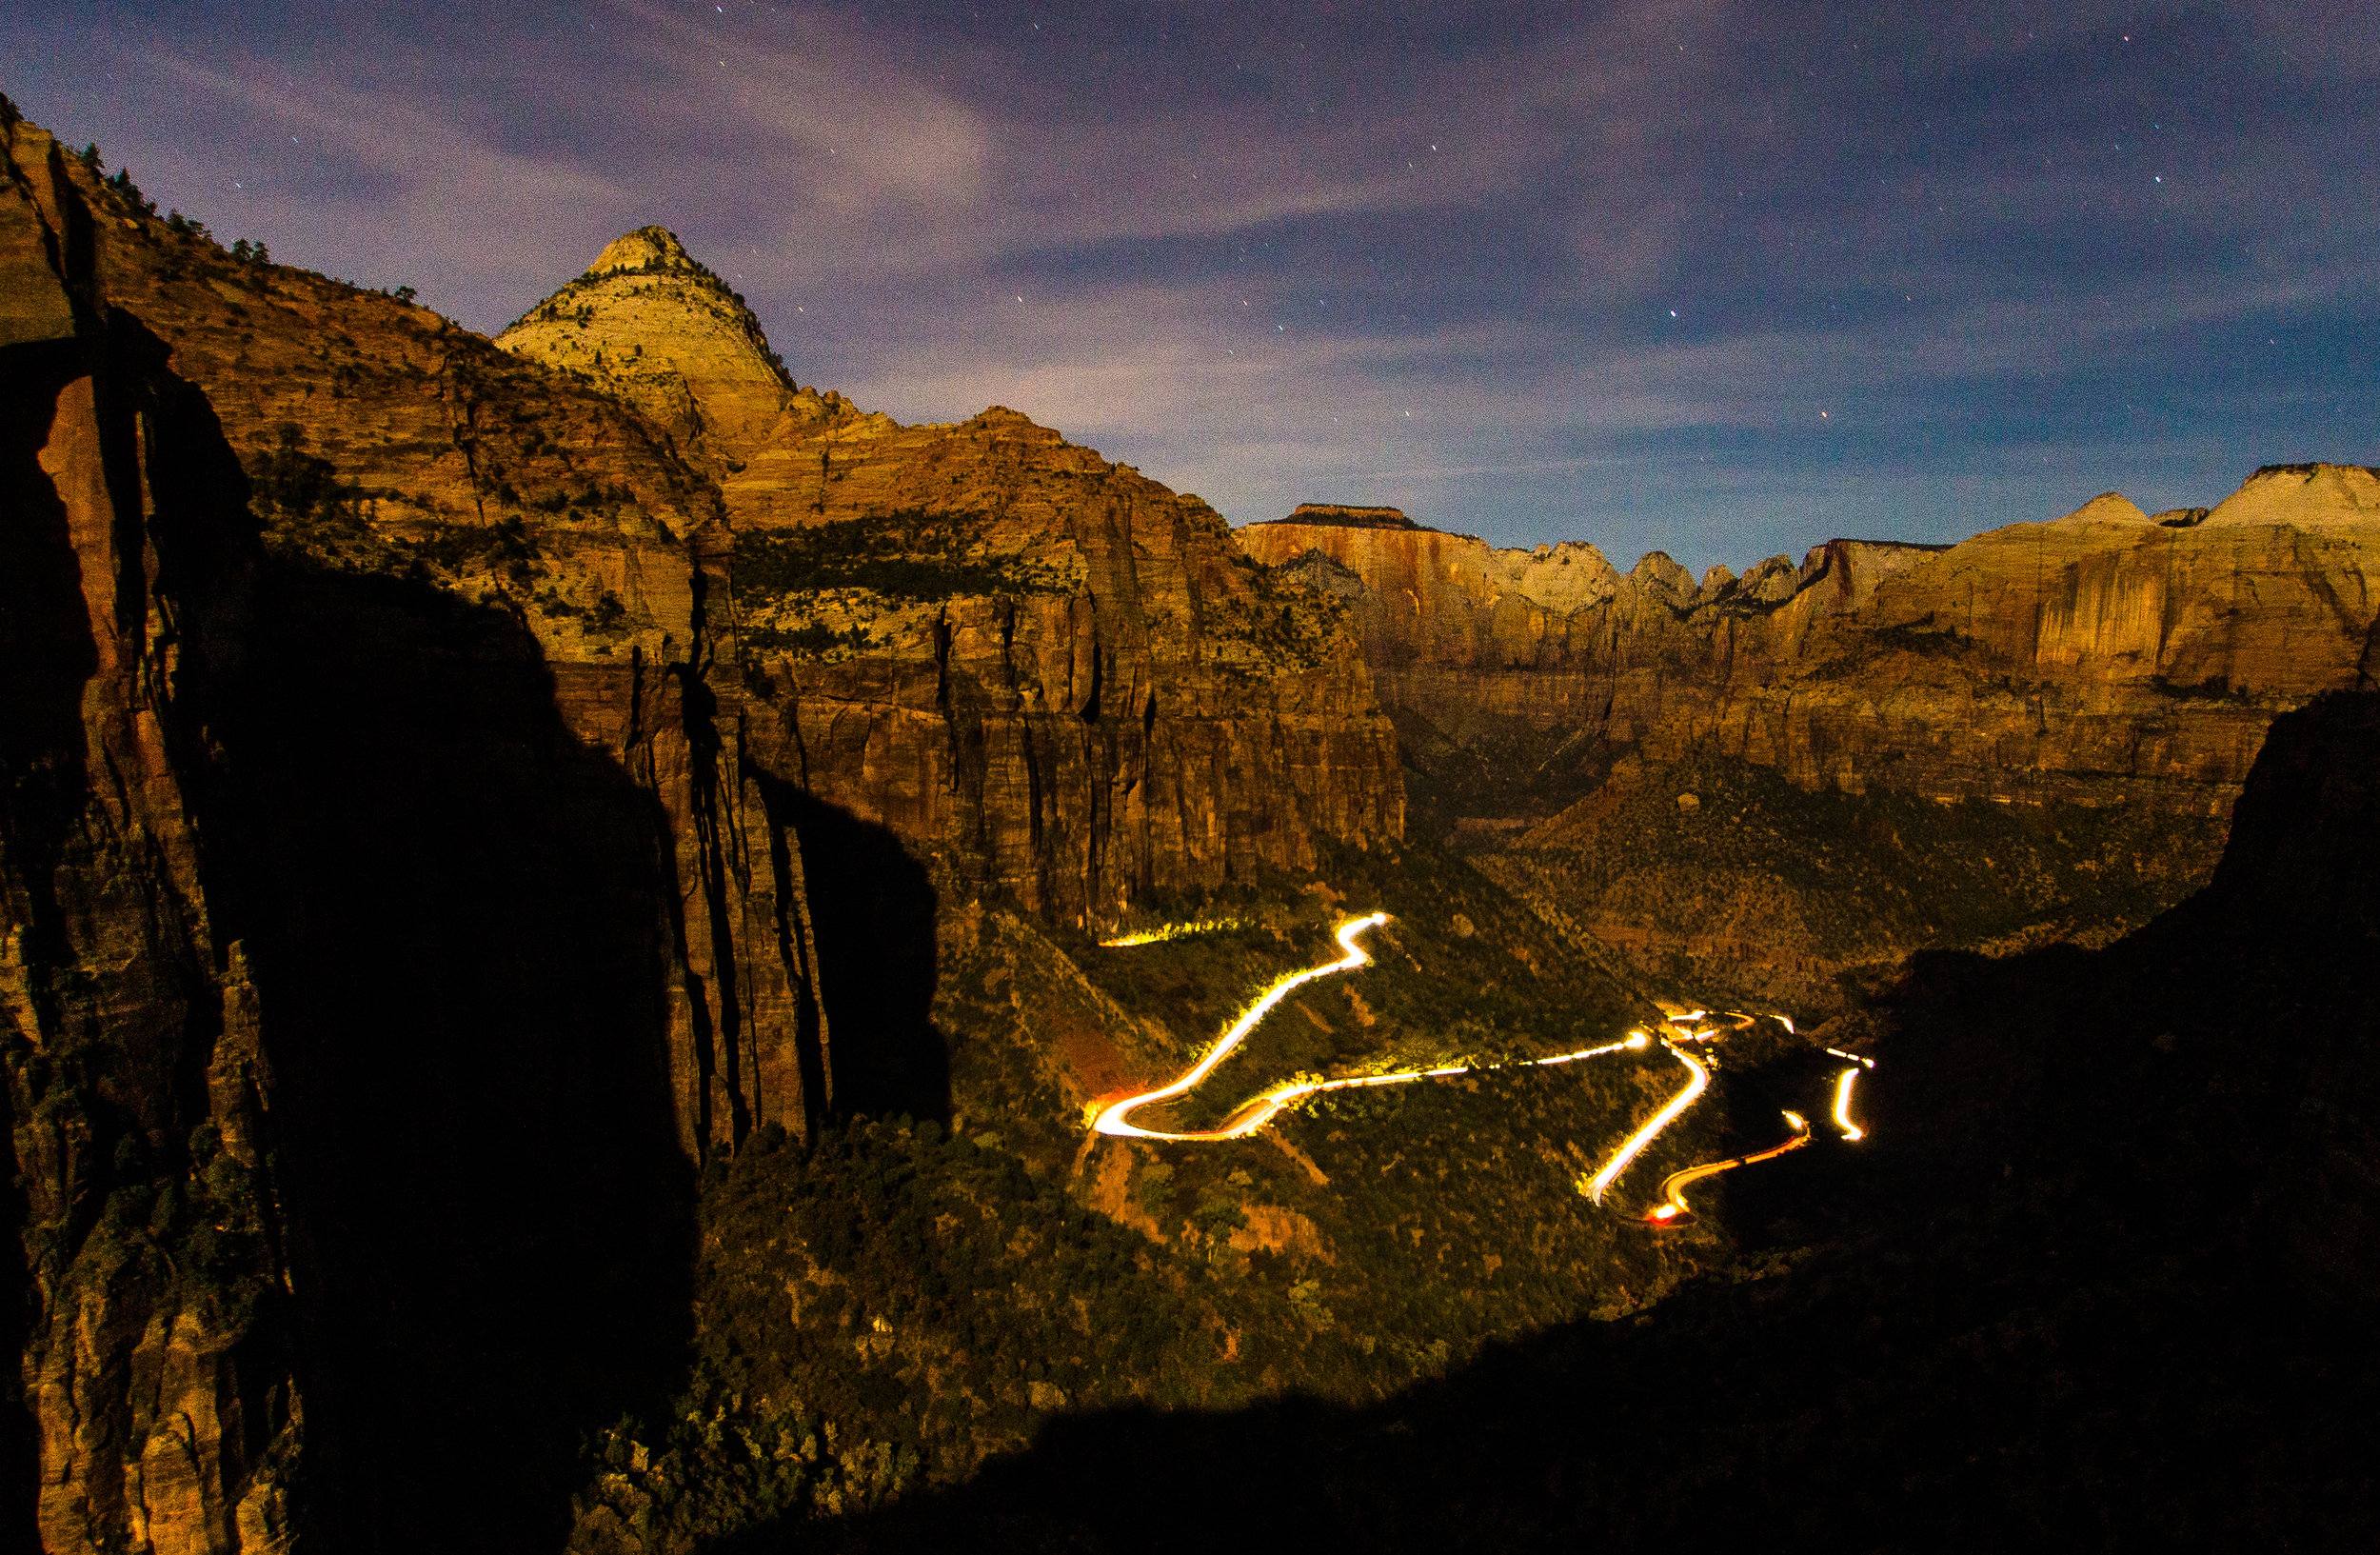
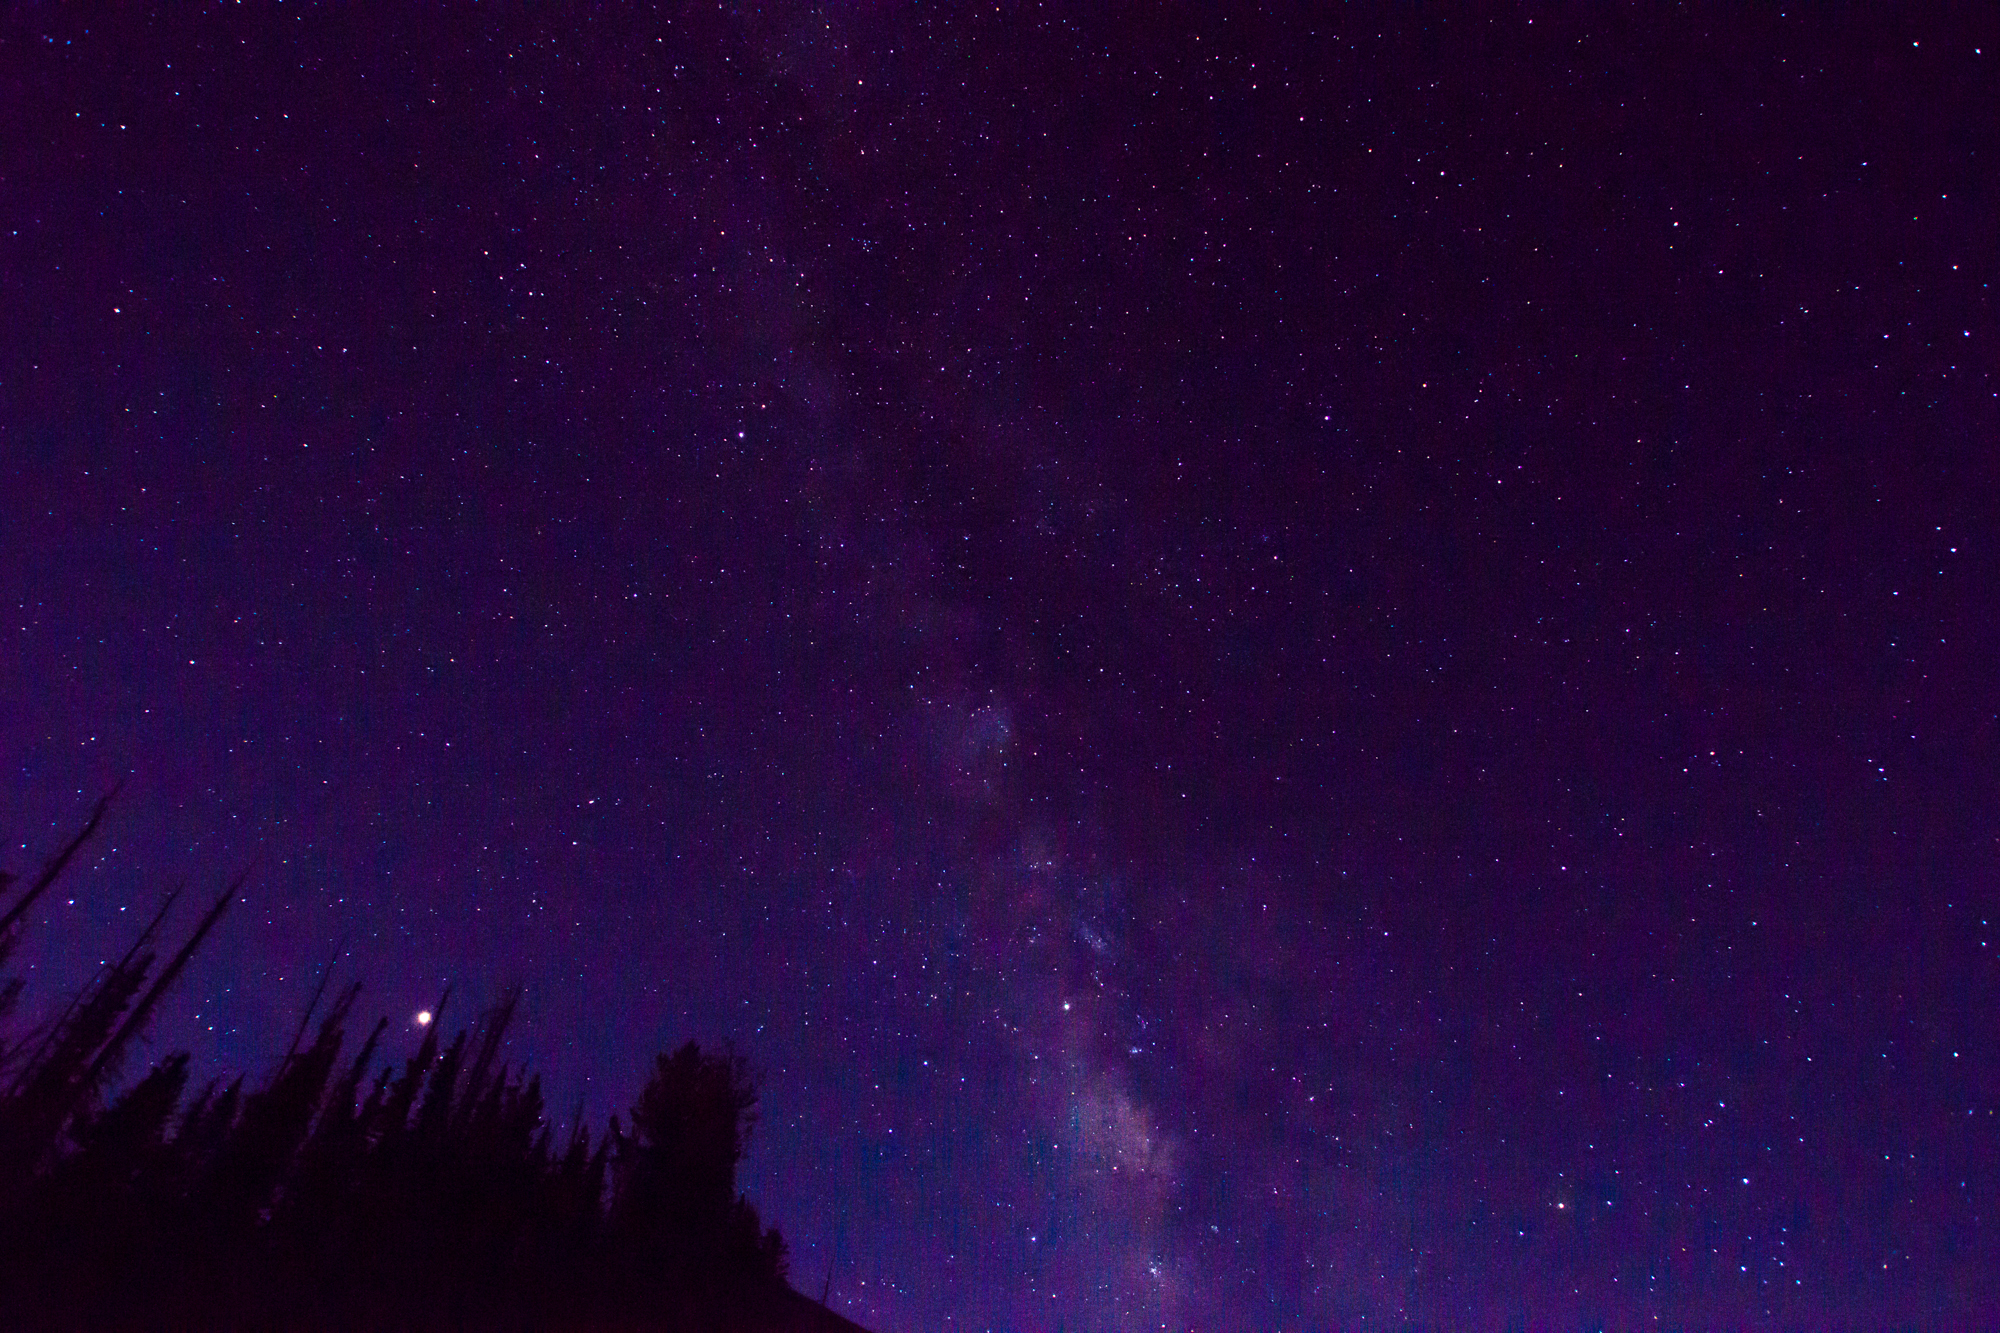
So instead of going back and losing the cloud dispersion I took off my sunglasses and put them over the lens. They aren’t as good as a CPL but they can work in a pinch. They can also work as an ND filter.

Taken with sunglasses instead of a CPL filter. If you compare the two images the strength difference can be seen. I deleted the ones I took without the CPL or glasses.
I am not saying get rid of your CPL and ND filters. I am saying that sunglasses can be used in a pinch.

Depending on the camera and glasses it is possible to wedge them together.
There are a few caveats, the polarizing effect only works if they are polarizing lenses, effectiveness is proportional to the size of the glasses and the size of the lens opening, the more scratches on the glasses the more imperfect the image will be, and the glasses probably will change what your WB should be. Those are the major ones.
If you have any stories or images of how you have used something related to photography for another purpose please feel free to share.
~Scott