• Photography
  • About
  • Contact
  • Light Writing

Scott W Gonzalez

  • Photography
  • About
  • Contact
  • Light Writing

The Moon

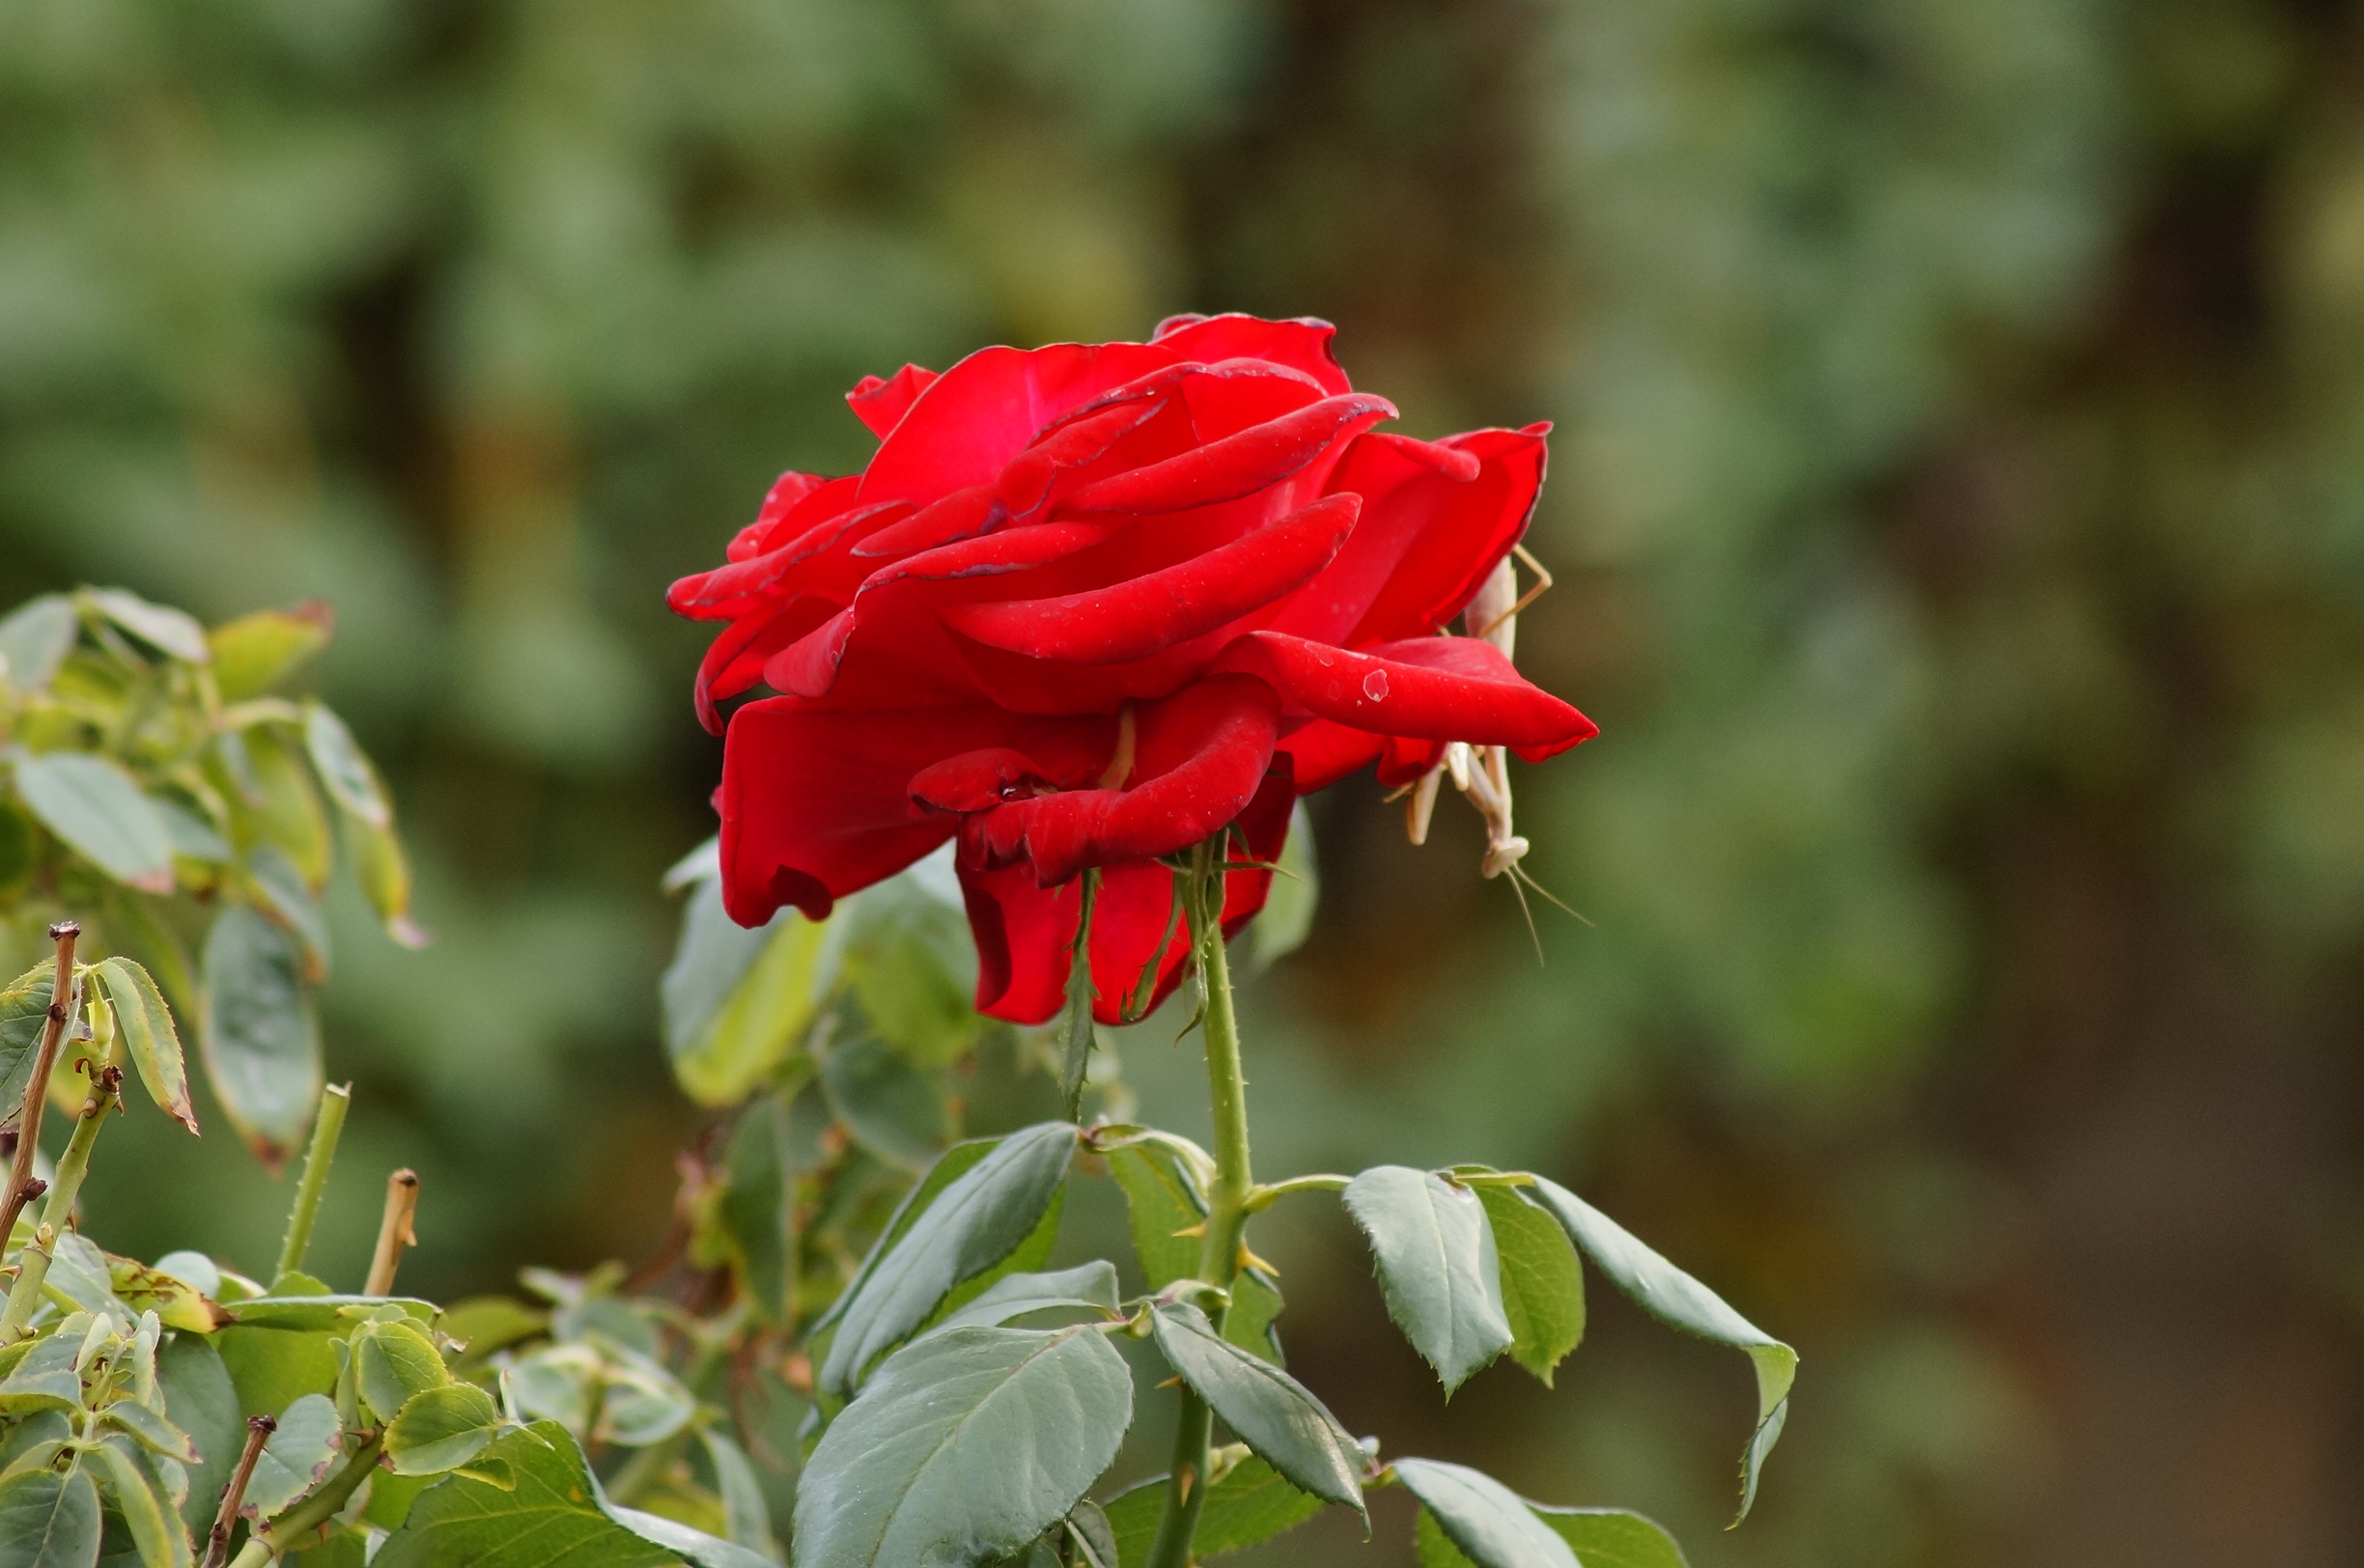
I hope anyone reading this is staying safe. I am doing my best to which is staying away from as many people as I can and wearing a mask when I can’t.

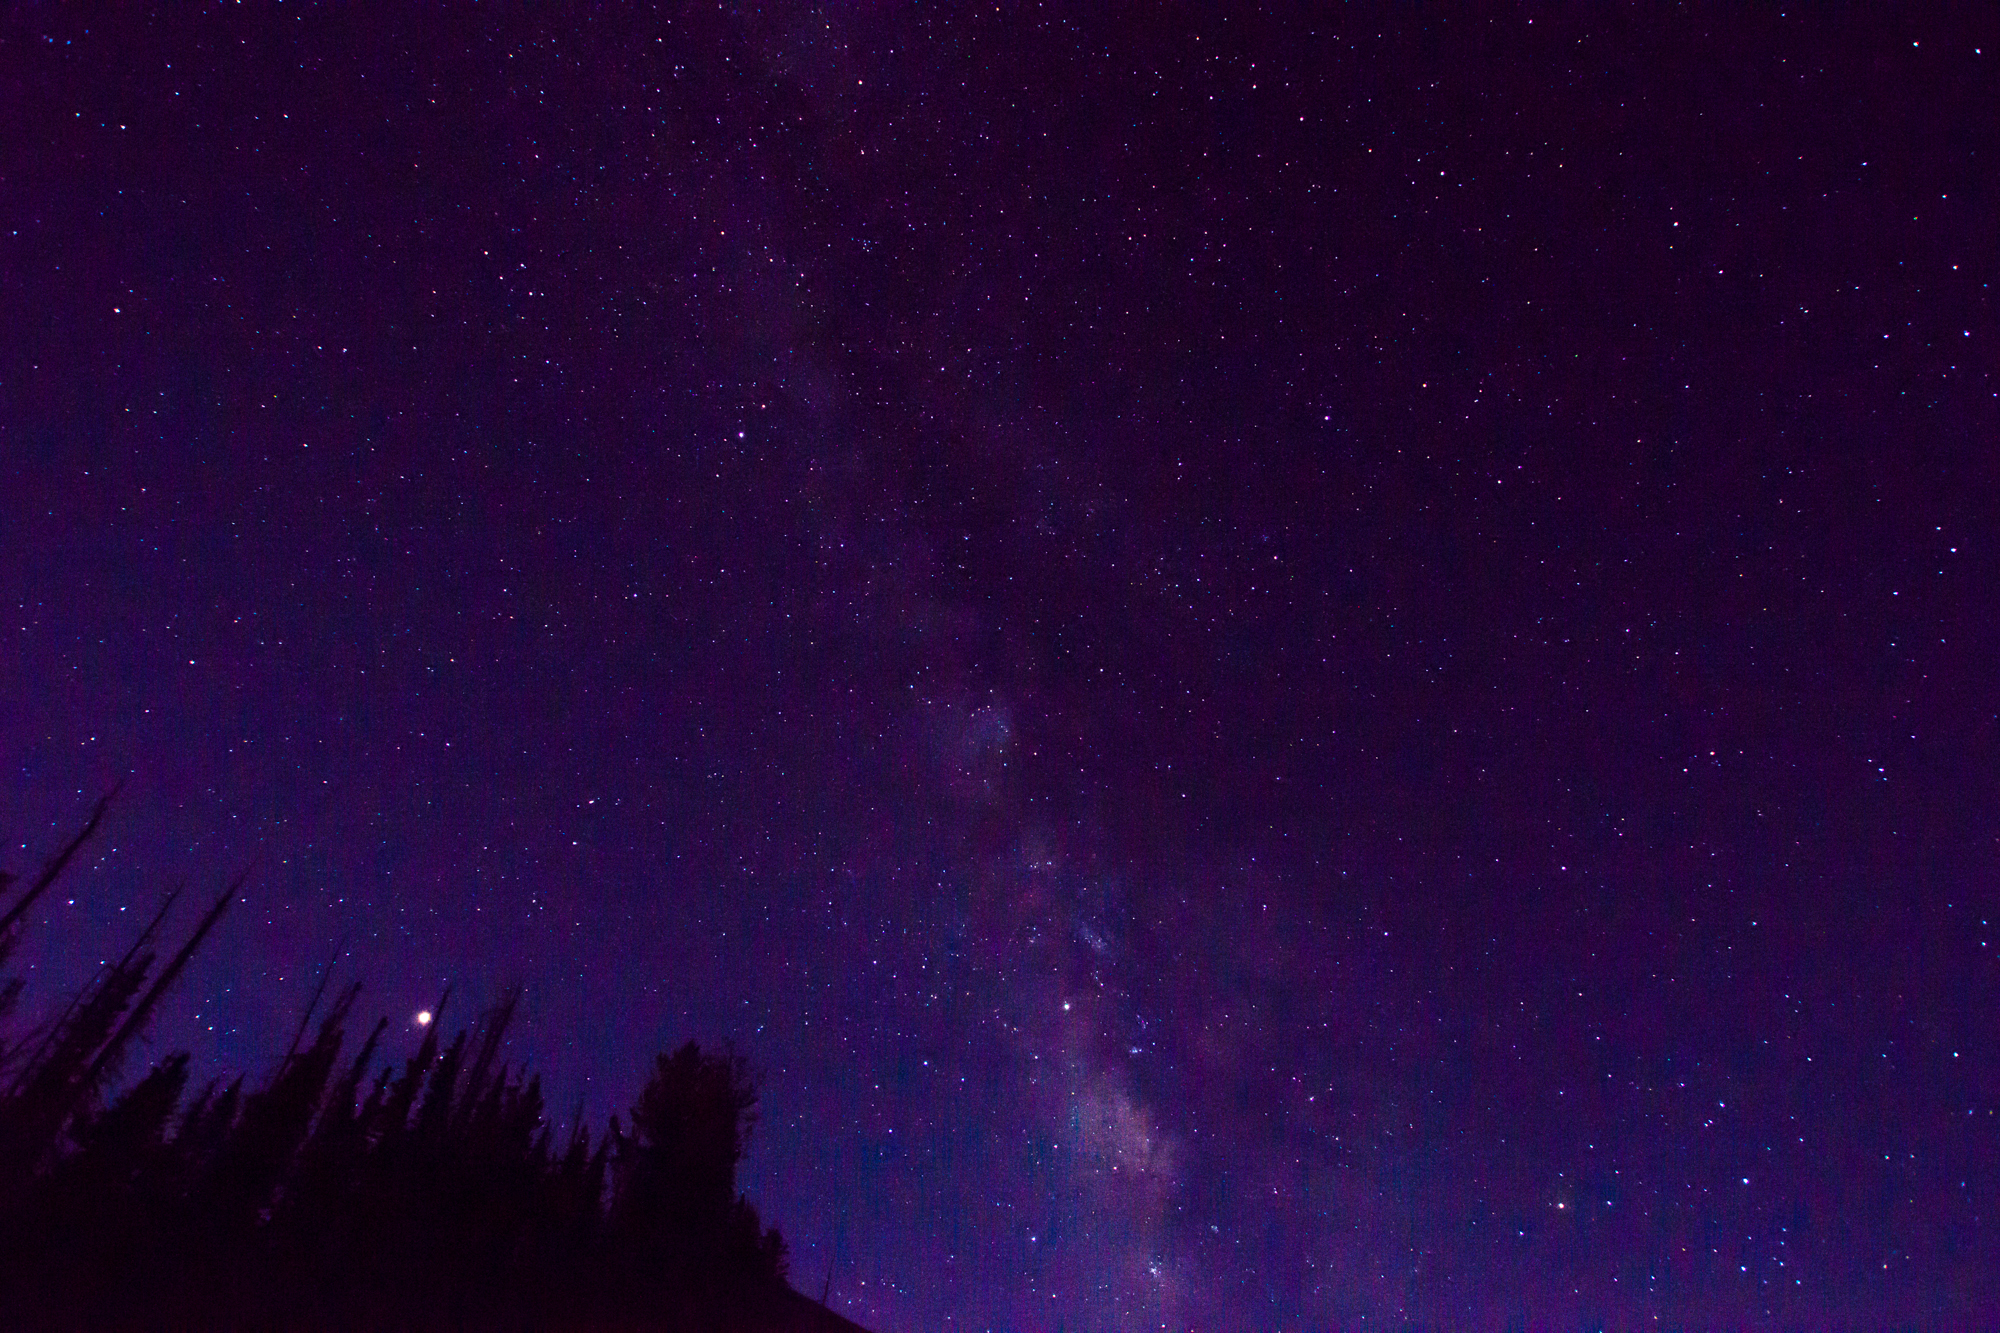
So I went out to get pictures of NEOWISE with a friend at Seven Magic Mountains outside of Las Vegas. We got some pictures of it. While we were there I pointed my camera at the moon and he seemed surprised when I told him my settings. They were 210mm, iso 400, f4.0, and 1/1250. From my experience of taking pictures of the moon only manual exposure works. If I had a greater focal length then it might not be an issue, currently though I am limited to 300mm max well technically it would be 450mm with the crop factor. It might work with adjusting the exposure compensation. I am of a mind that if I have the time I might as well go full manual if I need to adjust exposure comp.

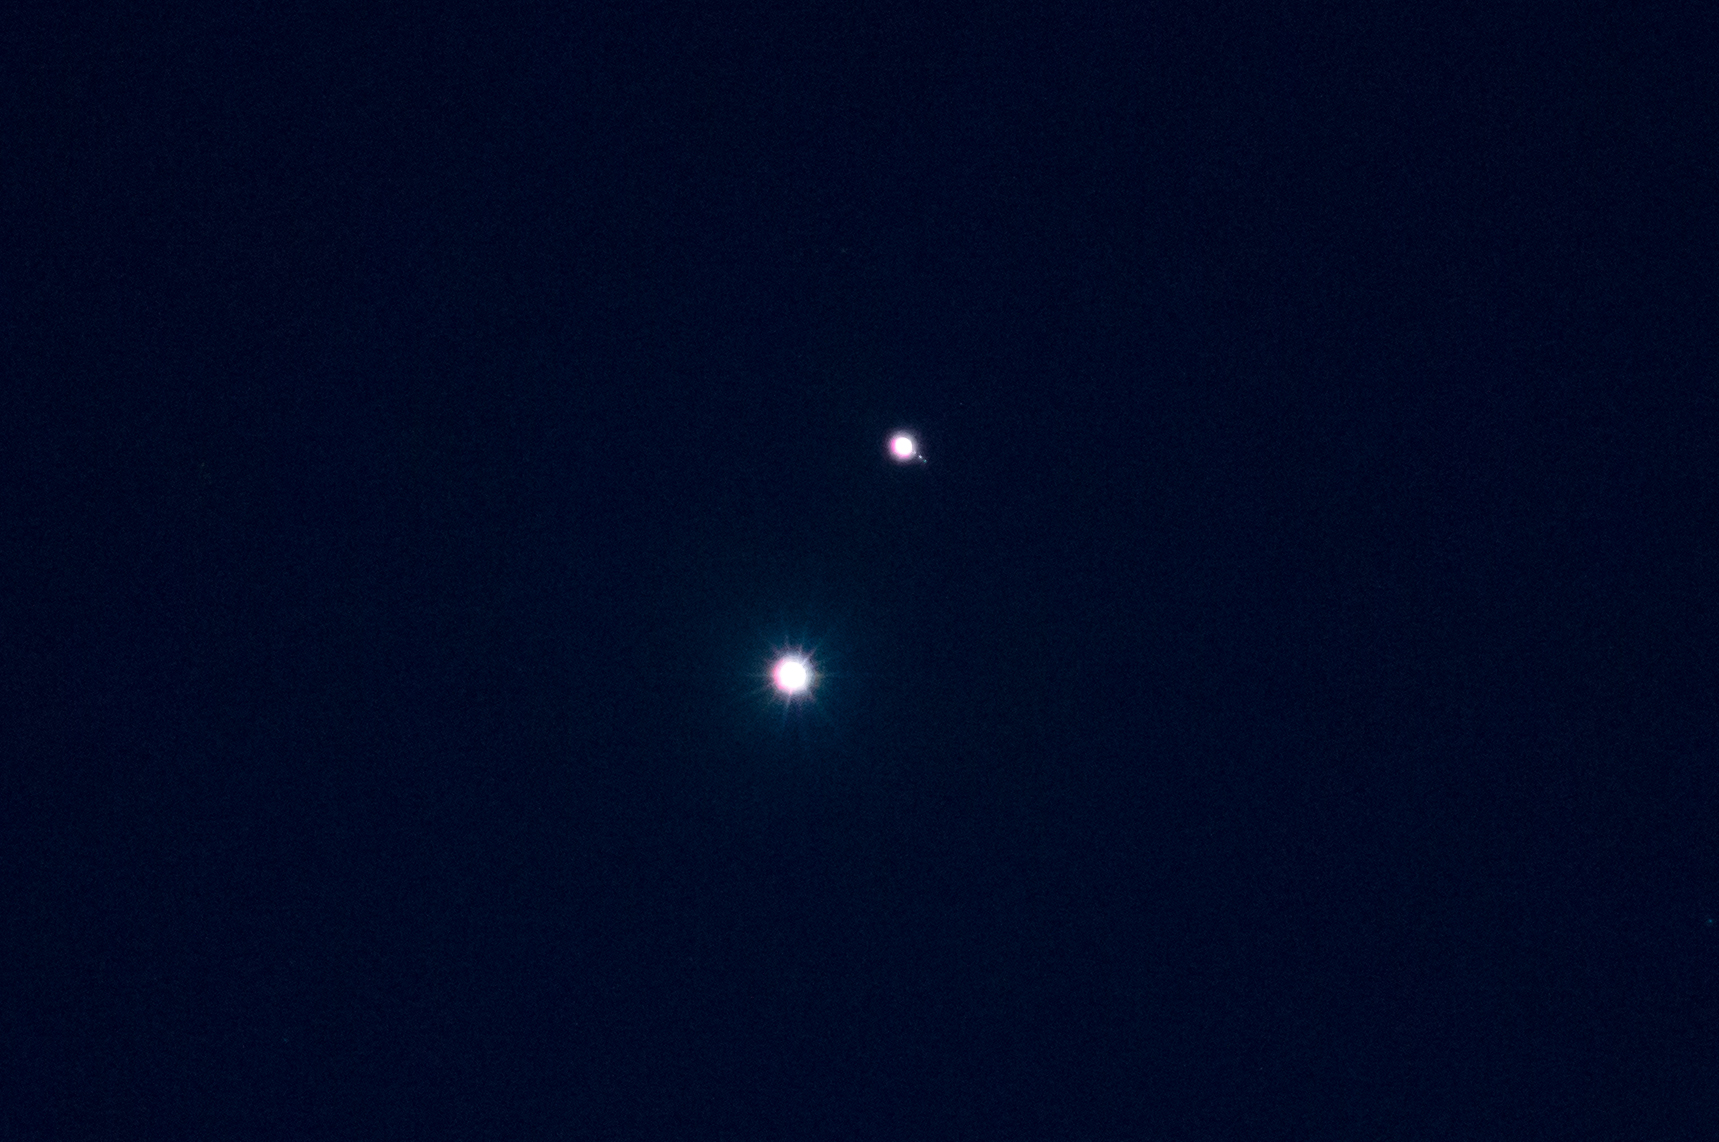
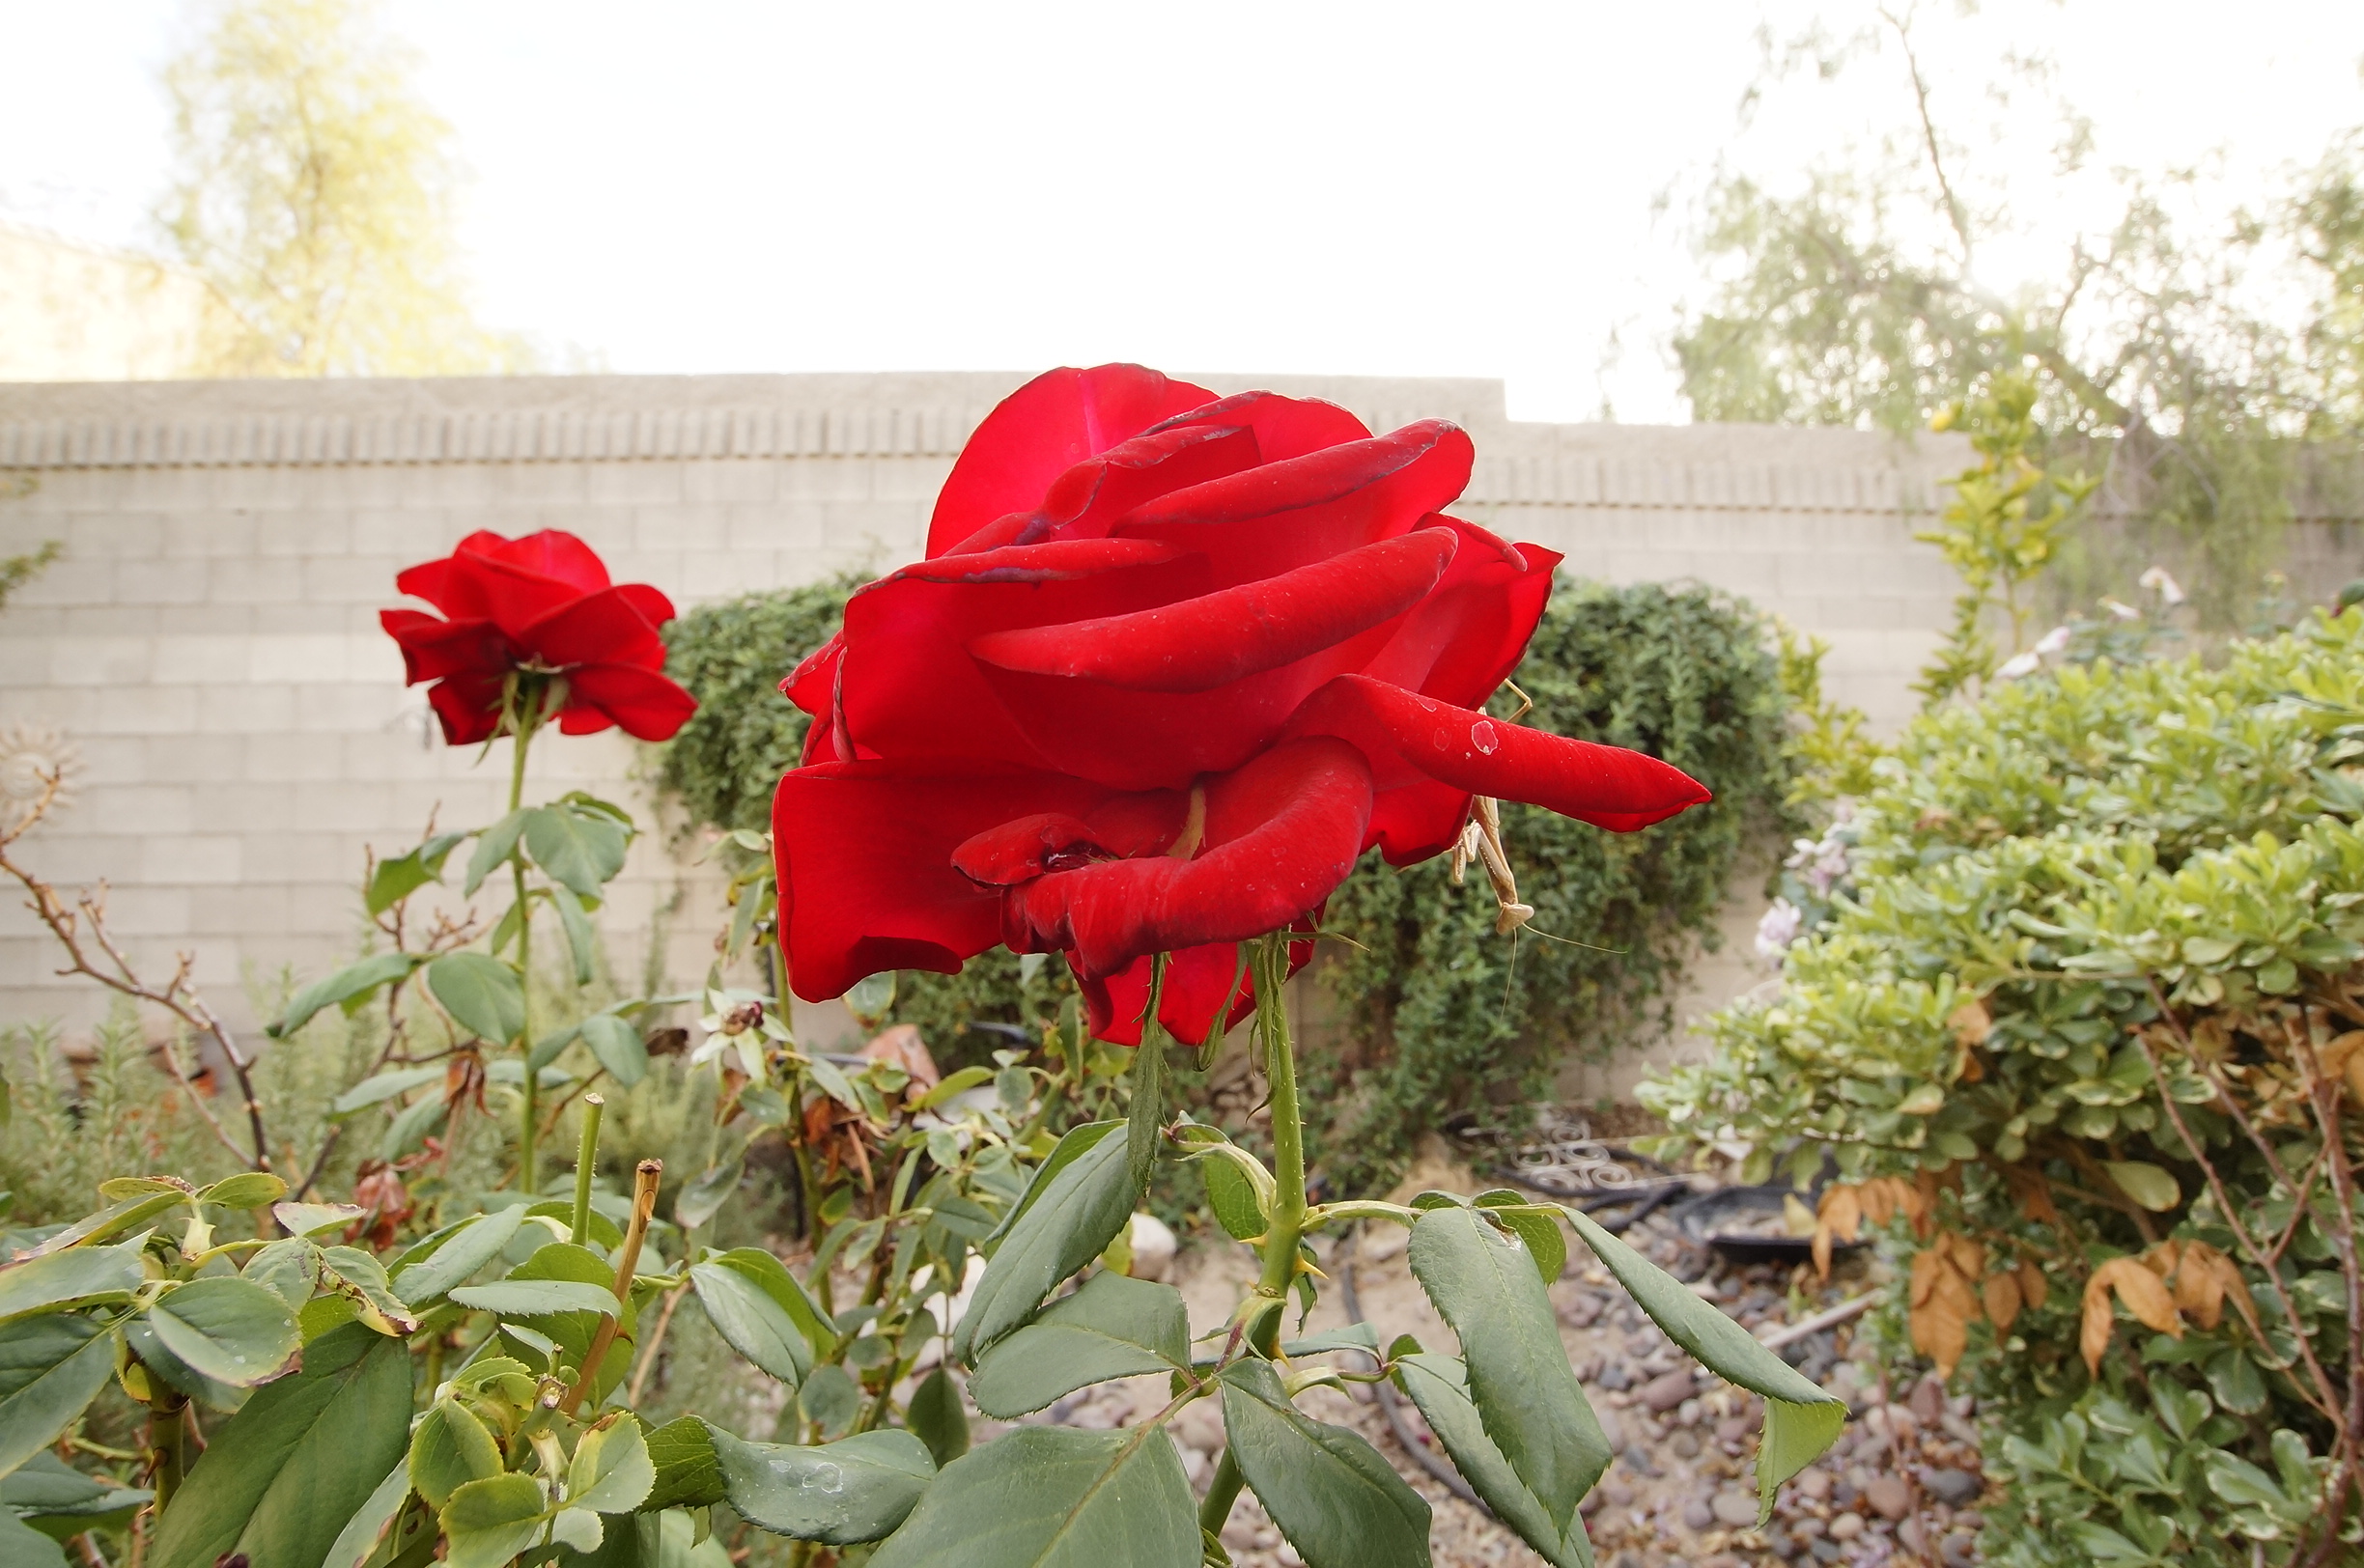
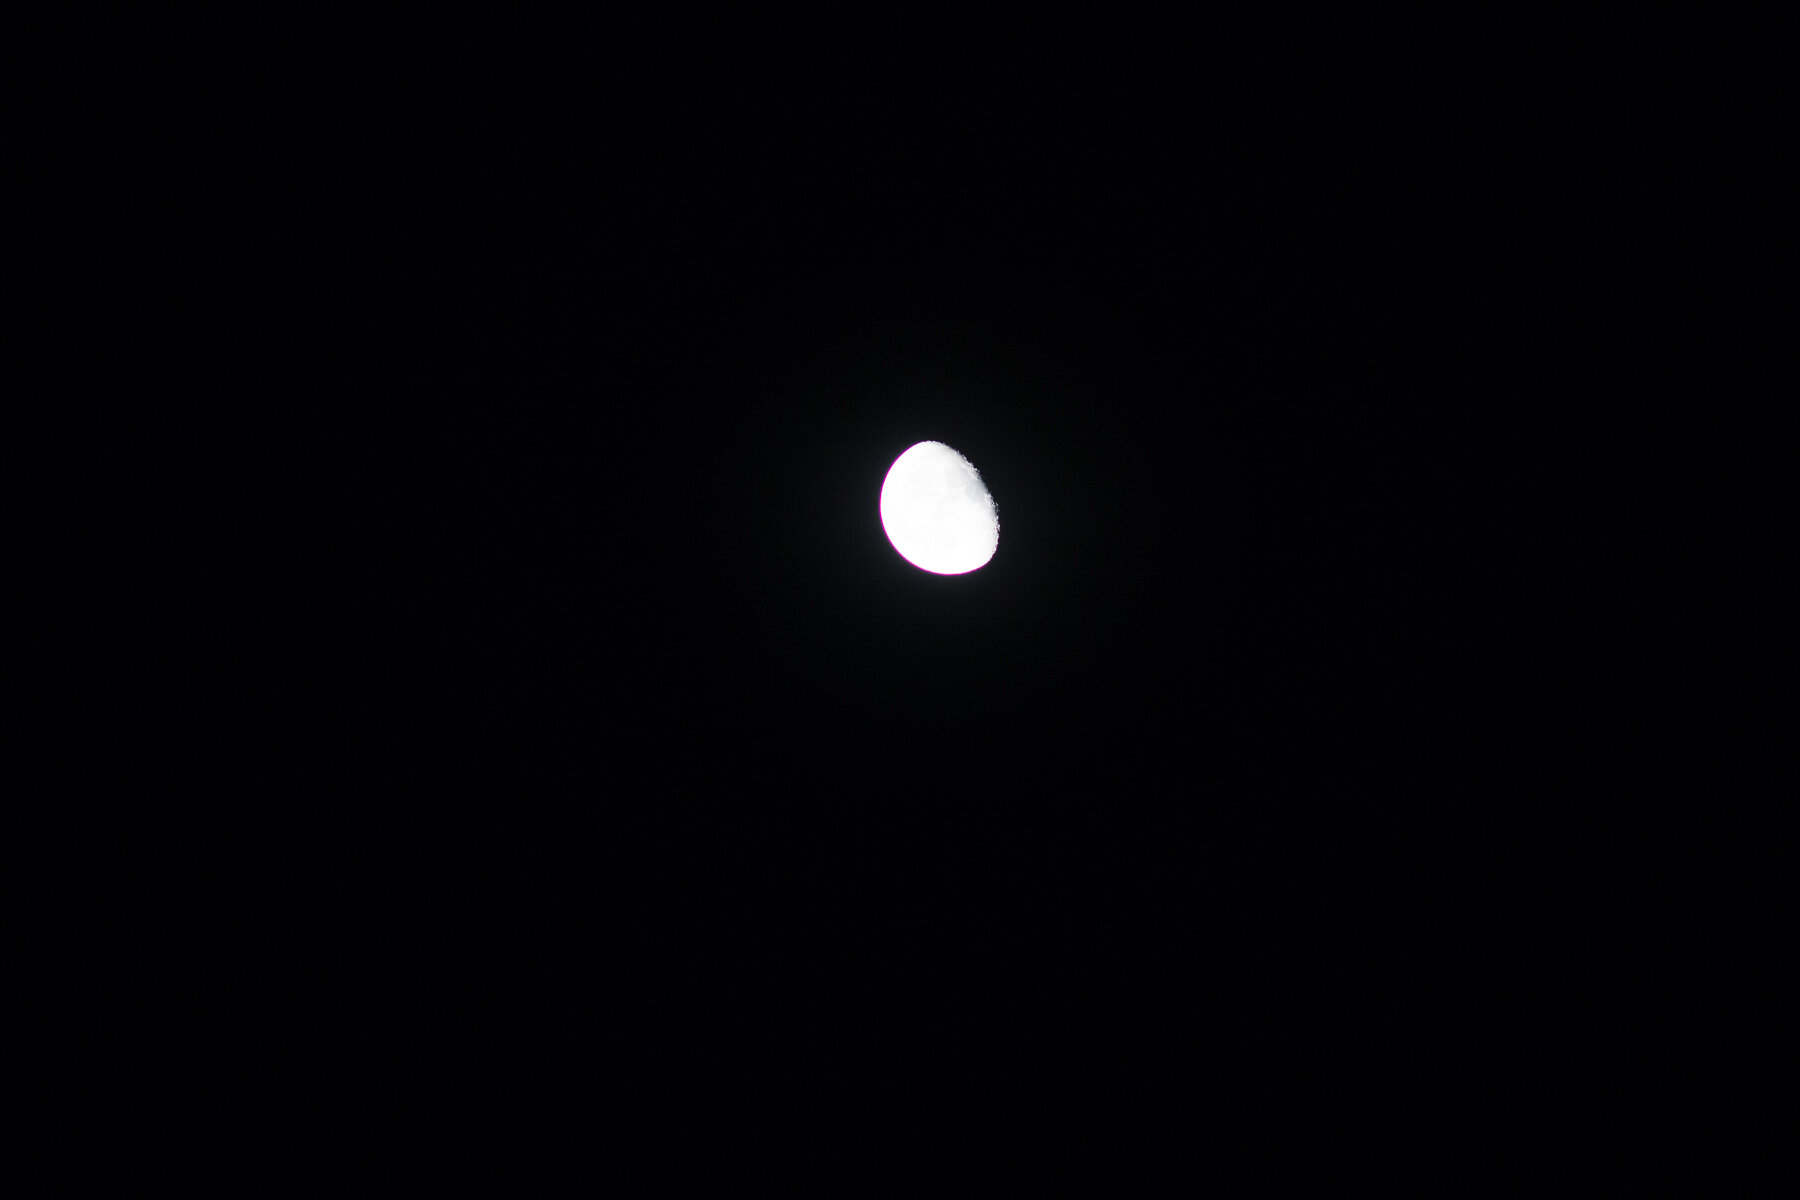
The problem with small bright objects in a night frame is that they get blown out. The camera tries to bring the whole screen to an even exposure. A night scene generally doesn’t want that. A night sky is supposed to look nearly black. At 300mm the Moon doesn’t take up enough room in the frame to make a big difference to the sensor. So it treats it as a mostly dark frame and over exposes the moon, which leaves a bright spot in a black frame because the sensor is trying to get a curve in the histogram. It can’t because there is to much difference between the bright Moon and the dark sky. So you get an overexposed moon with very little detail. This was taken at 210mm 1/15 second iso 400 f5 which is what my camera meter said was was exposed properly. Click on it to zoom in for detail.

_DSC3166.jpg
_DSC3166-2.jpg

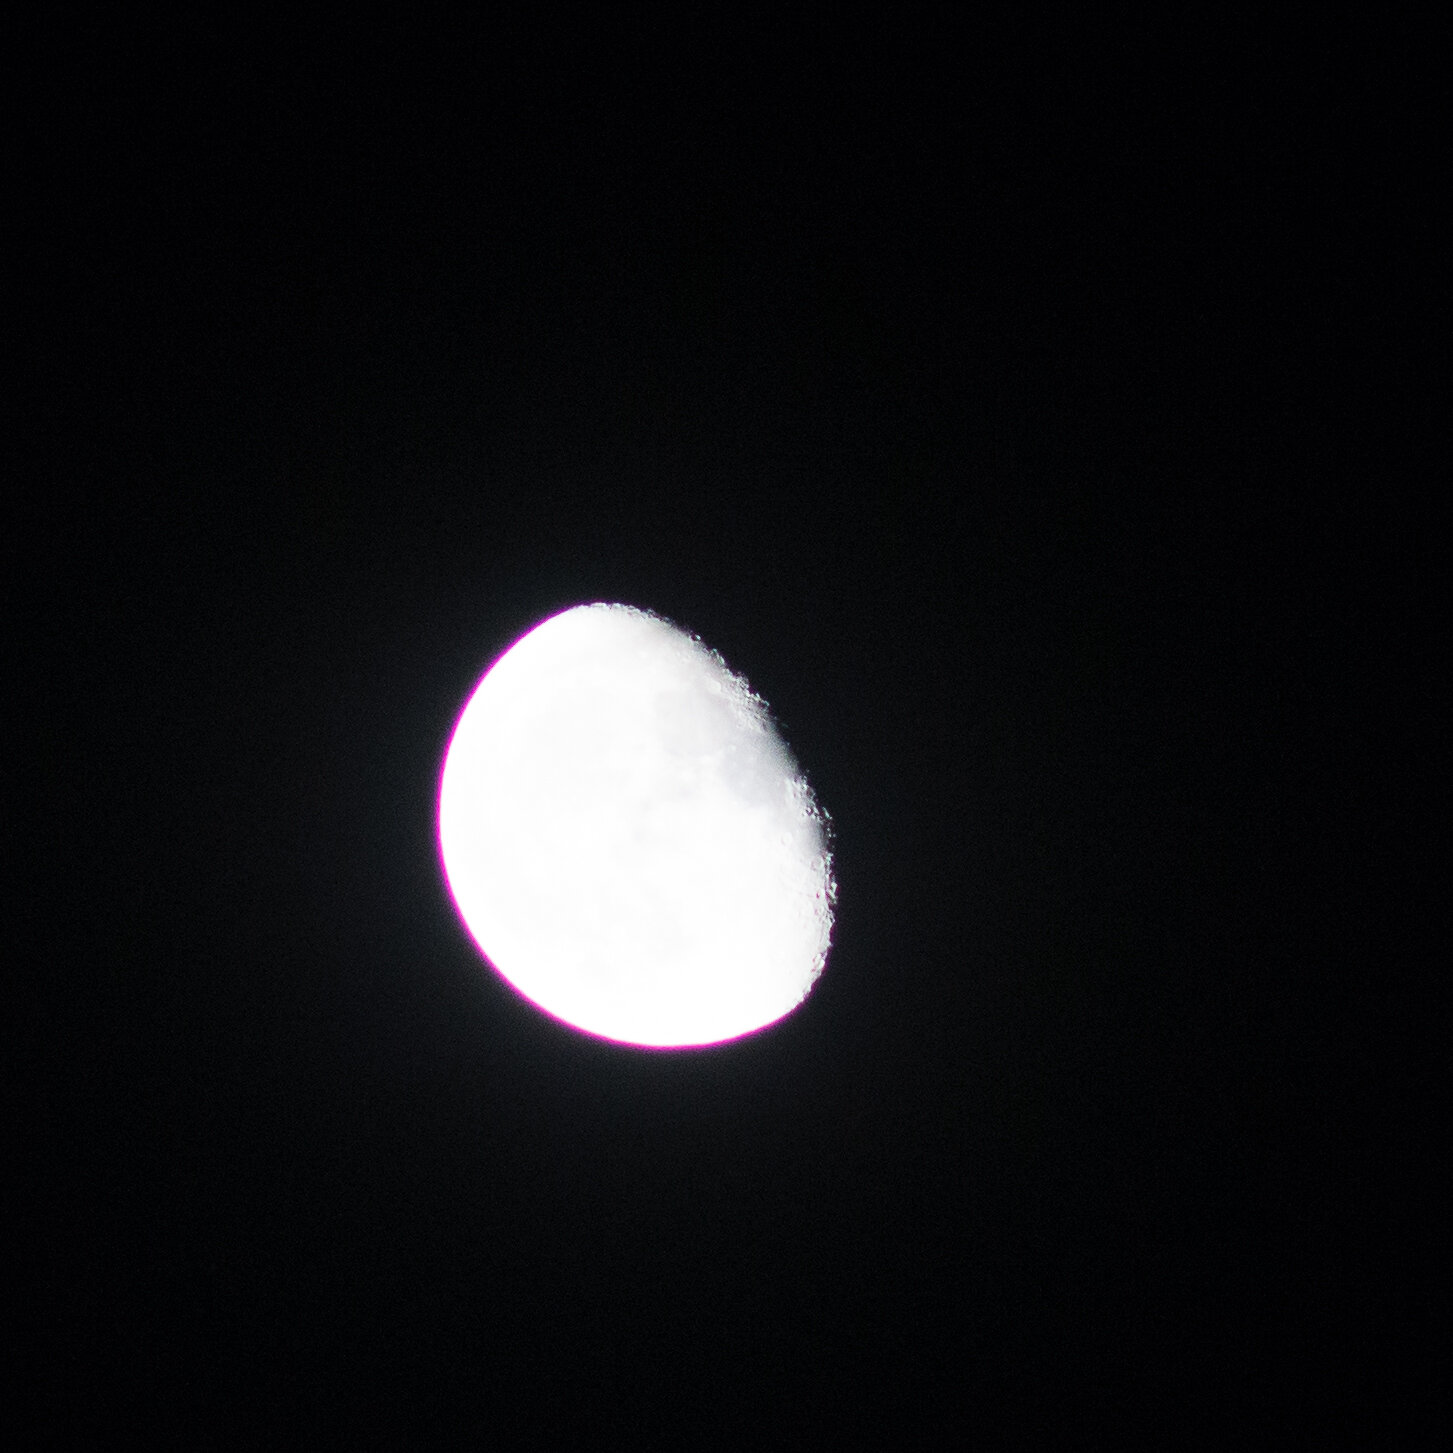
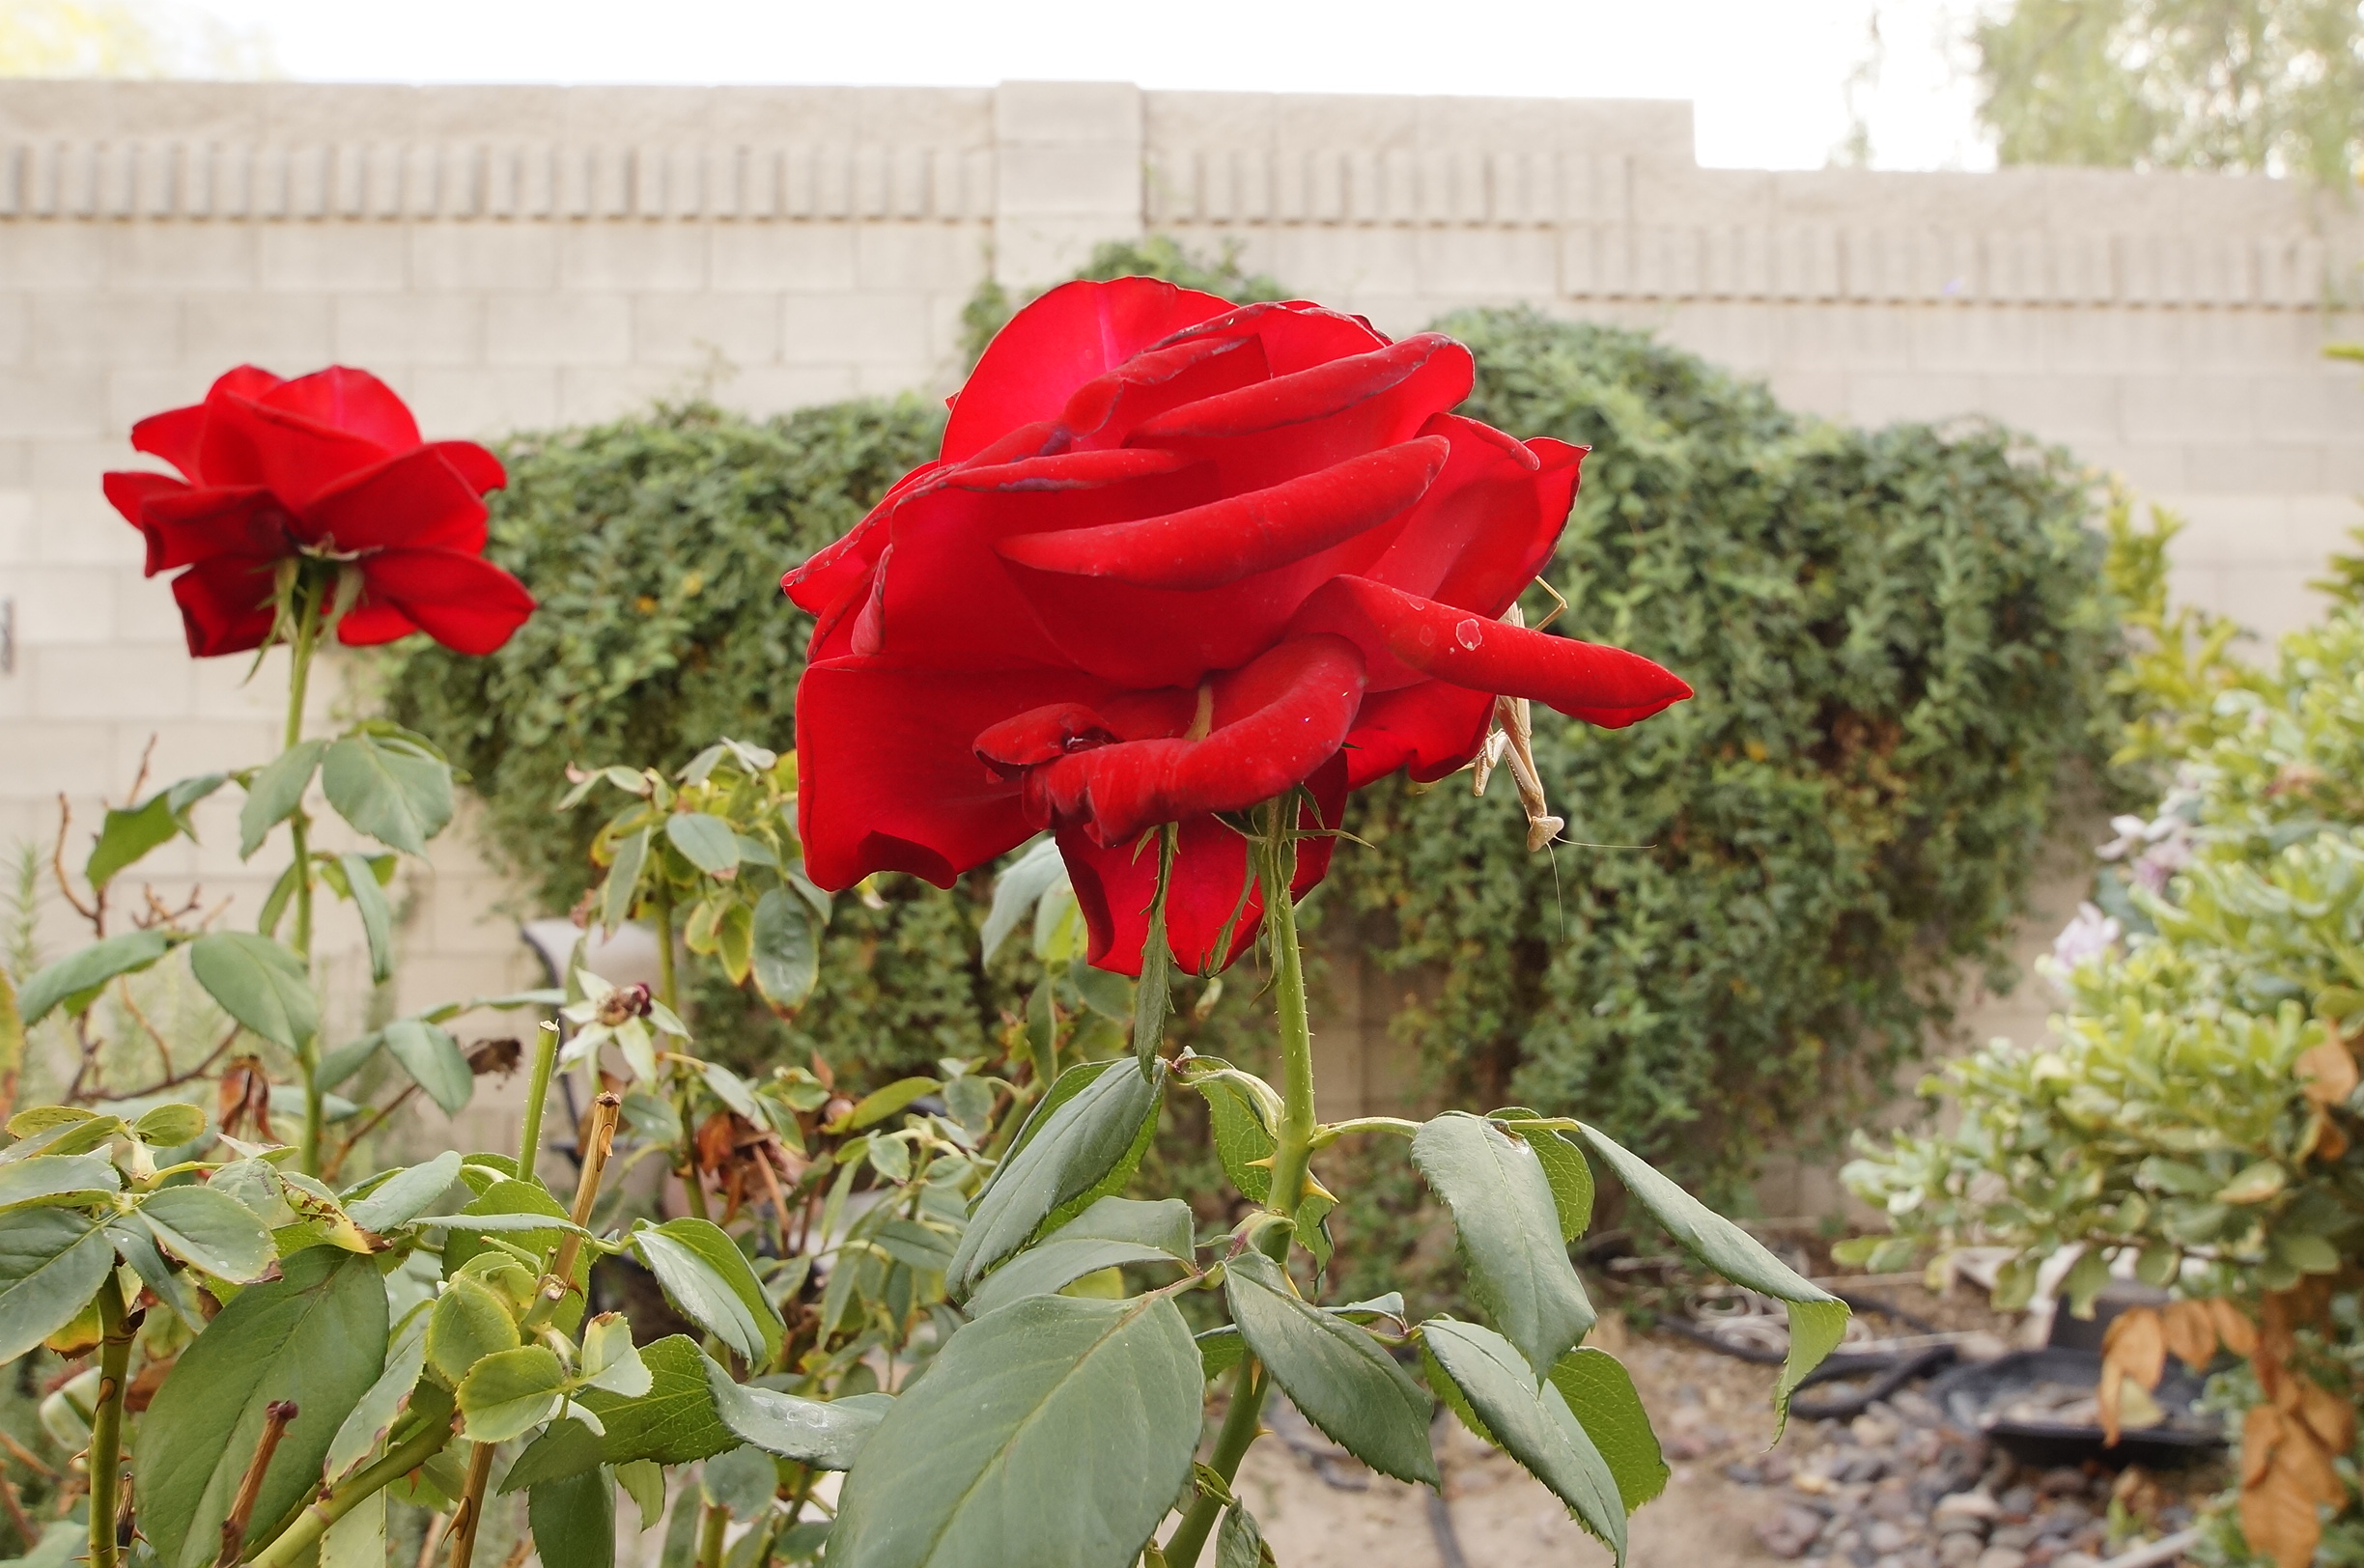
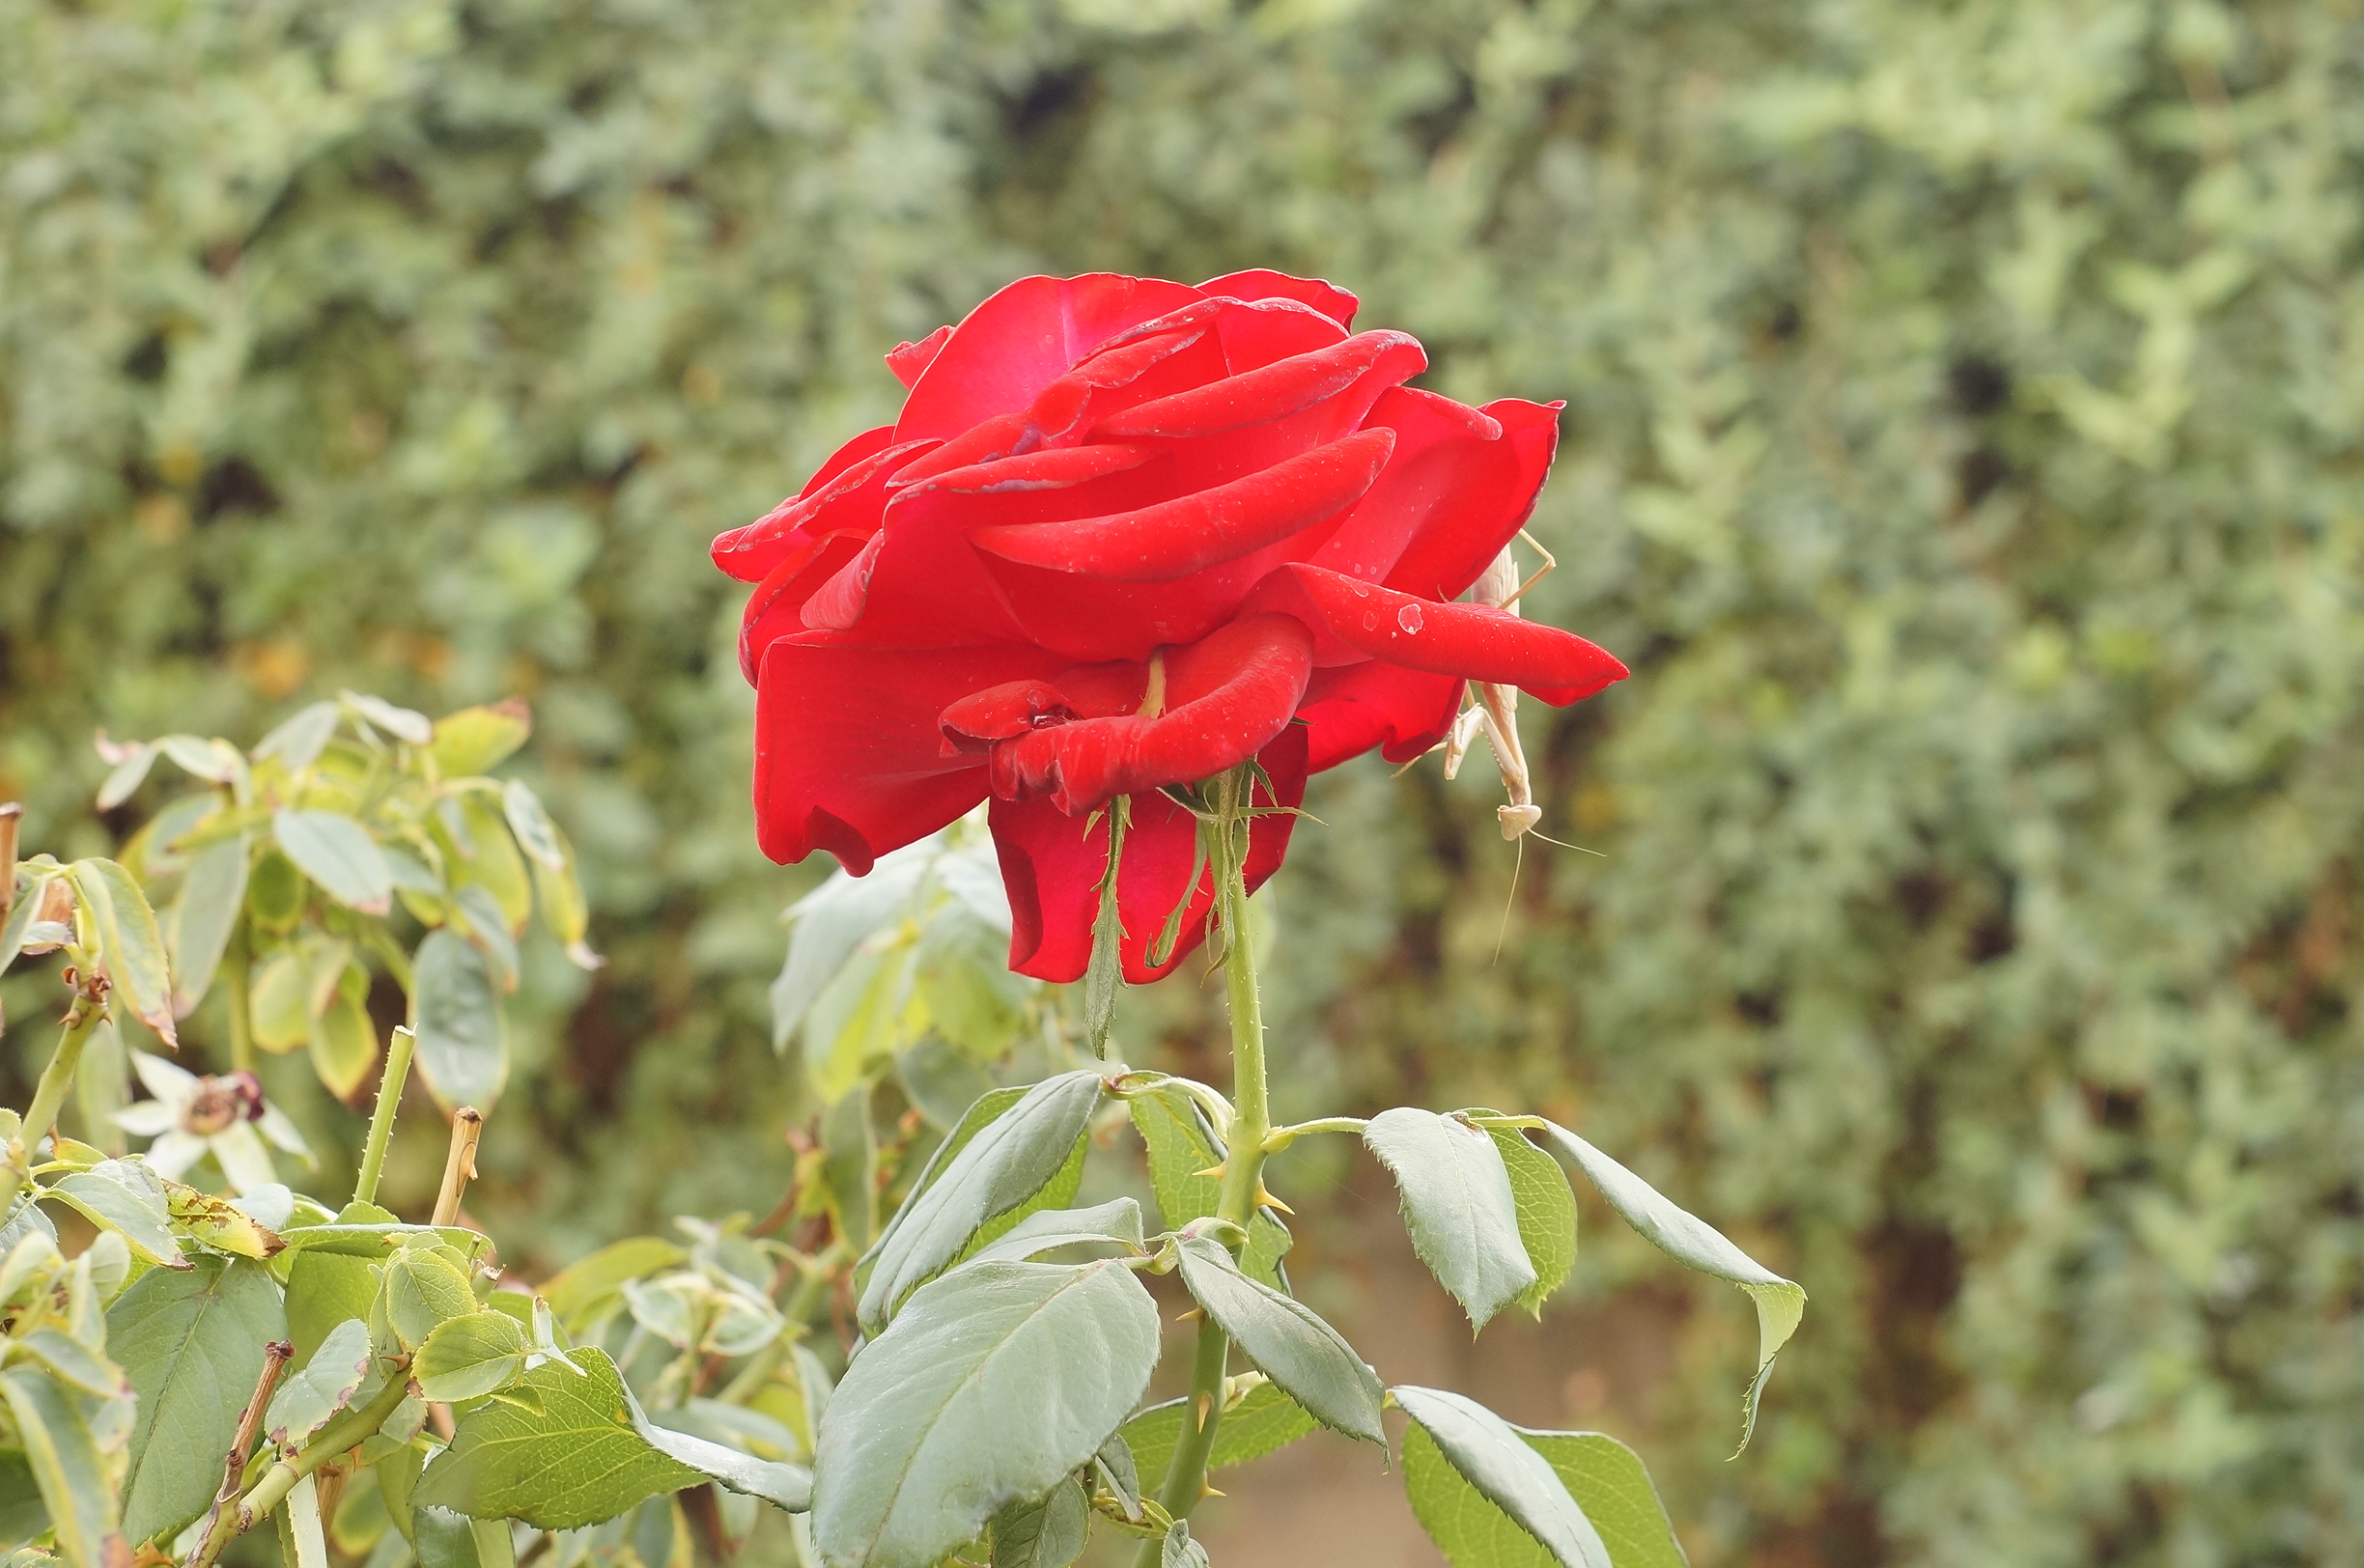
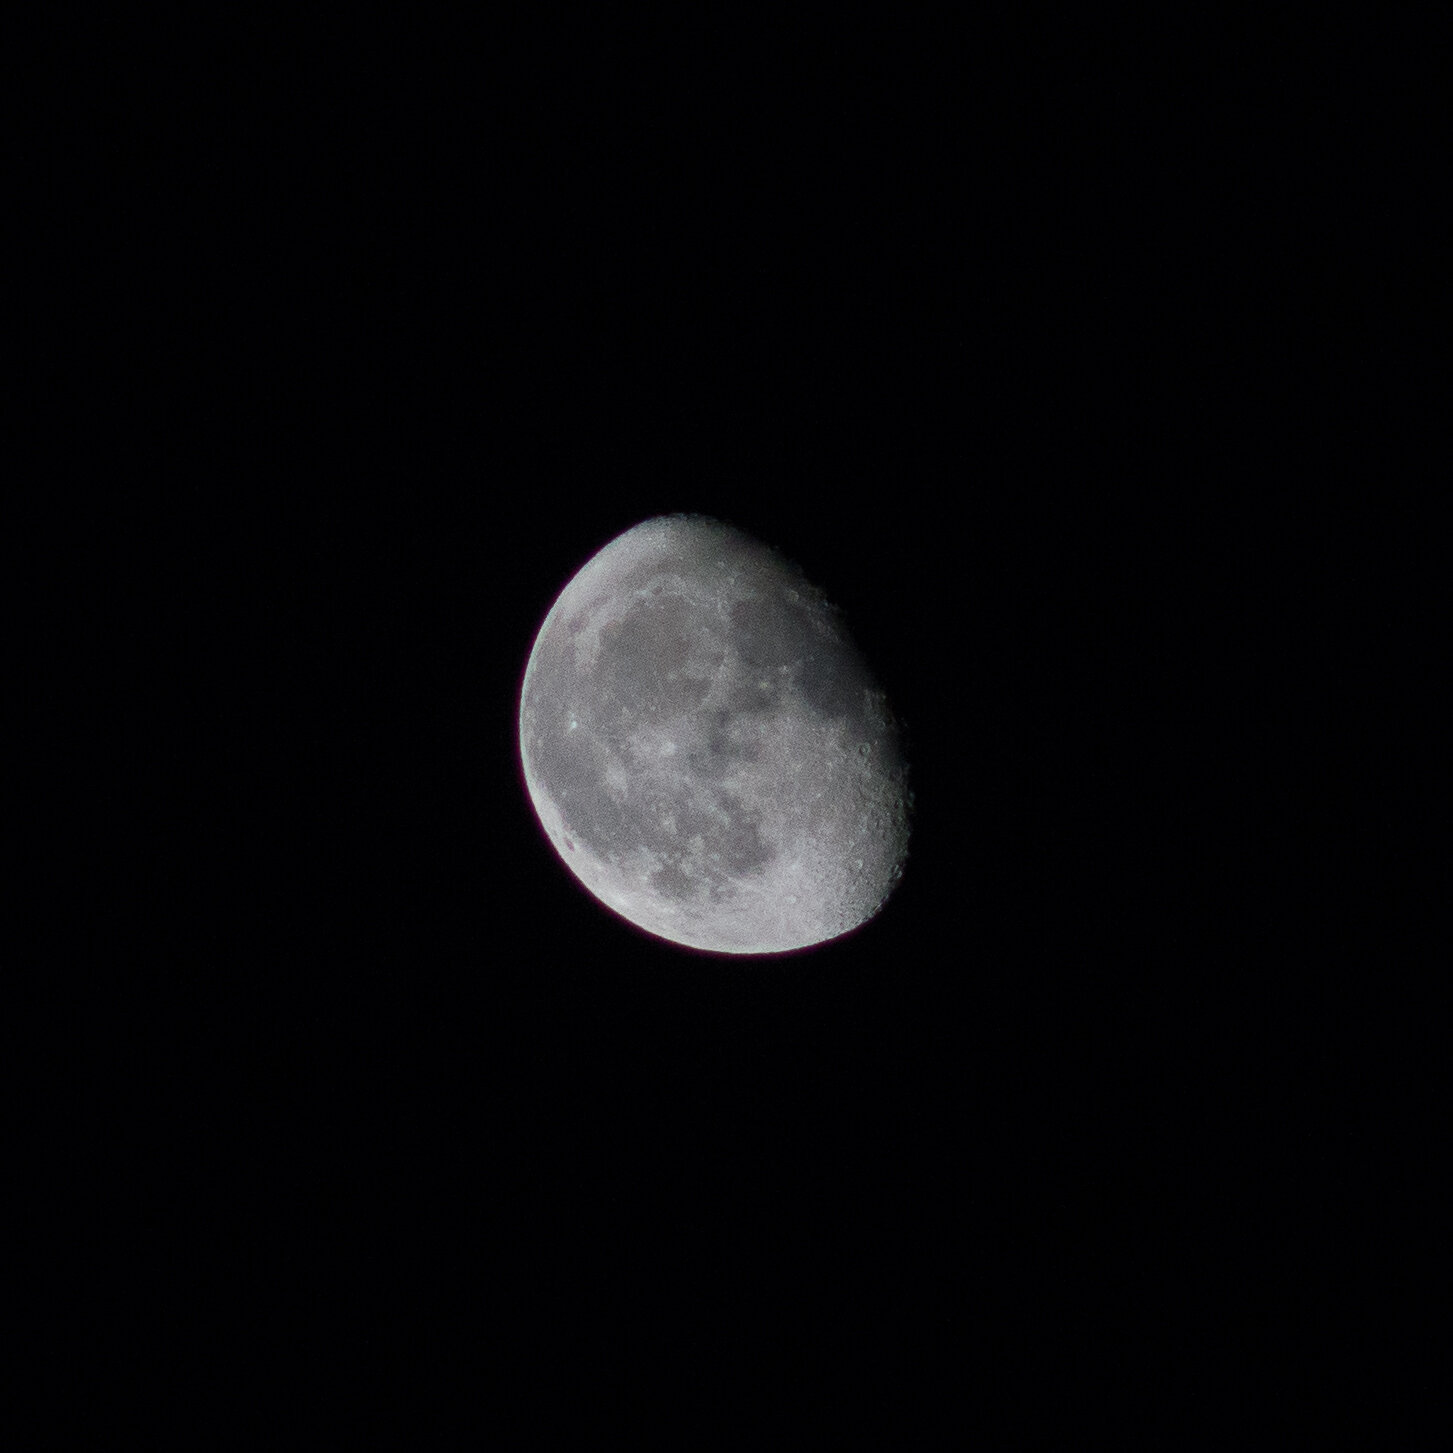
As seen above the camera doesn’t always know what is correct. Granted this has limited editing, I only changed the WB. If I wanted I could bring down some of the highlights and get more detail. Or I could not listen to the camera and get a better exposure. I took it again with what looked correct to me in manual. The camera said it was very under exposed. Click to zoom.

_DSC3167.jpg
_DSC3167-2.jpg

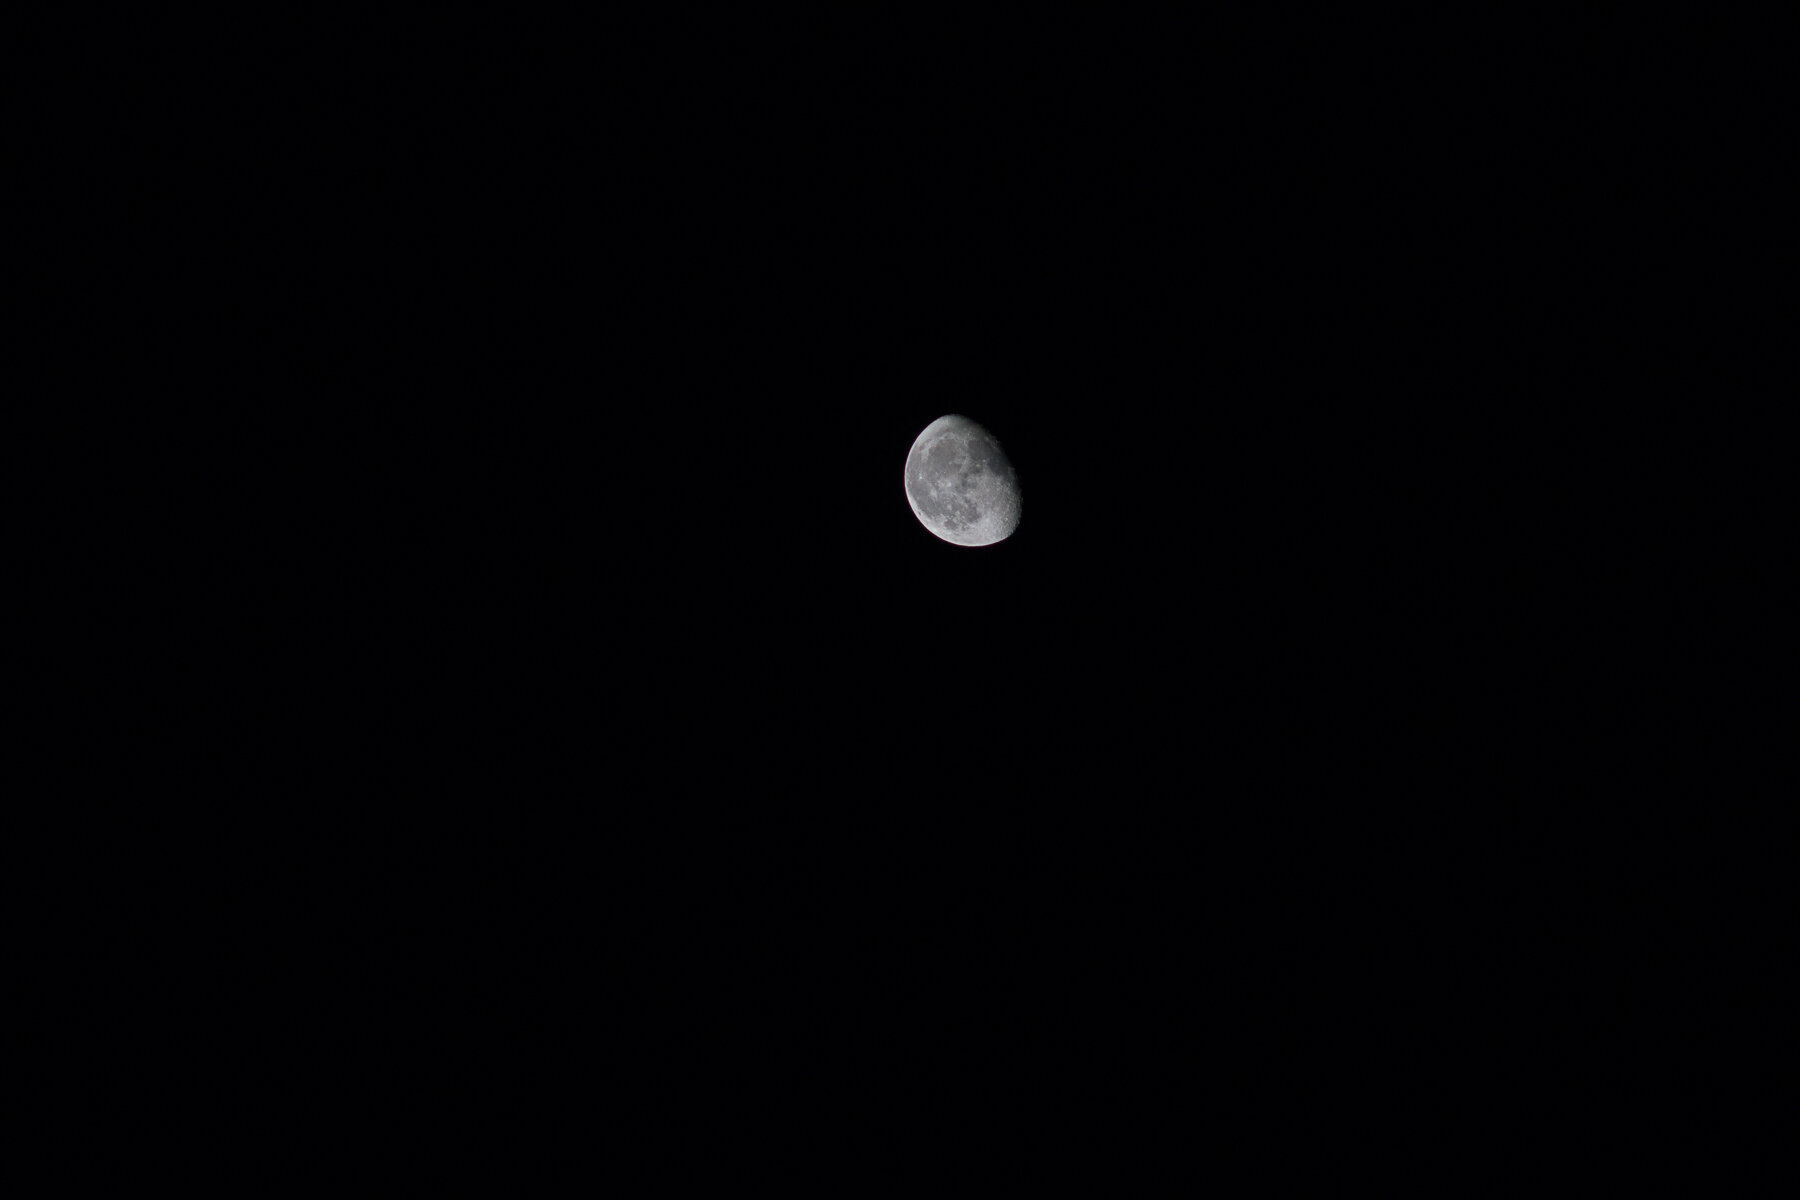
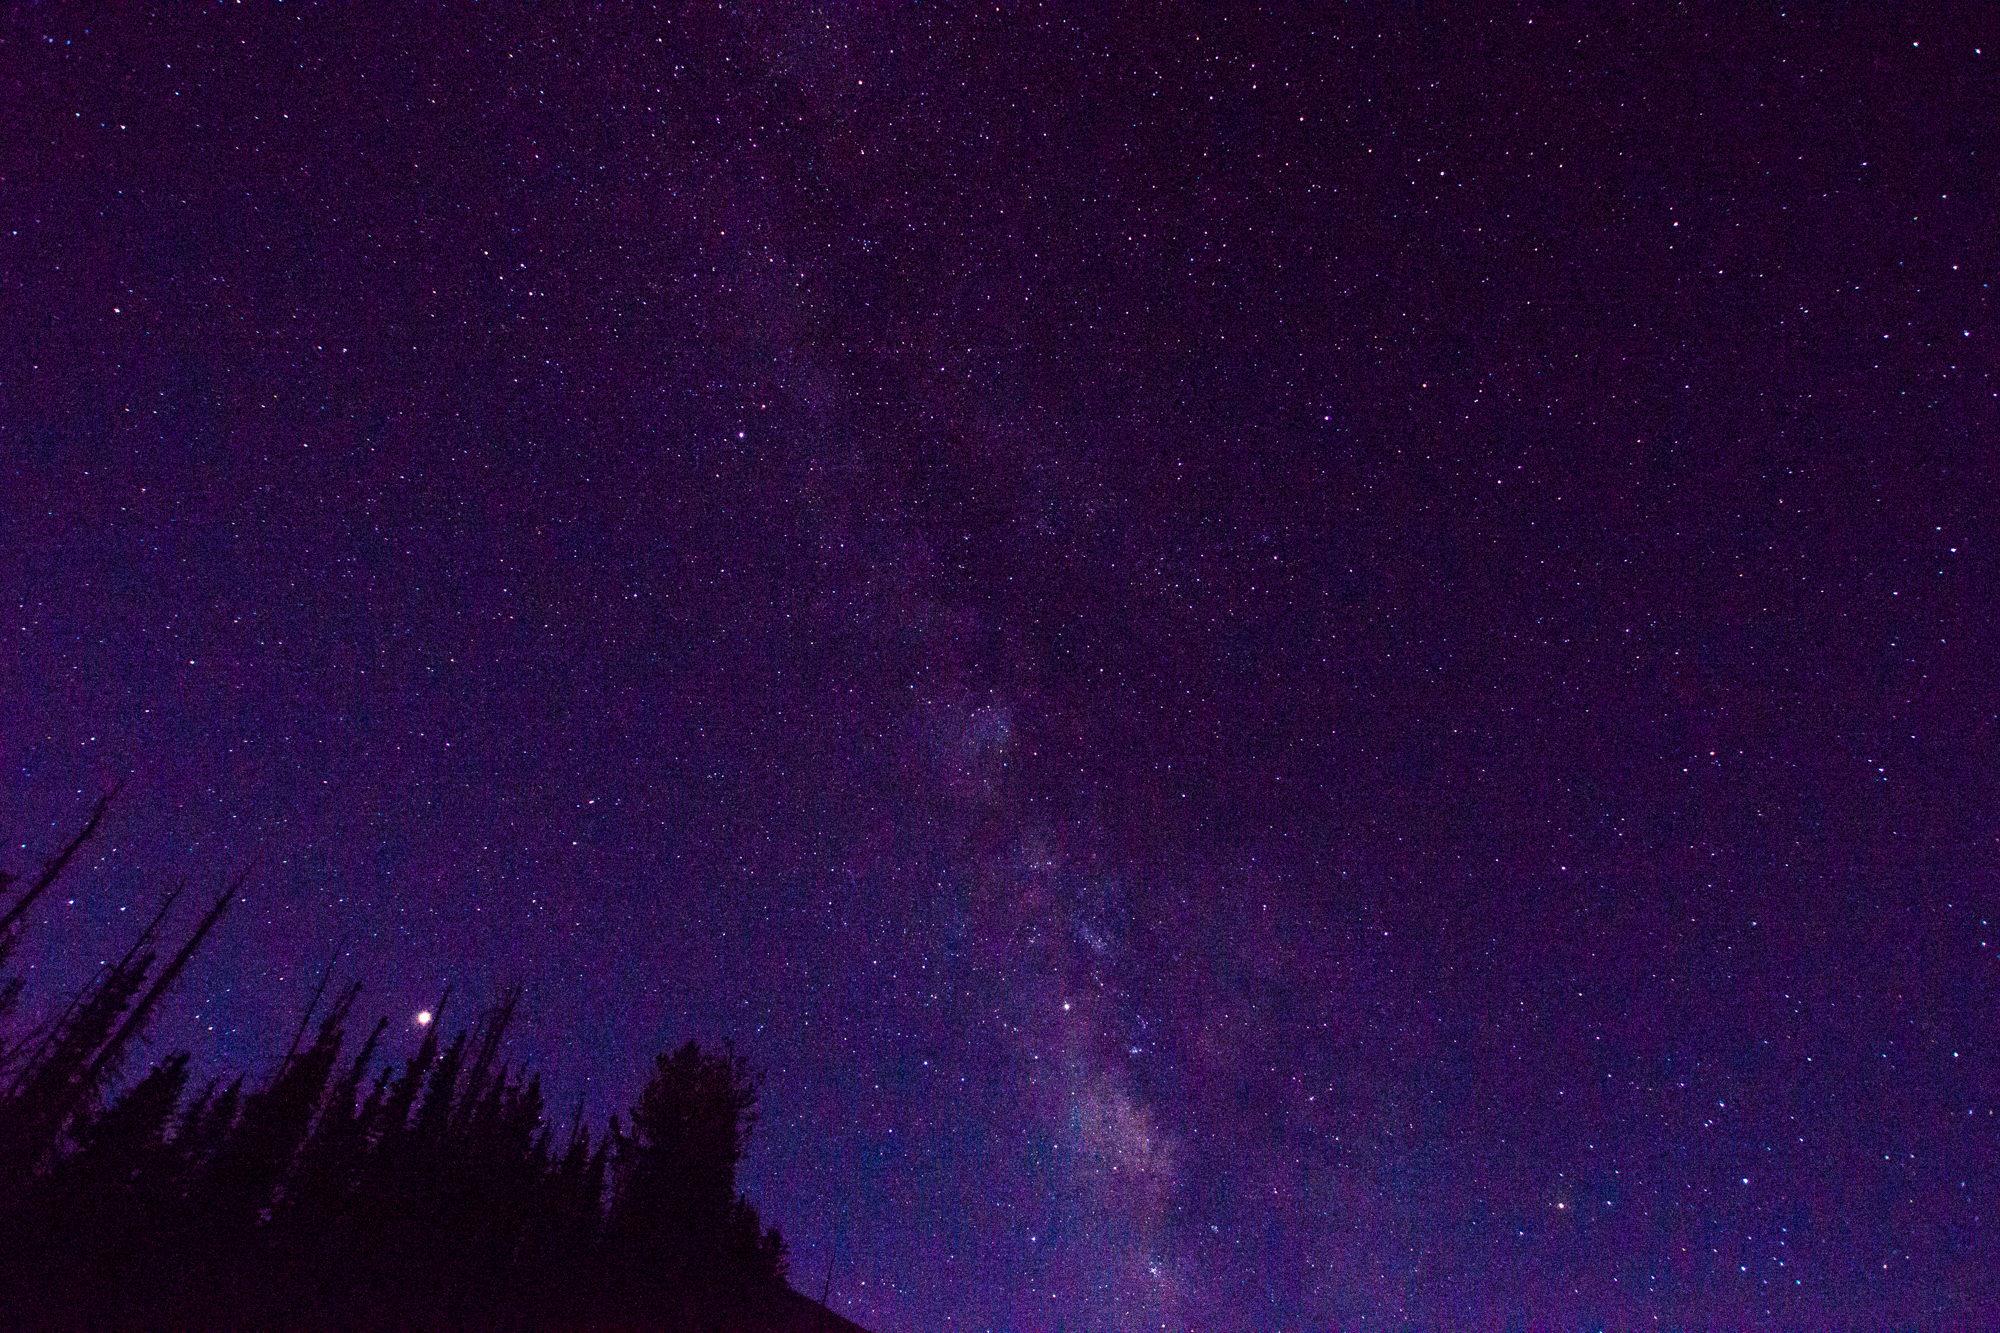
I included the full image in here to illustrate how little of the frame the moon will fill. With a longer focal length this might be a non issue. Even with a 300mm lens attached to a crop sensor it is still an issue. I hope this was informative. If you have any questions feel free to ask and I will do my best to answer. Again stay safe and wear a mask.

~Scott

tags: education, moon, focal length, histogram, zoom, telephoto
Sunday 08.30.20
Posted by Scott W Gonzalez
 

Slumps (1 focal length)

Hello,

So this time I have another way to get around slumps. It is using just one focal length for a day or week or month. What ever length of time you want and see how creative you can get with just that focal length. The zoom becomes your feet. It is best in my opinion to use one that you don’t use often to get out of your comfort zone.

Let’s say you are a landscape photographer who usually shoots with wides or superwides. See what you can do with a 50mm or 100mm or even a 300mm. Make your brain think of different ways to do what you enjoy.

_DSC4585.jpg
_DSC4588.jpg

Above there are two pictures of the same subject at different focal lengths and about 4 minutes apart. For the wide it is at 28mm f9 0.8 seconds, the telephoto is at 90mm f10 2 seconds. Both were taken with f2.8 fixed lenses as well from roughly the same location. The waves and waterfall were the main subjects. Zoomed in the waterfall and crashing waves have a more dominant and intimate place in the image, on the wide the ocean takes over the frame and the waterfall is nearly lost. I like both of them though. From my experience most landscape photographers don’t use the middle focal lengths and they can be very beneficial.

Now if you usually shoot telephoto images such as wildlife or sports then you could do the inverse and use a wider angle lens which would allow more of the environment around the subject to play a part in the image. Using the background or edges of the frame to help tell the story.

It’s just an idea that can be fun and frustrating to get out of the normal. You might not enjoy it and go back to what you regularly do or you might find a new way to take pictures that you enjoy.

~Scott

tags: fixed, focal length, slump, rut, challenge, change, test, bored
Friday 08.09.19
Posted by Scott W Gonzalez
 

The Stars

Good afternoon,

More or less back on schedule. So I was at Cedar Breaks with the family a bit ago. If you are not familiar with it, Cedar Breaks is a designated an International Dark Sky park. The night skies are amazing there. After posting some of the pictures I was asked "How did you capture this?" and a response was placed by a friend "Read his photo blog." So I knew that I had to write about it.

For shooting the stars there are a few things. 1st know what you are trying to accomplish. If we are trying to have static stars then a wide aperture is important, star trails not so much. 2nd have a sturdy tripod and for best results a timer setting or a shutter release. 3rd Foreground interest sets a scale. The sky is a big place, if there is nothing but sky it doesn't seem as big. 4th planning helps, I use Stellarium (www.stellarium.org), and Google Star Maps. 5th Having an idea of what you want to capture. And 6th Knowing the Moon and Sun rise/set times.

Tripod mounted, a57 3200 iso 1/6 second 210mm f4 with a cable release. Venus is on the bottom and Jupiter is on the top with 3 moons.

Tripod mounted, a57 3200 iso 1/6 second 210mm f4 with a cable release. Venus is on the bottom and Jupiter is on the top with 3 moons.

Today I will talk about getting the stars static. So a wide aperture lens and a high ISO are goals here. Focal length can vary greatly with what we are trying to capture. When Venus and Jupiter had a conjunction a few years back I used a telephoto zoom and a high ISO. 

For the Cedar breaks pictures I was using an 11-18mm lens. Again I used a high ISO and as wide of an aperture as I could, to collect more light I used a longer shutter. Now with the higher ISO you risk losing some stars with noise reduction or having noise. I am okay with losing some stars especially if I am in a dark location. Below the noise can be seen and in the second image noise reduction has been applied. ISO 3200, 10 seconds, f4.5. With a focal length like this I have found that 10 seconds in about the longest that I can go and not see streaks or the beginning of trails. If you go and look around you might come across a "Rule" called the 500 rule. I feel that it is bogus, it says to divide 500 by the focal length. In this case it would be 500/11 which would equal 45 seconds. While I was taking pictures I decided to see how long I could go before seeing trails. It was 13 seconds which is a far cry from 45.

_DSC3848.jpg
_DSC3848-2.jpg

So to answer the question of how I took static images of the stars and Milky Way it was using a high ISO, a tripod, a wide aperture, less than a 10 second shutter speed, and just playing around with settings. So find a dark sky, grab your largest aperture lens, then go out and shoot.

~Scott

Again I would enjoy seeing readers photography.

tags: teaching, question, answer, night, star, Q&A, photography, astrophotography, aperture, focal length, rule
Tuesday 08.07.18
Posted by Scott W Gonzalez
 

Lenses: Focal Lengths

Good Morning,

Today we are going to talk about focal lengths and their effects on images. We have discussed different focal lengths and what they are generally used for. We have not talked about how they affect the image or rather the relationship between subject and background. Below is a series of a red rose with a praying mantis on it in my backyard. I tried to stay focused on the same spot of the rose but moving and changing lenses does not help, thankfully the wind didn't give me any issues. First image is at 11mm, some distortion can be seen on the wall and the area of focus is wide and it looks like the wall is pretty far away. The second is at 18mm and the wall looks closer, pretty much everything looks closer or tighter, the distortion at the wall is negligible, and praying mantis is still judging us. Third we have 50mm and we can barely see any of the wall, the image is a bit brighter, I didn't have it on manual and it changed shutter speed was changed in Av. The honeysuckle doesn't look as far as it did before and out area of focus seems to have shrunk.  Fourth is 100mm and it was switched to manual mode. The praying mantis is so judgemental and has been for a while. It appears that the honeysuckle is just behind the rose bushes leaves and is rather out of focus. Fifth and final image is at 300mm, sorry the angle changed a little to keep in the same size I had to go up a step. The mantis stared directly at the camera, finally. The leaves are hard to make out on the honeysuckle now and look pretty close.

_DSC6558.JPG
_DSC6559.JPG
_DSC6560.JPG
_DSC6561.JPG
_DSC6563.JPG

As can be seen through the images. If a subject is kept the same size the relationship with the background can be greatly affected by the focal length of the lens. What we are trying to convey with our images can be changed by zooming. Now go out and shoot.


~Scott

tags: focal length, camera, teaching, education, example, equipment, lens, telephoto, wide angle, normal
Tuesday 11.14.17
Posted by Scott W Gonzalez
 

Powered by Squarespace.