• Photography
  • About
  • Contact
  • Light Writing

Scott W Gonzalez

  • Photography
  • About
  • Contact
  • Light Writing

Macro and tripods

Good morning,

So I am trying to get back on schedule with these updates and I am finding that it is not the easiest thing. So with it being spring and all I have done my usual of getting a container of ladybugs for the garden to help control pests and to give the girls a couple of days to have ladybugs nearly on demand. They had their fun and I got to take some pictures using my macro lens. If you want to short version of this post here it is “Tripods can make macro photography easier.”

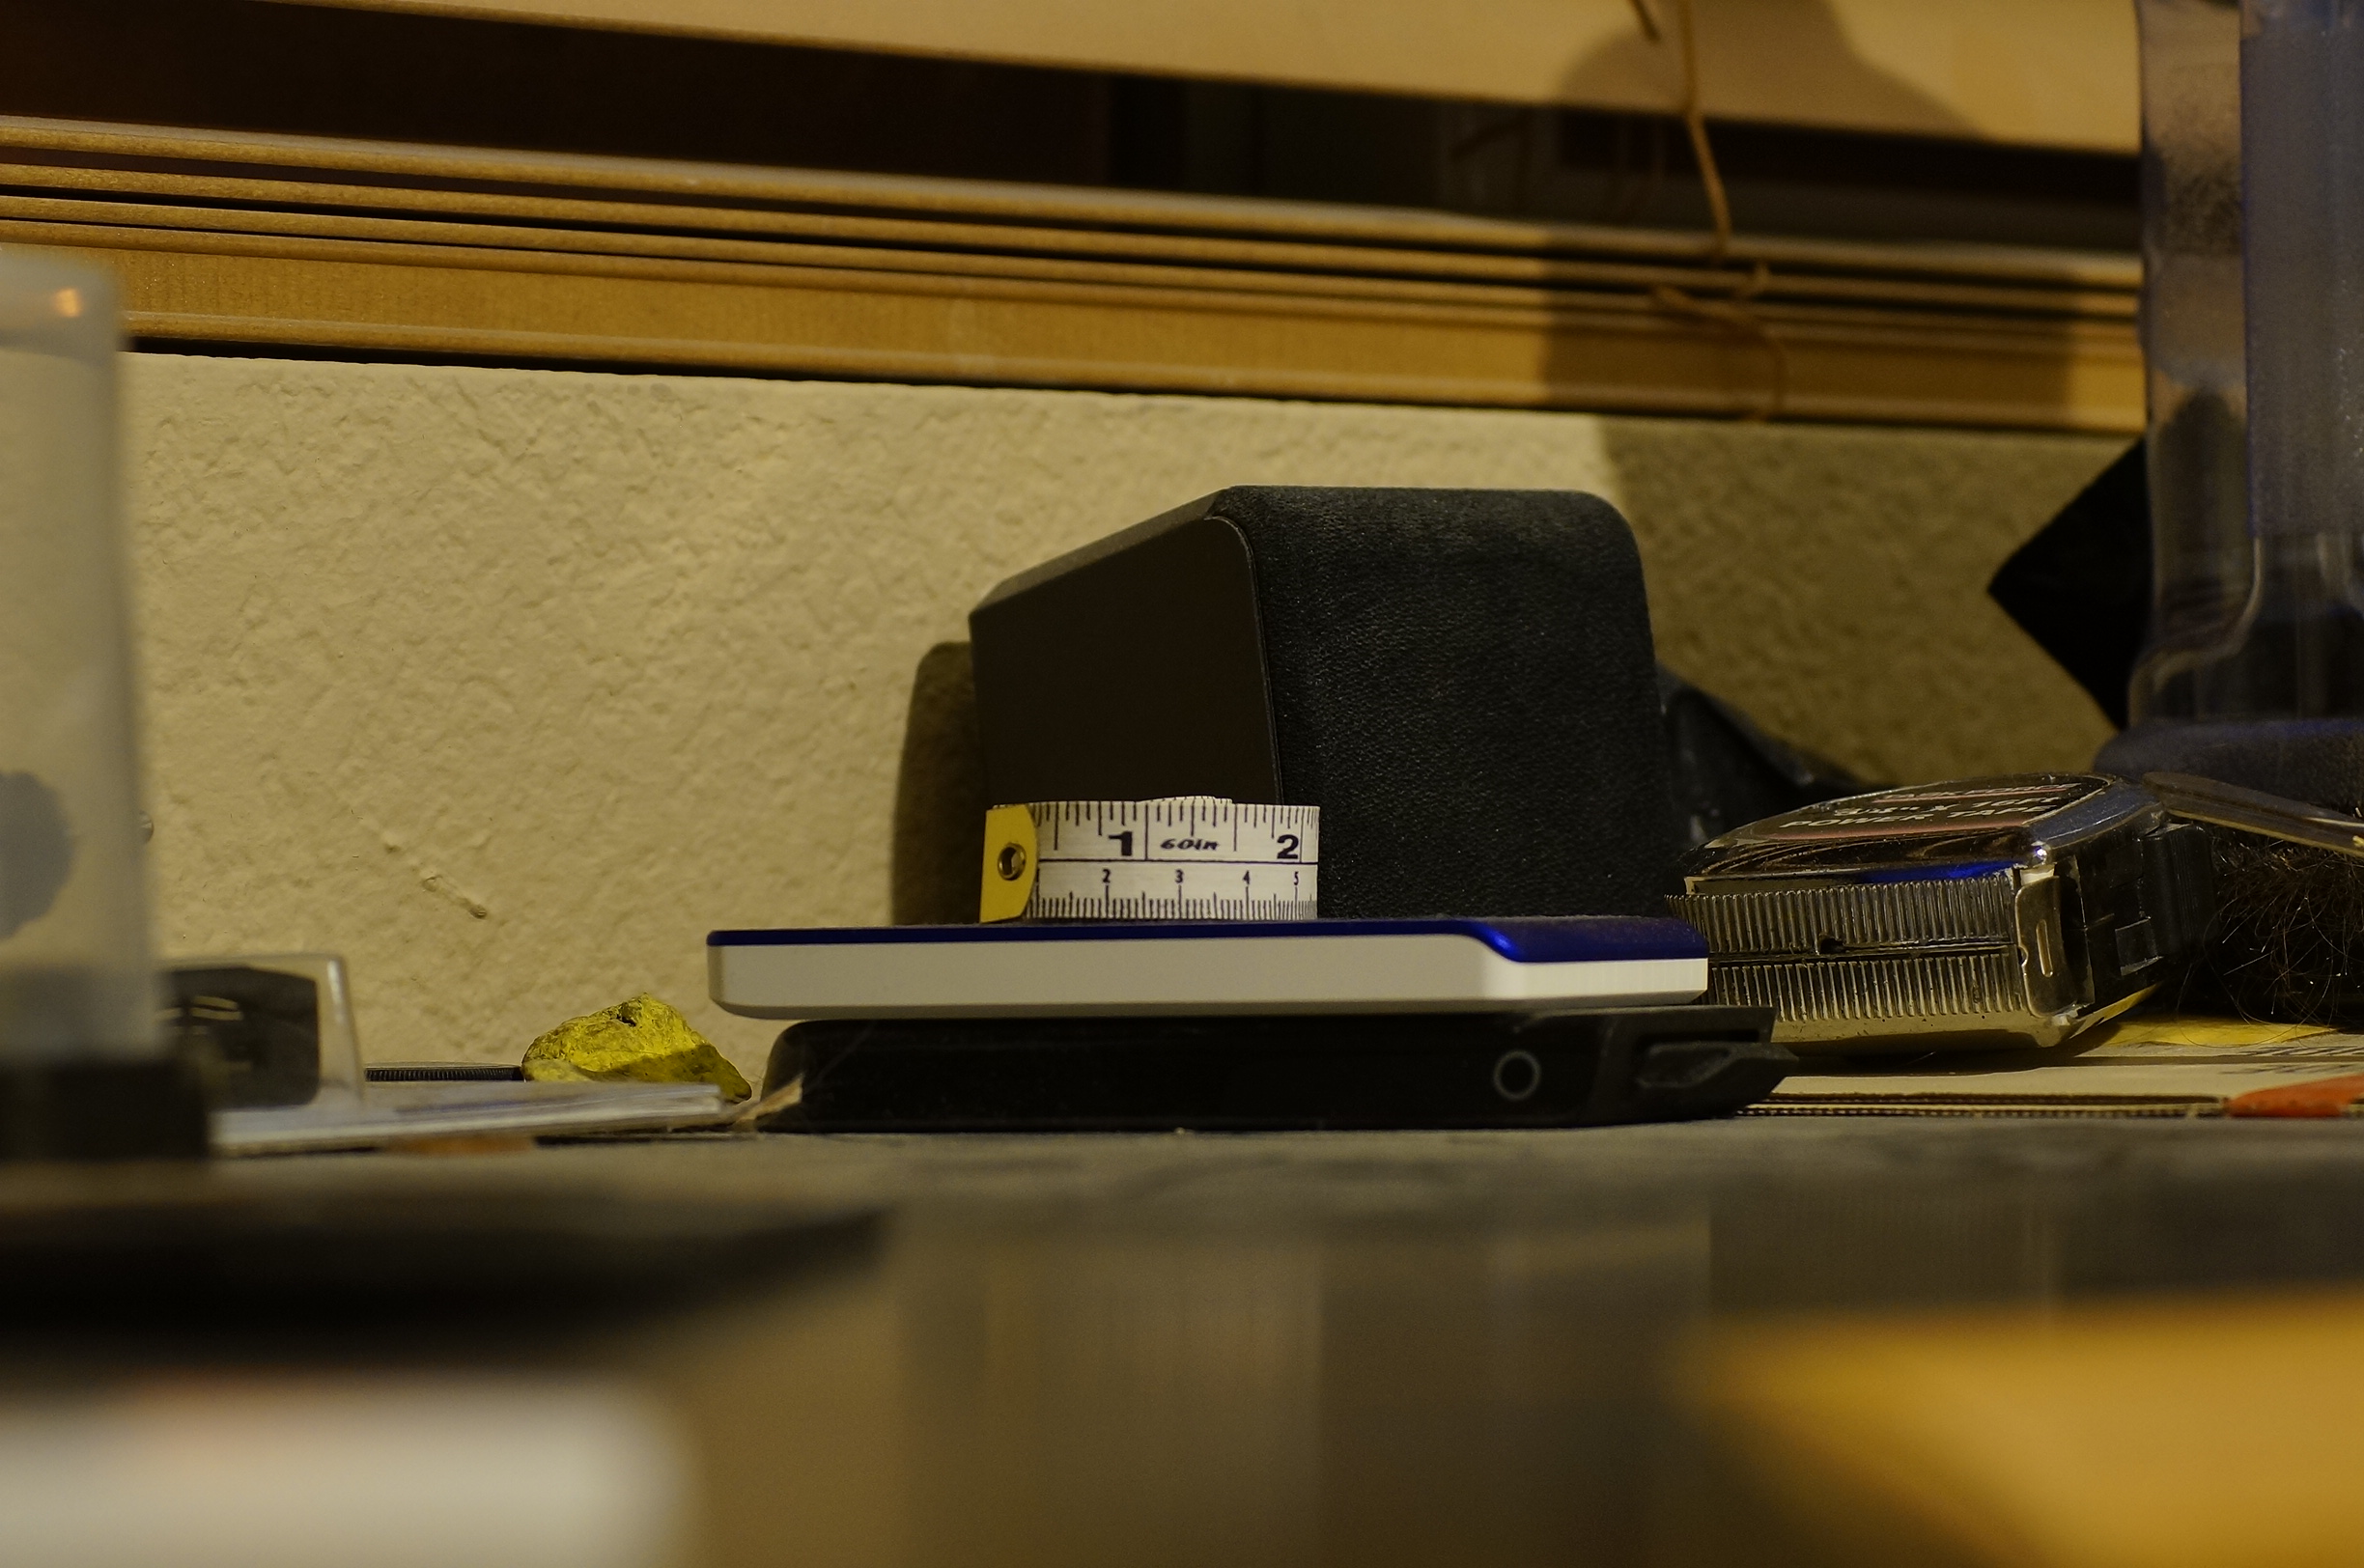
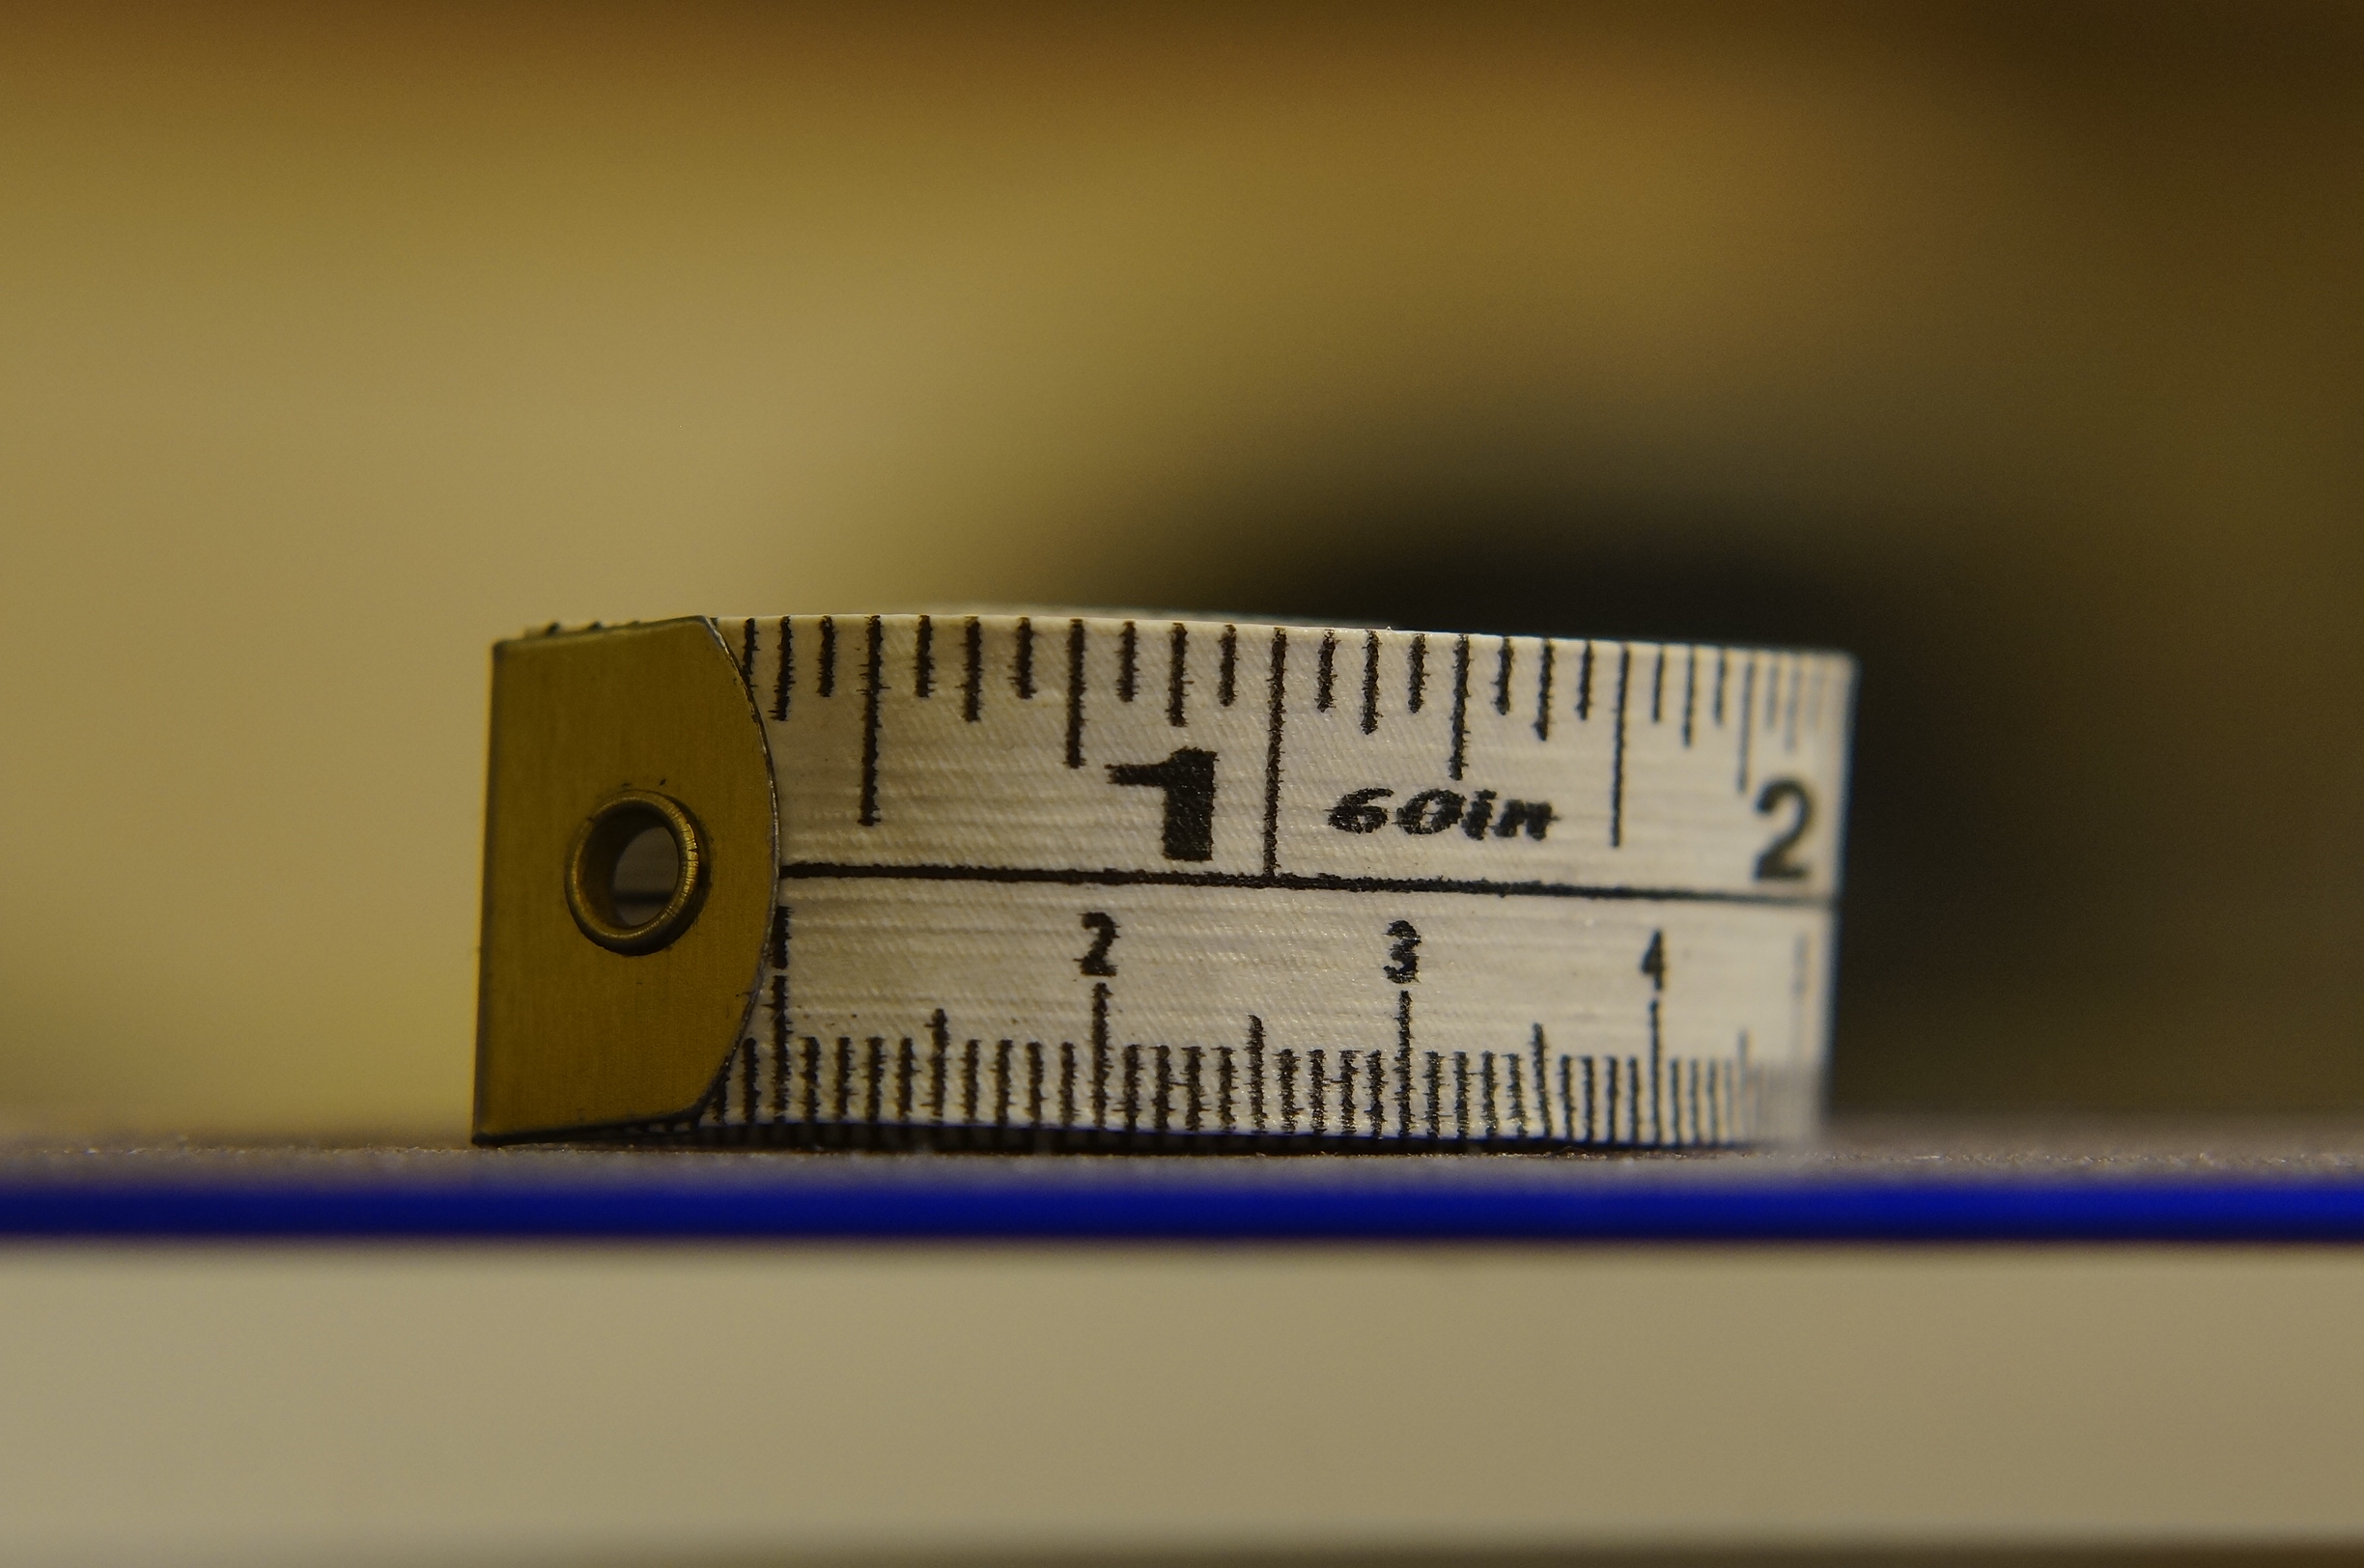
Now the idea for macro seems like it is easy. It did to me when I got my first true macro lens some years ago. After using it for a little while I realized that the closer to the lens one gets the smaller the depth of field gets. I recall taking a picture of my dog tags to test the lens and was not prepared for only 2 letters to be on the plane of focus.

This was at 50mm at f2.8

This was at 50mm at f2.8

Because such a small slice of area is on focus, hand holding a camera for macro images can be difficult. So I suggest using a tripod and if you want to get really fancy there are sliding tripod heads that make moving the camera for this type of work easier. I have yet to use one myself because I do not shoot a ton of macro, I have seen them though and they appear to make the process easier.

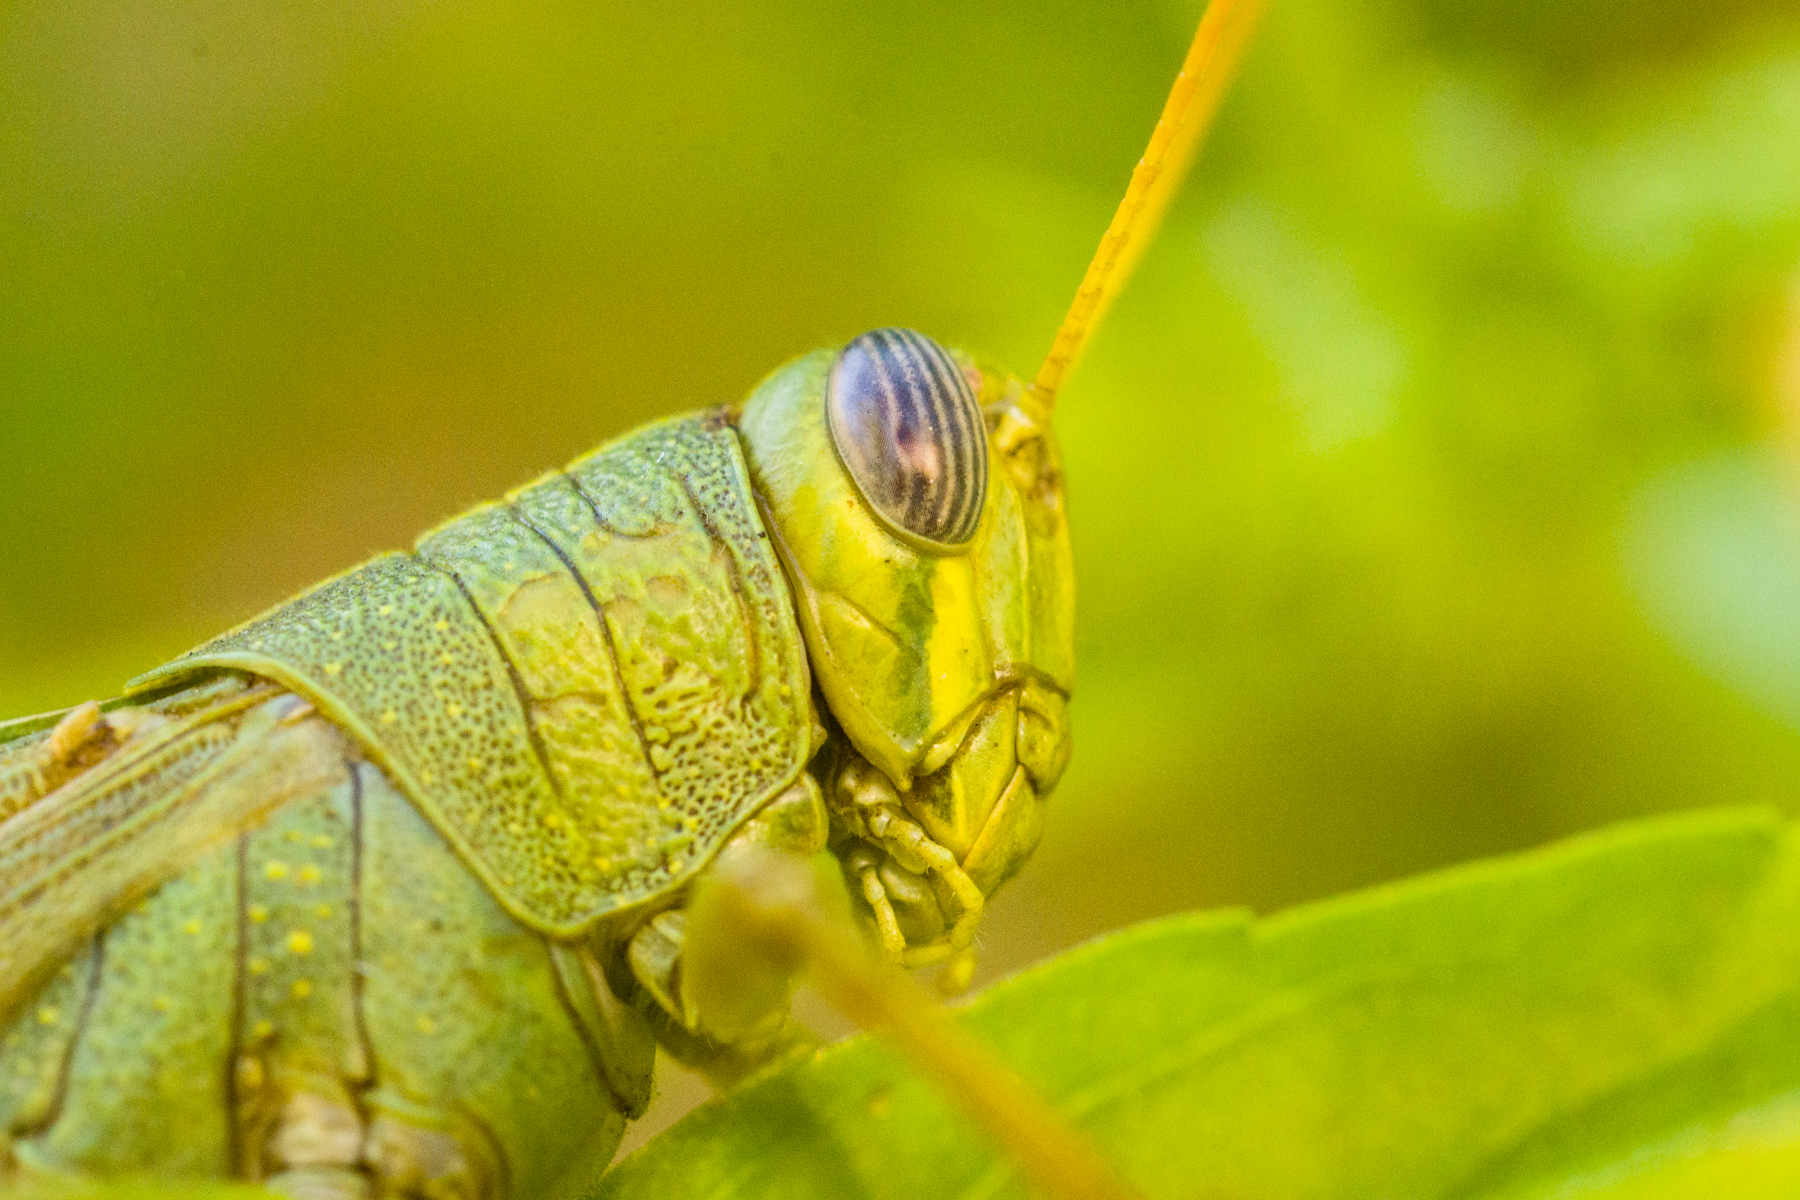
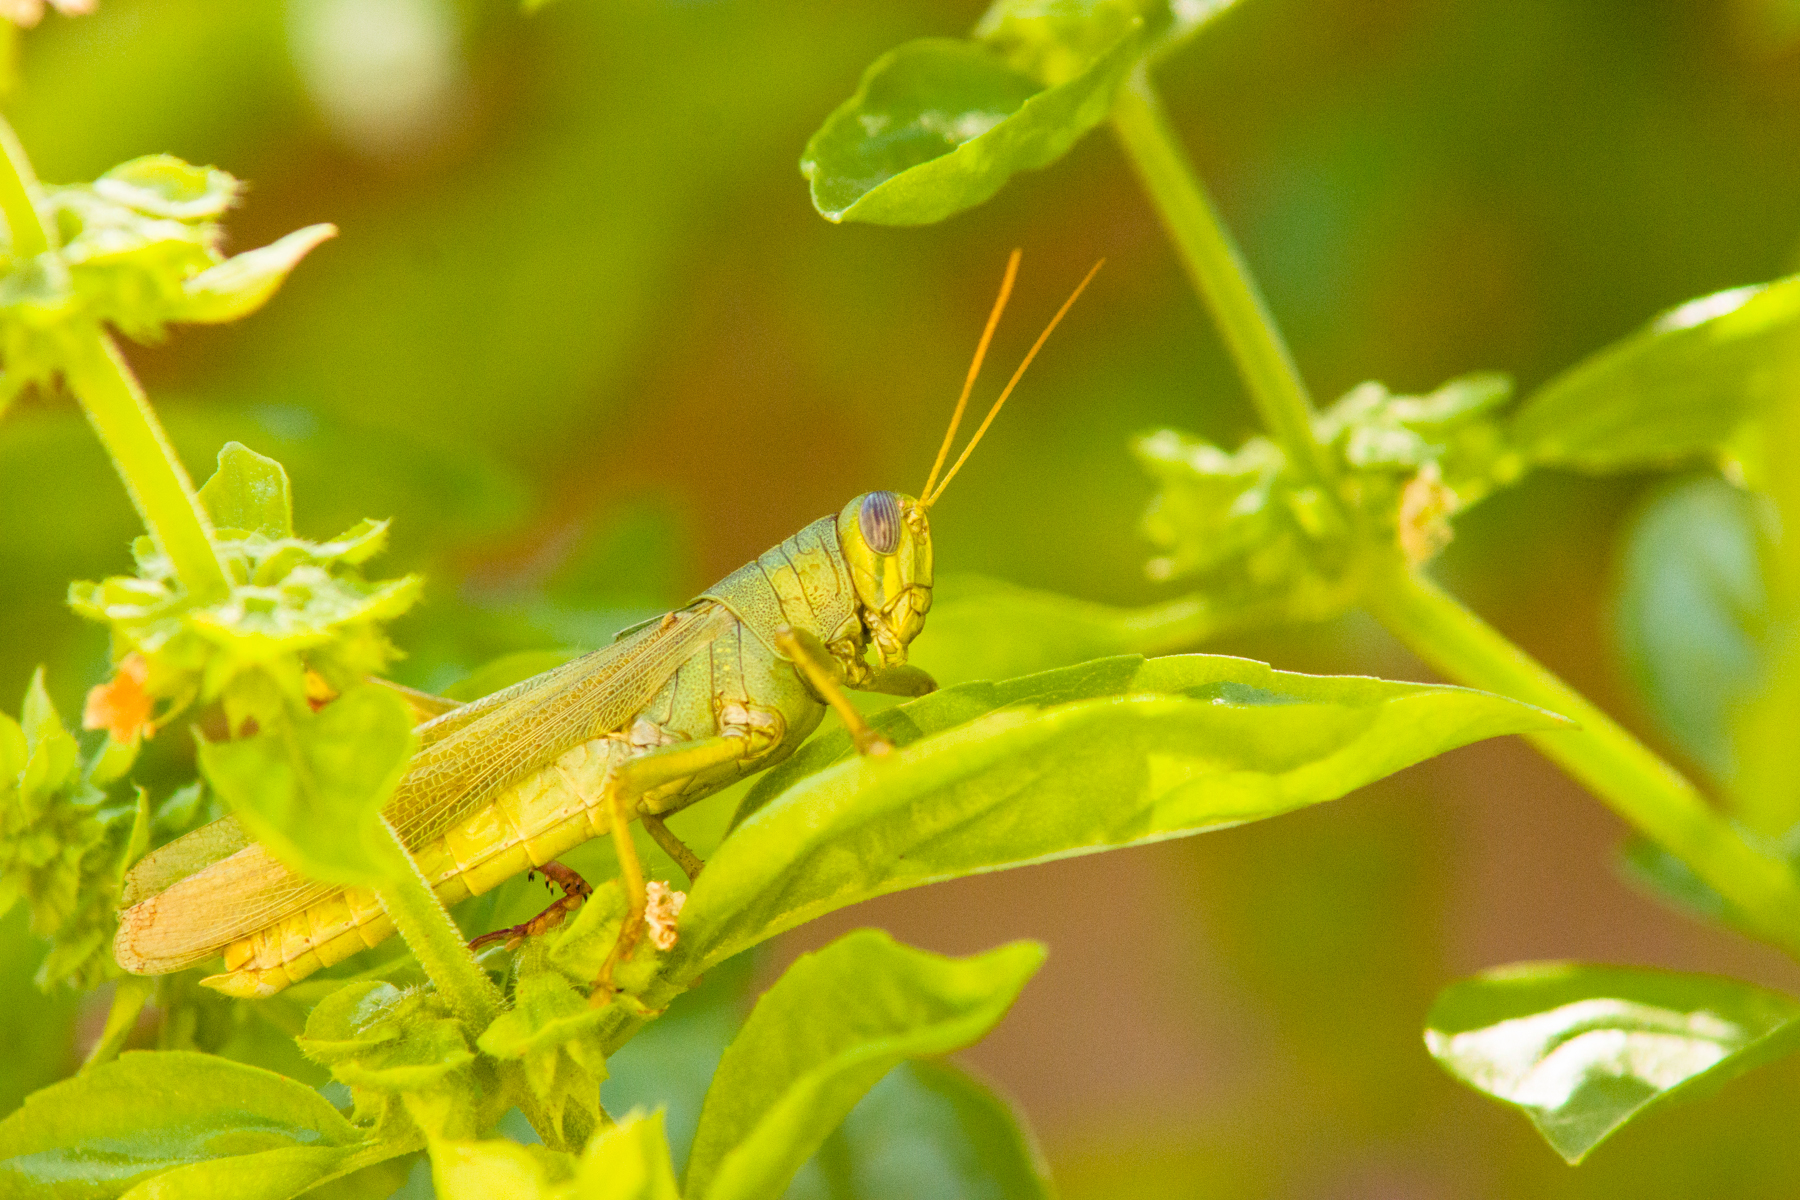
Now back to the ladybugs. So we let some ladybugs go, it was still a bit chilly out so they were moving slow. This was perfect for taking pictures of them.

_DSC1523.jpg
_DSC1539.jpg
_DSC1550.jpg

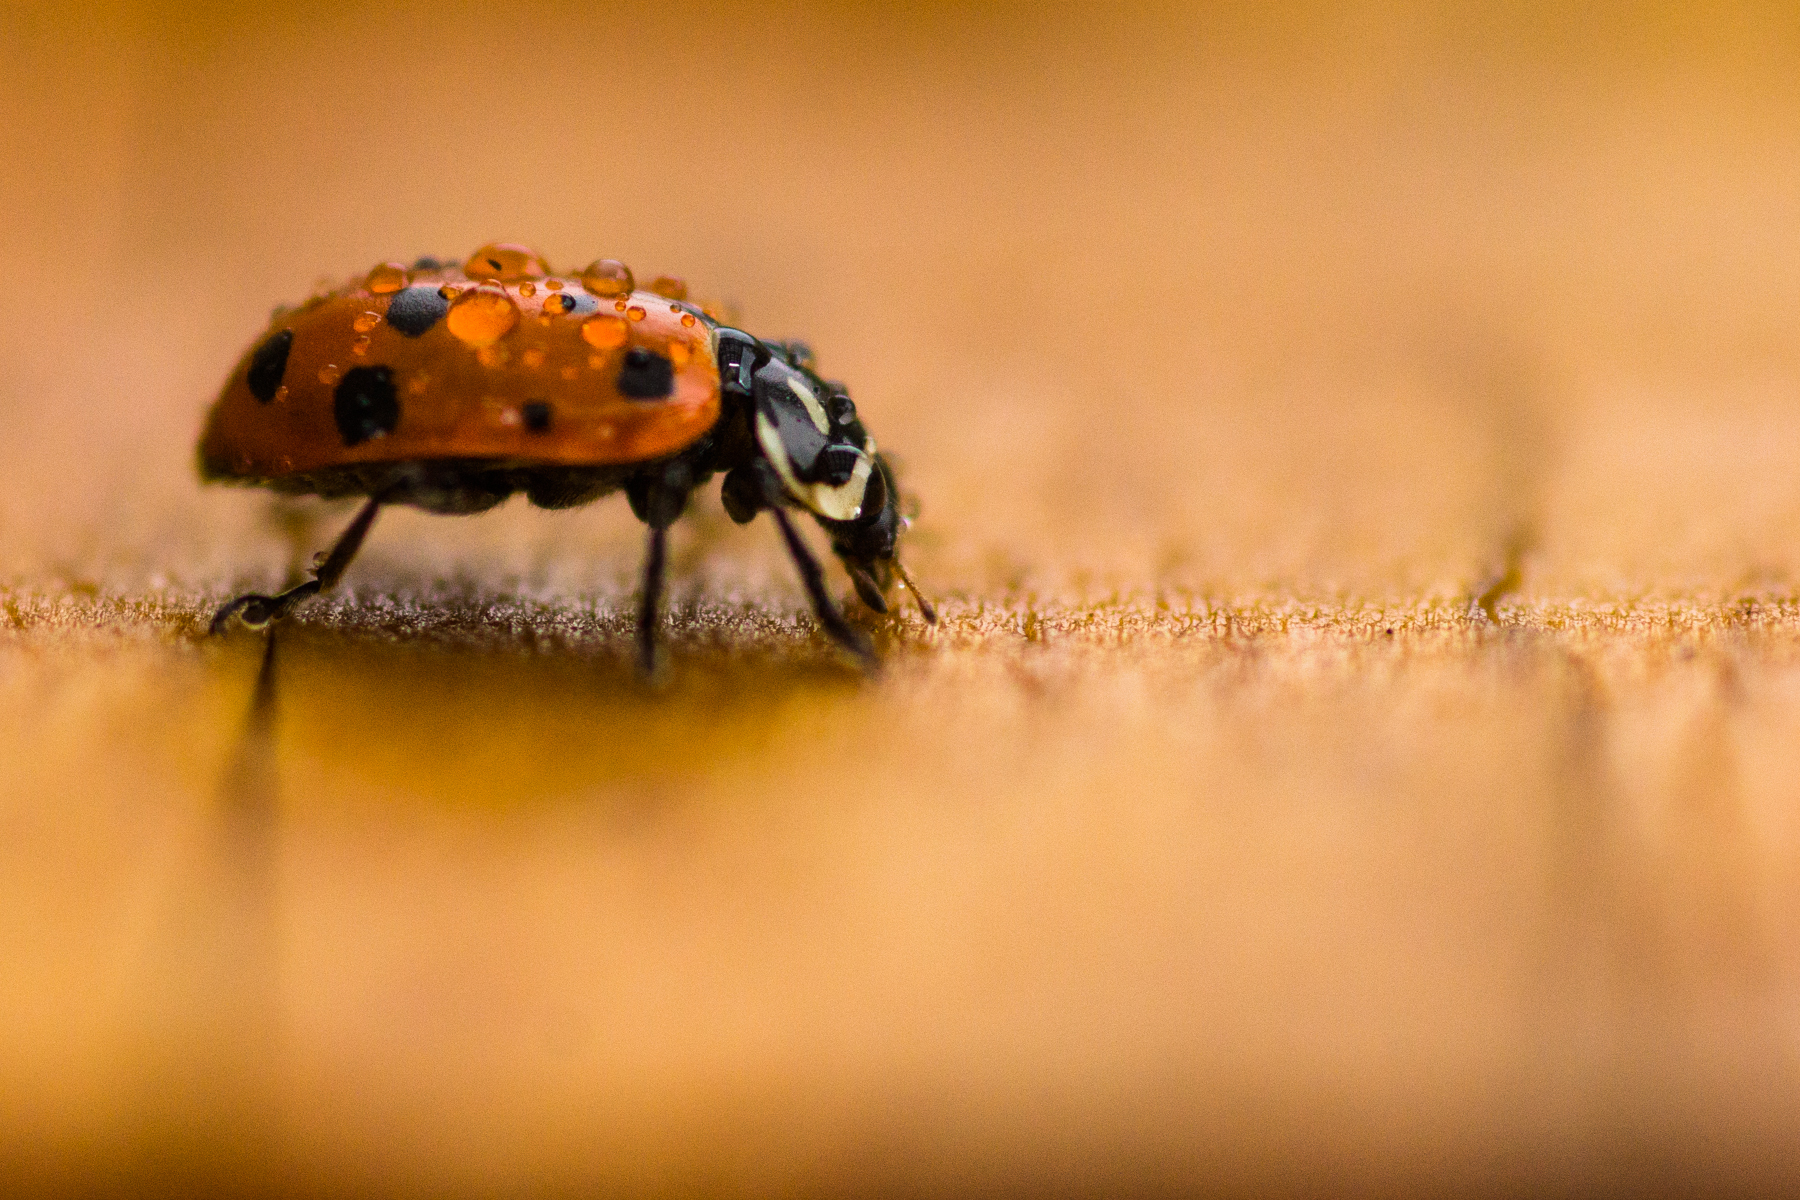
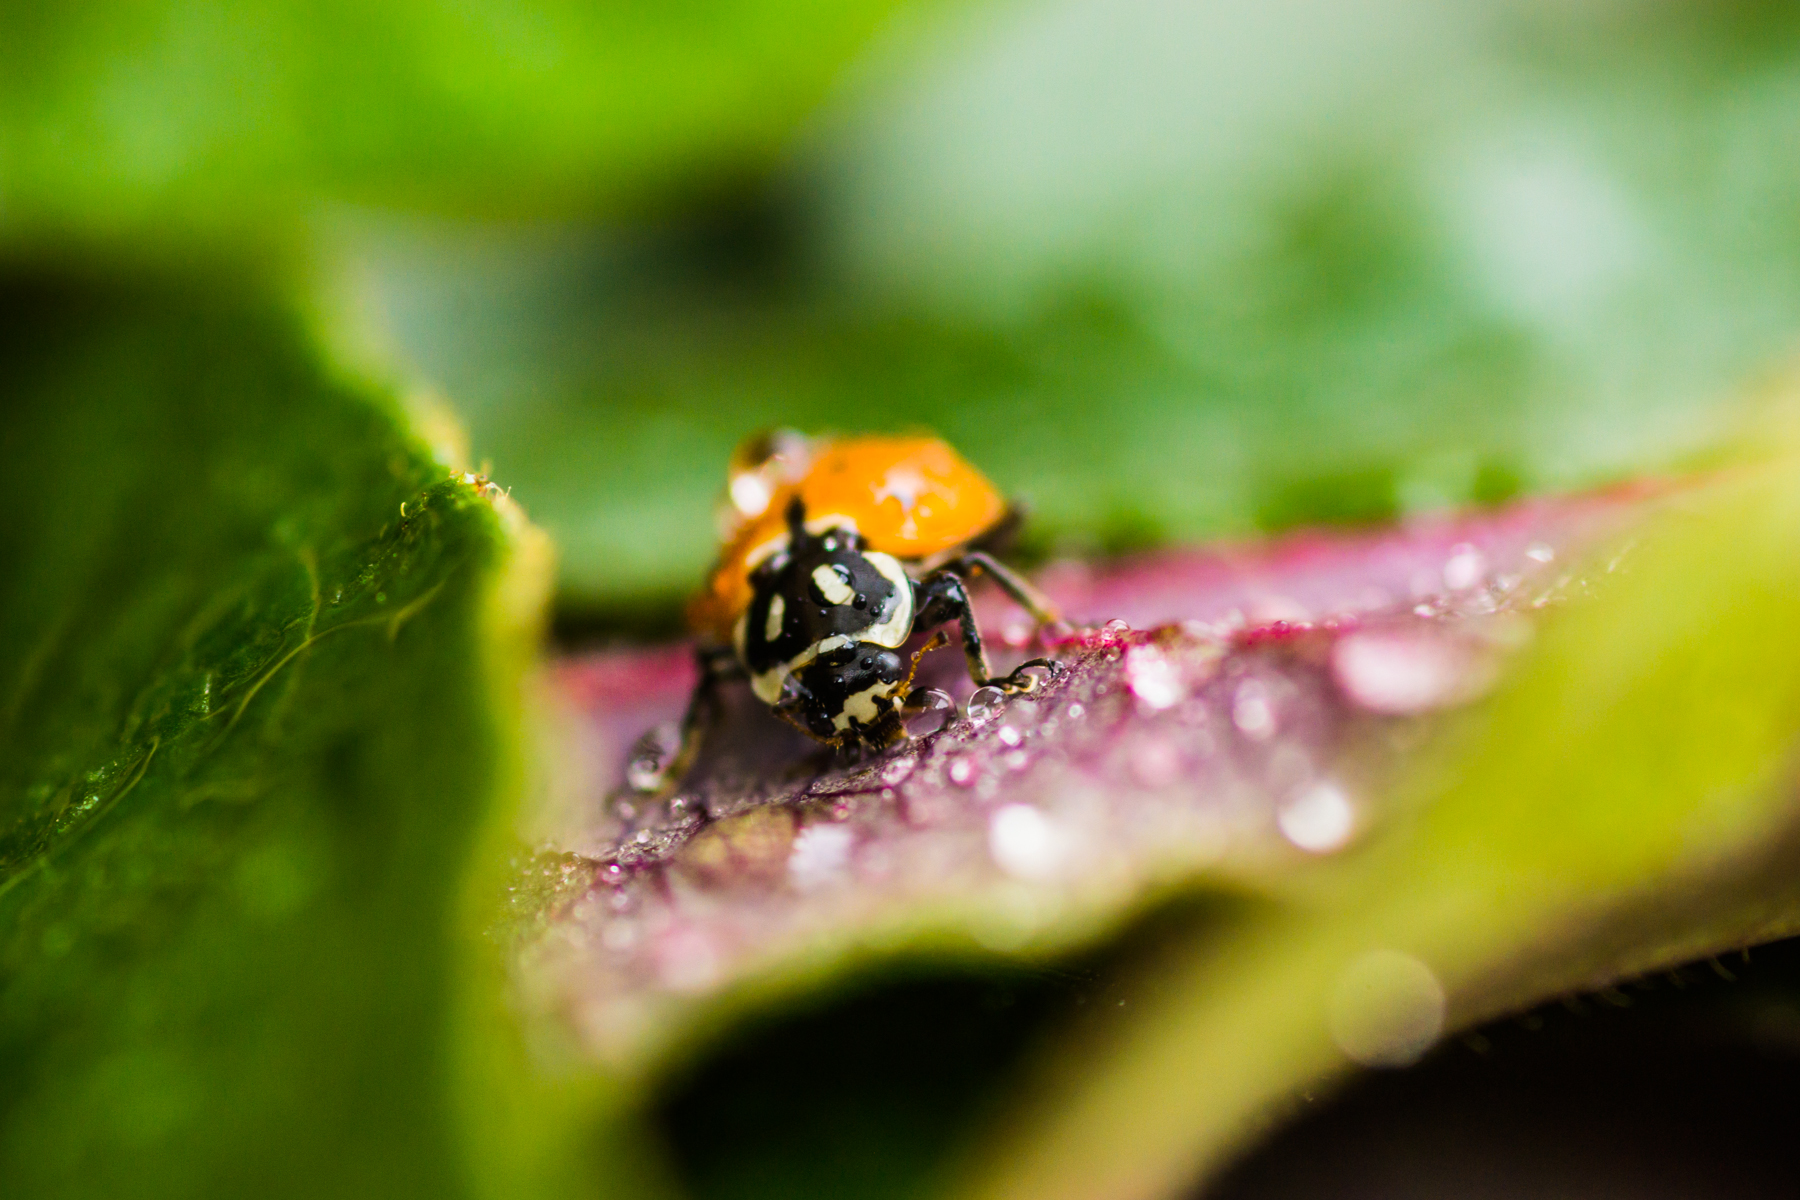
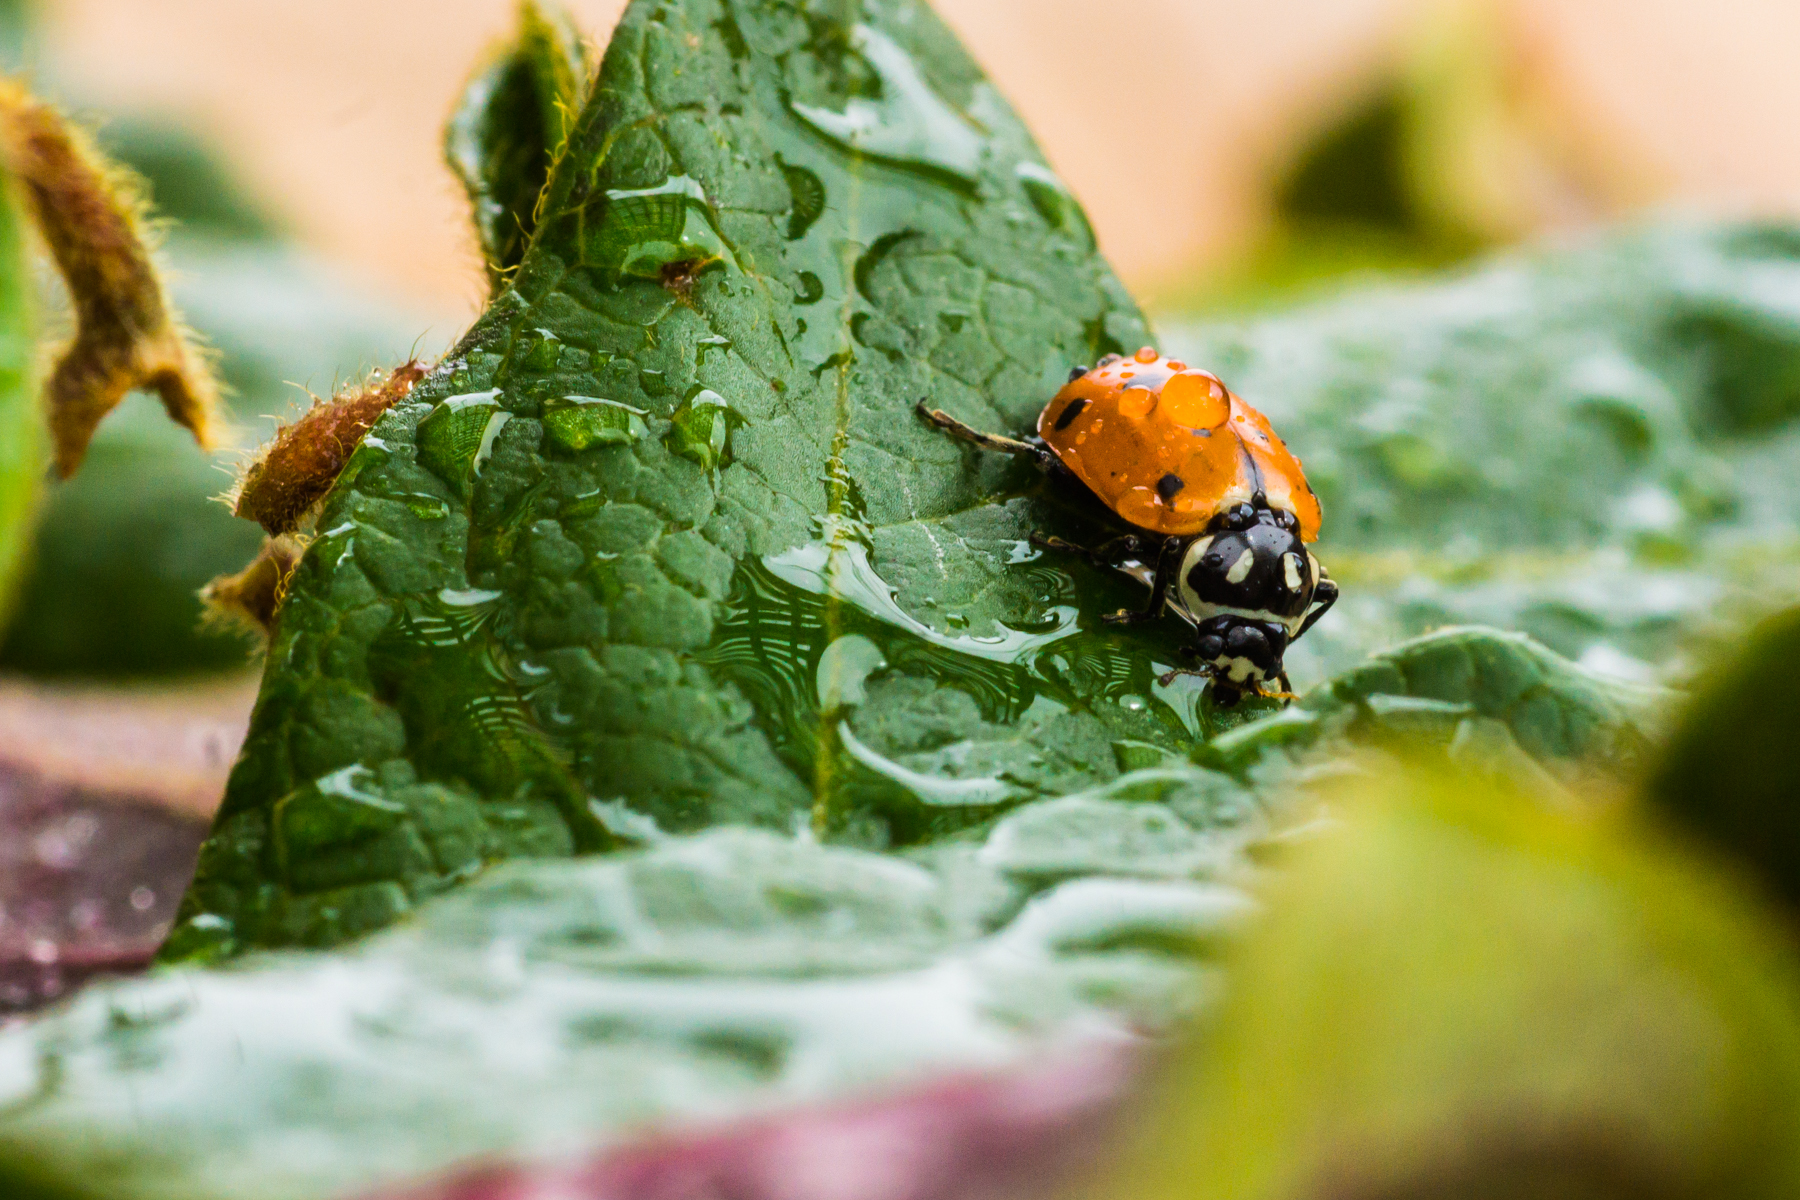
The first image was one of them walking and was shot at f4.0 and the small area of focus can easily be seen on the wood. I had multiple images where the ladybug moved just outside of the focus area. The second image is also at f4.0 and the whole ladybug isn’t in focus. The third image is was taken at f13 and a little farther away and now large portions of a leaf are in focus. When working with such a small area of focus and slow of not moving subjects a tripod helps maintain the focused area where you want it.

Hope you enjoyed the blog have fun with the new knowledge.

~Scott

tags: macro, photography, specialty, learning, teaching
Wednesday 04.03.19
Posted by Scott W Gonzalez
 

Situational Packing

Good morning,

Sorry it has been so long, work and holiday stuff has been taking  a toll. Today we are going to talk about packing gear. Most photographers have more gear than can easily be packed into something that is portable like a backpack. Take the example below.

This is digital cameras a57 on top and a77 on the bottom, then lenses and flashes. This is just the basics not counting chargers, batteries, filters, etc. For size reference each square is 6 inches.

This is digital cameras a57 on top and a77 on the bottom, then lenses and flashes. This is just the basics not counting chargers, batteries, filters, etc. For size reference each square is 6 inches.

Now most of us probably don't want to have a rolling suitcase in tow or have the ability to have an assistant carry our gear. Most people opt for a backpack or an over the shoulder bag for storage.

Here is my trusty camera bag with a storage area on top. With kids as travel companions it is quite handy. Even with the flap open is doesn't cover the same amount of 6x6 tiles that my gear does.

Here is my trusty camera bag with a storage area on top. With kids as travel companions it is quite handy. Even with the flap open is doesn't cover the same amount of 6x6 tiles that my gear does.

Situational packing is key for this situation. We can't always bring every piece of gear that we have. First off we can knock out one long zoom, not great lighting anticipated take the faster 70-210 f4, or do we need a little extra zoom the 75-300mm f4.5-5.6 is better. Is macro photography the goal, take the 50mm f2.8 macro if not then the 50mm f1.7. Just those 2 drop it to 6 from 8. Now comes the trickier part. Are wide landscapes or getting the whole room in the frame the goal? If so take the 11-18mm instead of the 35-70mm. If not then we can switch those. If we are taking the 35-70 then the ultra wide and 50mm can be left at home unless you need the 50 for macro. Keeping one lens with a wide aperture is a good rule, in this case it is either one of the 50mm lenses or the 28mm f2.8. The 35-70 covers the 50mm range so the 28mm would be in the bag, if the 11-18 is going then so is a 50mm. Through our image processing software we can see which lenses we use the most to help decide what to pack. Just what has been covered with the lenses cuts them by half.

Not everyone has more than one camera body. So this might not pertain to everyone. If we do though then this is a choice to be made as well. If the situation requires a quick lens change or missing the shot (wedding, sporting event, children playing, etc) then bring two if not then one should suffice. If the environment is not a place we want to change a lens (windy, sandy, dusty, etc) then bring two with the lenses attached that will most likely be used. Most times one camera is fine.

Now to the flashes. If you need them bring them if you don't then don't. If people indoors or in shaded areas are the subject being them though. There are so many times that a fast lens doesn't suffice in those situations.

I will be adding a picture soon of typical packing for different situations.

tags: Packing, Lenses, Camera, Limiting, education, teaching, telephoto, macro, Flash, wide angle, histogram
Thursday 12.21.17
Posted by Scott W Gonzalez
 

Equipment: Specialty Lenses

Good Afternoon,

I am planning on changing the posting day to Tuesdays. Sunday just seems rushed. I meant to post this last Tuesday my life has been a little hectic. Next post day should be the 14th unless tomorrow goes amazingly well then I will have a post on 7th.

Last time we talked about regular lenses. Now we will go over specialty lenses. There are quite a few Lensbaby has a whole line, and there are tilt shifts as well. The ones that I have had experience with as of now are Macro, Pinhole, and Fisheye. I don't have a fisheye at the moment but I have used then before and am not a fan.

_DSC8079.jpg _DSC8122.jpg

Macro lenses project the image onto the film or sensor at a 1 to 1 ratio or larger. This means that the image on the sensor is the same size as the subject. With a Sony crop sensor (23.5 x 15.6mm) an image of a dime (17.91mm) would not completely fit on the sensor. There are lenses that have a greater than 1 to 1 ration, there are close up filters, and there is also the technique of reverse mounting a lens. I haven't had a chance to experiment with a greater than 1 to 1 lens, Canon MP-E65 is the only one I can even think of (1x to 5x magnification). There are also some zoom lenses out there that say Macro on them and get you a 1 to 2 or 1 to 4 life size, they are not true macro but they are a step if you want to try it out.

_DSC6566.JPG _DSC6567.JPG

I have tried close up filters when I got my first DSLR (a Canon XTi) and didn't have much luck with them. It goes back to the quality of the glass that you put in front of your lens the ones I had were cheap and came with the camera from an aftermarket seller. Update: I found an old close up +3 filter and tried it on my 75-300mm Minolta. First image is without the filter at 75mm, the second image is with the filter at 75mm. All I did was move the tape measure roughly 3 ft closer to the camera.

Reverse mounting lenses I have tried with minimal success, I might not have given it enough of a chance. It was a dual threaded empty filter ring and the front elements of the lenses were front to front, focusing was done by moving the camera back and forth. There was very limited control and the depth of field was razor thin. If I recall correctly I had part of an insects eye in focus and part out of focus. I will look for some of the results from using it and post them here.

_DSC8211.jpg _DSC8212.jpg 20171105_215952.jpg 20171105_220020.jpg

Pinhole lenses, lens is a little misleading, are a small hole that allows light into the camera. Most lenses have a range of f22 to f32 for the f-stop. Each whole stop, DSLRs can generally to 1/2 and 1/3 stops, halves or doubles the size of the aperture depending on if we are making in smaller or bigger. The pinhole in the picture above is around f190 and it roughly equates to a 50mm lens. The clear image above is a 50mm at f7.1 and the not so clear image is about 50mm and f190. If we are serious about pinhole photography then we can alter the thickness of the foil to obtain a more clear picture. I have found interesting images when searching with the parameters of “pinhole” “sun” and “long exposure.” In this case diffraction is the cause of the blurriness and this is the reason that we should probably stick to an aperture around f9 while using a lens. Going from f22 or f32 to f190 is about 6 stops (1.5% of the light) and about 5 stops (3% of the light) respectively. If we have a scene where detail isn't as important as the play of color and light vs dark then a pinhole is great. There are products we could buy for this type of photography or we could make one ourselves. All that is needed is a spare camera cover, a drill, foil, tape, and a needle. I used and insulin needle which I believe was a 31g. Pictures 3 and 4 in this slide show above show my finished result. Personally it is fun to play around with but I have yet to produce a worth while picture with it. That is all I have so go out and shoot.

~Scott


tags: education, teaching, macro, pinhole, specialty, lens, aperture
Sunday 11.05.17
Posted by Scott W Gonzalez
Comments: 1
 

Powered by Squarespace.