Good morning,
With a meteor shower just recently passing and one coming up, I thought that I would write about how I take meteor shower images. They happen every month or so, for example the shower that happened recently was the Leonids in mid November and the Geminids are coming in mid December. If you are not familiar meteor showers are loosely named by the constellation they appear to radiate from. Leonids radiate from Leo, Geminids radiate from Gemini.

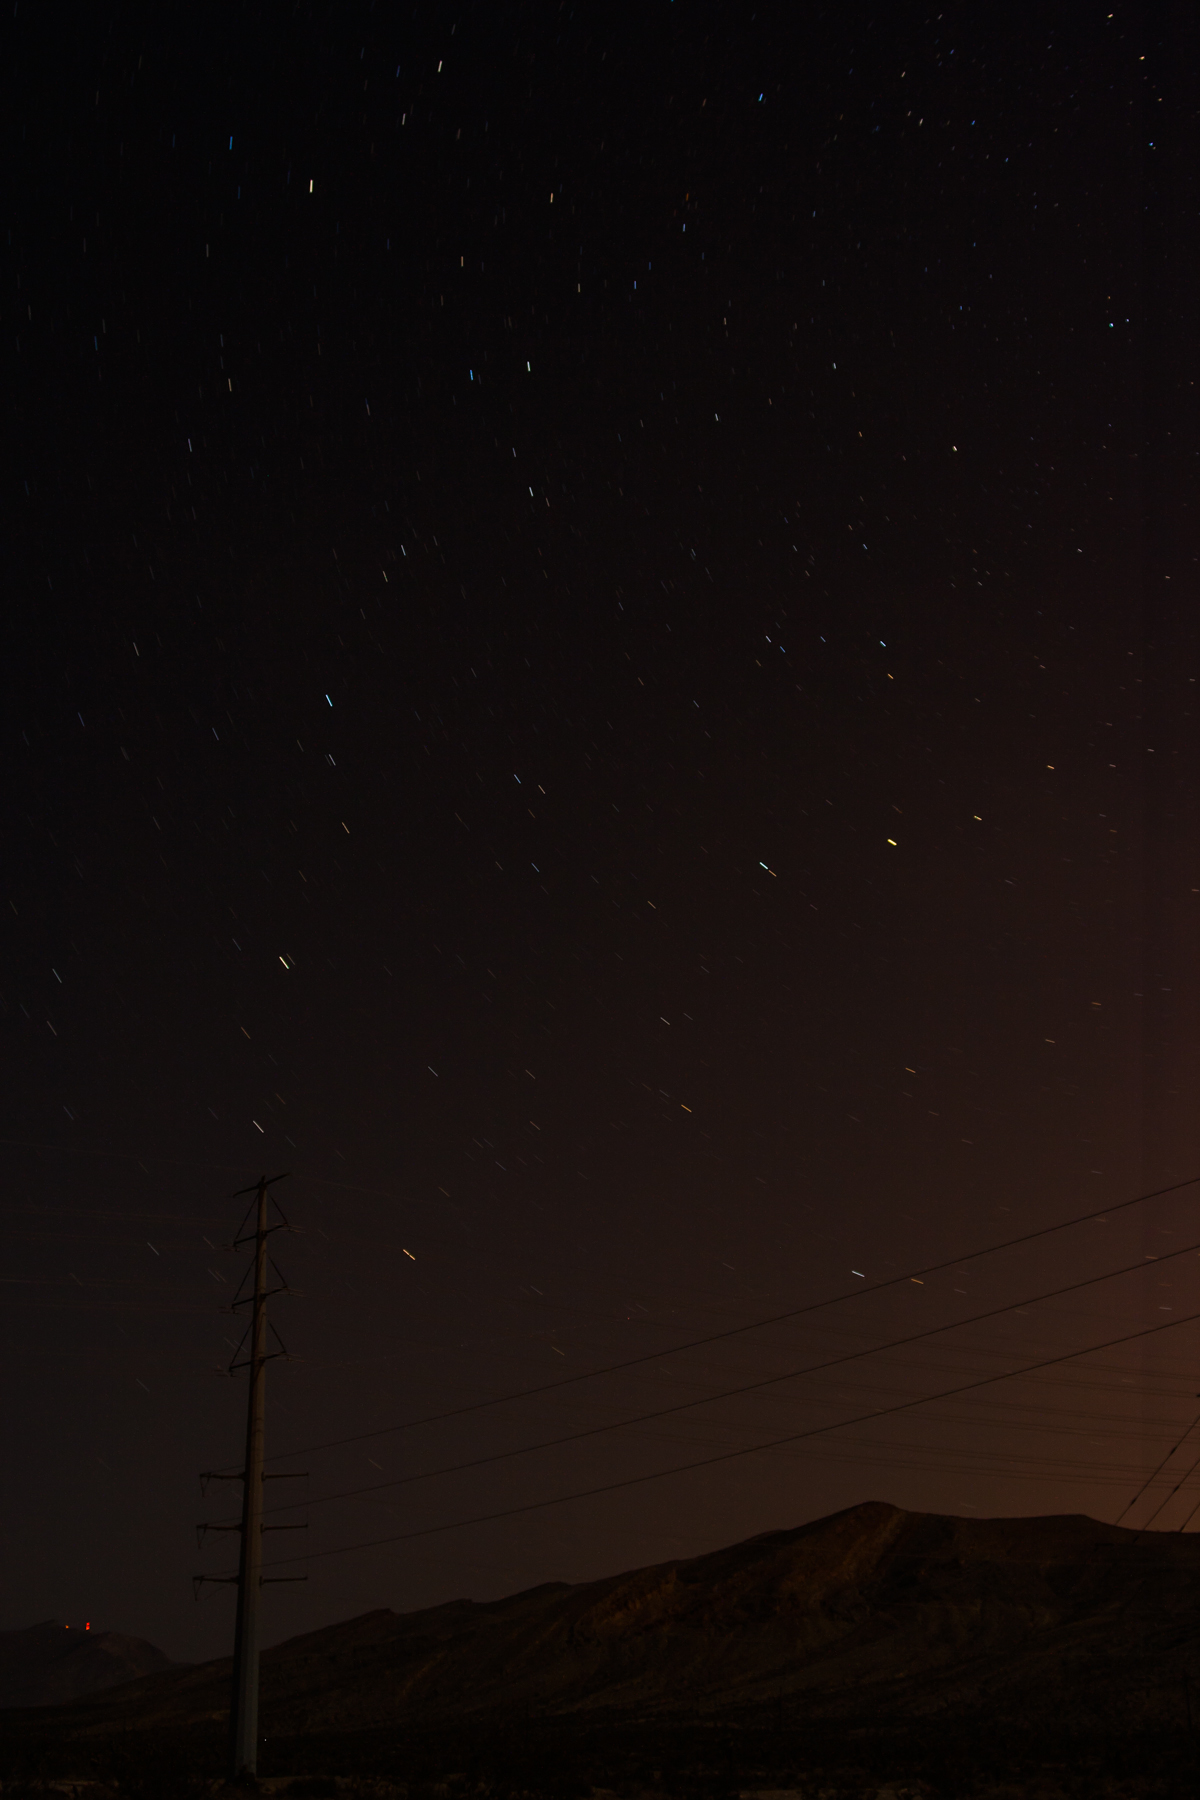
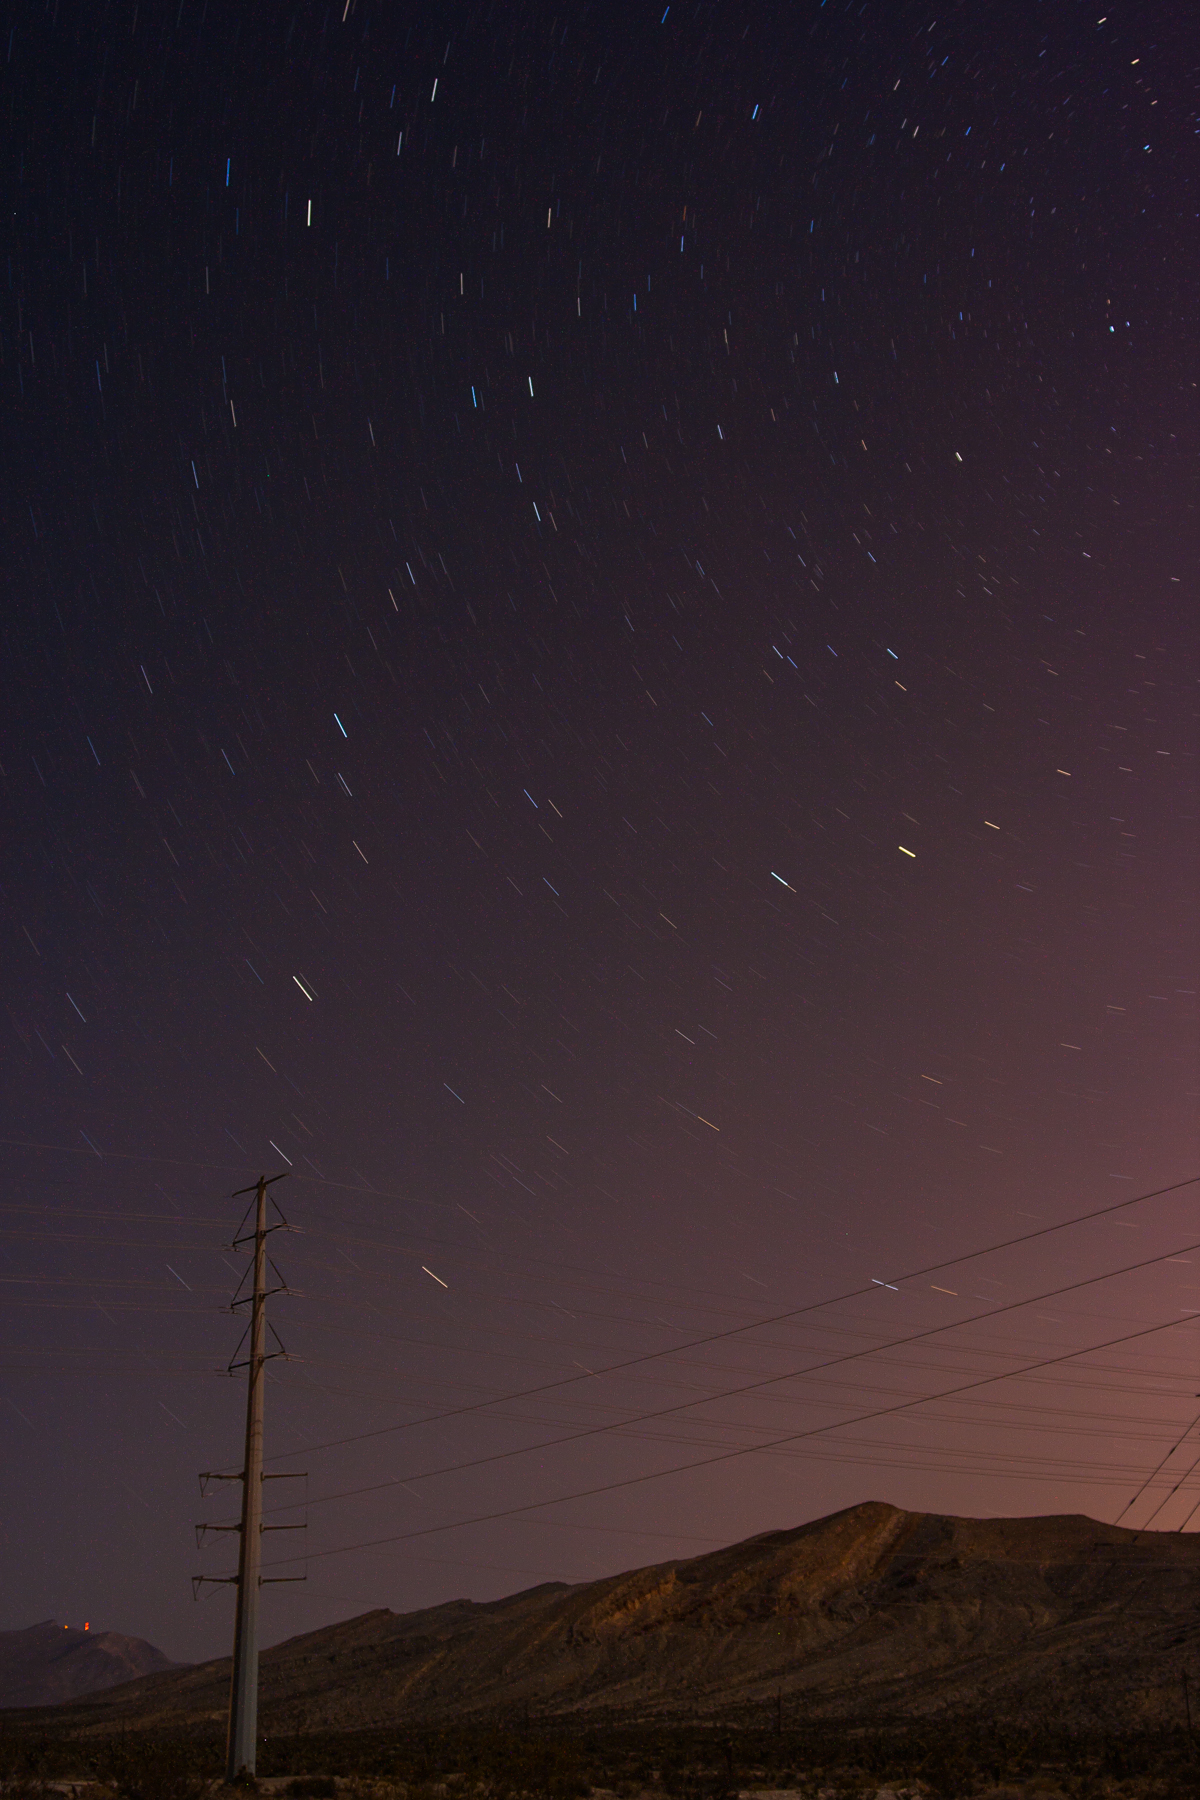
This was done a while back, iso 100, f3.5, 28mm, 140 seconds.
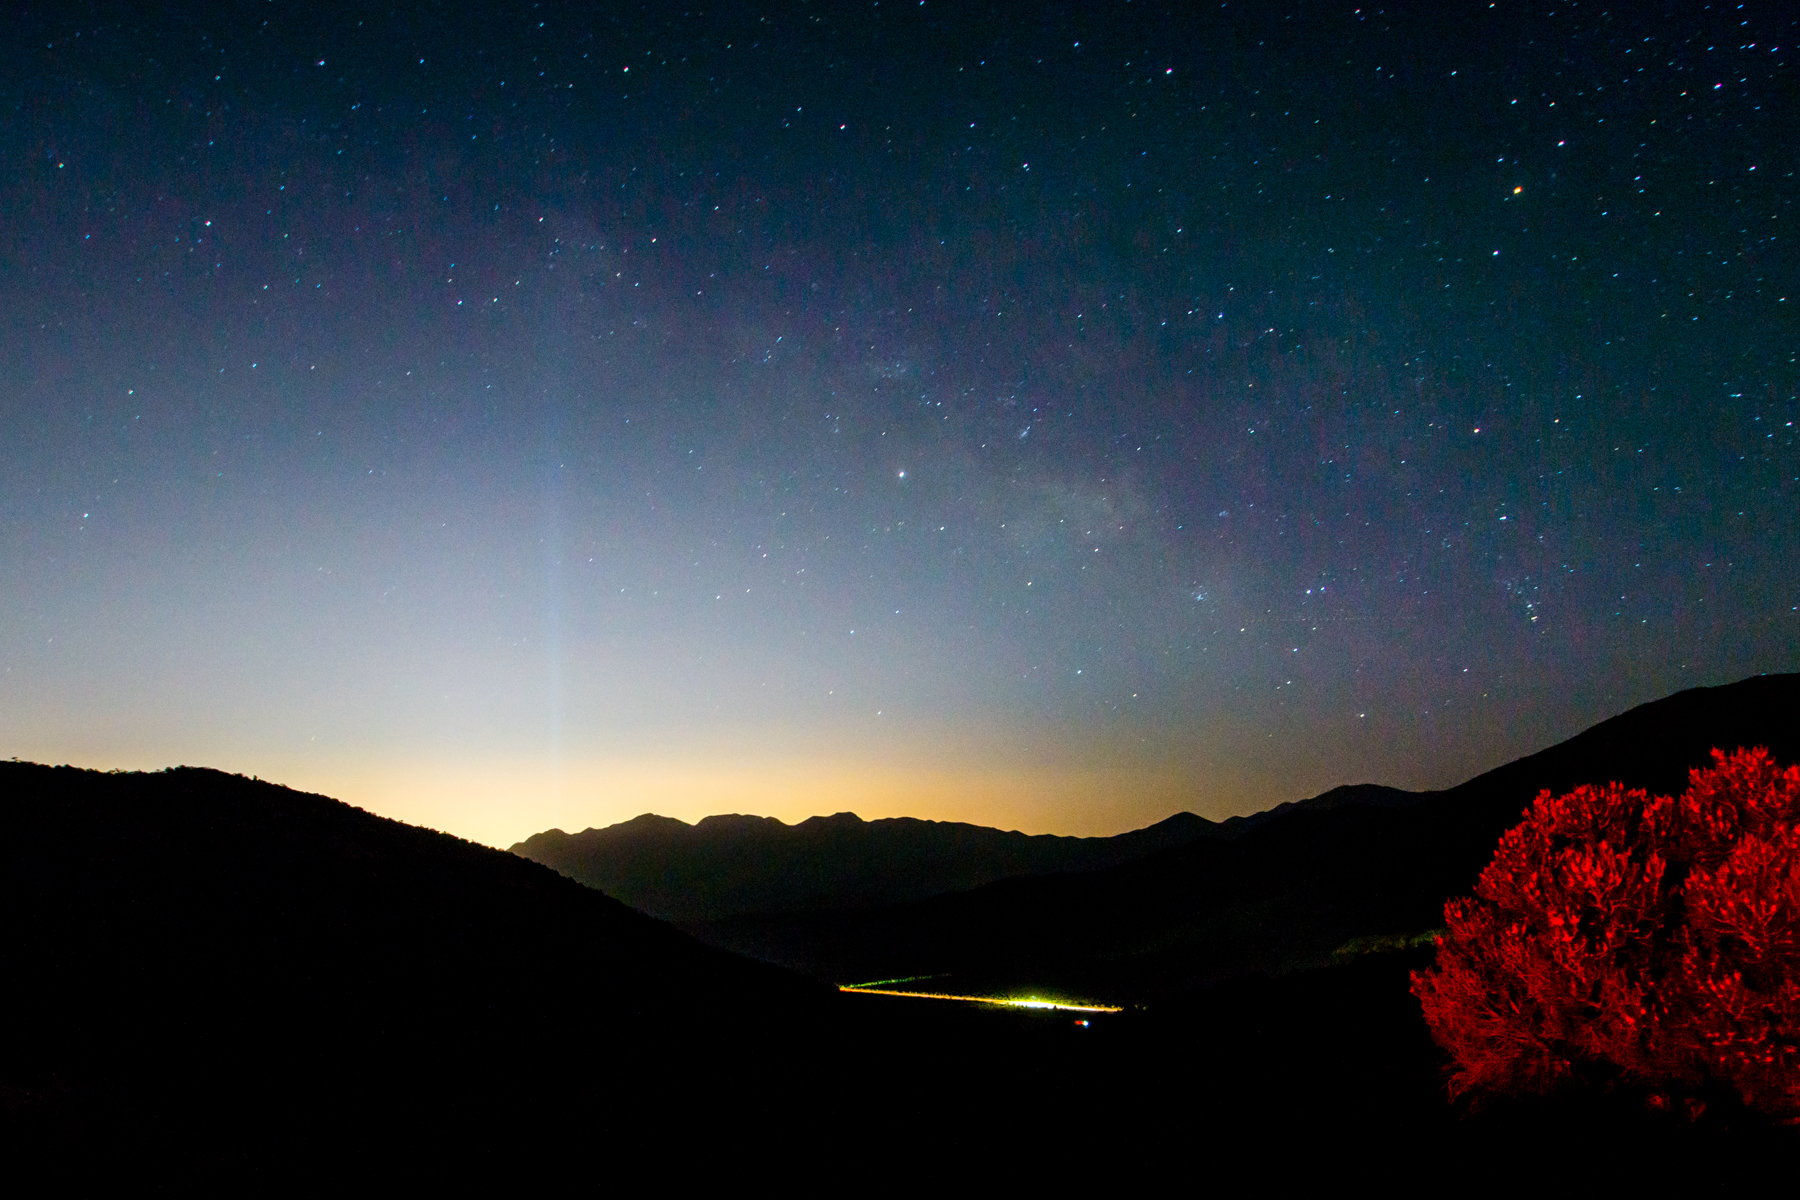
So what I do just do a long exposure of the sky with a remote and a wide angle lens. I pick a spot in the sky and stick with it. I have tried changing the spot in the sky without much luck. I have watched multiple shooting stars go just outside of the frame so I moved it over to capture those and the next ones close by were outside of the frame on the other side. It takes some luck. I prefer to have some foreground in the frame, that is me though.
The better part of having the camera on a set and forget type of control is that you can enjoy the meteor shower. Seeing dozens of meteors streak across the sky is something to behold even if you don’t catch a single one on a sensor.
The Geminids are coming up on the 13th/14th of December so if you can find a dark spot I recommend going out and seeing them and not just to photograph them. I know that I will be. If you do capture any I would love to see them.