Good afternoon,
Today it is onto star trails which are very different from getting the stars to be static. Similarities are; needing a sturdy tripod, know what you are trying to capture, a foreground interest can make a picture, and planning helps.
Now the differences; a high ISO is not needed, a large aperture is not as important, and a remote release is important. After about 15 seconds or so the stars can be seen as more than a dot. With trails we want that so that is why ISO and a large aperture aren't as big of a deal.

Here is a stack of 30 second exposures taken back to back from a balcony in Lake Tahoe. Pointed North - Northeast. Around 140 images put together for a total of a 70 minutes exposure, each photo was 30 seconds each, 28mm, f2.8, 200 iso.
So there are 2 ways to go about star trails. Either taking a bunch or photos and stacking them afterward like above. The benefits are; less noise, if frames have something unwanted (planes, satellites, UFOs, etc) they can be left out. The down side it is time consuming in post.
Below is the other way which is to keep the shutter open for a really long time. I have heard of all night exposures. Personally I have gone with a couple of hours at most with good results. The benefits are it has more of a set it and forget it approach, and post processing is just a couple of images (if combining exposures of a separate foreground and background). The bad part is if something goes across the frame it is a pain if even possible to remove it and there could be more noise from the long exposure.

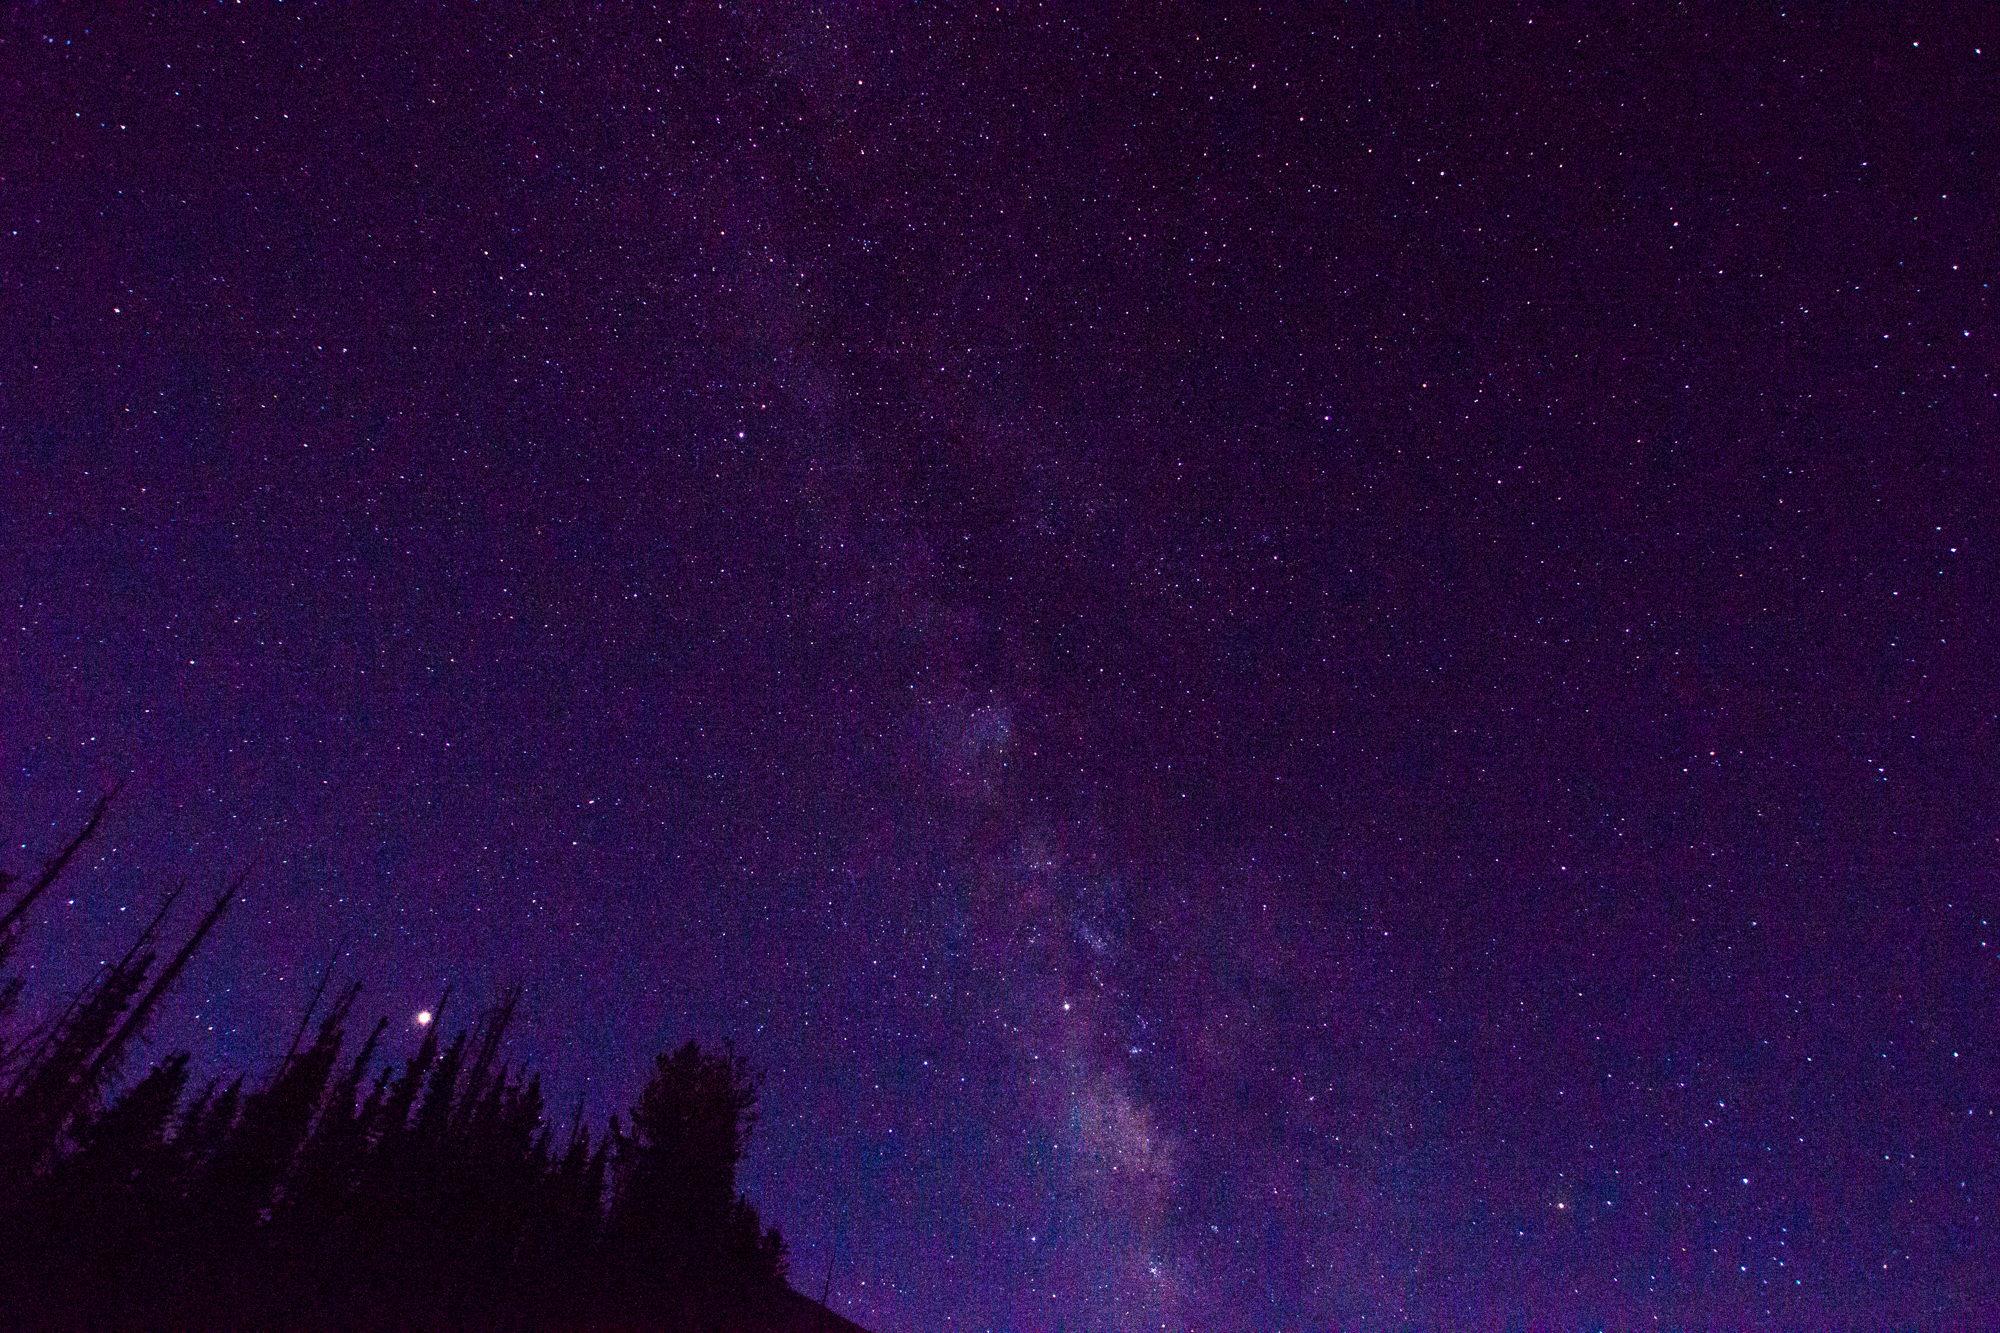
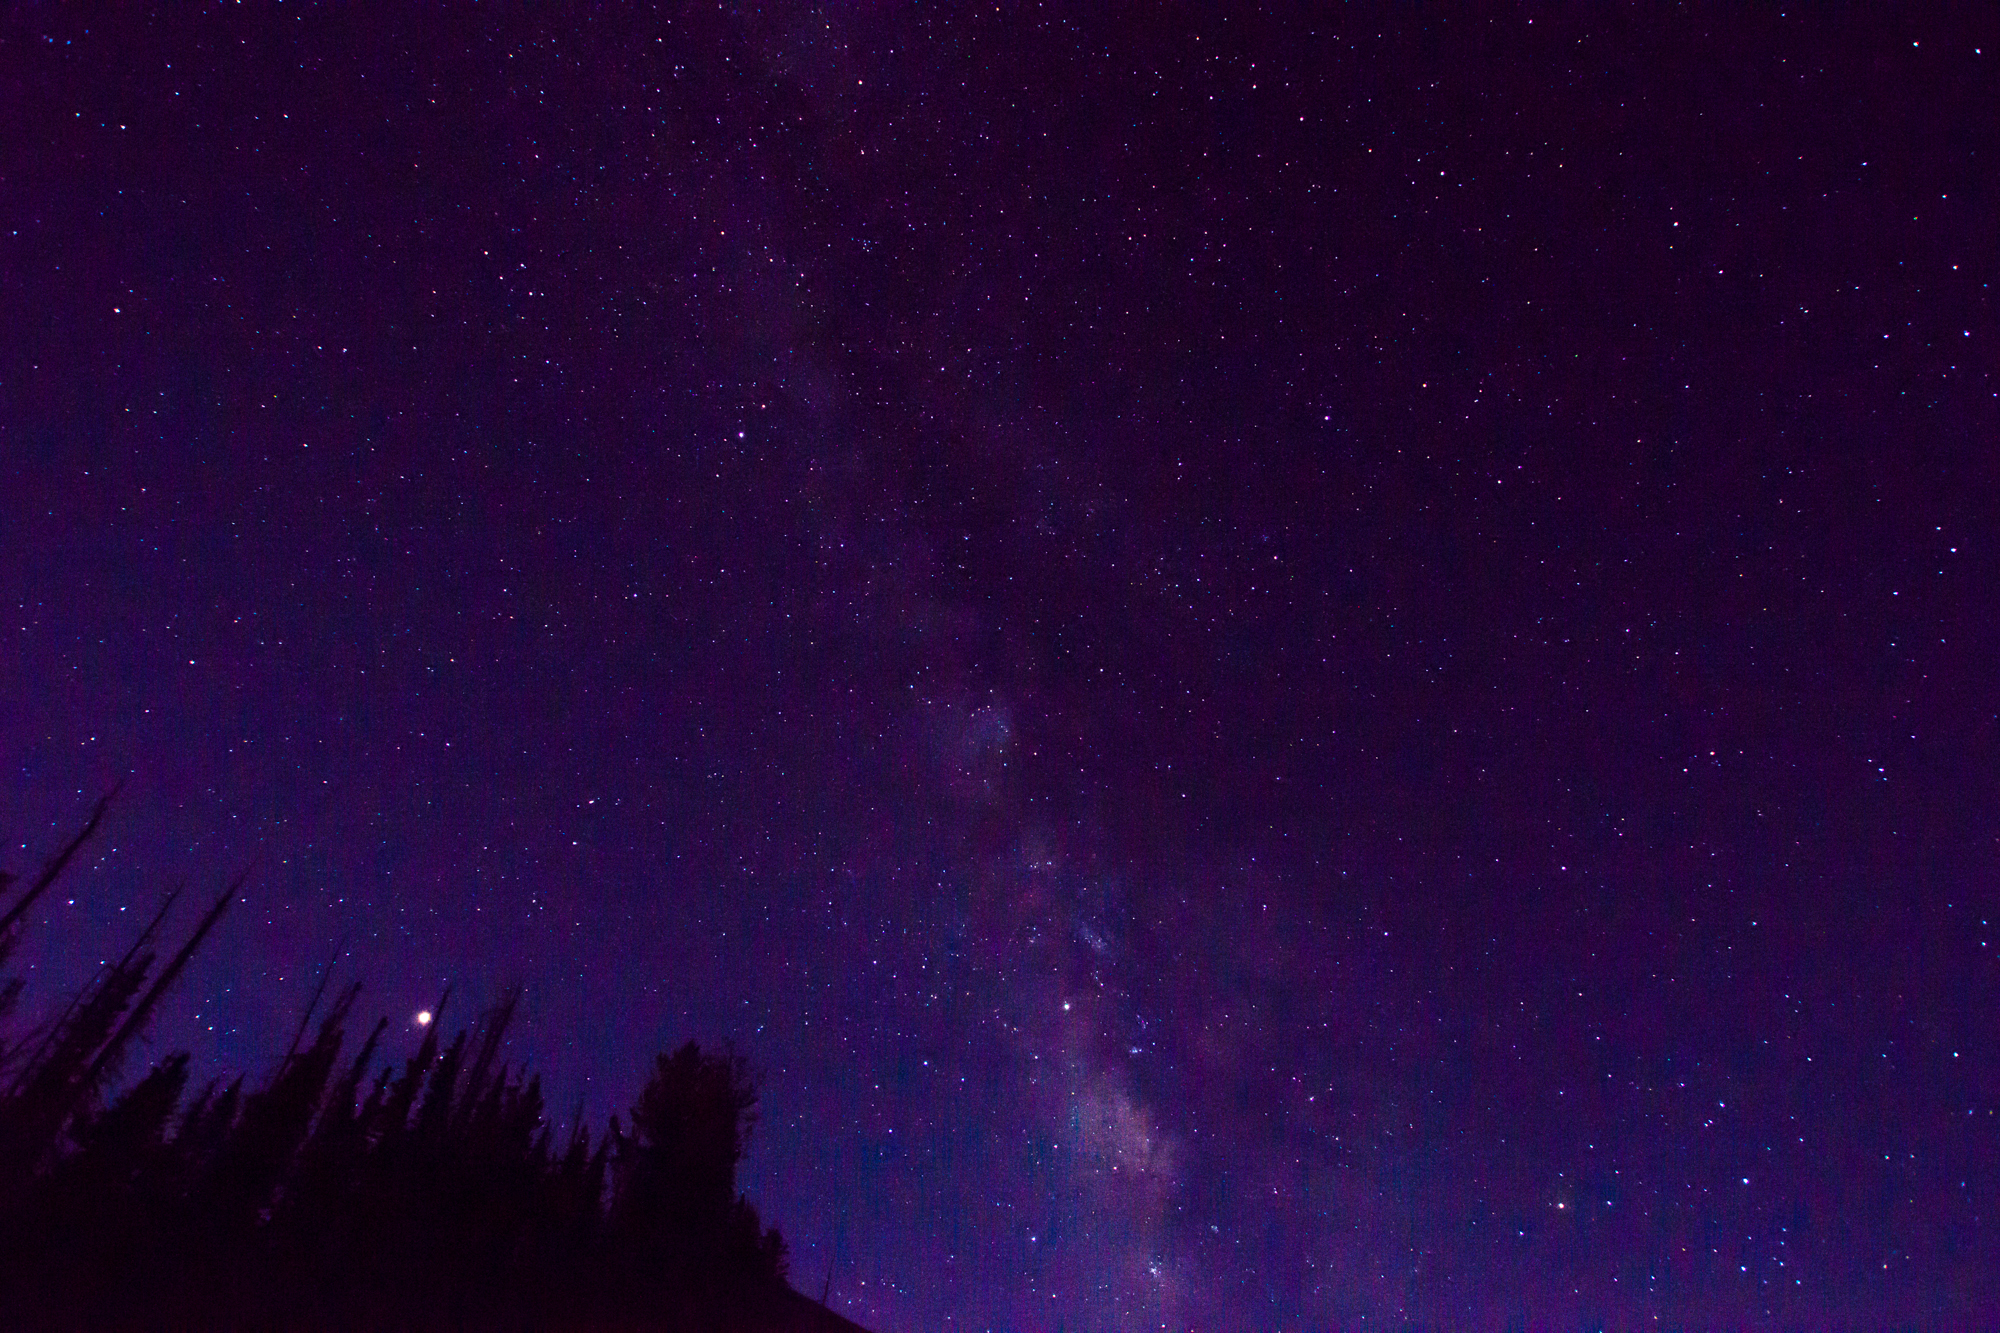
This was taken in Death Valley, I light painted the tree. I was trying to capture some meteors in the shot and failed. This was a 29 minute single exposure. 28mm, f5.6, 1759 seconds, 400 iso.
Experiment and see which you prefer. There are programs that are designed to make the stacking process easier, I just use photoshop because I don't take this type of image often. So find a night sky, grab your tripod, shutter release, camera then go out and shoot.
~Scott