• Photography
  • About
  • Contact
  • Light Writing

Scott W Gonzalez

  • Photography
  • About
  • Contact
  • Light Writing

Fireworks

I hope everyone that celebrates it had a Merry Christmas, or a Happy Hanukkah, Kwanza, Solstice, Yule, Bohdi Day, Pancha Ganapati, or any of the many other holidays celebrated in the Decemberish time. If I missed yours it is nothing personal.

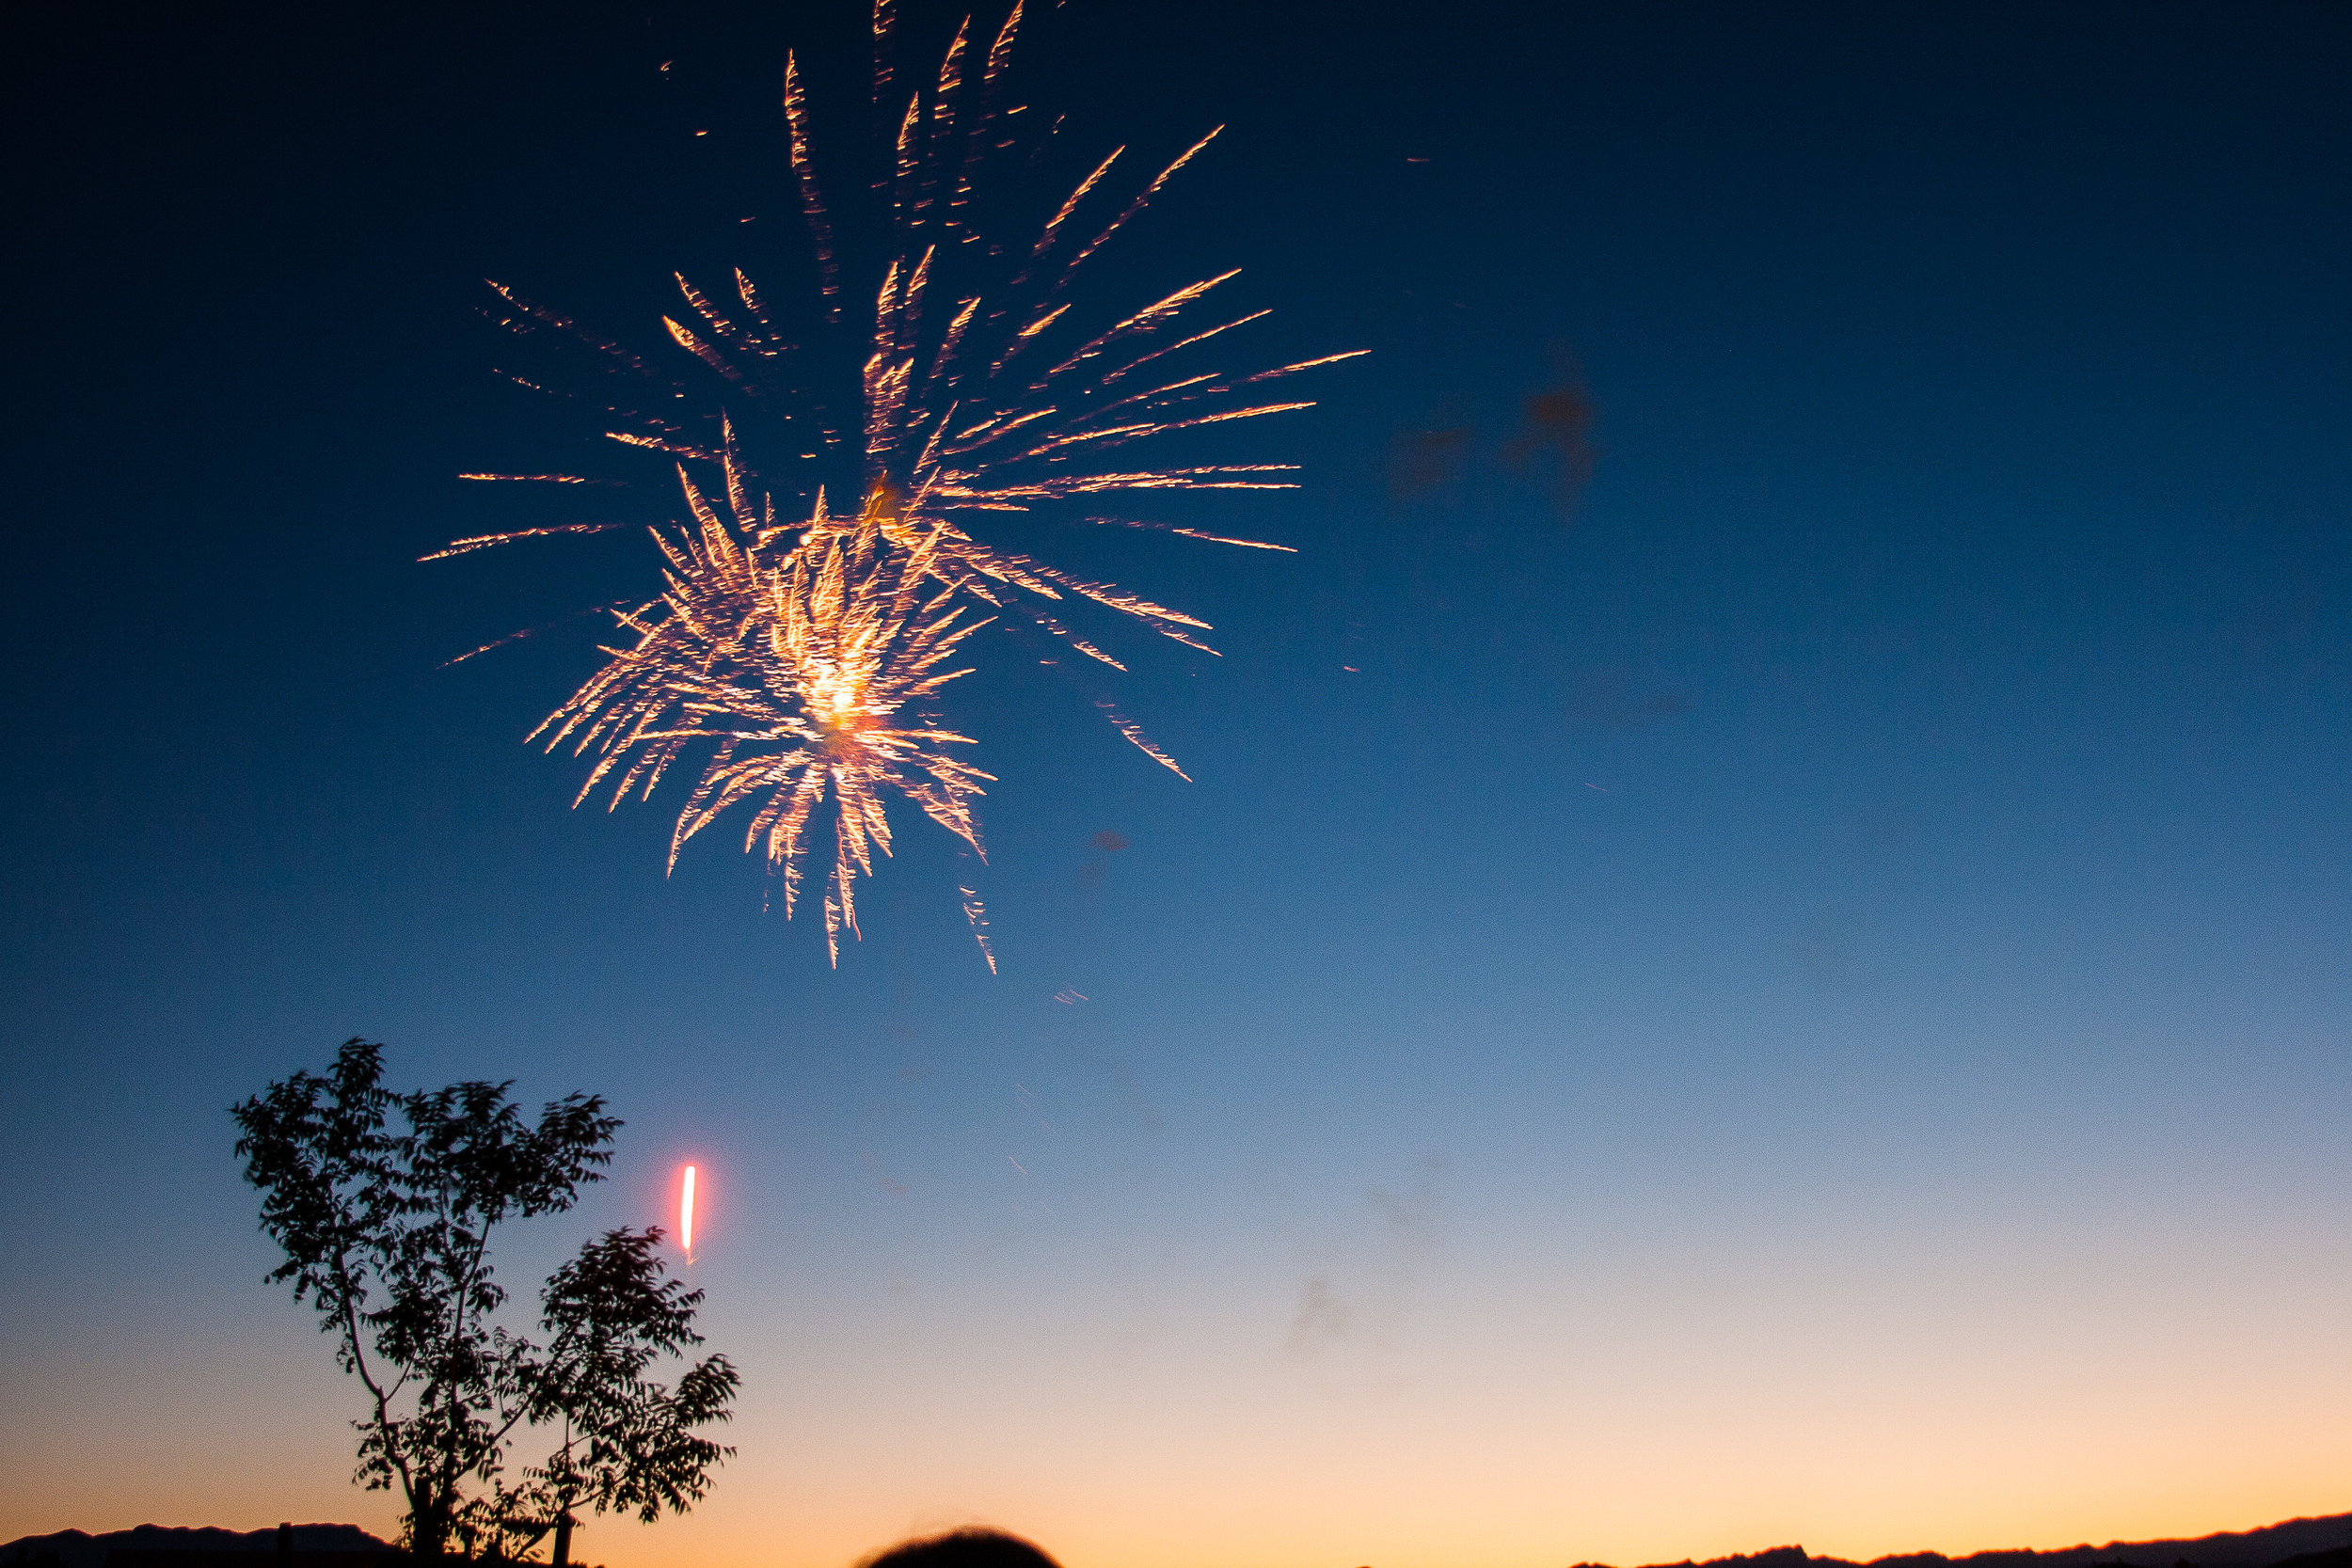
So on to the topic, fireworks and how to capture them. As usual I recommend a tripod and a remote. It can be done without either it is more hit and miss. I will get an idea of where the fireworks will be exploding and if possible set up before nightfall. This is easier to do during the 4th of July than New Year’s Eve. This helps with setting up background and foreground if desired. Generally the fireworks are far enough away that focusing on infinity works well enough, if you aren’t a fan of that then focus on a building nearby the launch site then lock your focus. For aperture I use f8-f11 to keep the focus area large and a low ISO to keep the noise down. Here is where the tough decisions come in. If it is windy then a faster shutter speed will keep the definition of the fireworks better. Notice below the firework trails are being blown to the left and gravity is having it’s hand at pulling them down too.

iso 100 f6.3 11 seconds. I had a larger aperture to get more of the foreground lit.

iso 100 f6.3 11 seconds. I had a larger aperture to get more of the foreground lit.

Now I use a bulb setting so that I can control the shutter better. Sometimes I want a single firework other times I want multiple and often I am deciding while the shutter is open. If a set shutter speed is used the only way to control it would be to put a black card/think paper of the lens during the exposure. The few times that I used that technique I didn’t really enjoy it and took away from enjoying the show. It is an option though.

Another decision that needs to be made is whether a foreground interest will be in place. If so a way to do it is with two separate exposures. One of a properly exposed foreground then one of the fireworks. I recommend taking them around the same time so the blending process is easier. Using a rear curtain flash is also an option depending on how far the subject is.

iso 100 4 secs at f14

iso 100 4 secs at f14

Above notice that the lines are more defined, it was at least partially because of the faster shutter speed. I can’t recall if or how fast the wind was that night so that is out of the equation.

If you have the means a reflection adds more interest to the image,

If you have the means a reflection adds more interest to the image,

Fireworks.jpg
_MG_7757.jpg
_MG_7751.jpg

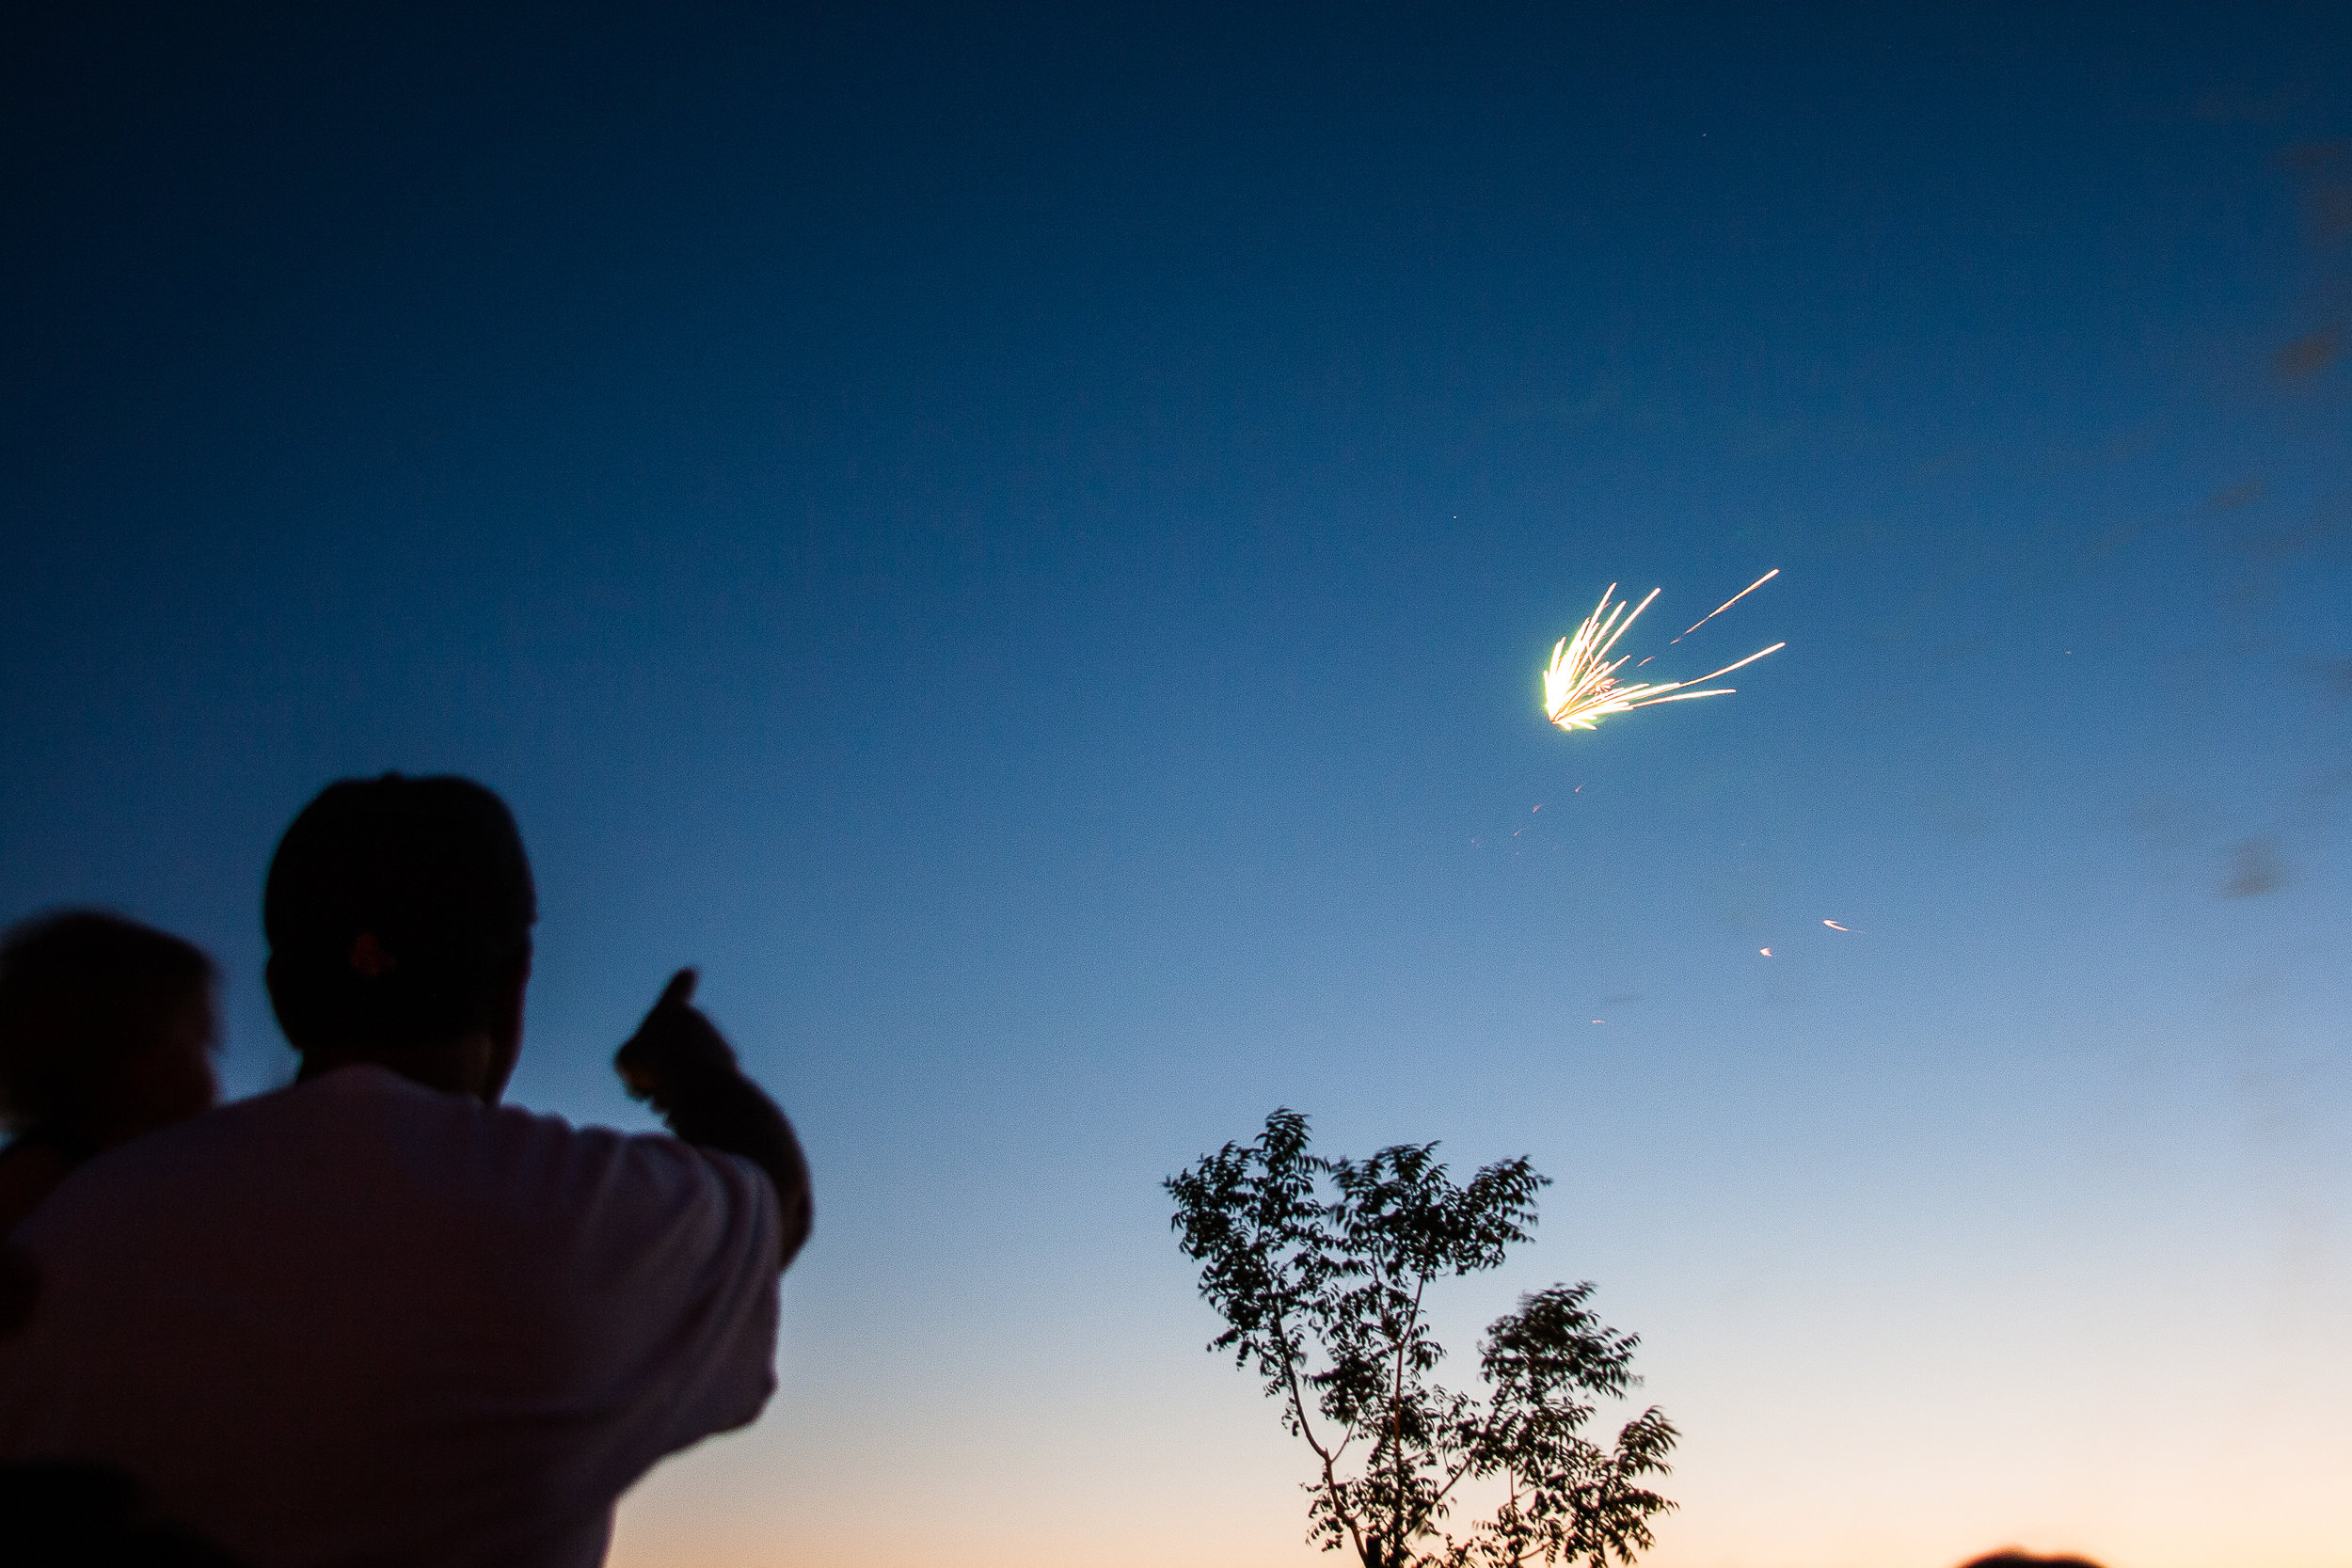
Above I took caught a picture with my Father in law and my nephew watching the fireworks. The first one is the composite, the second is the original, and the third is the orange firework. The same idea can be used with different foreground.

Lighting pictures are not hard once you know how to do them. Reading about it is one thing doing it is completely different. So with the New Year coming in there are usually some fireworks which is a good chance to try this technique out. Have a Happy New Year everyone. I would love to hear some comments or questions.

tags: photography, learning, teaching, fireworks, explosion, blend, exposure, example, experiment, editing, fun
Saturday 12.29.18
Posted by Scott W Gonzalez
 

Flash 3 (flashfoolery)

Good morning,

I recently went back through old pictures and came across some flash photography from when I first started out using off camera flash. I have since put them in the Still Life gallery.

Below we have a jack o lantern. This particular one I was using a slave flash. The flash was inside the pumpkin facing the back. I had a hole in the top toward the back for a chimney as I was still using candles in my jacks back then. The trigger flash was covered with paper so it didn’t flash forward only up, which was enough to trigger the slave flash in the pumpkin. I set it on a timer so I could be by the front and out of the frame spraying a mist with a water bottle. It took more than a few times to get it right. The light on the left was intentional and from a second flash that was out of frame to give dimension to the pumpkin.

places with high humidity might not need a mister

places with high humidity might not need a mister

I also played with changing the color of the light as well. I saw the gels that were available and didn’t want to wait for something like that. So I tried putting colored paper over the flashes. It worked the way that I wanted and I never got gels. I put the flashes facing the flowers about 90 degrees from each other.

Blue on the right flash and pink on the left

Blue on the right flash and pink on the left

Photography has been a journey of discovery and experimentation for me. With digital it has become easier to learn, instant results and metadata have made it so much less time consuming and less expensive. Grab your flash, be prepared to experiment, then go out and shoot.

~Scott

tags: flash, experiment, photography, photo, fun
Saturday 10.20.18
Posted by Scott W Gonzalez
 

Shaped Bokeh

Good day,


Quite a few of us are planning on taking holiday photos. If we want something a little different shaped bokeh is a possibility.

I went with hearts, those are christmas lights in the back. In the front is a little dog my children made.

I went with hearts, those are christmas lights in the back. In the front is a little dog my children made.

Hearts, stars, silhouettes, trees... Nearly any simple shape is an option. There are kits that can be bought from what I have seen the shapes are limited and the reviews say they work alright. Once we get the hang of making the cut out it is easy.

Required items are a large aperture lens (the larger the better), some black construction paper, tape, a sharp cutting instrument, a white crayon, lights, and a shape that is smaller than the largest aperture of the lens. Optional is a lens hood, step ring, or square filter holder.

I use a 50mm 1.7 Minolta lens, then cut out a square to fit the ring for a square filter holder, I draw the shape with a white crayon, cut it out with a sharp knife, then tape it to the ring (the paper could just be taped to the lens), I then set up the lights (candle flames, christmas lights, fairy lights, etc) and purposely put the lights out of focus. The distance from subject to lights in the above image was about 5-6 feet. Put them too close and there isn't a shape, put them too far and the image is too small.

Sorry this was late I was in Zion for a few days, updated pictures in the Zion folder will be in the next few days. We even took our family picture with only one take. Make some shapes and go out and shoot.

~Scott

tags: photography, holiday, teaching, education, example, fun, shaped, bokeh, aperture
Friday 11.24.17
Posted by Scott W Gonzalez
Comments: 1
 

Powered by Squarespace.