• Photography
  • About
  • Contact
  • Light Writing

Scott W Gonzalez

  • Photography
  • About
  • Contact
  • Light Writing

Flash: Snoots

So with the pandemic going on, I have been staying home more than normal. The pictures of the mushroom that I took not to long ago needed some different lighting that just a flash. A flash was involved but there was a home made snoot on it.

*If you are familiar with snoots you can probably skip ahead to after the picture. If not read on.

So a snoot is a light modifier that contains the spread of the light. Think flashlight versus a lamp. Basically it is to make it so the flash is on one specific subject or even part of the subject. In doing so it can make the subject stand out from the rest of the picture. One can also be used to isolate the subject turning nearly everything else in the frame either in shadow or blacked out.

Now a snoot is basically an opaque cylinder that fits over the front of a flash. I have seen some a while back that had reflective surfaces inside of them. I have seen others that are collapsible and ones where the size of the opening can be changed.

A tiny mushroom I found growing on the side of a seed starter pot. It was less smaller than a 1/4 inch. Marco lens, lit from above on a wooden cutting board, 1/60 second, f13, iso 100, camera was tripod mounted with a timer some I could hand hold th…

A tiny mushroom I found growing on the side of a seed starter pot. It was less smaller than a 1/4 inch. Marco lens, lit from above on a wooden cutting board, 1/60 second, f13, iso 100, camera was tripod mounted with a timer some I could hand hold the flash.

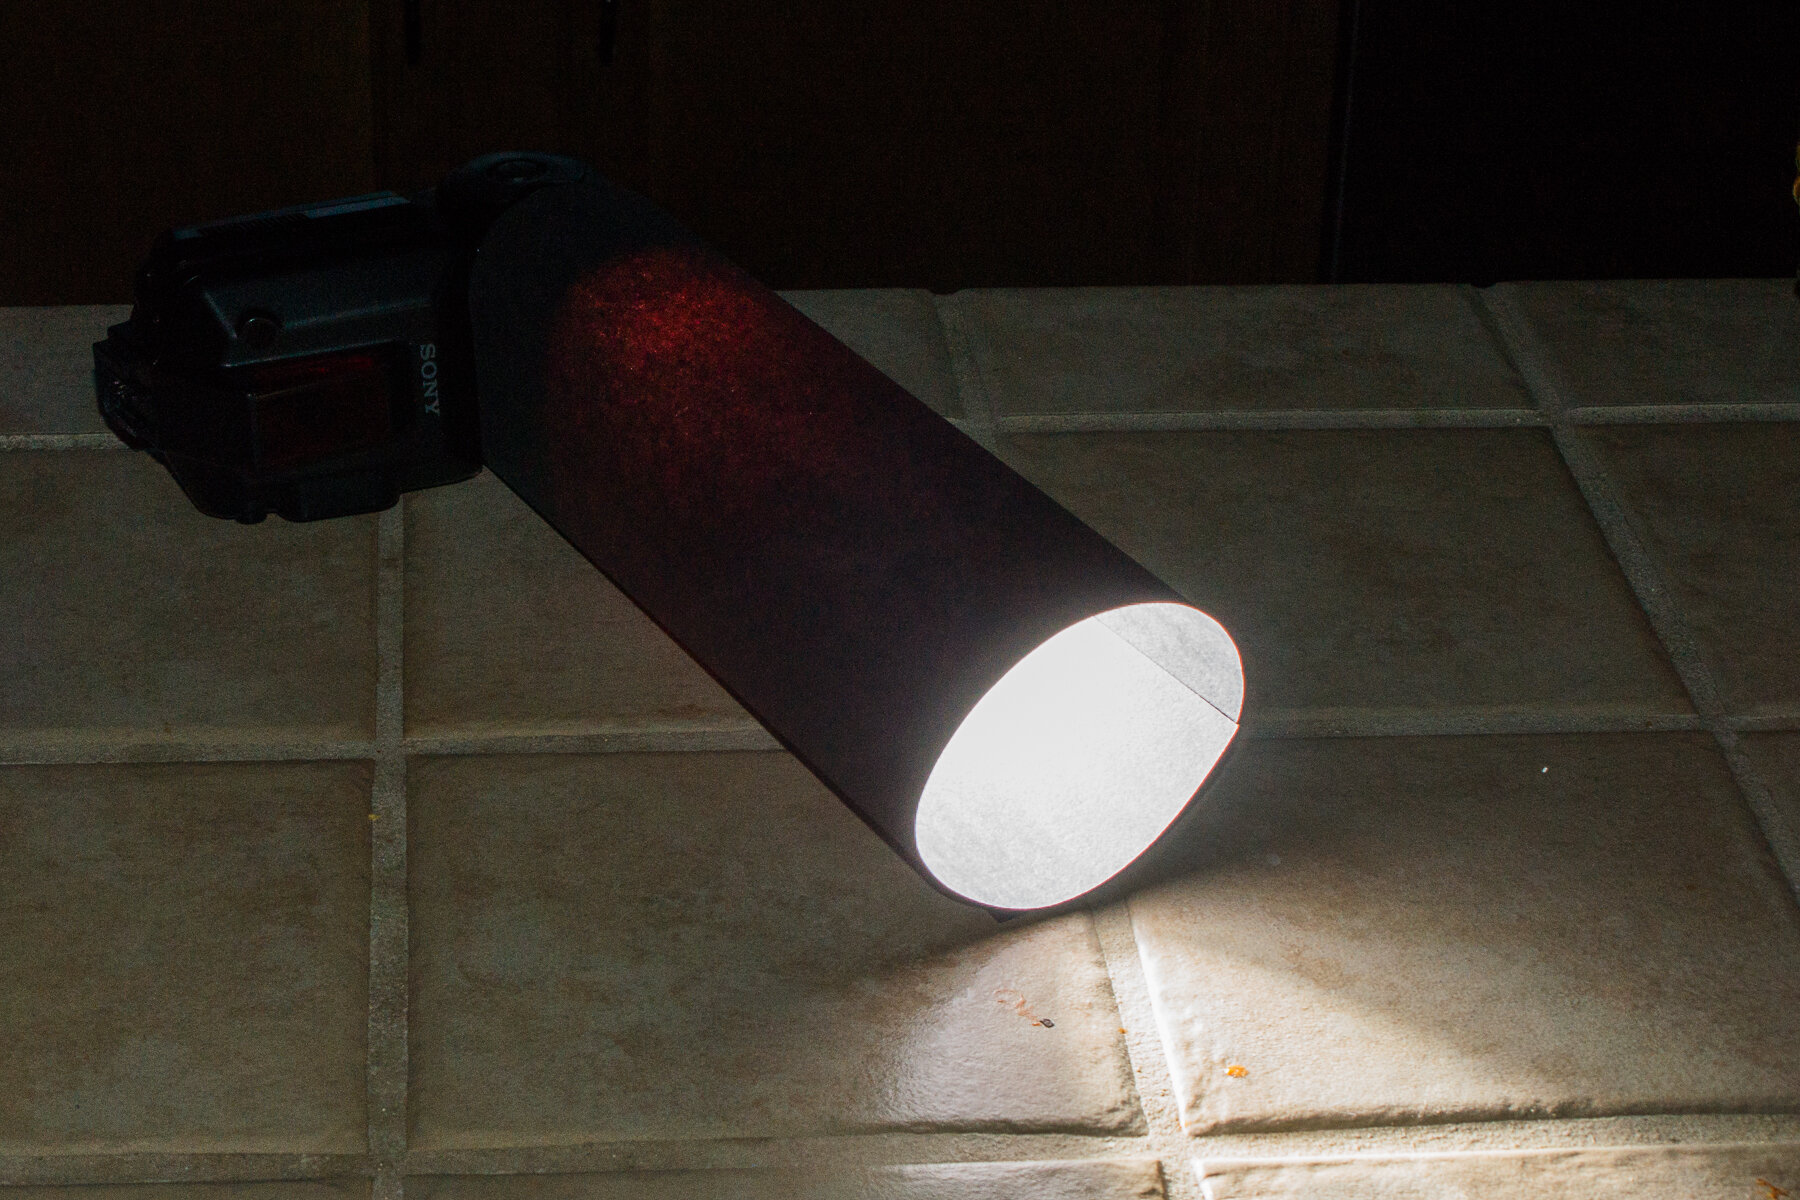
Today I will show you how I made a simple one with an adjustable opening. First you get a piece of construction paper that is black, next you roll it into tube, then you adjust the roll until it fits around your off camera flash on one side and has the opening size that you want on the other side. Finally if you want to keep it that specific size then tape the paper together. Below is a picture of todays subject.

The conjoined crimson clover that was in the backyard. To give an idea of how close everything is in the coming set of pictures.

The conjoined crimson clover that was in the backyard. To give an idea of how close everything is in the coming set of pictures.

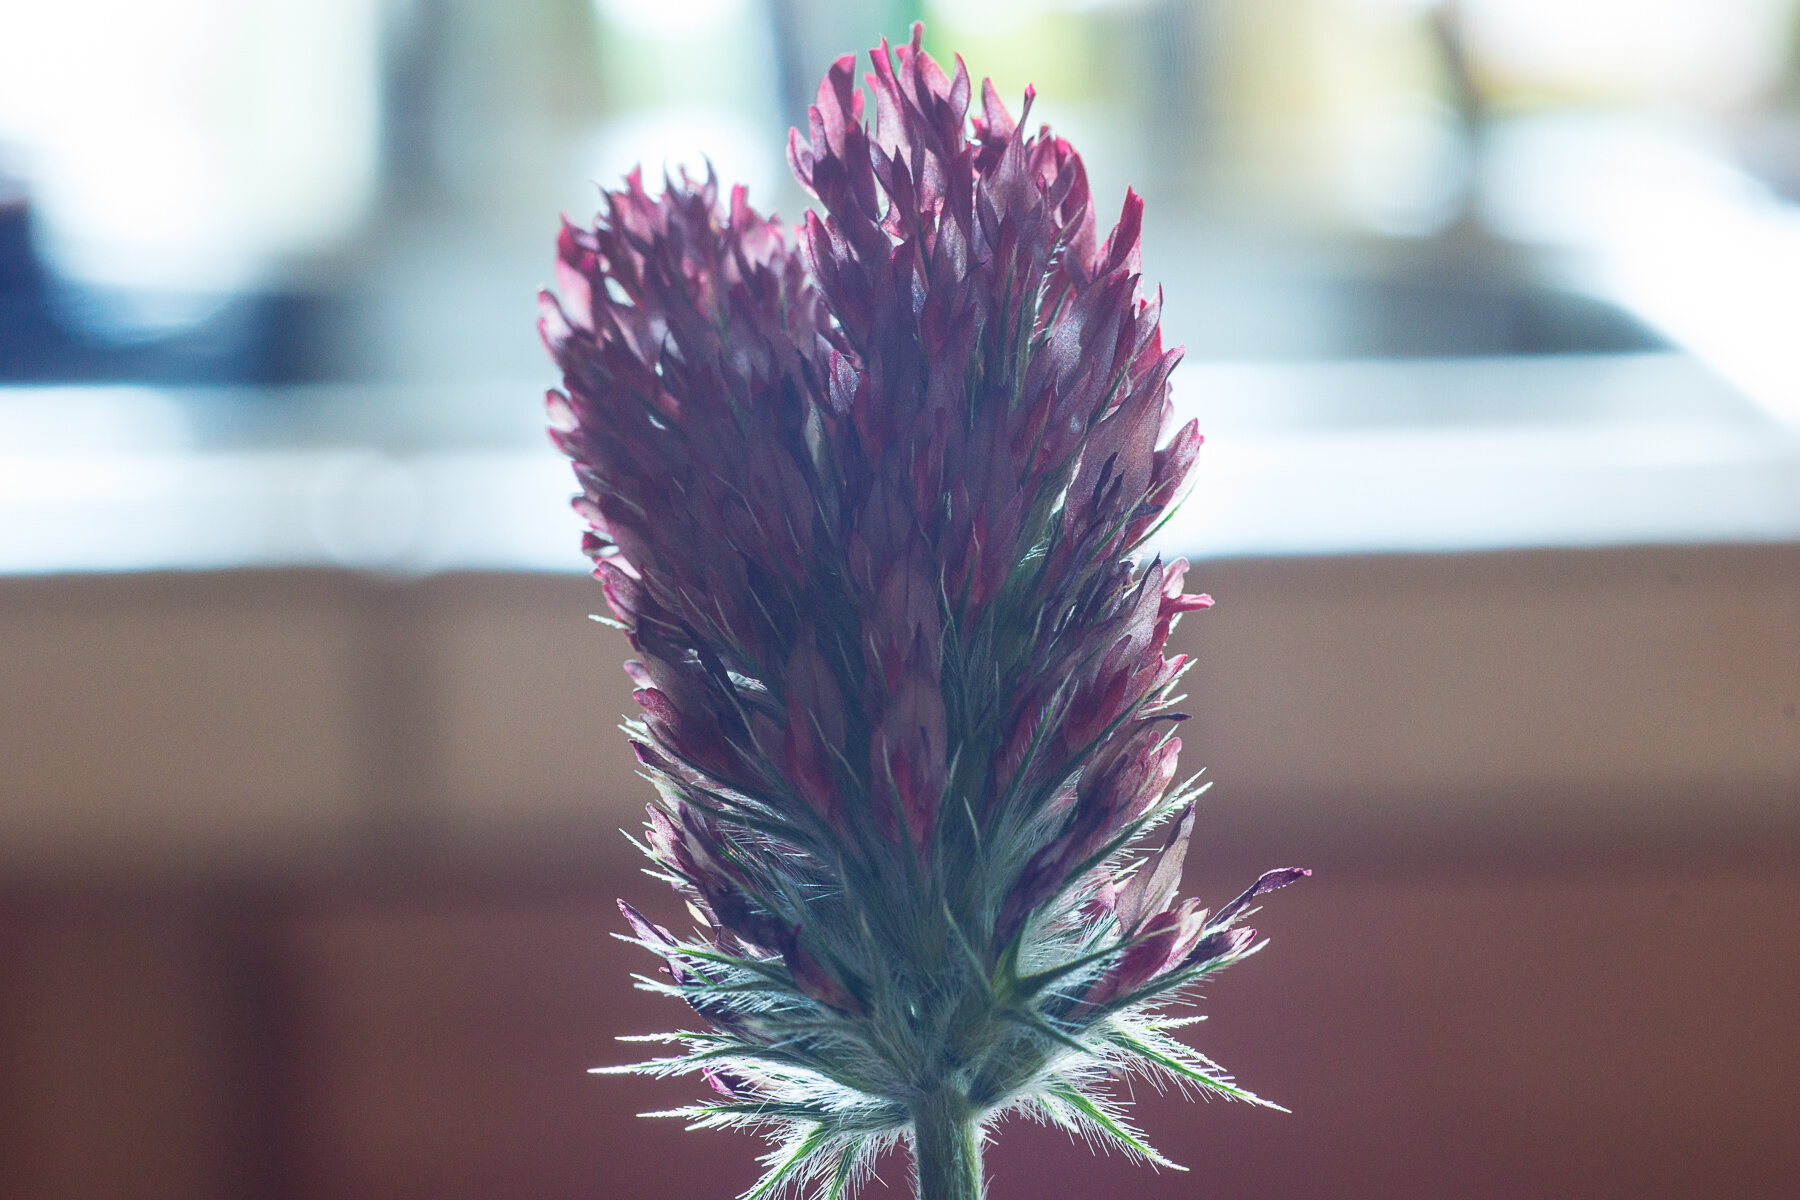
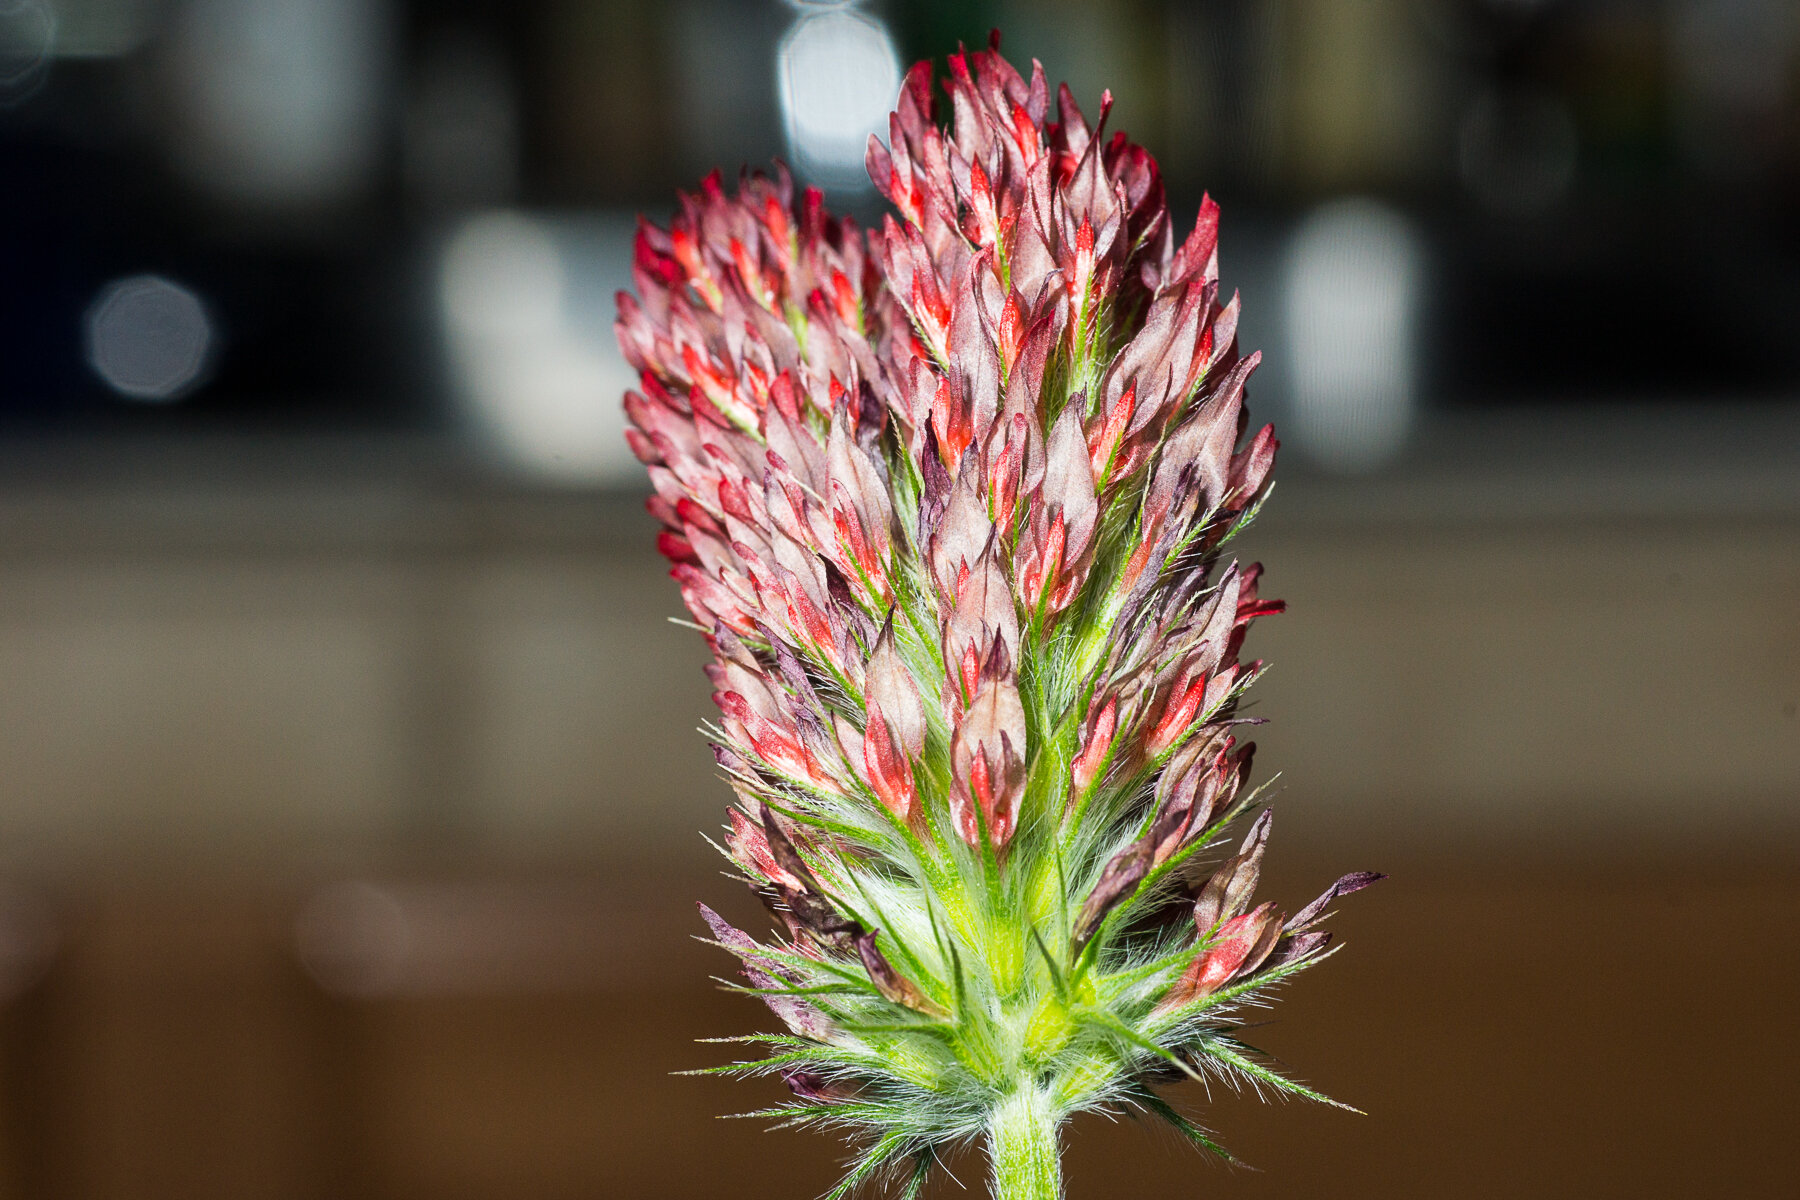
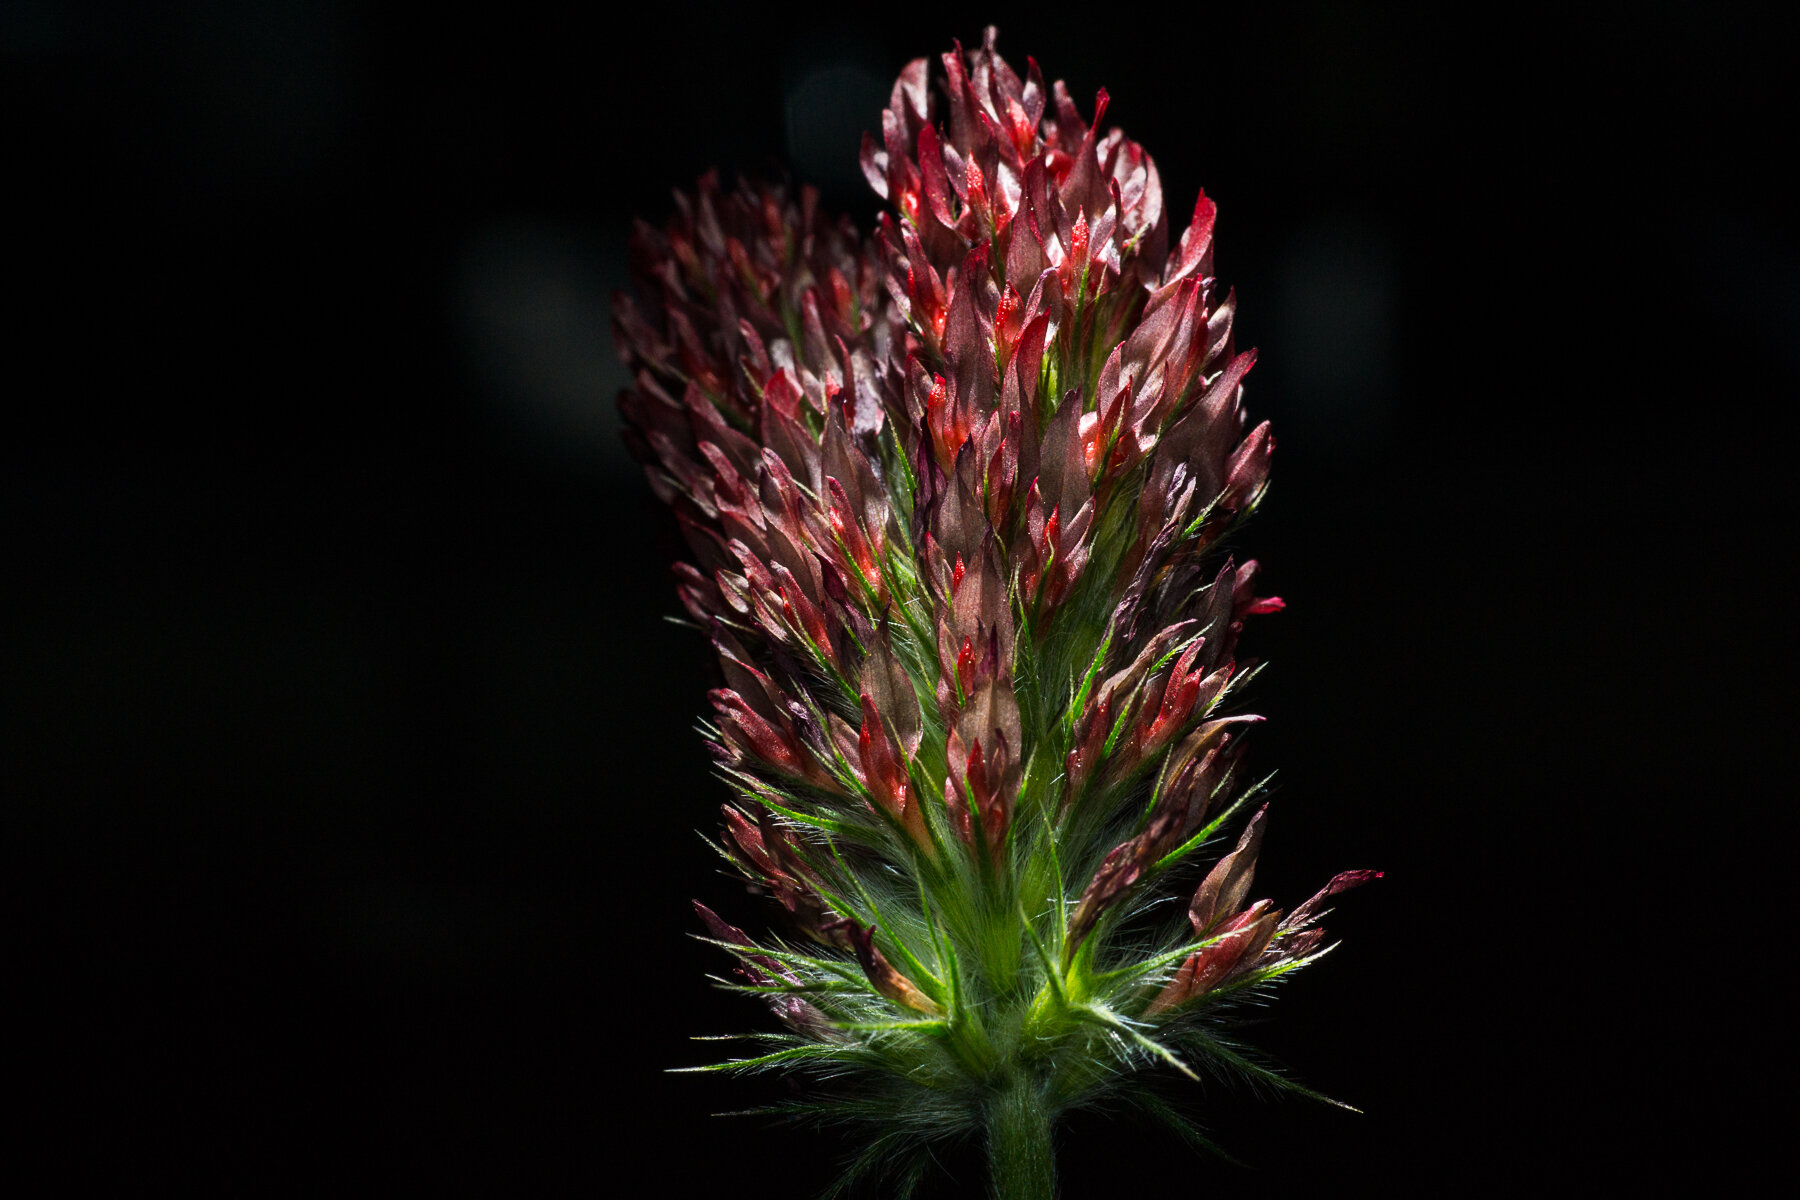
First the construction paper wrapper around the flash. The second was actually taken last and is the conjoined clovers with no flash (all the pictures were taken within 12 minutes) to show the lighting that was there. The third image is of a flash with no snoot from nearly were it would mount on the camera. The fourth is with the snoot but wide so it light both flower heads. Finally the fifth picture is with the snoot with a small opening only big enough to completely light one flower head.

_DSC9924.jpg
_DSC9939.jpg
_DSC9931.jpg
_DSC9933.jpg
_DSC9936.jpg

It isn’t hard and it can be very useful in the right situations. Given the current situation with the pandemic it is something that can be tried without leaving home. Stay safe and as always I would love to see what you can do with this new information. Pictures and comments are welcome

tags: photography, pictures, flash, snoot, paper, construction, off camera
Thursday 04.02.20
Posted by Scott W Gonzalez
 

Flash 4 (Ceiling bounce flash)

Good evening,

Tonight I am going to go over one of the easy things that can be done with most flashes. Bouncing them. Stop don’t throw your flash on the ground. I am talking about the light off of something else then onto the subject. I slightly discussed this in my first Flash post some months ago. That was dealing with the on camera flash though. For this I used a hot shoe flash, a Sony HVL-F56AM to be precise.

It can tilt and swivel either separately or in conjunction with each other.

It can tilt and swivel either separately or in conjunction with each other.

So to bounce the flash off of the ceiling you just tilt the head to face the ceiling. It can either be done connected to the hotshoe or not and triggered remotely.

_DSC3923.JPG

Above we have Grumpy Bear with the flash pointed directly at him. The light looks harsh nearly over bright, detail has been lost in his fur, the high points (cheeks and snout in his case) lost color, and the shadow behind him is prominent.

_DSC3922.JPG

Again I have taken a picture of Grumpy Bear. This time with the flash pointing nearing straight up at the ceiling. The scene is more evenly lit albeit a bit darker. His fur detail is easily visible, the shadows are more naturally where one would see them during the day (under his chin mainly), the high points aren’t overly bright, and he appears closer to the color that he is.

Neither of these pictures to me is perfect, I was going straight out of the camera and did not adjust them at all. I am sure that if I did I could clear up some of the faults of each. I am a firm believer in getting it right in camera. It would be easier and look better to just brighten up the second image than to darken the highlights. Tilt or ceiling bounce is not hard and with practice it is easy.

tags: flash, teaching, photography, bounce, hotshoe, off camera, ceiling, tilt
Tuesday 04.30.19
Posted by Scott W Gonzalez
 

Powered by Squarespace.