• Photography
  • About
  • Contact
  • Light Writing

Scott W Gonzalez

  • Photography
  • About
  • Contact
  • Light Writing

Meteor Showers

Good morning,

With a meteor shower just recently passing and one coming up, I thought that I would write about how I take meteor shower images. They happen every month or so, for example the shower that happened recently was the Leonids in mid November and the Geminids are coming in mid December. If you are not familiar meteor showers are loosely named by the constellation they appear to radiate from. Leonids radiate from Leo, Geminids radiate from Gemini.

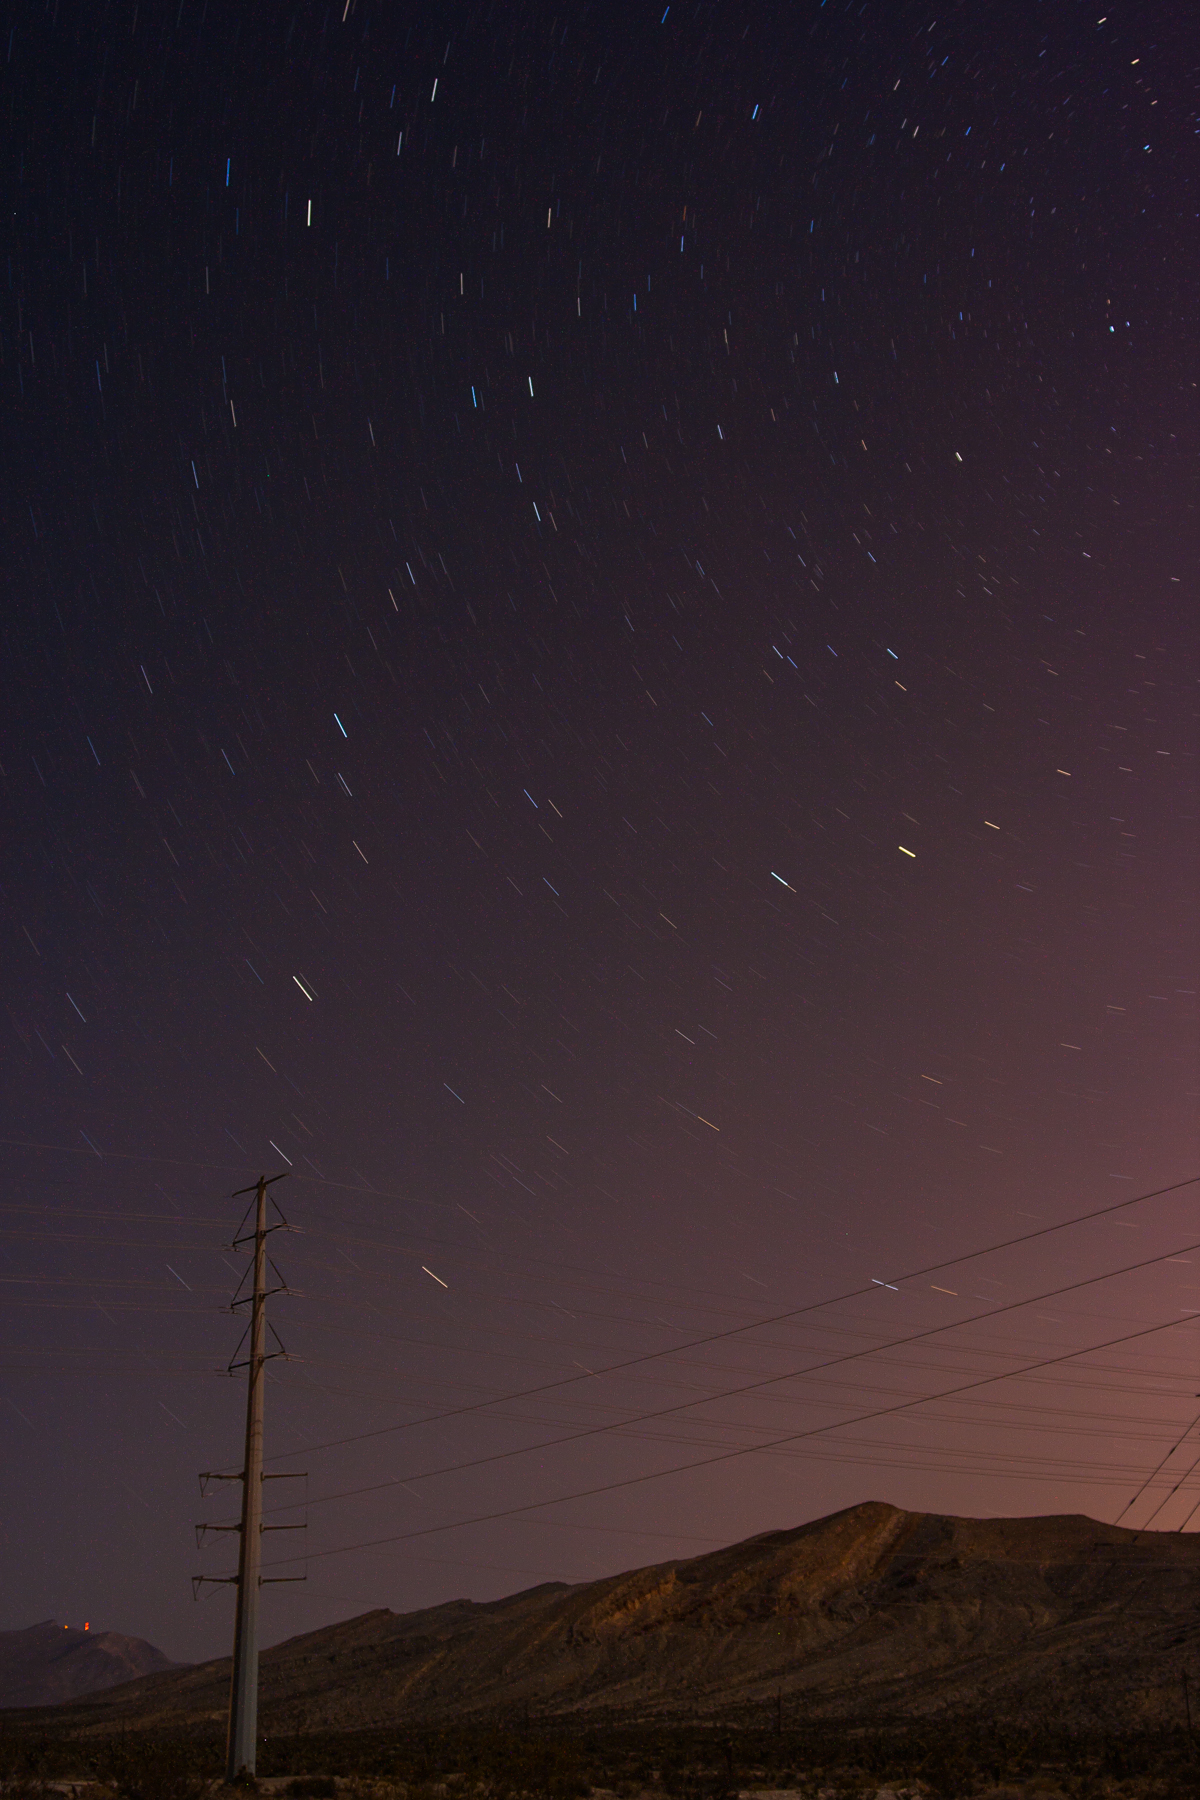
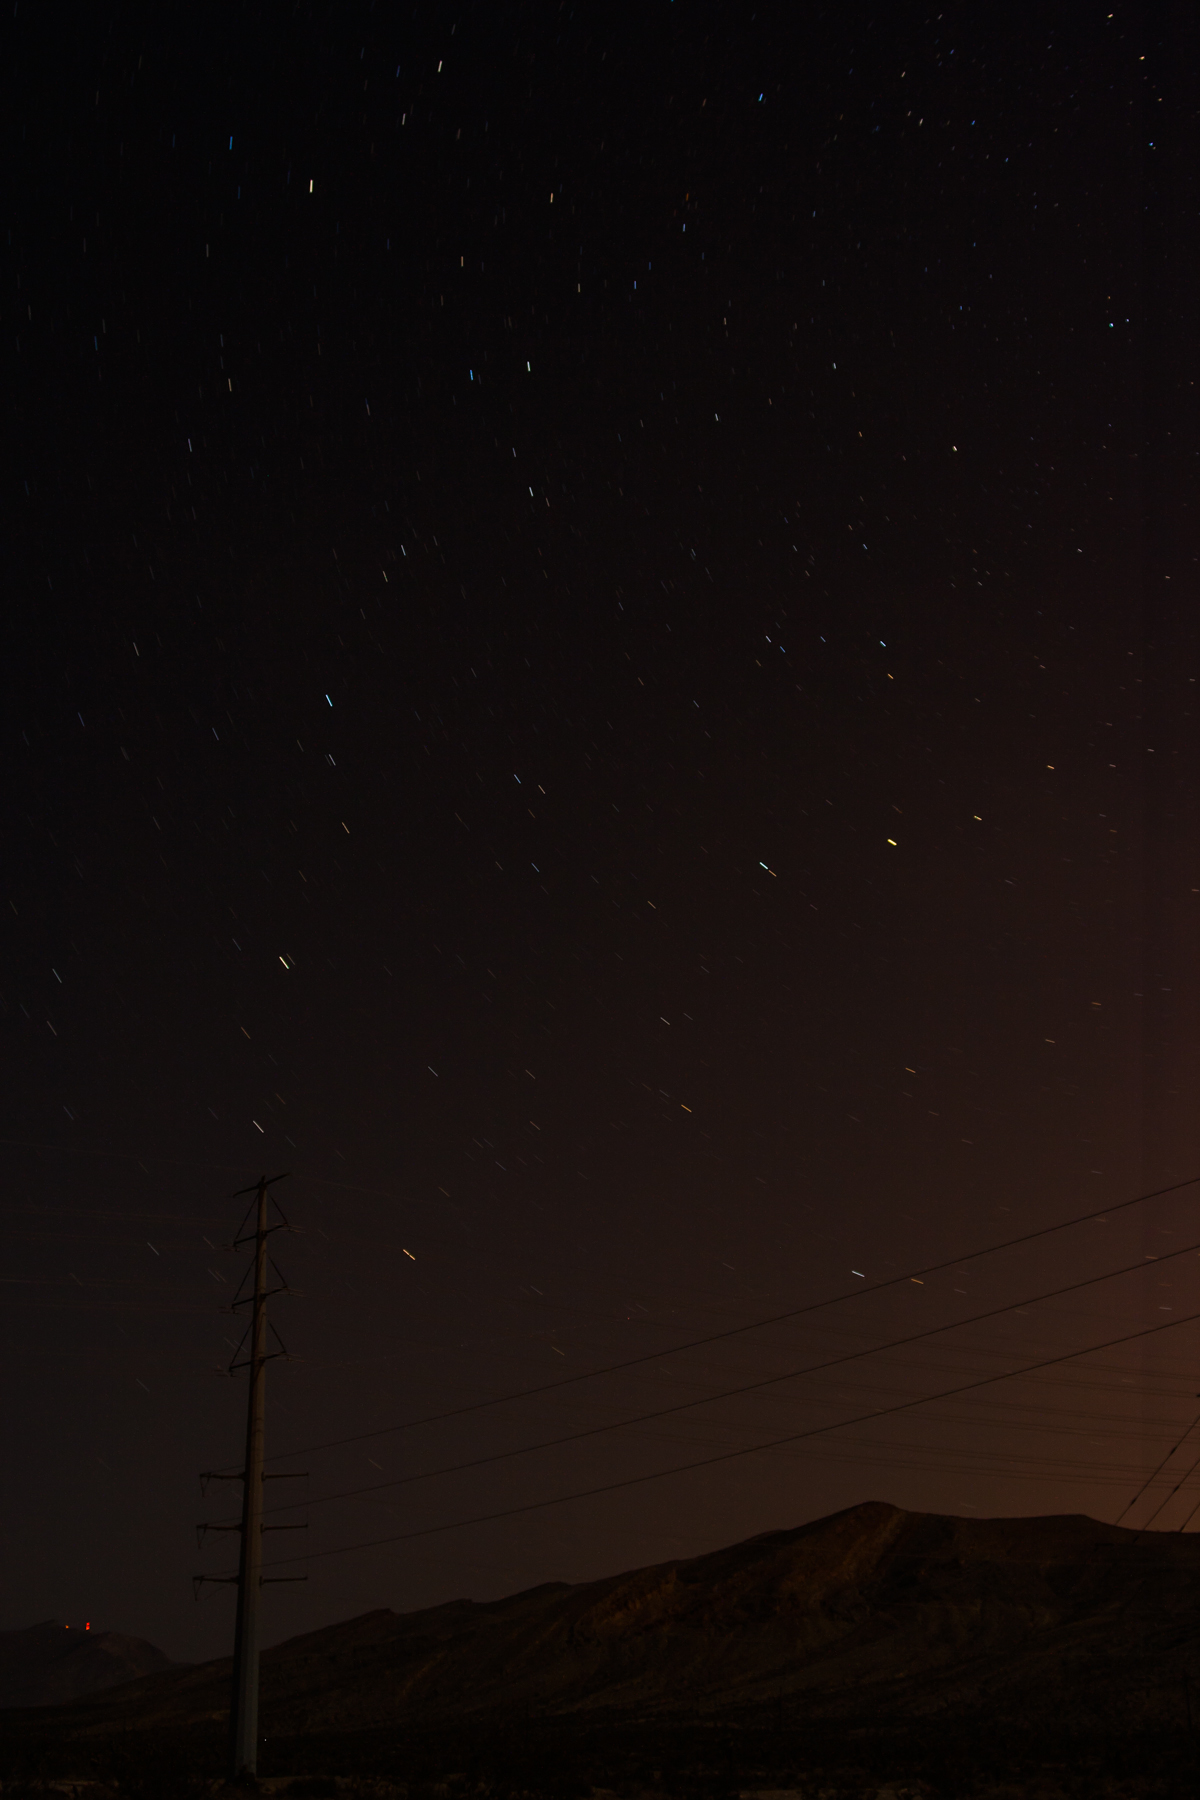
This was done a while back, iso 100, f3.5, 28mm, 140 seconds.

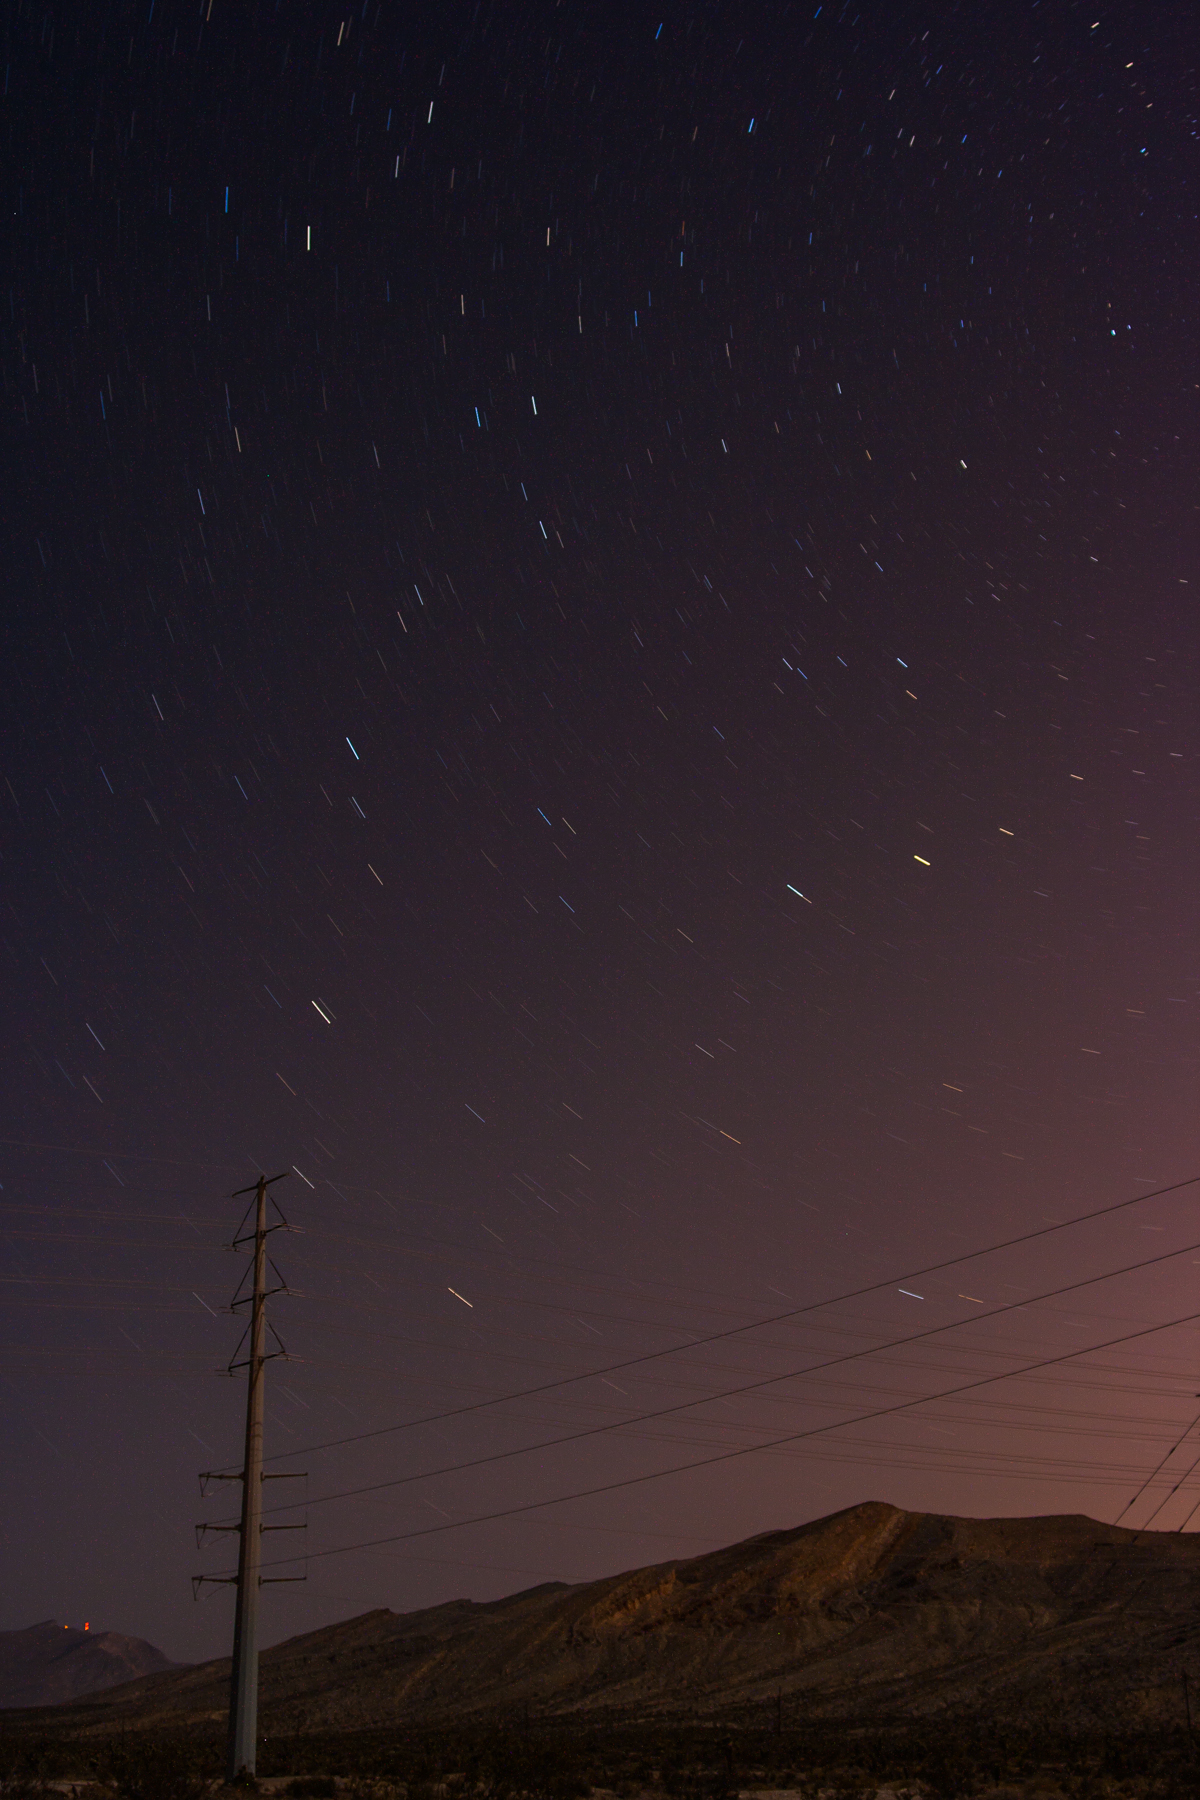
This was done a while back, iso 100, f3.5, 28mm, 140 seconds.

So what I do just do a long exposure of the sky with a remote and a wide angle lens. I pick a spot in the sky and stick with it. I have tried changing the spot in the sky without much luck. I have watched multiple shooting stars go just outside of the frame so I moved it over to capture those and the next ones close by were outside of the frame on the other side. It takes some luck. I prefer to have some foreground in the frame, that is me though.

The better part of having the camera on a set and forget type of control is that you can enjoy the meteor shower. Seeing dozens of meteors streak across the sky is something to behold even if you don’t catch a single one on a sensor.

The Geminids are coming up on the 13th/14th of December so if you can find a dark spot I recommend going out and seeing them and not just to photograph them. I know that I will be. If you do capture any I would love to see them.

tags: astrophotography, long exposure, learning, teaching, wide angle, celestial, meteor
Saturday 11.30.19
Posted by Scott W Gonzalez
 

Layers

Good morning,

So I started writing a blog talking about how I made one of the more recent pictures that I posted and realized that the actions that it took had not been explained. Like layers. So I use photoshop and lightroom. They have become familiar and if you are a student or a teacher they have a discount on the software. I am not sure if it works with the subscription plan that they have now though.

So layers if you are not familiar are like putting a bunch of pieces of paper on top of each other. Depending on the paper it might not do all that much. If it is construction paper then you only see the top sheet, if it is tracing paper then you can see a few sheets down, if it is celluloid then the only part that you can’t see is the part that has writing or drawing on it. It depends on how you treat the layers in photoshop and if you use a mask (layer masks will be discussed at a later time).

Let’s start with a star trail stack. After taking the images using a sturdy tripod or mount go into photoshop, cut and paste the images on top of each other. This will make layers starting at 1 with a Background. You could also got to File>Automate>Photomerge and pick auto. I have not had much luck with it I have met people who have. The results are similar though.

_MG_8606.jpg
_MG_8607.jpg
_MG_8608.jpg

These three images add up to about 14.5 minutes of exposure. I put the same settings on all of them when converting to jpeg then stacked them in photoshop. After you do that then you will only see the top layer. There is a drop down menu in the layers tab/window that should say “normal.” The trick here is to go to that drop down menu and pick “lighten” for everything except the background. The parts of the image that add light will show up through the layers.

3.jpg

Above is all three images stacked with the “lighten” setting then I went to Layer>Flatten Image which will put all the layers together into one that can be saved as a tiff or jpeg. Notice that the sky got brighter from the light pollution, being near a bright city doesn’t work well with astrophotography. This will work with other times when trying put together multiple images, car trails, I even heard that it will work with water to mimic a long exposure (I haven’t tried it though). So grab a sturdy mount, a remote, your camera then go out and shoot.

~Scott

tags: teaching, astrophotography, stars, long exposure, photoshop, layers, stack, trail, editing, education
Saturday 11.17.18
Posted by Scott W Gonzalez
 

The Stars

Good afternoon,

More or less back on schedule. So I was at Cedar Breaks with the family a bit ago. If you are not familiar with it, Cedar Breaks is a designated an International Dark Sky park. The night skies are amazing there. After posting some of the pictures I was asked "How did you capture this?" and a response was placed by a friend "Read his photo blog." So I knew that I had to write about it.

For shooting the stars there are a few things. 1st know what you are trying to accomplish. If we are trying to have static stars then a wide aperture is important, star trails not so much. 2nd have a sturdy tripod and for best results a timer setting or a shutter release. 3rd Foreground interest sets a scale. The sky is a big place, if there is nothing but sky it doesn't seem as big. 4th planning helps, I use Stellarium (www.stellarium.org), and Google Star Maps. 5th Having an idea of what you want to capture. And 6th Knowing the Moon and Sun rise/set times.

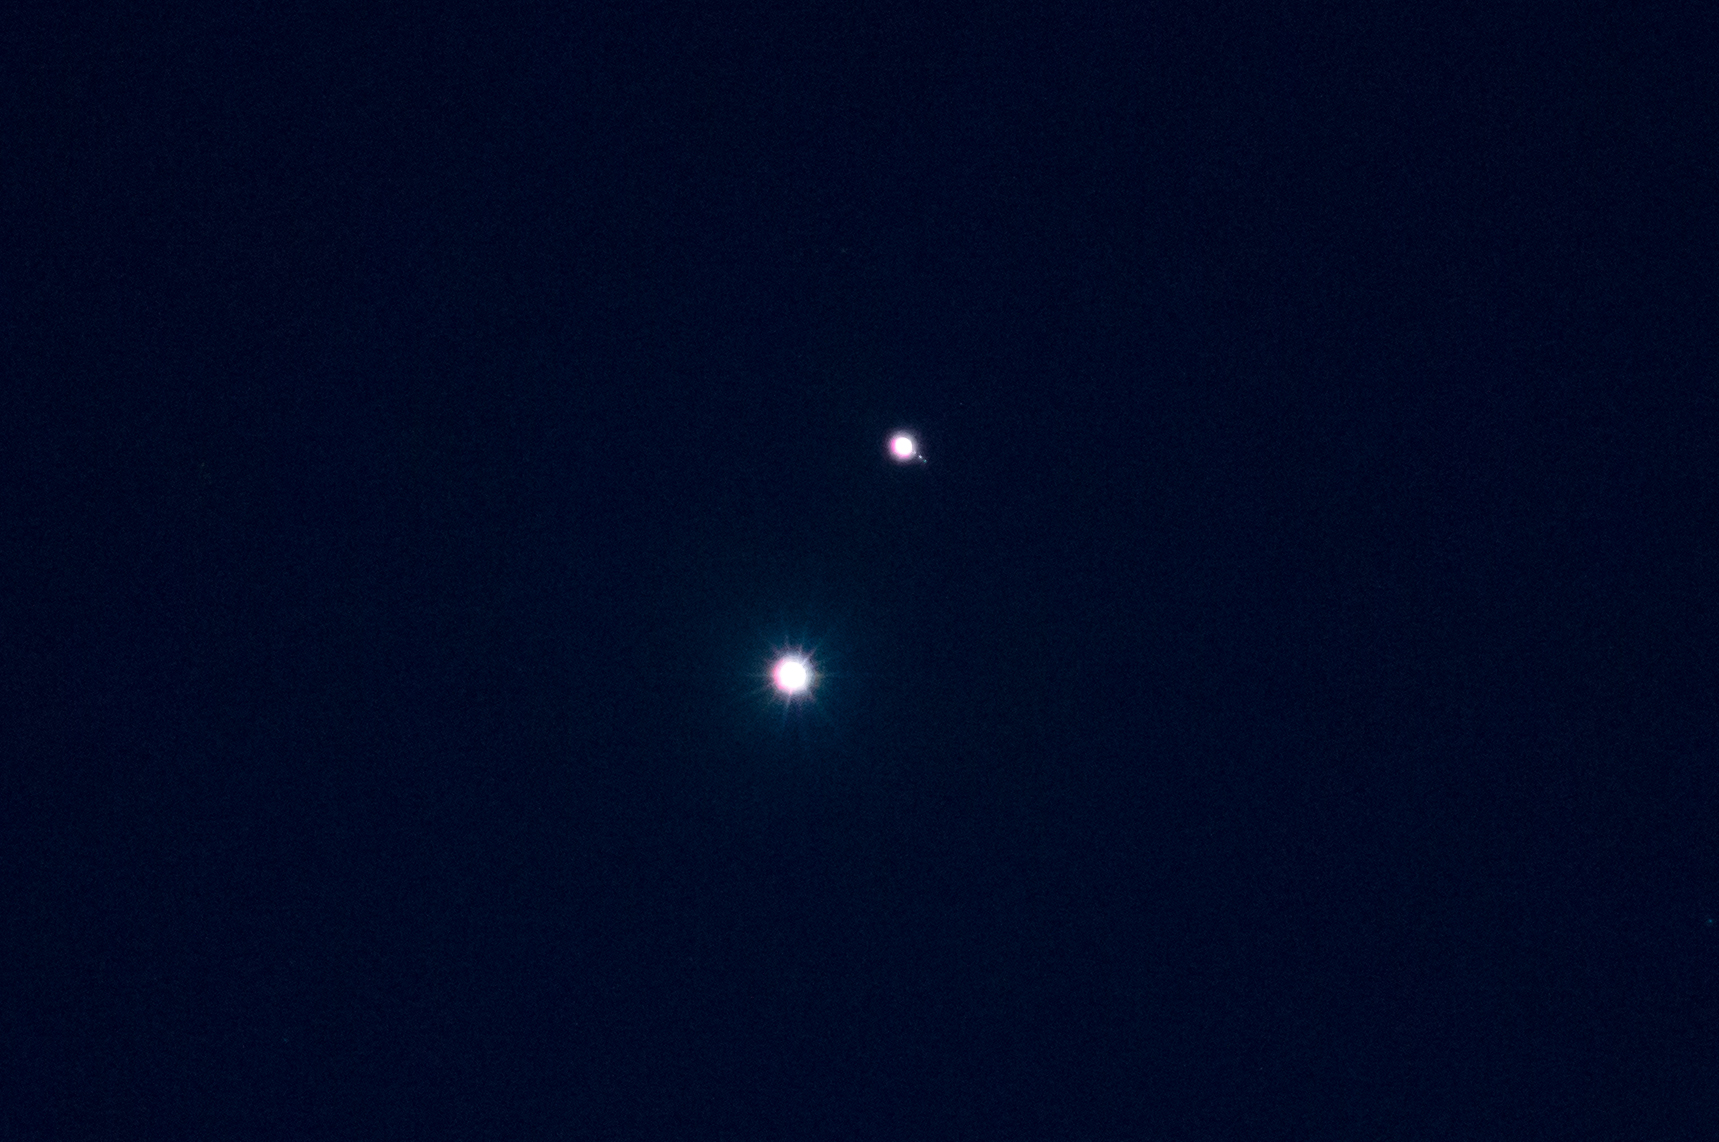
Tripod mounted, a57 3200 iso 1/6 second 210mm f4 with a cable release. Venus is on the bottom and Jupiter is on the top with 3 moons.

Tripod mounted, a57 3200 iso 1/6 second 210mm f4 with a cable release. Venus is on the bottom and Jupiter is on the top with 3 moons.

Today I will talk about getting the stars static. So a wide aperture lens and a high ISO are goals here. Focal length can vary greatly with what we are trying to capture. When Venus and Jupiter had a conjunction a few years back I used a telephoto zoom and a high ISO. 

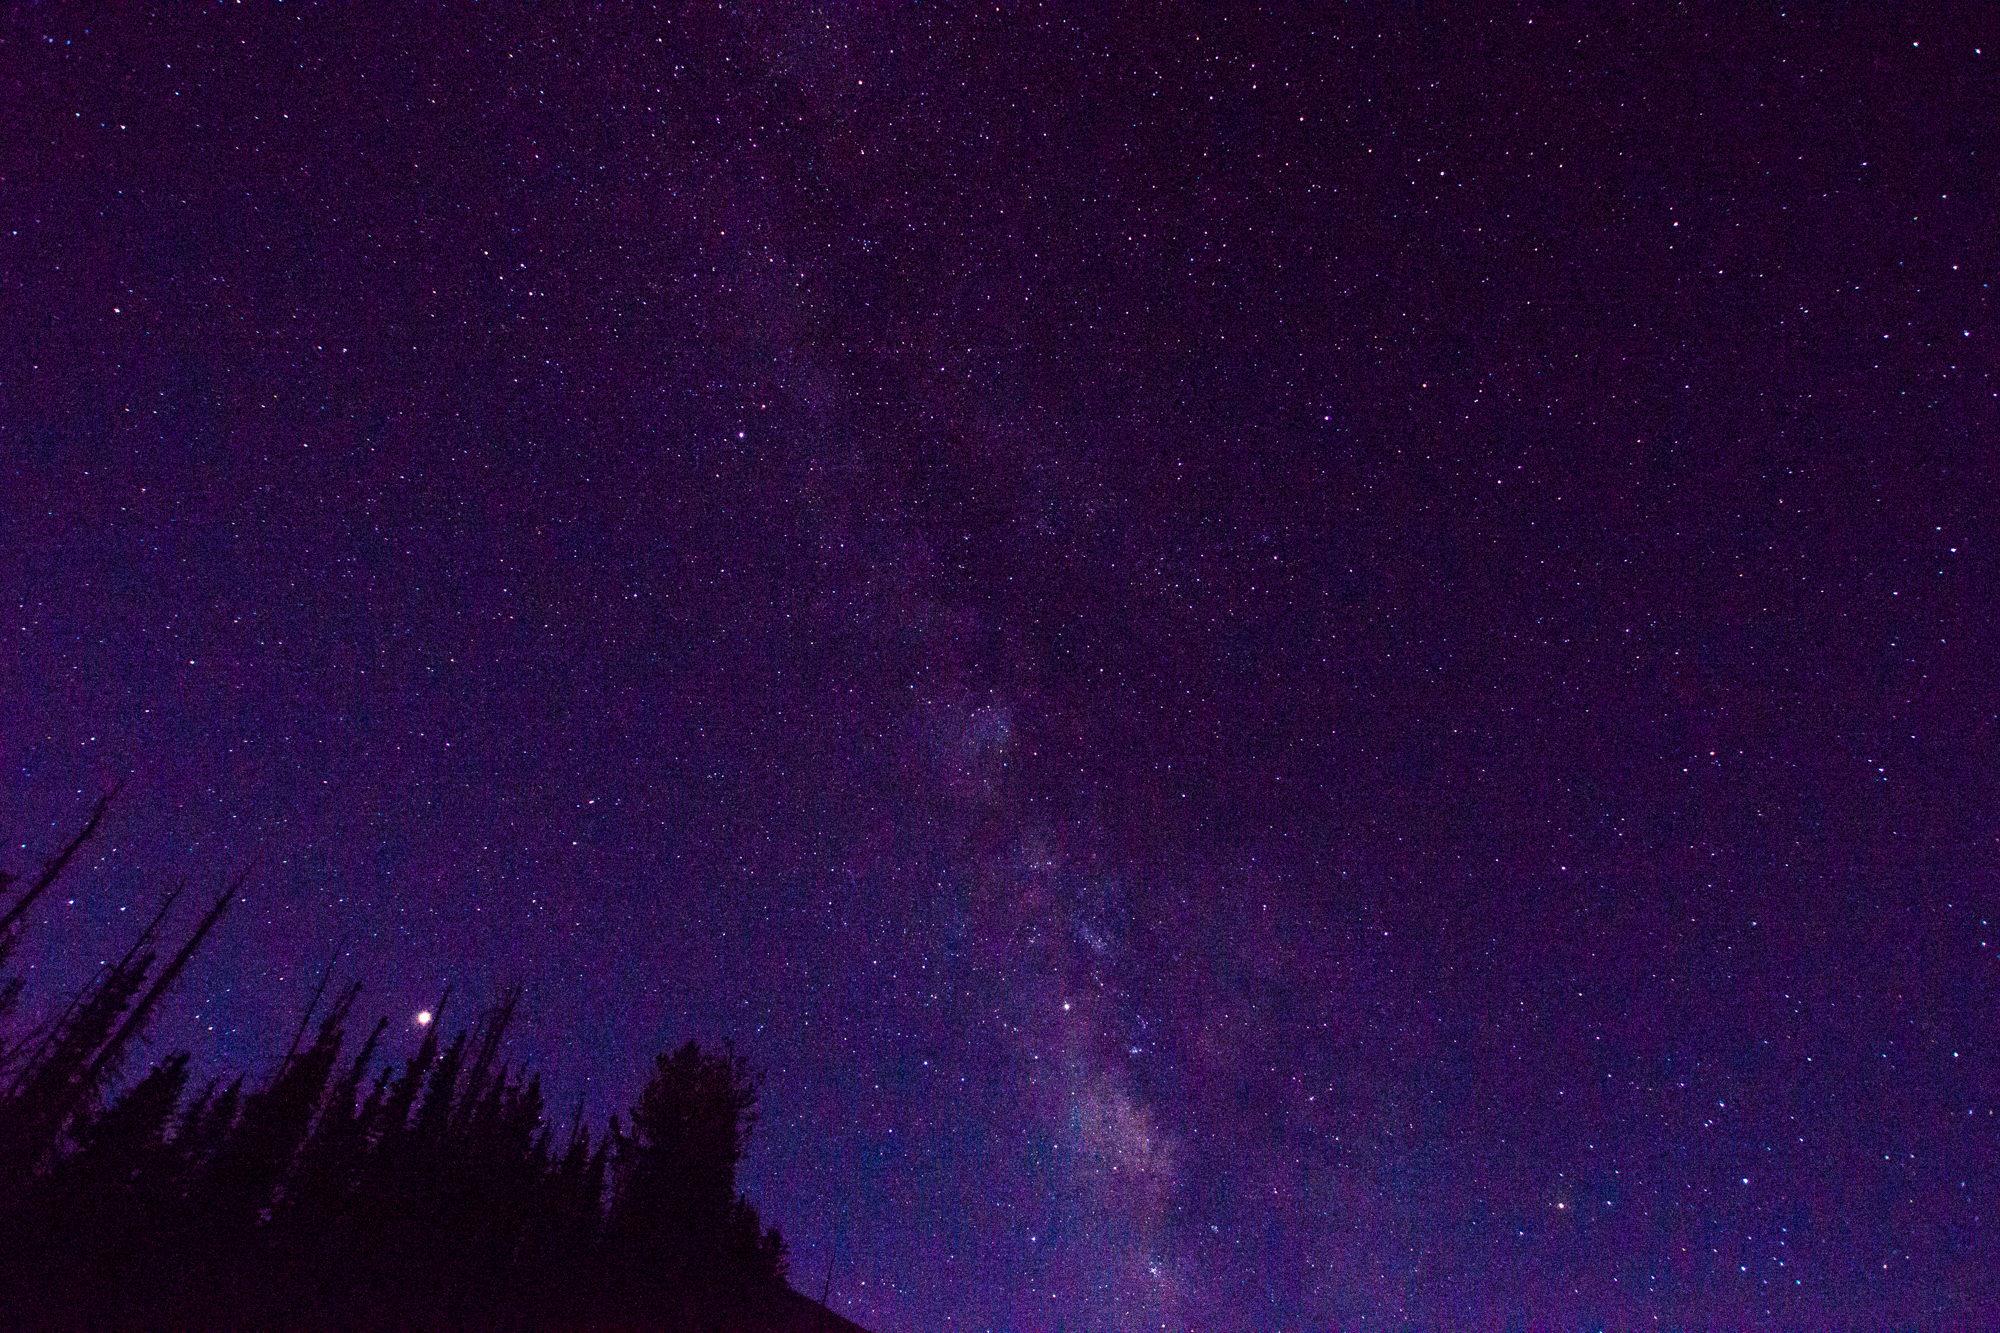
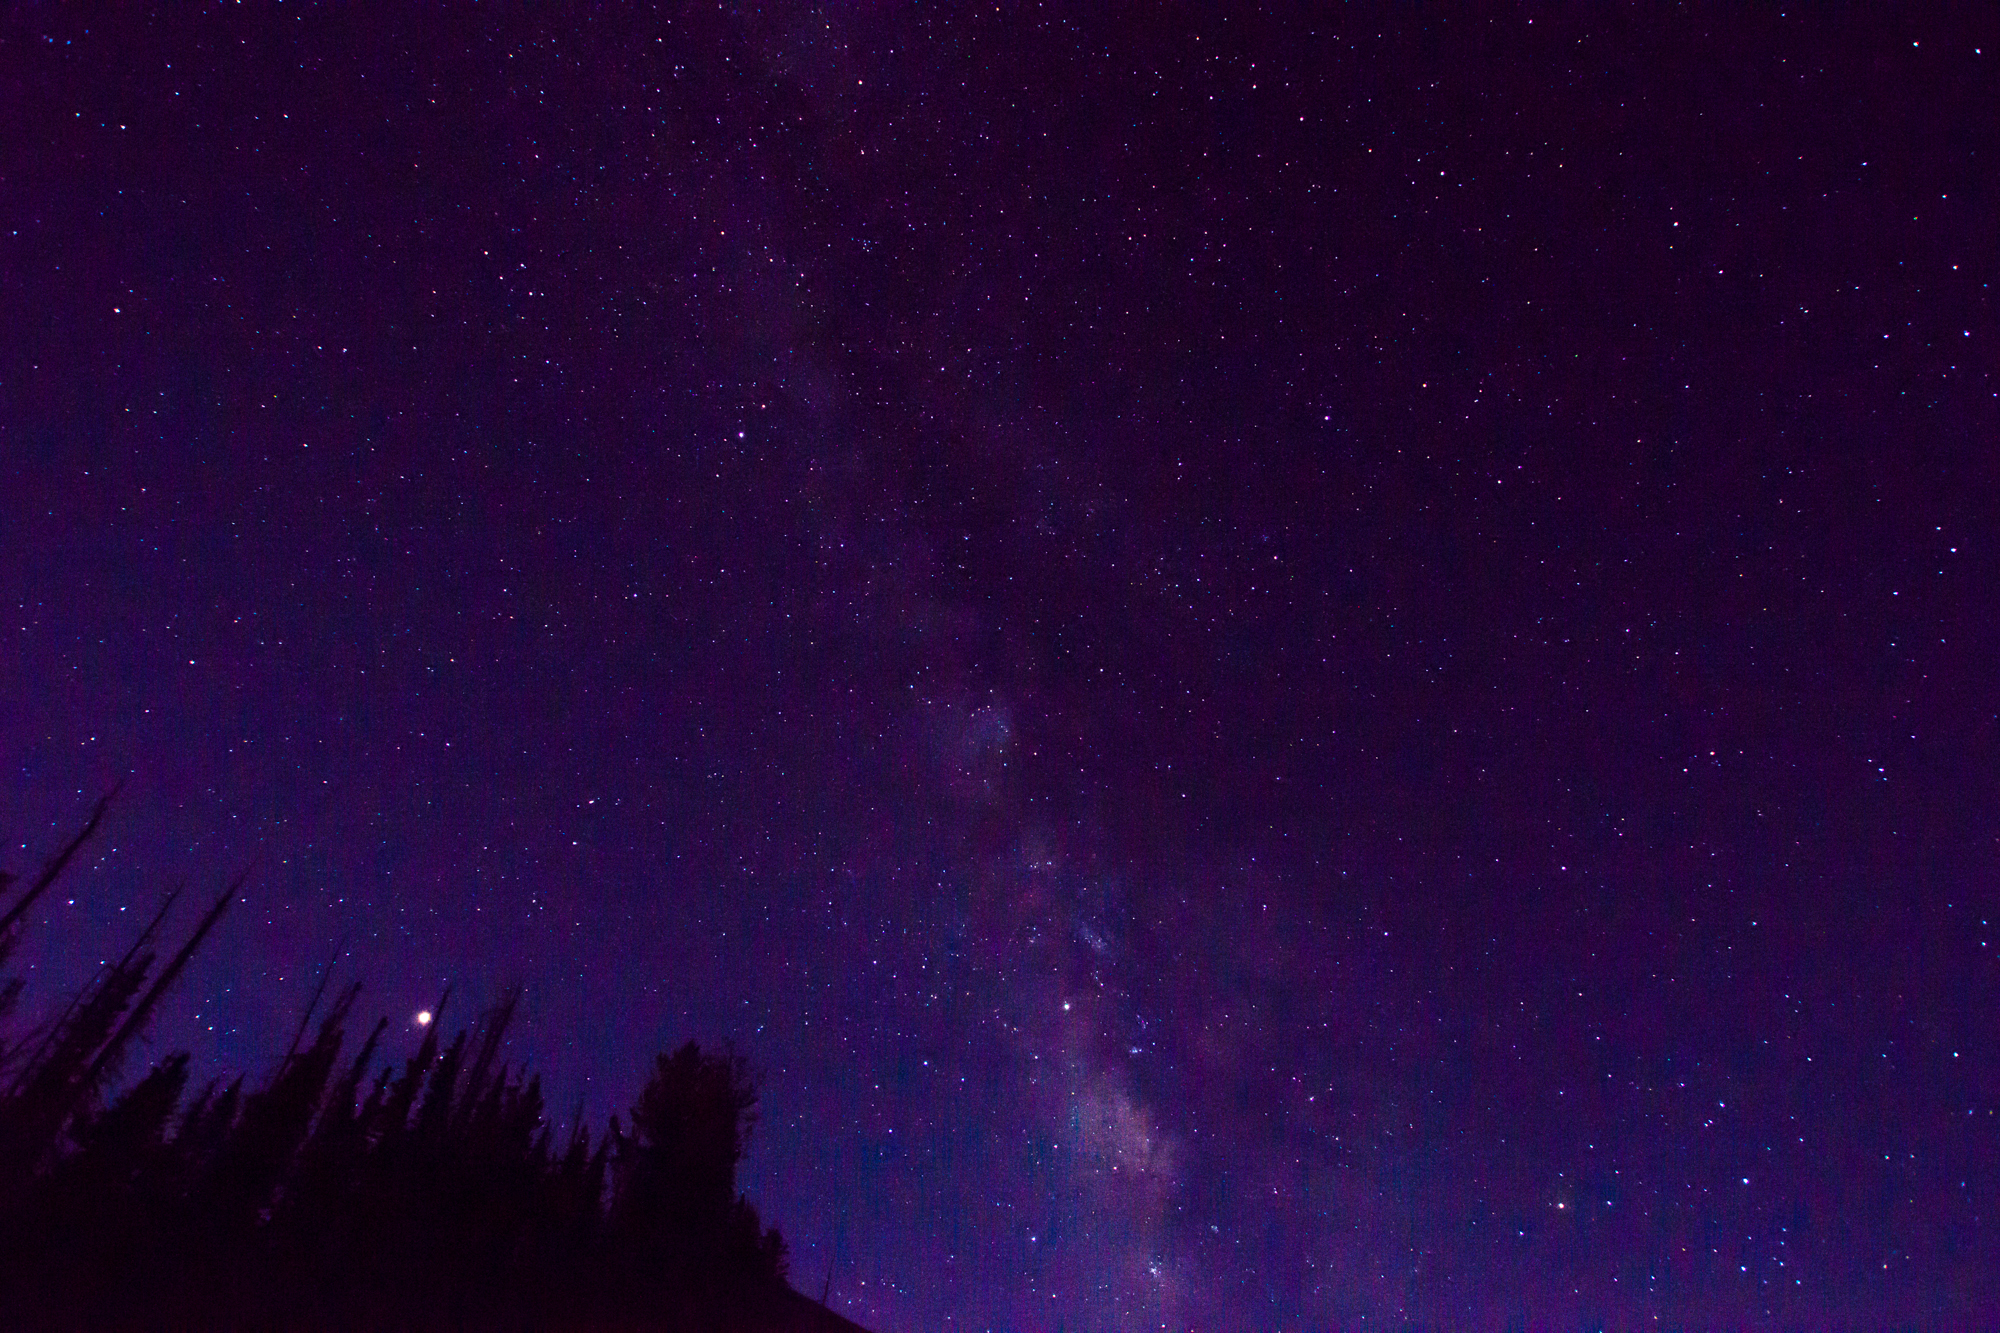
For the Cedar breaks pictures I was using an 11-18mm lens. Again I used a high ISO and as wide of an aperture as I could, to collect more light I used a longer shutter. Now with the higher ISO you risk losing some stars with noise reduction or having noise. I am okay with losing some stars especially if I am in a dark location. Below the noise can be seen and in the second image noise reduction has been applied. ISO 3200, 10 seconds, f4.5. With a focal length like this I have found that 10 seconds in about the longest that I can go and not see streaks or the beginning of trails. If you go and look around you might come across a "Rule" called the 500 rule. I feel that it is bogus, it says to divide 500 by the focal length. In this case it would be 500/11 which would equal 45 seconds. While I was taking pictures I decided to see how long I could go before seeing trails. It was 13 seconds which is a far cry from 45.

_DSC3848.jpg
_DSC3848-2.jpg

So to answer the question of how I took static images of the stars and Milky Way it was using a high ISO, a tripod, a wide aperture, less than a 10 second shutter speed, and just playing around with settings. So find a dark sky, grab your largest aperture lens, then go out and shoot.

~Scott

Again I would enjoy seeing readers photography.

tags: teaching, question, answer, night, star, Q&A, photography, astrophotography, aperture, focal length, rule
Tuesday 08.07.18
Posted by Scott W Gonzalez
 

Powered by Squarespace.