Good afternoon,
More or less back on schedule. So I was at Cedar Breaks with the family a bit ago. If you are not familiar with it, Cedar Breaks is a designated an International Dark Sky park. The night skies are amazing there. After posting some of the pictures I was asked "How did you capture this?" and a response was placed by a friend "Read his photo blog." So I knew that I had to write about it.
For shooting the stars there are a few things. 1st know what you are trying to accomplish. If we are trying to have static stars then a wide aperture is important, star trails not so much. 2nd have a sturdy tripod and for best results a timer setting or a shutter release. 3rd Foreground interest sets a scale. The sky is a big place, if there is nothing but sky it doesn't seem as big. 4th planning helps, I use Stellarium (www.stellarium.org), and Google Star Maps. 5th Having an idea of what you want to capture. And 6th Knowing the Moon and Sun rise/set times.
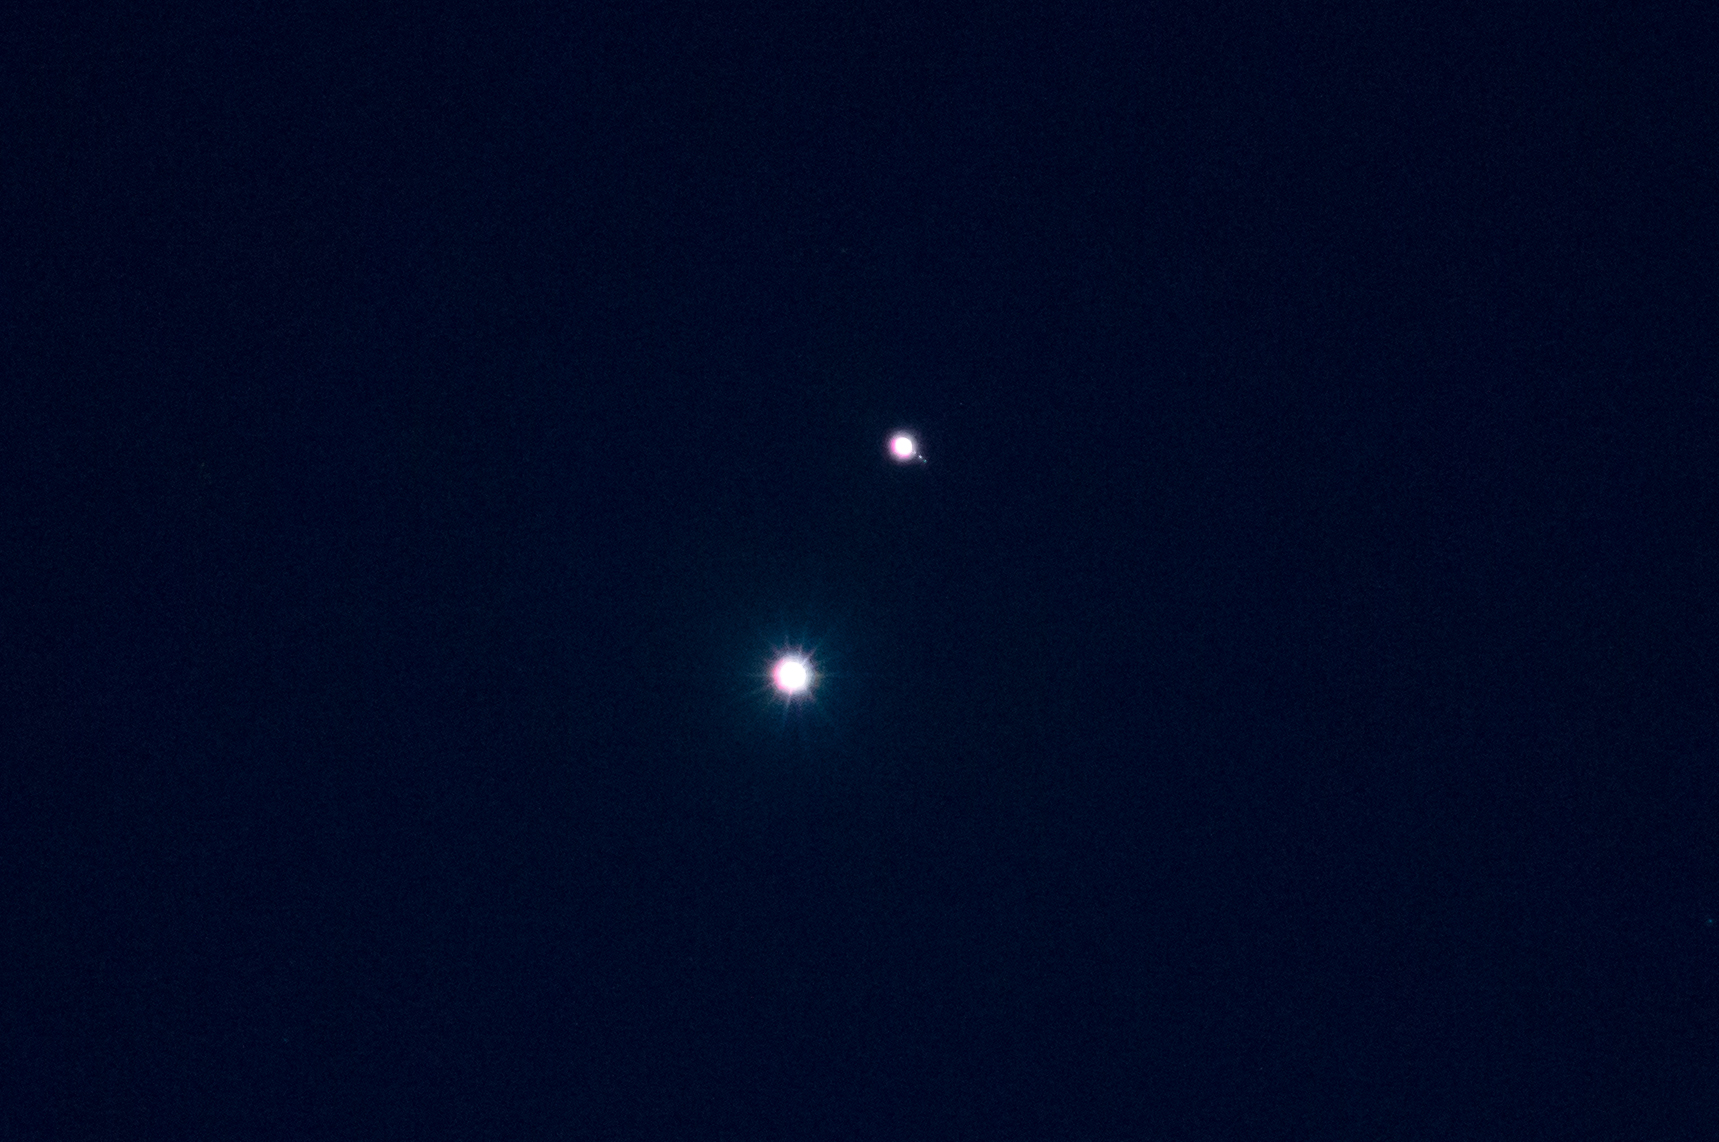
Tripod mounted, a57 3200 iso 1/6 second 210mm f4 with a cable release. Venus is on the bottom and Jupiter is on the top with 3 moons.
Today I will talk about getting the stars static. So a wide aperture lens and a high ISO are goals here. Focal length can vary greatly with what we are trying to capture. When Venus and Jupiter had a conjunction a few years back I used a telephoto zoom and a high ISO.
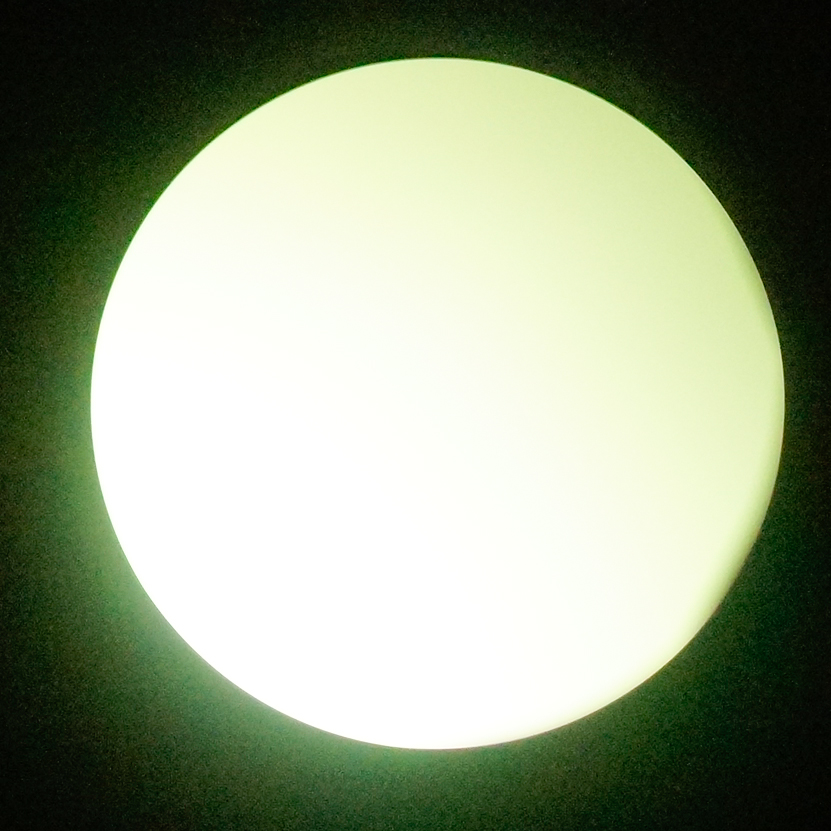
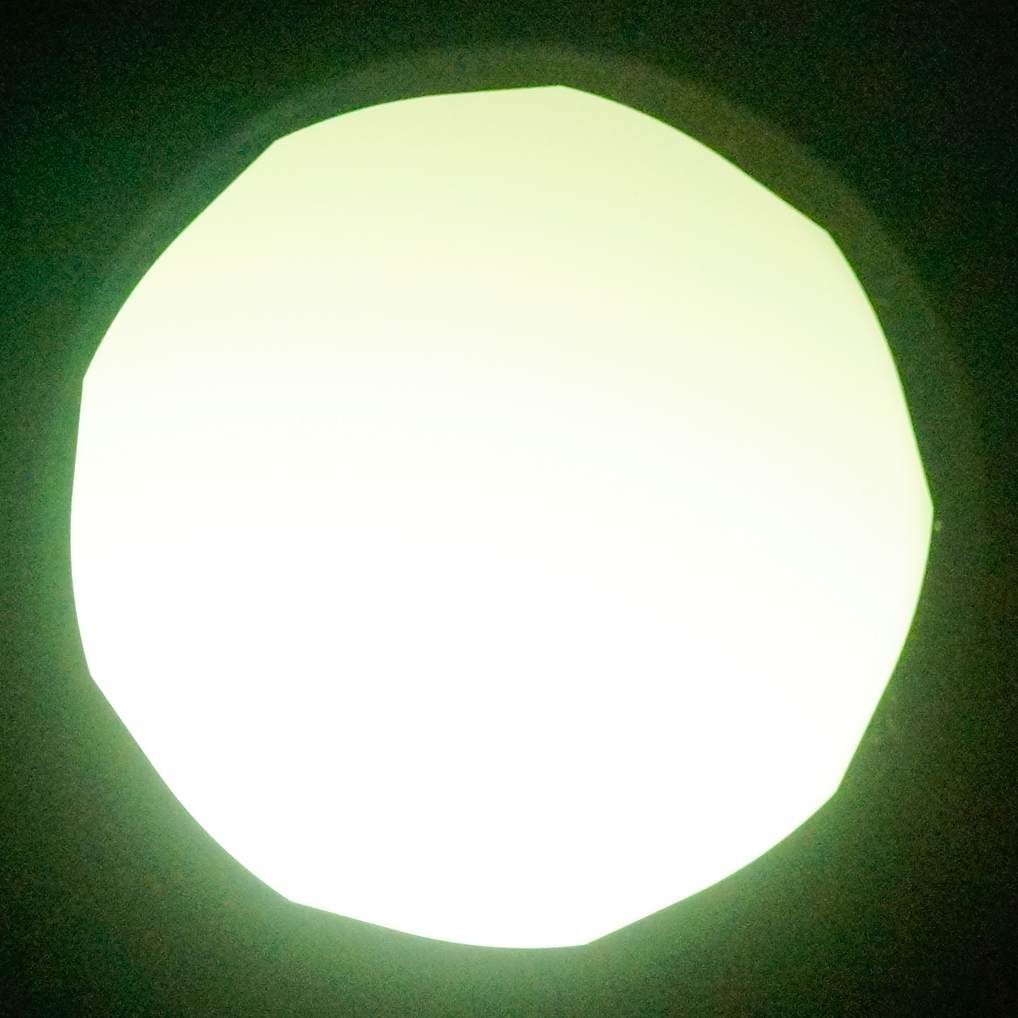
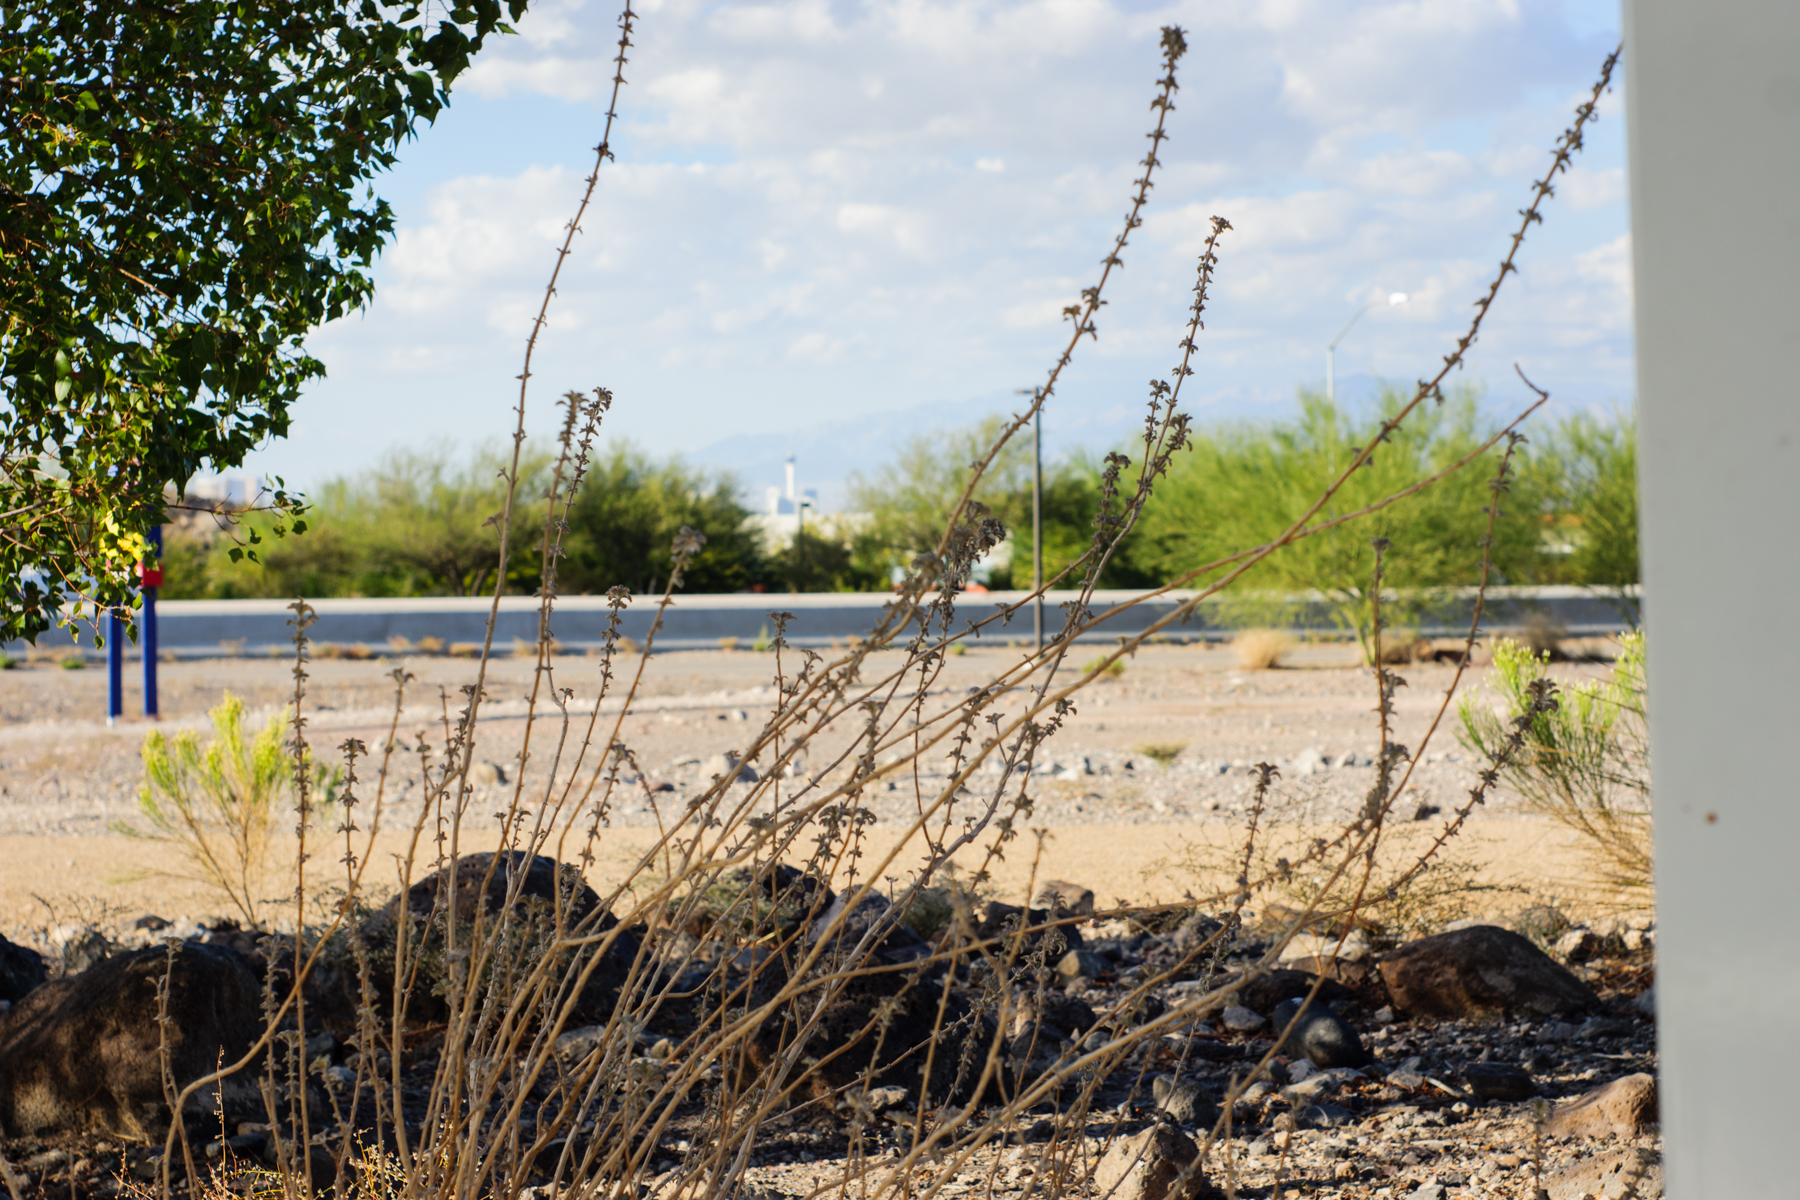
For the Cedar breaks pictures I was using an 11-18mm lens. Again I used a high ISO and as wide of an aperture as I could, to collect more light I used a longer shutter. Now with the higher ISO you risk losing some stars with noise reduction or having noise. I am okay with losing some stars especially if I am in a dark location. Below the noise can be seen and in the second image noise reduction has been applied. ISO 3200, 10 seconds, f4.5. With a focal length like this I have found that 10 seconds in about the longest that I can go and not see streaks or the beginning of trails. If you go and look around you might come across a "Rule" called the 500 rule. I feel that it is bogus, it says to divide 500 by the focal length. In this case it would be 500/11 which would equal 45 seconds. While I was taking pictures I decided to see how long I could go before seeing trails. It was 13 seconds which is a far cry from 45.
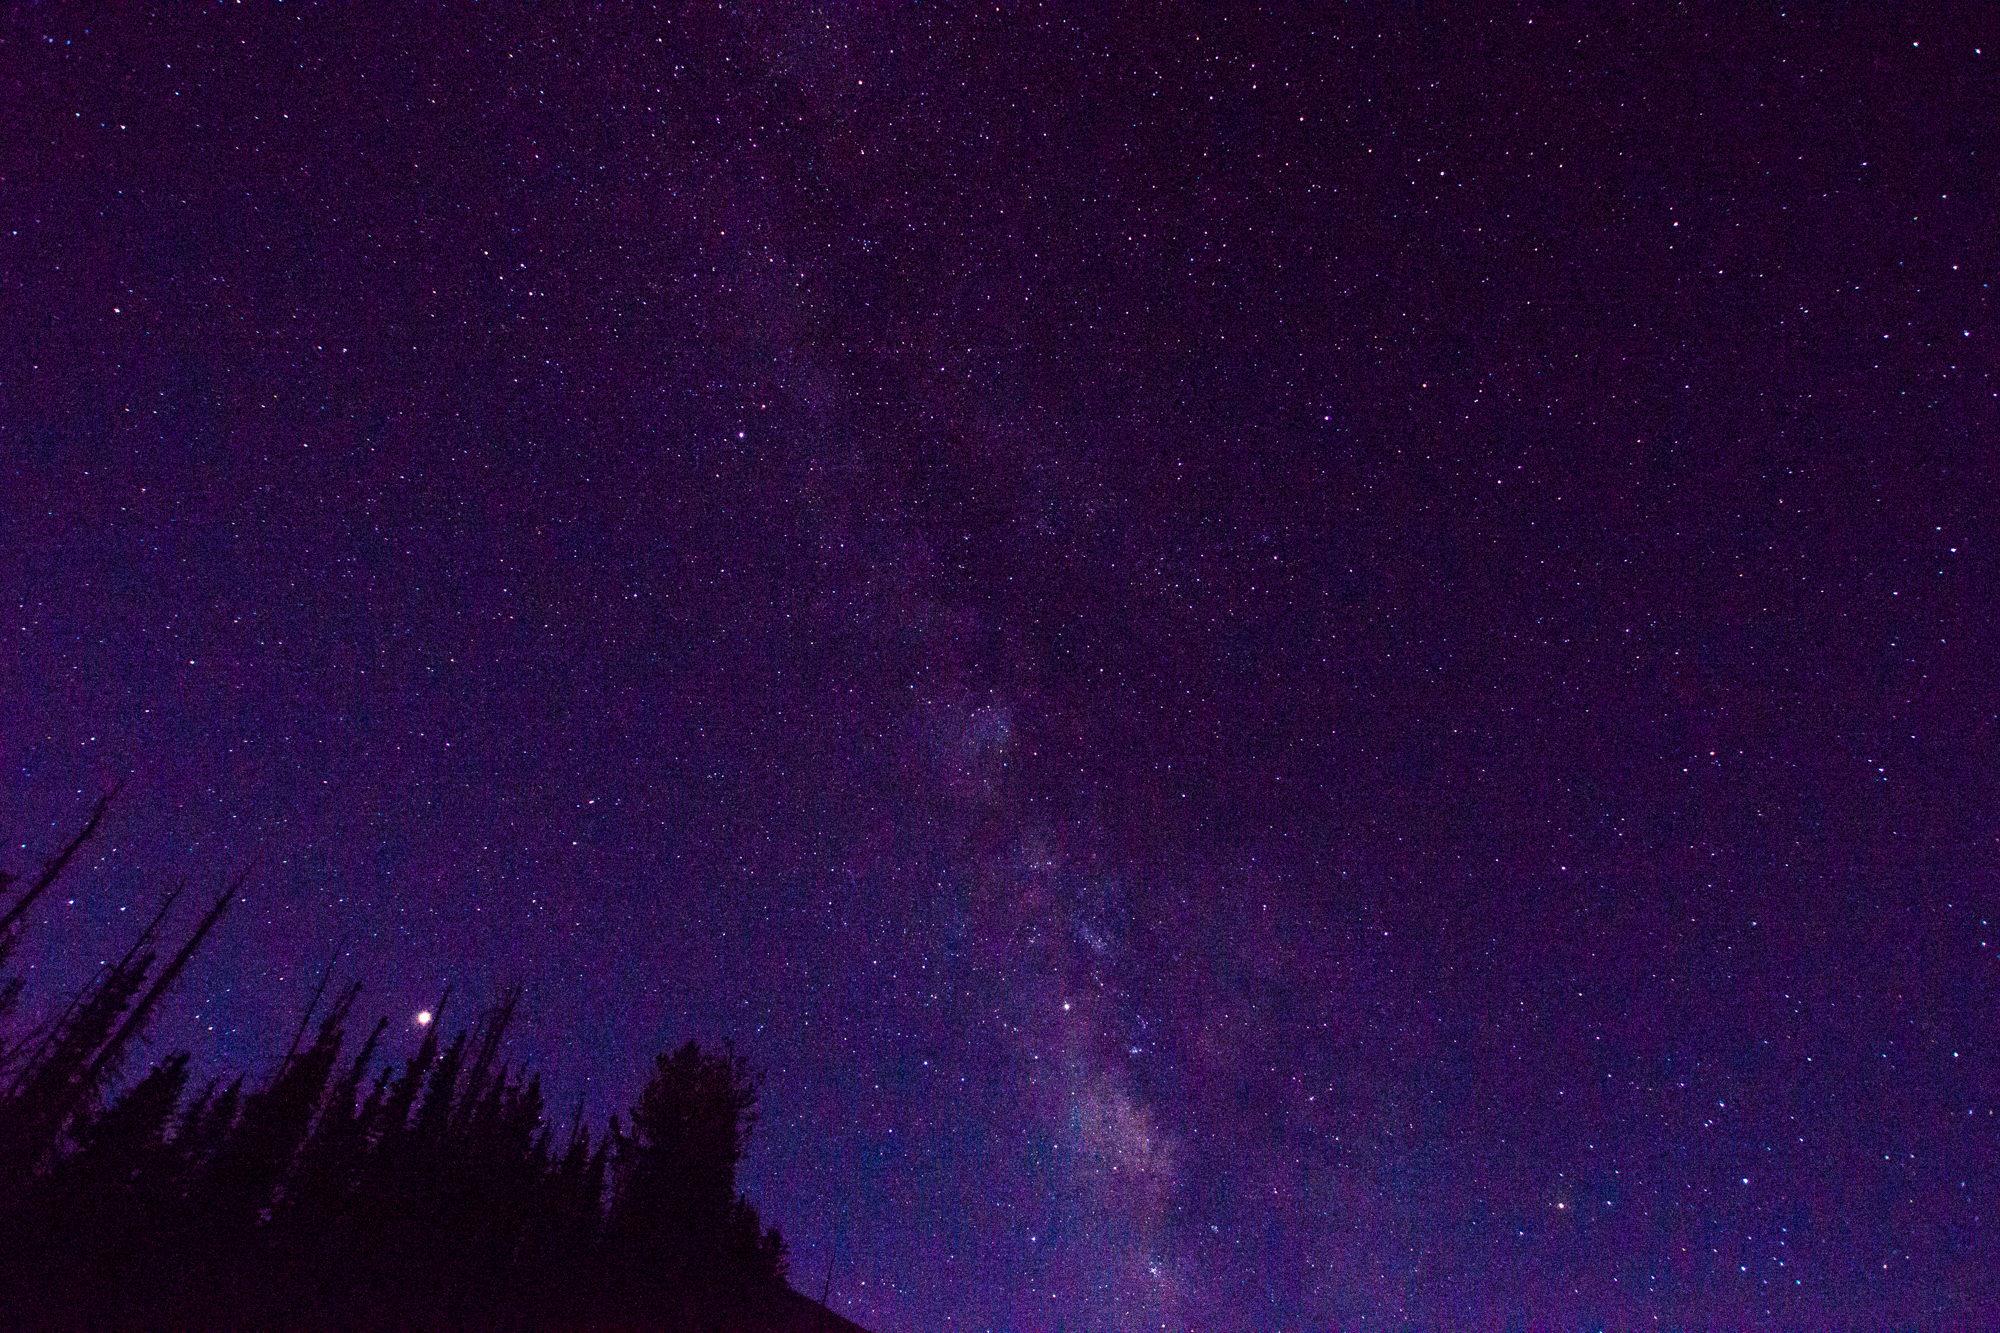
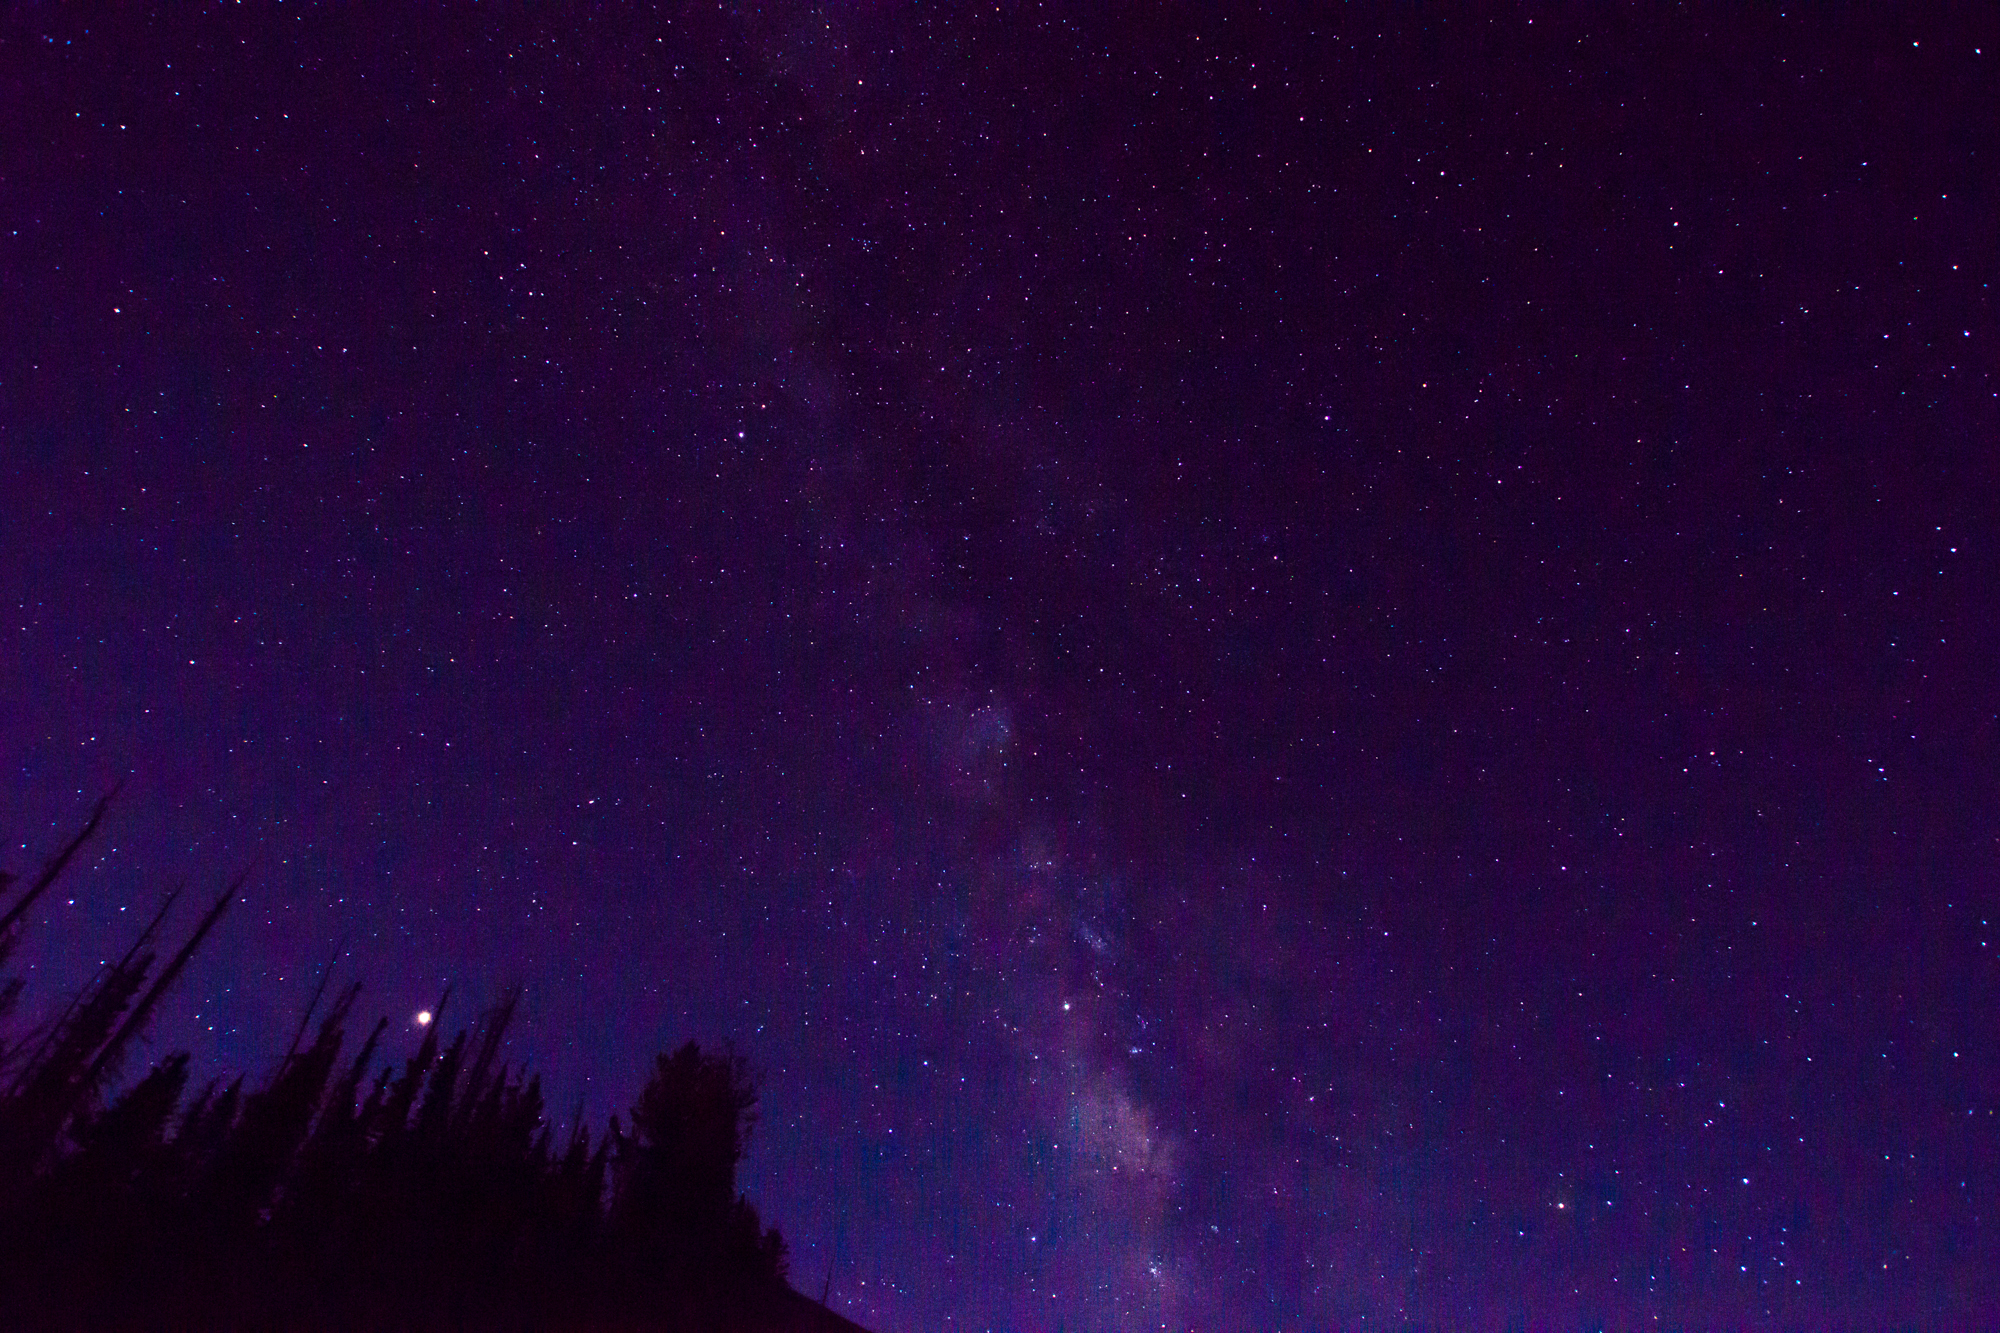
So to answer the question of how I took static images of the stars and Milky Way it was using a high ISO, a tripod, a wide aperture, less than a 10 second shutter speed, and just playing around with settings. So find a dark sky, grab your largest aperture lens, then go out and shoot.
~Scott
Again I would enjoy seeing readers photography.