Hello,
Today I am going to write about changing the color of flashes.
There are a few ways to do it.
The WB can be changed with a global image change. Daylight will keep it about the same, Cloudy and Shade will make it a more yellow/orange. Fluorescent will make it Purplish and Tungsten will make it Blue.
Another option is to change the color of the light coming from the flash by bouncing it off of something or by putting a filter over the flash. This is what I want to write about.
The short is paper or gels can change the color of the flash in select areas.

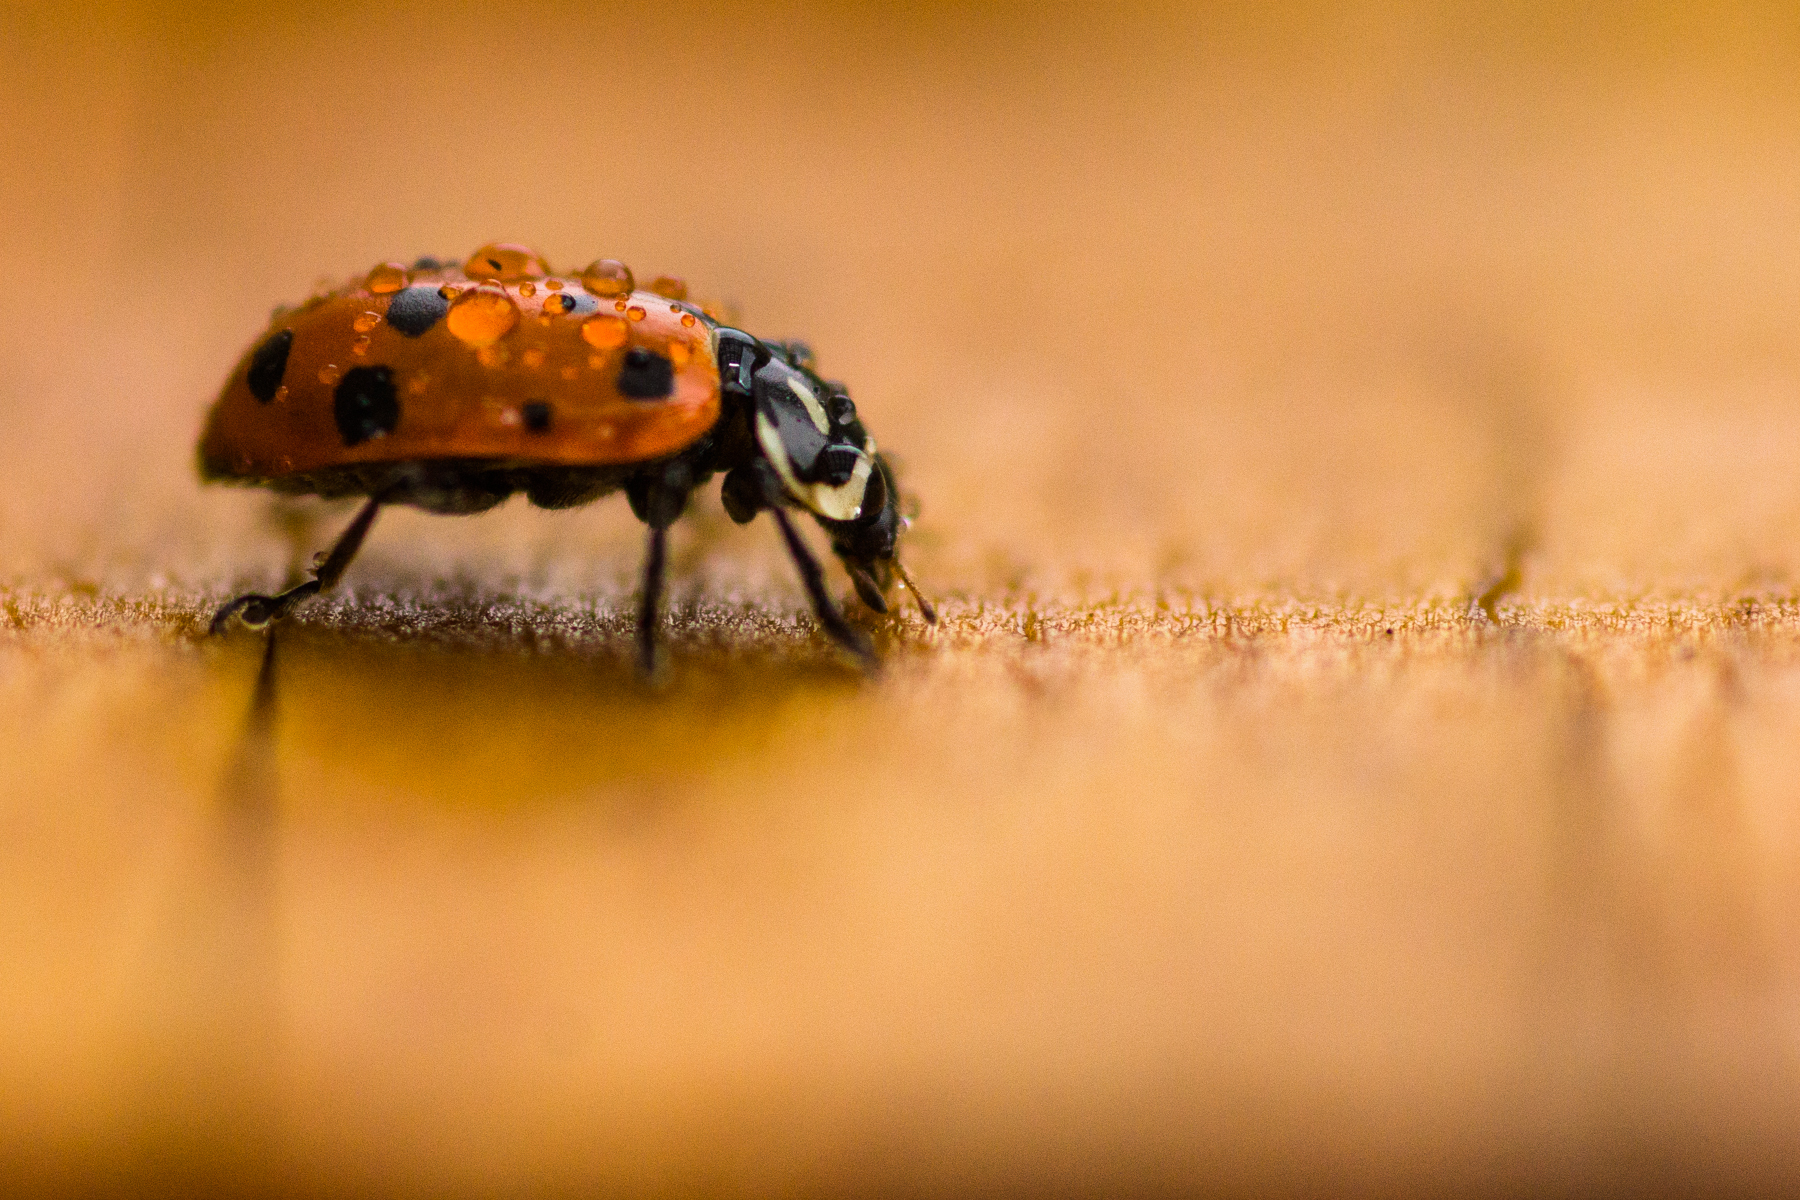
White lilies on a blue background, colors have been changed by 2 flashes with blue and red paper over them.
The above image is an example of changing the colors how (more or less) I wanted. The flash with the blue is on the ground pointing up towards the center of the forward facing flower. The red covered flash is being held and is facing down towards the center of the top flower. Below is a similar set up with yellow instead of blue and a picture with the supplies used.
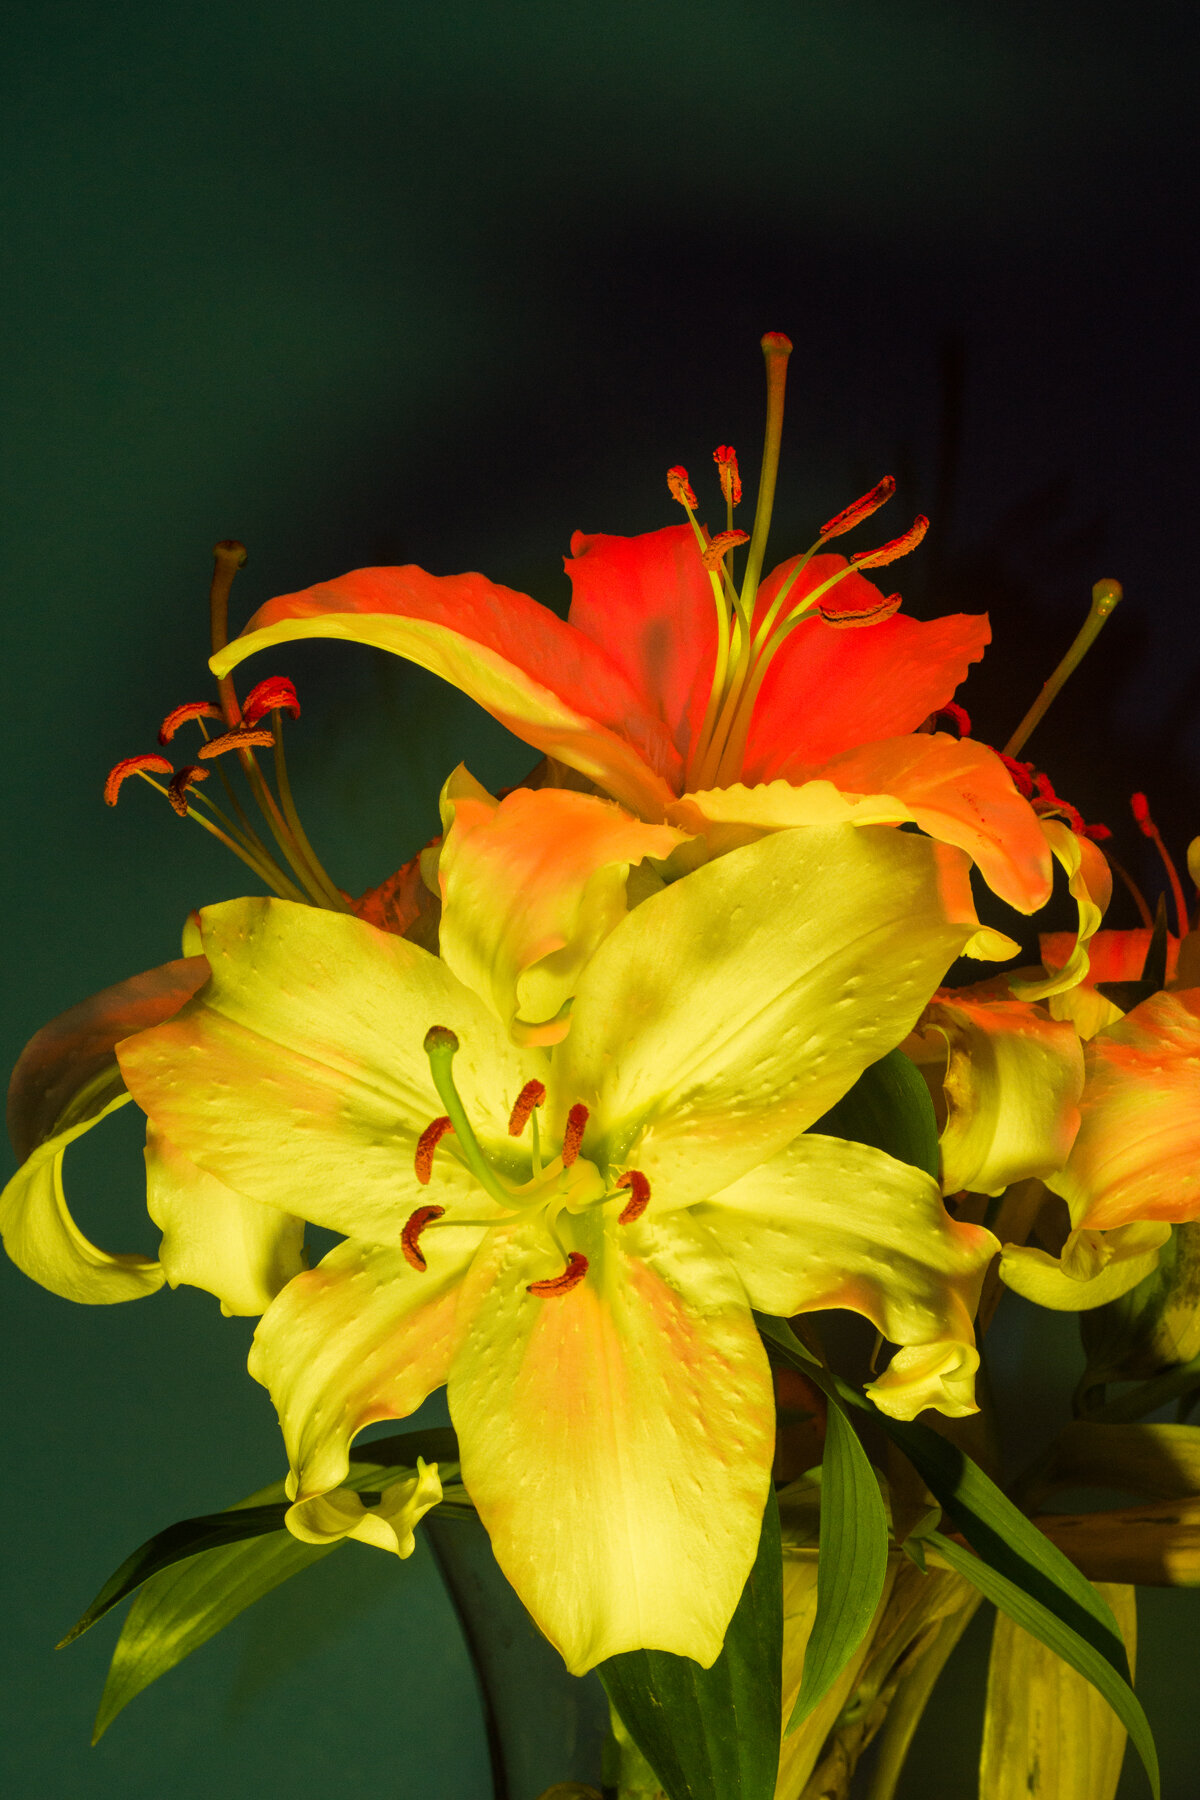
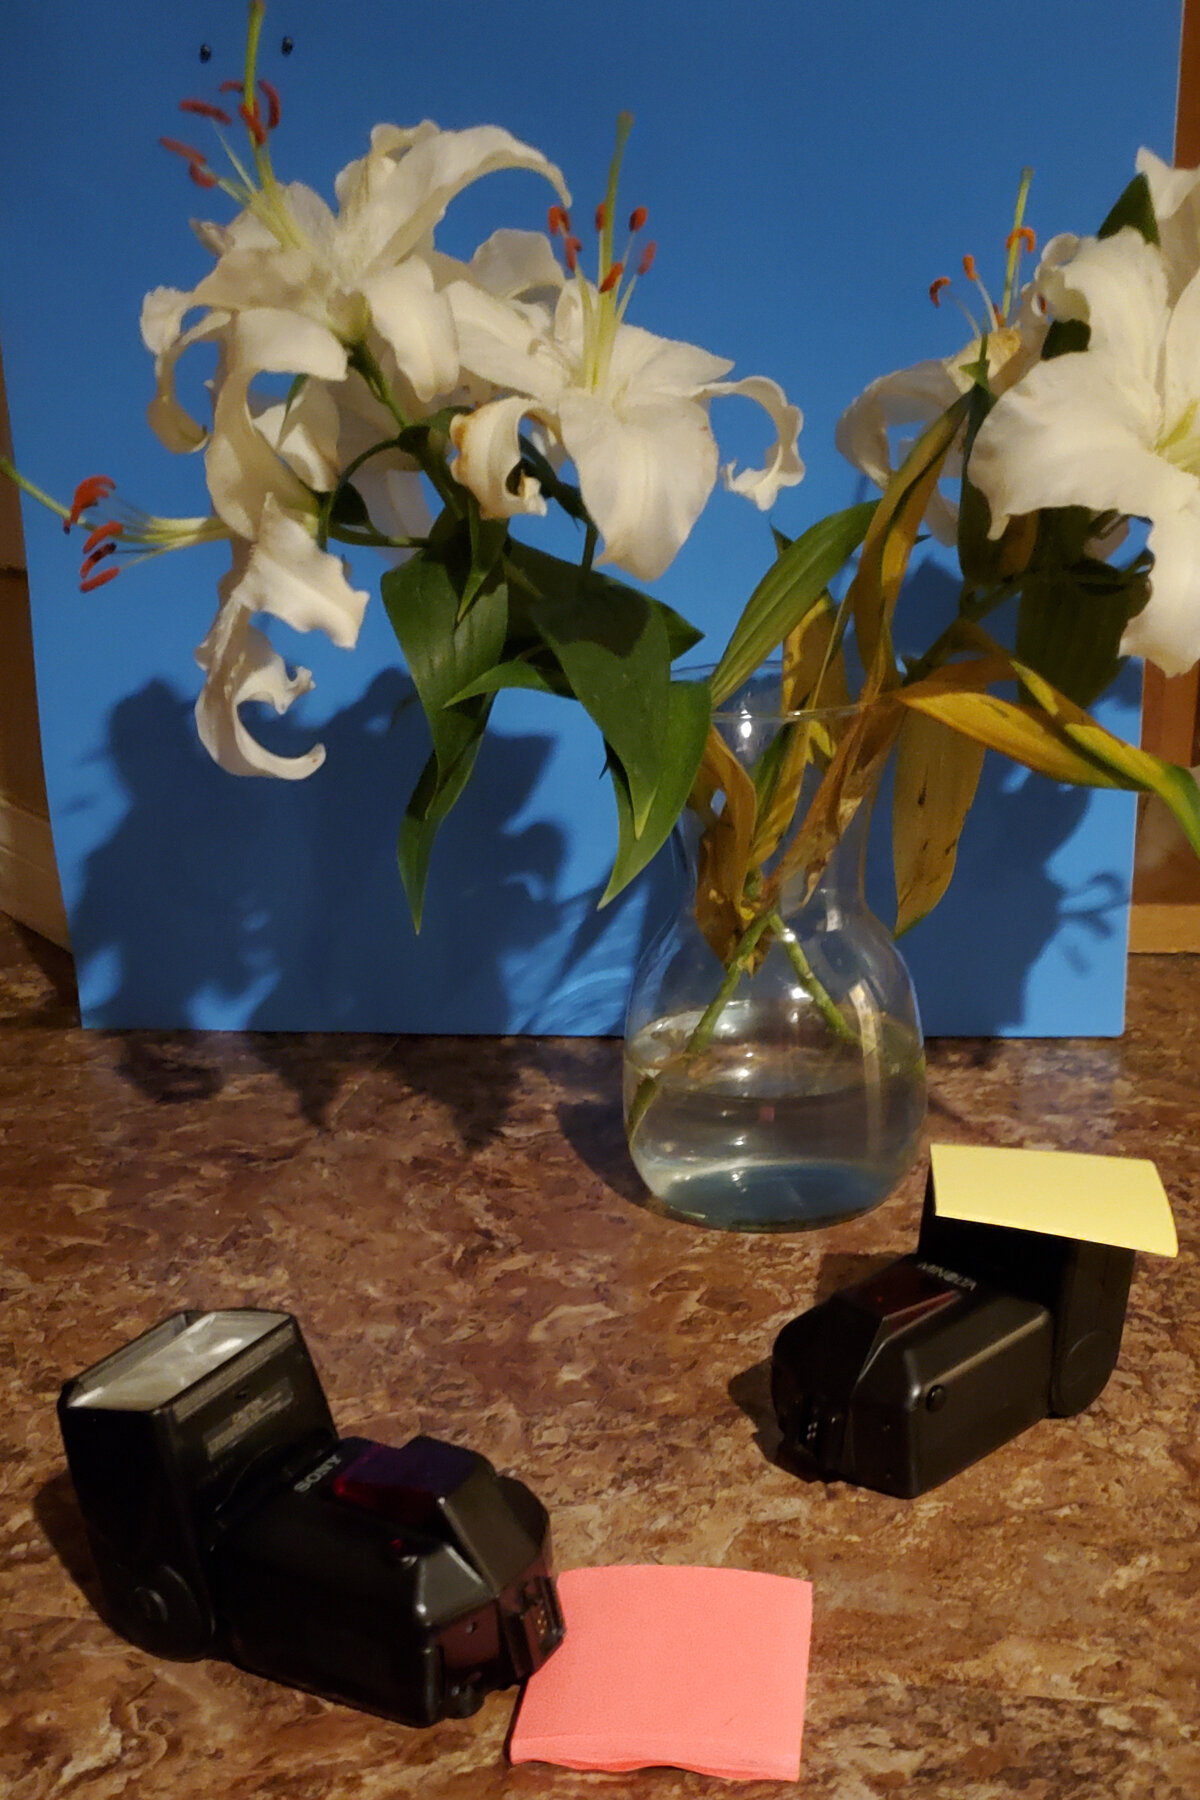
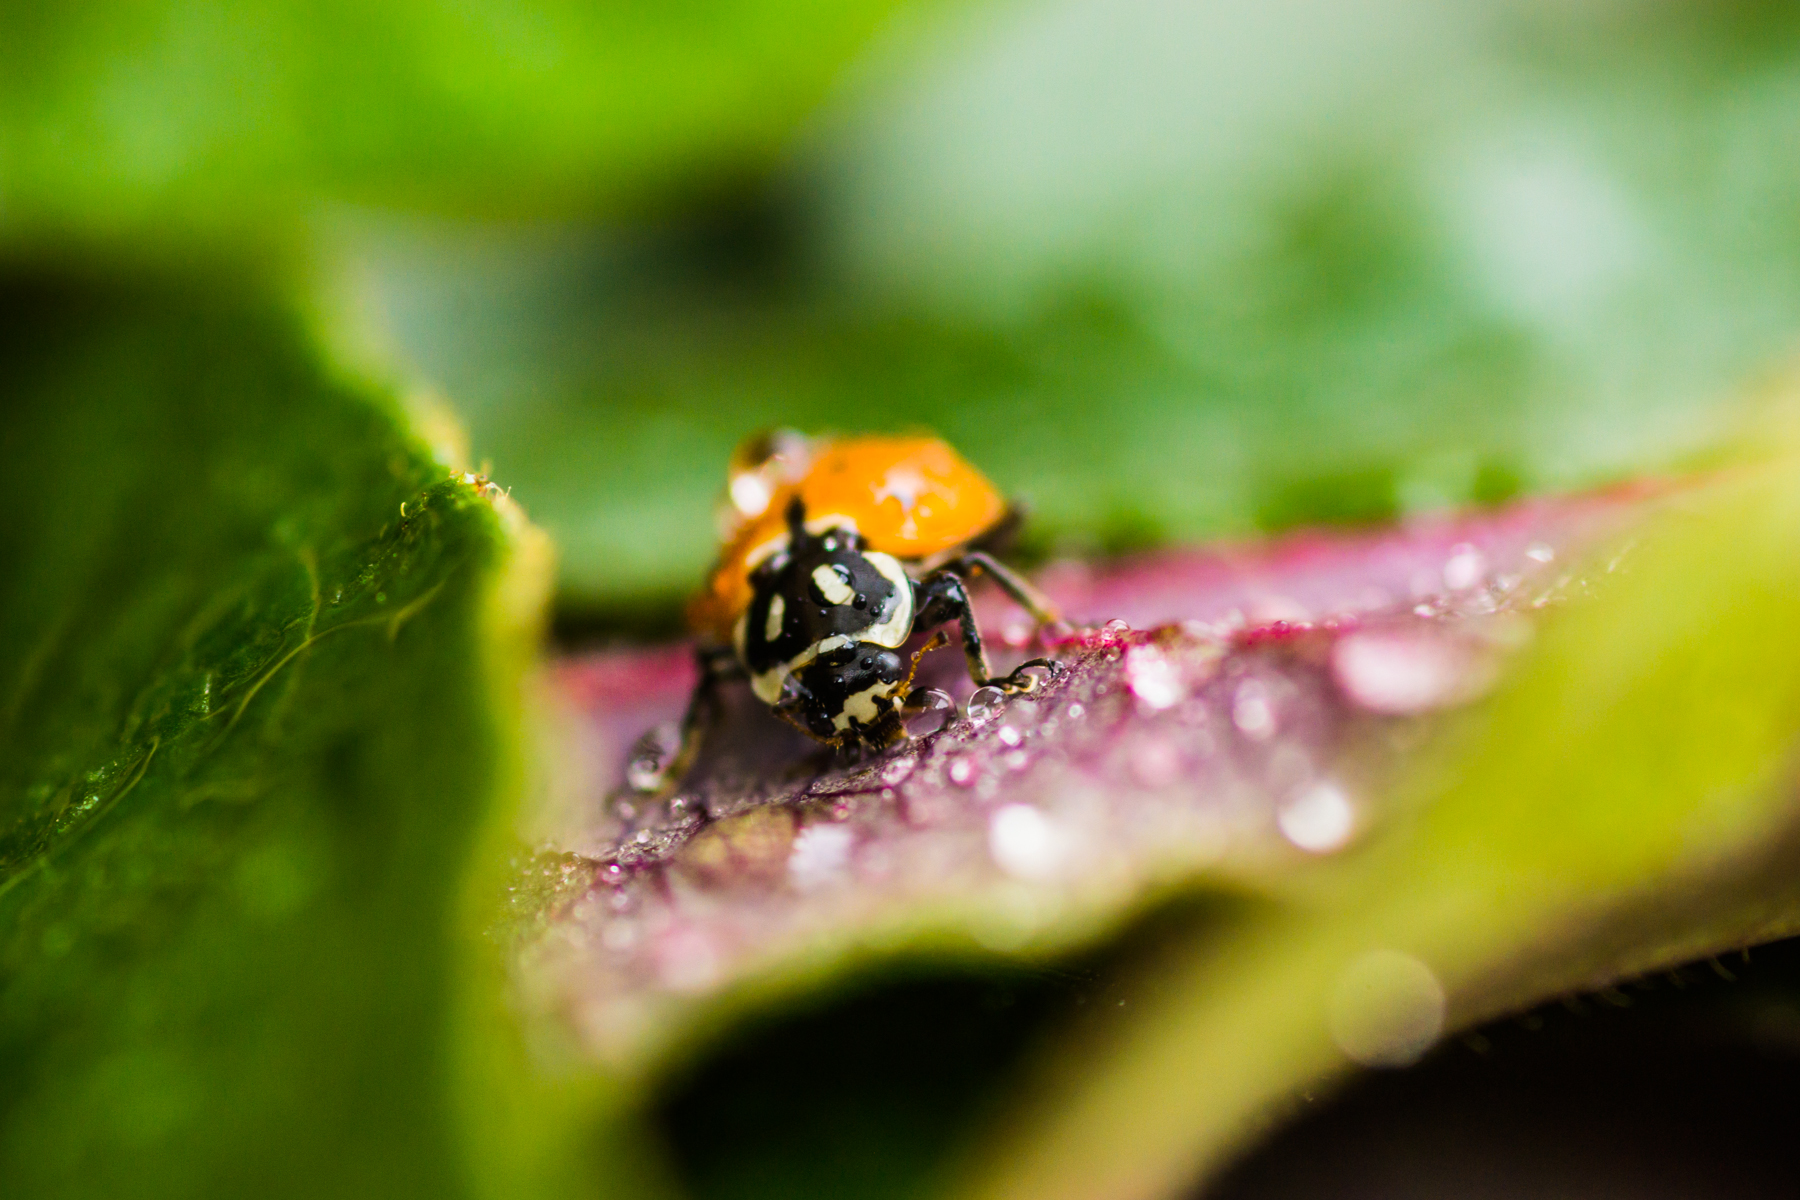
The light from the flash with a yellow Post It was a wide flash and impacted all of the rest of the image. The blue of the background mixed with the yellow of the light and appears green. I used multiple pink Post It notes to get a red color which appears more orange because red and yellow make orange.
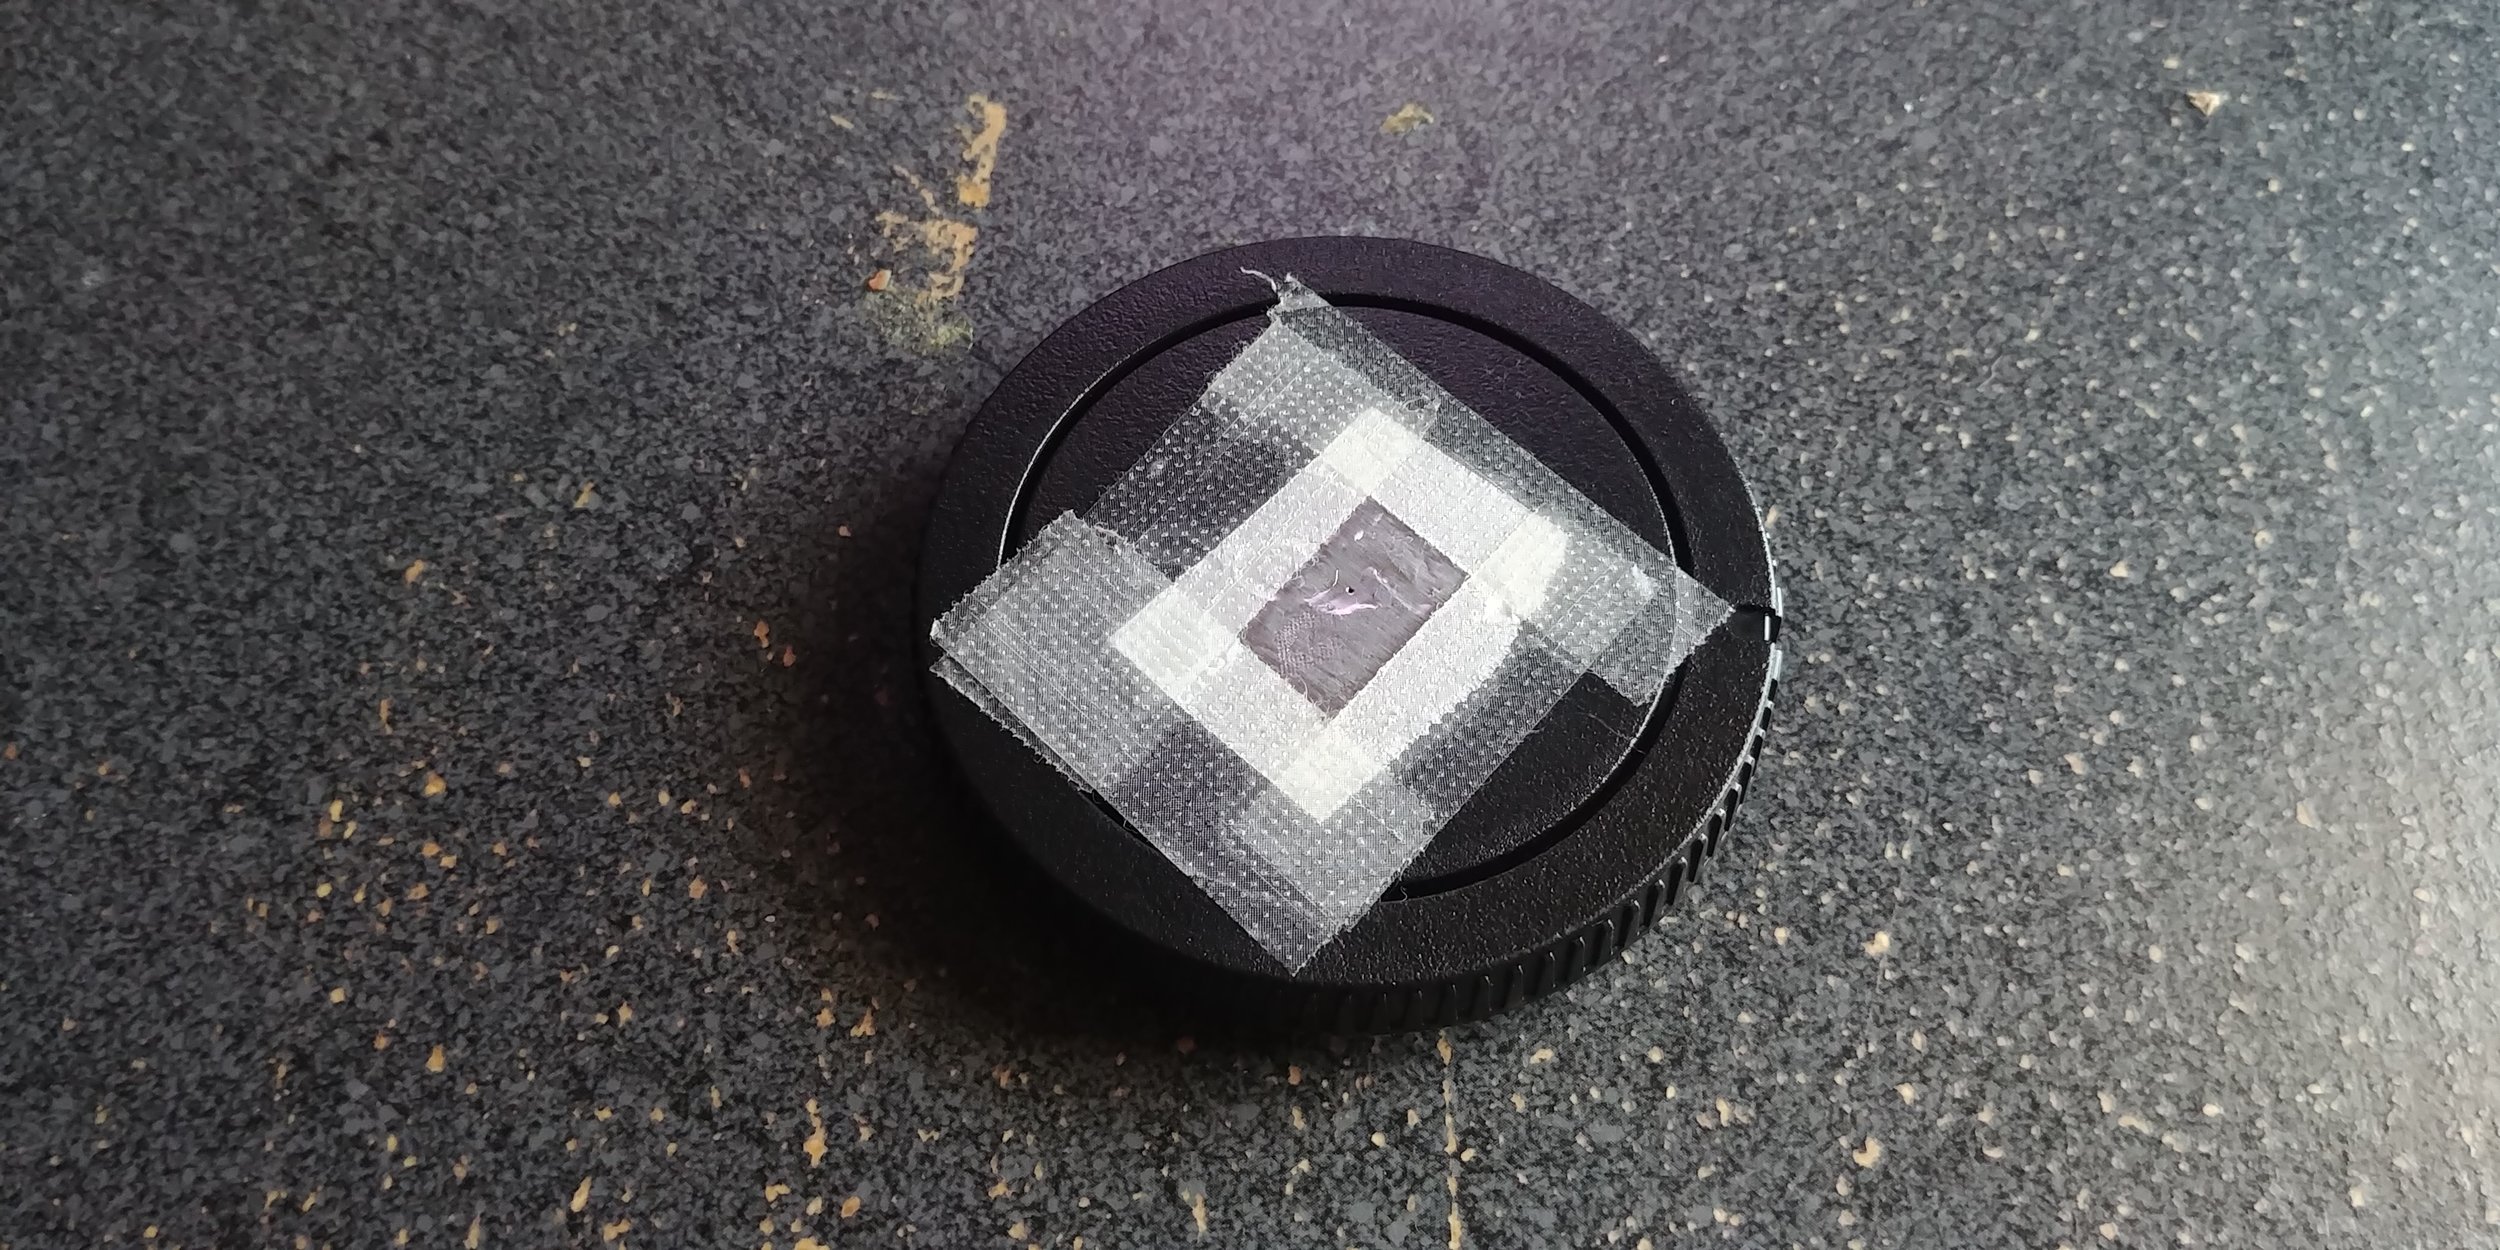
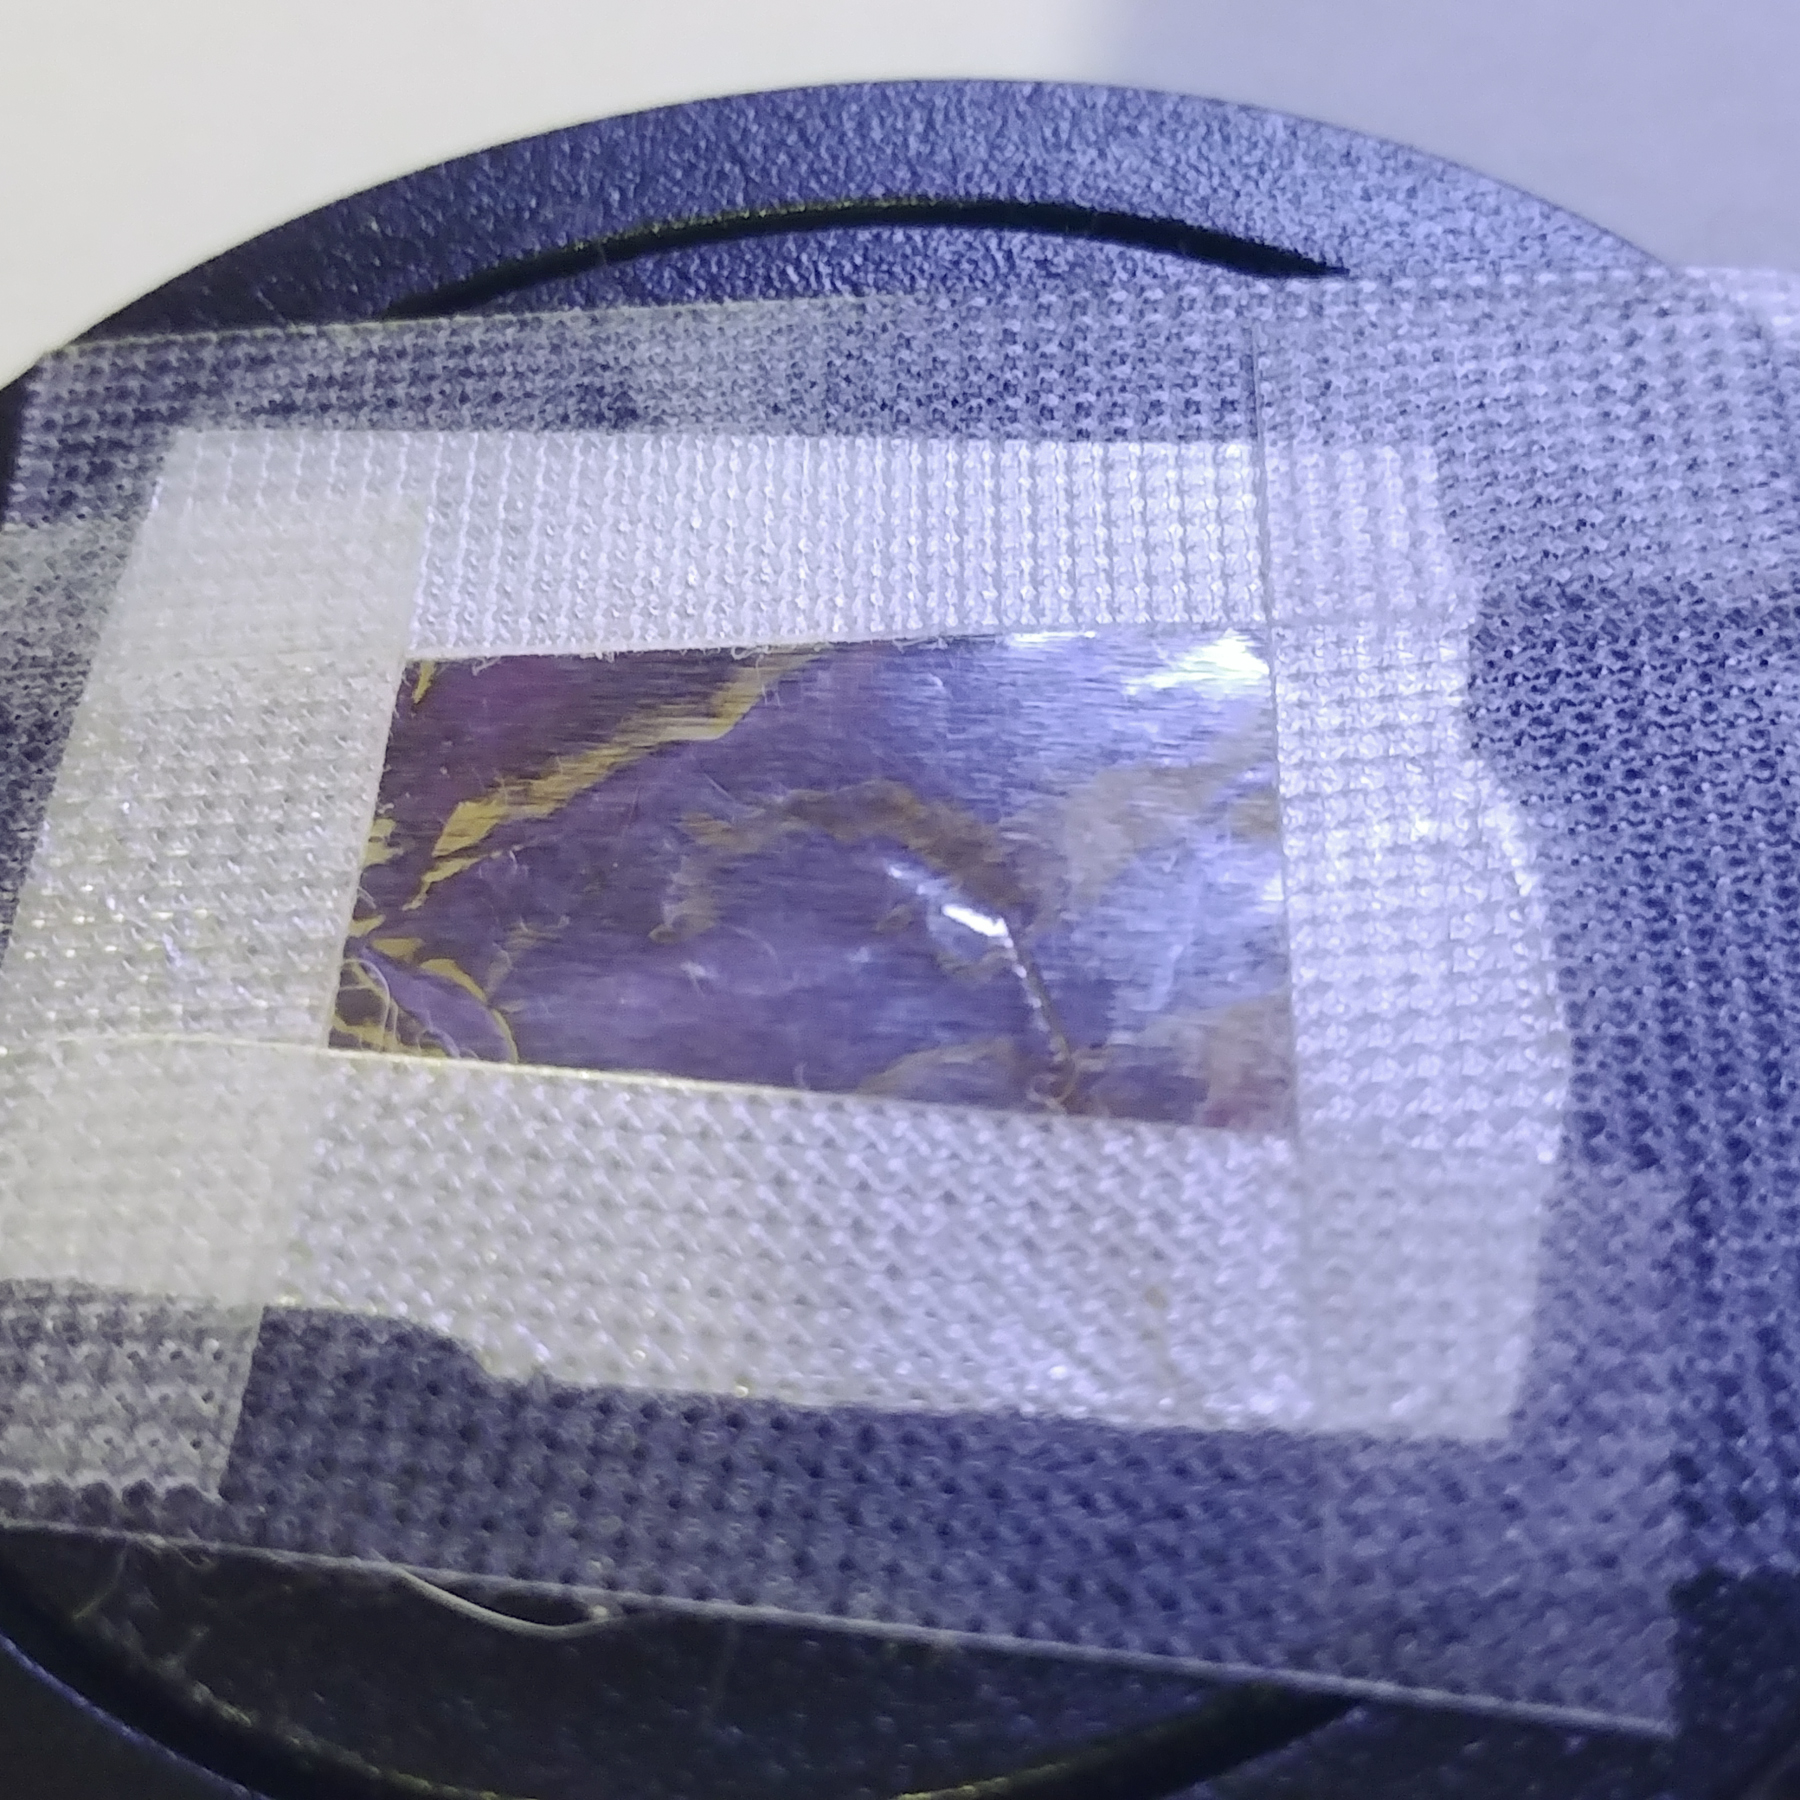
Clear gels can be found at stores, I have found construction paper and Post It notes do the job.
I originally figured this out years ago on a bored night off. I put a pink and a blue Post It over 2 flashes and again with lilies that I bought for my Wife.

Notice that there is some overlap that leads to a purple on the petals.
Go out and experiment.
~Scott