• Photography
  • About
  • Contact
  • Light Writing

Scott W Gonzalez

  • Photography
  • About
  • Contact
  • Light Writing

Appreciating and learning from others

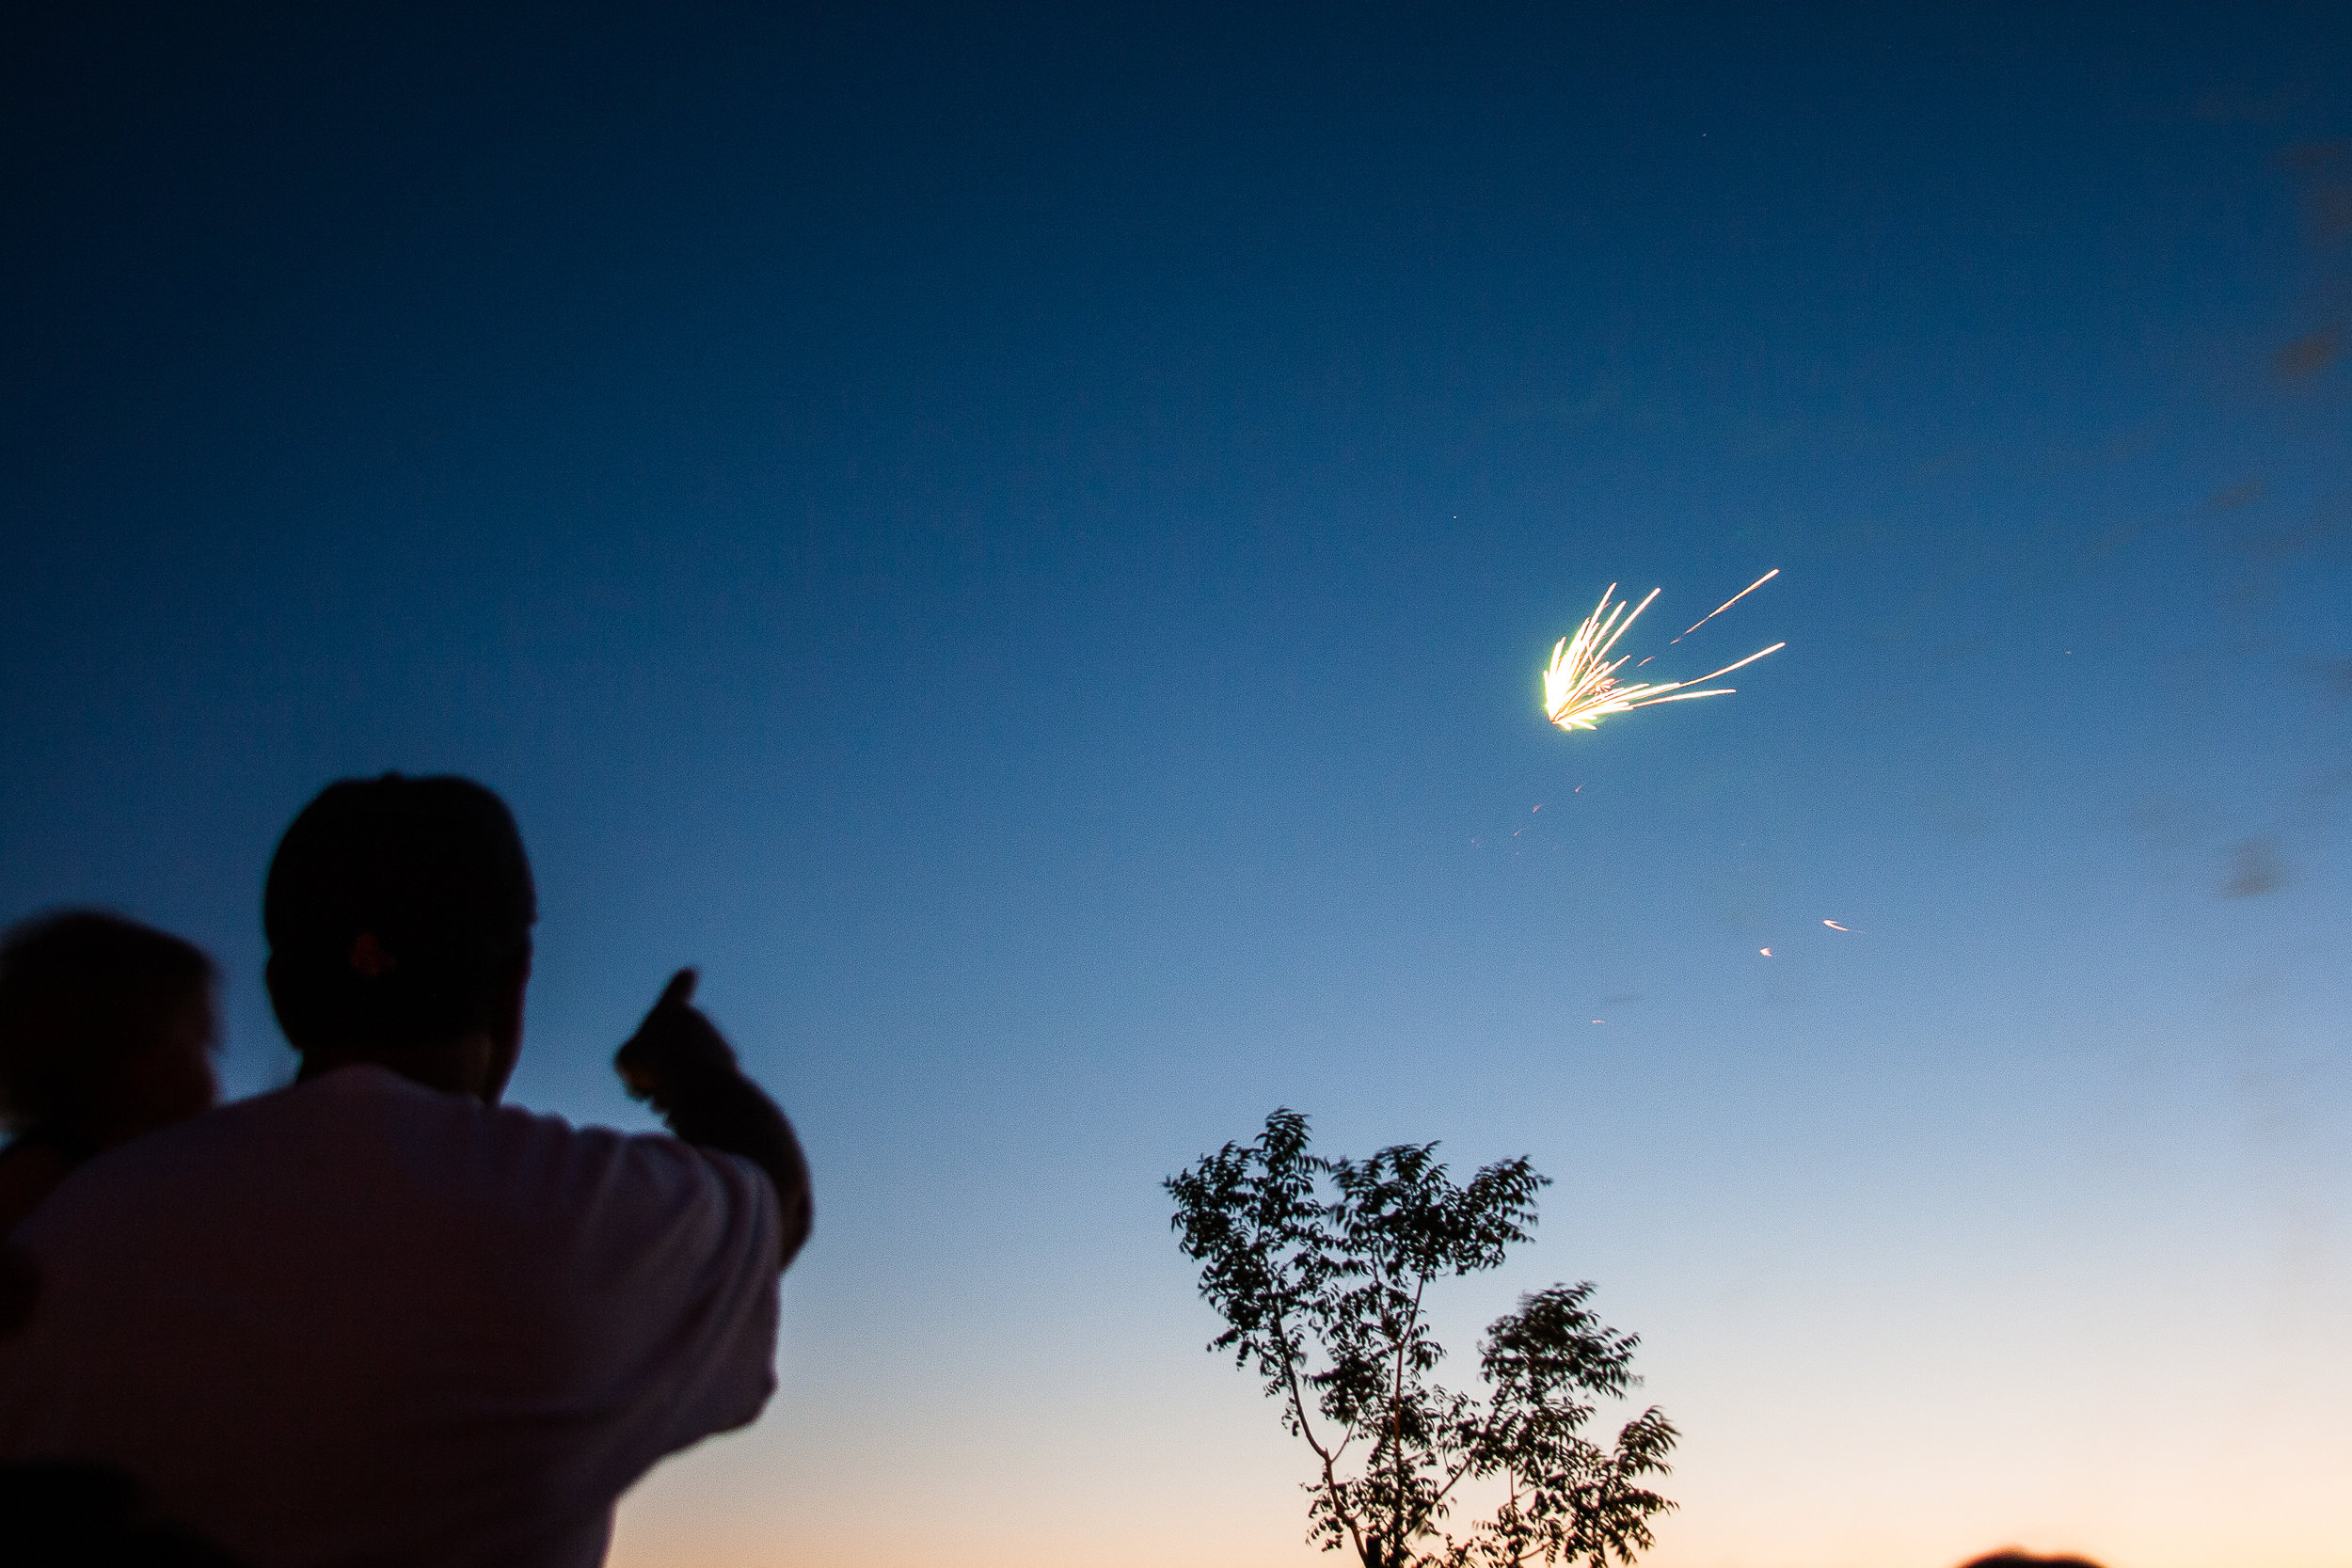
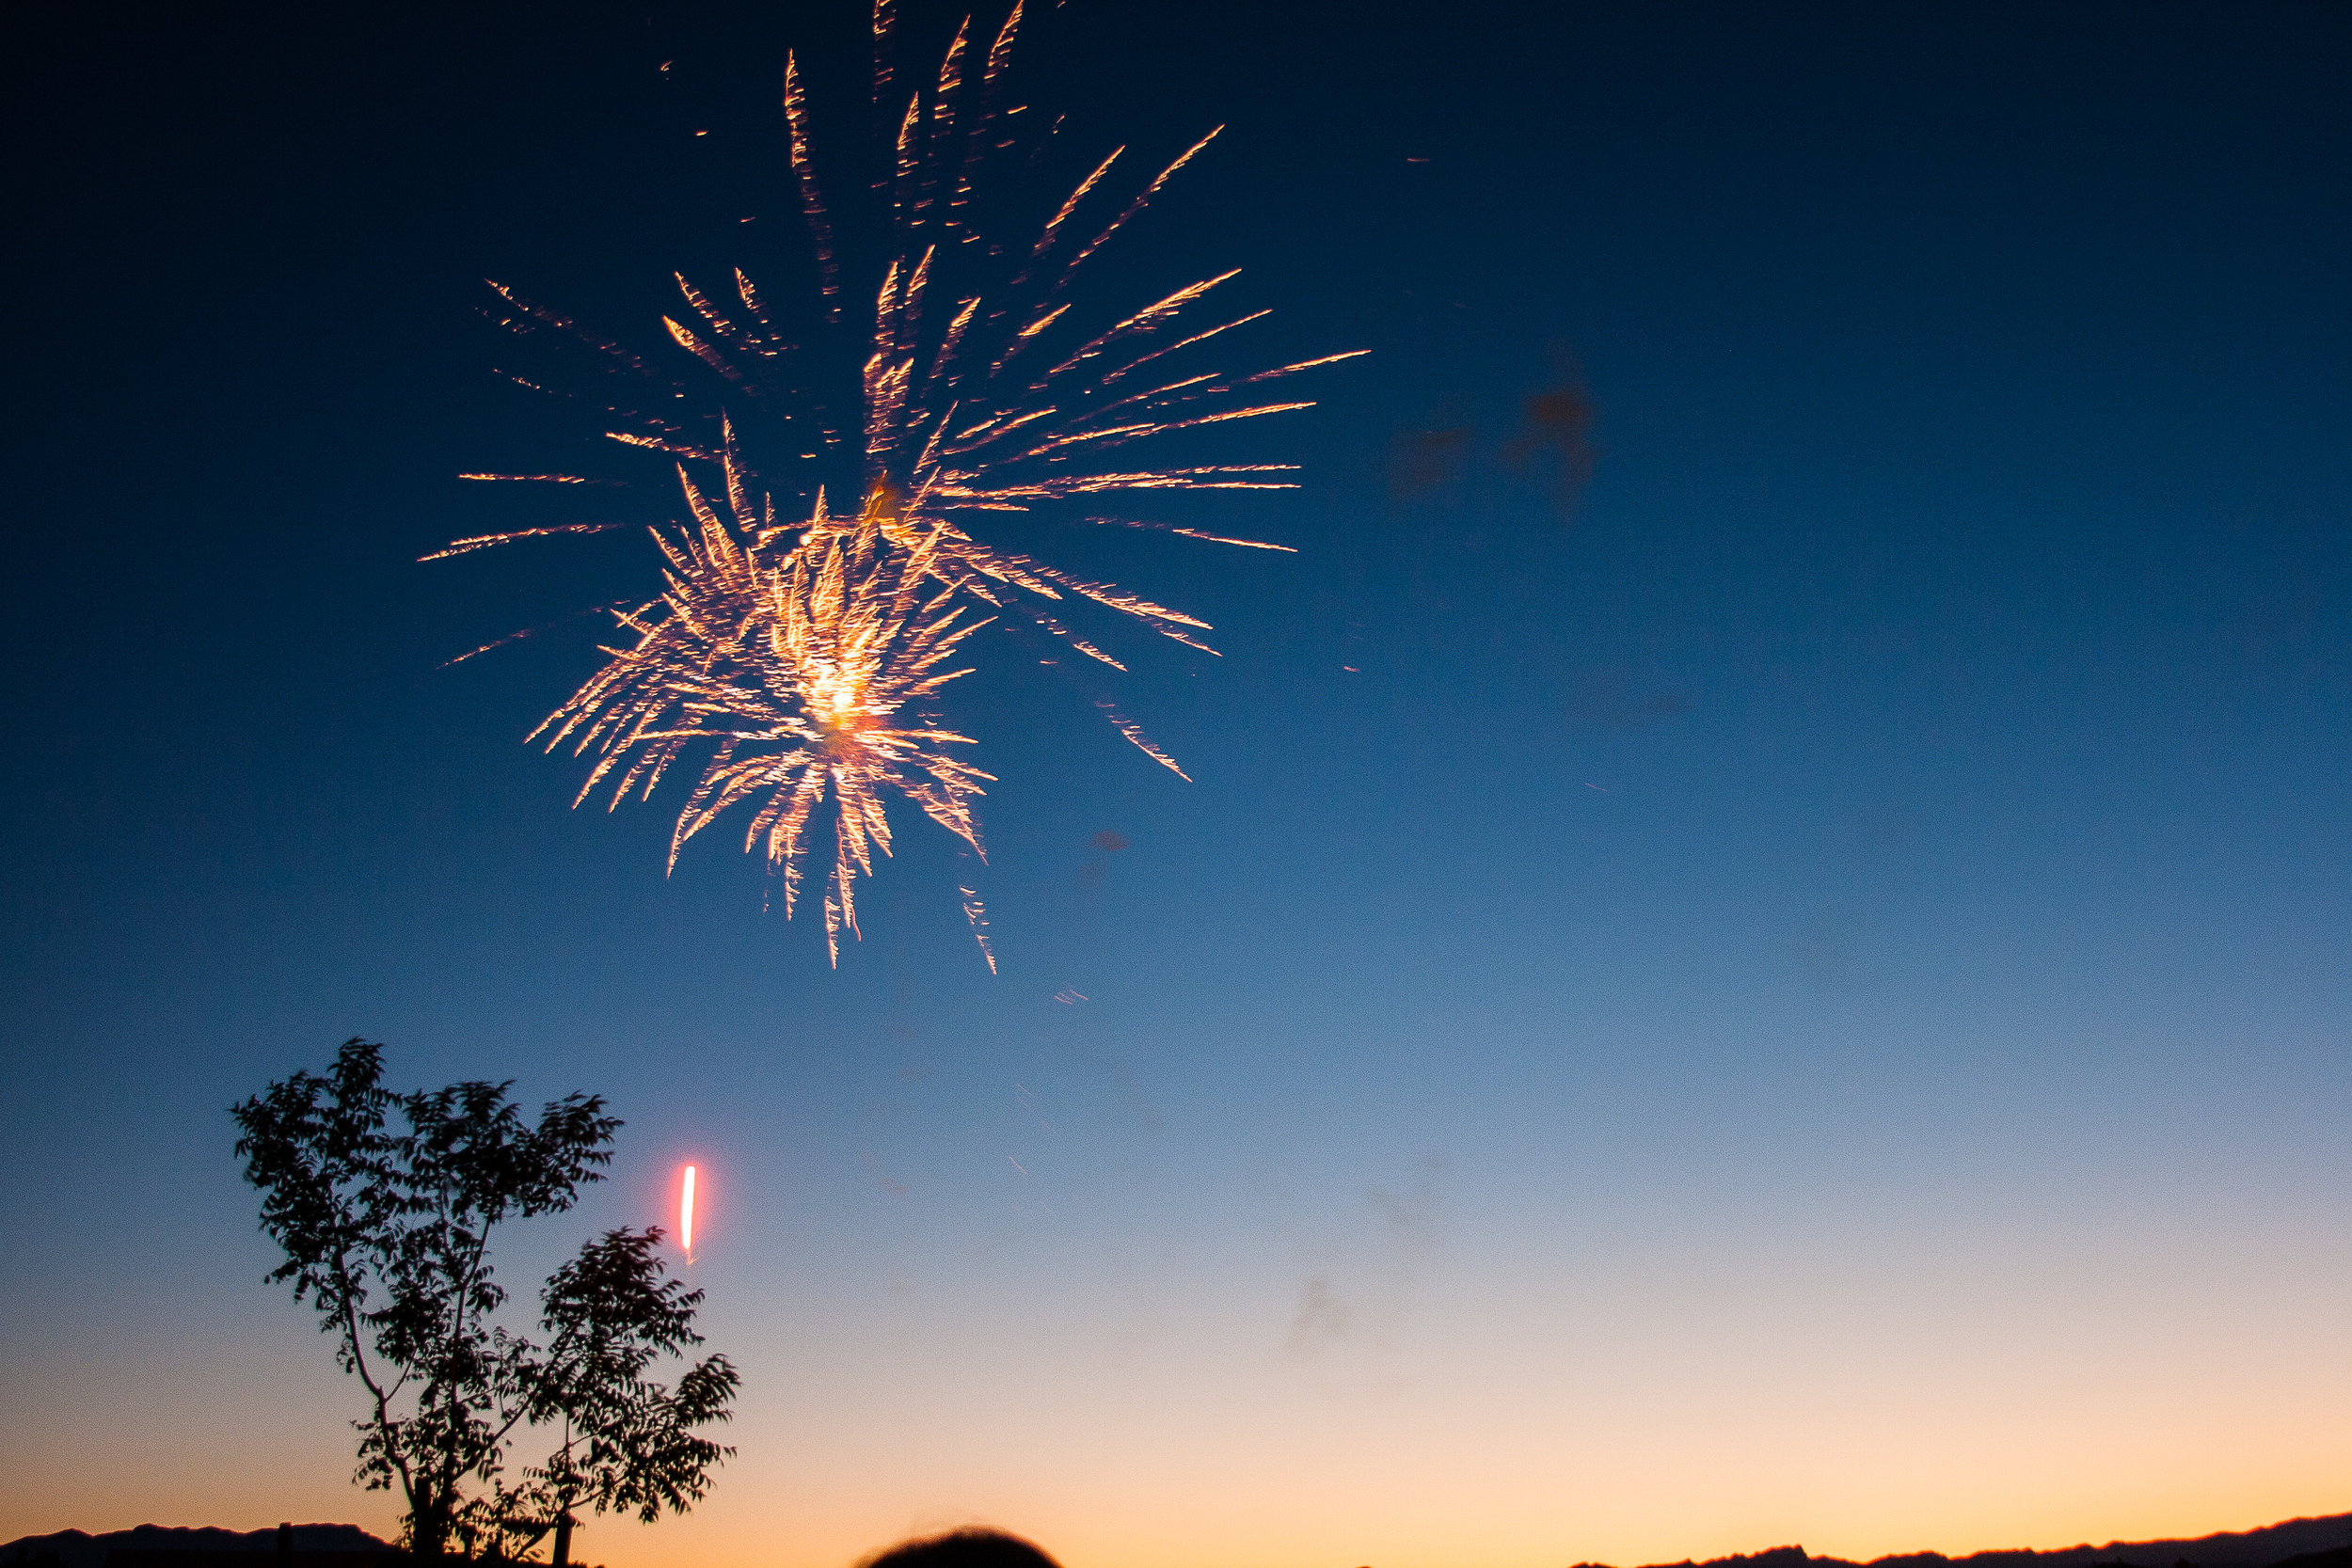
Hello it has been too long, I hope everyone is staying safe and healthy.

Sometimes I come across pictures from other photographers and am stunned by them. It is usually in part because the type of photography that they do is not my usual type. I find some astrophotography amazing, along with some macro. I dabble in each as can be seen in my Celestial and Macro galleries. I feel that I am better at landscapes and cityscapes than anything else. So I look at other photographers work to admire and figure out how they took the images so I can do something in that genre of photography.

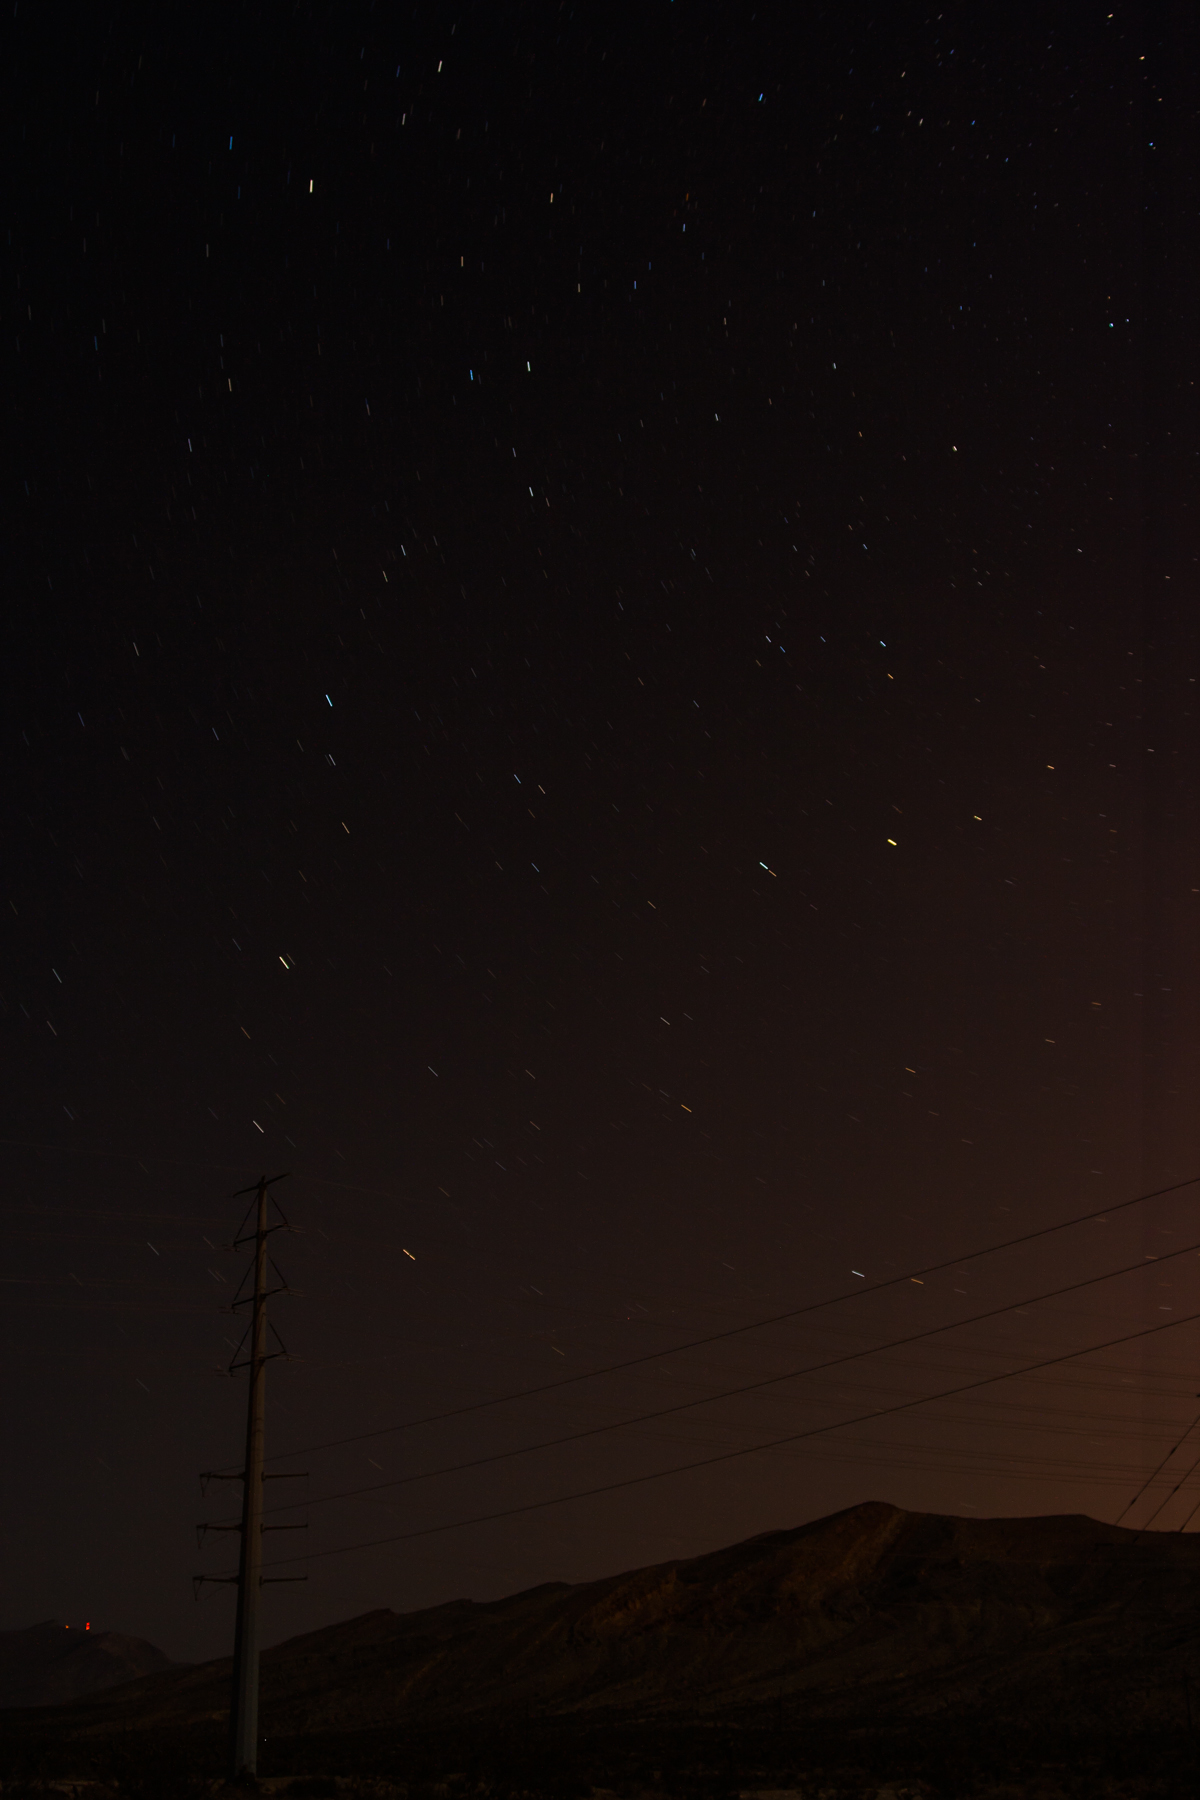
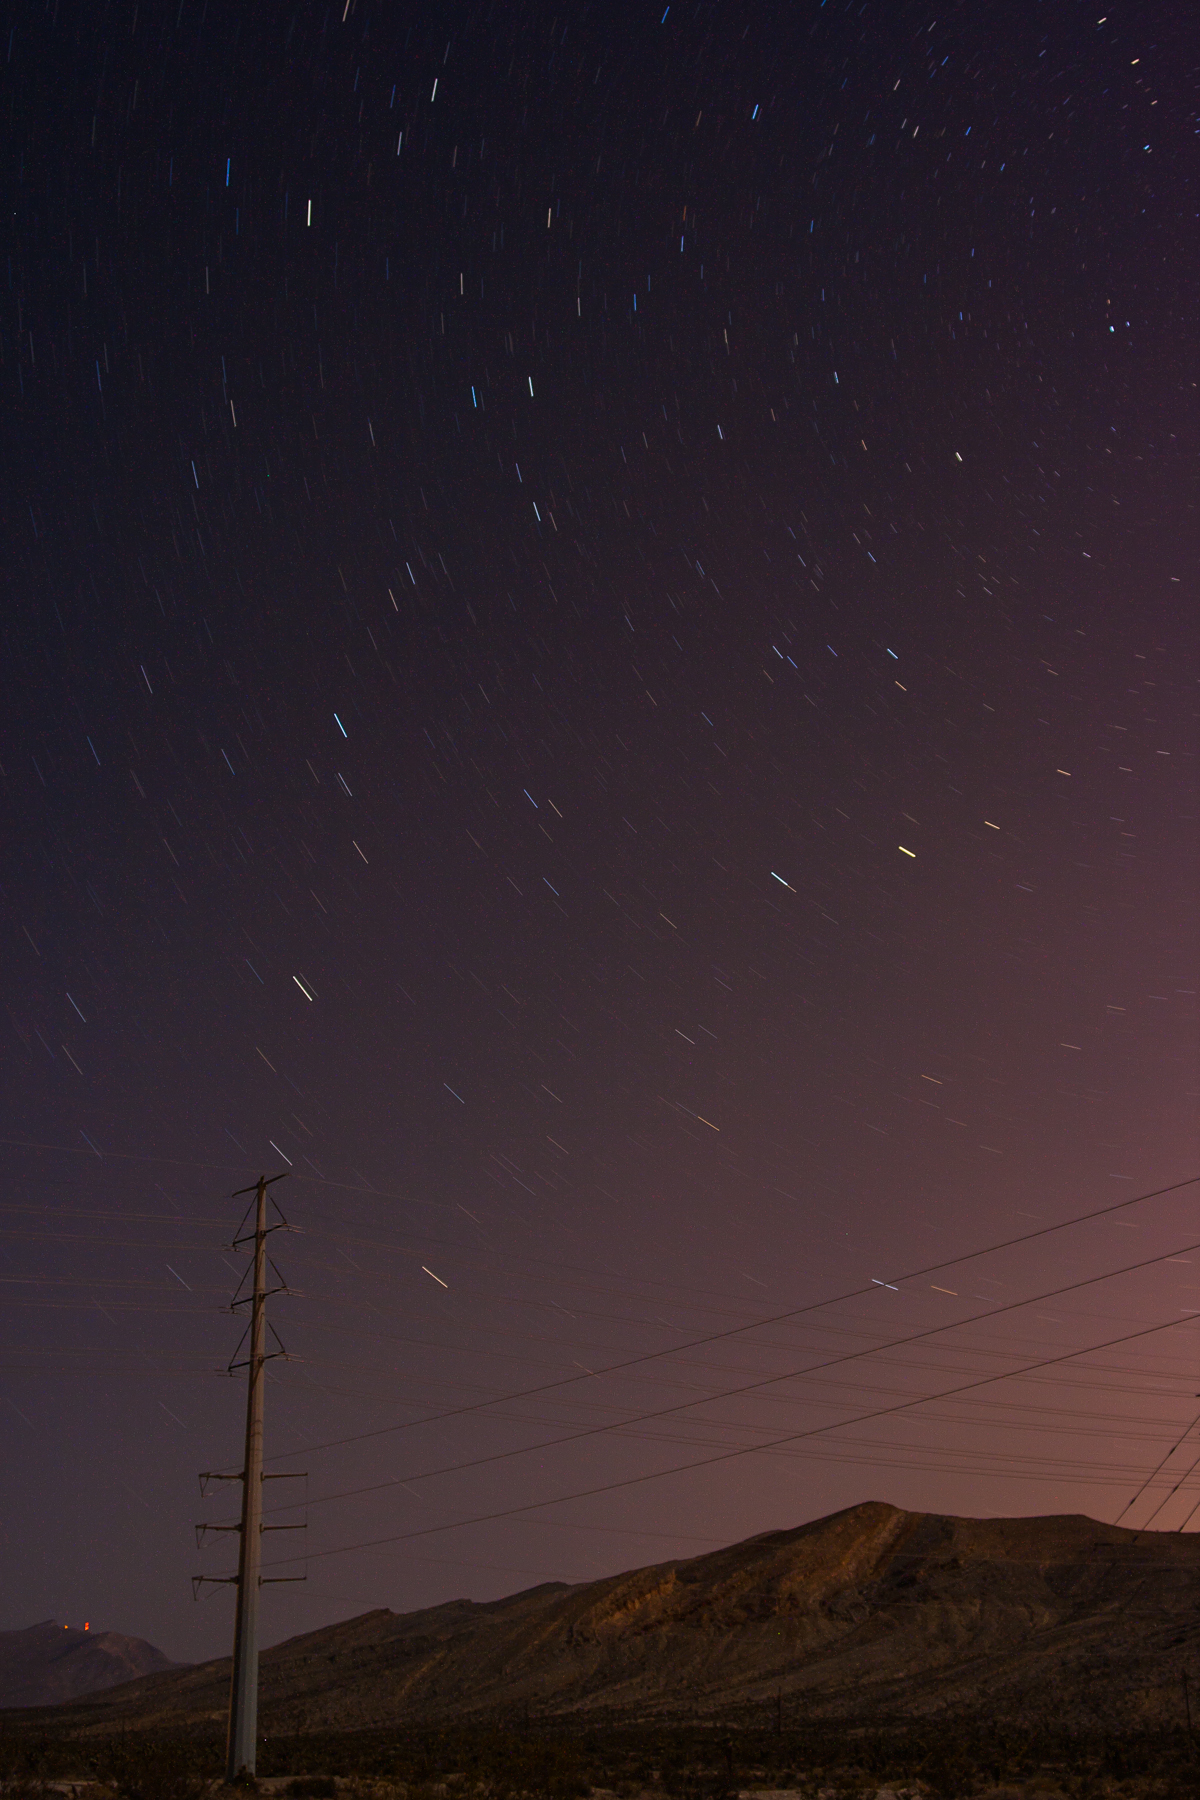
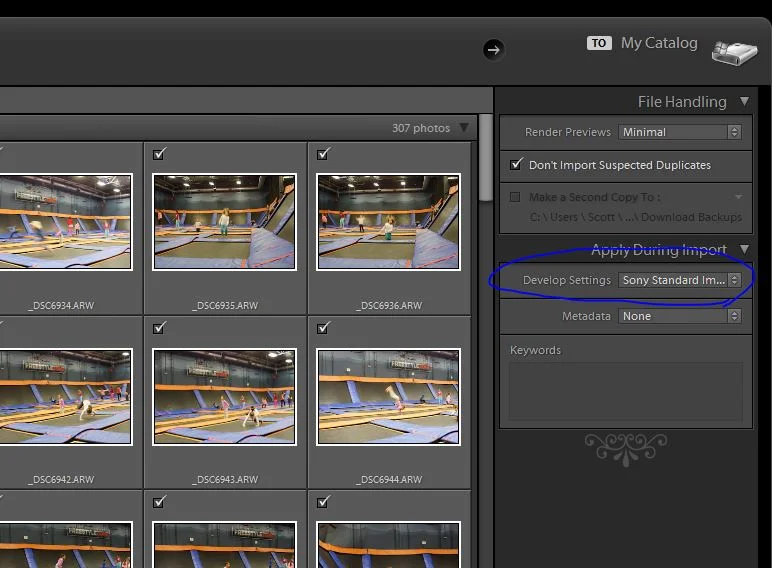
Lately I have been seeing pictures of the Moon that have color in them and I figured that it was from using an HDR process. Through Twitter I have been coming across more of them including ones from Cory Schmitz (@TheAstroShake) a co-founder of PhotographingSpace.com. There is an abundance of information about astrophotography there. So I asked how he got the color in the Moon and he explained that it was increasing the saturation in a RAW file that is not overexposed. I took his advice and an it worked like magic.

_DSC3621-5.jpg
_DSC3621-6.jpg

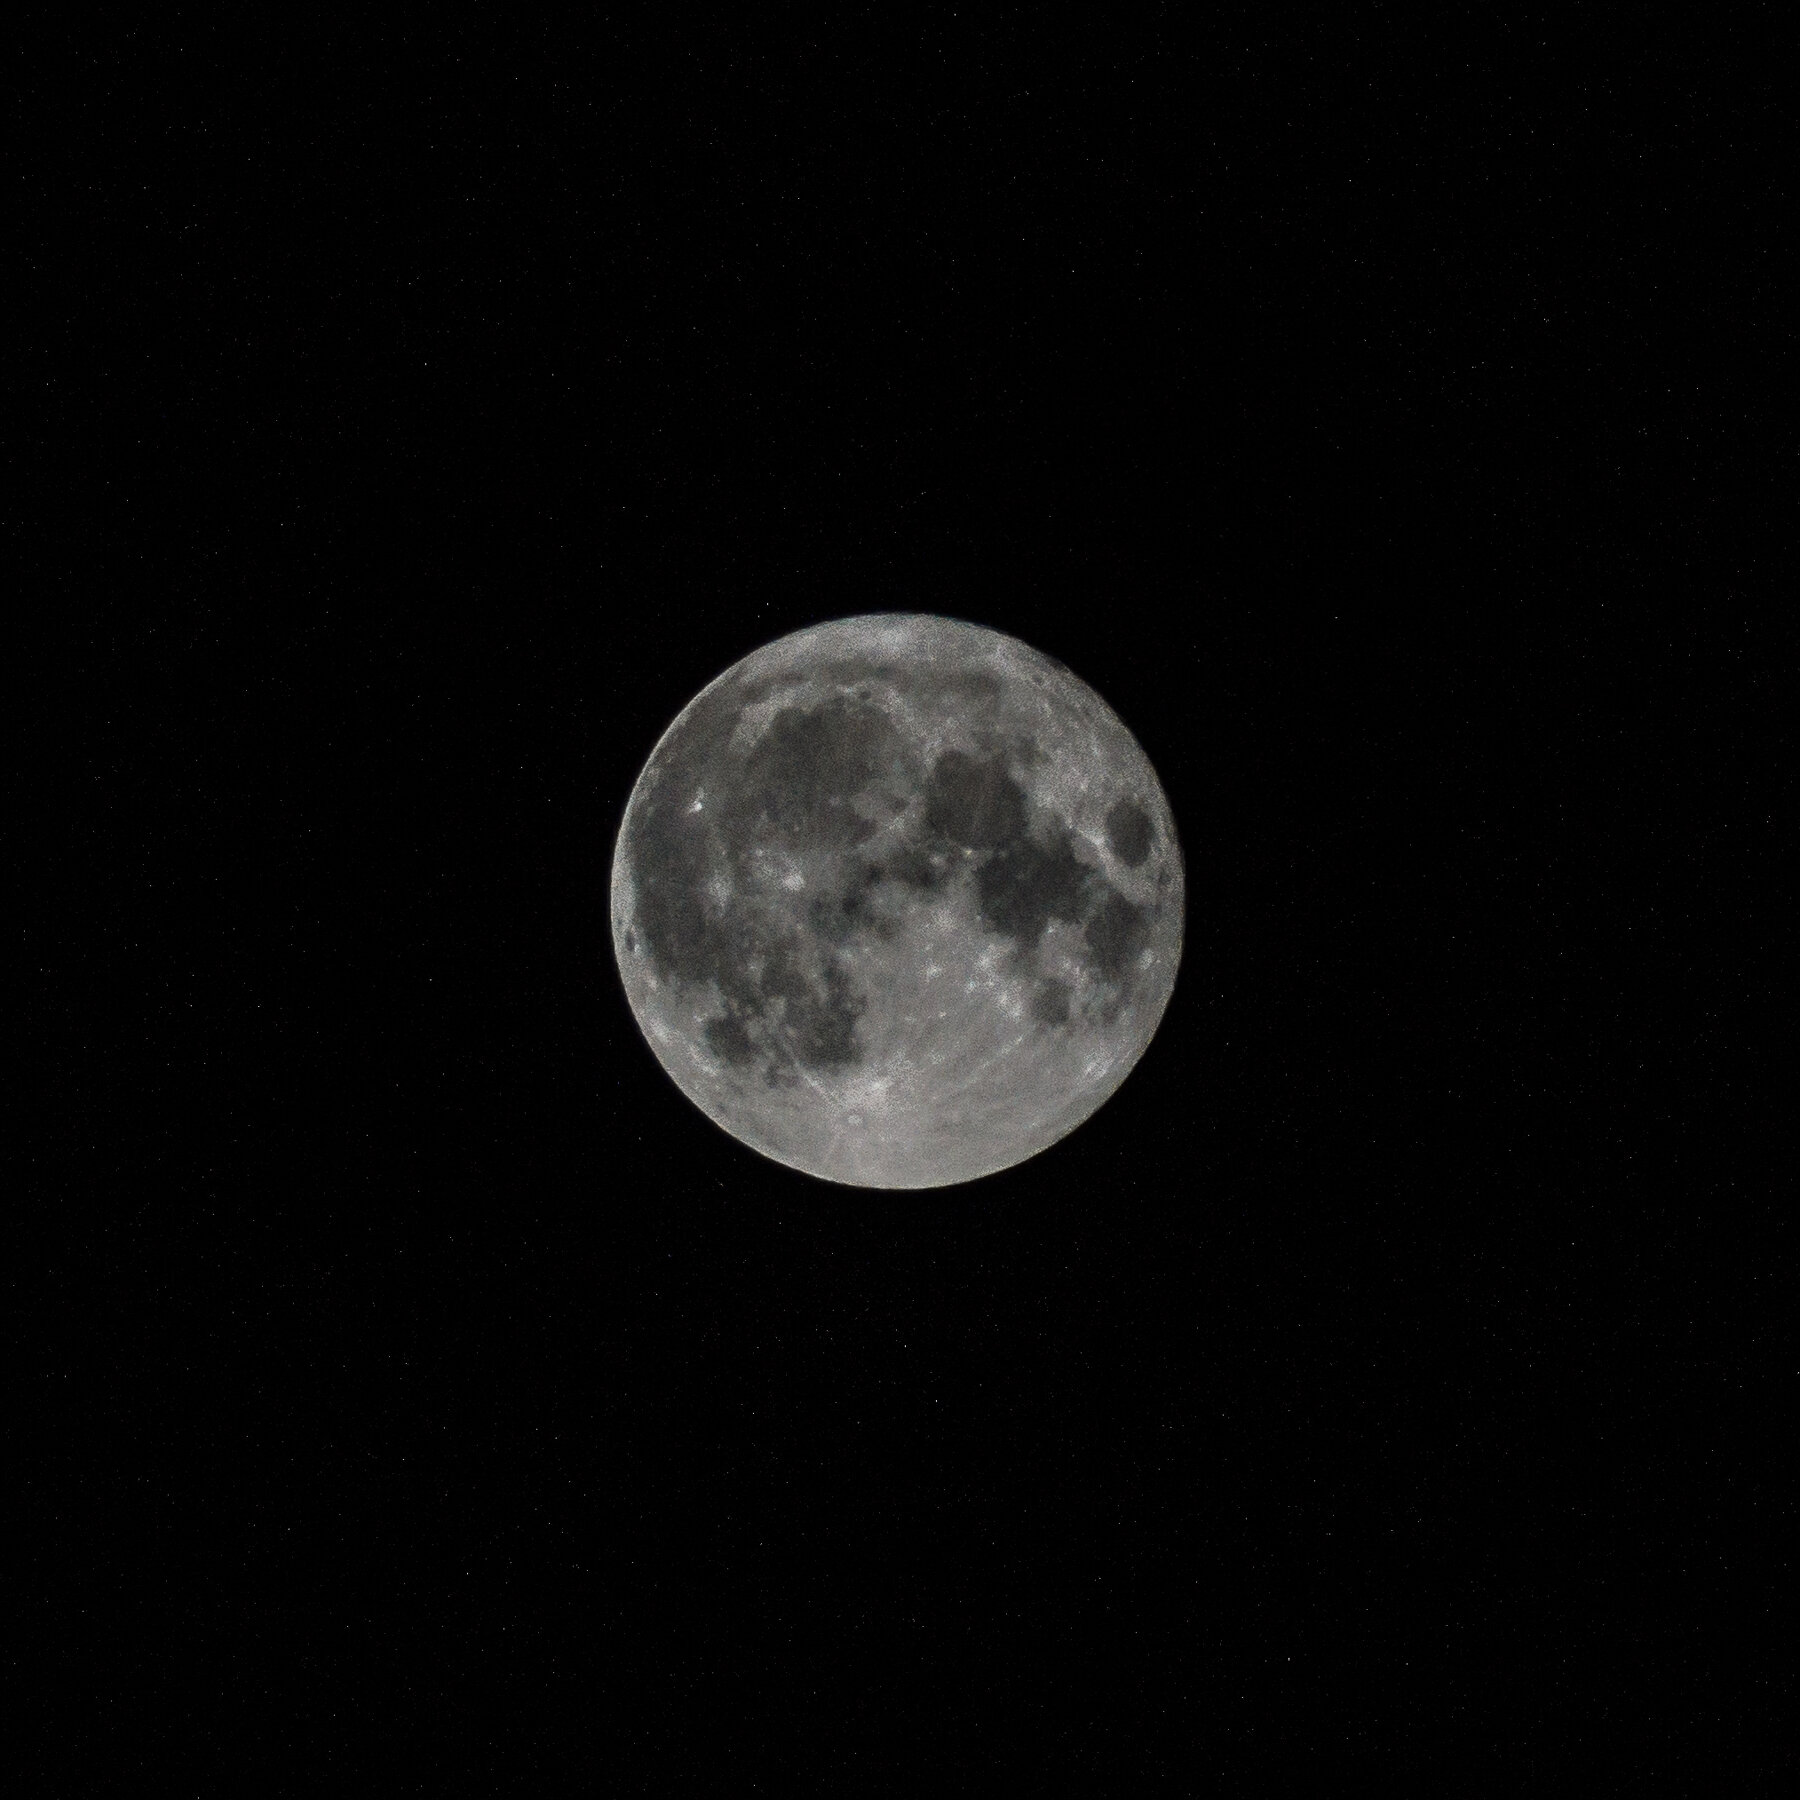
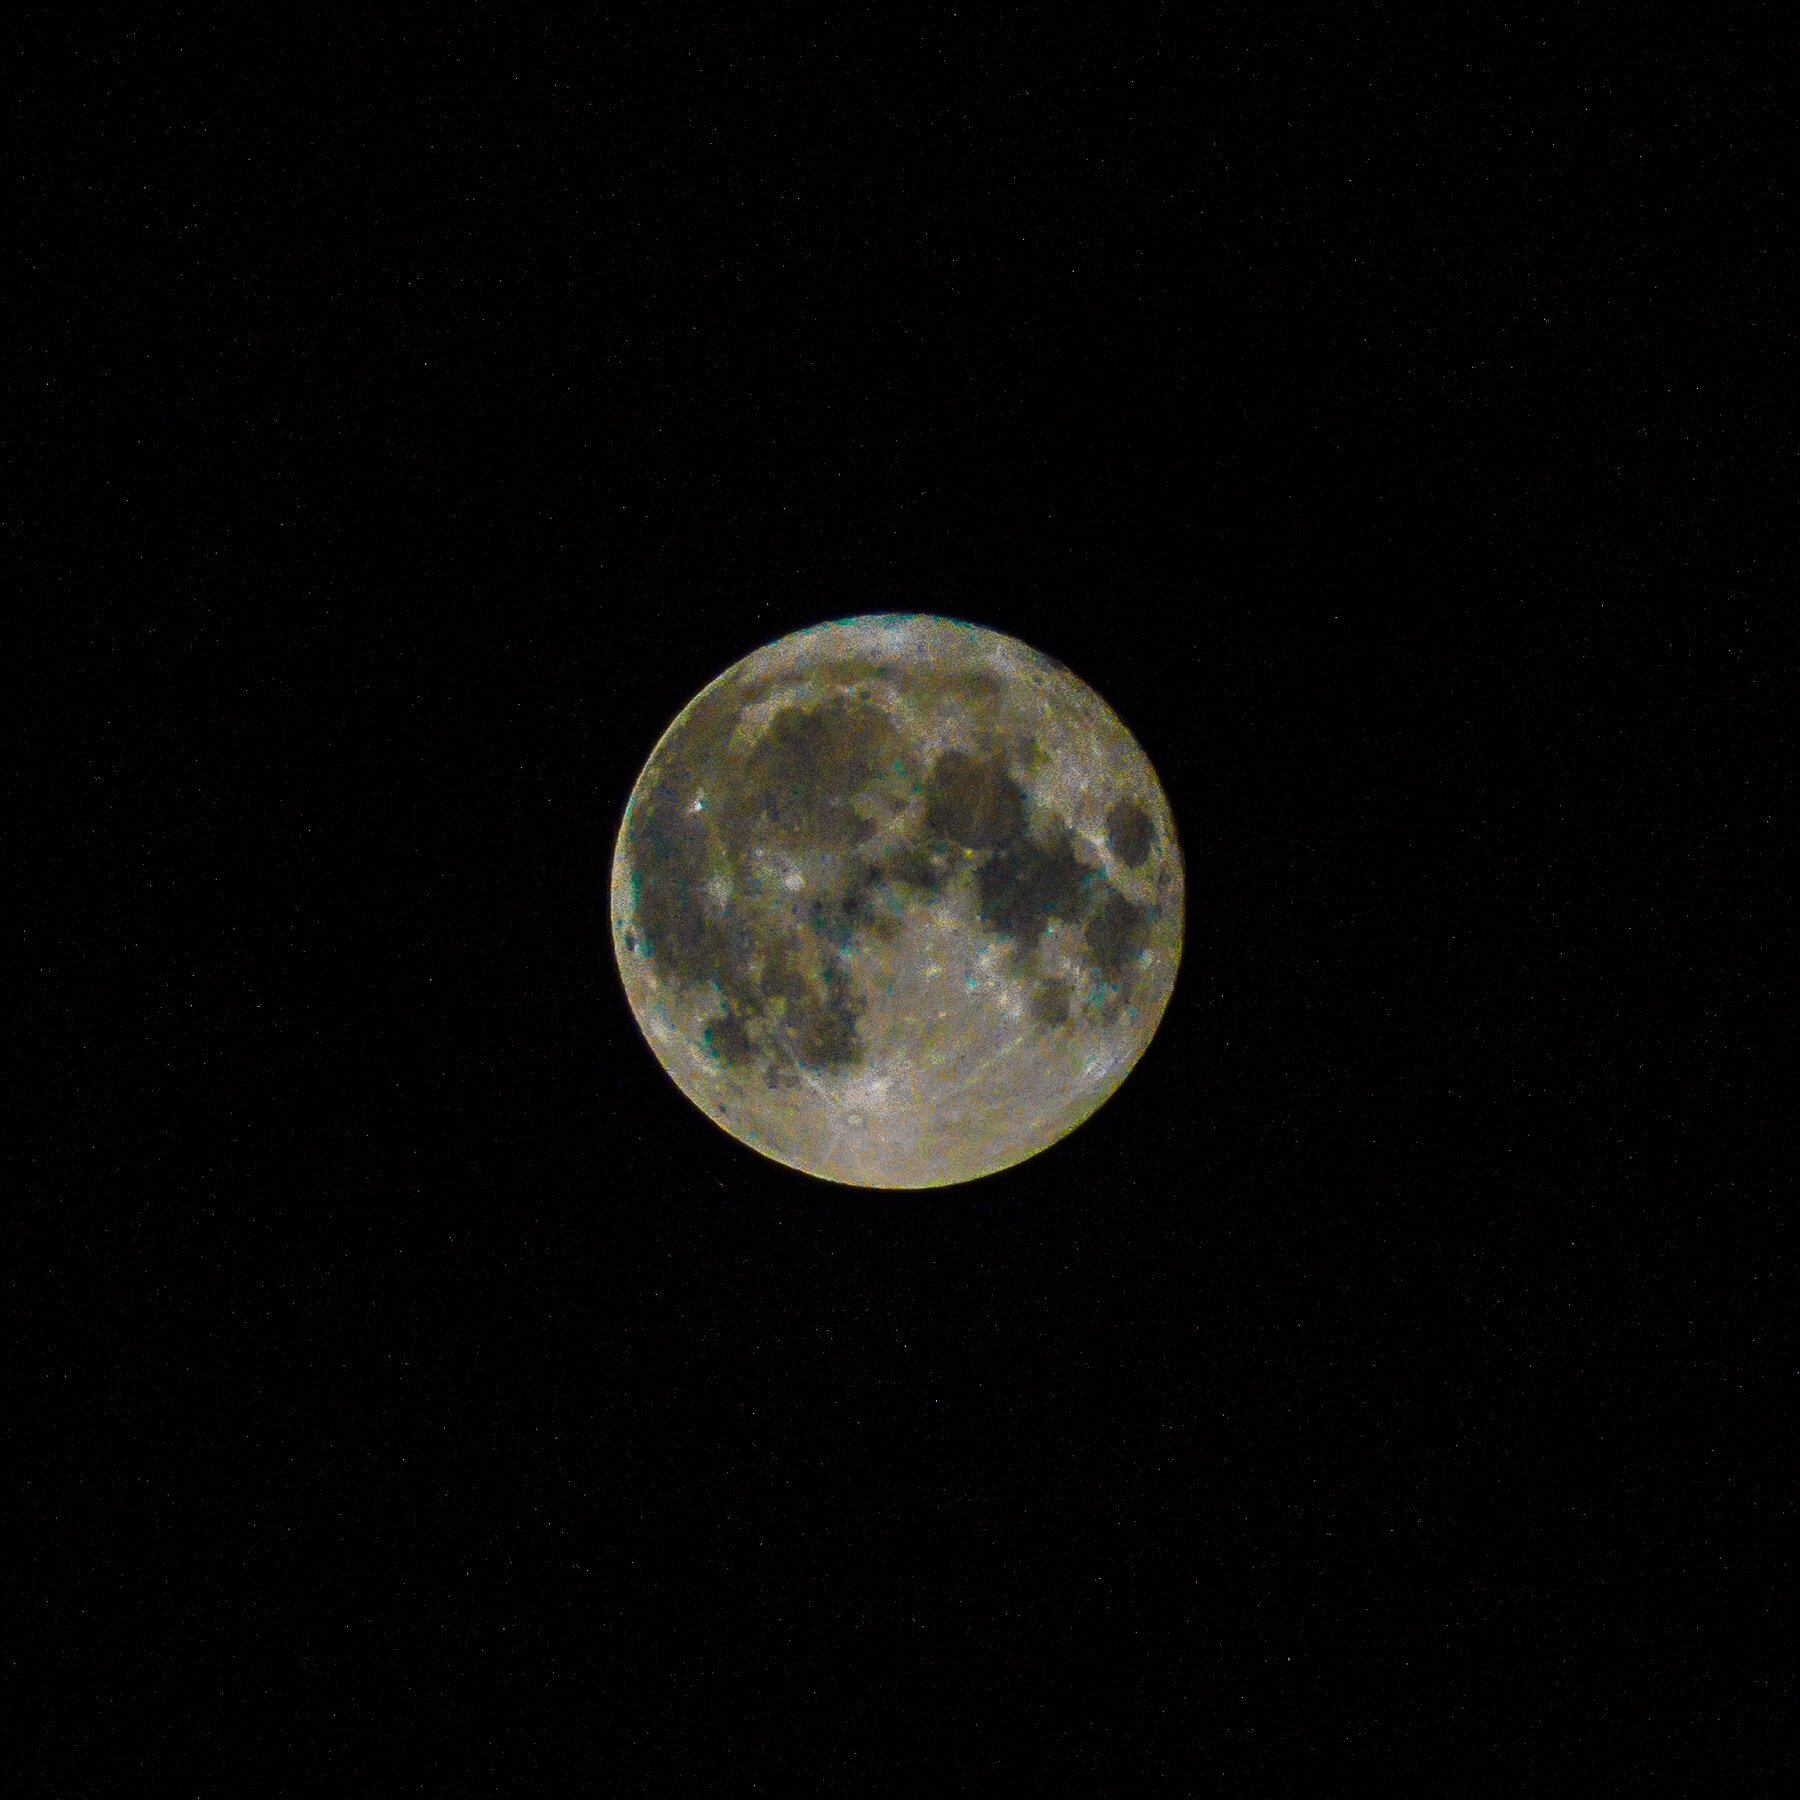
The images above are the same picture the only difference is that the Saturation and Vibrance are set at 0 on the first copy and at 100 on the second. Something so easy was outside of my grasp because it is not my usual type of photography. Always learning and asking questions are things that can be done to better ourselves.

Stay safe, wear a mask, and learn something new.

Scott

tags: learning, teaching, question, ask, other people, editing
Saturday 10.24.20
Posted by Scott W Gonzalez
 

Light Pollution

Hello again,

So a question came up while talking about photographing the Milky Way. It was basically can the Milky Way be photographed when it can’t be seen because of city lights. My response was no because of the light pollution. I never really tried though so while going out of town to get some Milky Way images I decided to see what the images would look like to have my own proof to my statement. So I live in Las Vegas which is a pretty bright place with the strongest beam of light in the world coming from the Luxor on top of all the other lights coming from the Strip, Downtown, and the surrounding city. It is the biggest light polluter in the state of Nevada, with the help of a few smaller cities it ruins the night sky for most of Clark County going past the borders of neighboring states. So I was going to Big Dune which is about 2 hours away from where I live just South of Las Vegas. I made some stops and took some pictures with settings that I have used to capture the Milky Way.

All of these images were taken with the same settings 10 seconds, f2.8, iso 1600, 28mm and facing roughly South.

_DSC5764.jpg
_DSC5767.jpg
_DSC5770.jpg
_DSC5773.jpg

The first image was taken from an overpass roughly 15 miles from the center of the city some stars can be seen but the lights over power most of it. It picked up more stars than I could make out with my eyes though.

The second image was 10 miles later or 25 miles from the center of the city. It was actually facing closer to south. I had time to figure it out as I wasn’t illegally parked. That 10 miles decreased the city lights quite a bit, they can still be seen though and the truck driving by didn’t change it much. I had one with no lights going through the frame and it was nearly the same but I bumped the tripod so there was camera shake.

The third image was another 15 miles later or 40 miles from the center of town. The amount of stars increased drastically by adding that distance. At this point I am still seeing the light from the city on the left of the image.

The fourth image adds another 25 miles making it 65 miles North West of the middle of Las Vegas. The main difference now is that the sky is more black. It doesn’t seem like there are many more stars noticeable to me they appear more prominent in the blacker sky though.

Here is an image taken with the same settings and processed the same. This was from about 100 miles North West of the center of Vegas in Big Dune. It was aimed more South West than South though.

Here is an image taken with the same settings and processed the same. This was from about 100 miles North West of the center of Vegas in Big Dune. It was aimed more South West than South though.

The difference between 65 miles and the 100 miles might not be that great, to me it was less interference, no cars, the quiet, being able to take my time, and again the quiet. I wasn’t going out there to take pictures of just the stars I was doing it to get the Milky Way which is processed differently. The reason the above image is South West is because of the Milky Way.

_DSC5775-2.jpg
_DSC5764-2.jpg
_DSC5767-2.jpg
_DSC5770-2.jpg
_DSC5773-2.jpg

Above is all of the images edited the same as I would for the image of the Milky Way. To me the only one that looks right like this is the one of the Milky Way. The rest the stars look altered and the rest of the lights look either way too warm or purple. I was just doing it for comparison. I hope that I gave out some worth while advice. Again I would enjoy seeing images that were helped by this in the comments.

~Scott

tags: learning, light pollution, night, sky, stars, education, editing
Monday 09.09.19
Posted by Scott W Gonzalez
 

Fireworks

I hope everyone that celebrates it had a Merry Christmas, or a Happy Hanukkah, Kwanza, Solstice, Yule, Bohdi Day, Pancha Ganapati, or any of the many other holidays celebrated in the Decemberish time. If I missed yours it is nothing personal.

So on to the topic, fireworks and how to capture them. As usual I recommend a tripod and a remote. It can be done without either it is more hit and miss. I will get an idea of where the fireworks will be exploding and if possible set up before nightfall. This is easier to do during the 4th of July than New Year’s Eve. This helps with setting up background and foreground if desired. Generally the fireworks are far enough away that focusing on infinity works well enough, if you aren’t a fan of that then focus on a building nearby the launch site then lock your focus. For aperture I use f8-f11 to keep the focus area large and a low ISO to keep the noise down. Here is where the tough decisions come in. If it is windy then a faster shutter speed will keep the definition of the fireworks better. Notice below the firework trails are being blown to the left and gravity is having it’s hand at pulling them down too.

iso 100 f6.3 11 seconds. I had a larger aperture to get more of the foreground lit.

iso 100 f6.3 11 seconds. I had a larger aperture to get more of the foreground lit.

Now I use a bulb setting so that I can control the shutter better. Sometimes I want a single firework other times I want multiple and often I am deciding while the shutter is open. If a set shutter speed is used the only way to control it would be to put a black card/think paper of the lens during the exposure. The few times that I used that technique I didn’t really enjoy it and took away from enjoying the show. It is an option though.

Another decision that needs to be made is whether a foreground interest will be in place. If so a way to do it is with two separate exposures. One of a properly exposed foreground then one of the fireworks. I recommend taking them around the same time so the blending process is easier. Using a rear curtain flash is also an option depending on how far the subject is.

iso 100 4 secs at f14

iso 100 4 secs at f14

Above notice that the lines are more defined, it was at least partially because of the faster shutter speed. I can’t recall if or how fast the wind was that night so that is out of the equation.

If you have the means a reflection adds more interest to the image,

If you have the means a reflection adds more interest to the image,

Fireworks.jpg
_MG_7757.jpg
_MG_7751.jpg

Above I took caught a picture with my Father in law and my nephew watching the fireworks. The first one is the composite, the second is the original, and the third is the orange firework. The same idea can be used with different foreground.

Lighting pictures are not hard once you know how to do them. Reading about it is one thing doing it is completely different. So with the New Year coming in there are usually some fireworks which is a good chance to try this technique out. Have a Happy New Year everyone. I would love to hear some comments or questions.

tags: photography, learning, teaching, fireworks, explosion, blend, exposure, example, experiment, editing, fun
Saturday 12.29.18
Posted by Scott W Gonzalez
 

Layers

Good morning,

So I started writing a blog talking about how I made one of the more recent pictures that I posted and realized that the actions that it took had not been explained. Like layers. So I use photoshop and lightroom. They have become familiar and if you are a student or a teacher they have a discount on the software. I am not sure if it works with the subscription plan that they have now though.

So layers if you are not familiar are like putting a bunch of pieces of paper on top of each other. Depending on the paper it might not do all that much. If it is construction paper then you only see the top sheet, if it is tracing paper then you can see a few sheets down, if it is celluloid then the only part that you can’t see is the part that has writing or drawing on it. It depends on how you treat the layers in photoshop and if you use a mask (layer masks will be discussed at a later time).

Let’s start with a star trail stack. After taking the images using a sturdy tripod or mount go into photoshop, cut and paste the images on top of each other. This will make layers starting at 1 with a Background. You could also got to File>Automate>Photomerge and pick auto. I have not had much luck with it I have met people who have. The results are similar though.

_MG_8606.jpg
_MG_8607.jpg
_MG_8608.jpg

These three images add up to about 14.5 minutes of exposure. I put the same settings on all of them when converting to jpeg then stacked them in photoshop. After you do that then you will only see the top layer. There is a drop down menu in the layers tab/window that should say “normal.” The trick here is to go to that drop down menu and pick “lighten” for everything except the background. The parts of the image that add light will show up through the layers.

3.jpg

Above is all three images stacked with the “lighten” setting then I went to Layer>Flatten Image which will put all the layers together into one that can be saved as a tiff or jpeg. Notice that the sky got brighter from the light pollution, being near a bright city doesn’t work well with astrophotography. This will work with other times when trying put together multiple images, car trails, I even heard that it will work with water to mimic a long exposure (I haven’t tried it though). So grab a sturdy mount, a remote, your camera then go out and shoot.

~Scott

tags: teaching, astrophotography, stars, long exposure, photoshop, layers, stack, trail, editing, education
Saturday 11.17.18
Posted by Scott W Gonzalez
 

Post Processing: Presets

Good Afternoon,

Today we are going to discuss presets in post processing as the title said. There are many options for processing RAW files. Cameras generally come with their own software and it can be all that we need. Other times we need to go outside of what the manufacturer provided. Lightroom, Photoshop, Capture One, Affinity Photo, DxO Photolab, and many others. I generally use Lightroom to process images and Photoshop if I need to do some more serious editing.

In Lightroom there are presets already present. B&W: Filter, Toned, and just B&W, then Color presets, General presets, and Effect presets which are all fine and dandy for general use. We can make our own though which can be applied during import. It can be brought down to very specific settings. What we do is open our RAW file then adjust it to our liking then save it through the Develop pull down menu. There is a New Preset option or we can hit ctrl/cmd+shift+N. Now this is more for something that will be used often, (such as noise reduction for different ISOs, portrait with a flash, outside portraits, landscapes, sunsets, etc) if we are looking for something just for one group of photos then we can copy (ctrl/cmd+C) and paste (ctrl/cmd+V) the setting to each image or a group in the grid view. This is just a starting point for when importing images to lightroom, not every landscape we do will be optimal for these settings it beats starting from scratch on each shoot.

Here is where we can apply the presets during import and below the circled setting is Metadata that can be applied as well. If the preset is saved we can skip a step in post.

Here is where we can apply the presets during import and below the circled setting is Metadata that can be applied as well. If the preset is saved we can skip a step in post.

Here are where any presets we create end up. Sony Standard is my normal and mimics what I see through the viewfinder on Standard setting and is a good starting point.

Here are where any presets we create end up. Sony Standard is my normal and mimics what I see through the viewfinder on Standard setting and is a good starting point.

This is the settings for my own Standard which is usually where I end up with outdoor scenes. Mind you this is for a Sony SLT so it might not work that well for a Canon, Nikon, Fuji, Pentax etc.

This is the settings for my own Standard which is usually where I end up with outdoor scenes. Mind you this is for a Sony SLT so it might not work that well for a Canon, Nikon, Fuji, Pentax etc.

If lightroom is not what is used there are ways to make our own presets there as well. Now go out and shoot then make a preset or two to edit the images.

~Scott

P.S. there is a comment section under each post I would enjoy hearing from you all and seeing pictures.

tags: photography, photo, education, editing, processing, preset, post, teaching, training, setting
Tuesday 01.16.18
Posted by Scott W Gonzalez
 

Powered by Squarespace.