• Photography
  • About
  • Contact
  • Light Writing

Scott W Gonzalez

  • Photography
  • About
  • Contact
  • Light Writing

365 my experience

Sorry about how long it has been. I have been out of the mood to write anything lately. I am back though.

So in 2015 I did a 365. It was interesting, frustrating, a learning experience, and fun when it wasn’t frustrating. So the idea of a 365 is simple, take a picture every day for a full year. With a leap year coming up it would be a 366. Most people post them and I did on Facebook (which I will soon be getting rid of) and on DeviantArt. There are other options for it such as a 52 (one a week), I heard someone mention a 12 (one a month) as well. Some do a single subject, some different daily, and some follow a plan for each day. Again it is basically taking one picture a day.

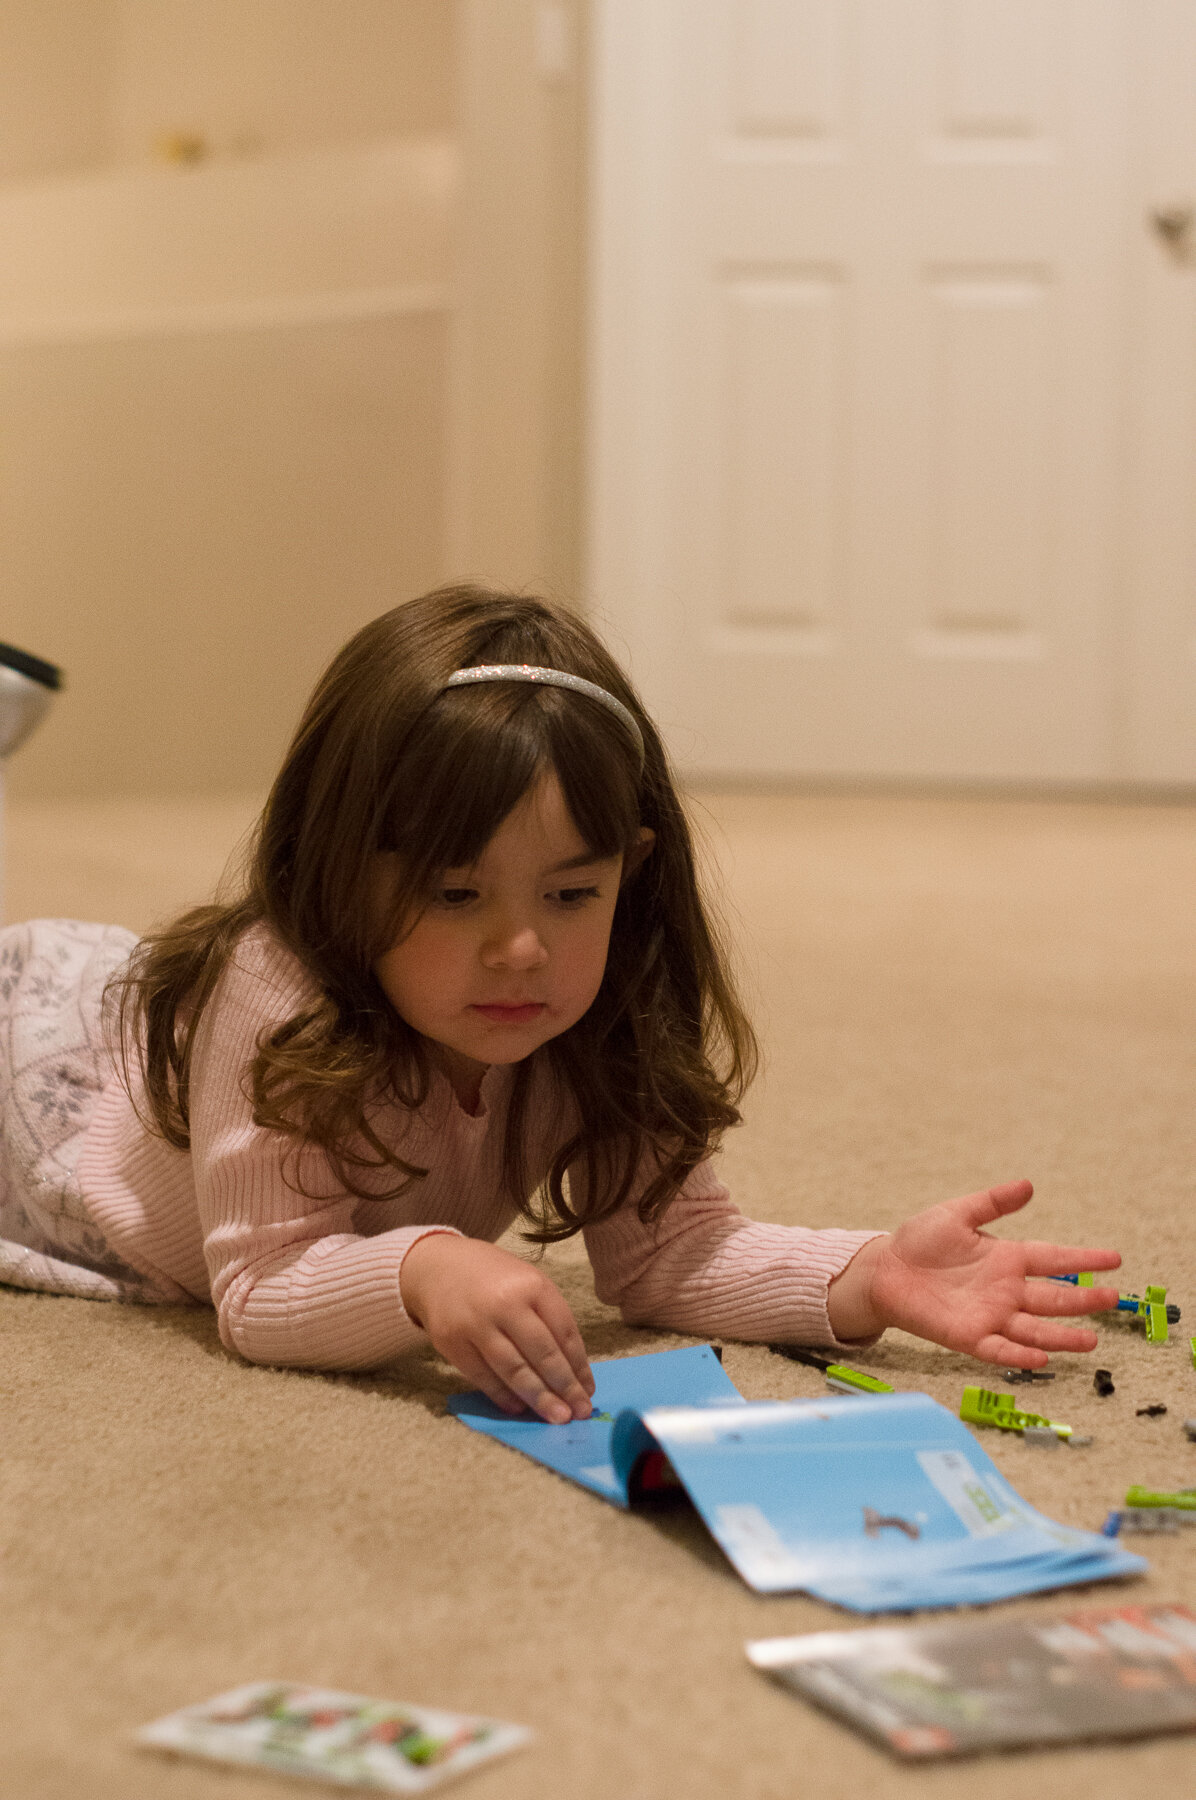
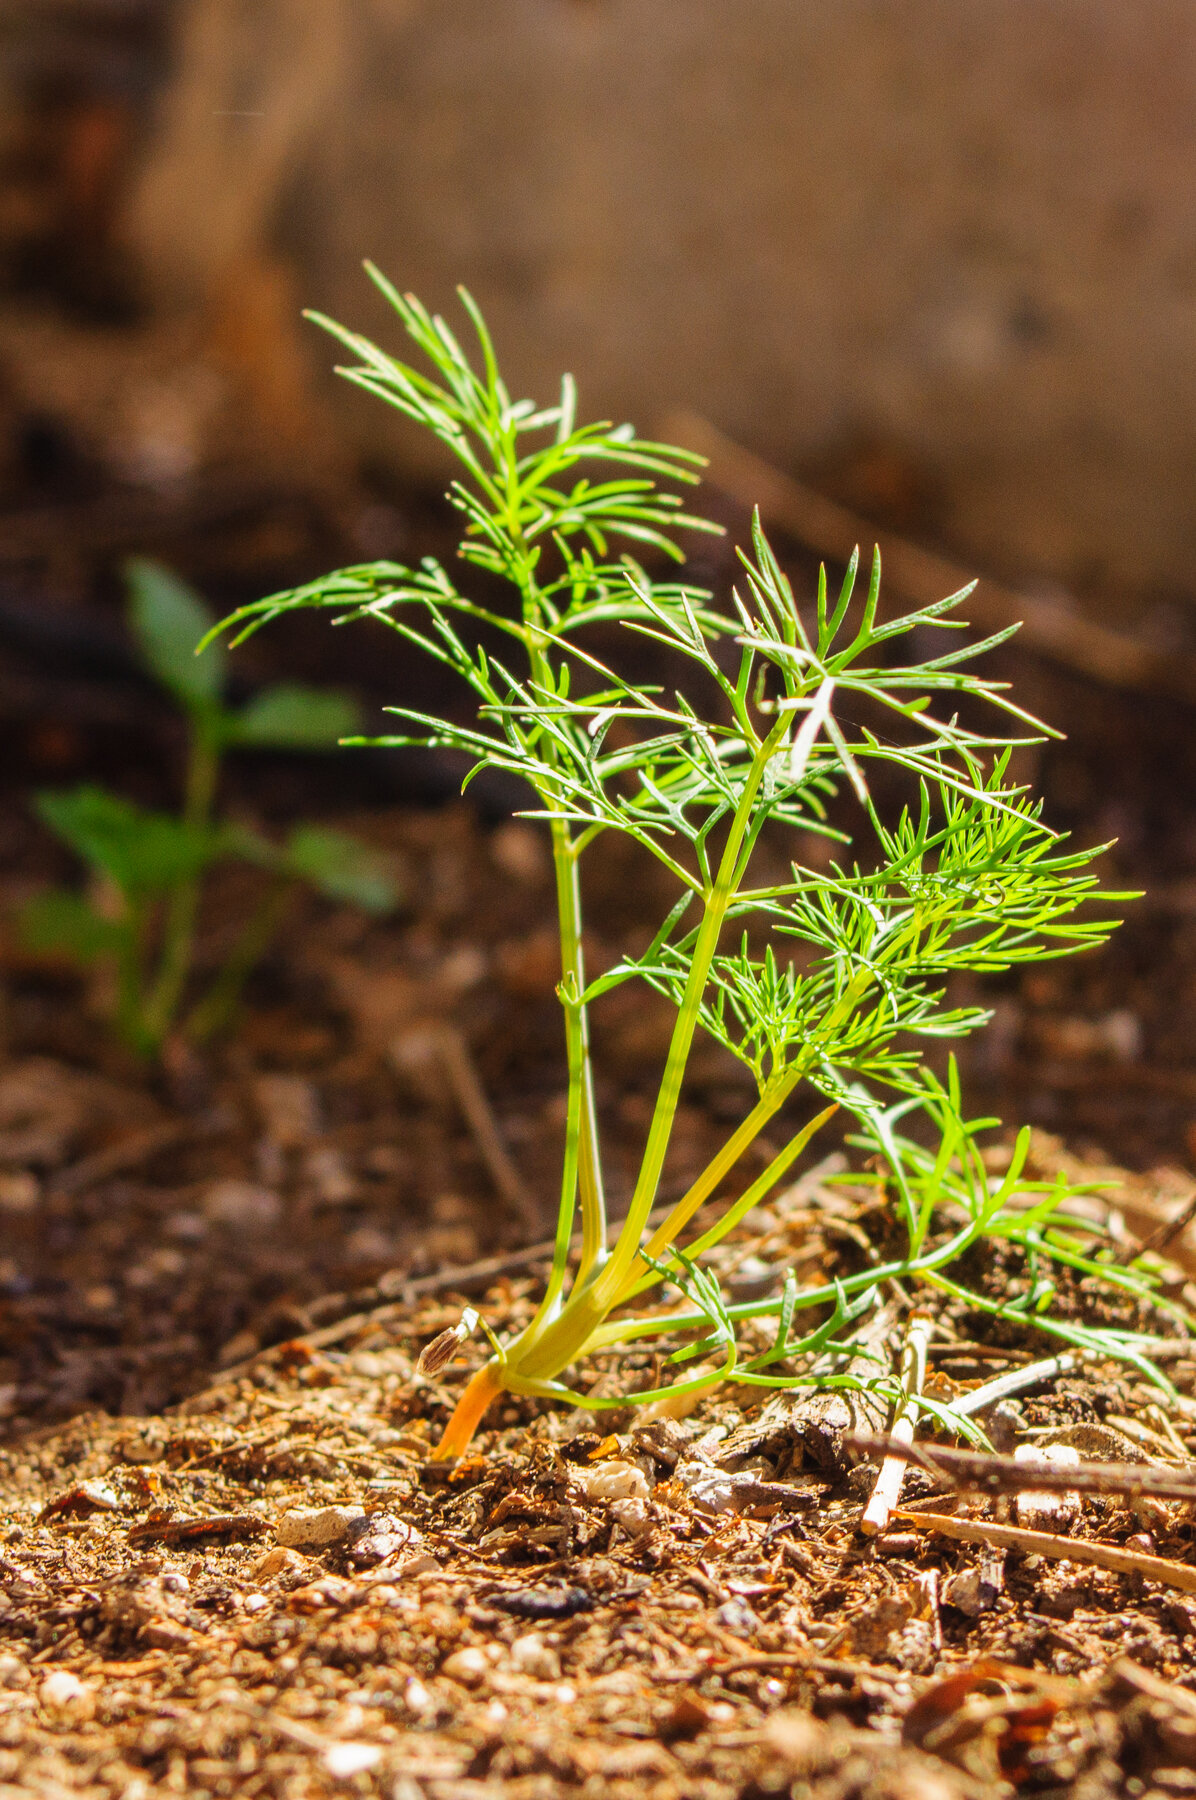
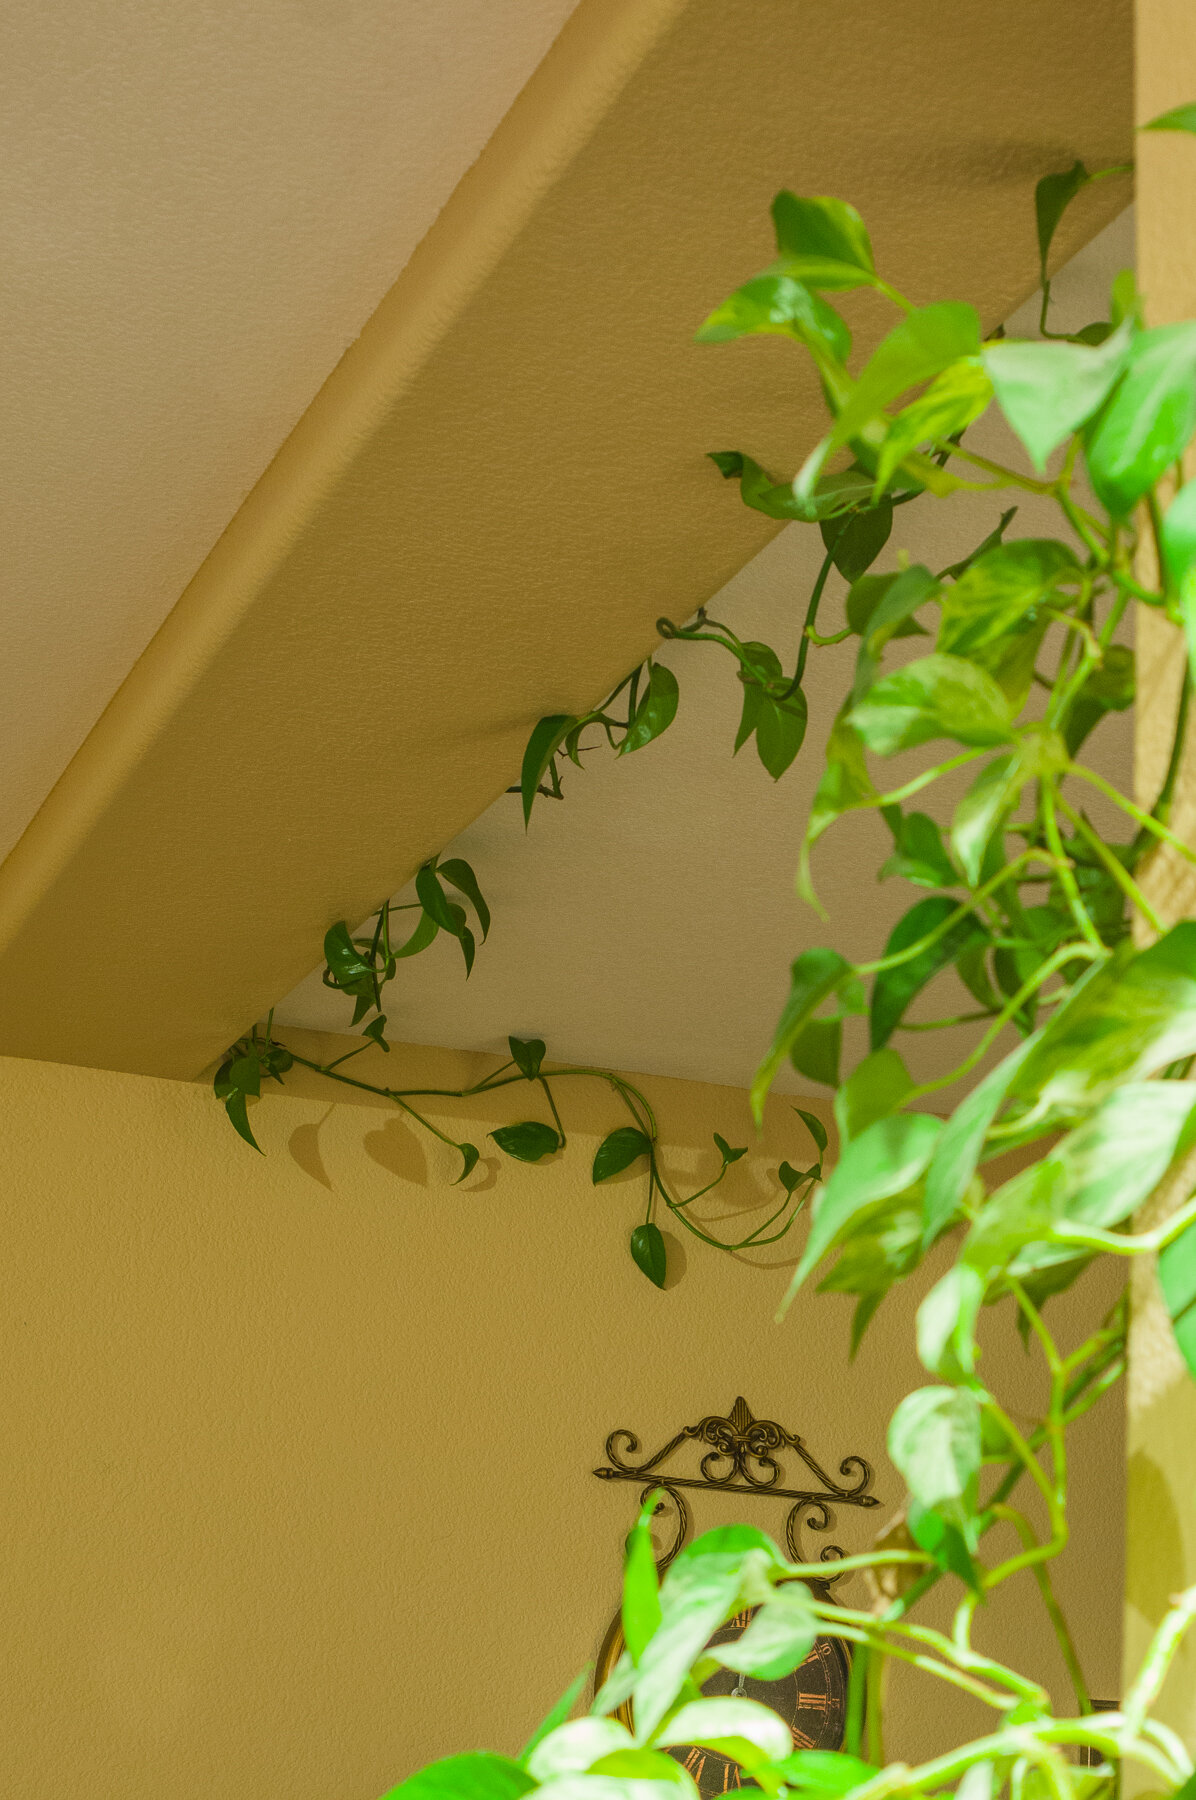
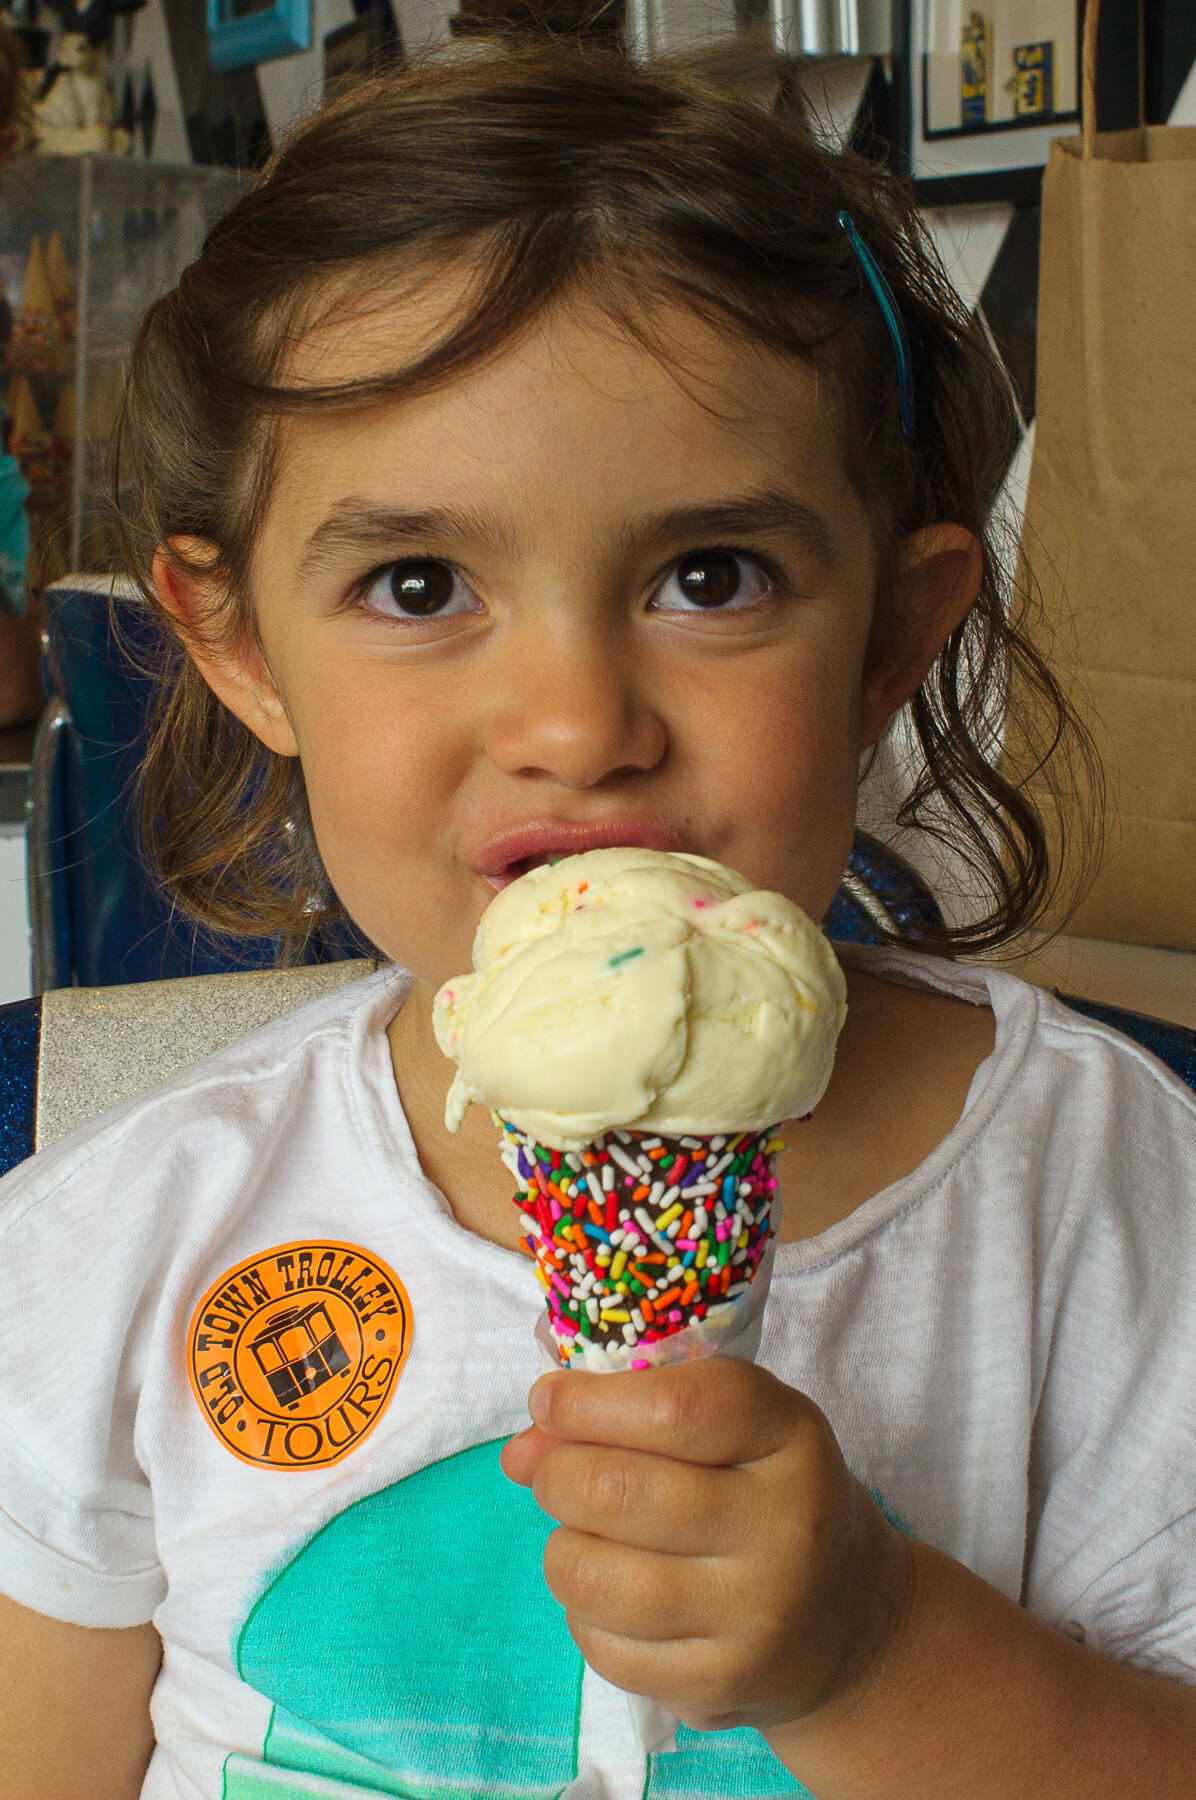
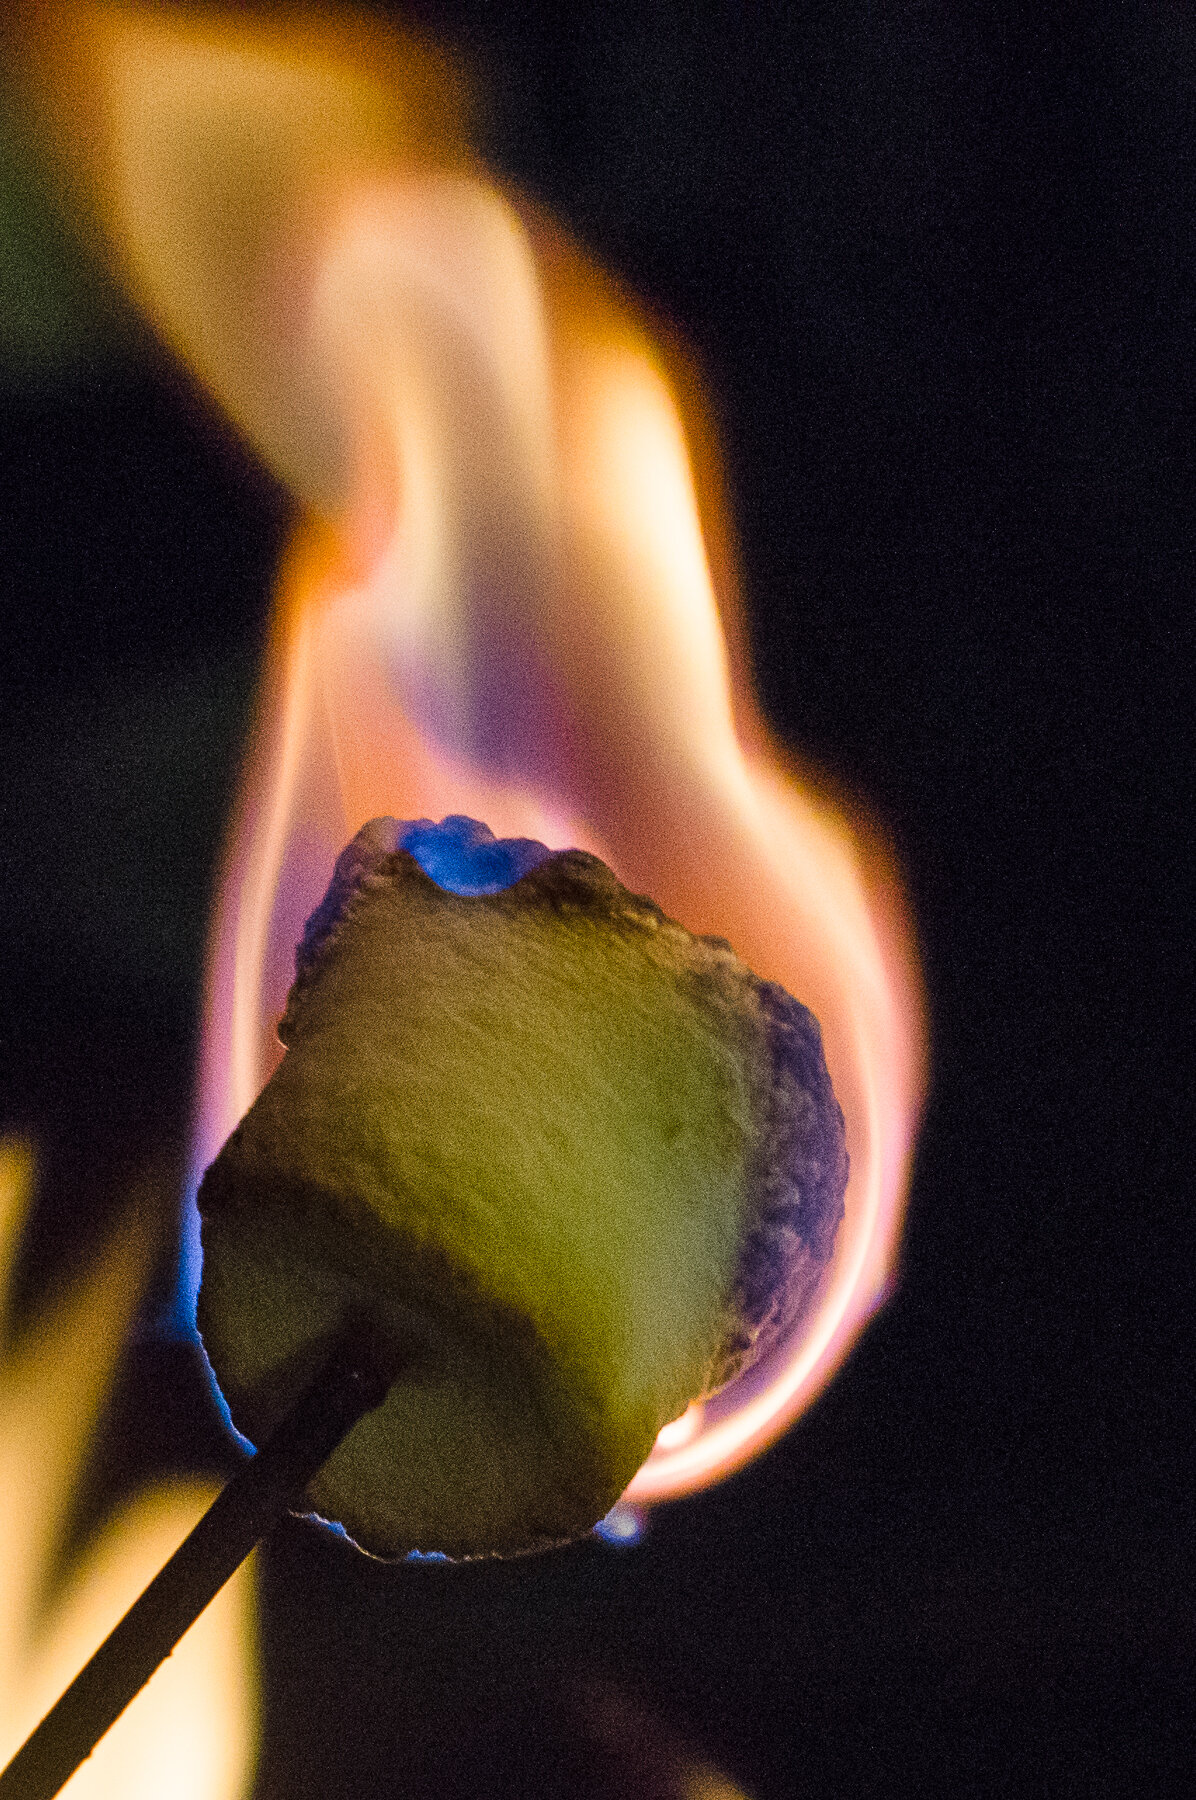
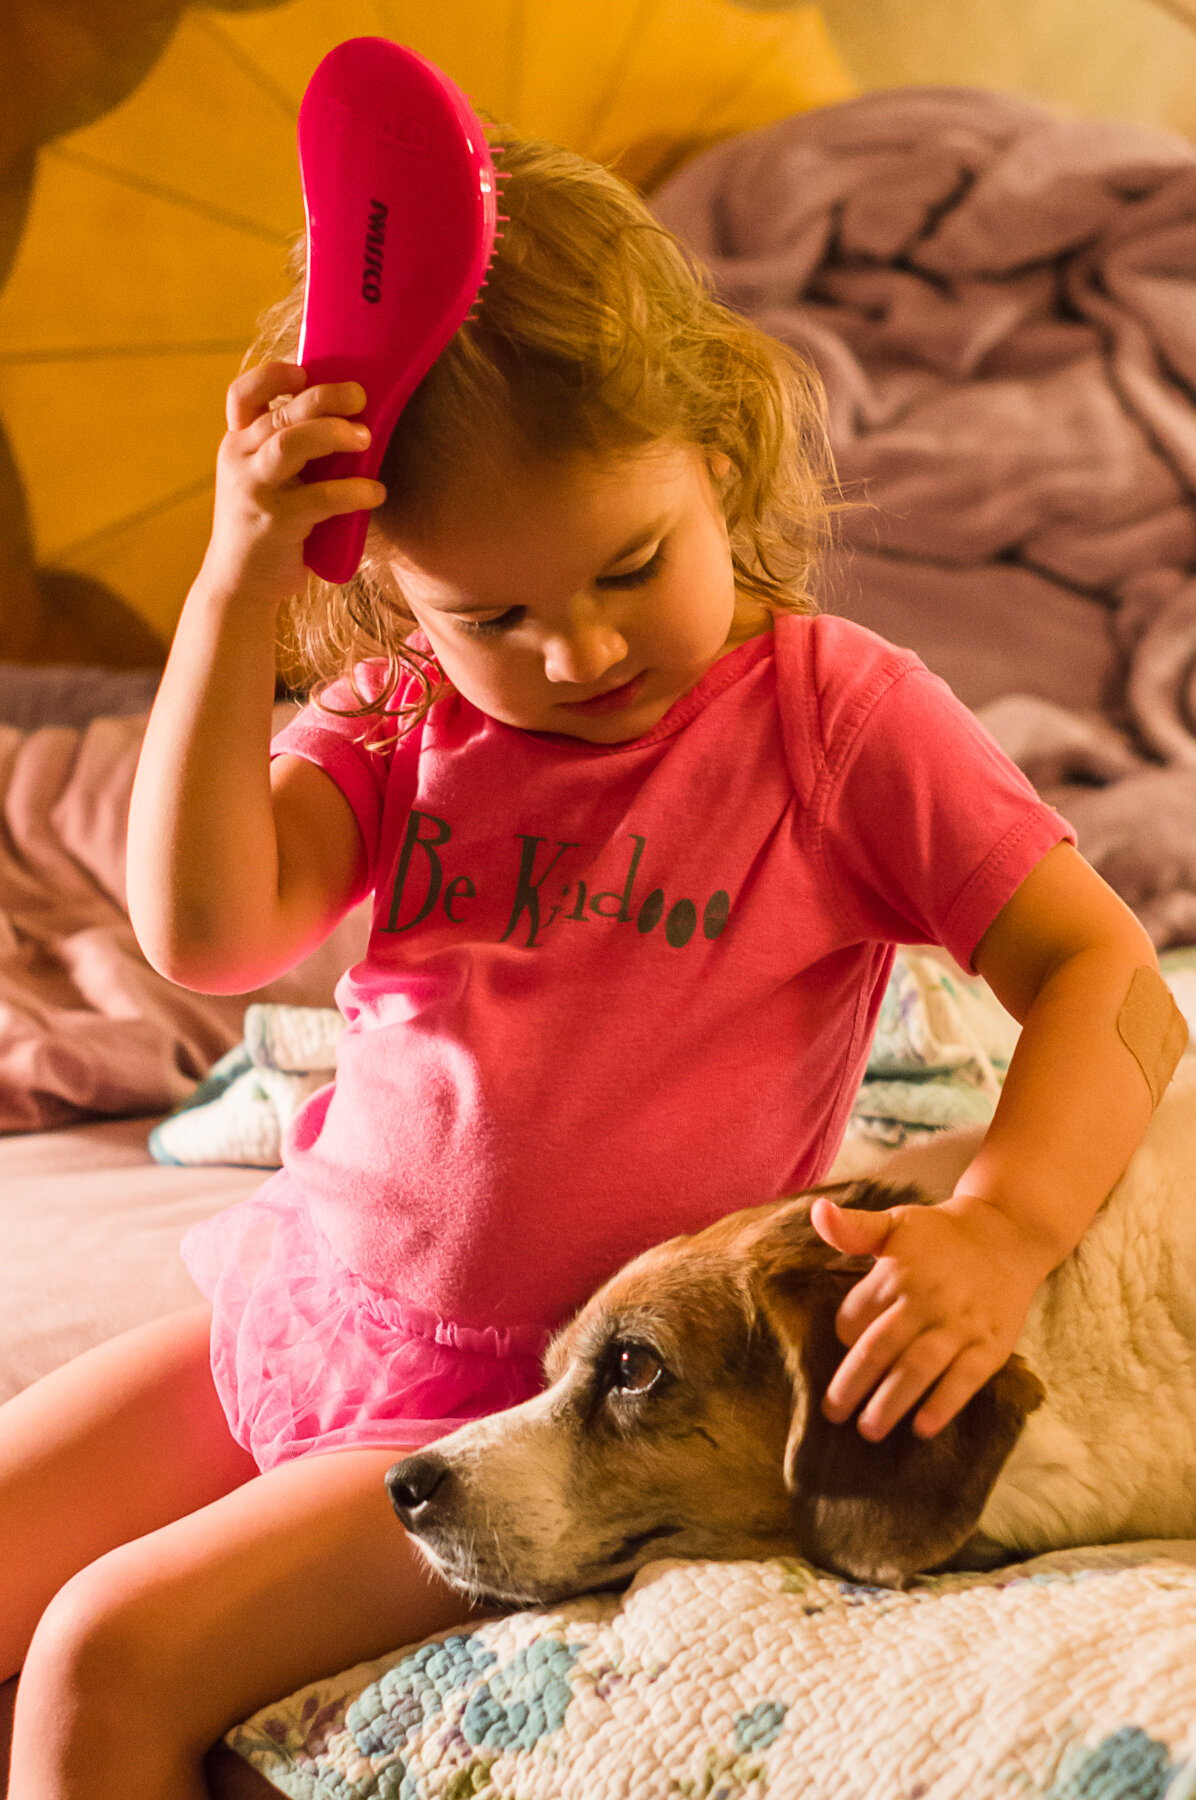
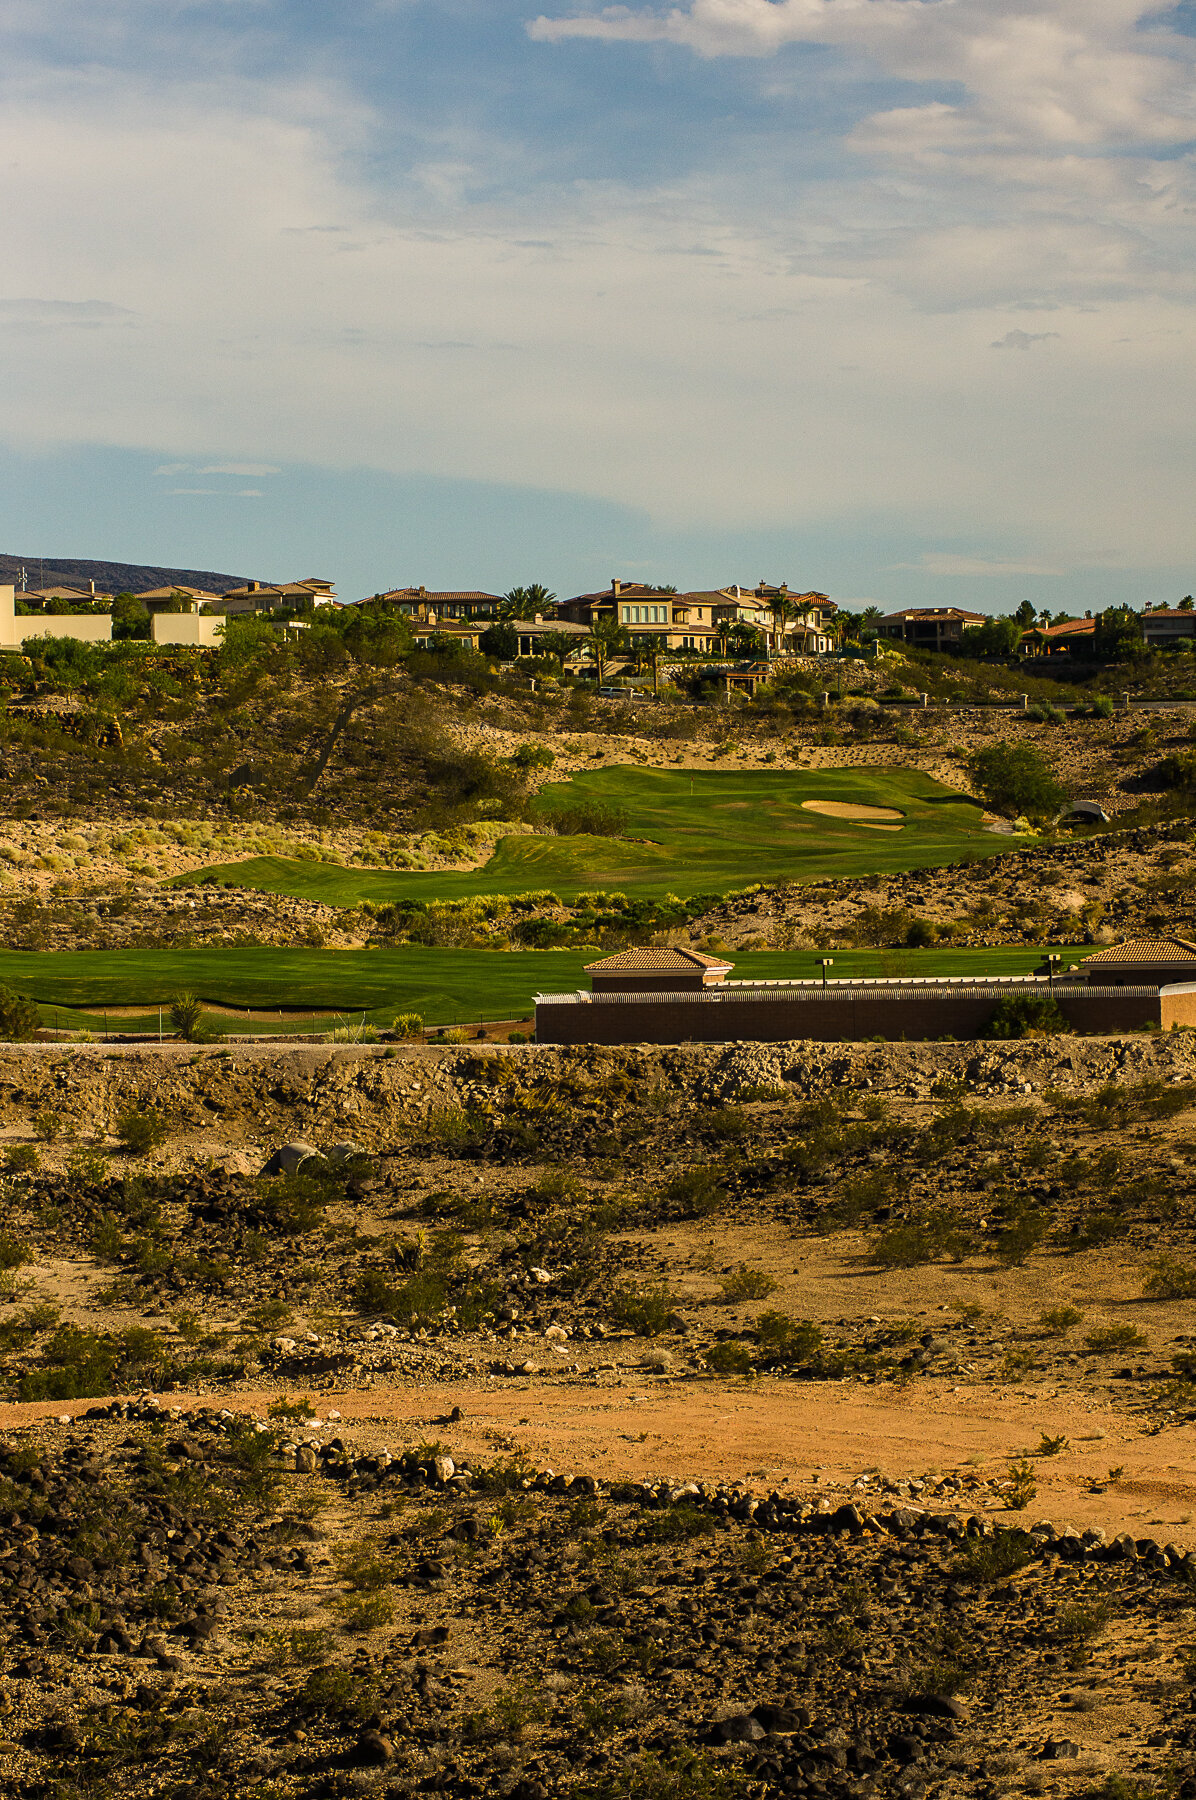
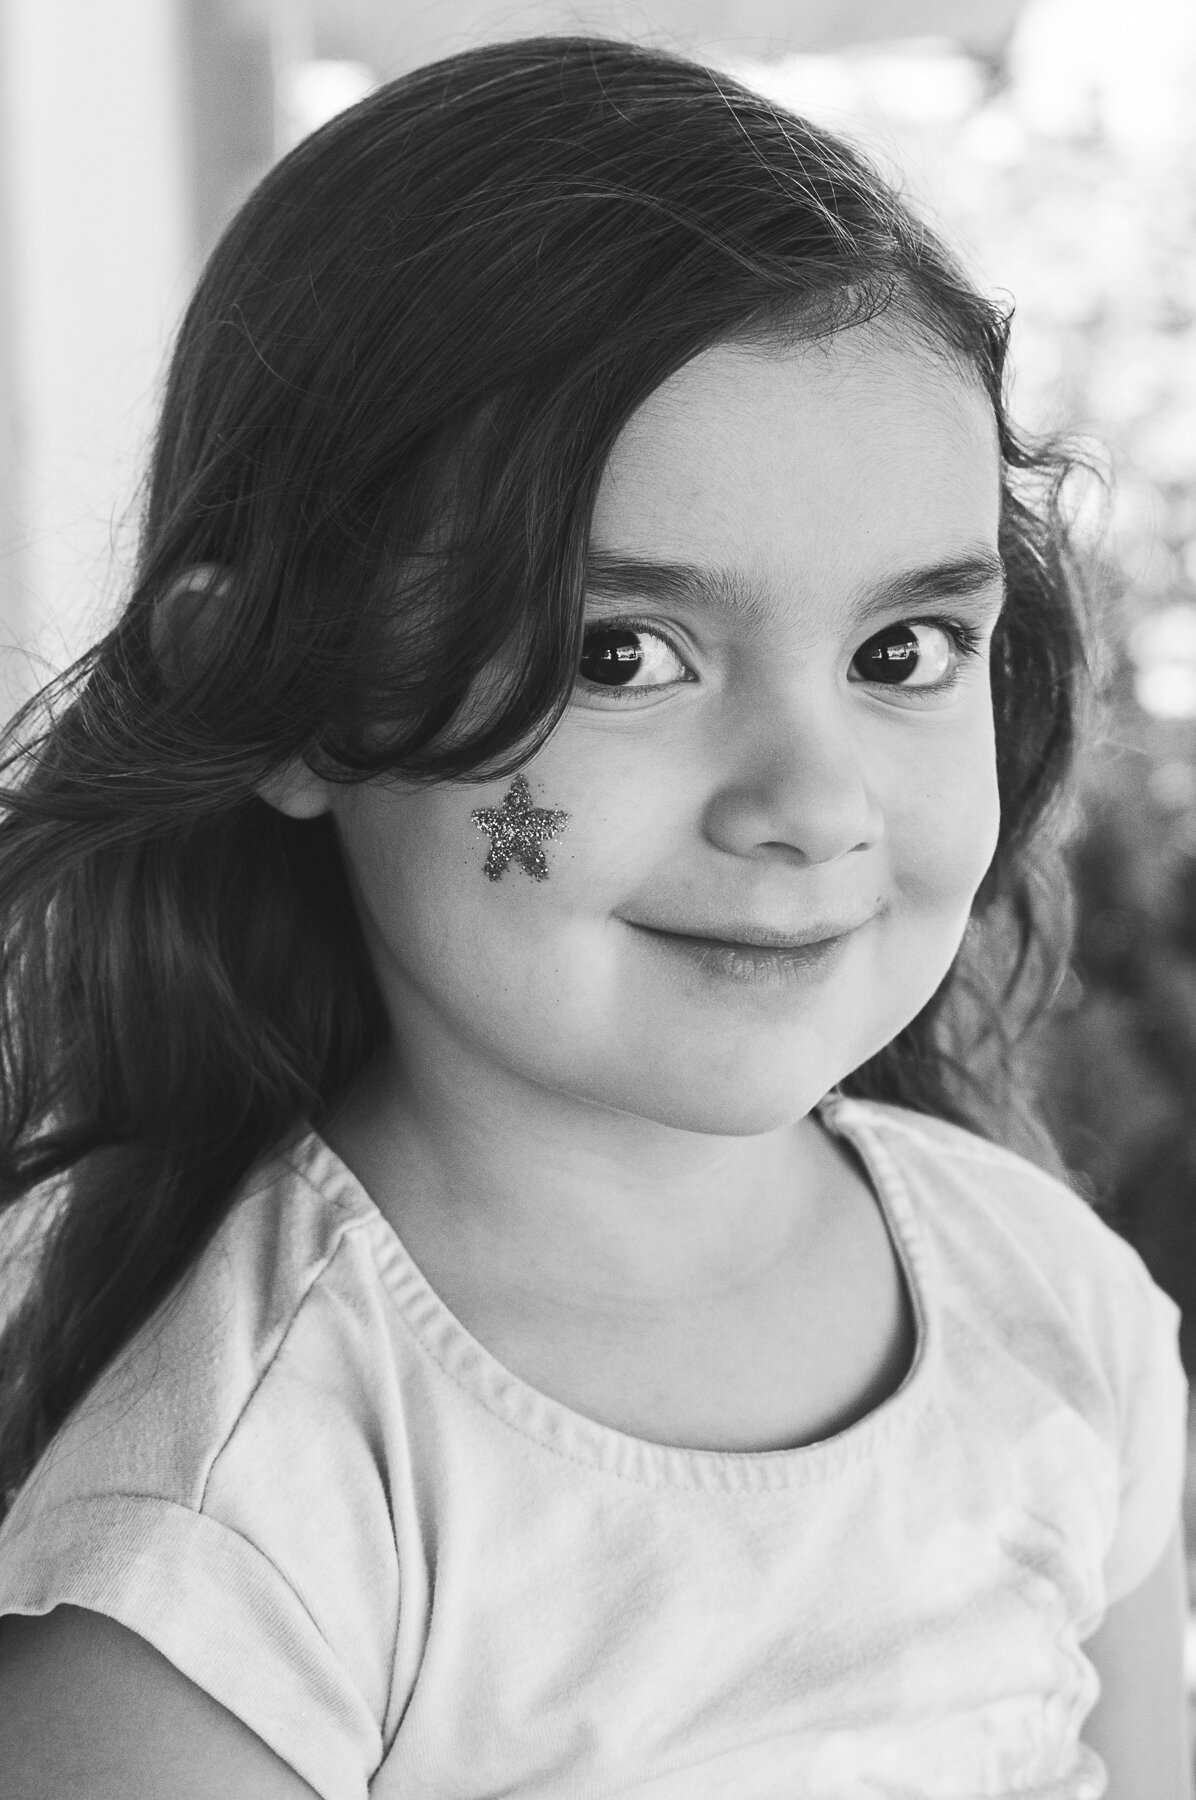
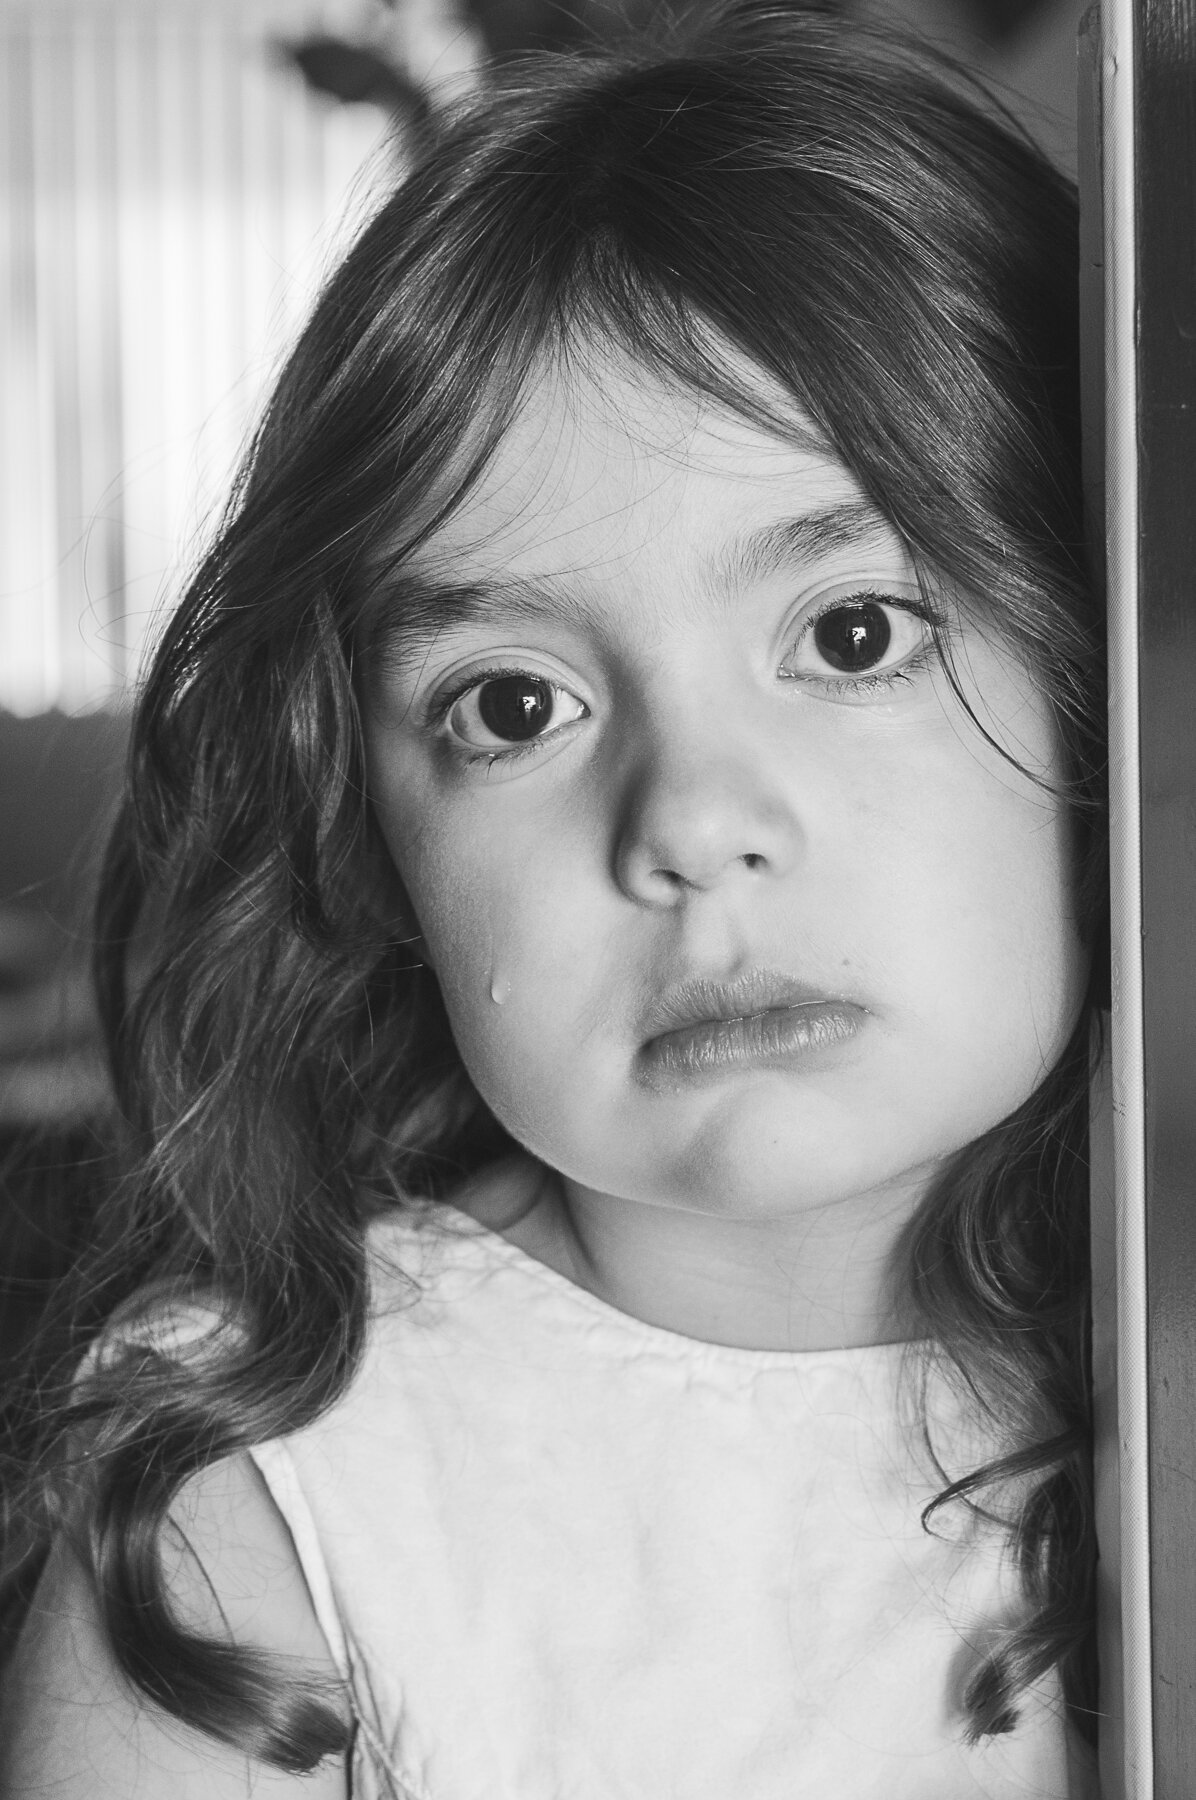
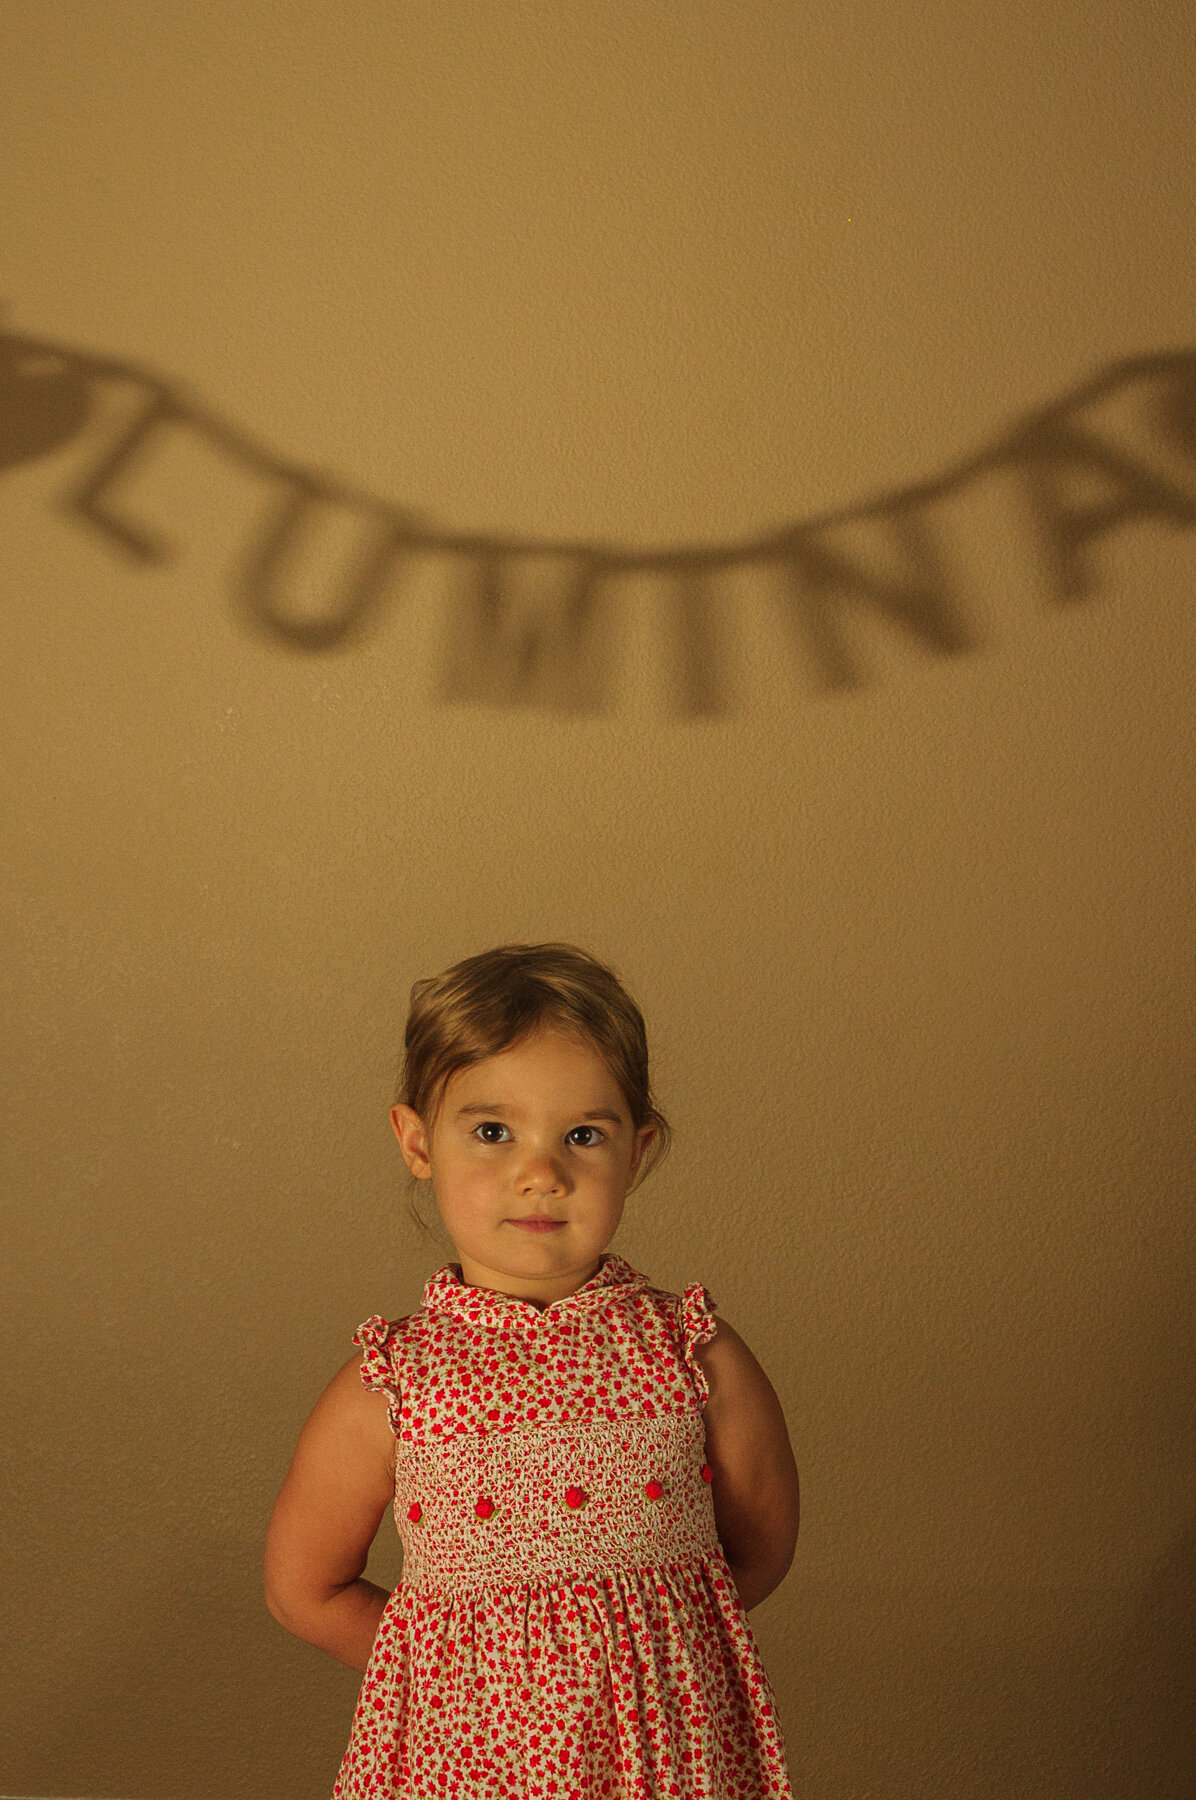
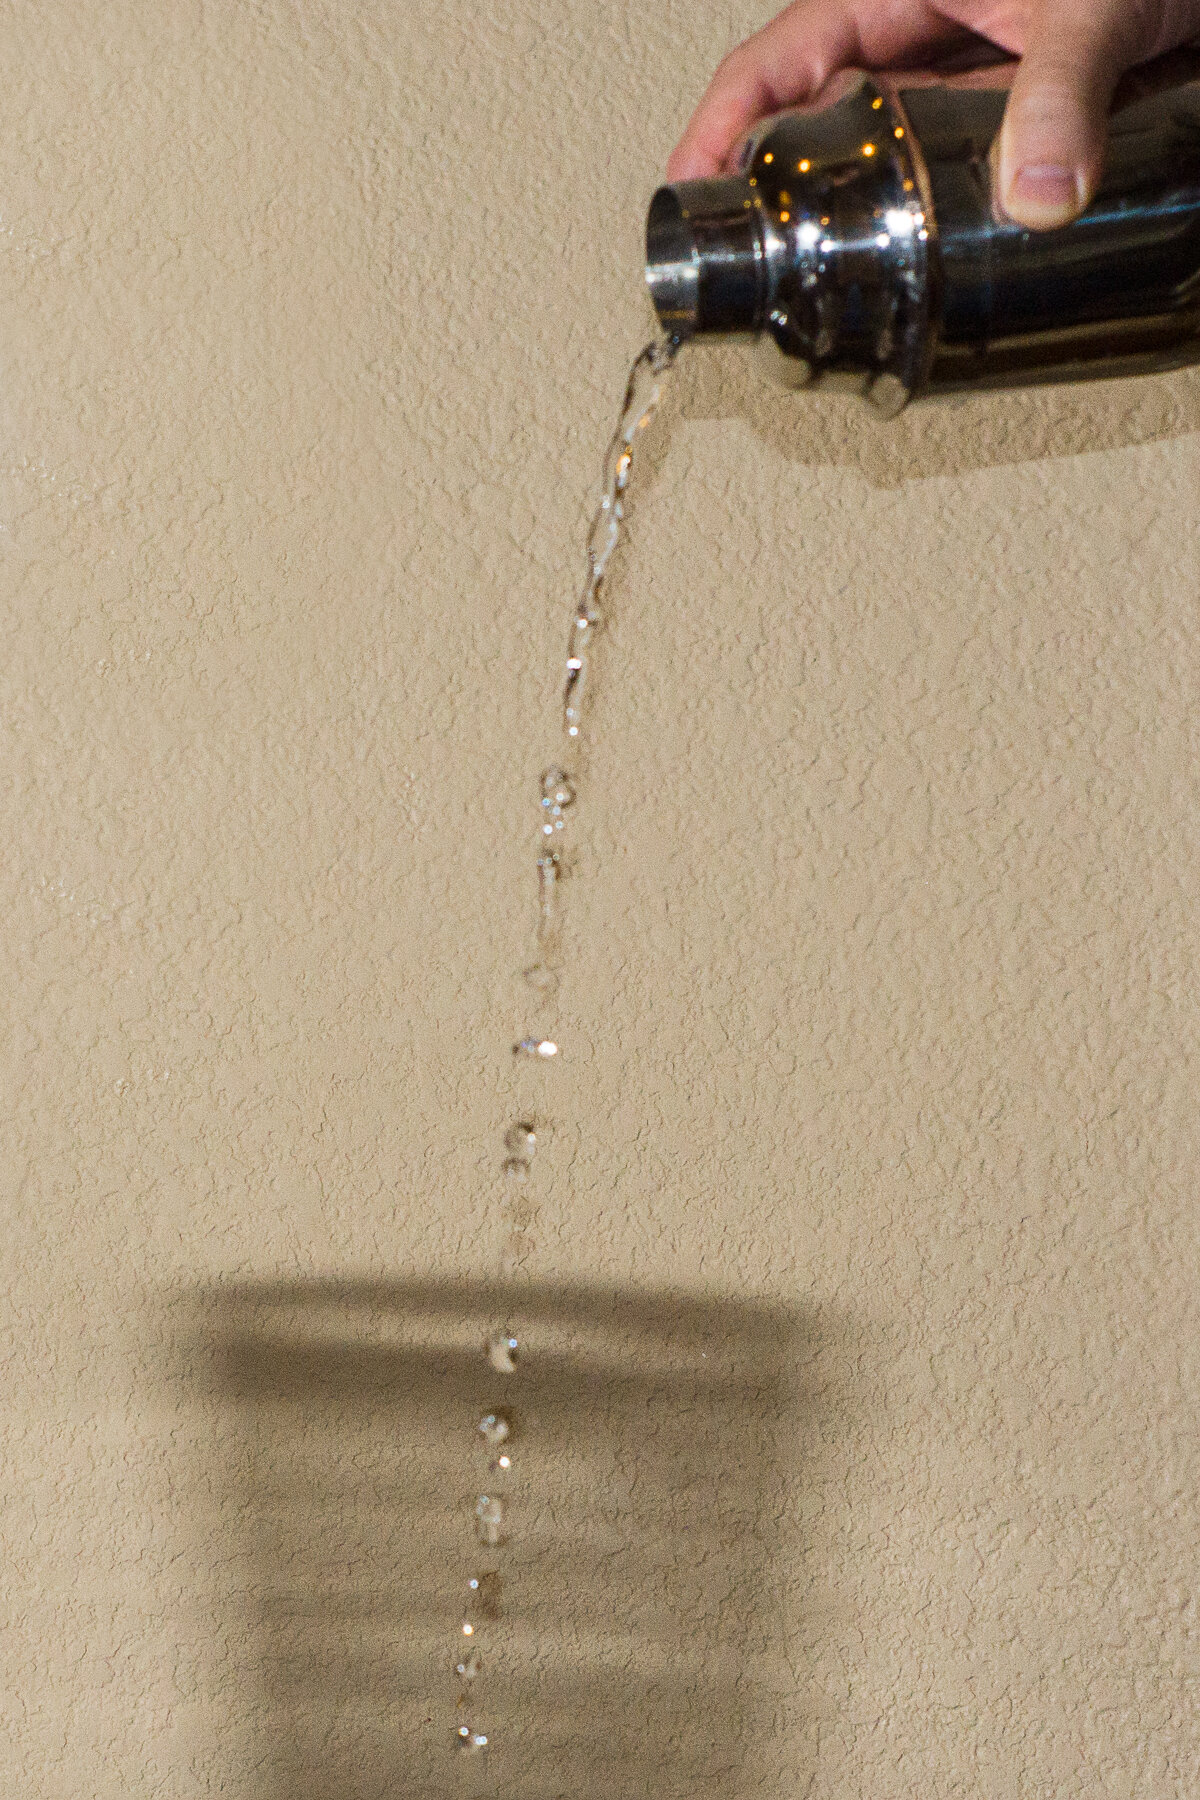
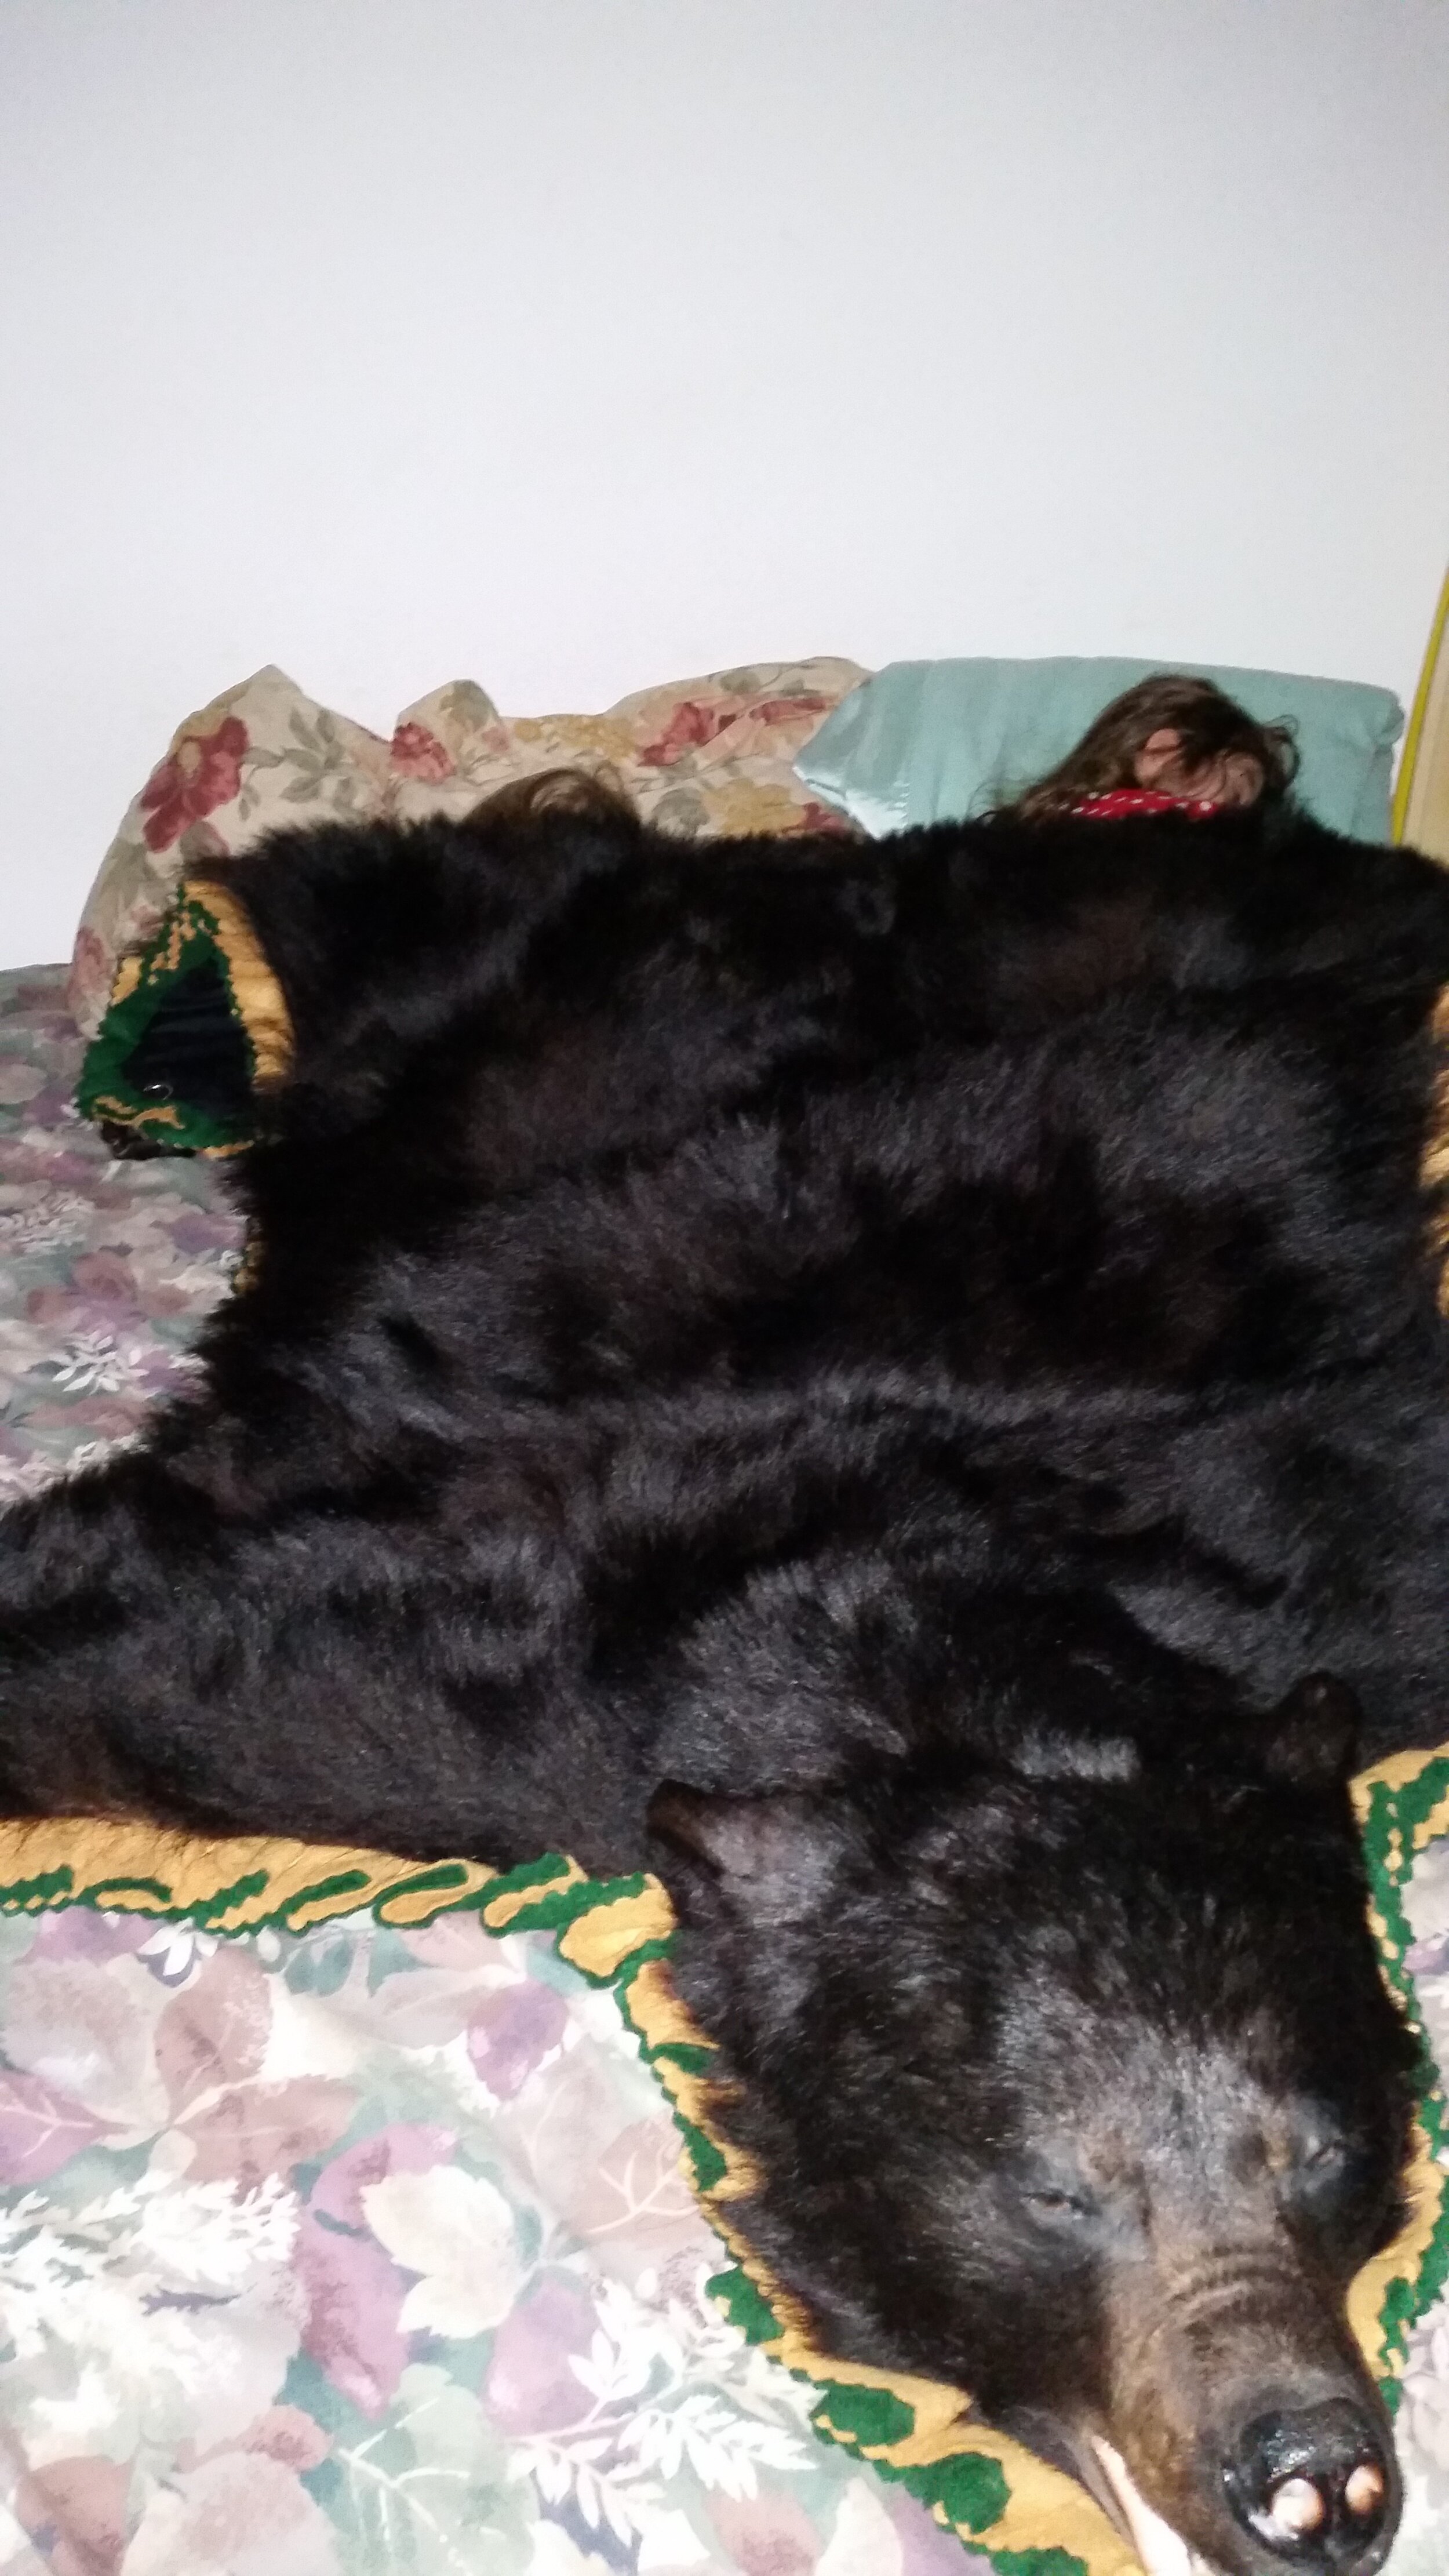
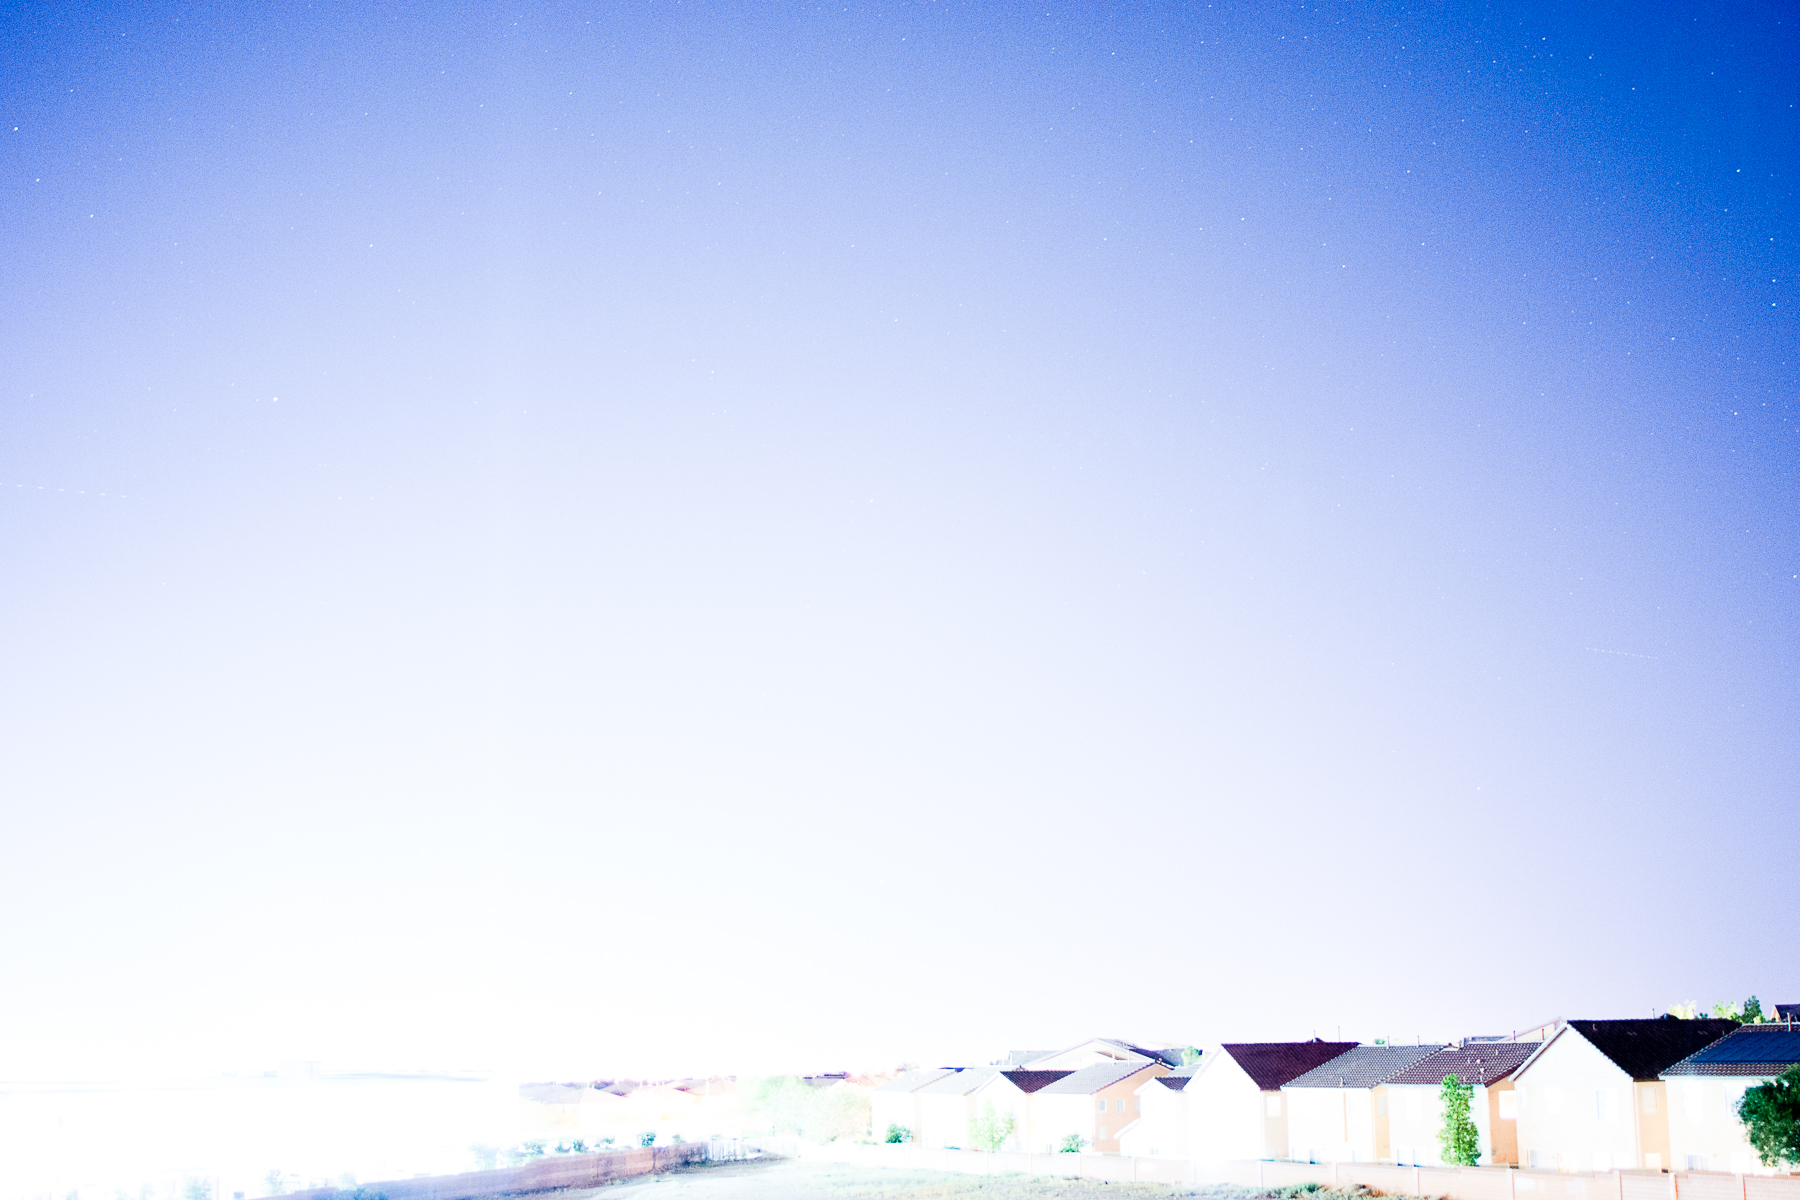
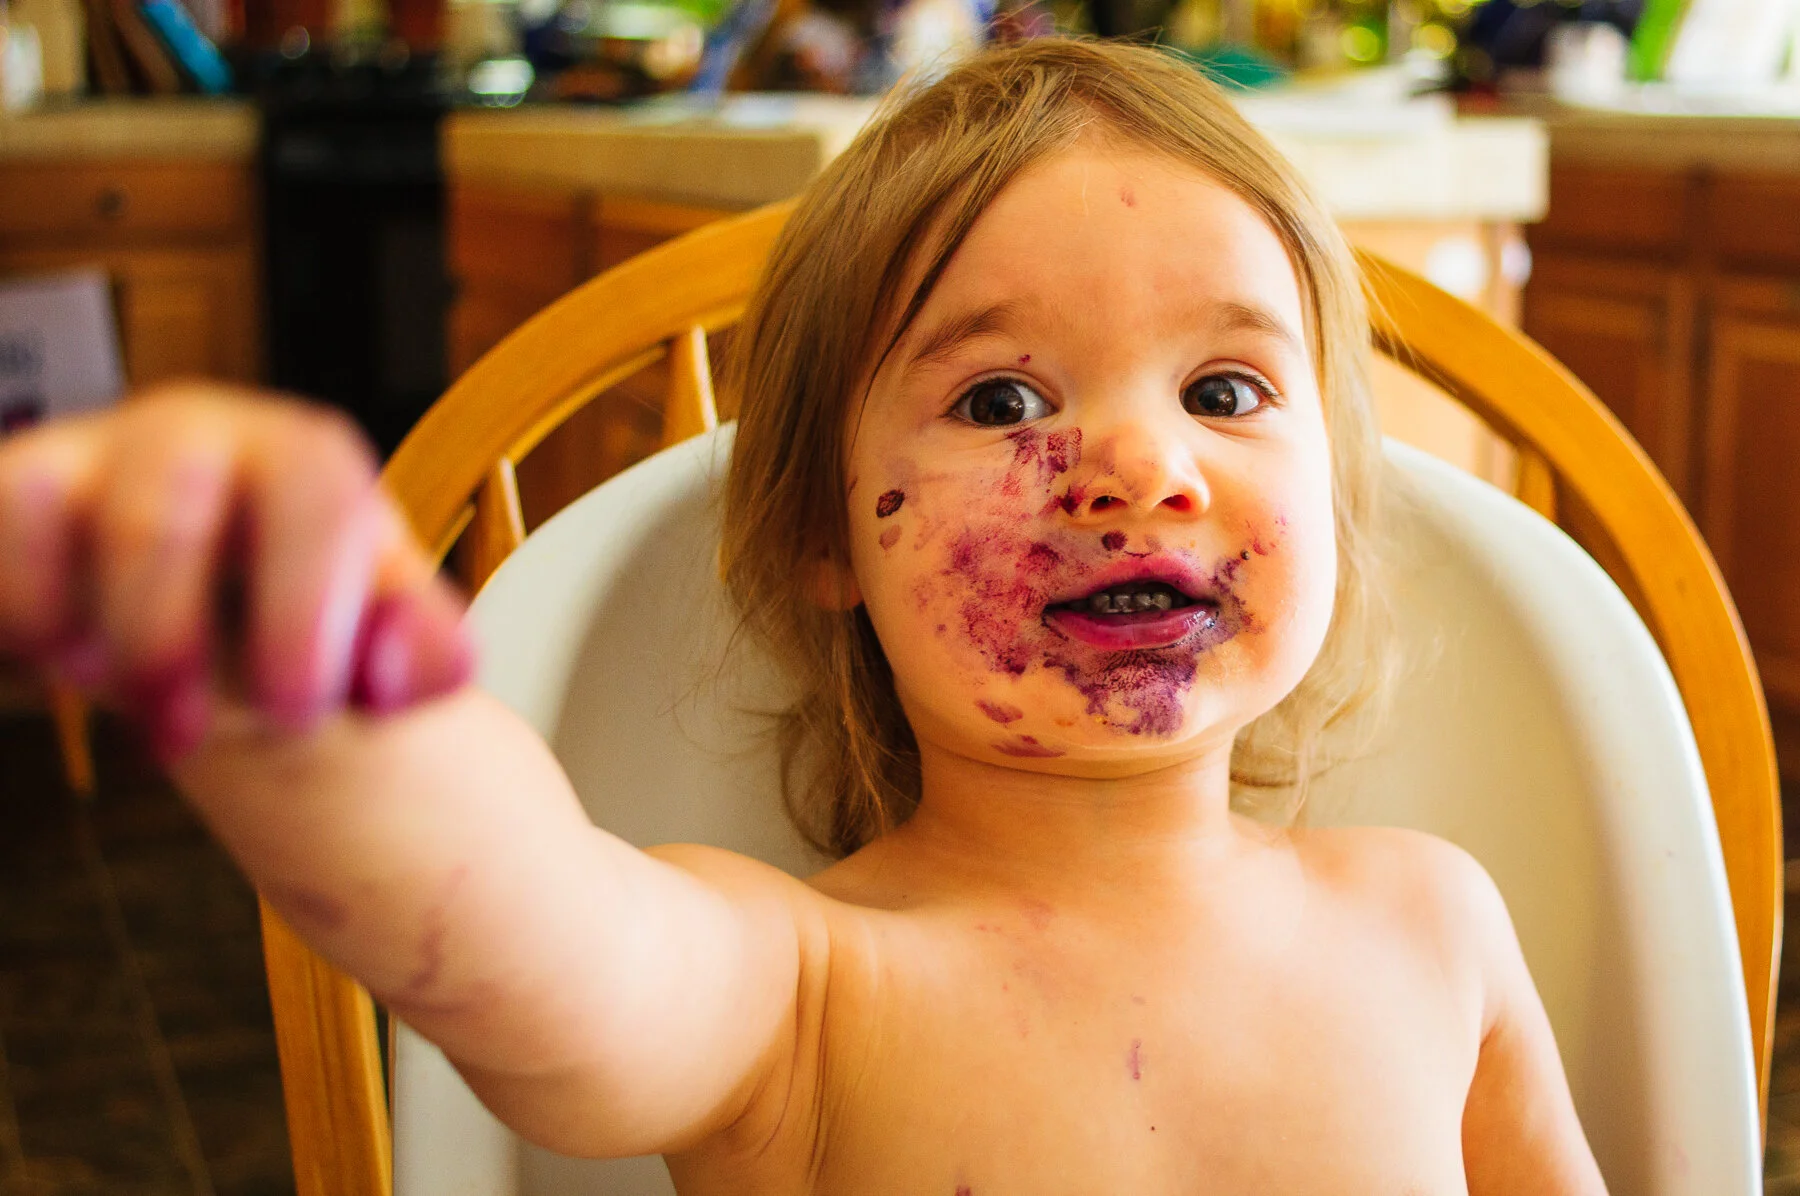
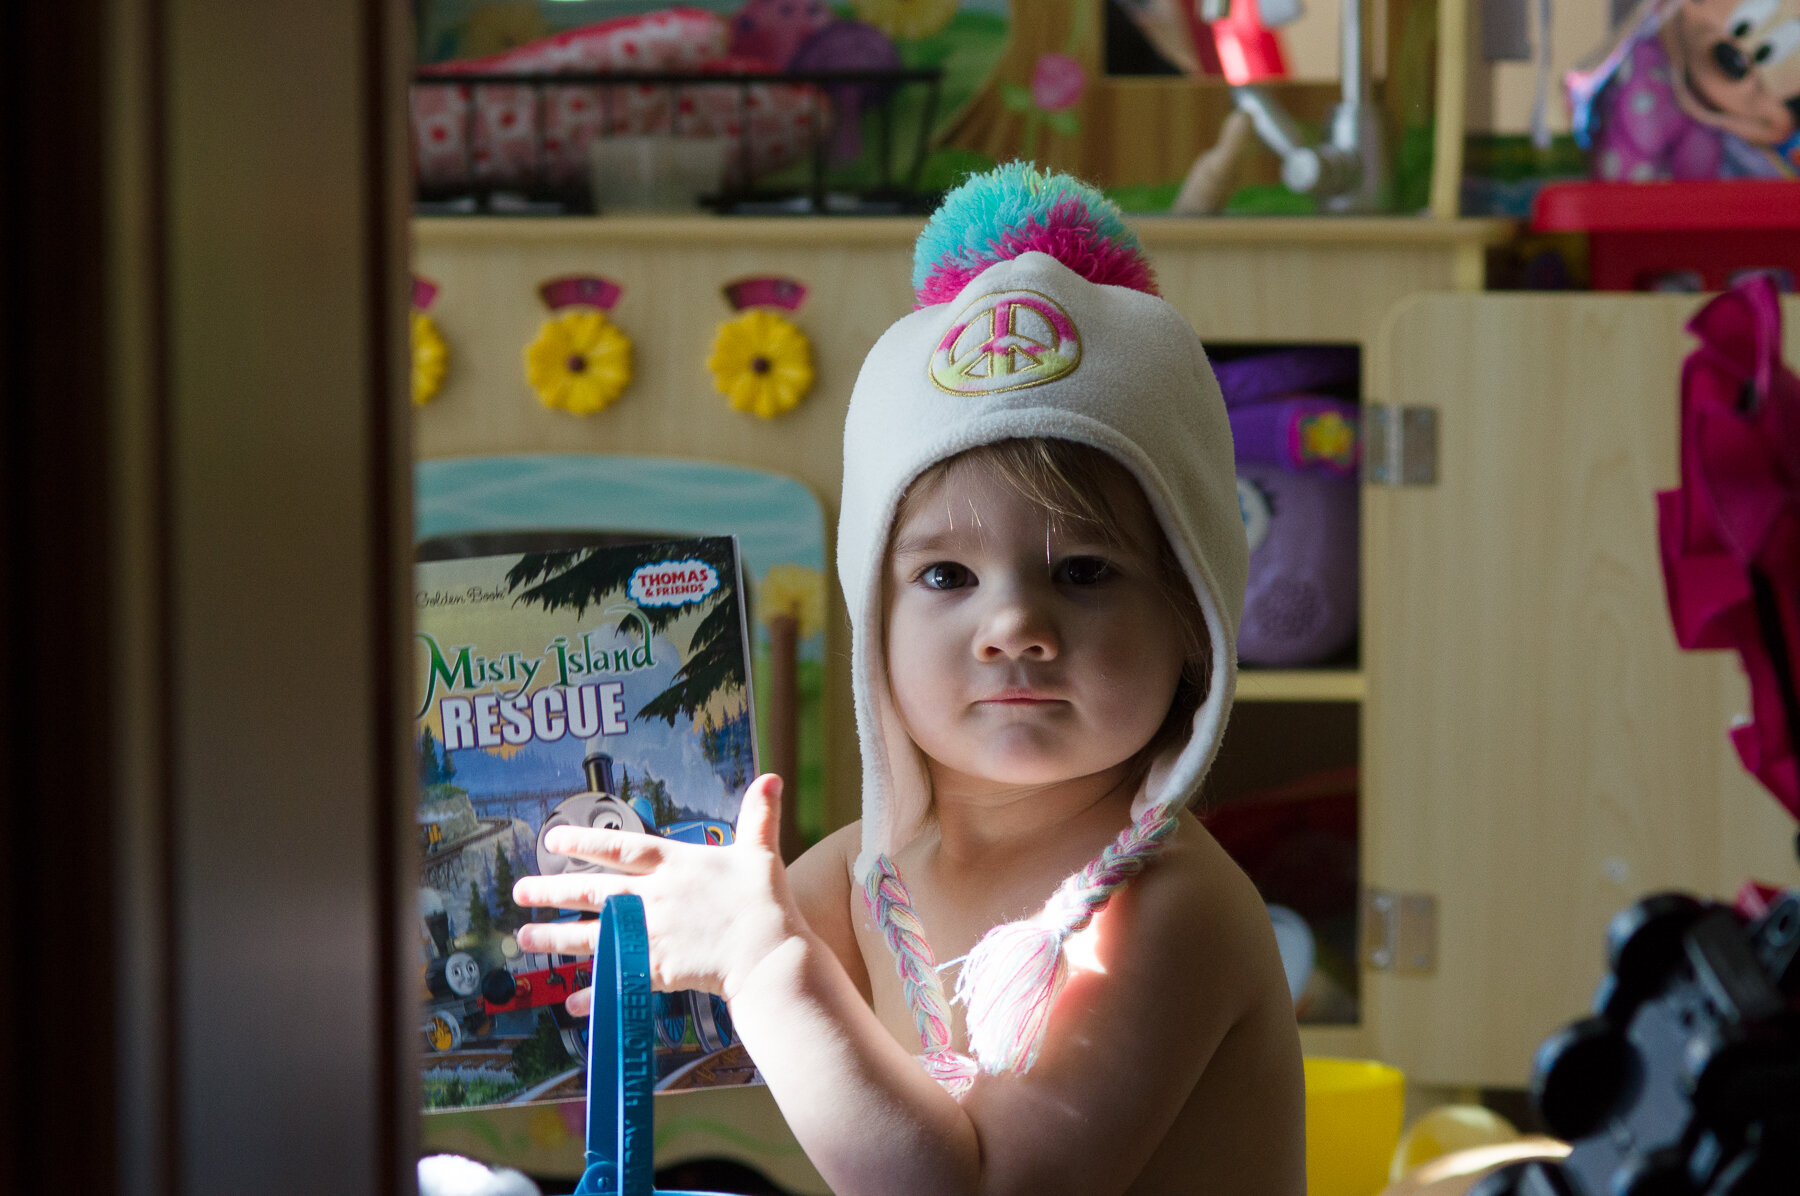
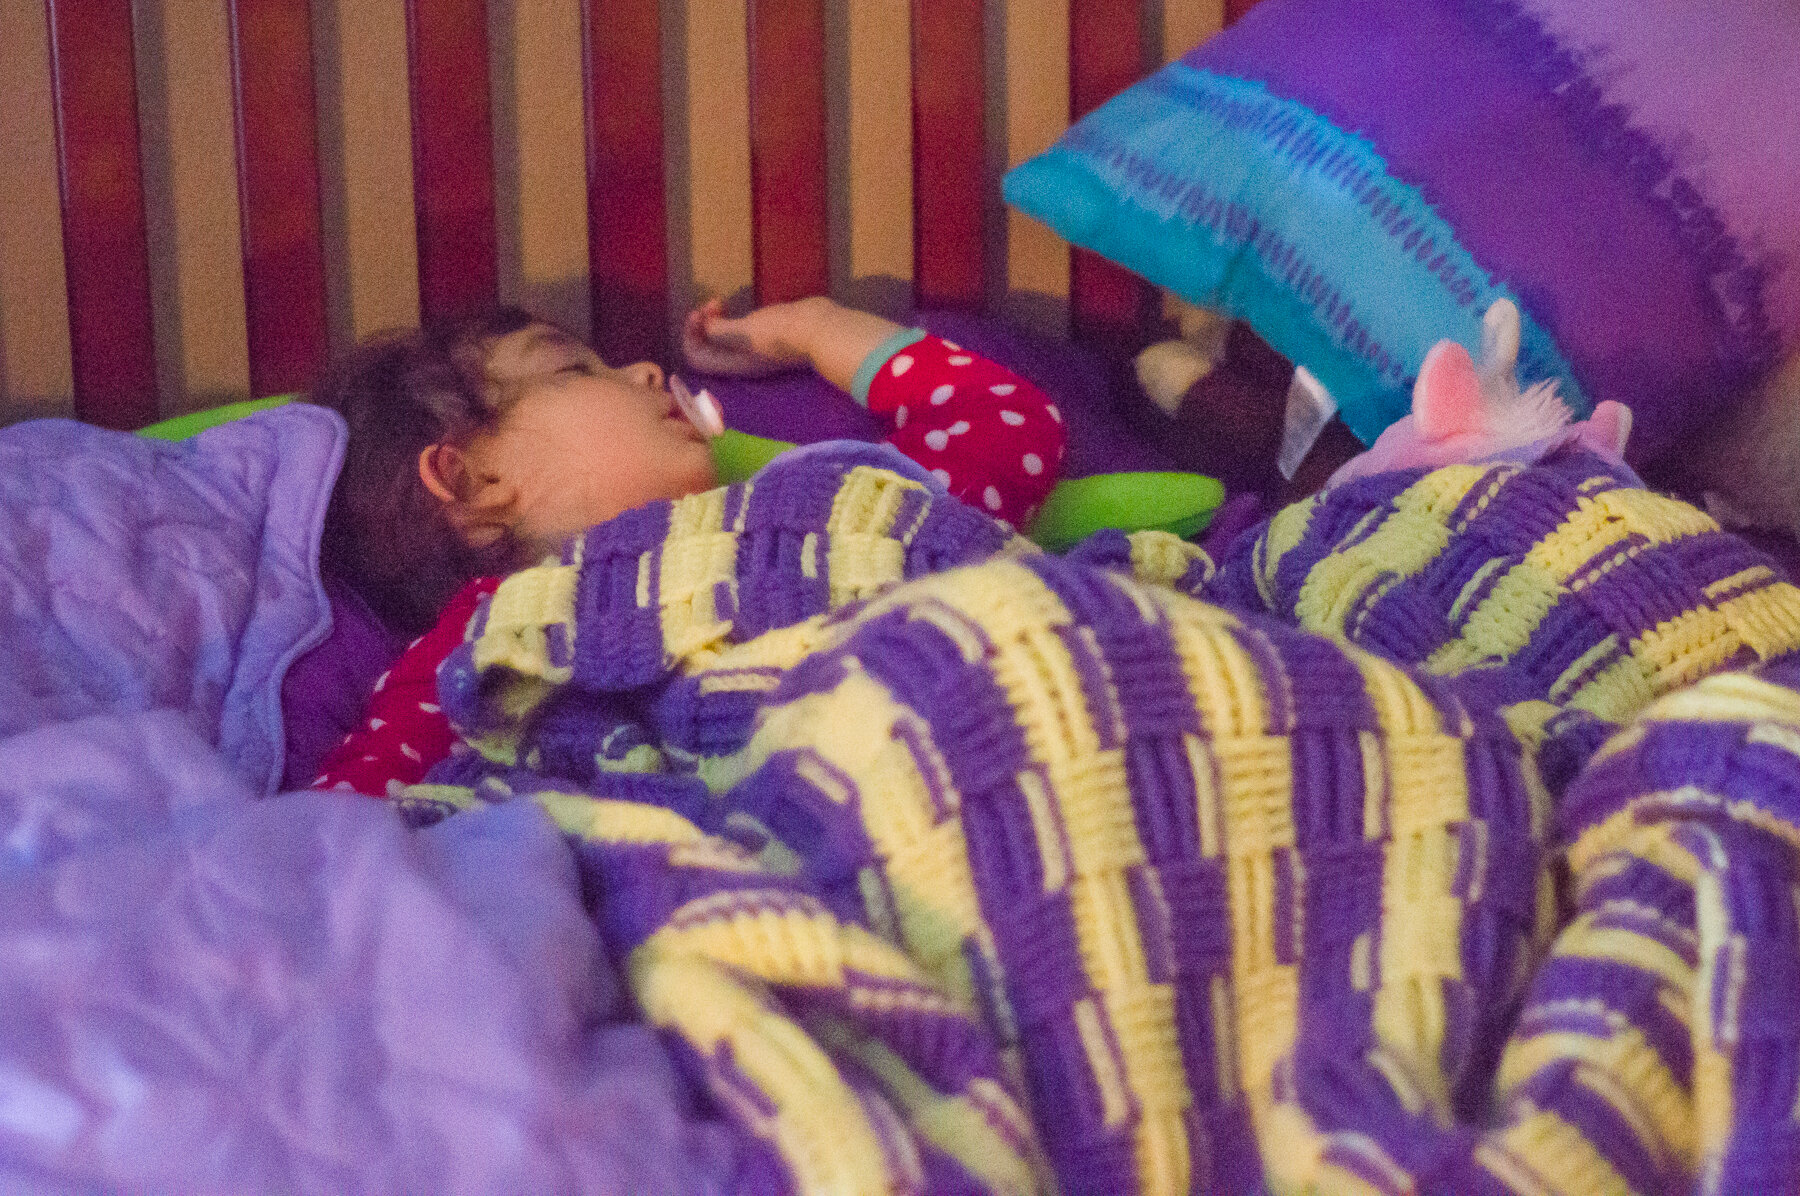
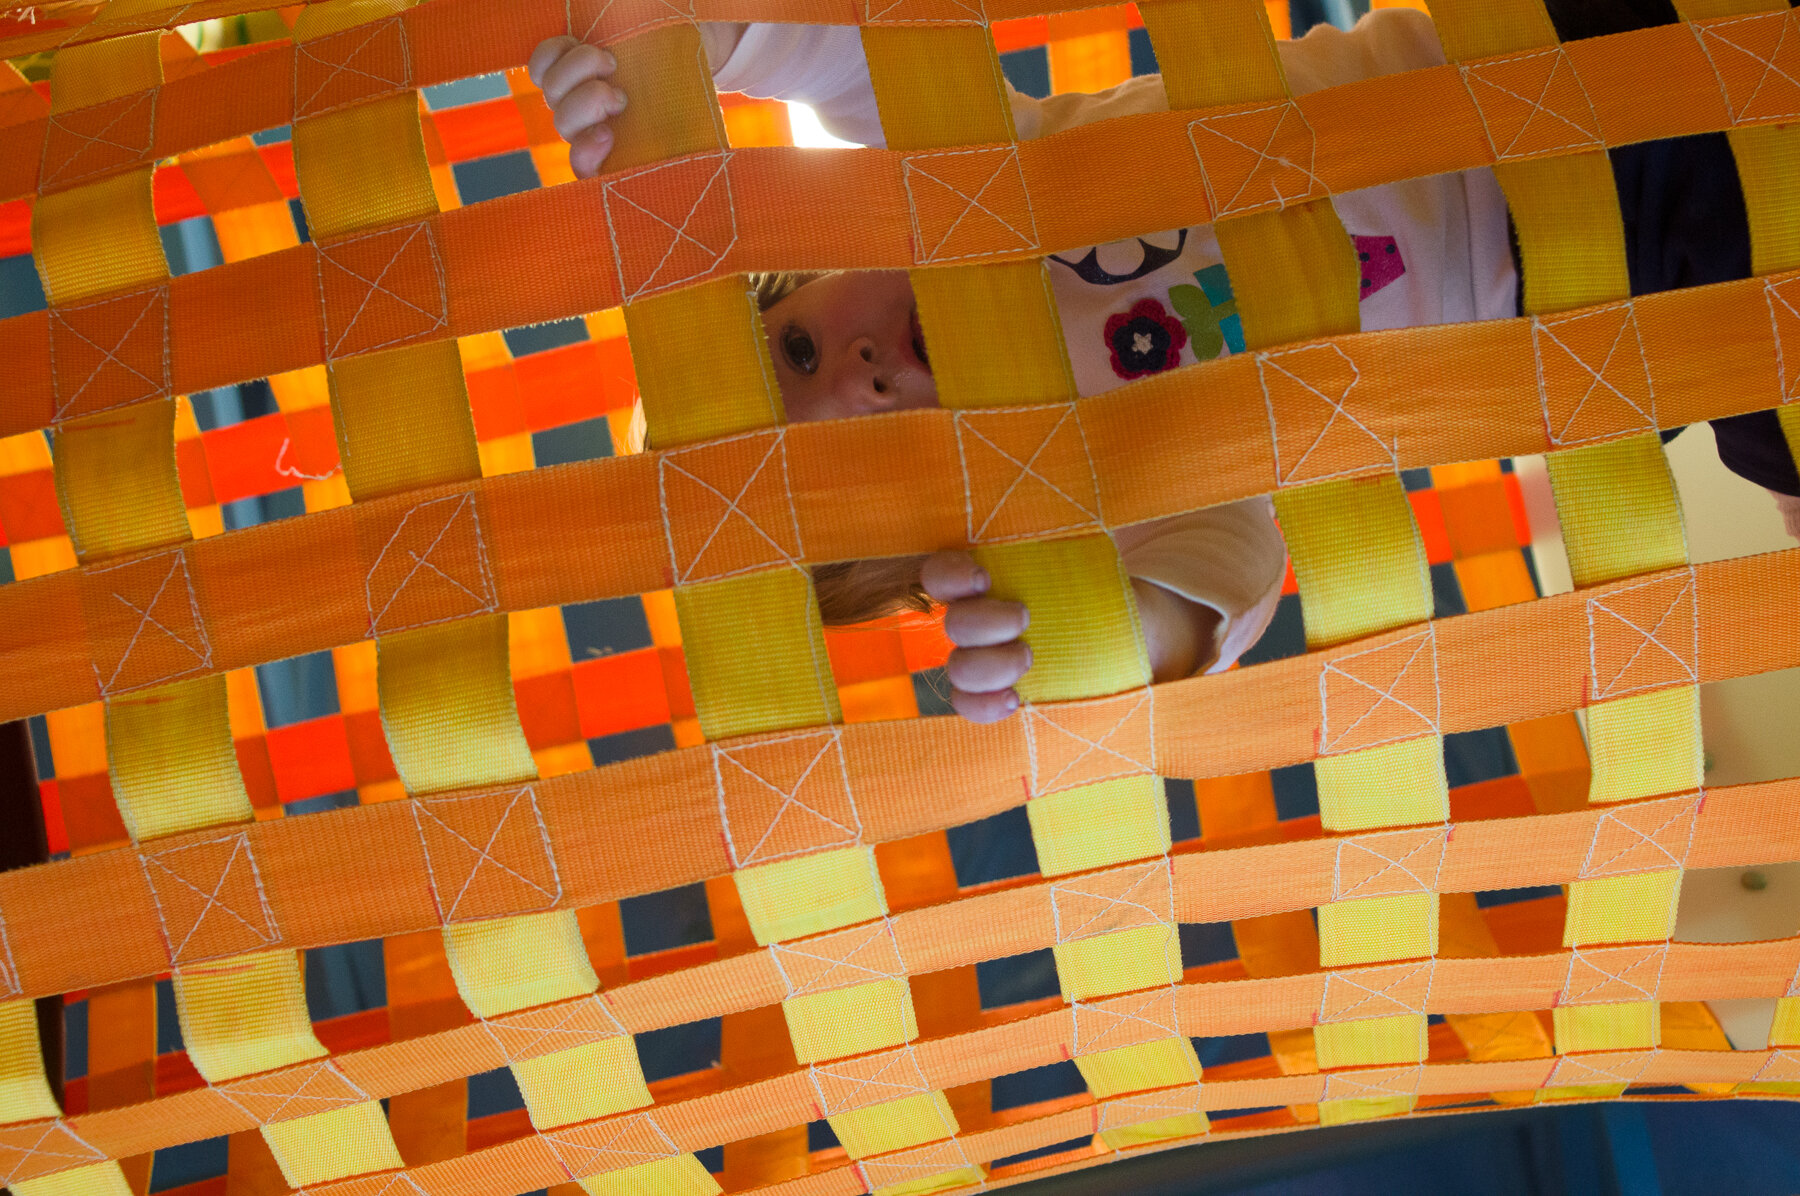
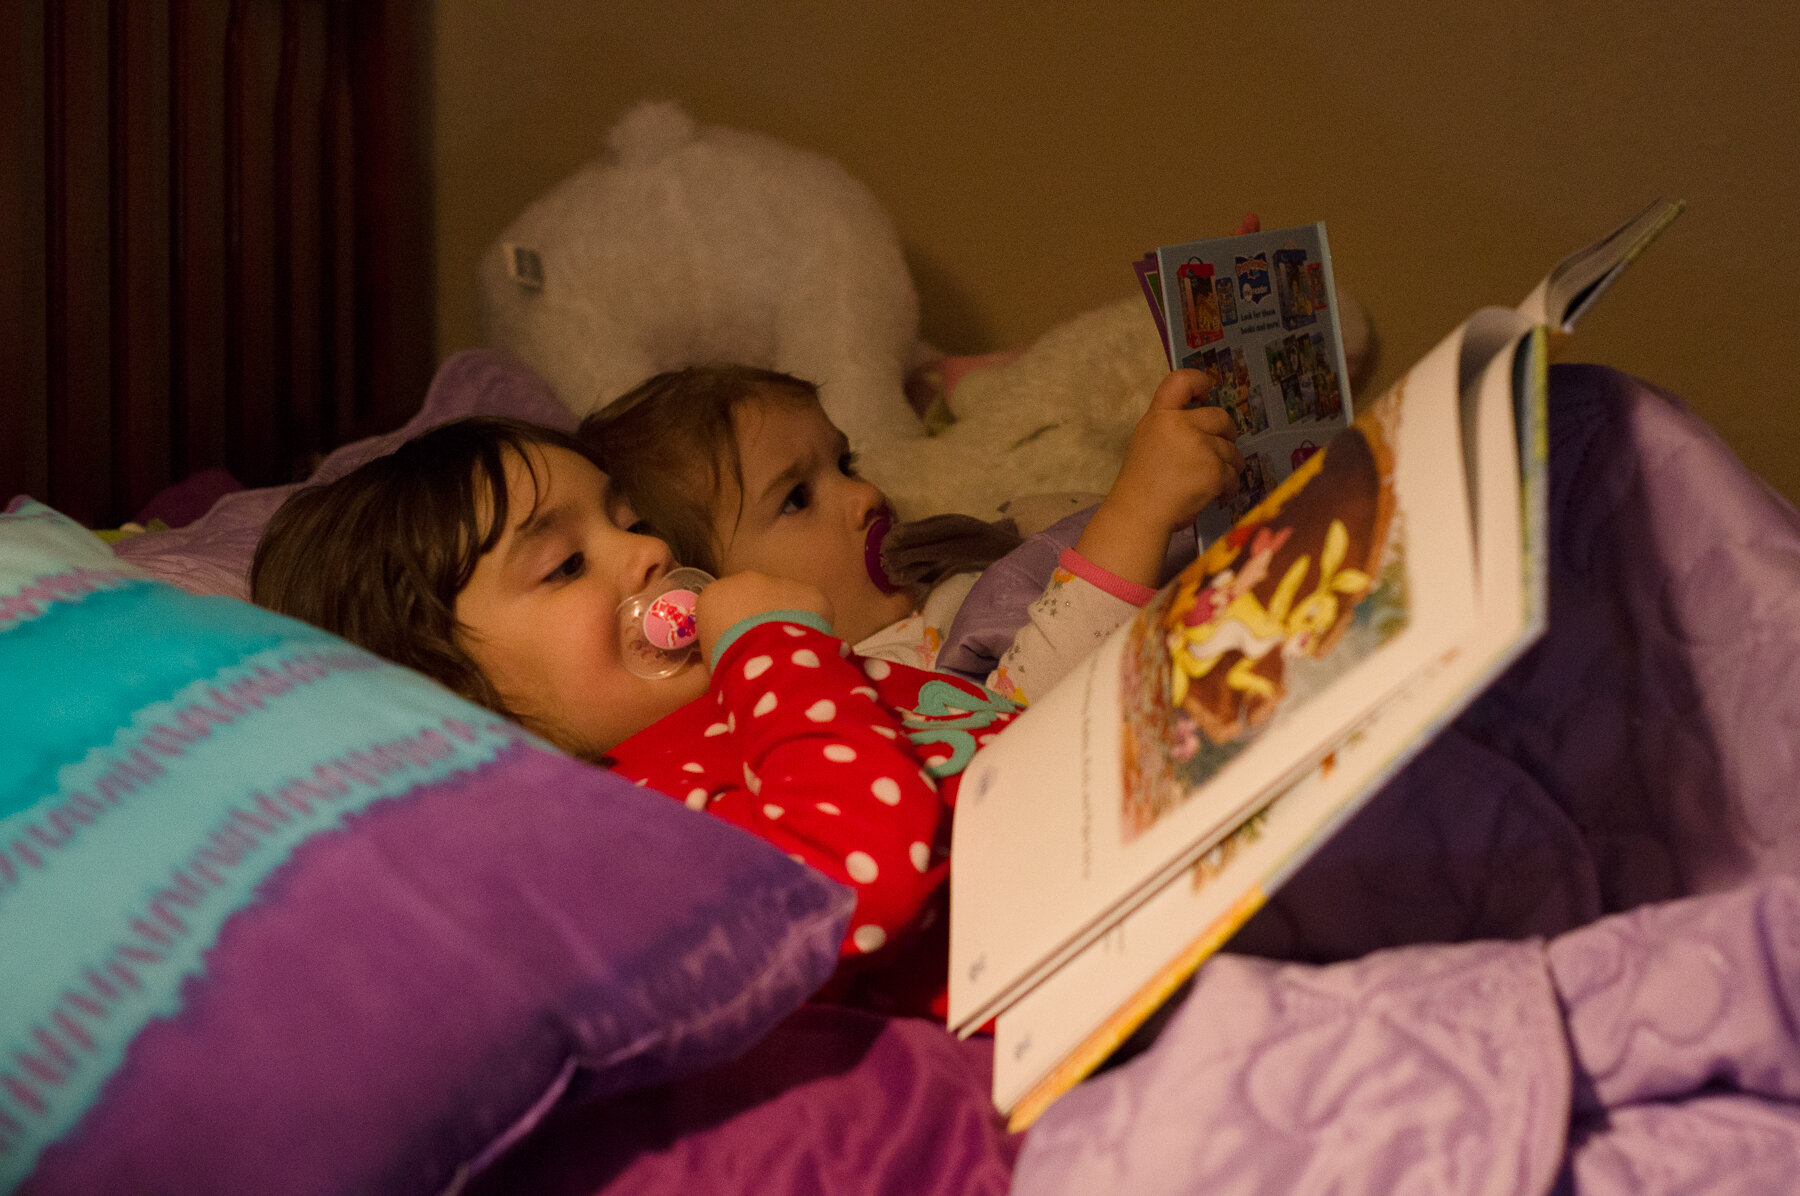
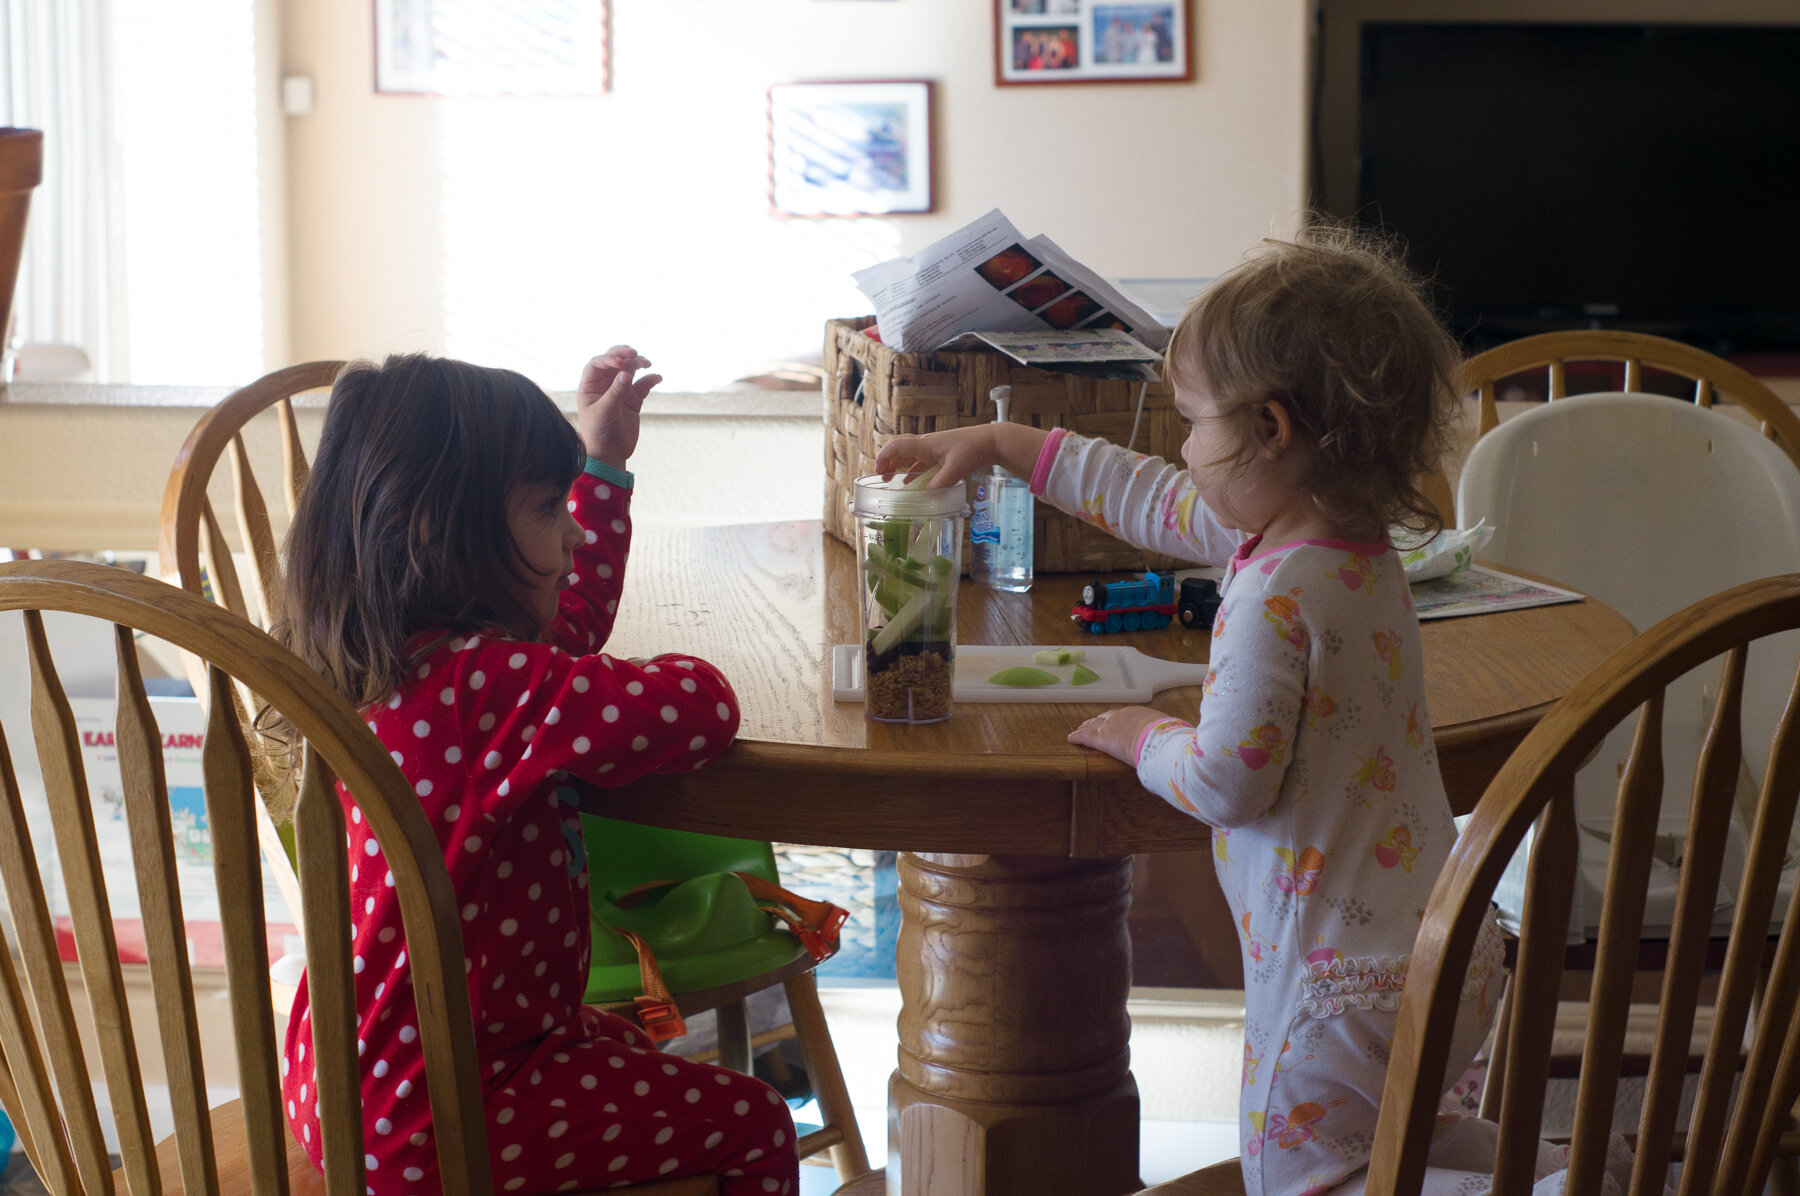
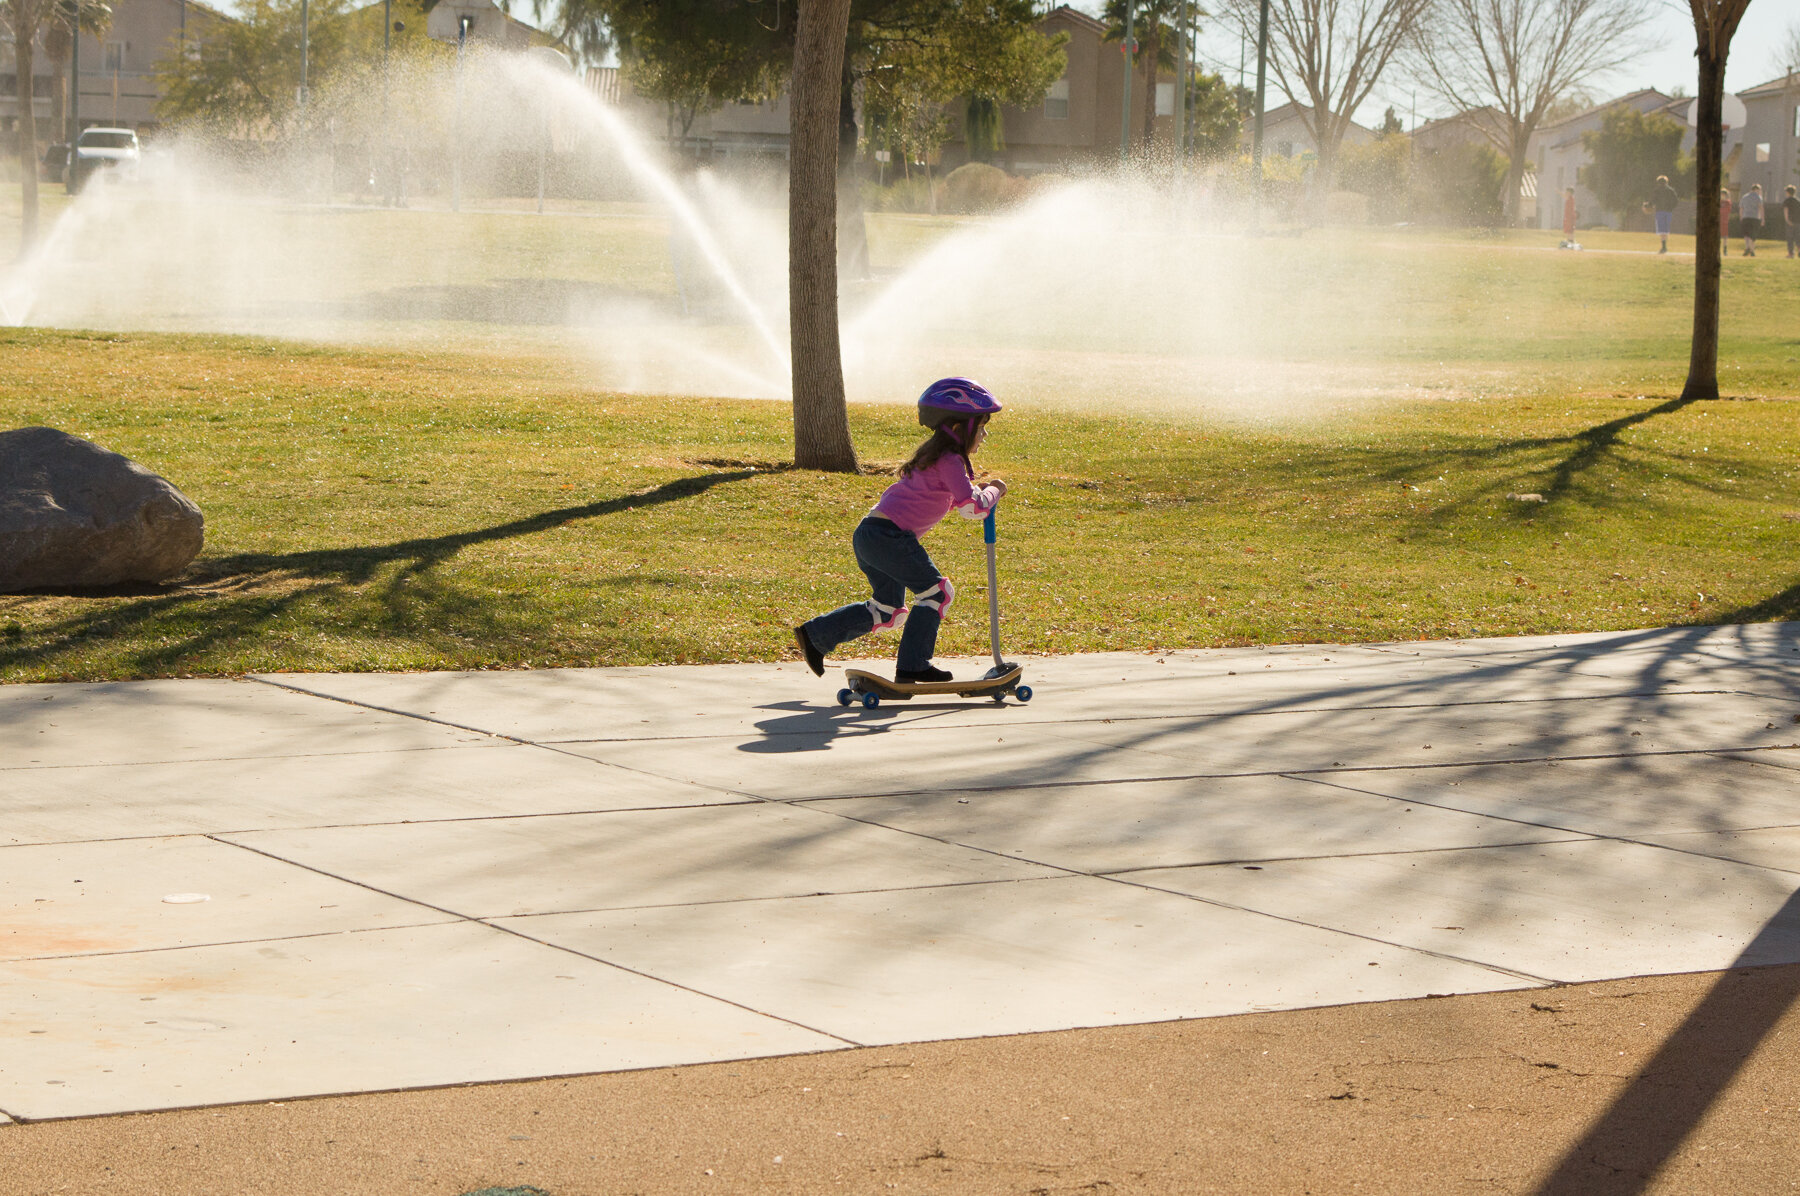
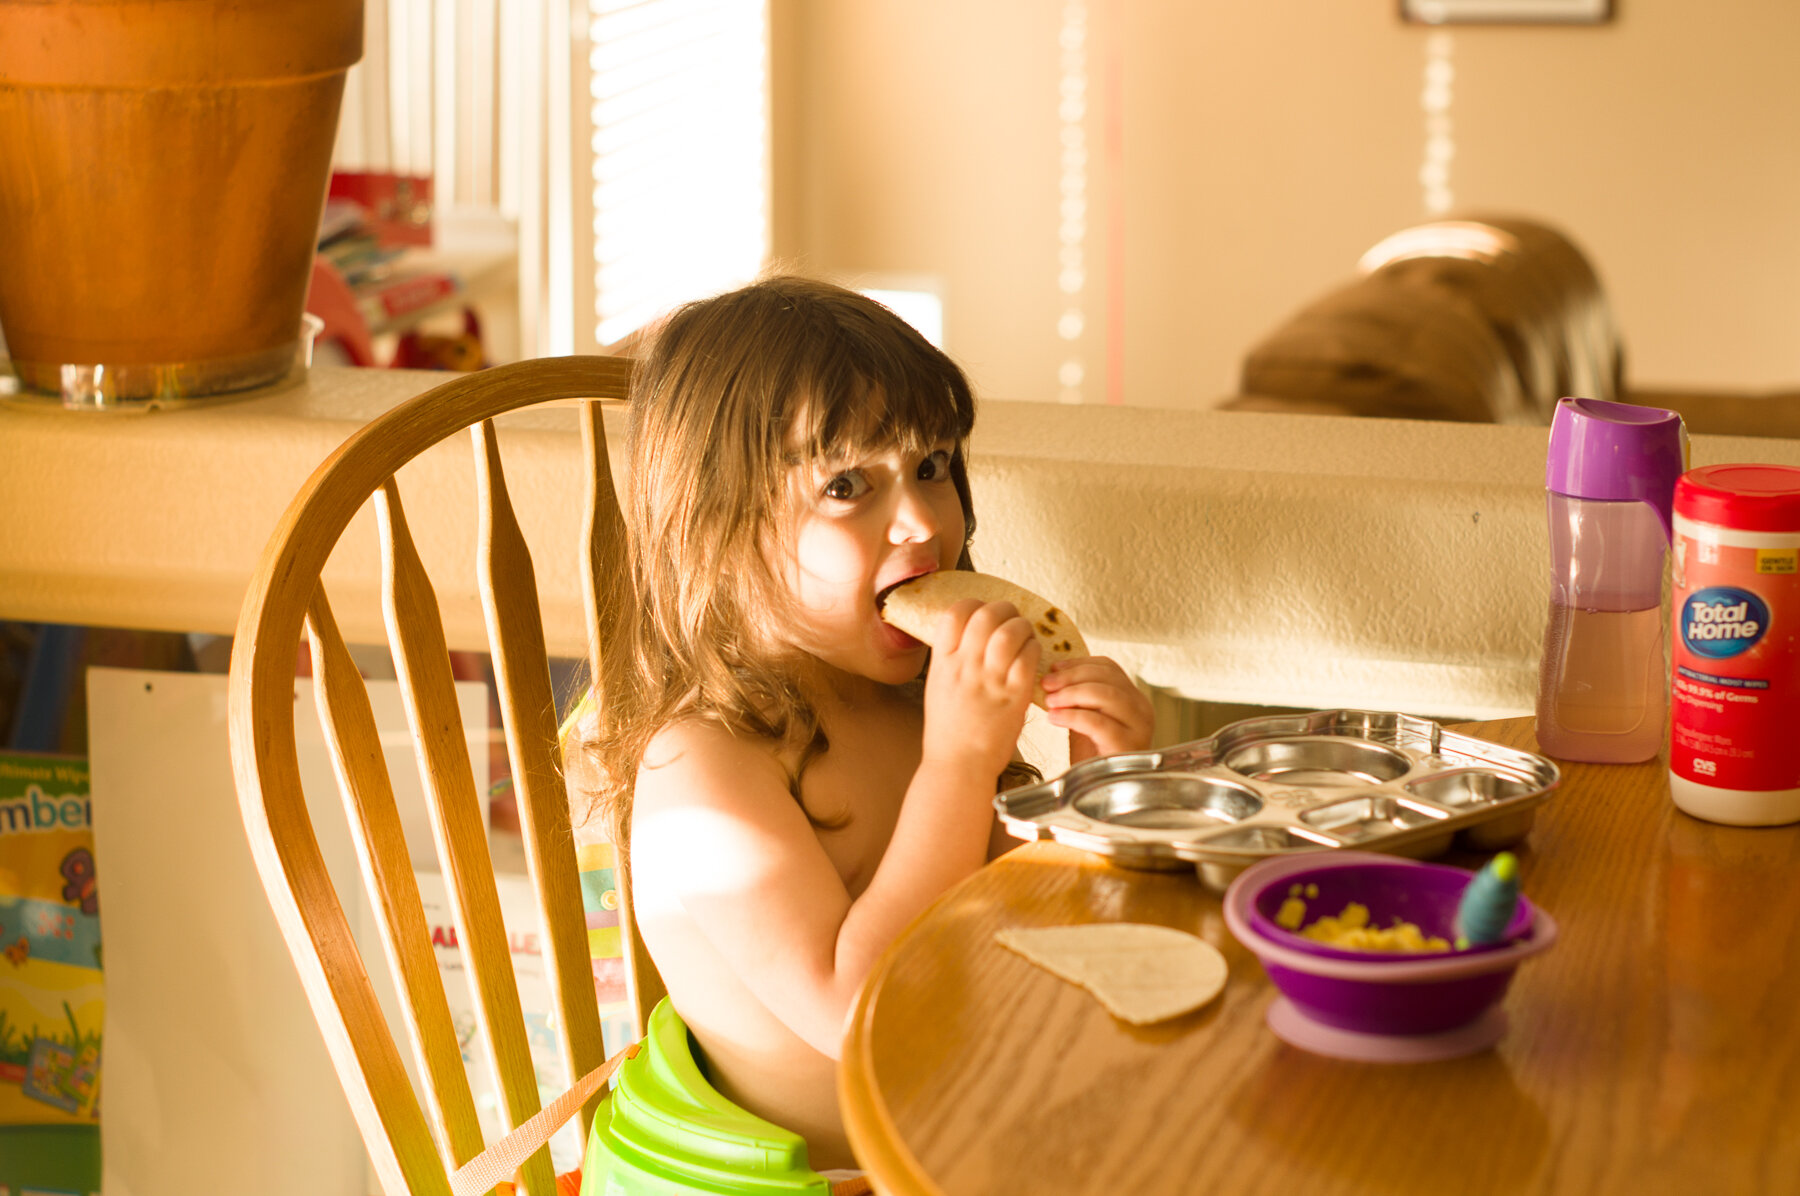
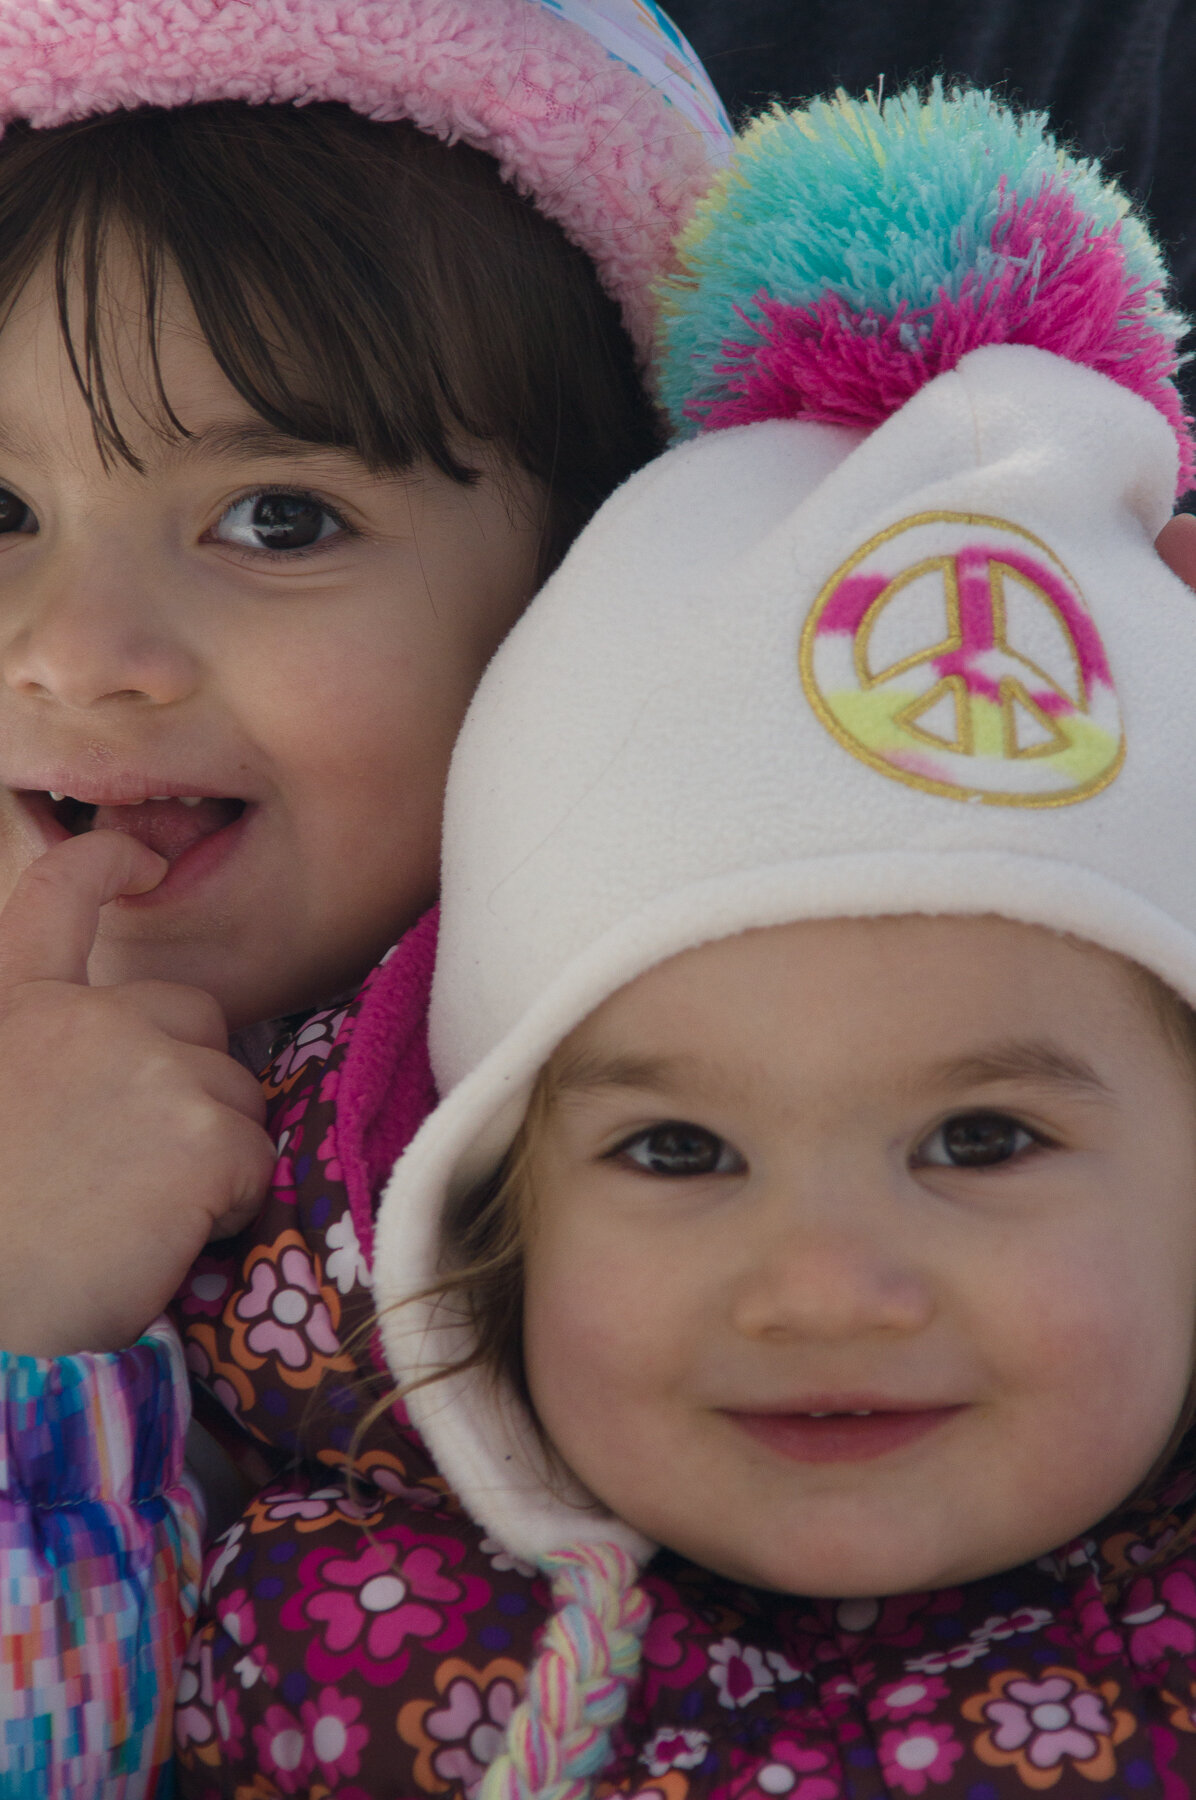
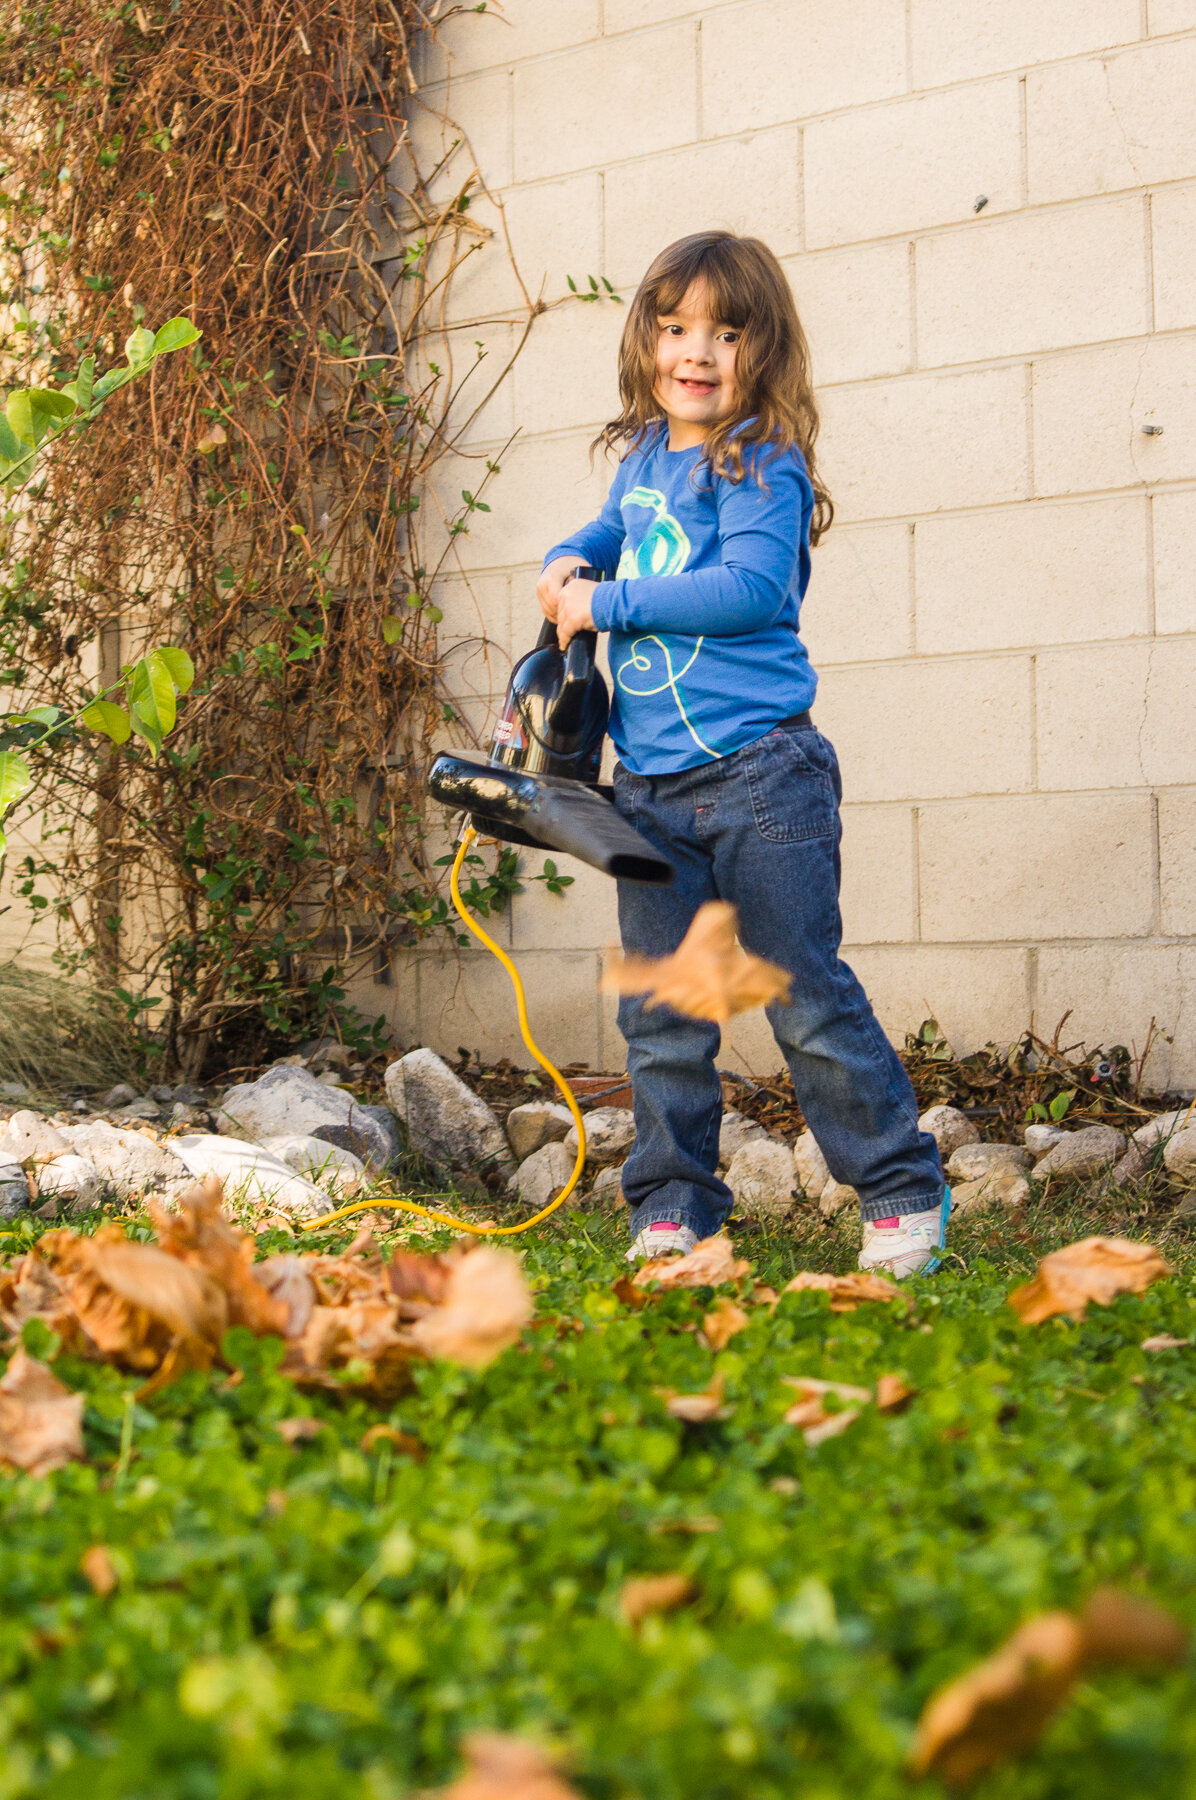
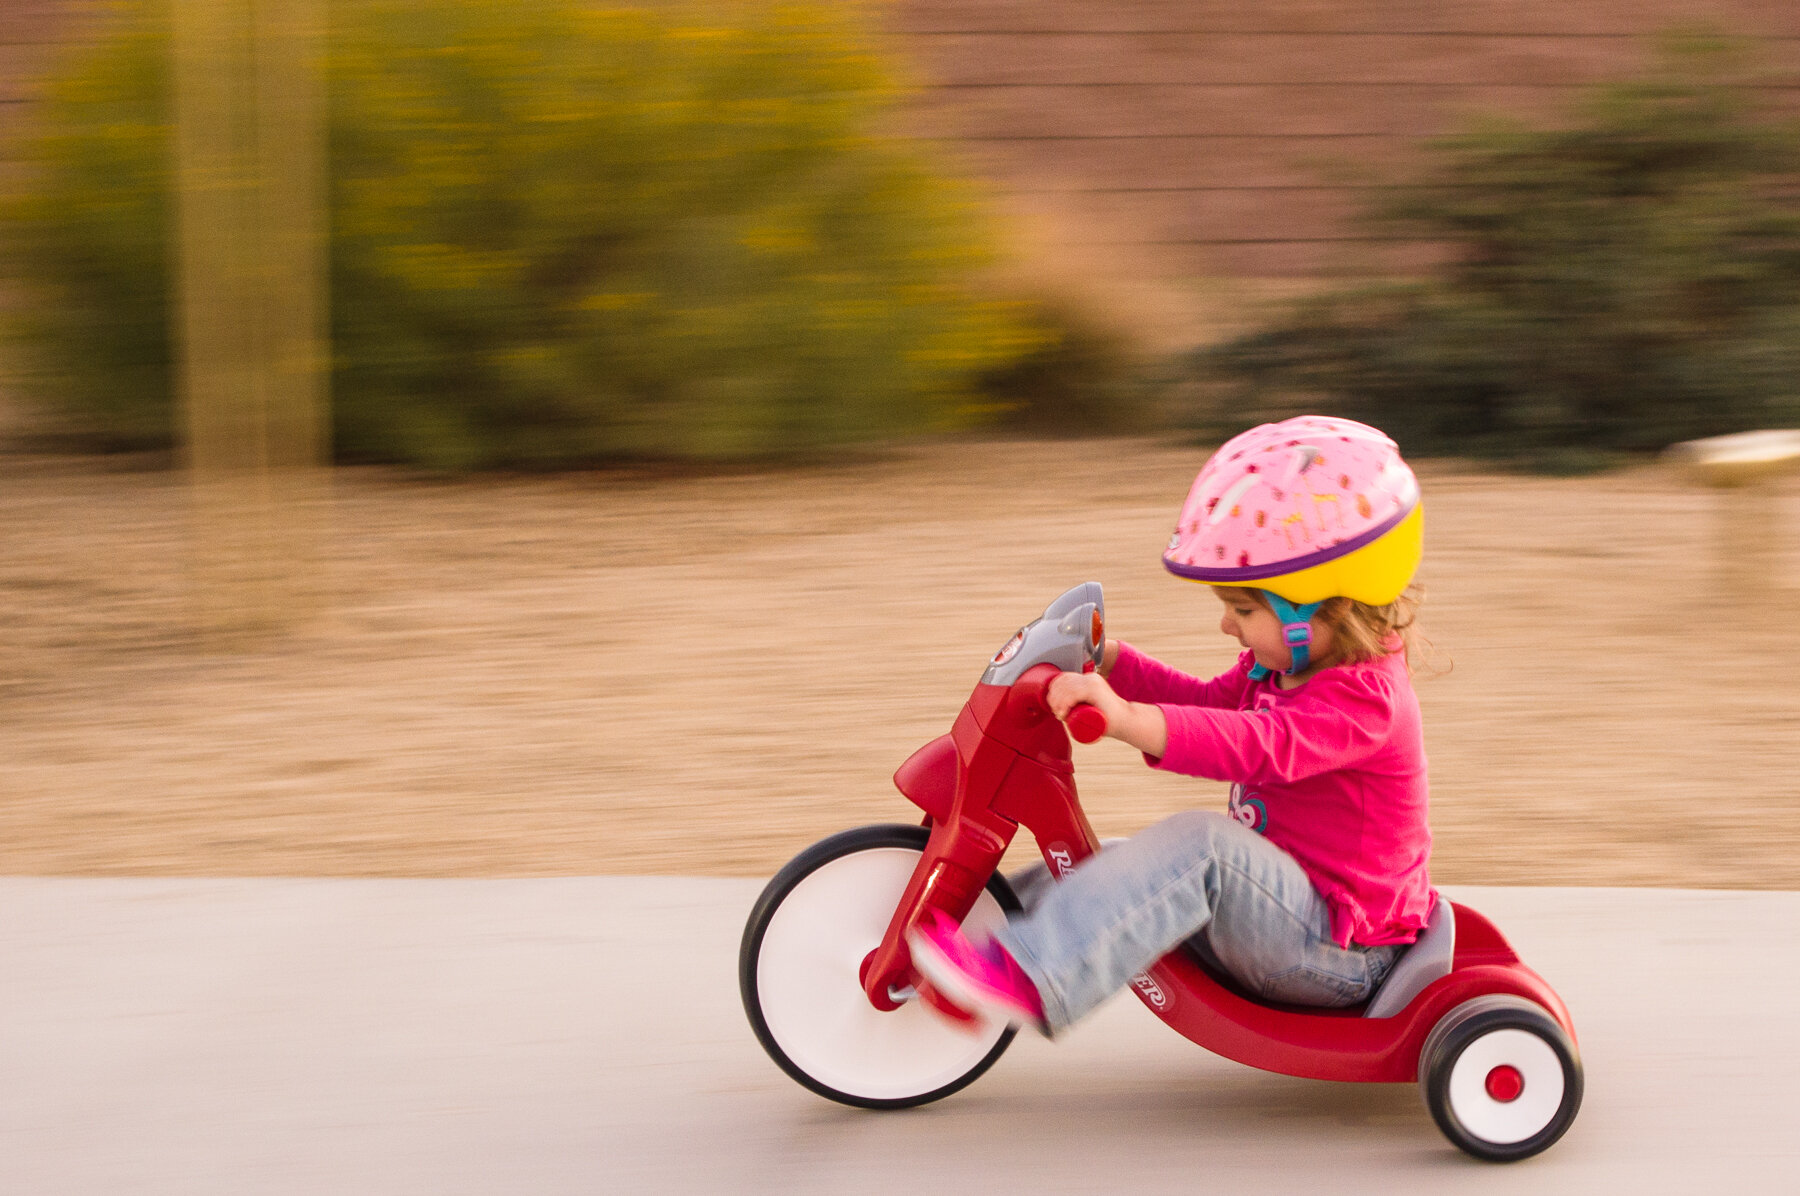
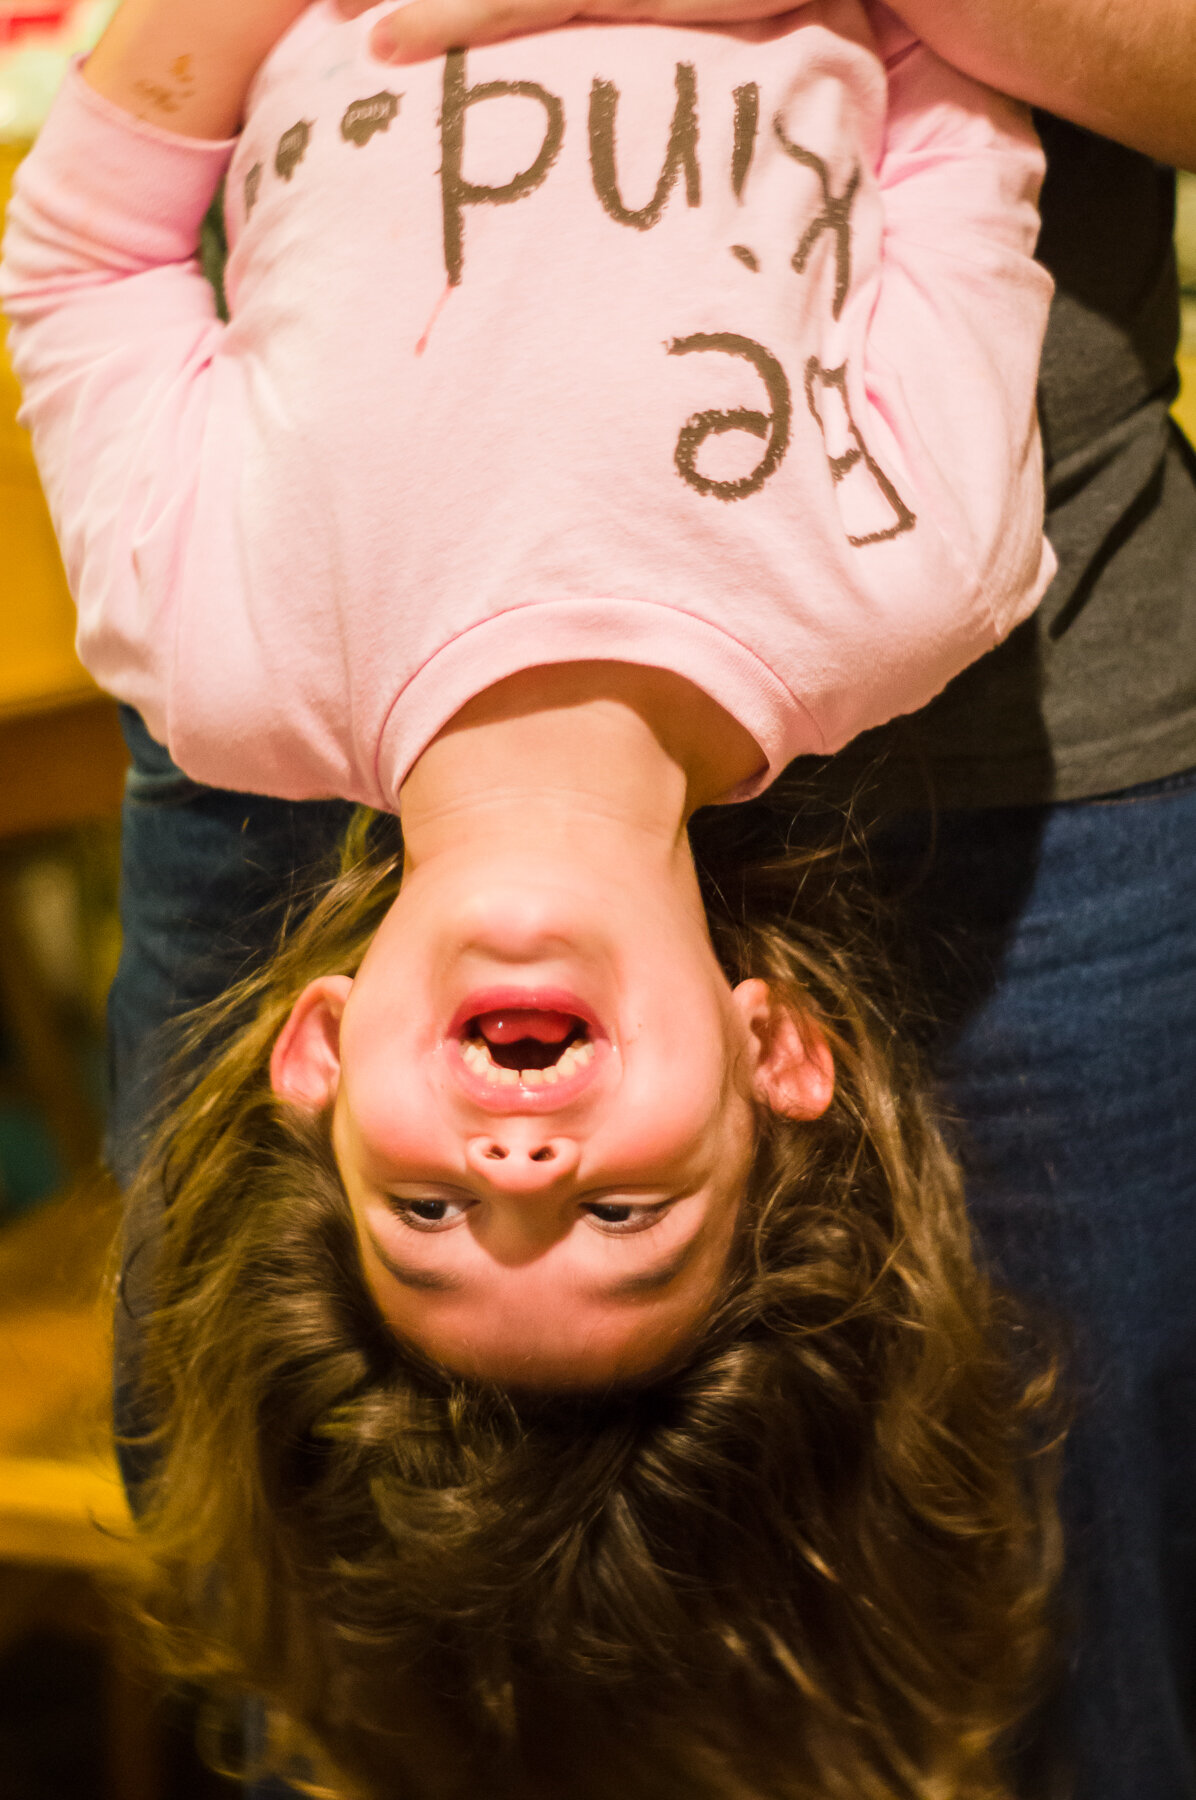
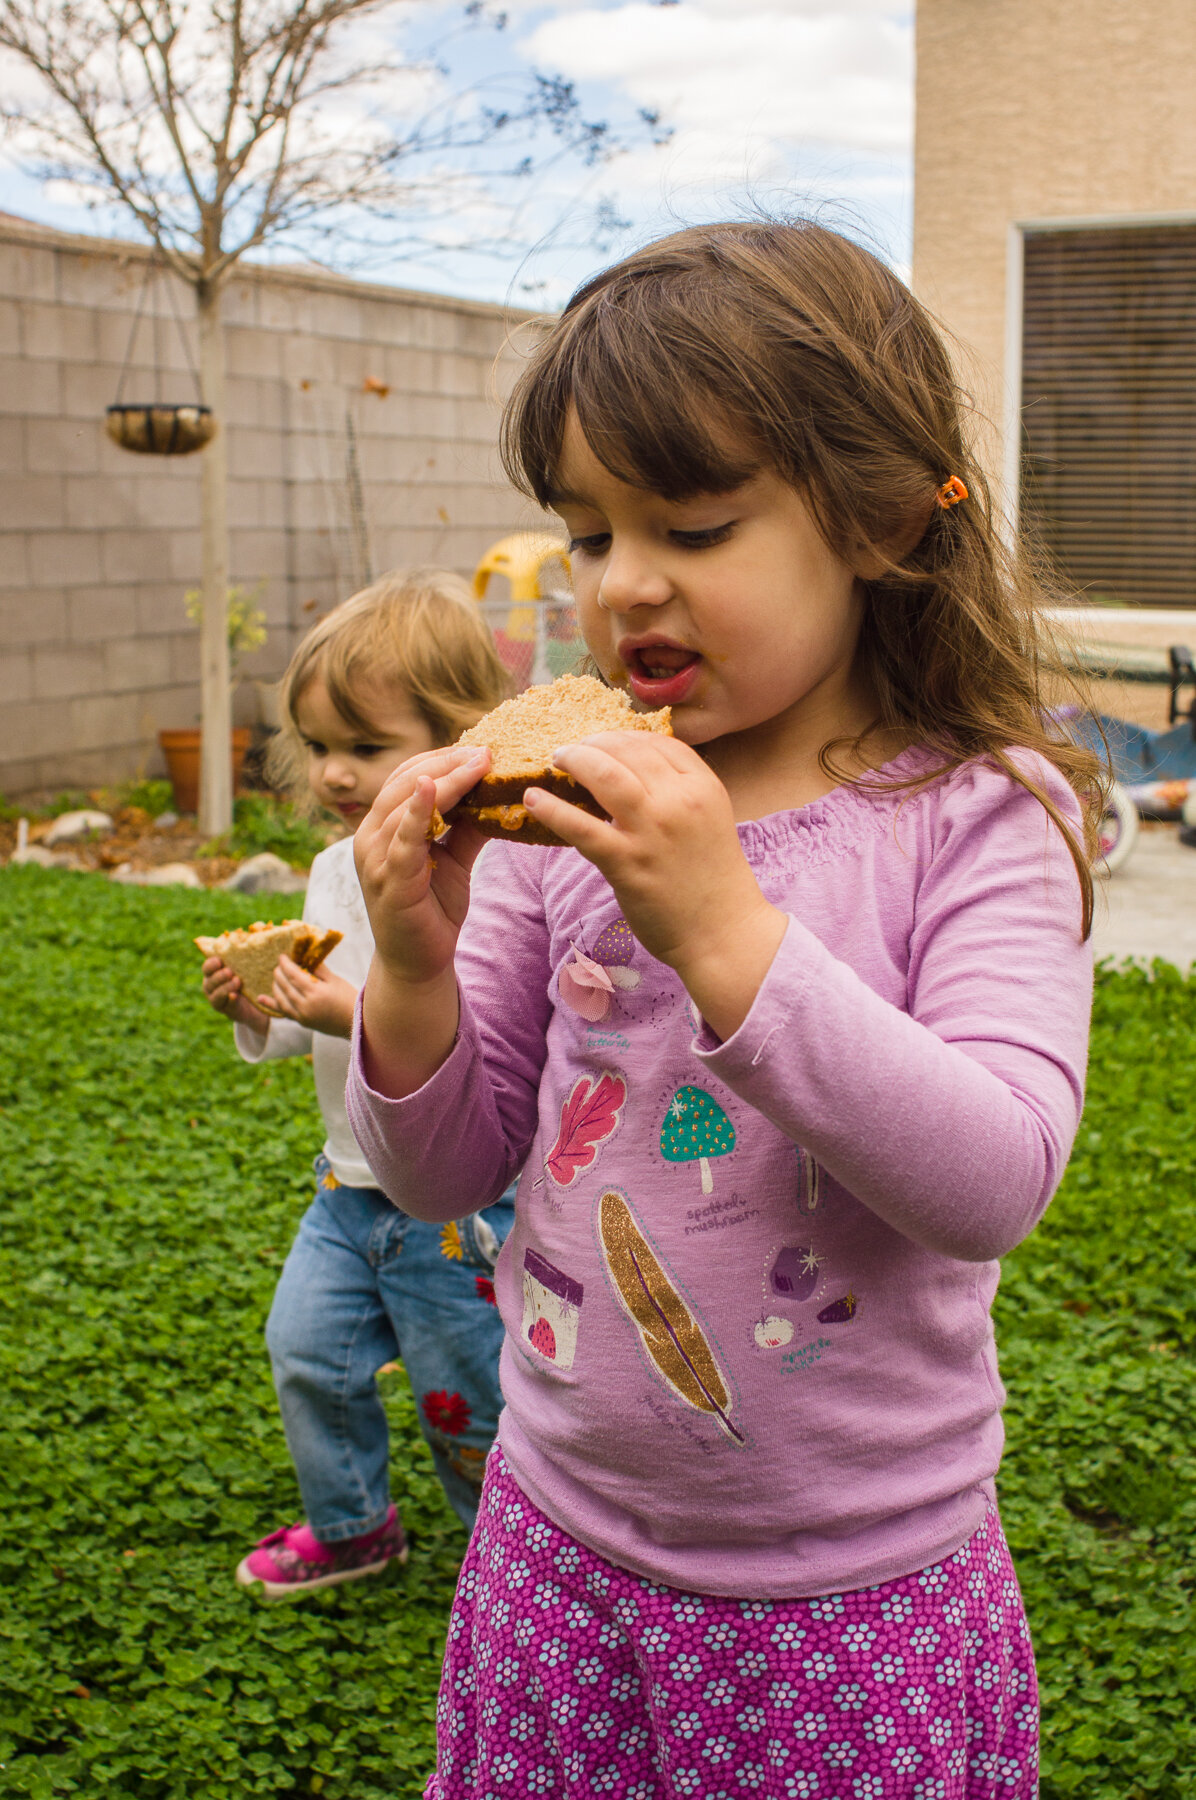
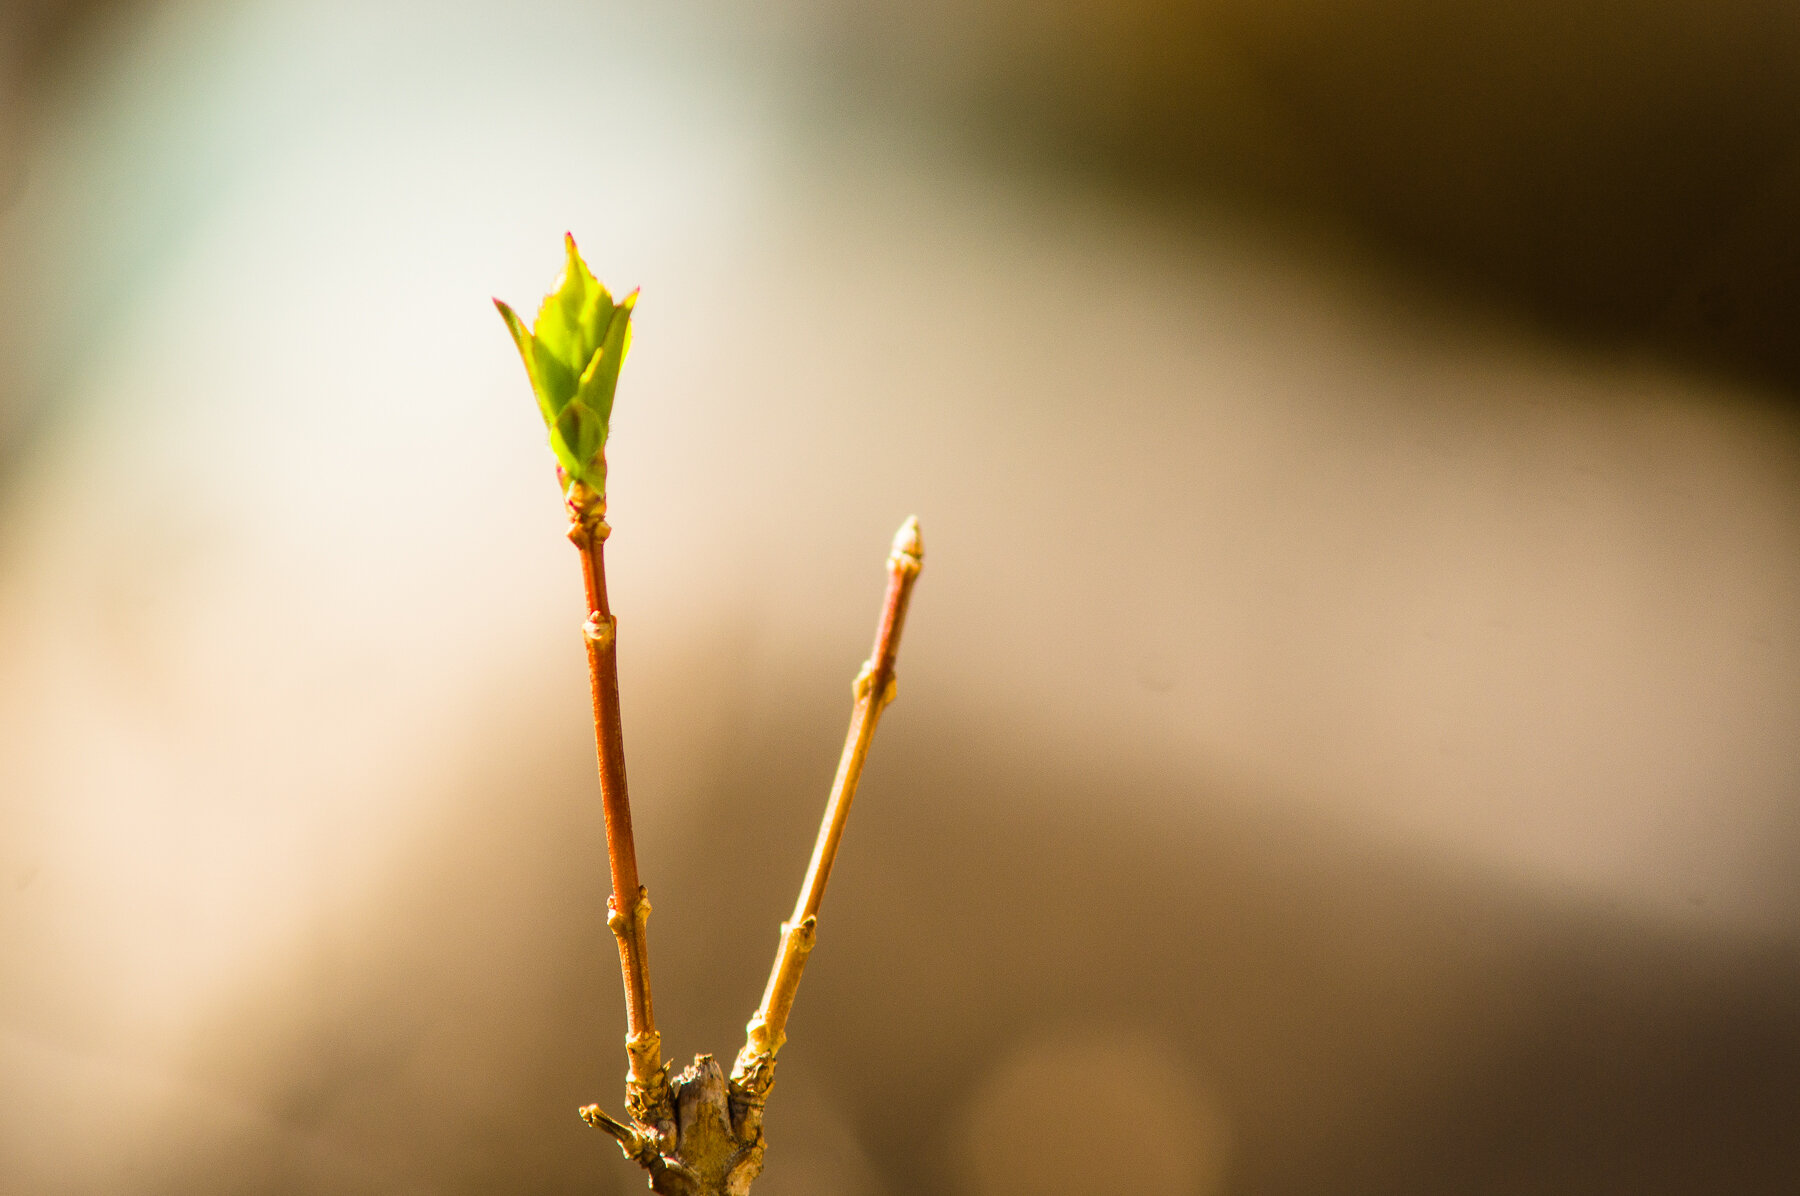
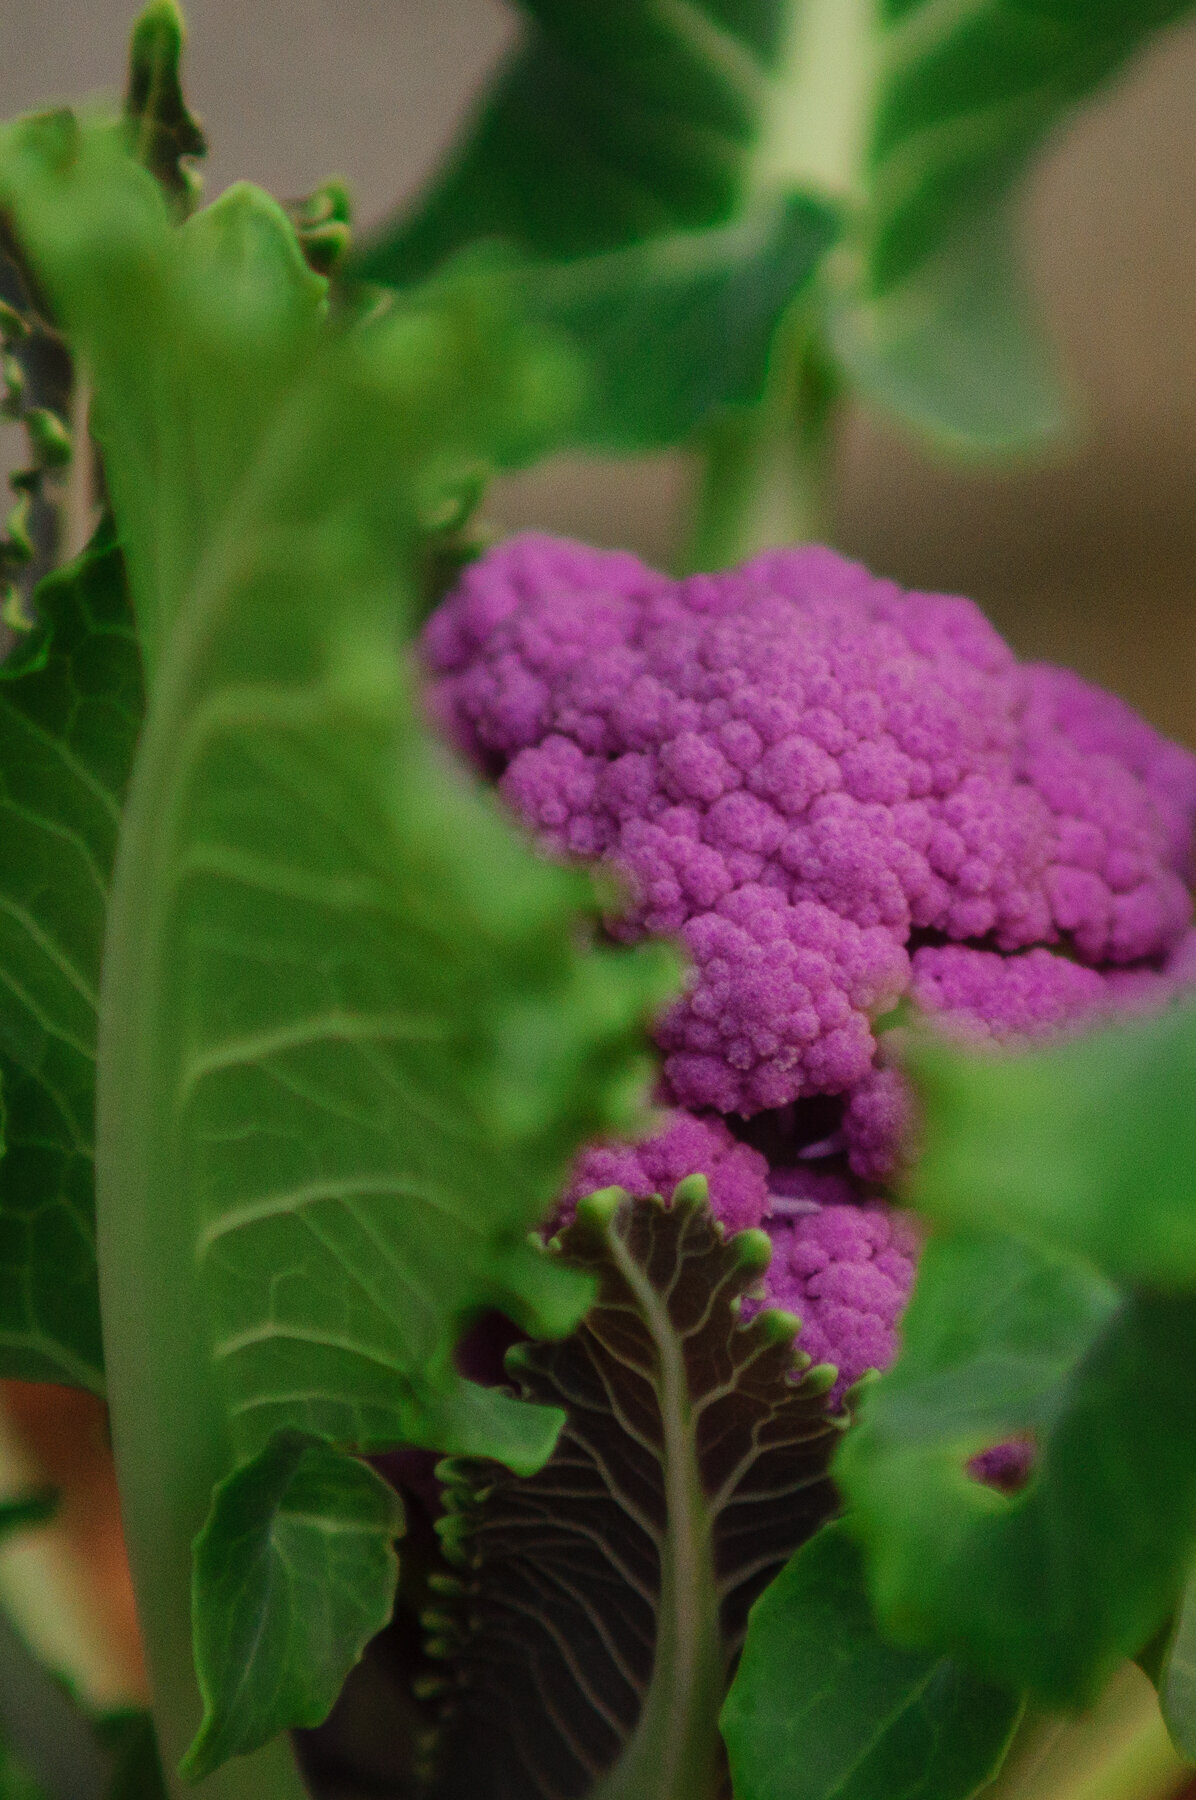
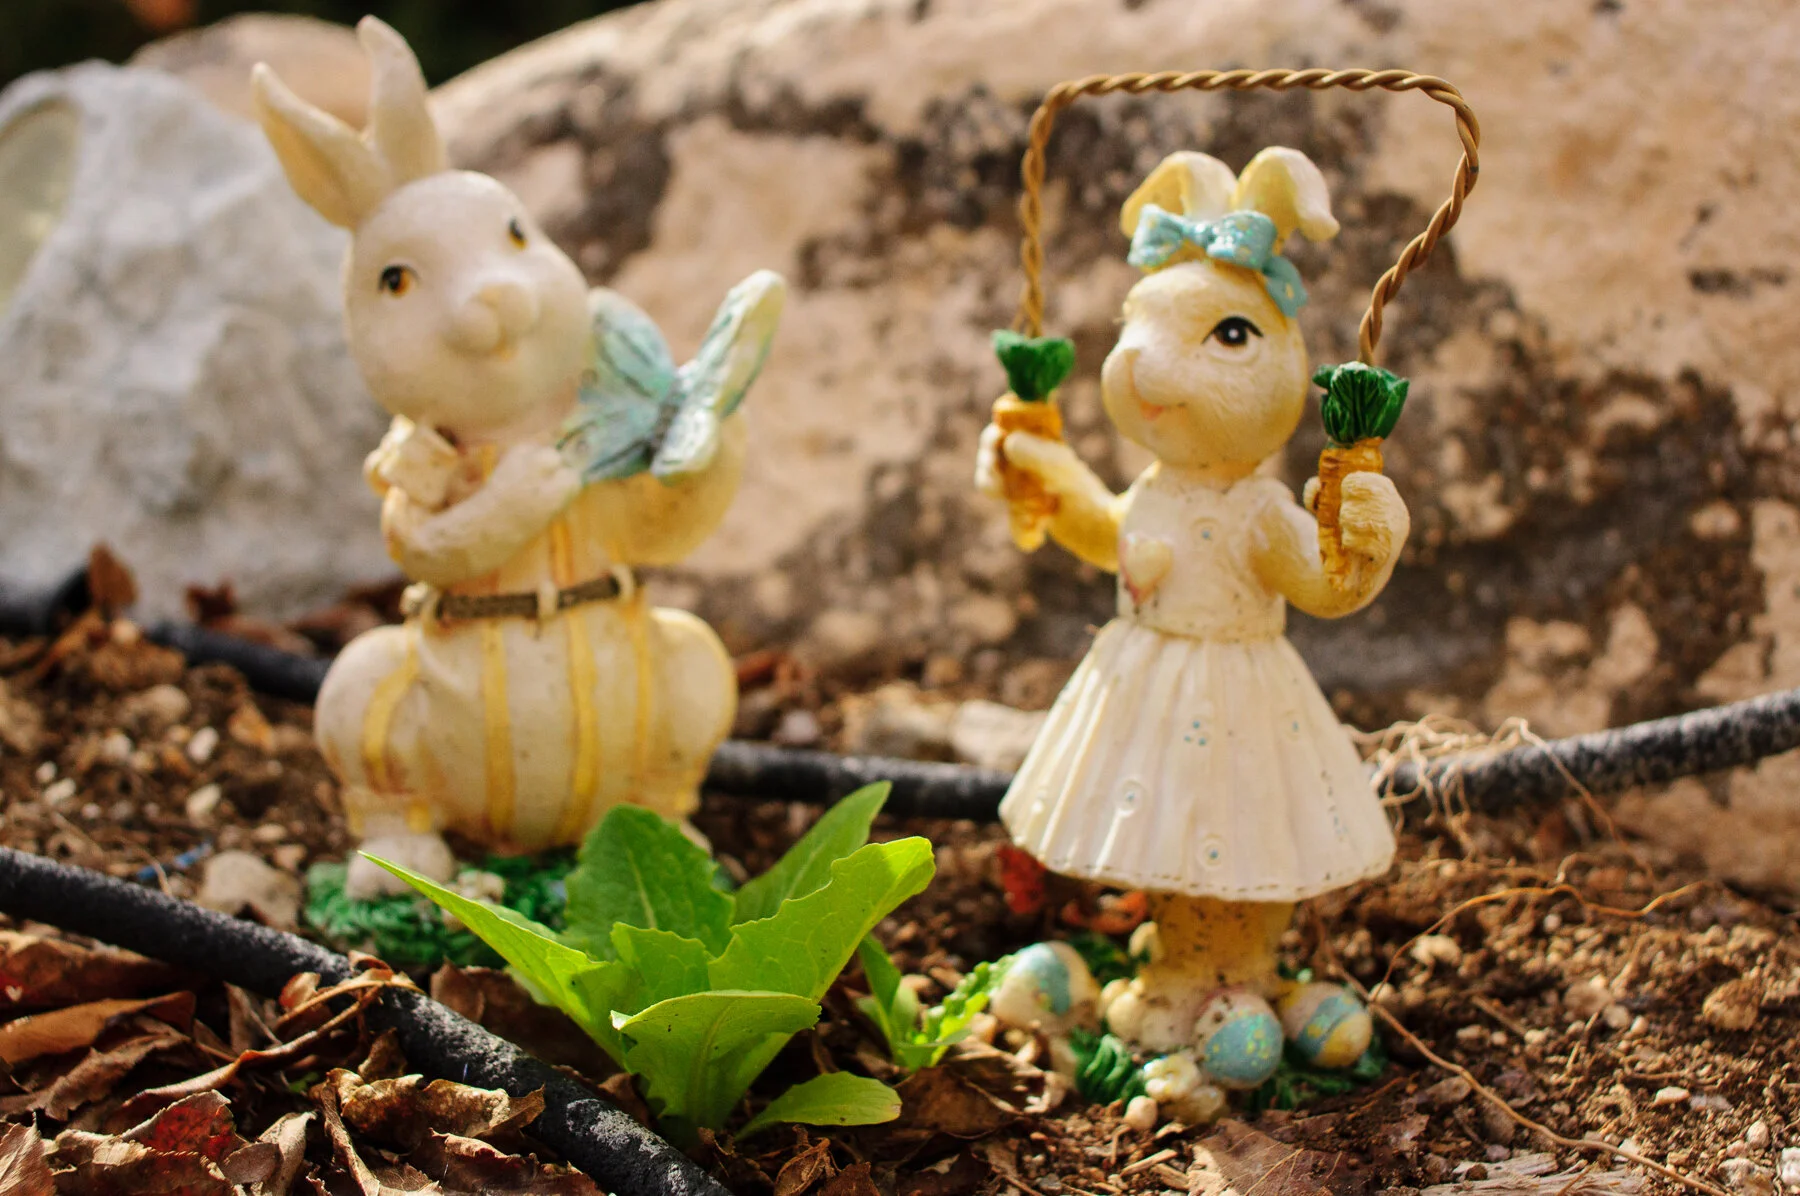
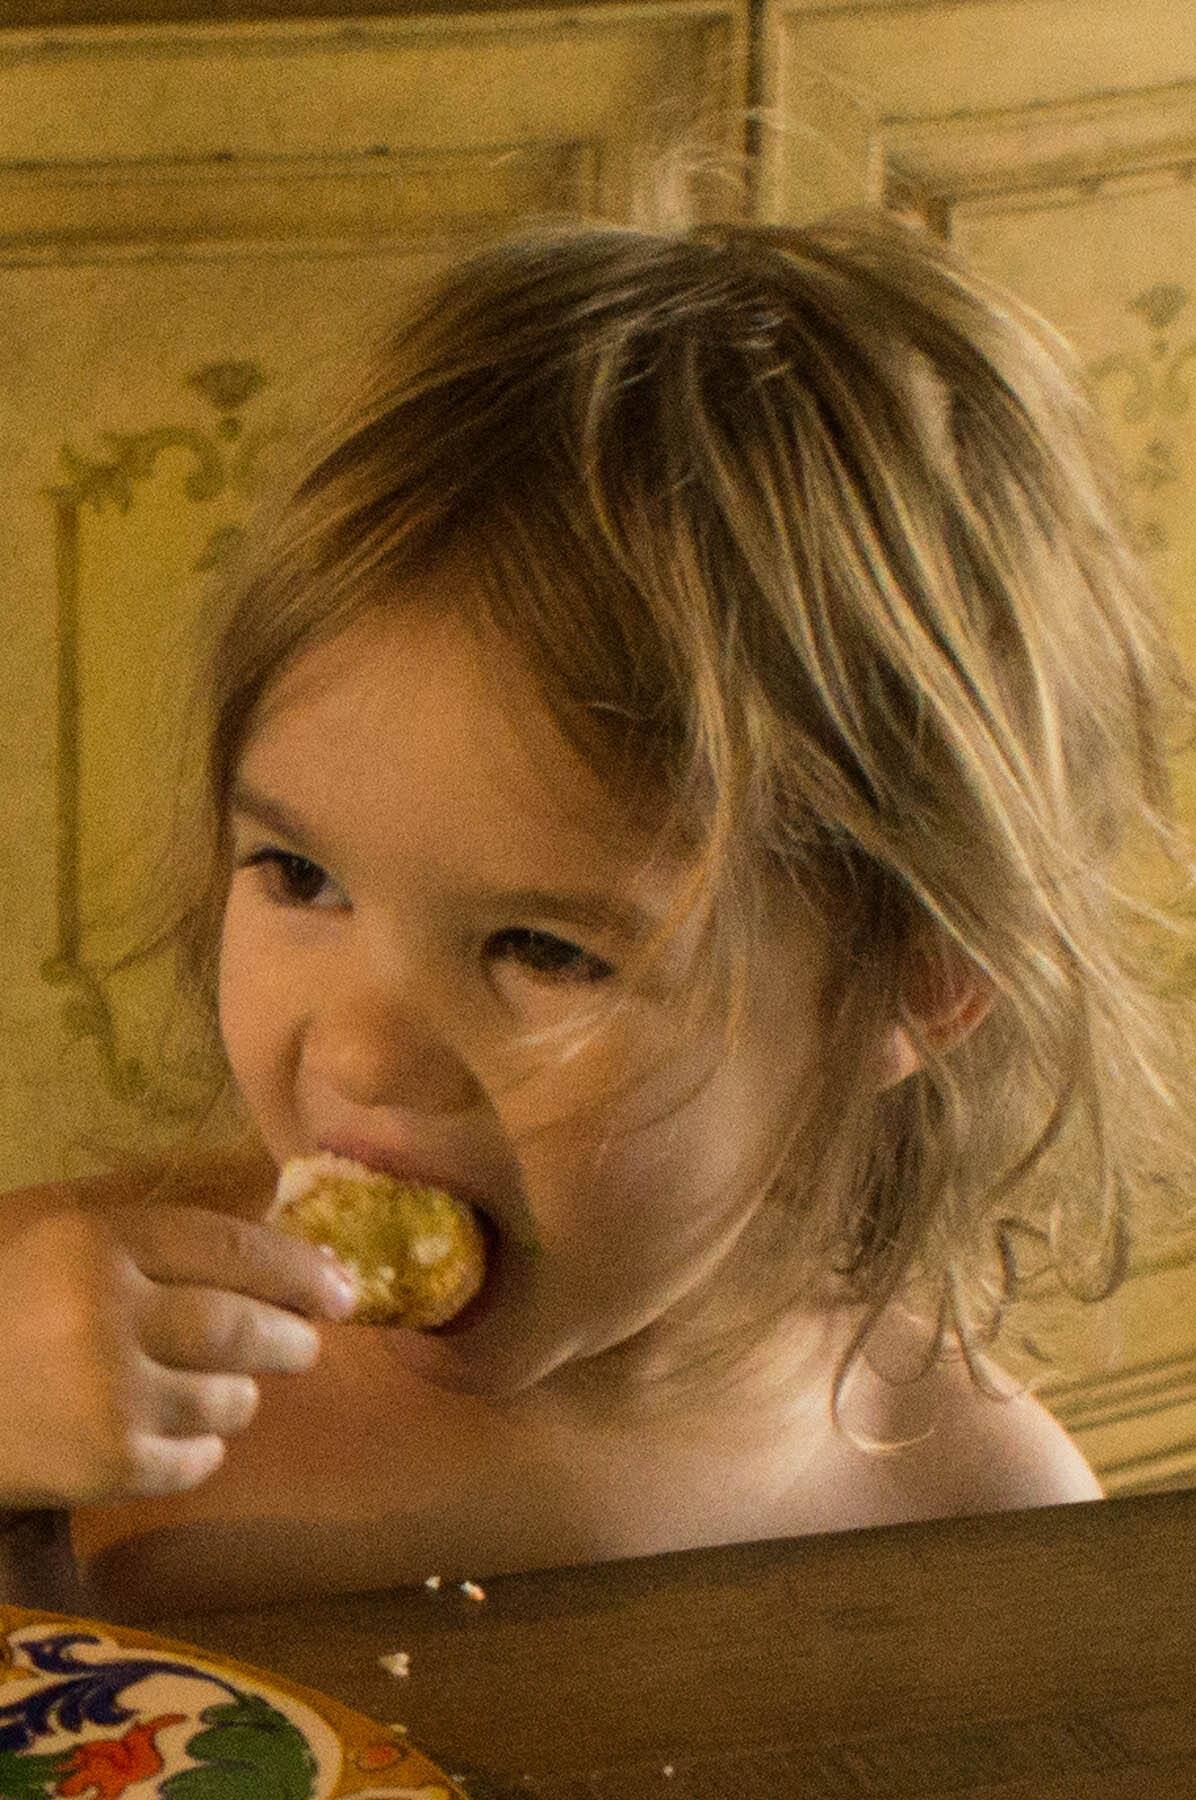
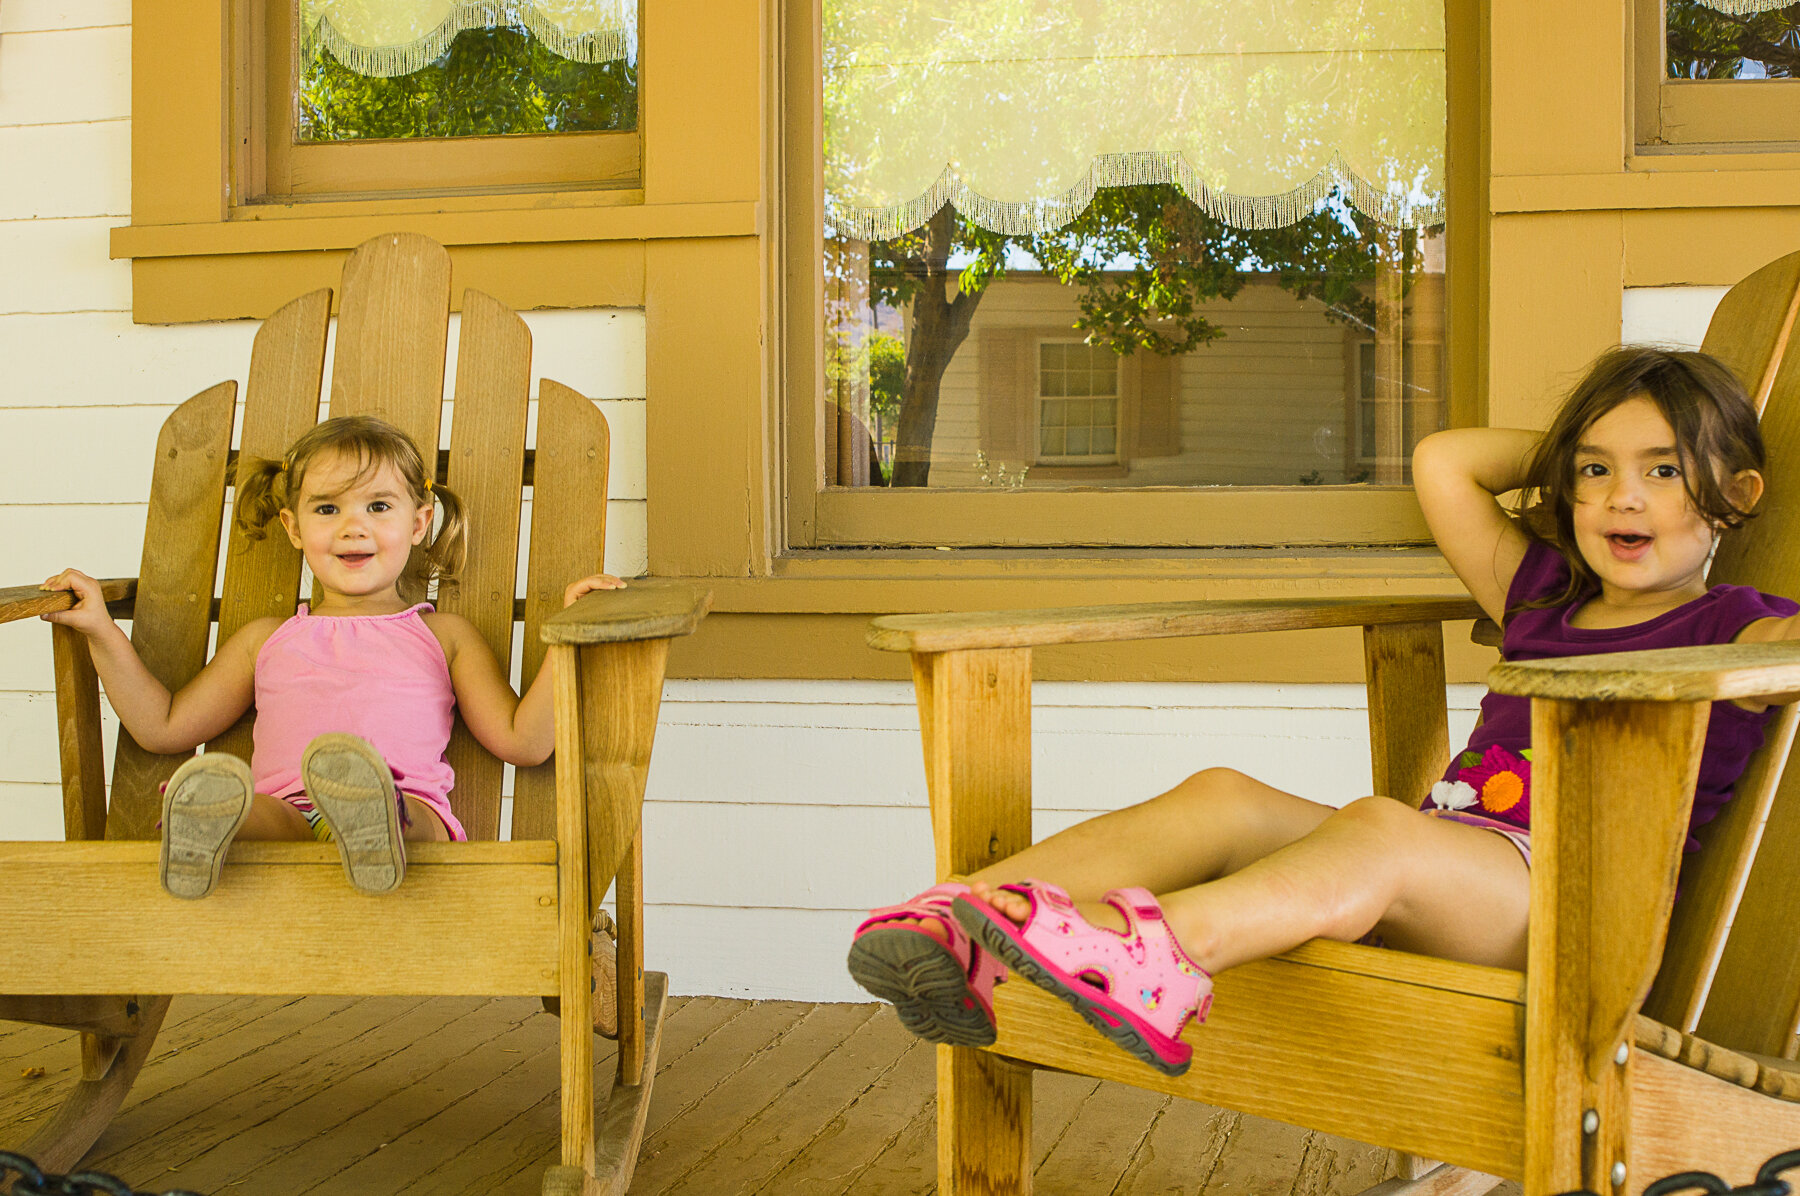
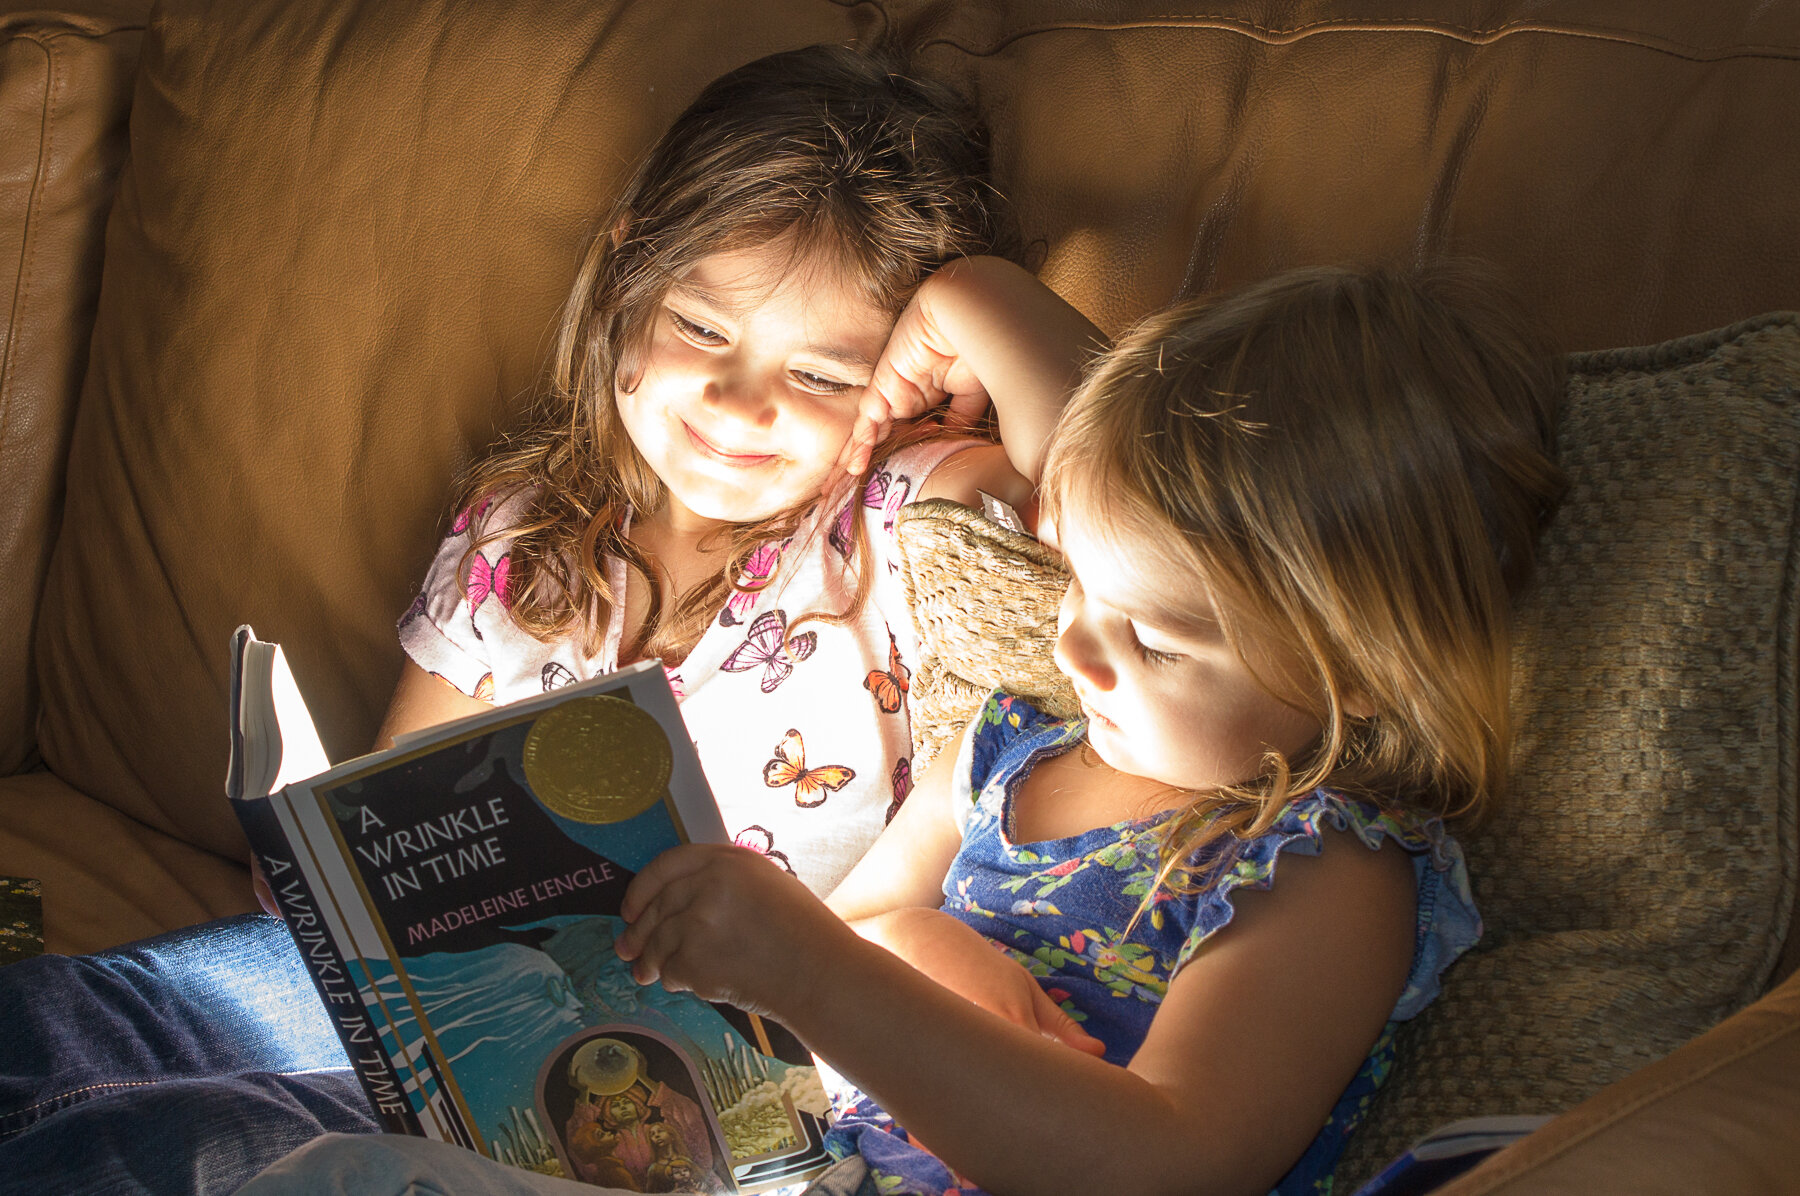
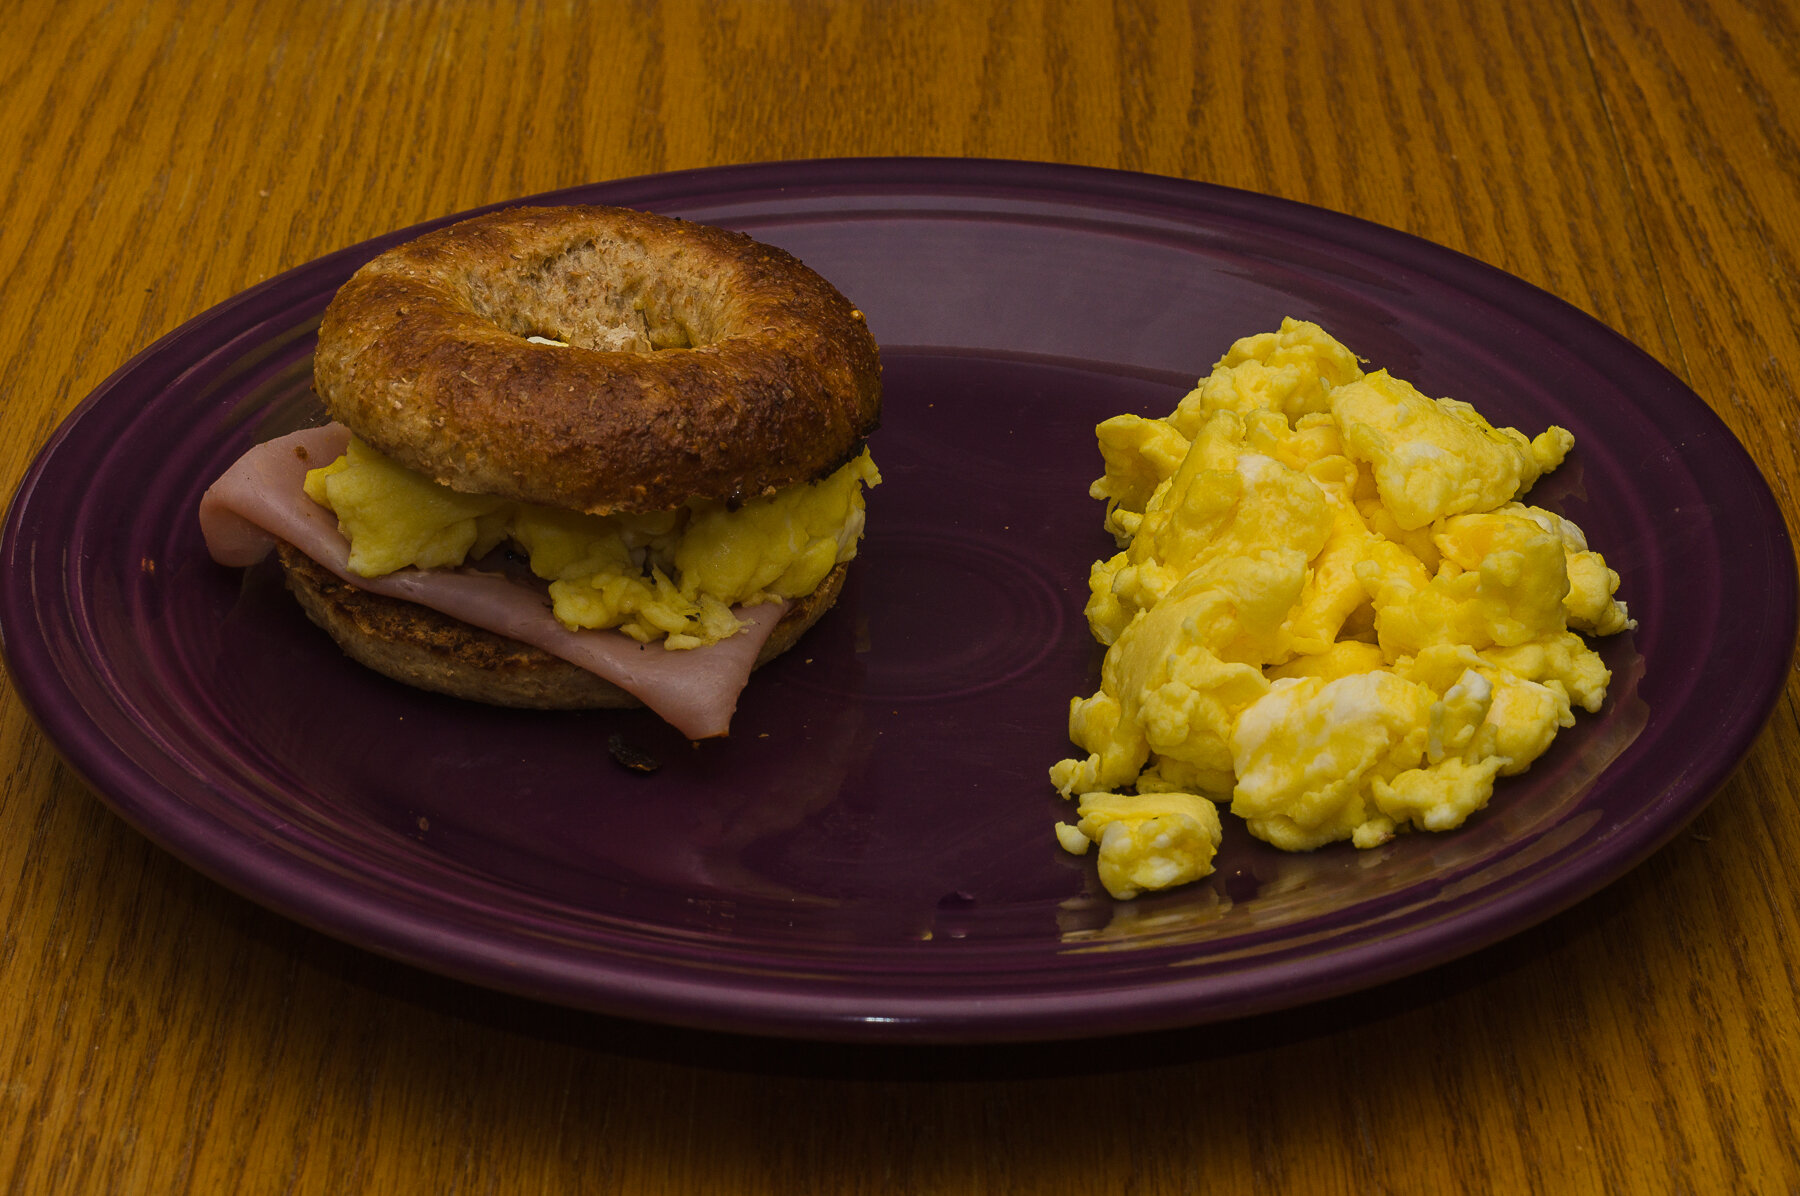
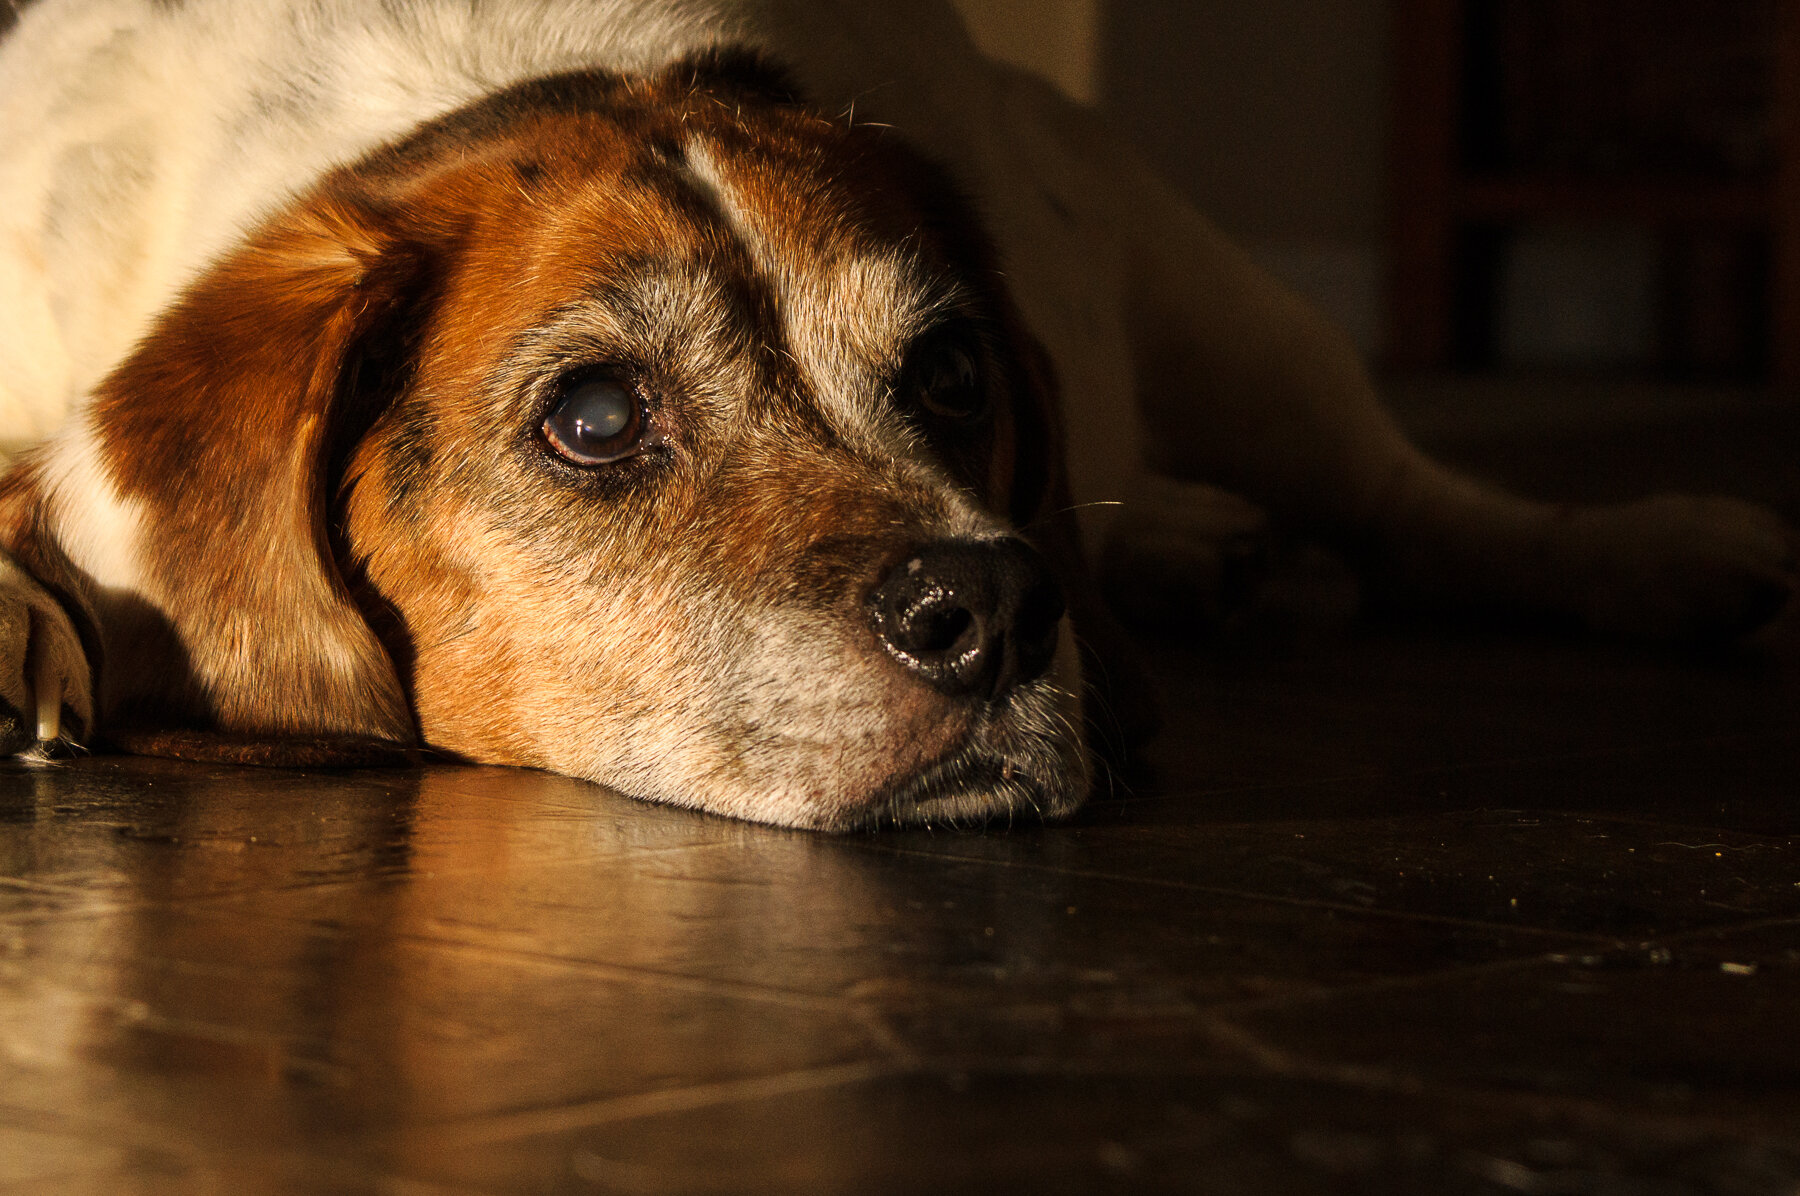
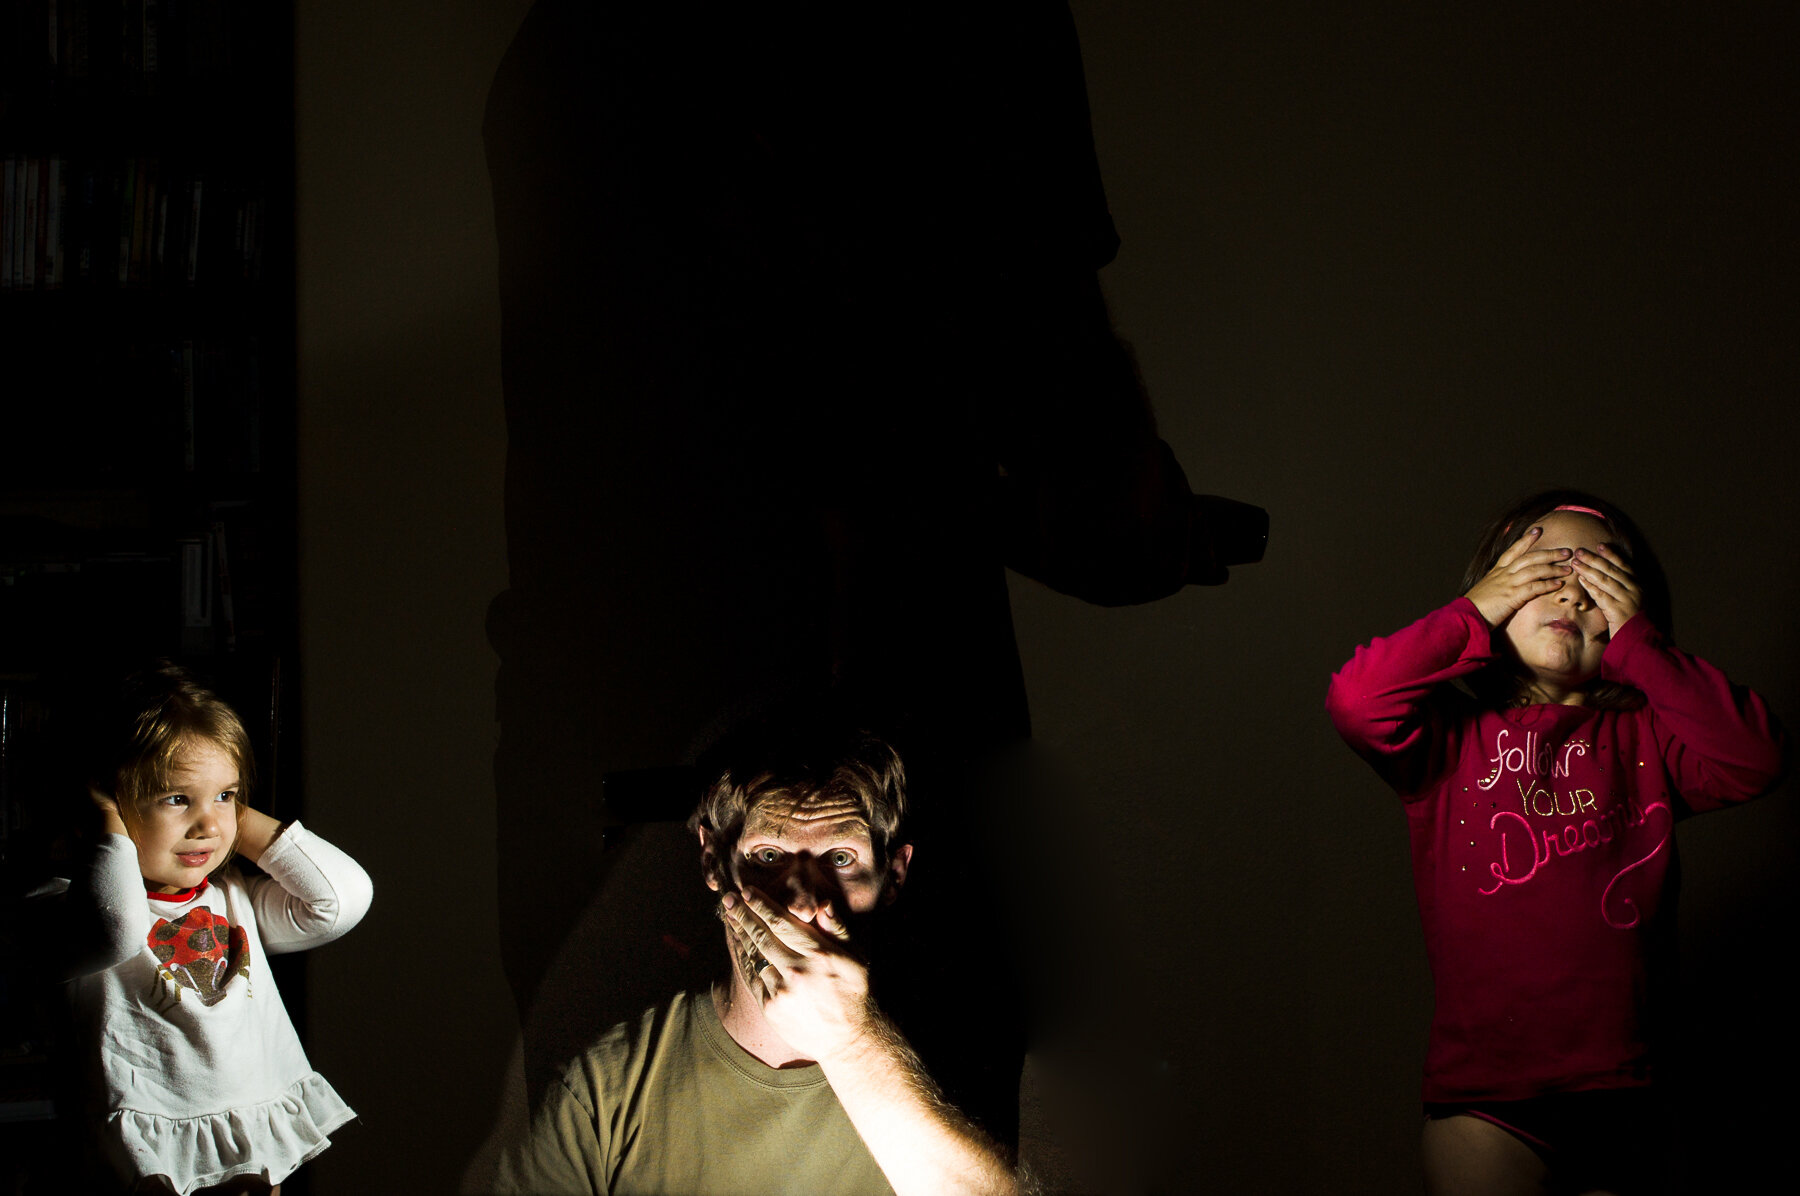
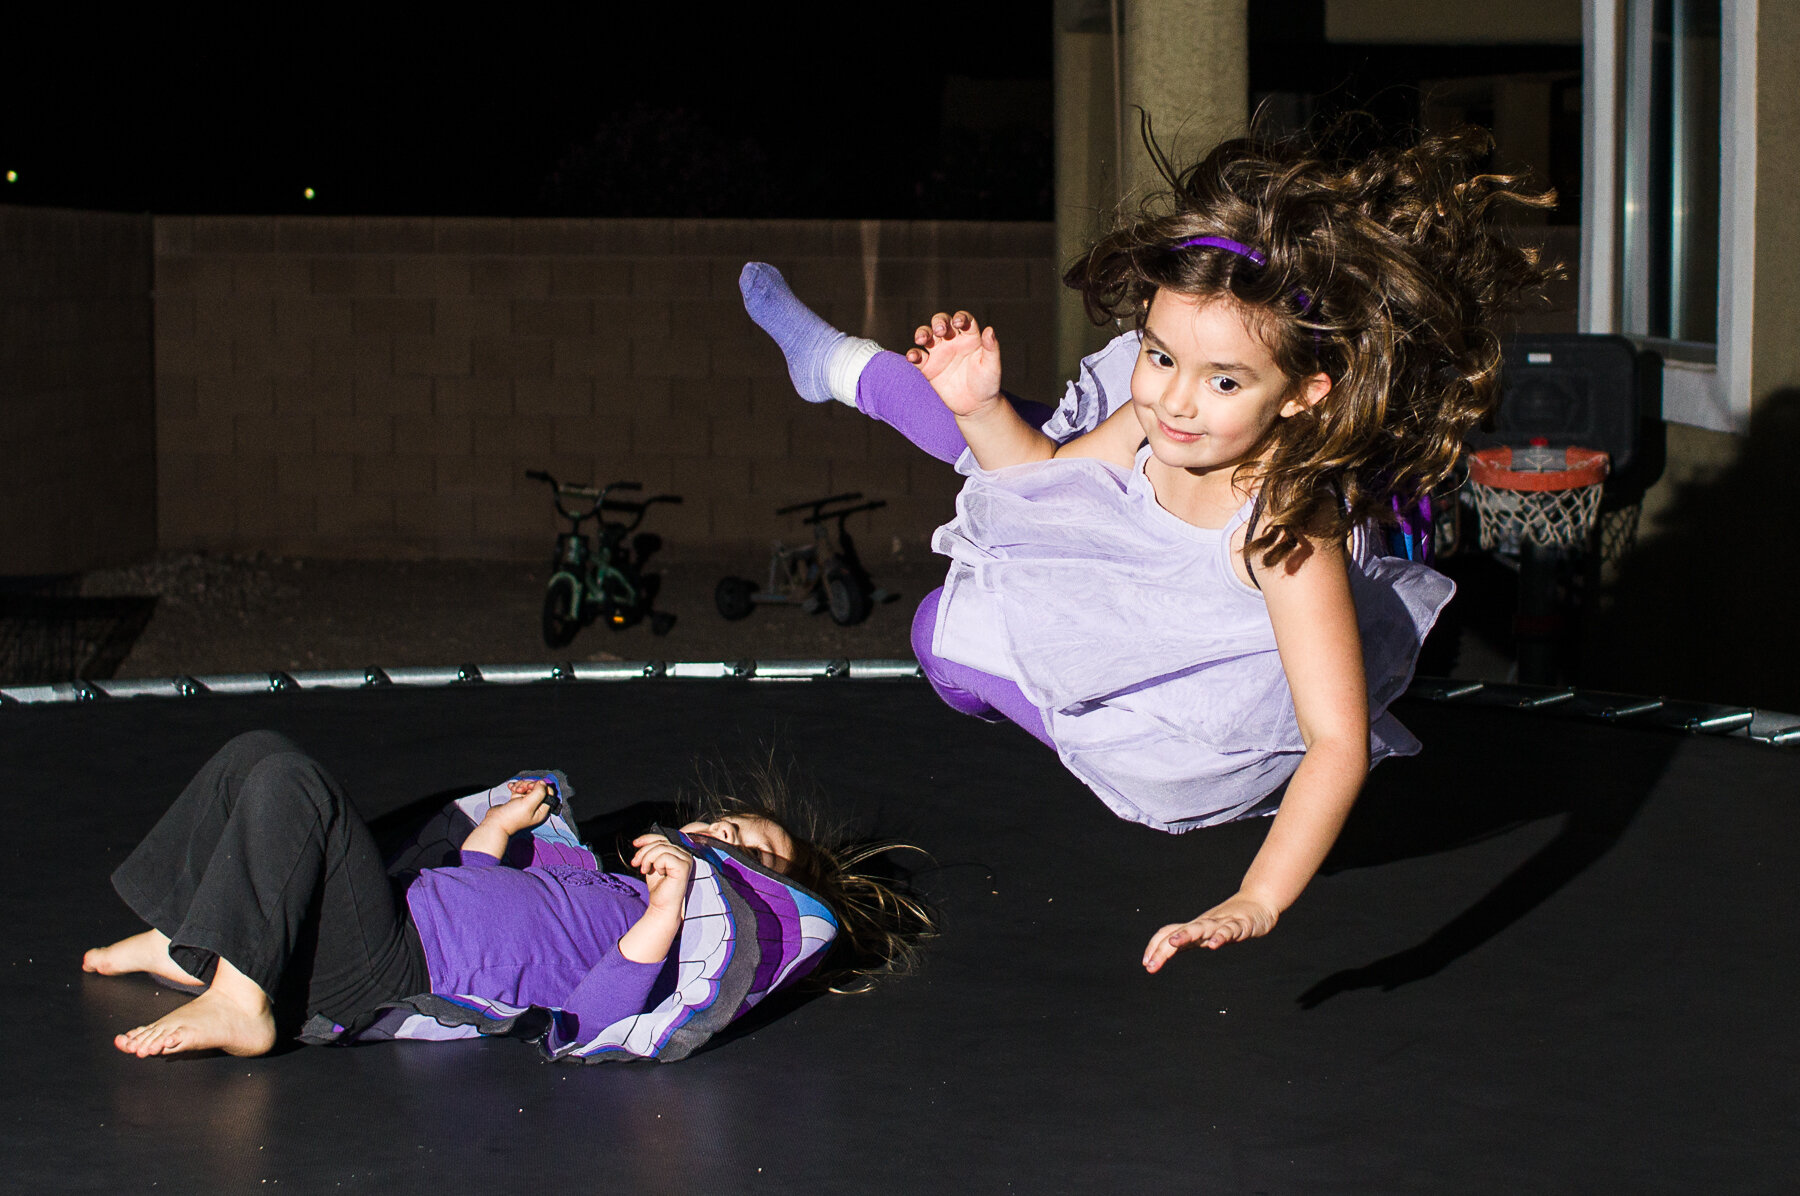
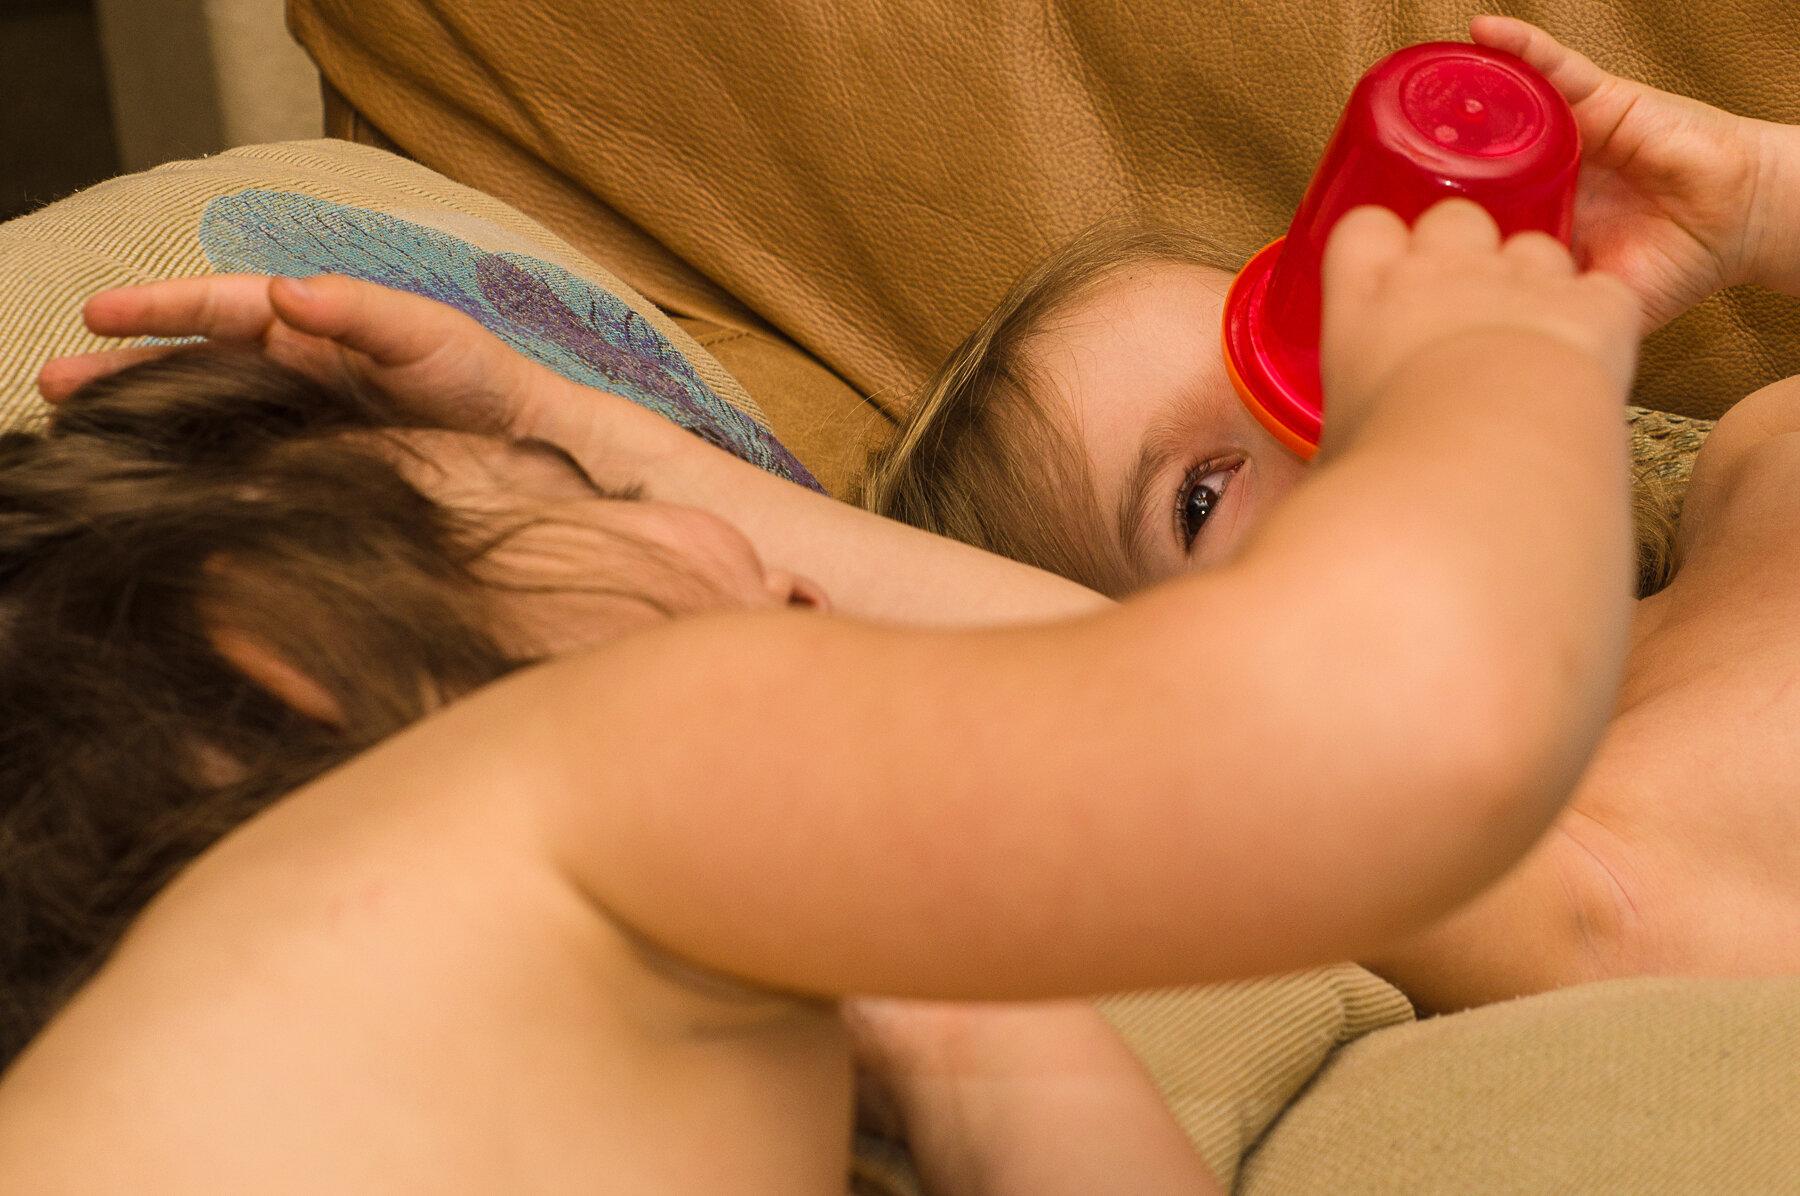
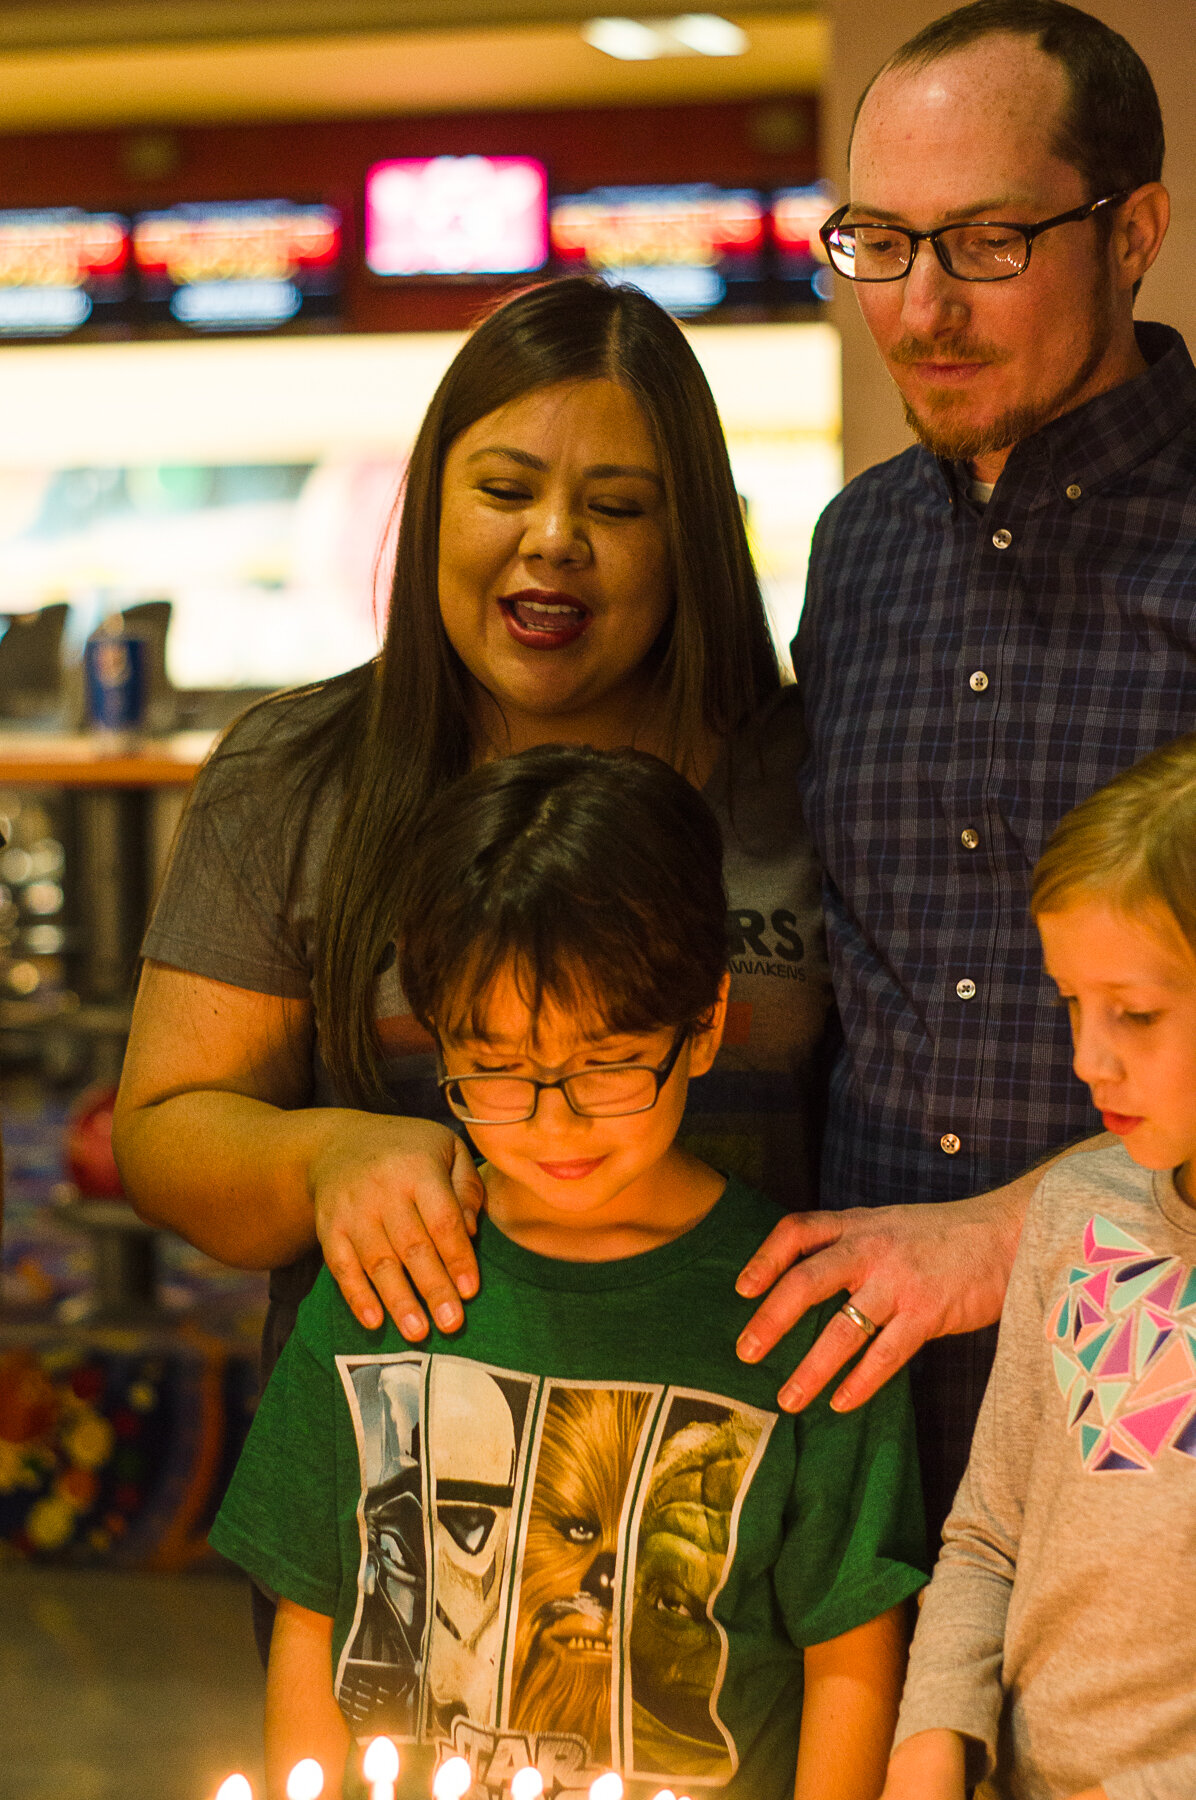
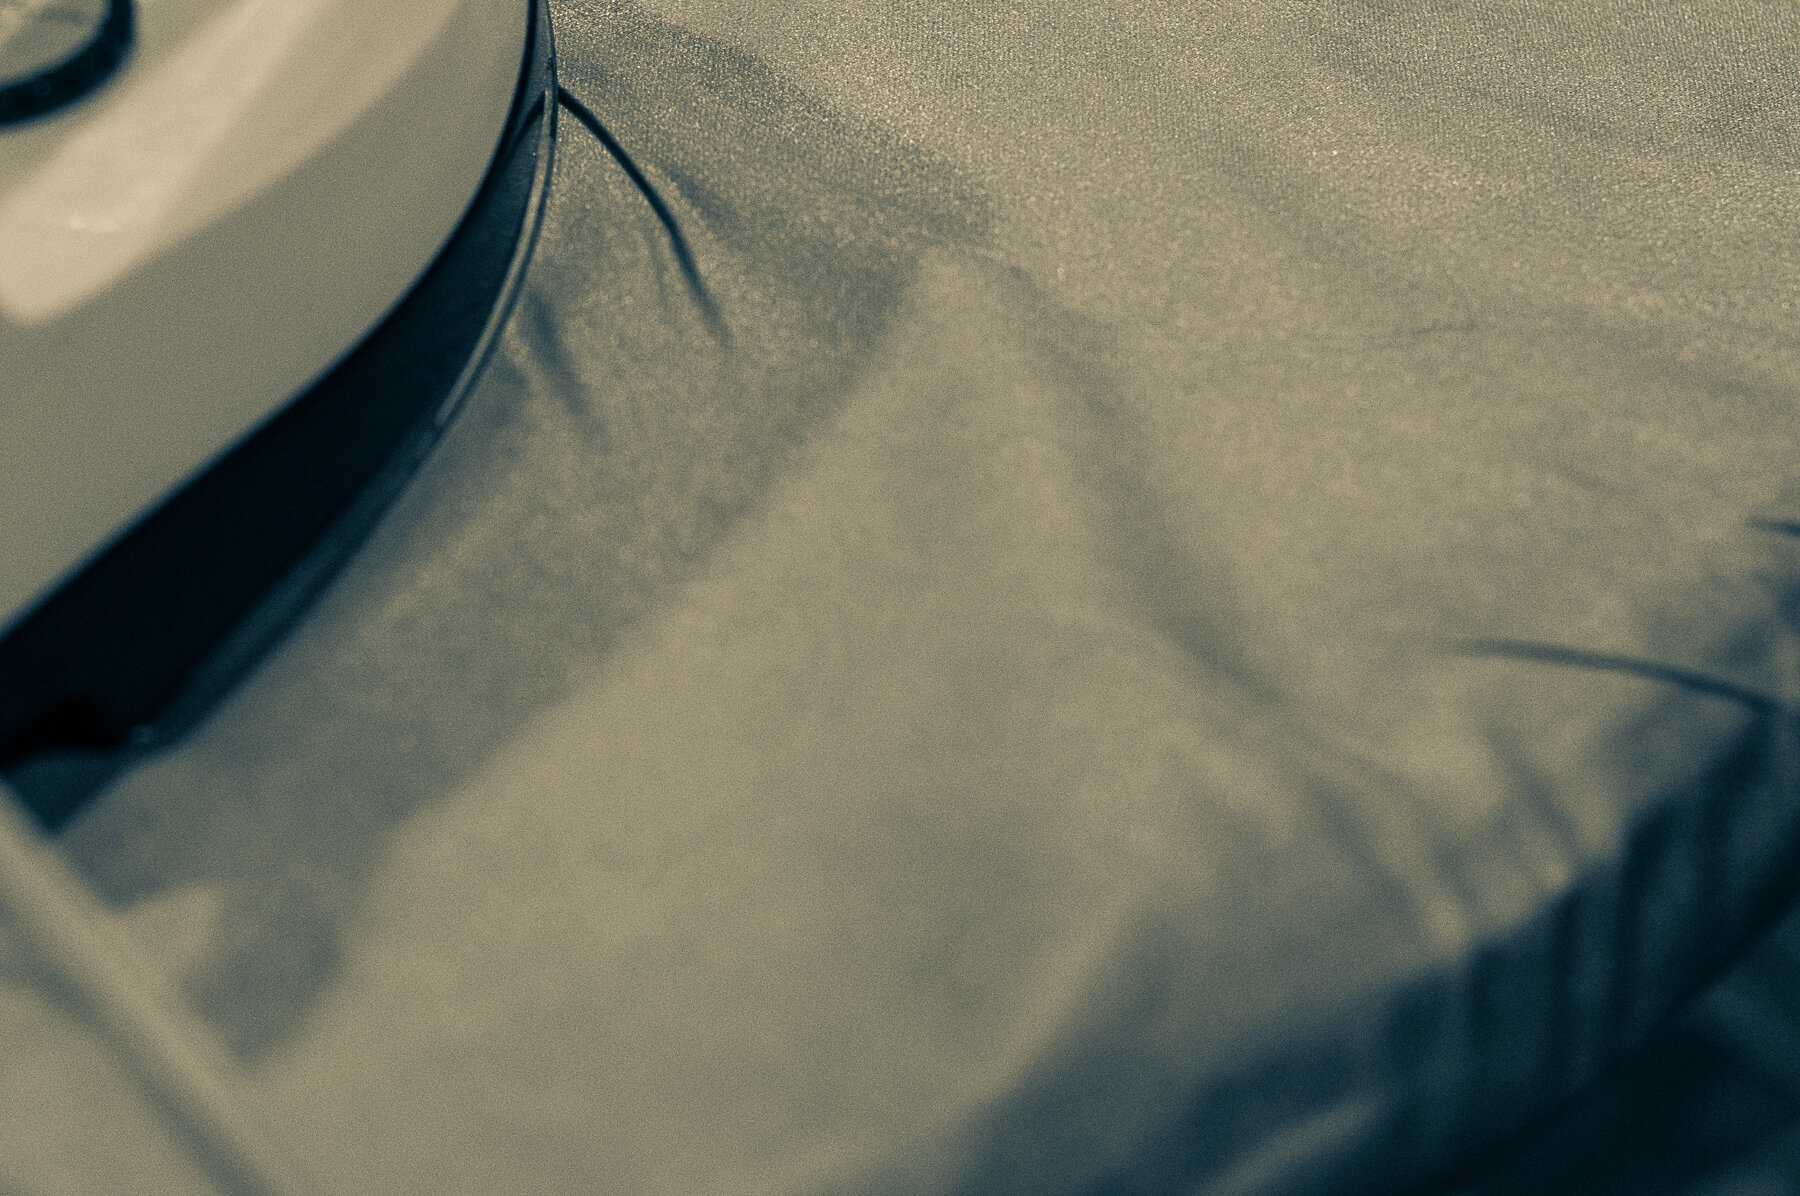
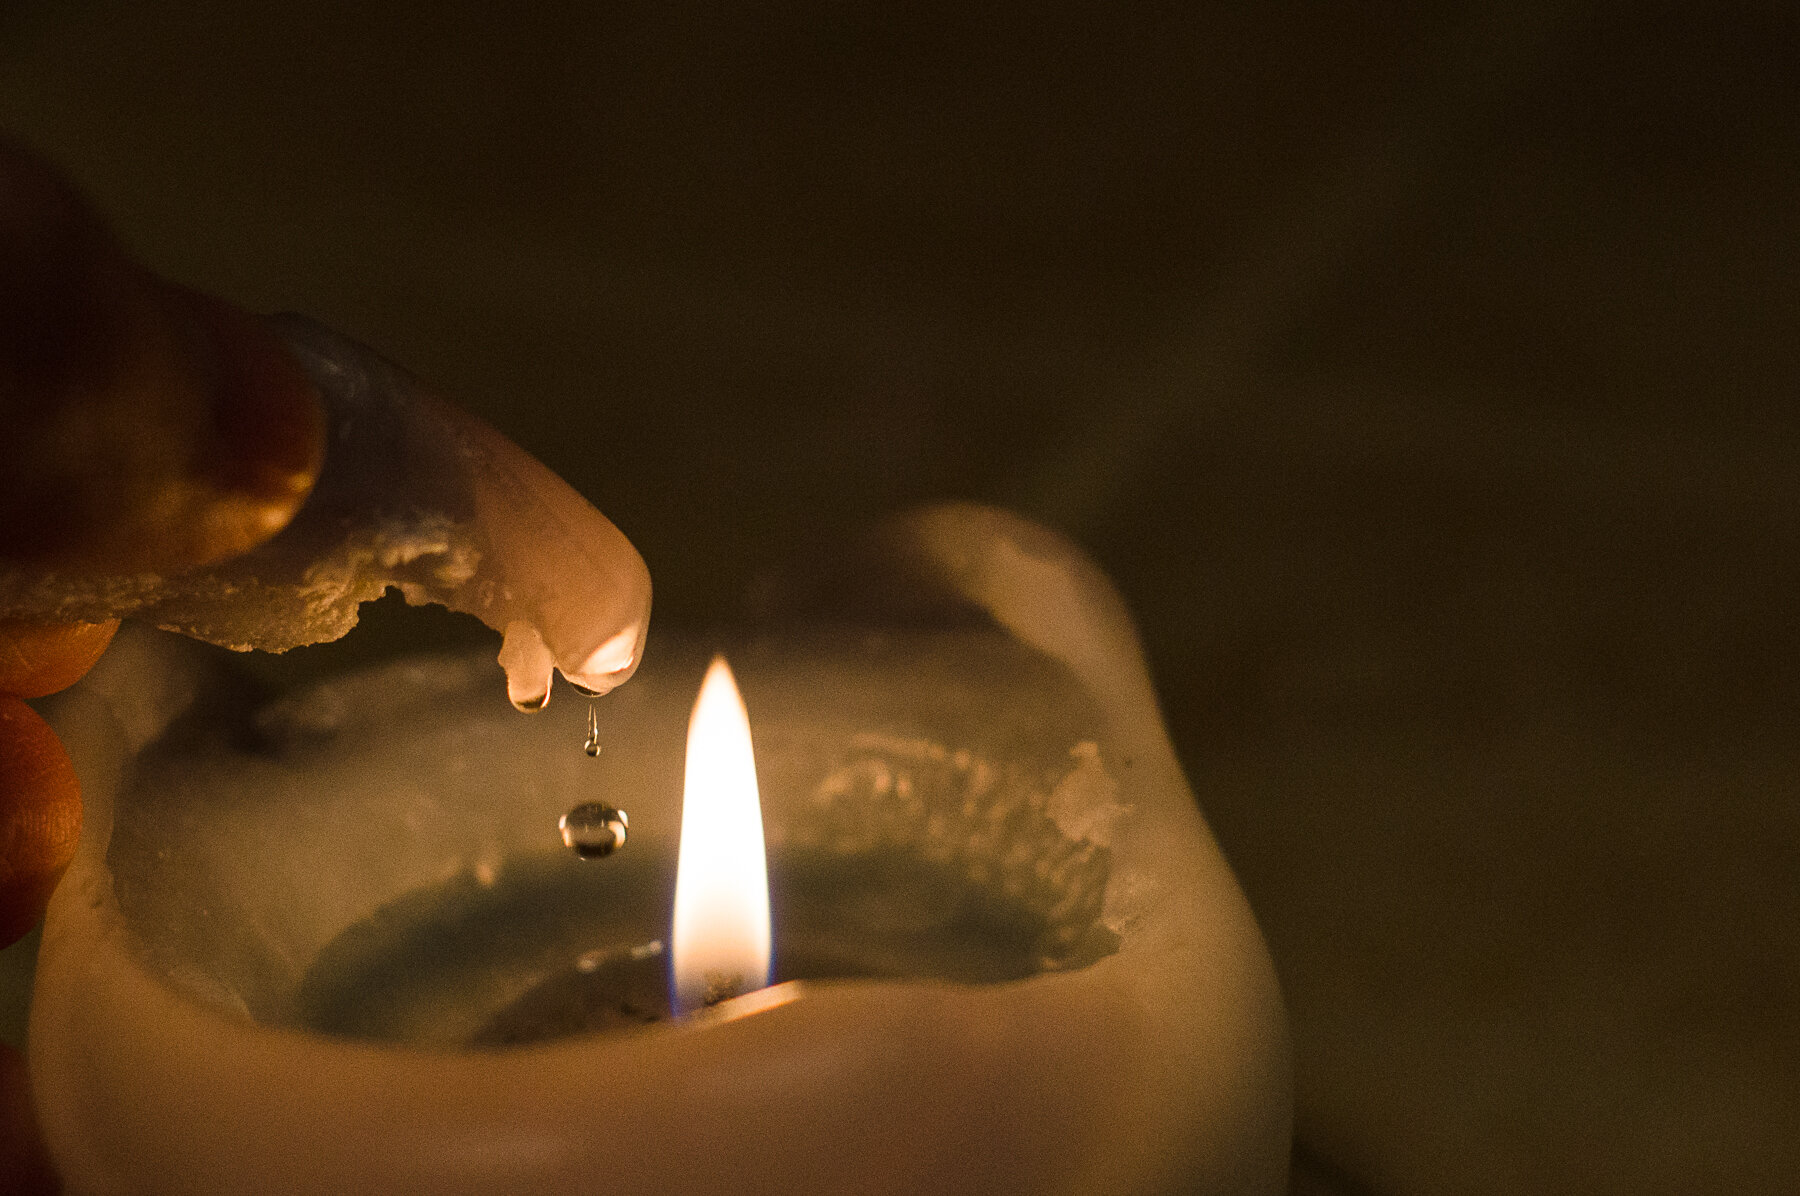
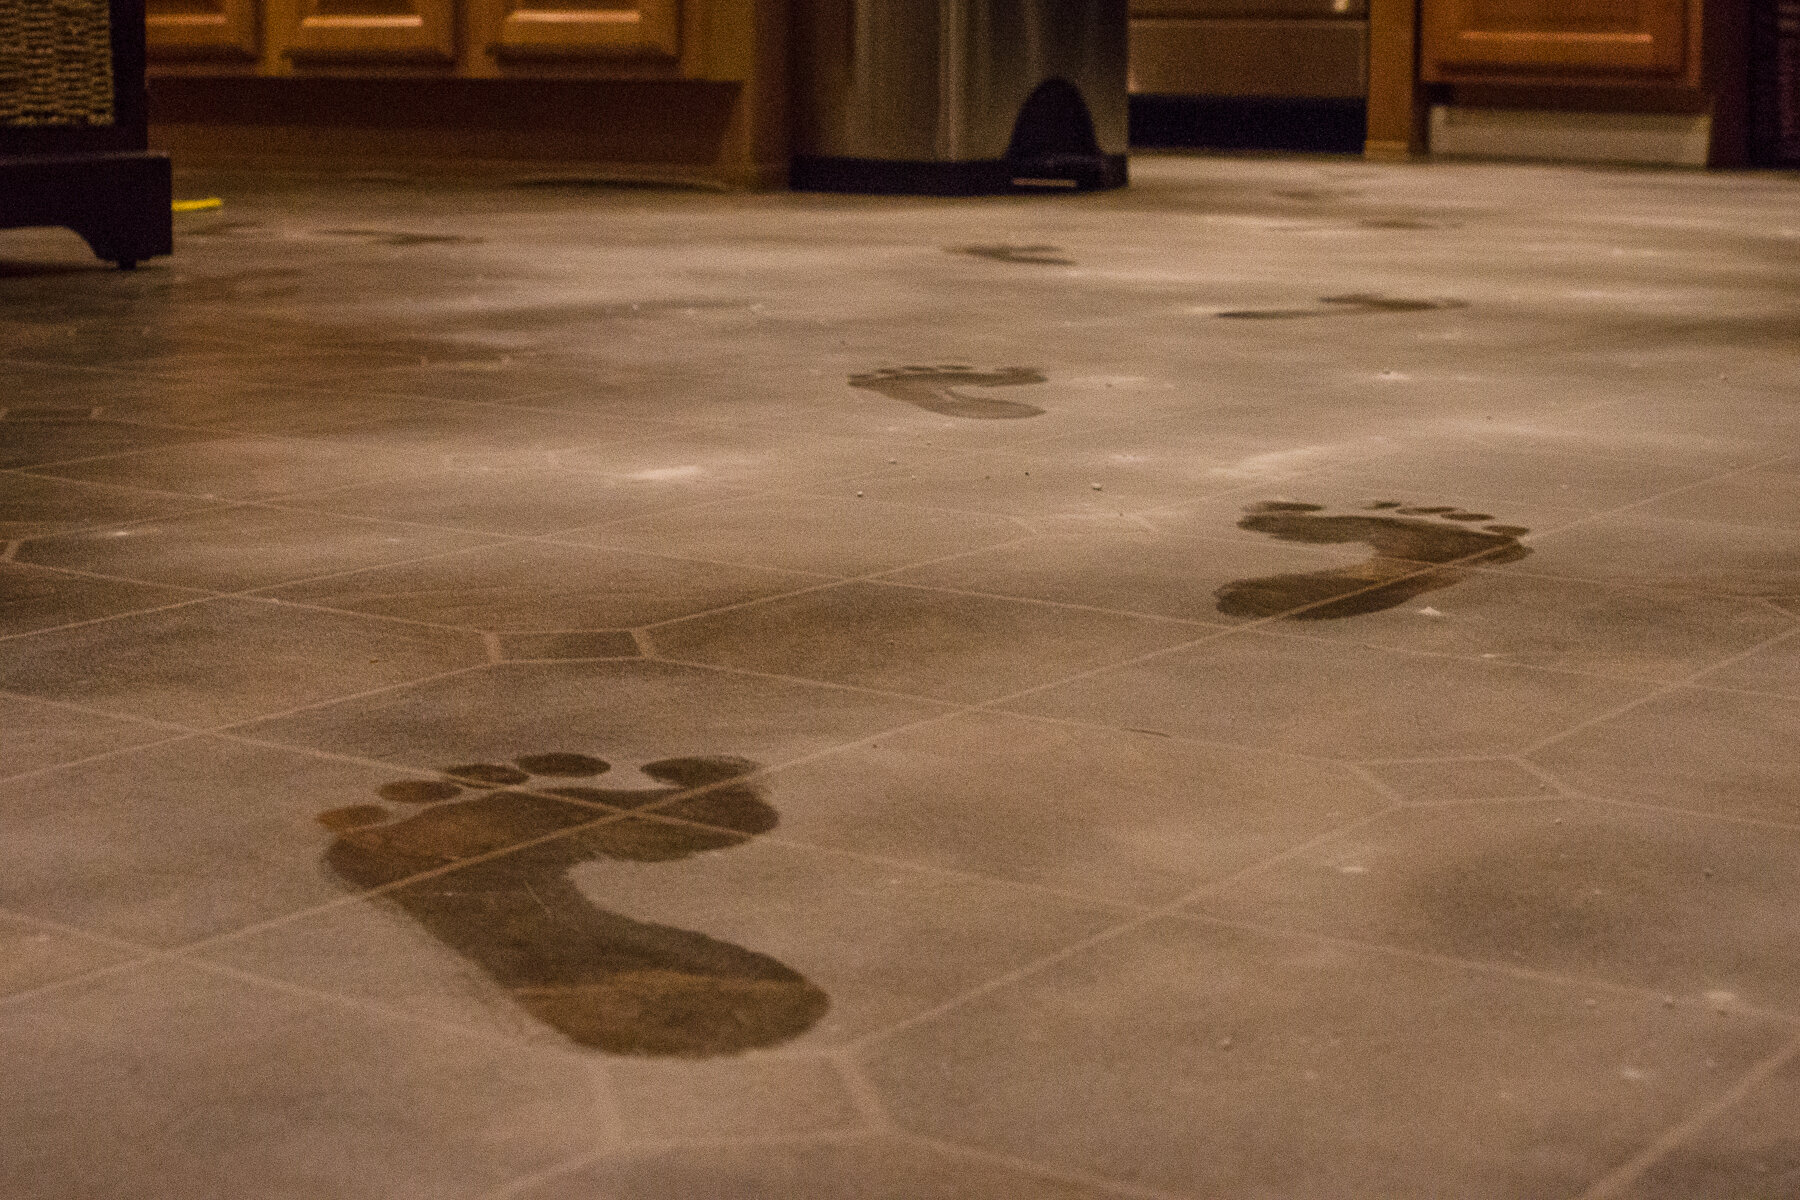
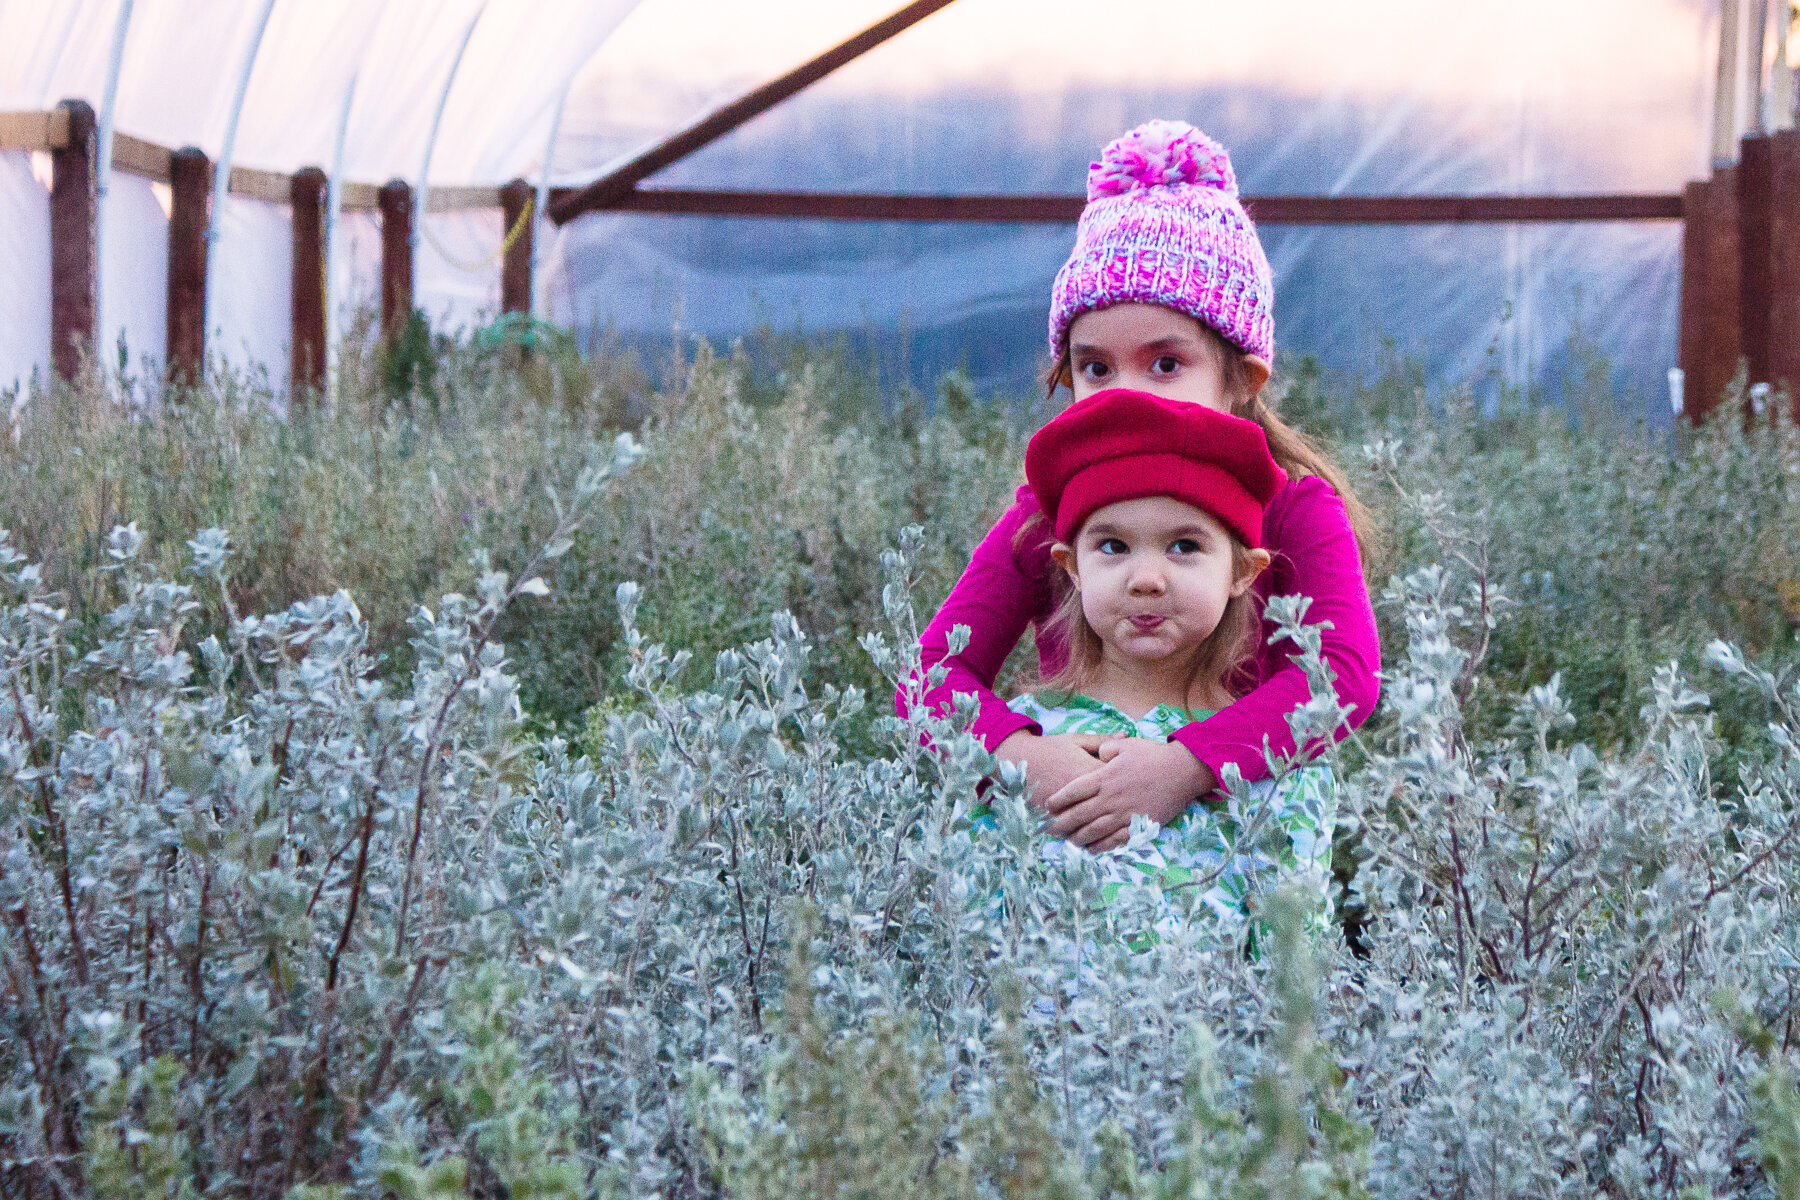
Leading up to it, it seems like a daunting task. I read about the idea back when I had my Canon Xti which I gave away in 2012 but didn’t start it until 2015 because it made me nervous. My idea was to take and post 1 good picture a day. It seemed like too much. So I started it accidently on January 1st of 2015 by taking a picture of my oldest daughter. The next day I took a picture of my youngest daughter, and the idea of taking a picture of my children for a month came to be. After a couple of weeks I felt that it wasn’t that hard to do so I decided to continue with a 365. I did change the subject every month. It went as follows: my kids, garden, water, sky, macro, foodie, animals, ‘scapes, B/W, flash, suggestions, and holidays. Some of the months I decided and others I put up a poll to see what my friends preferred. The suggestions month was just that, I asked for suggestions of a subject and made it happen.

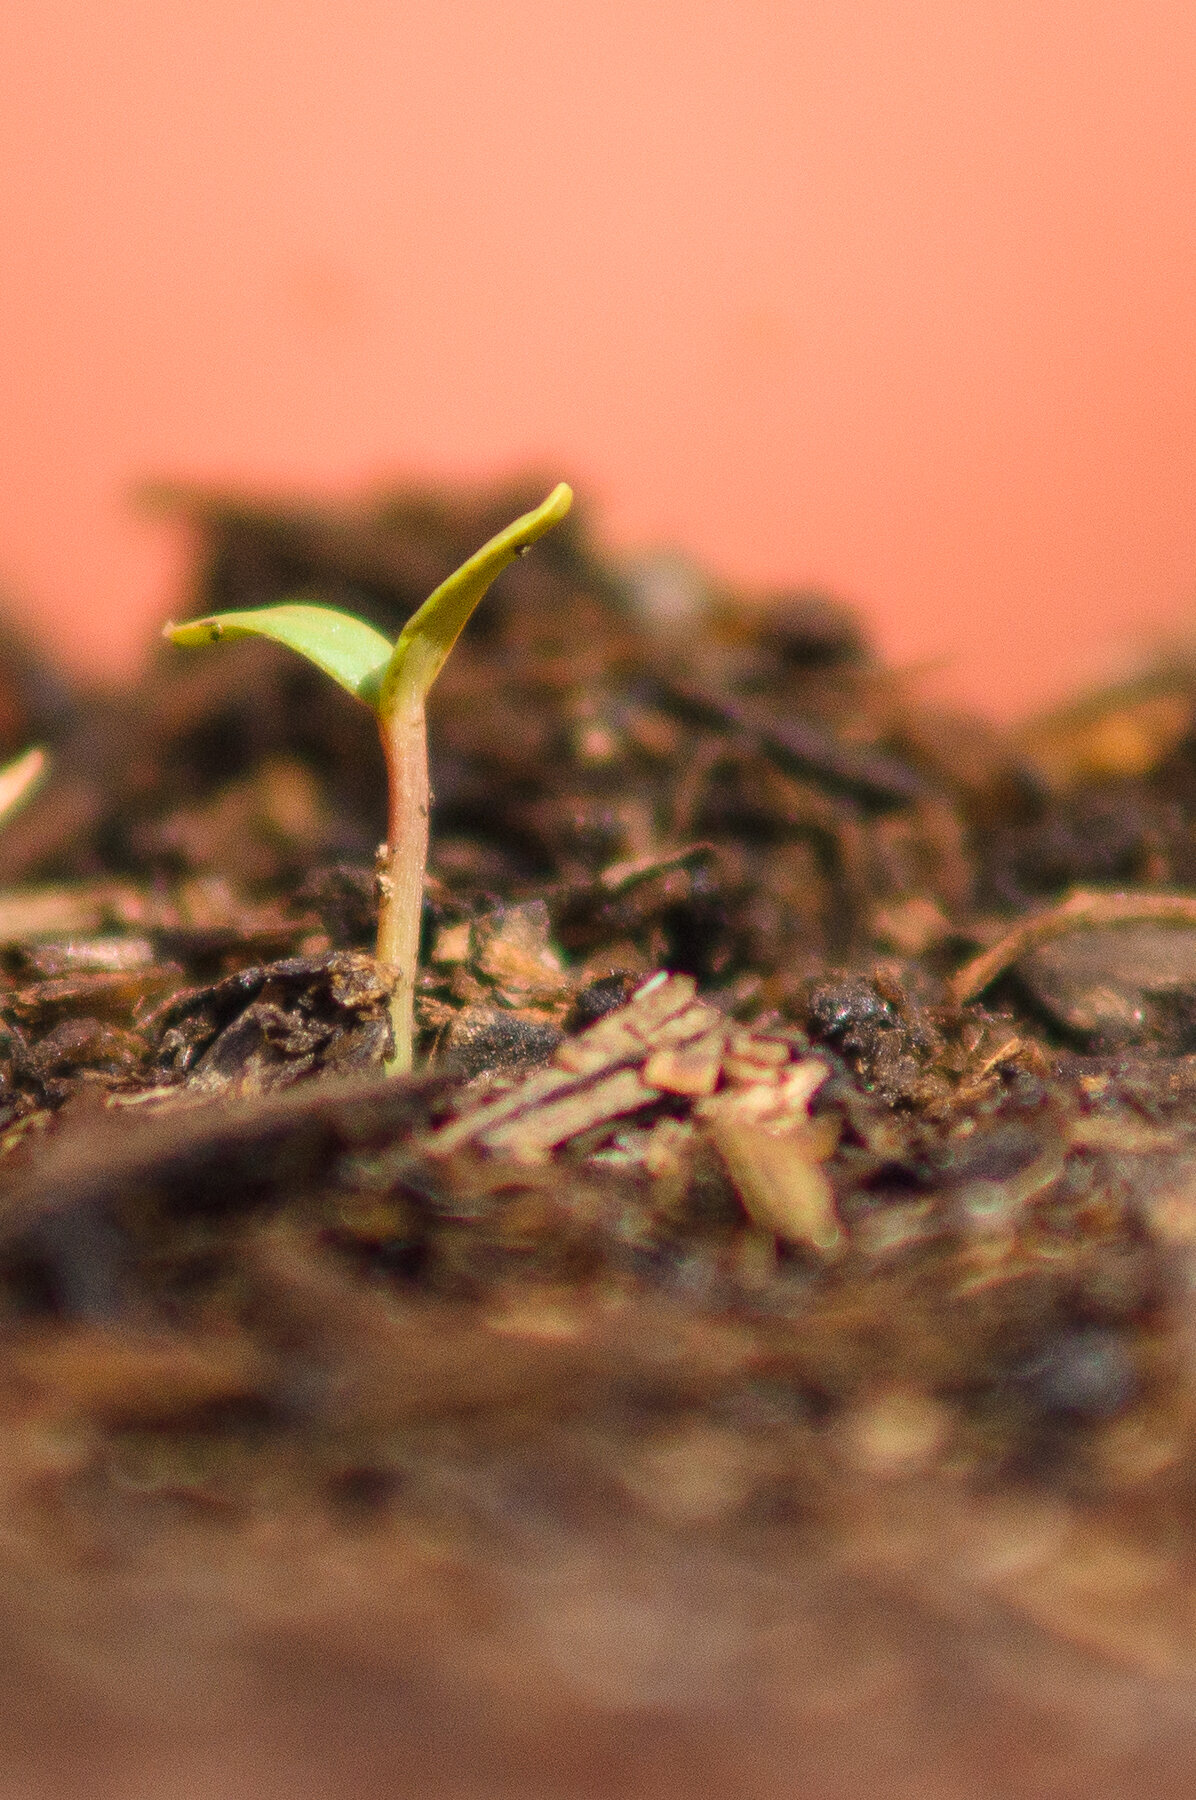
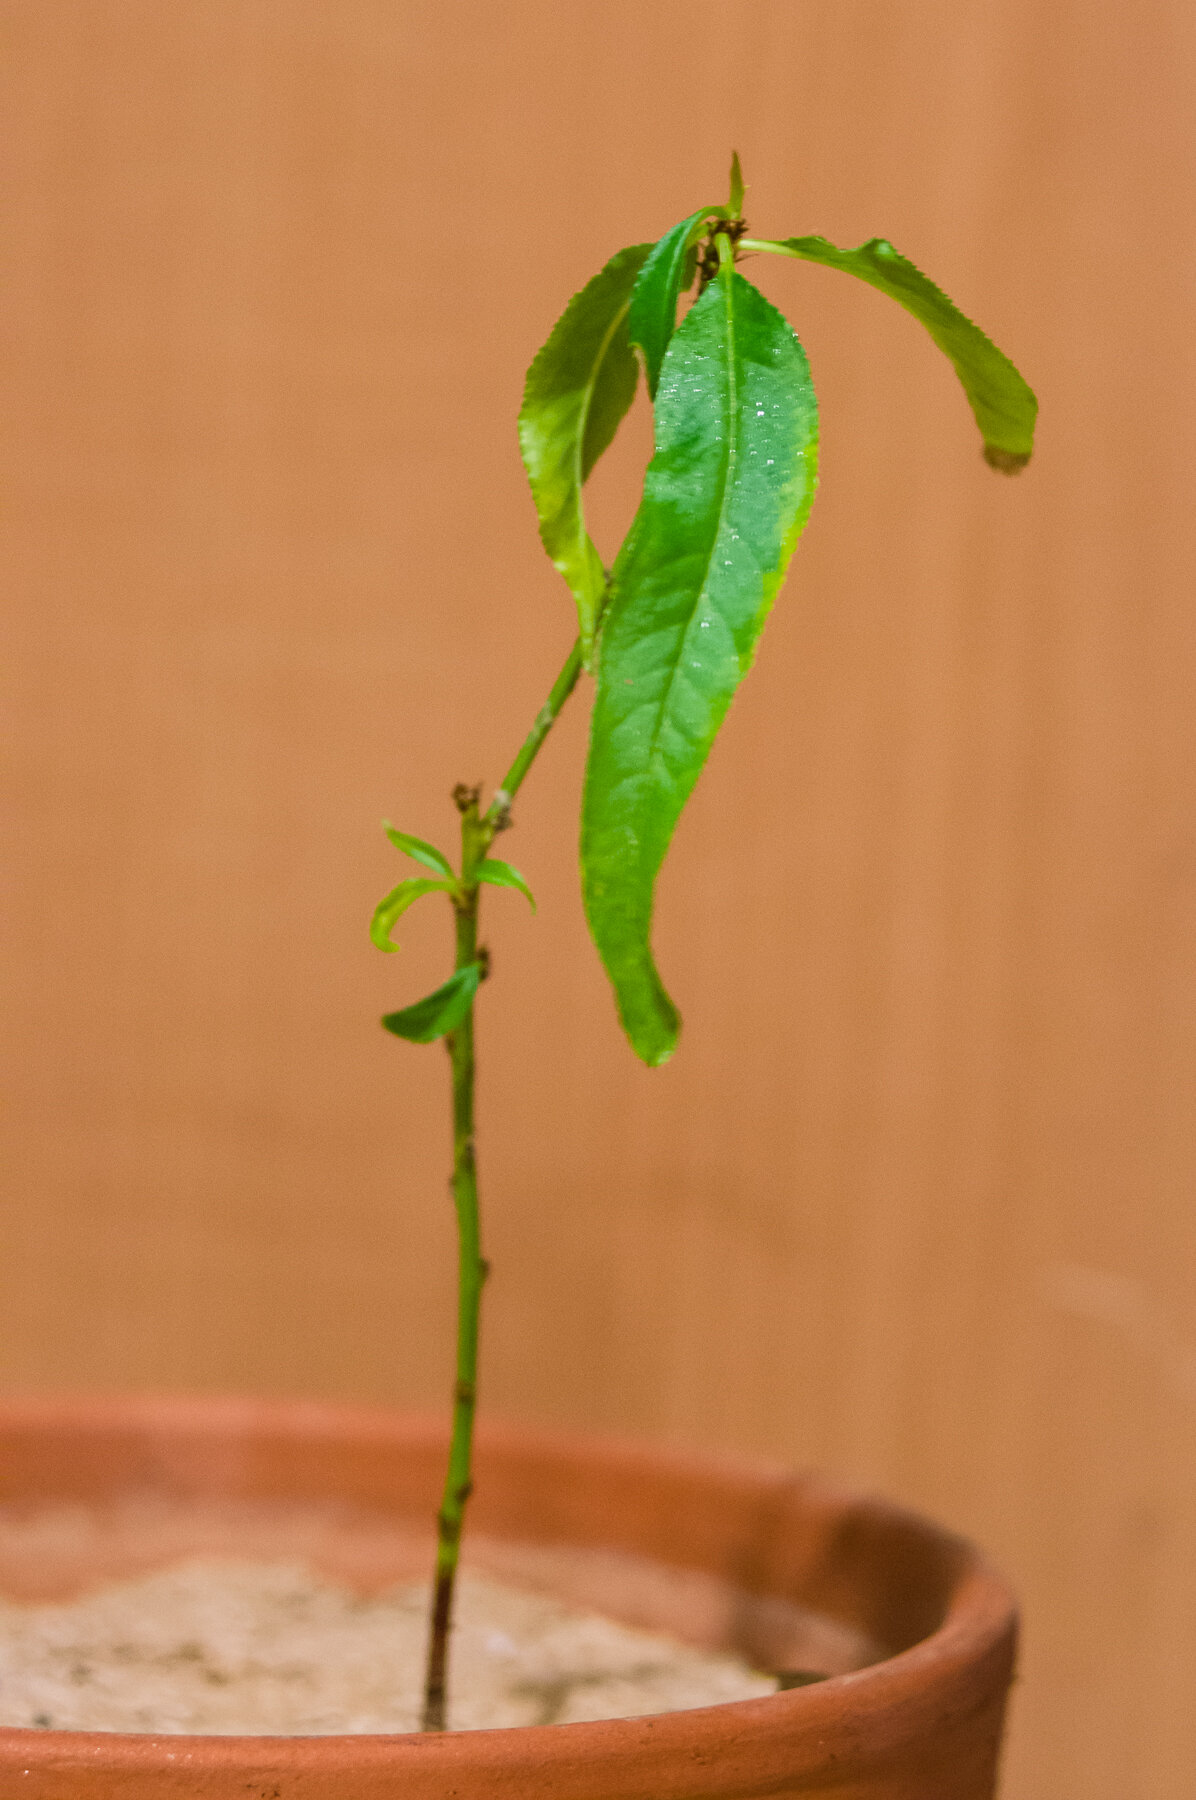
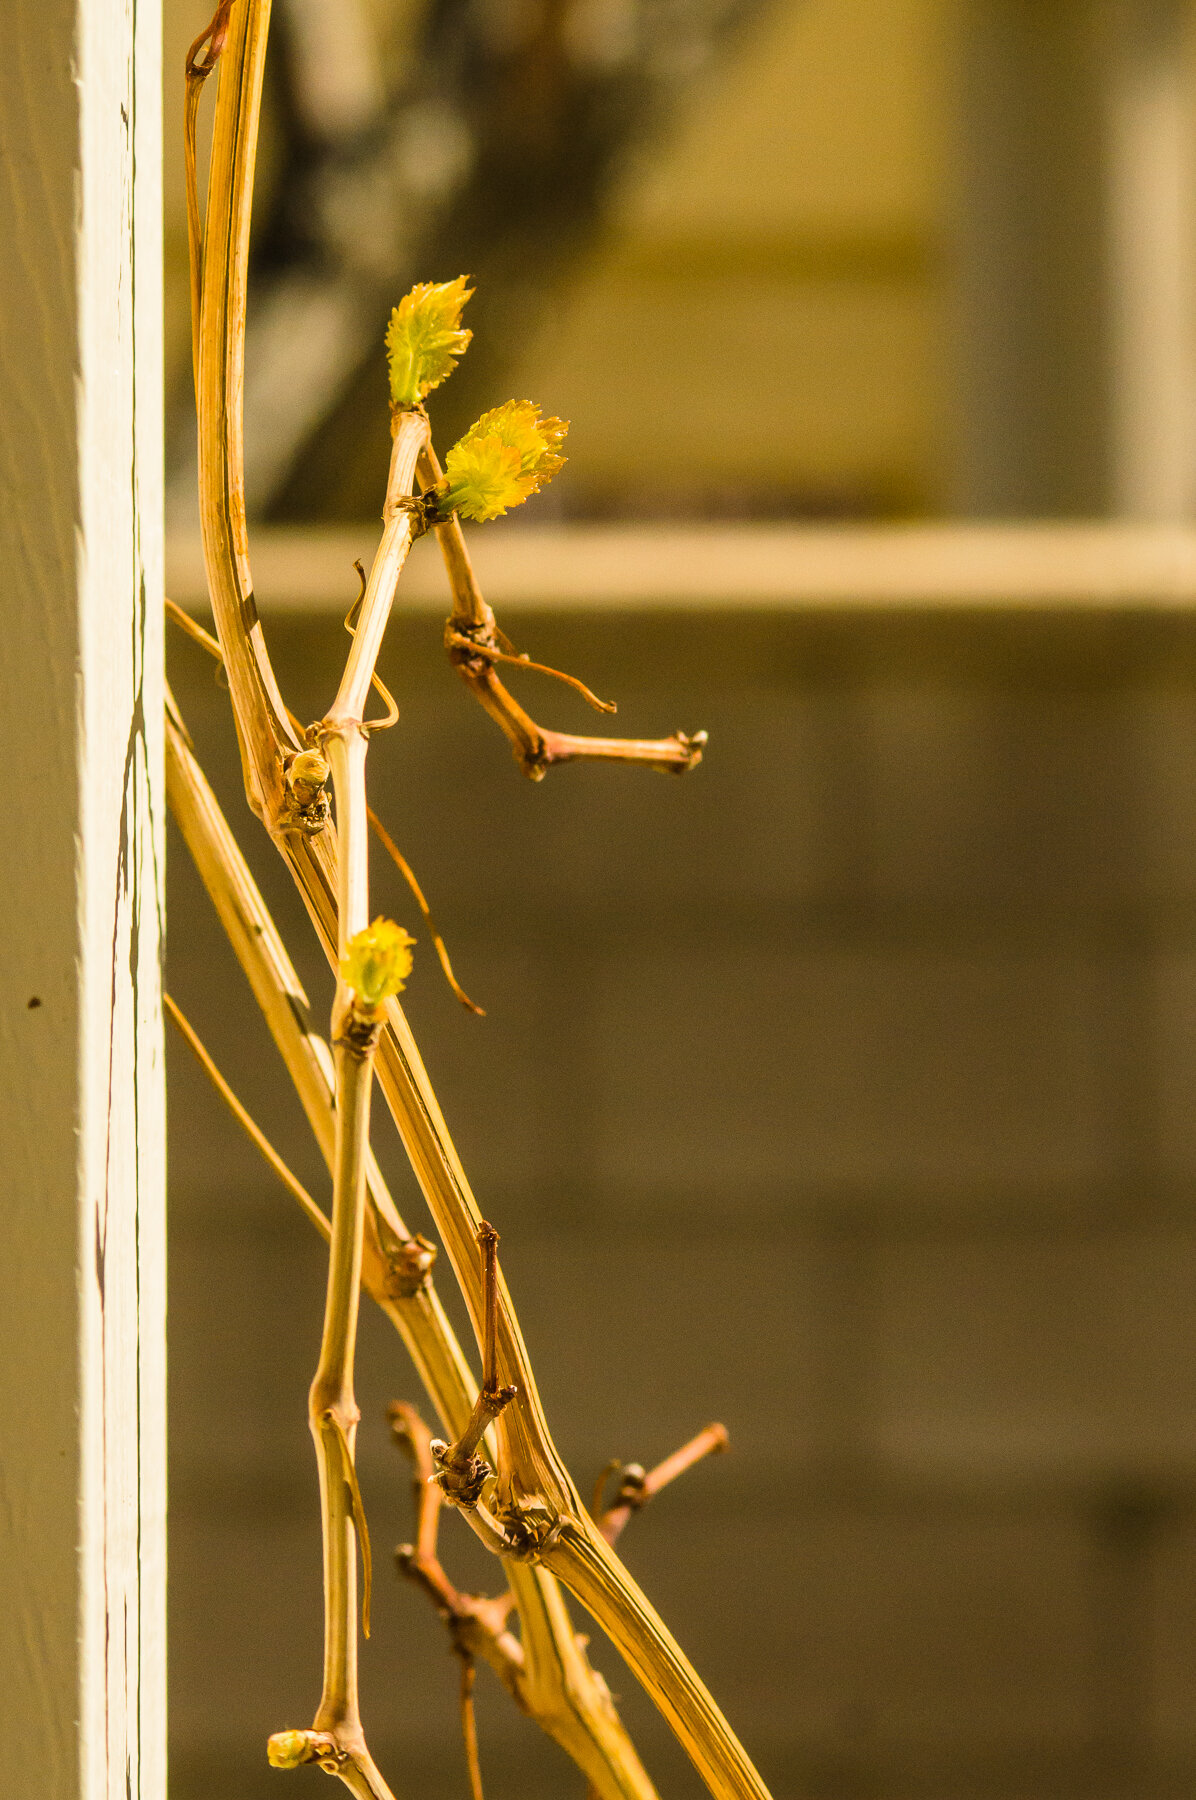
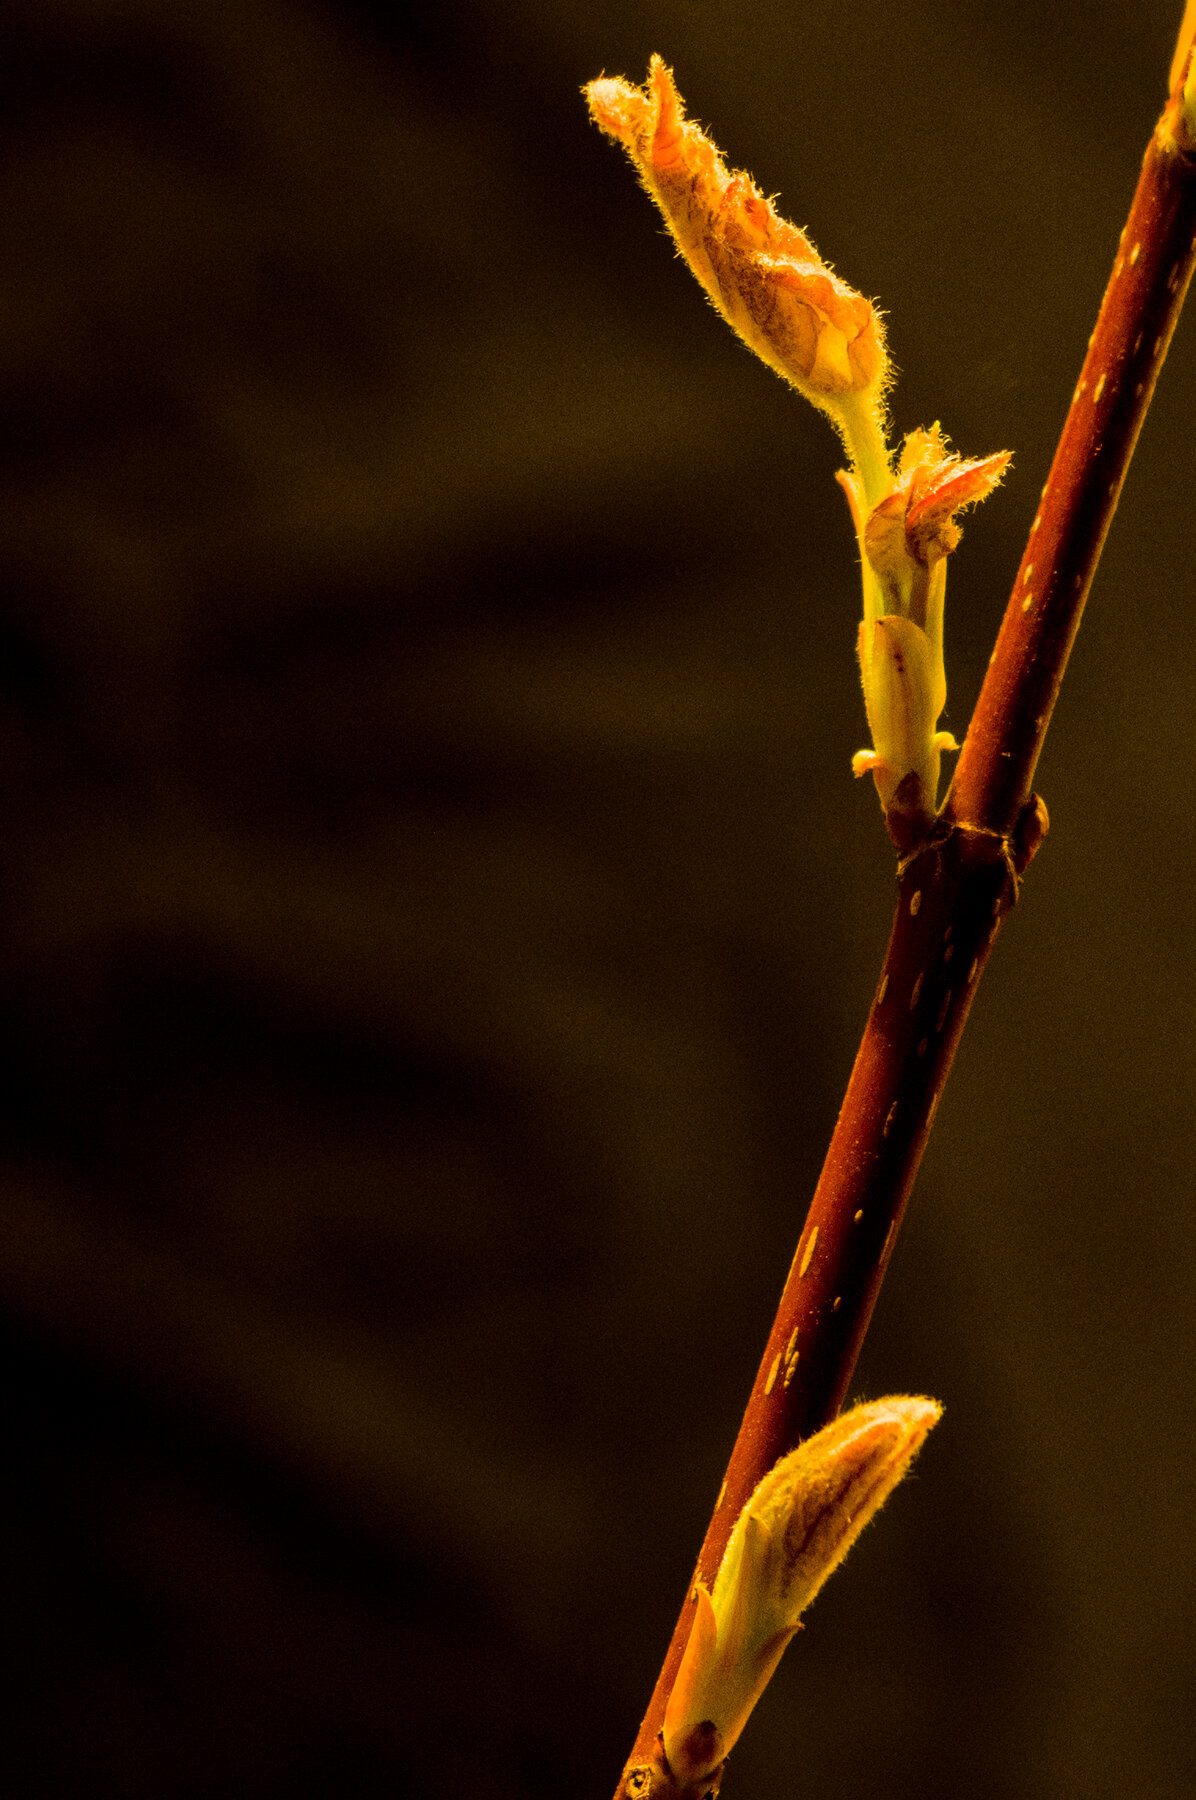
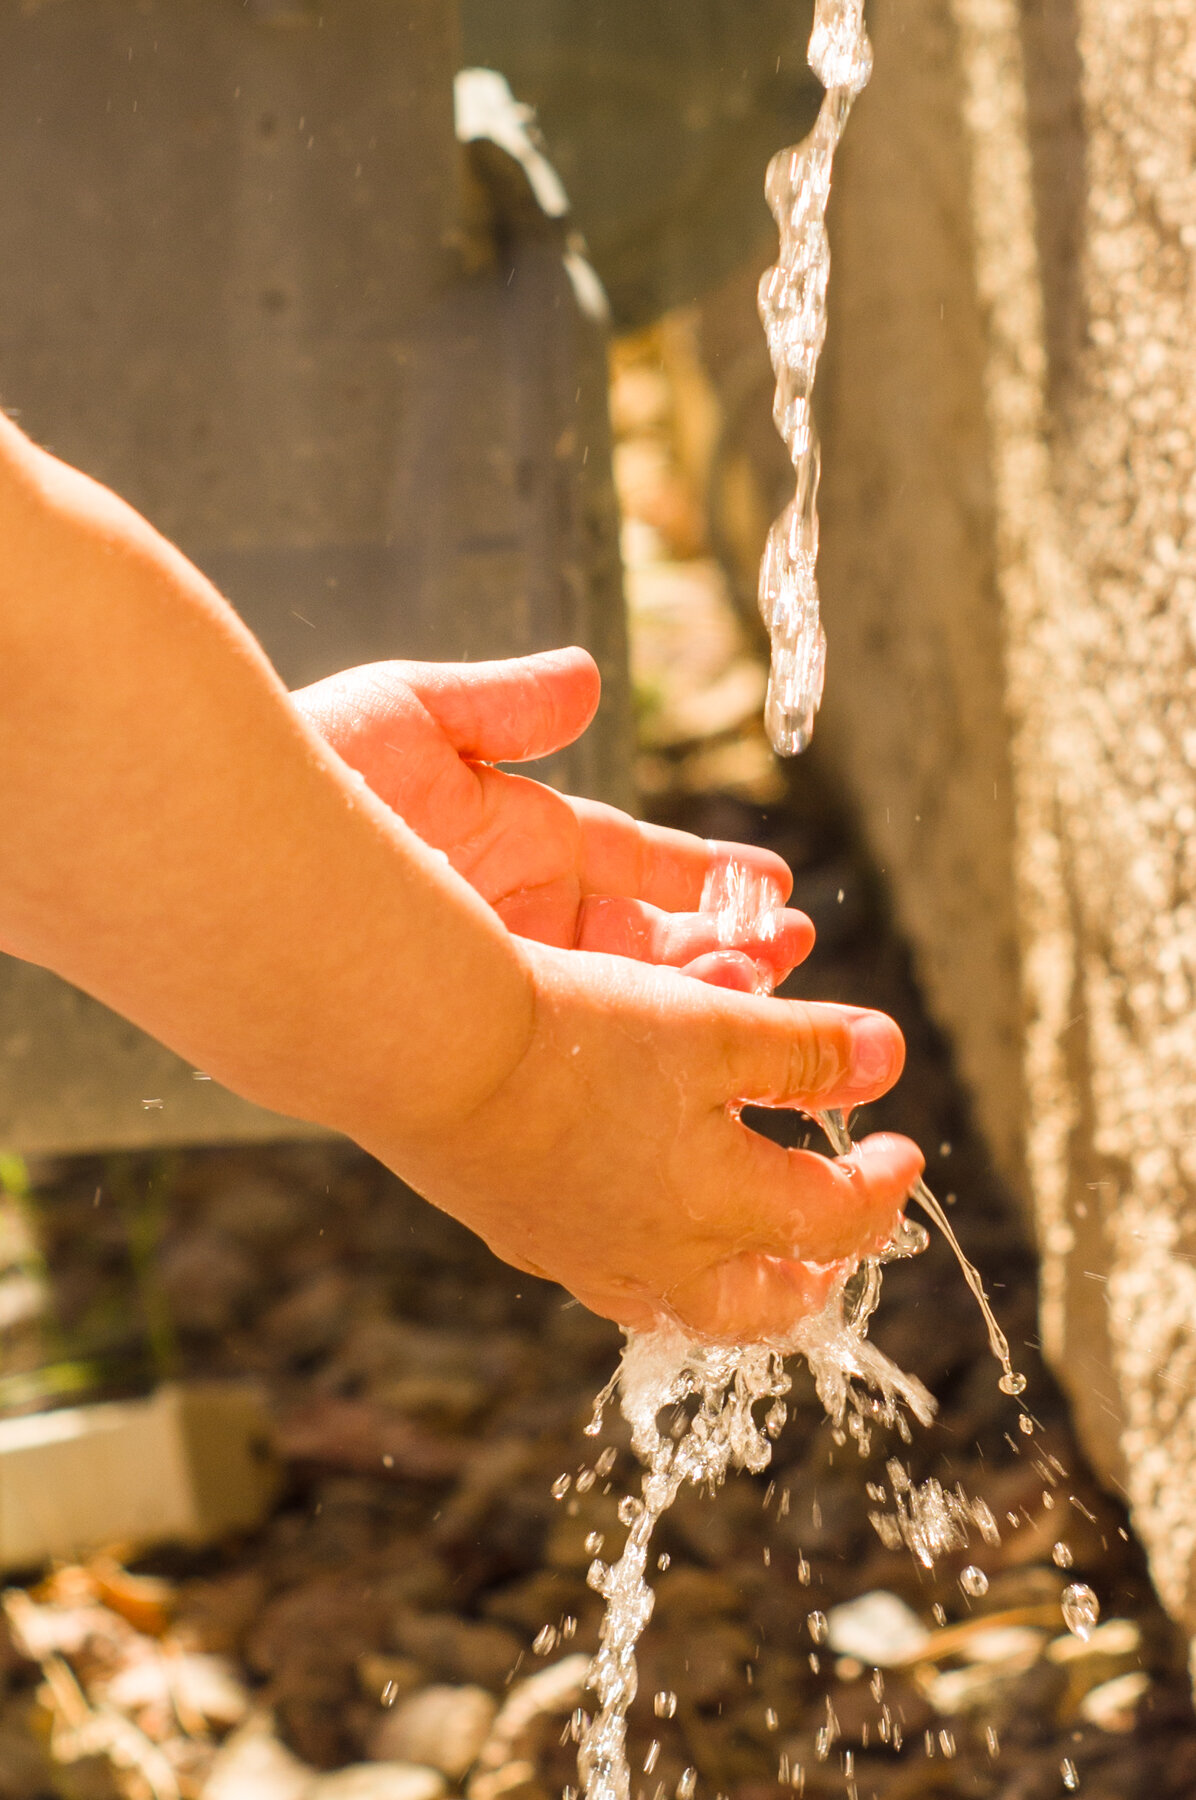
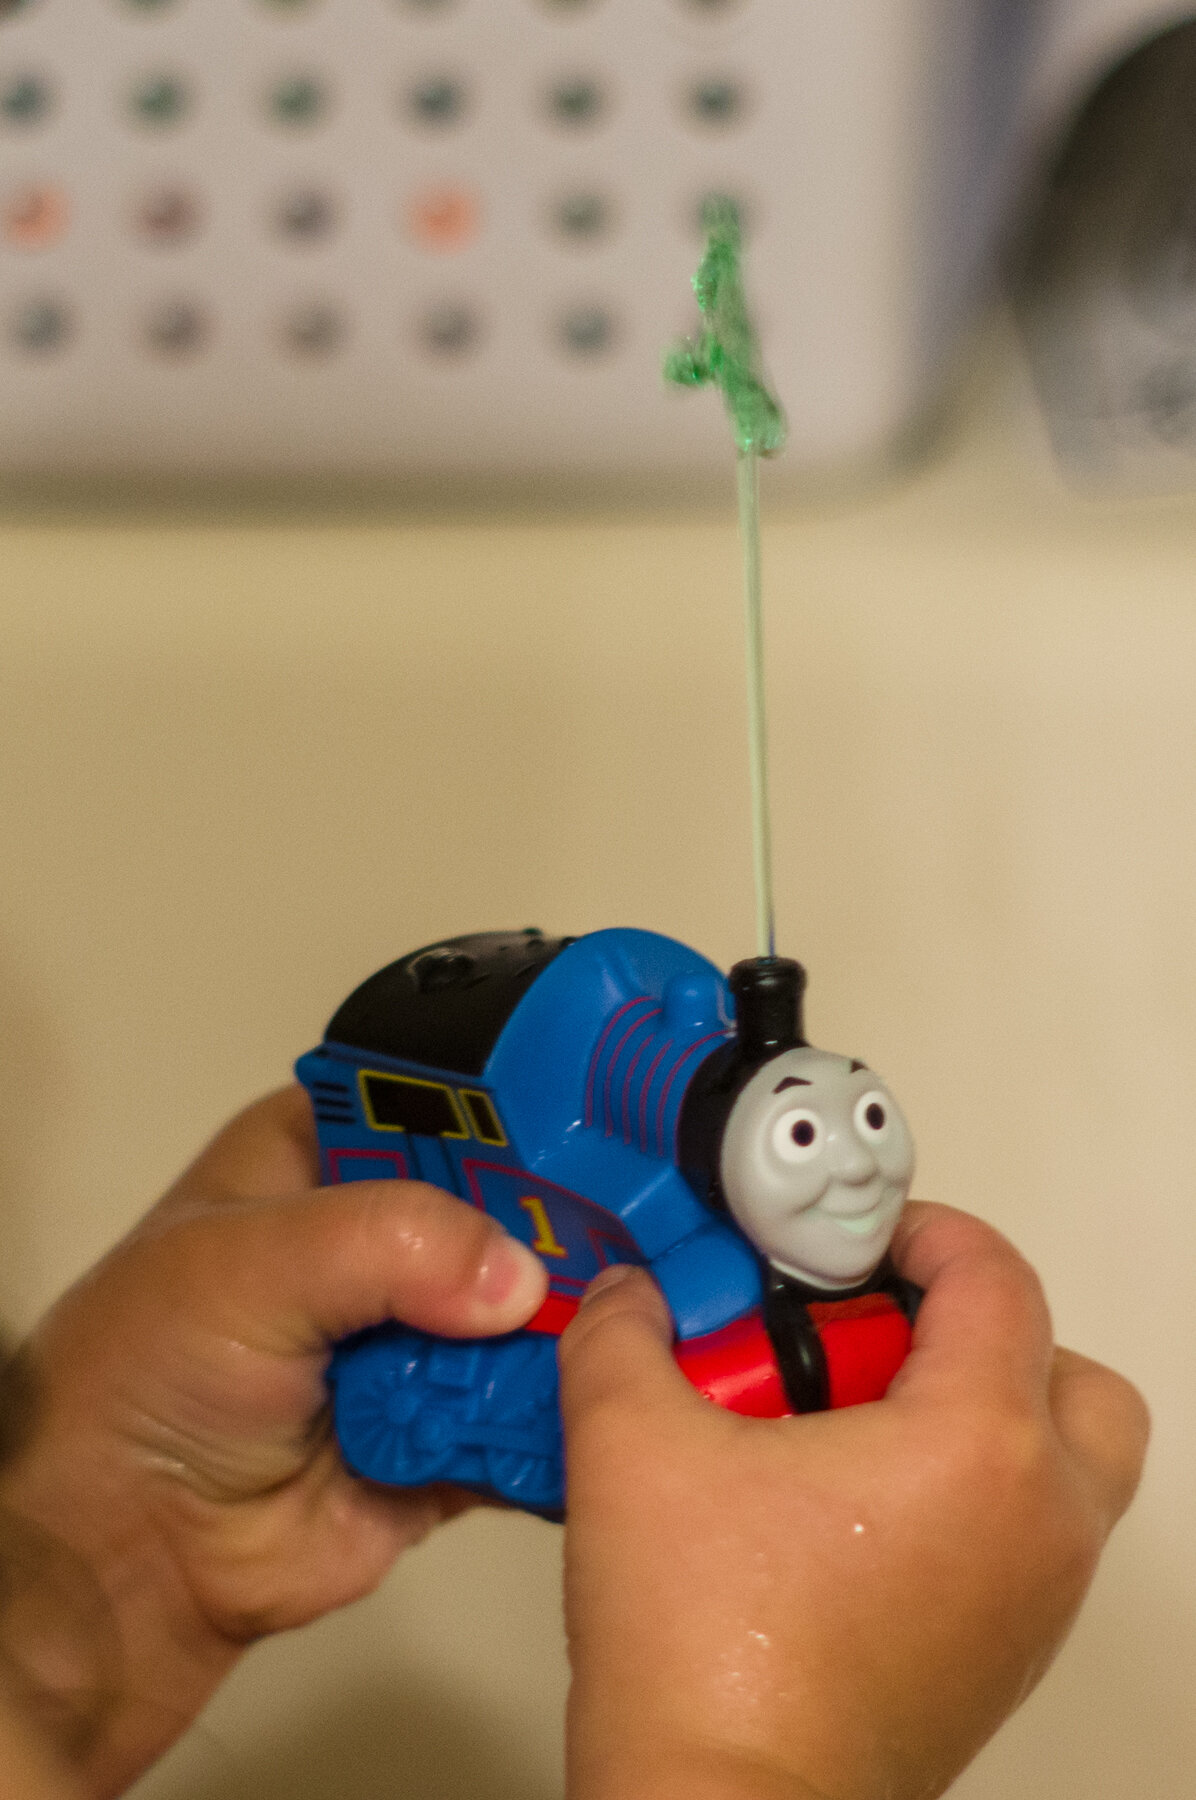
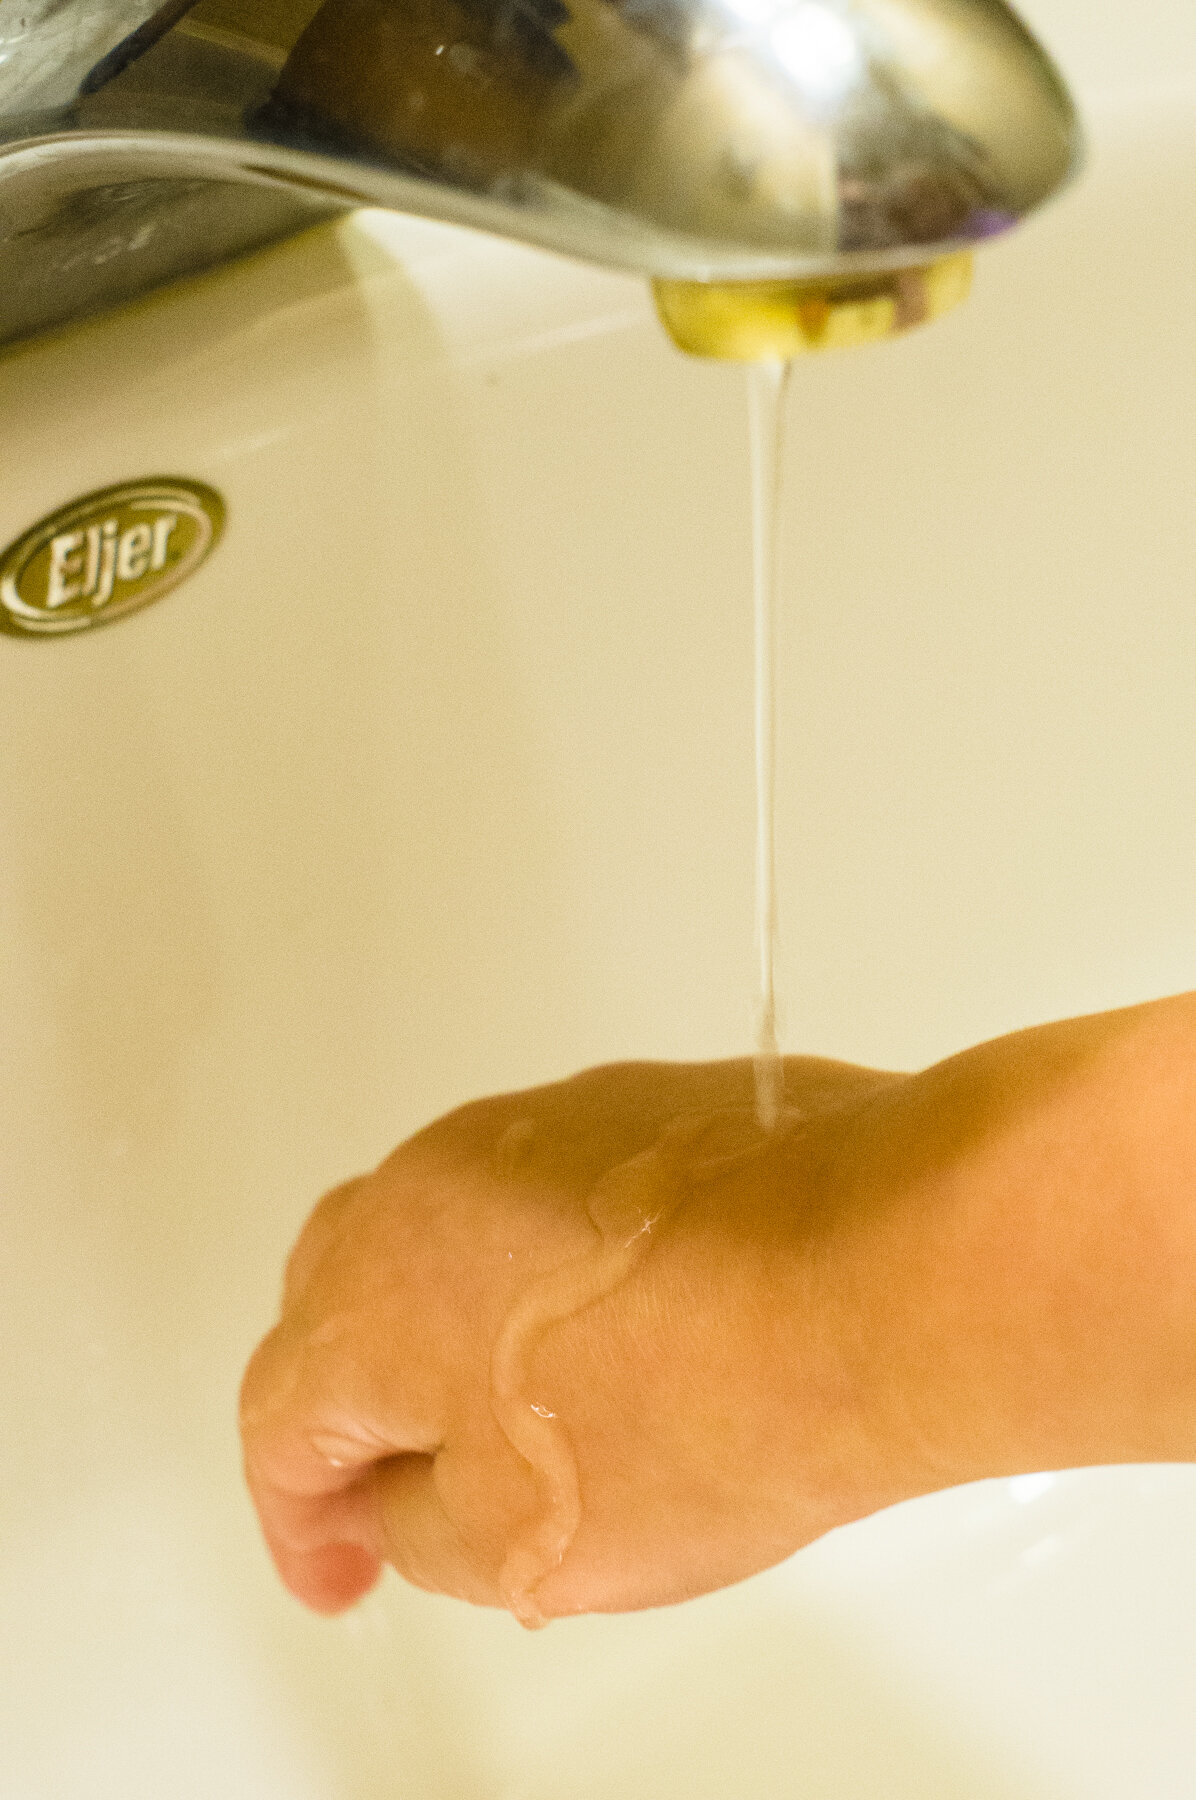
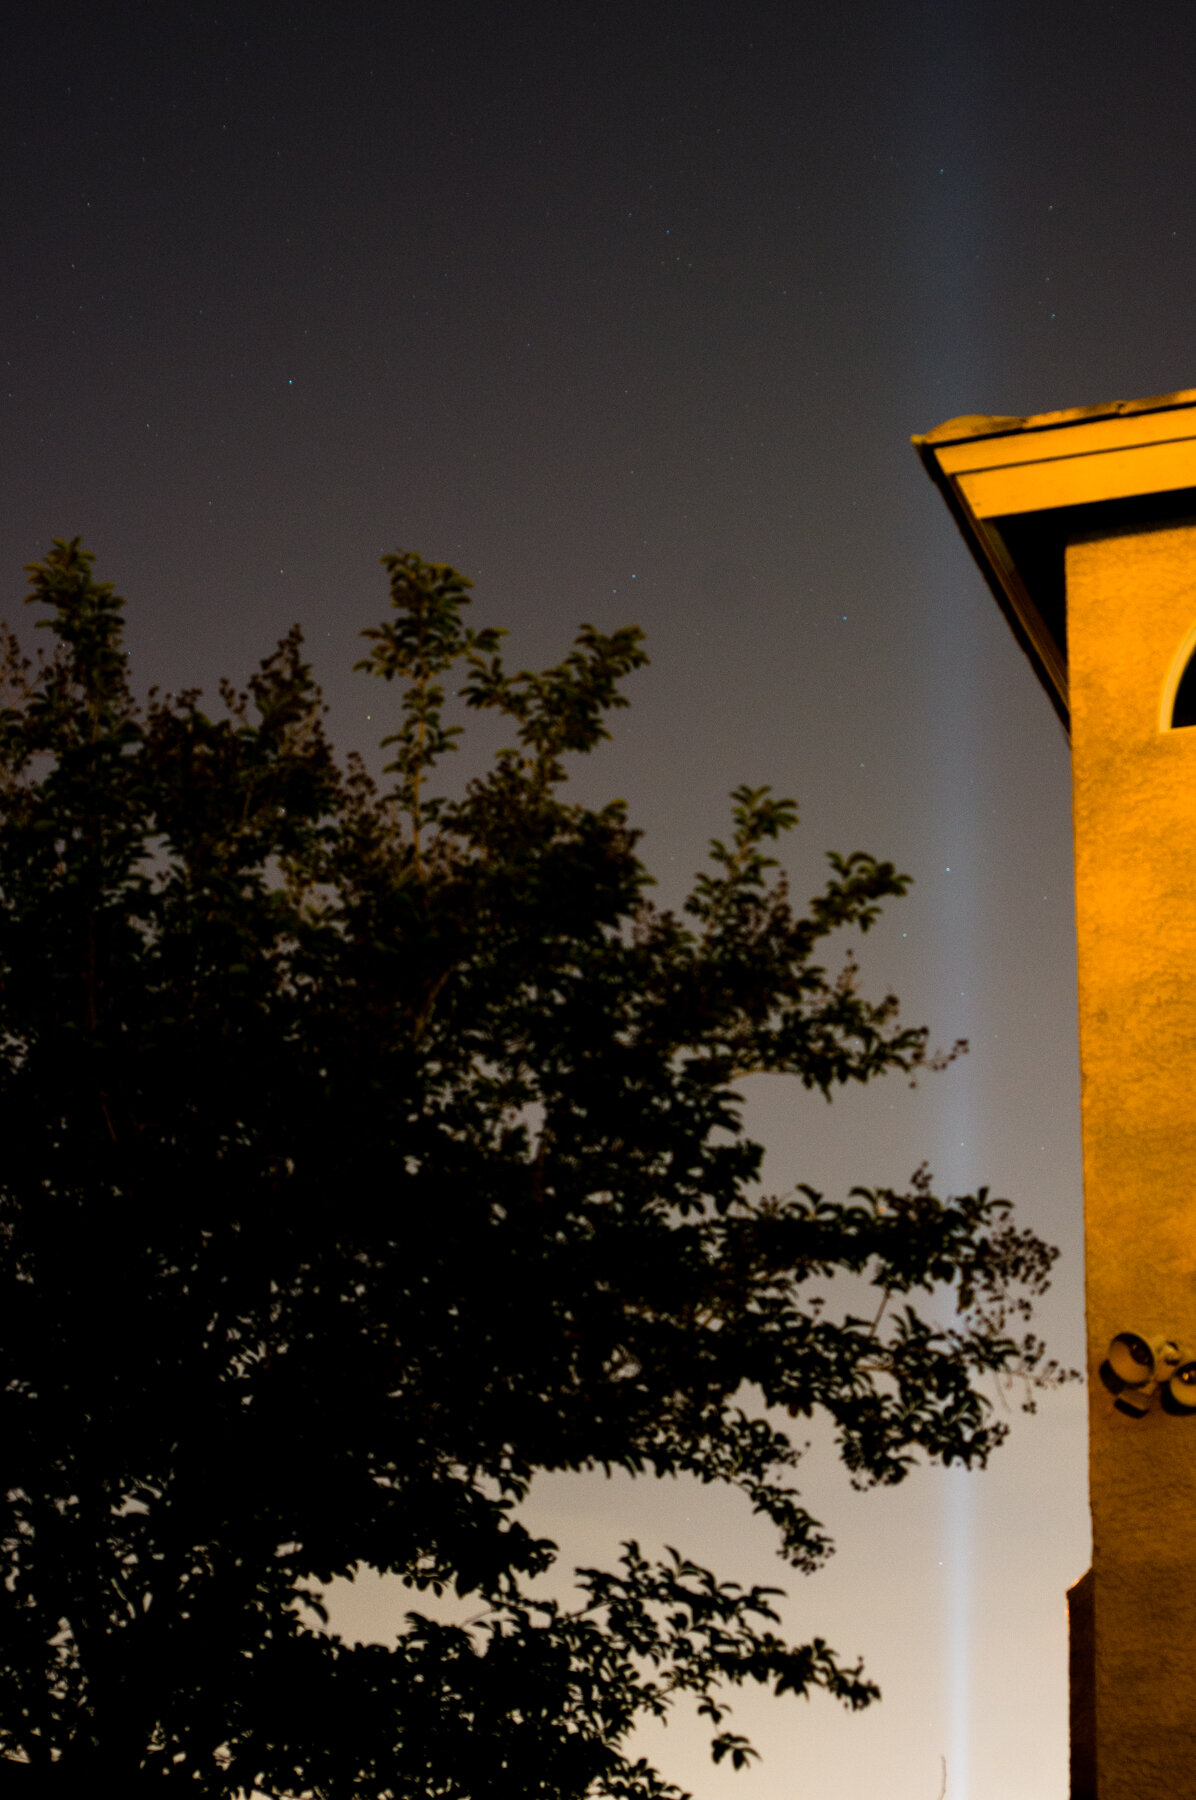
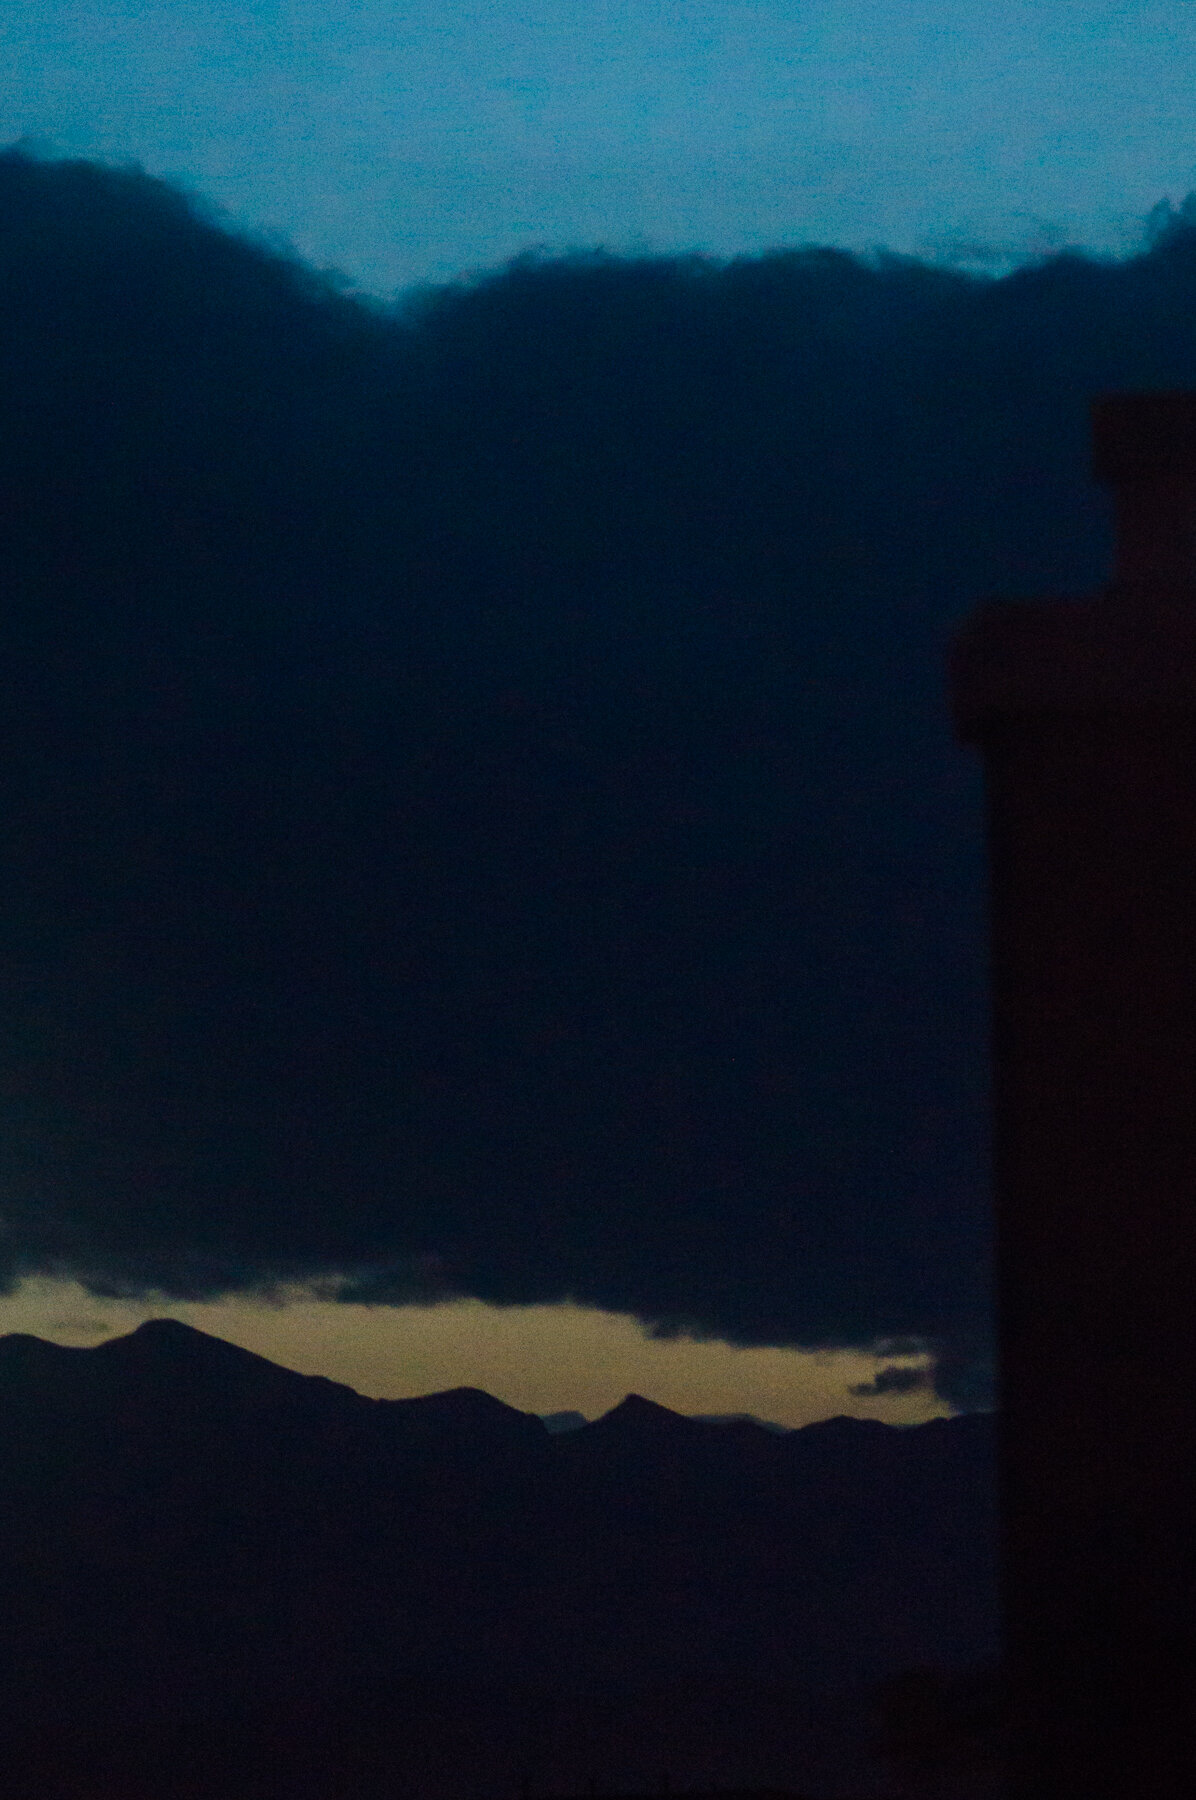
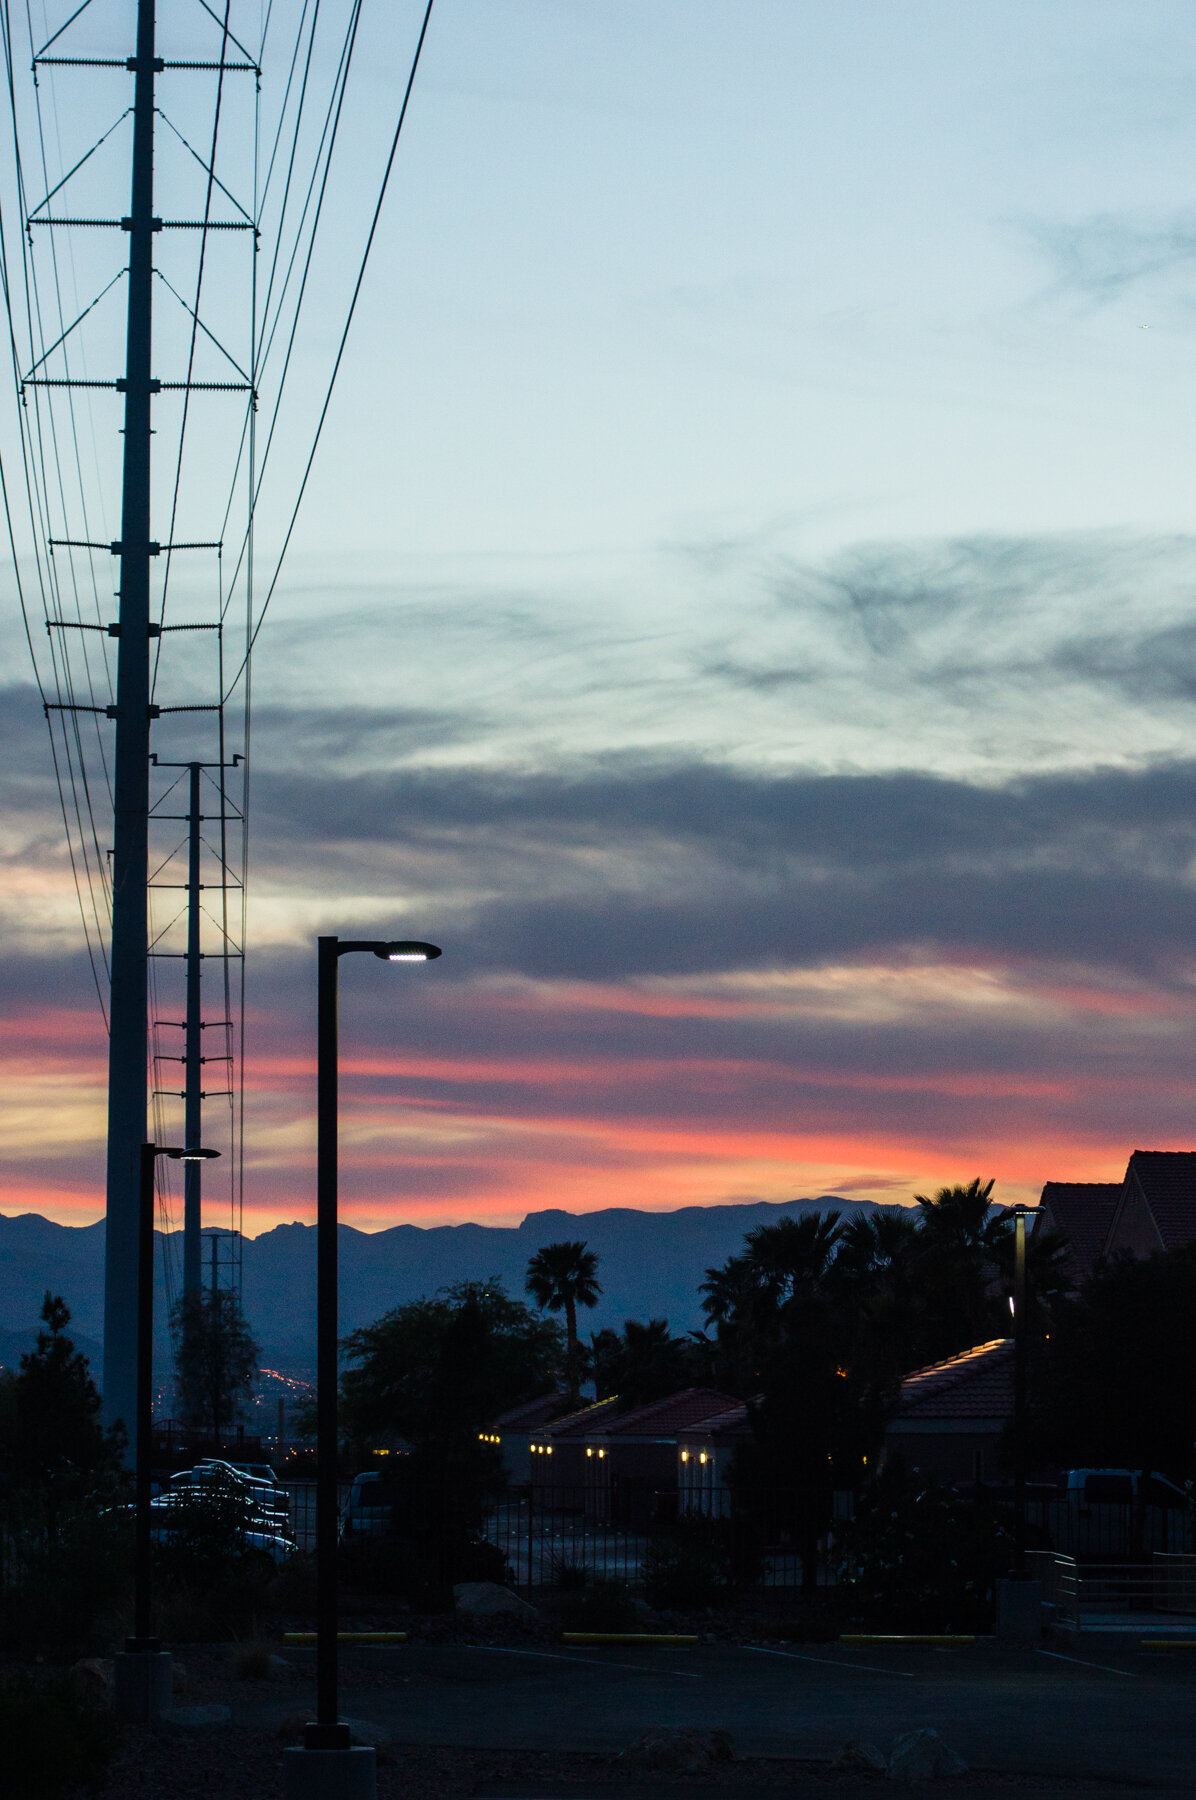
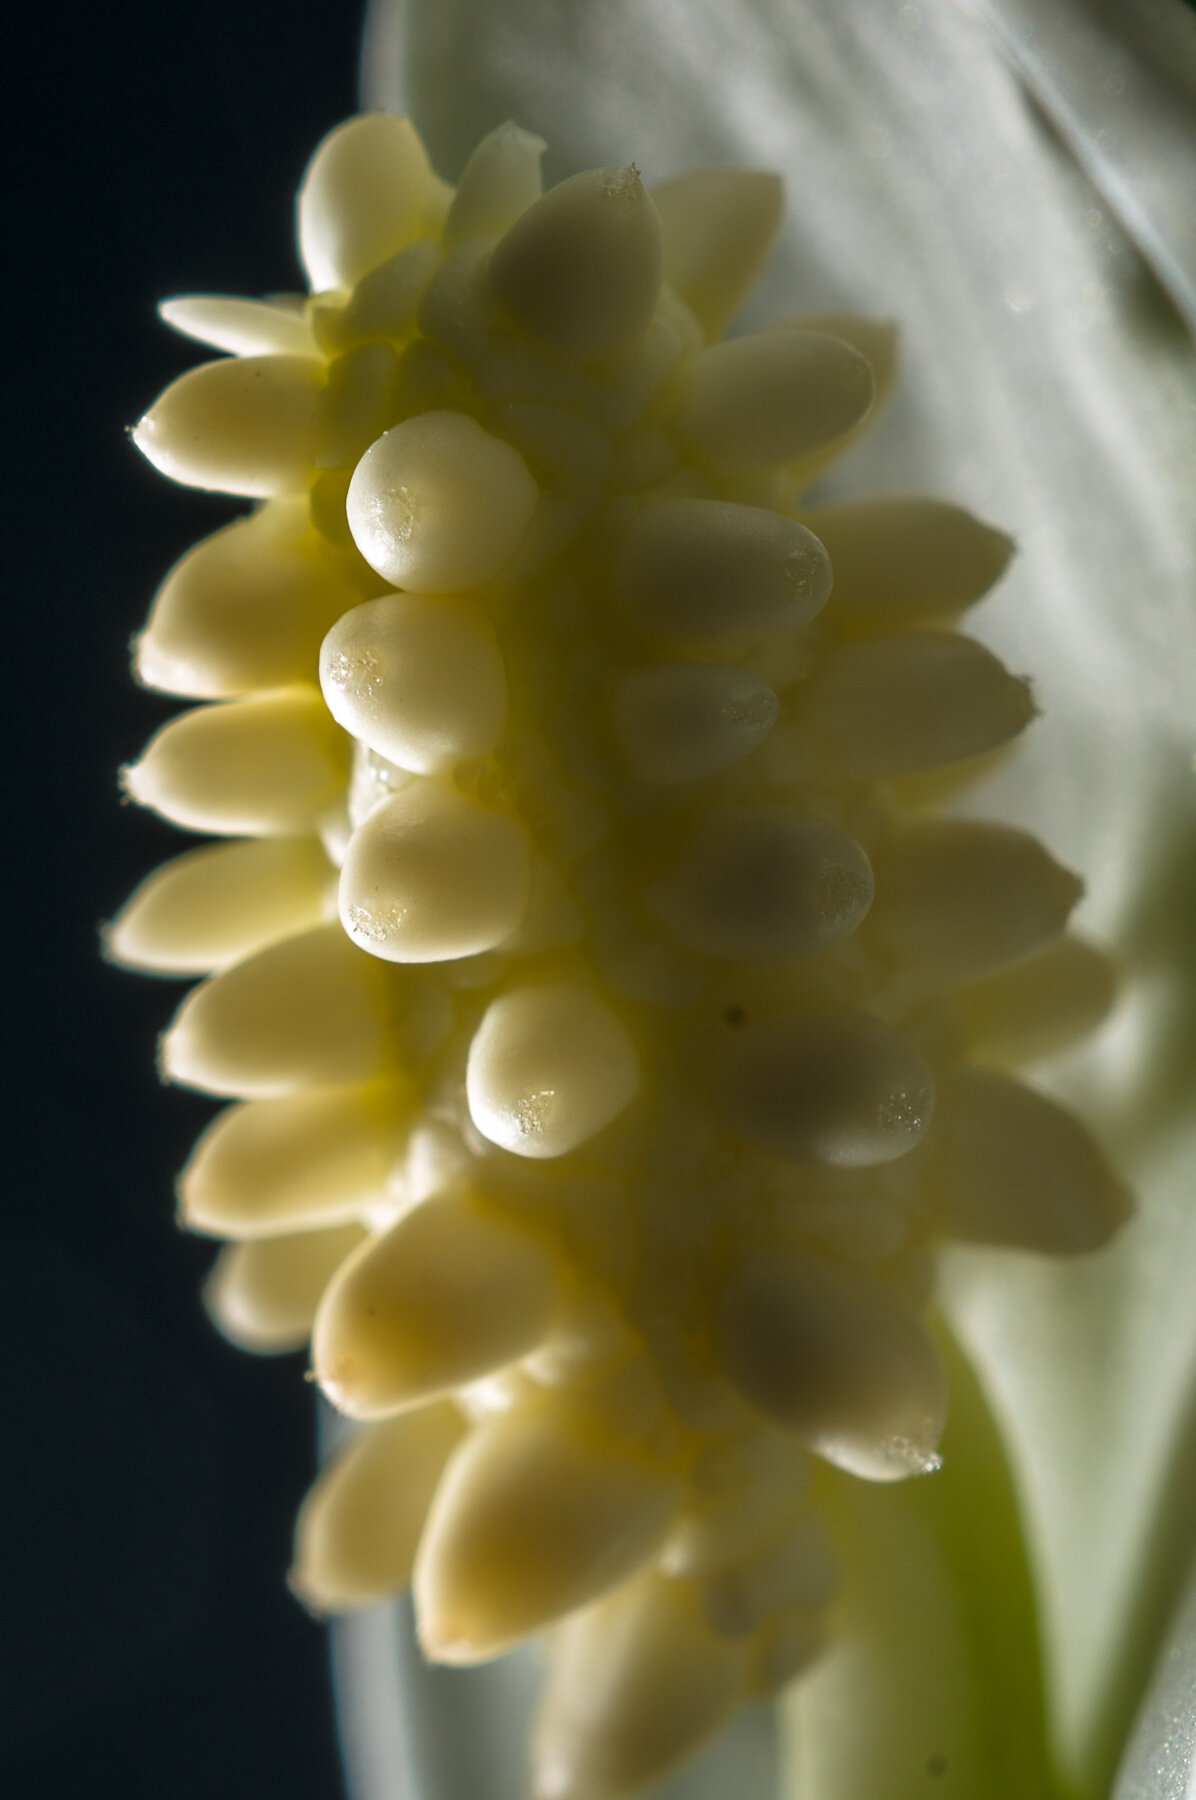
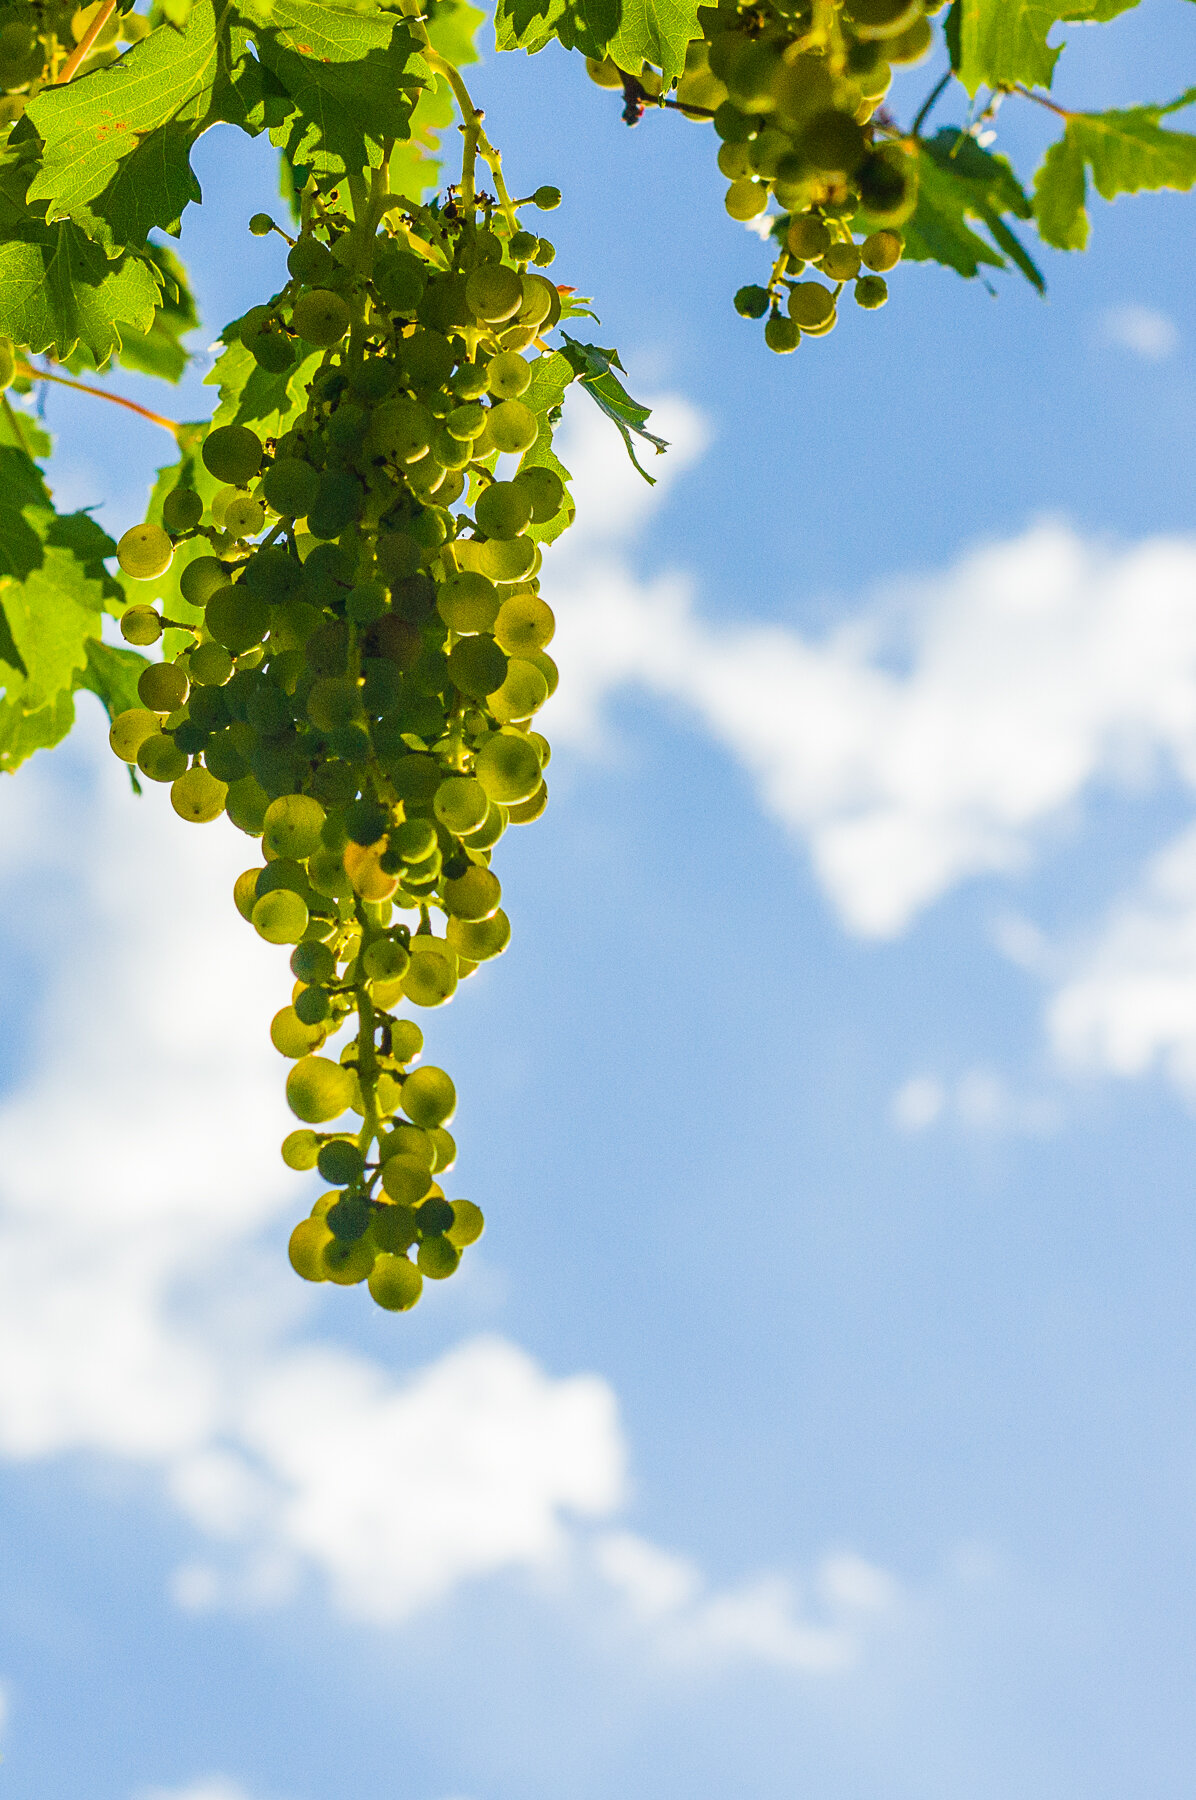
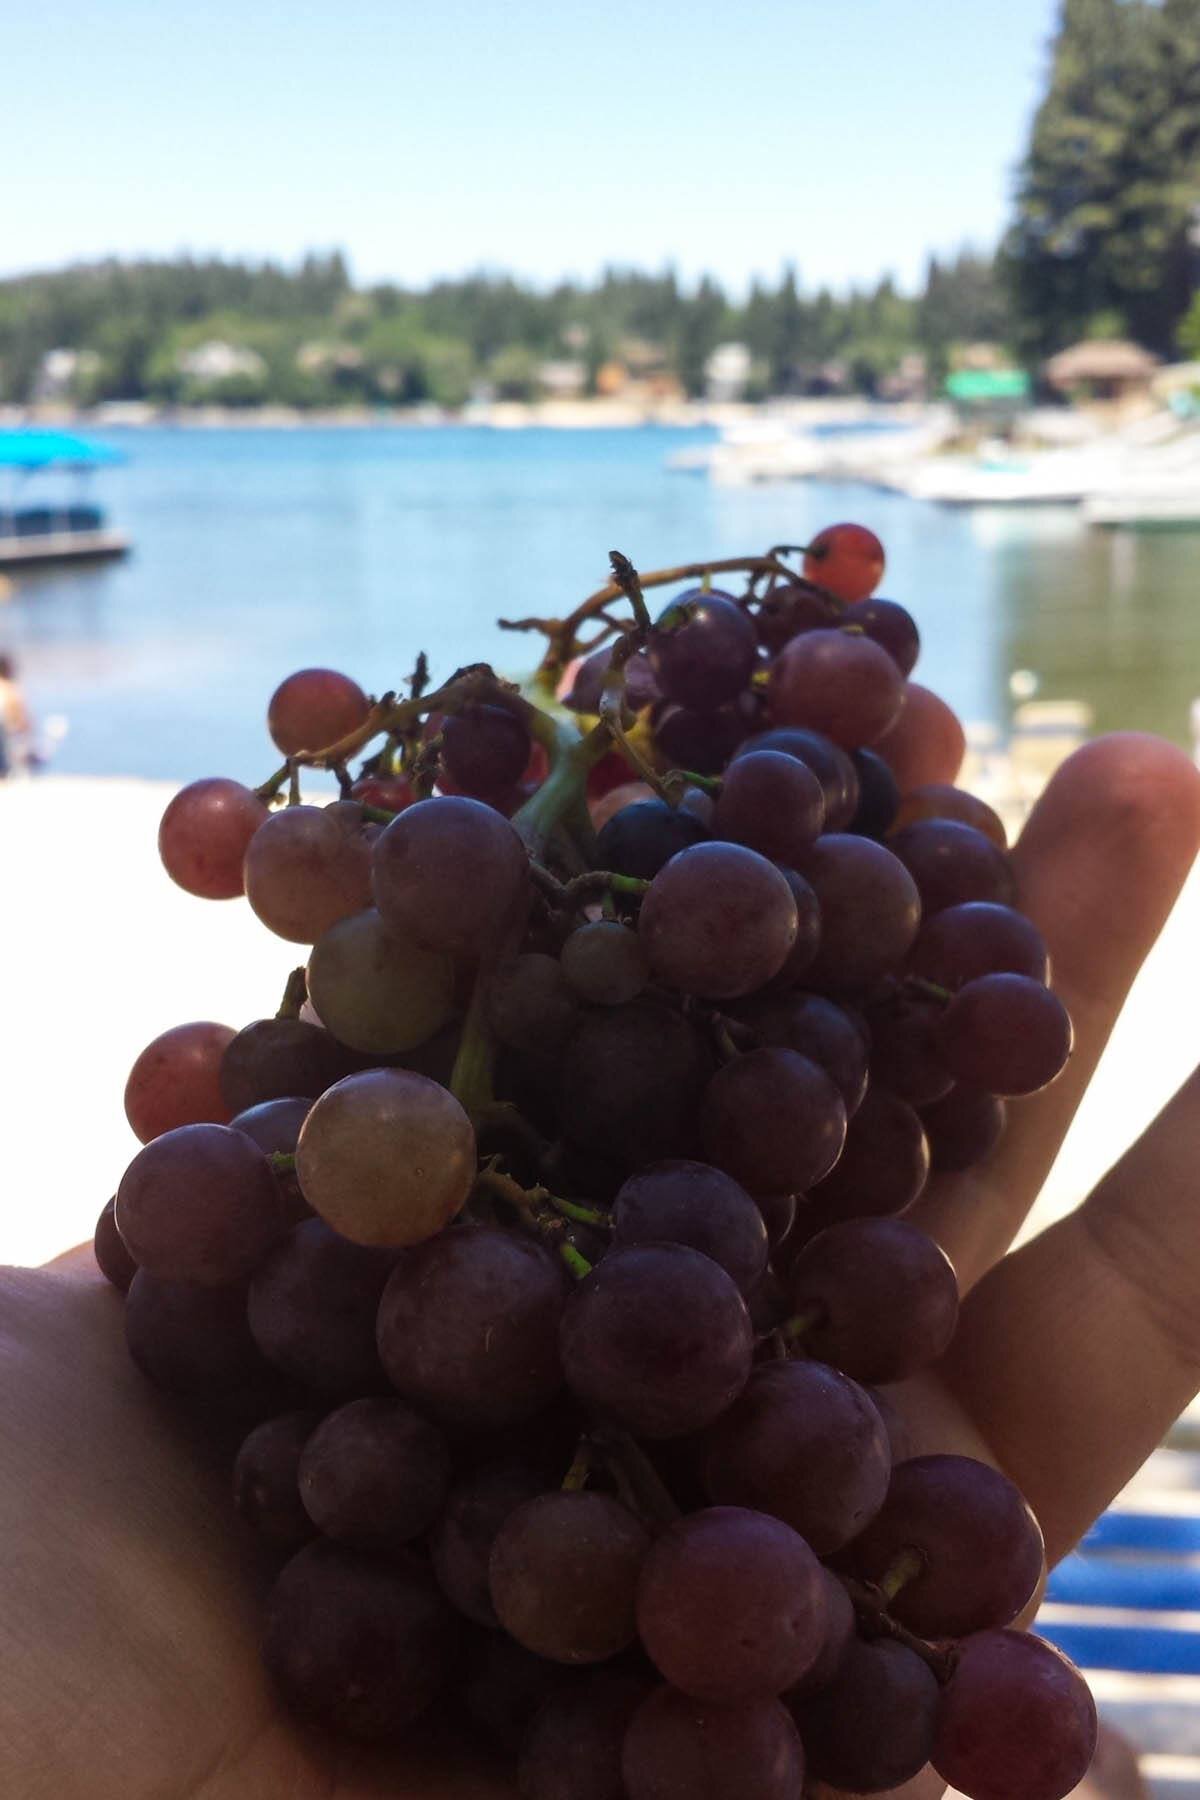
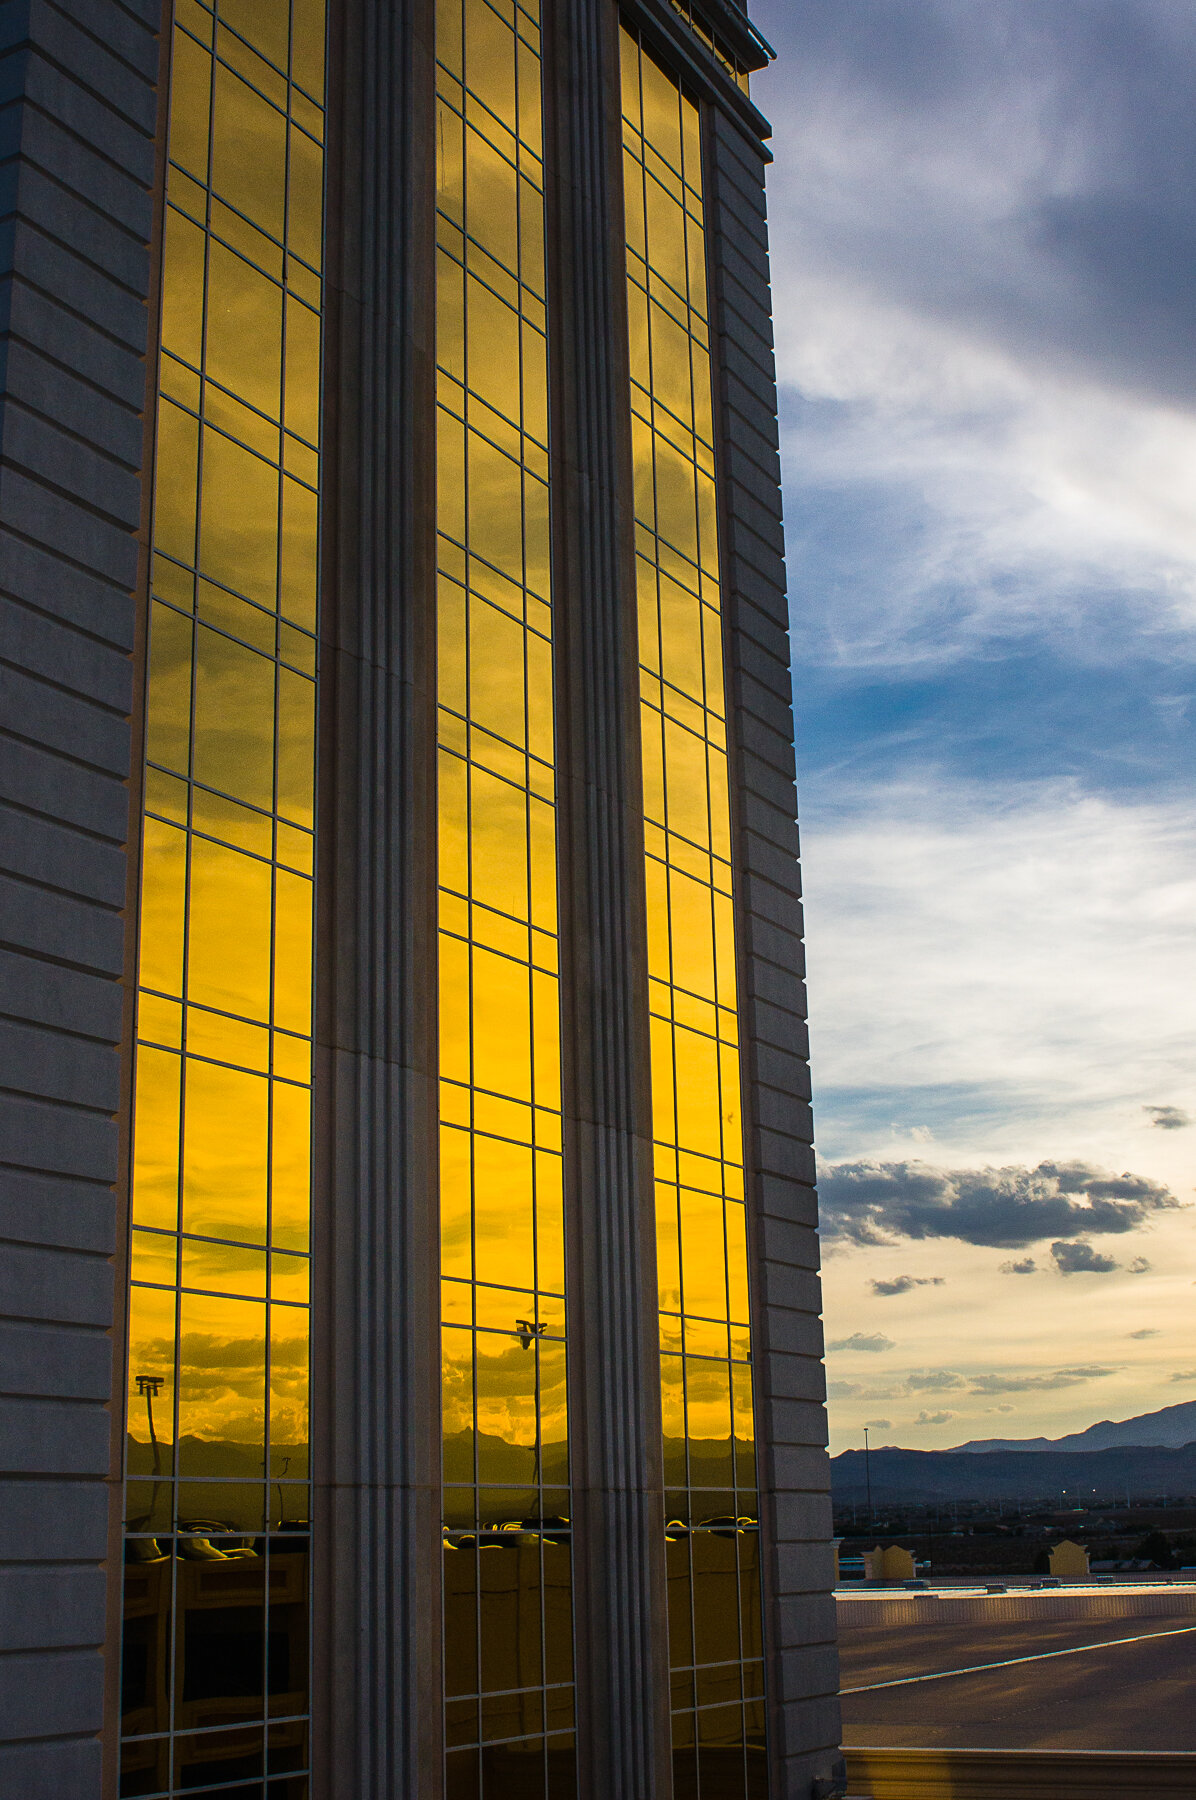
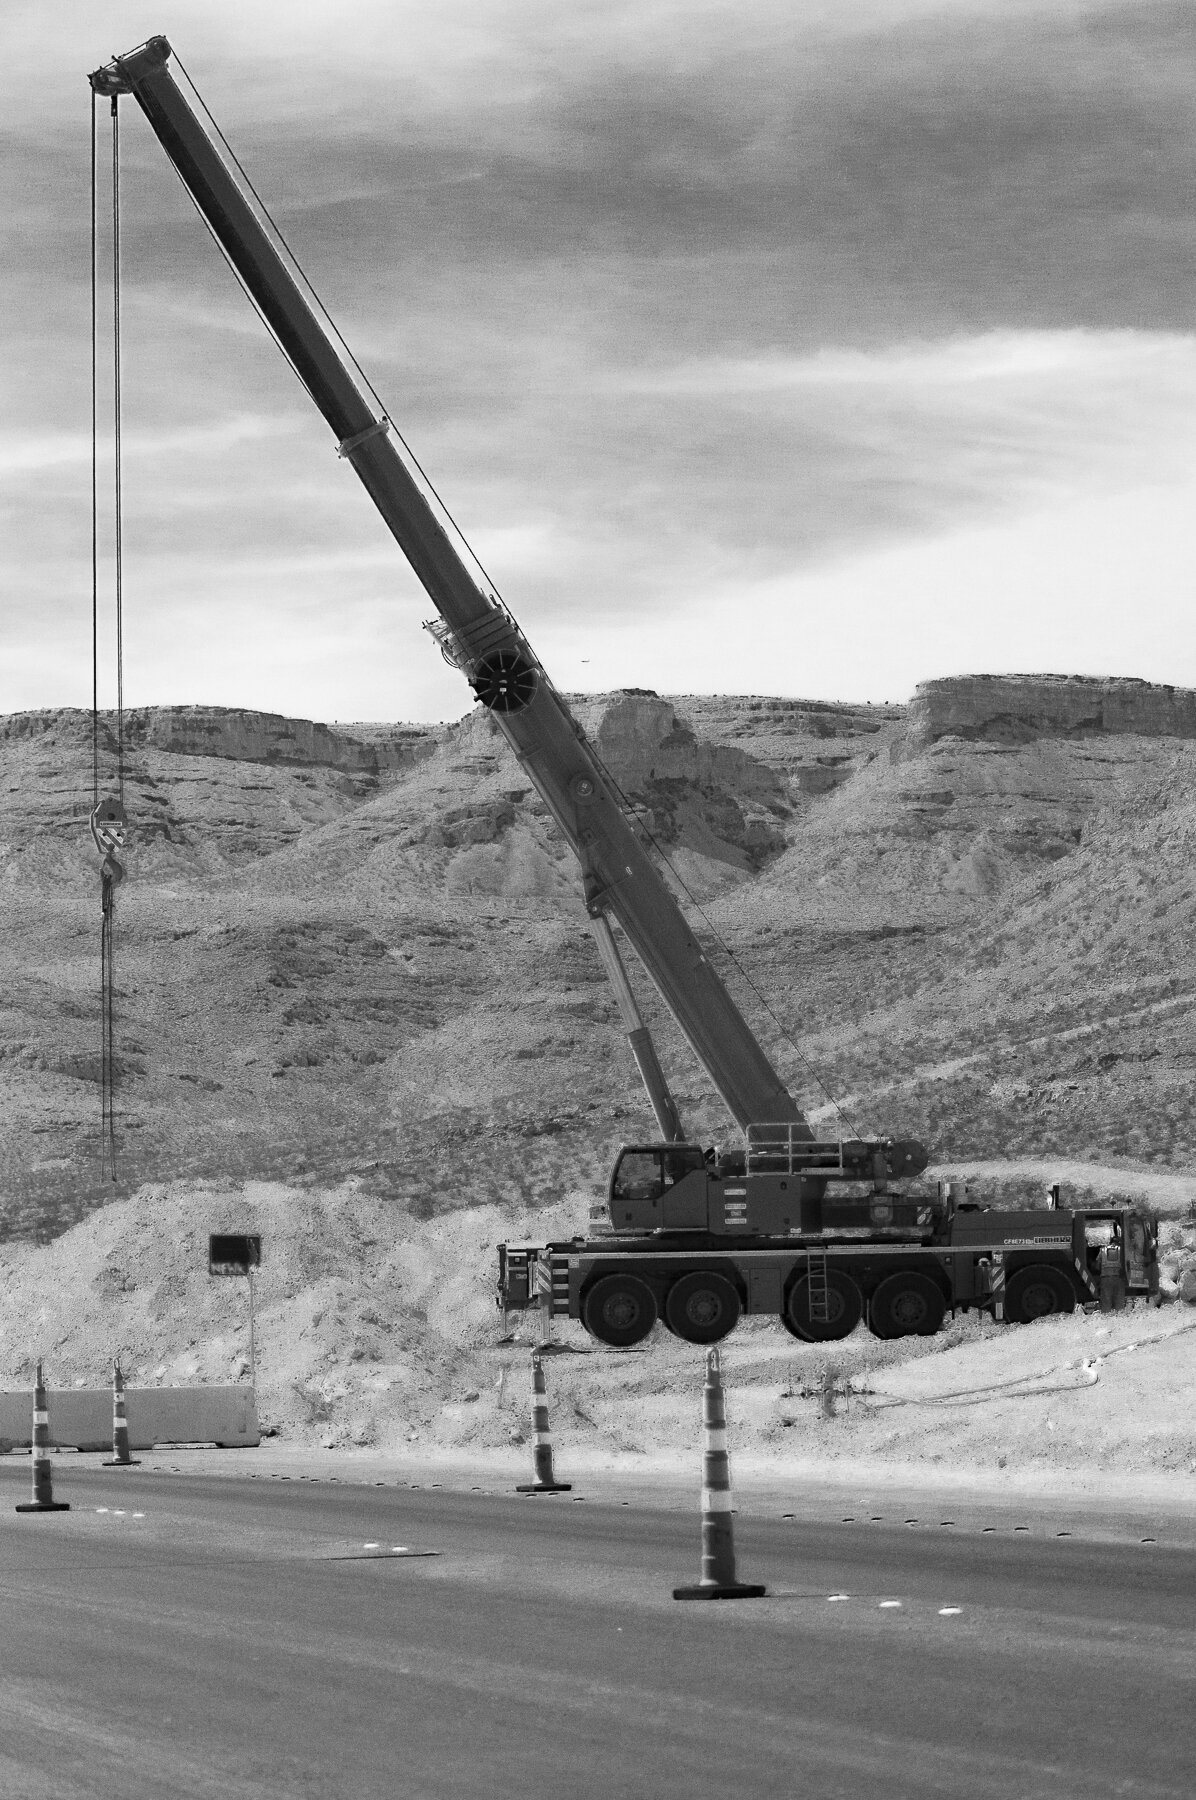
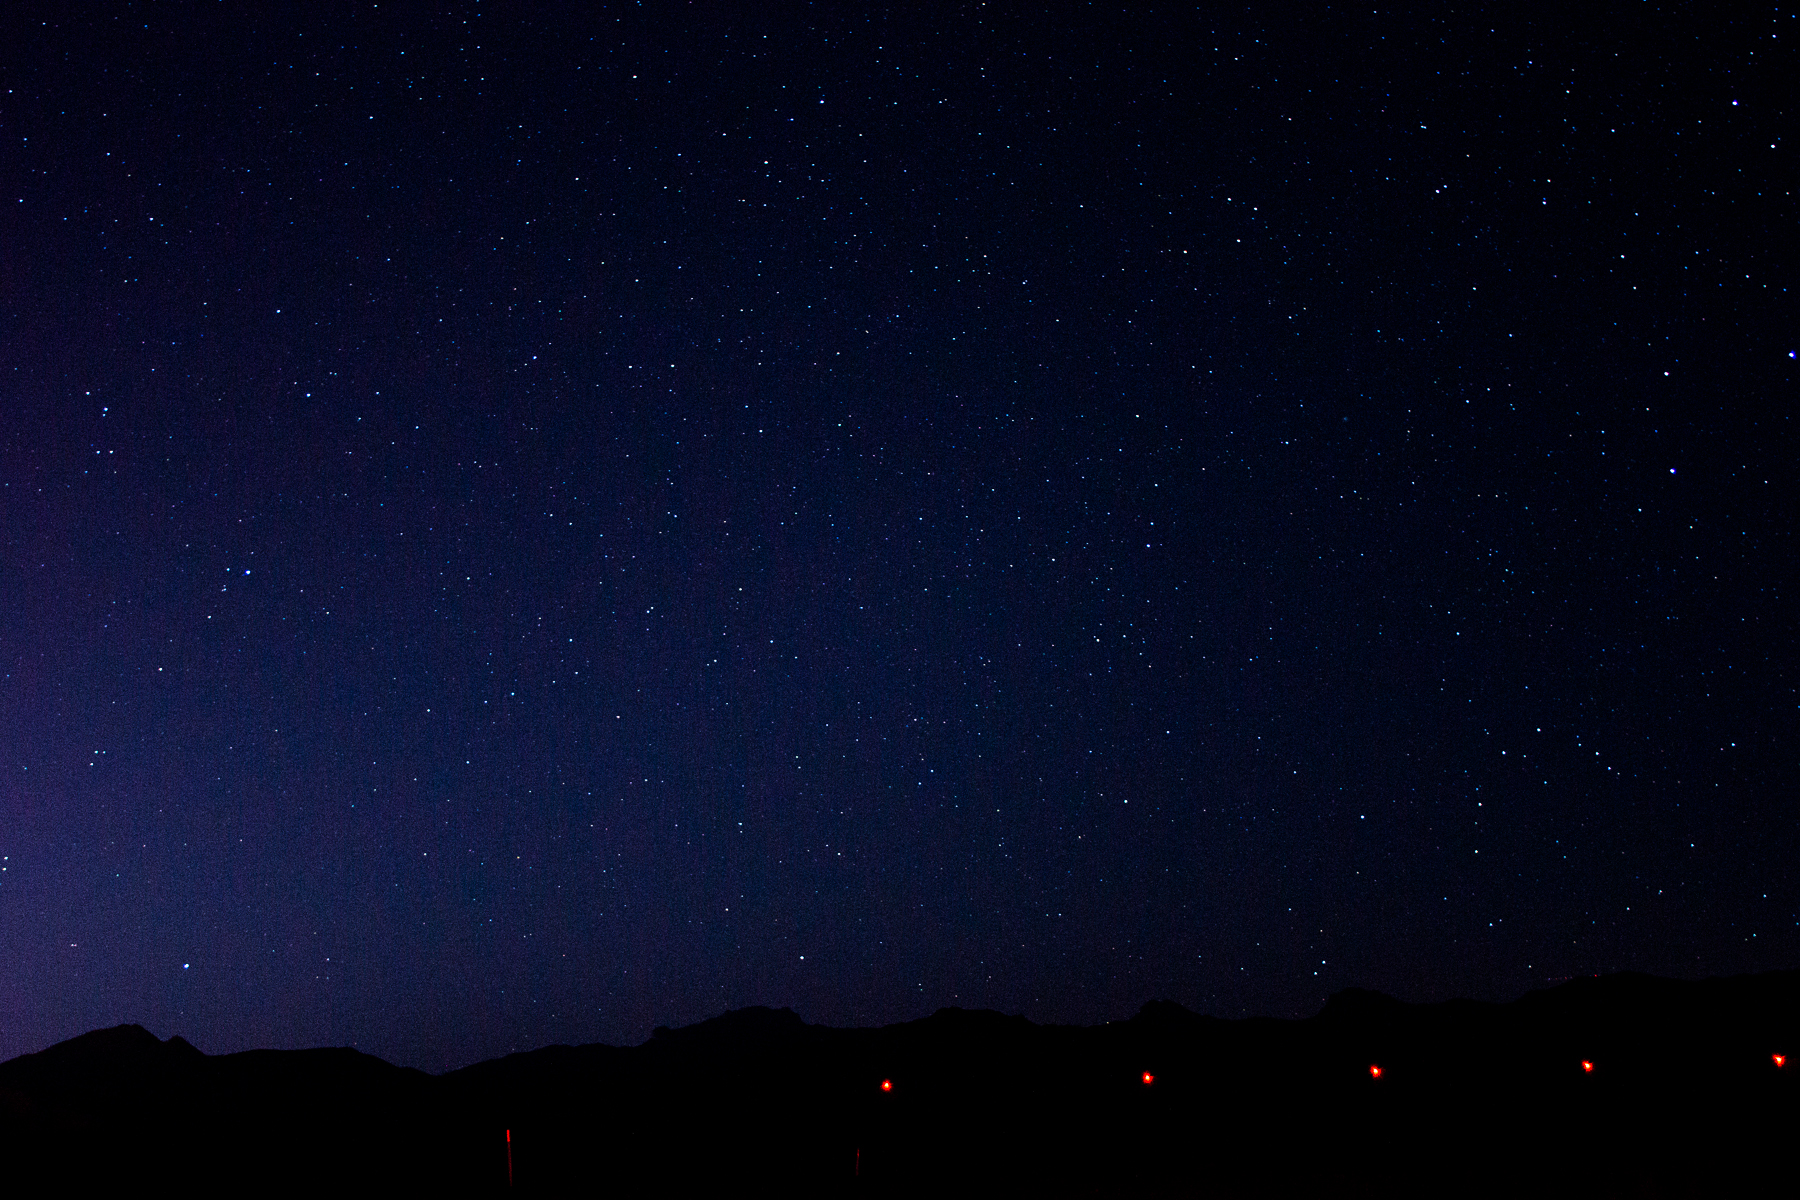
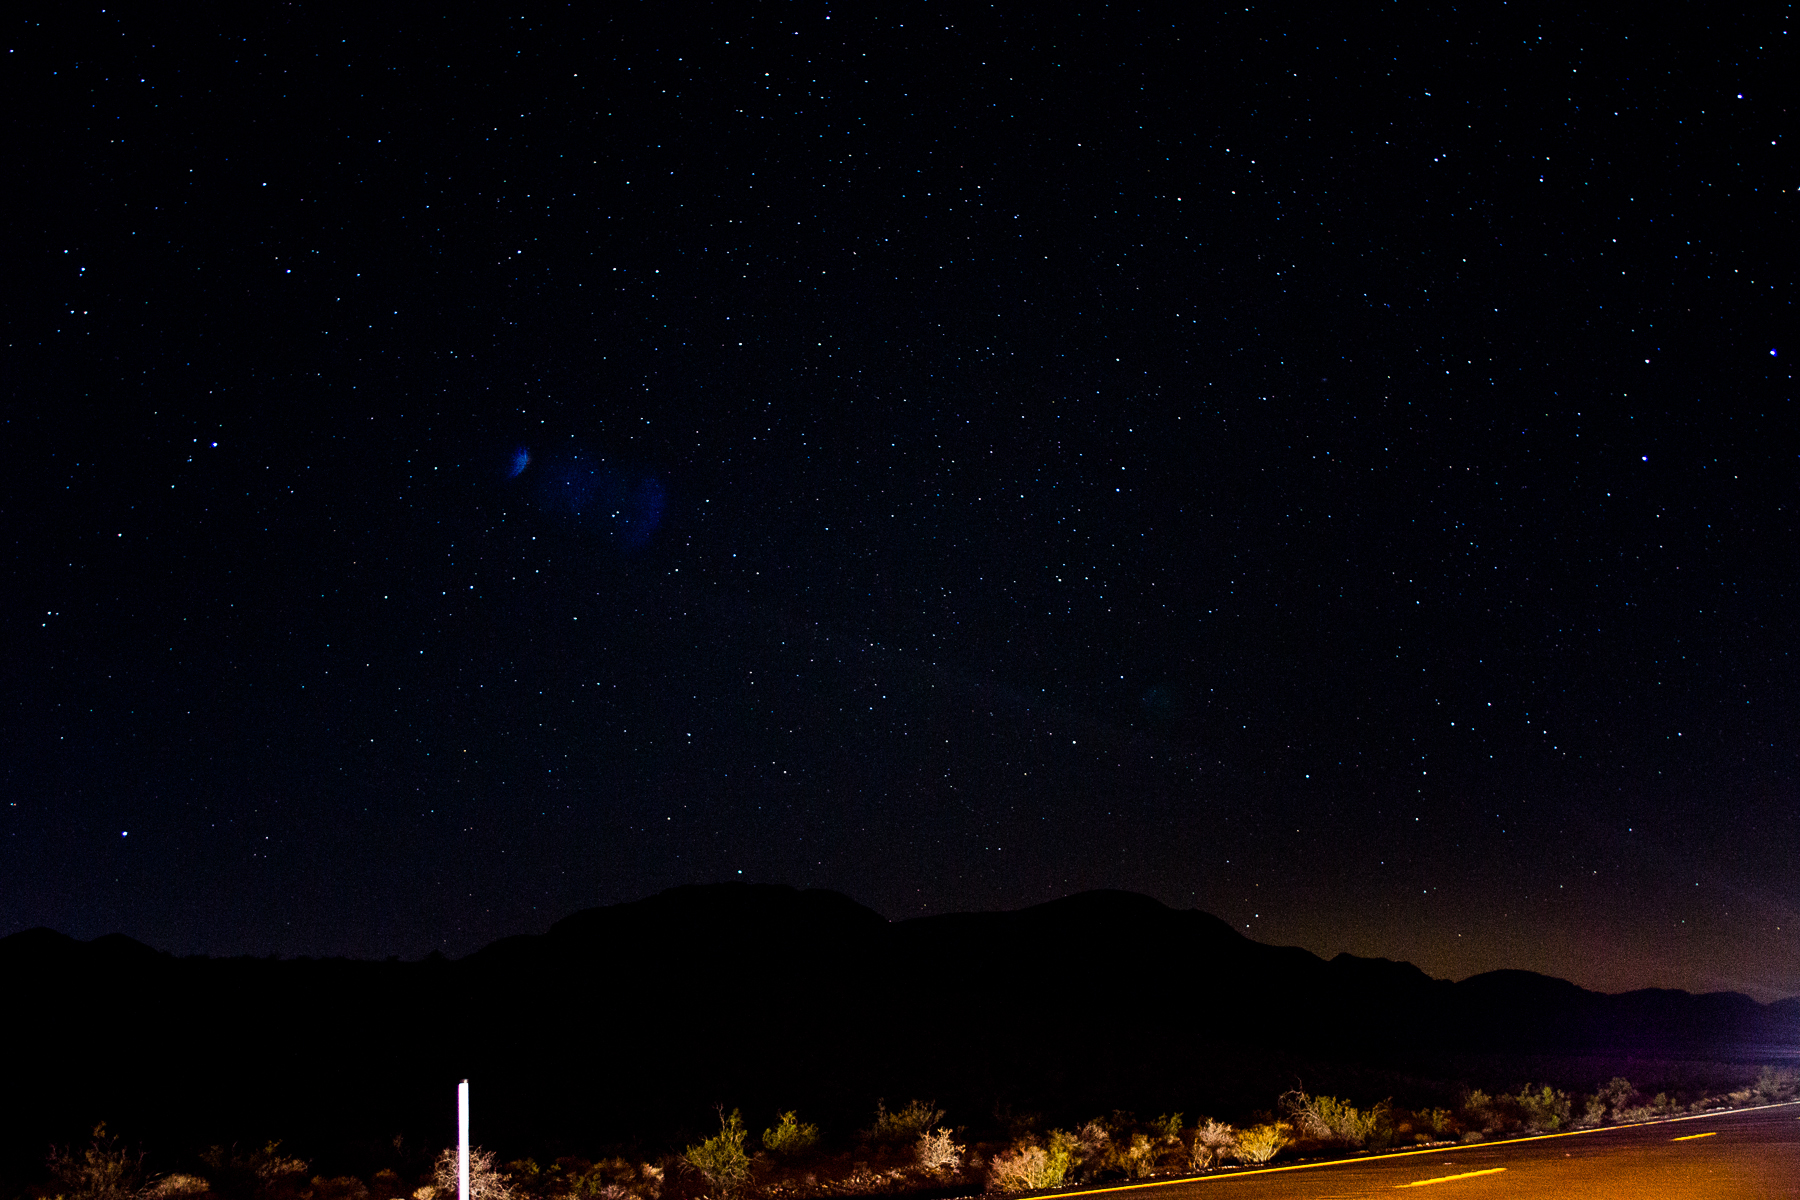
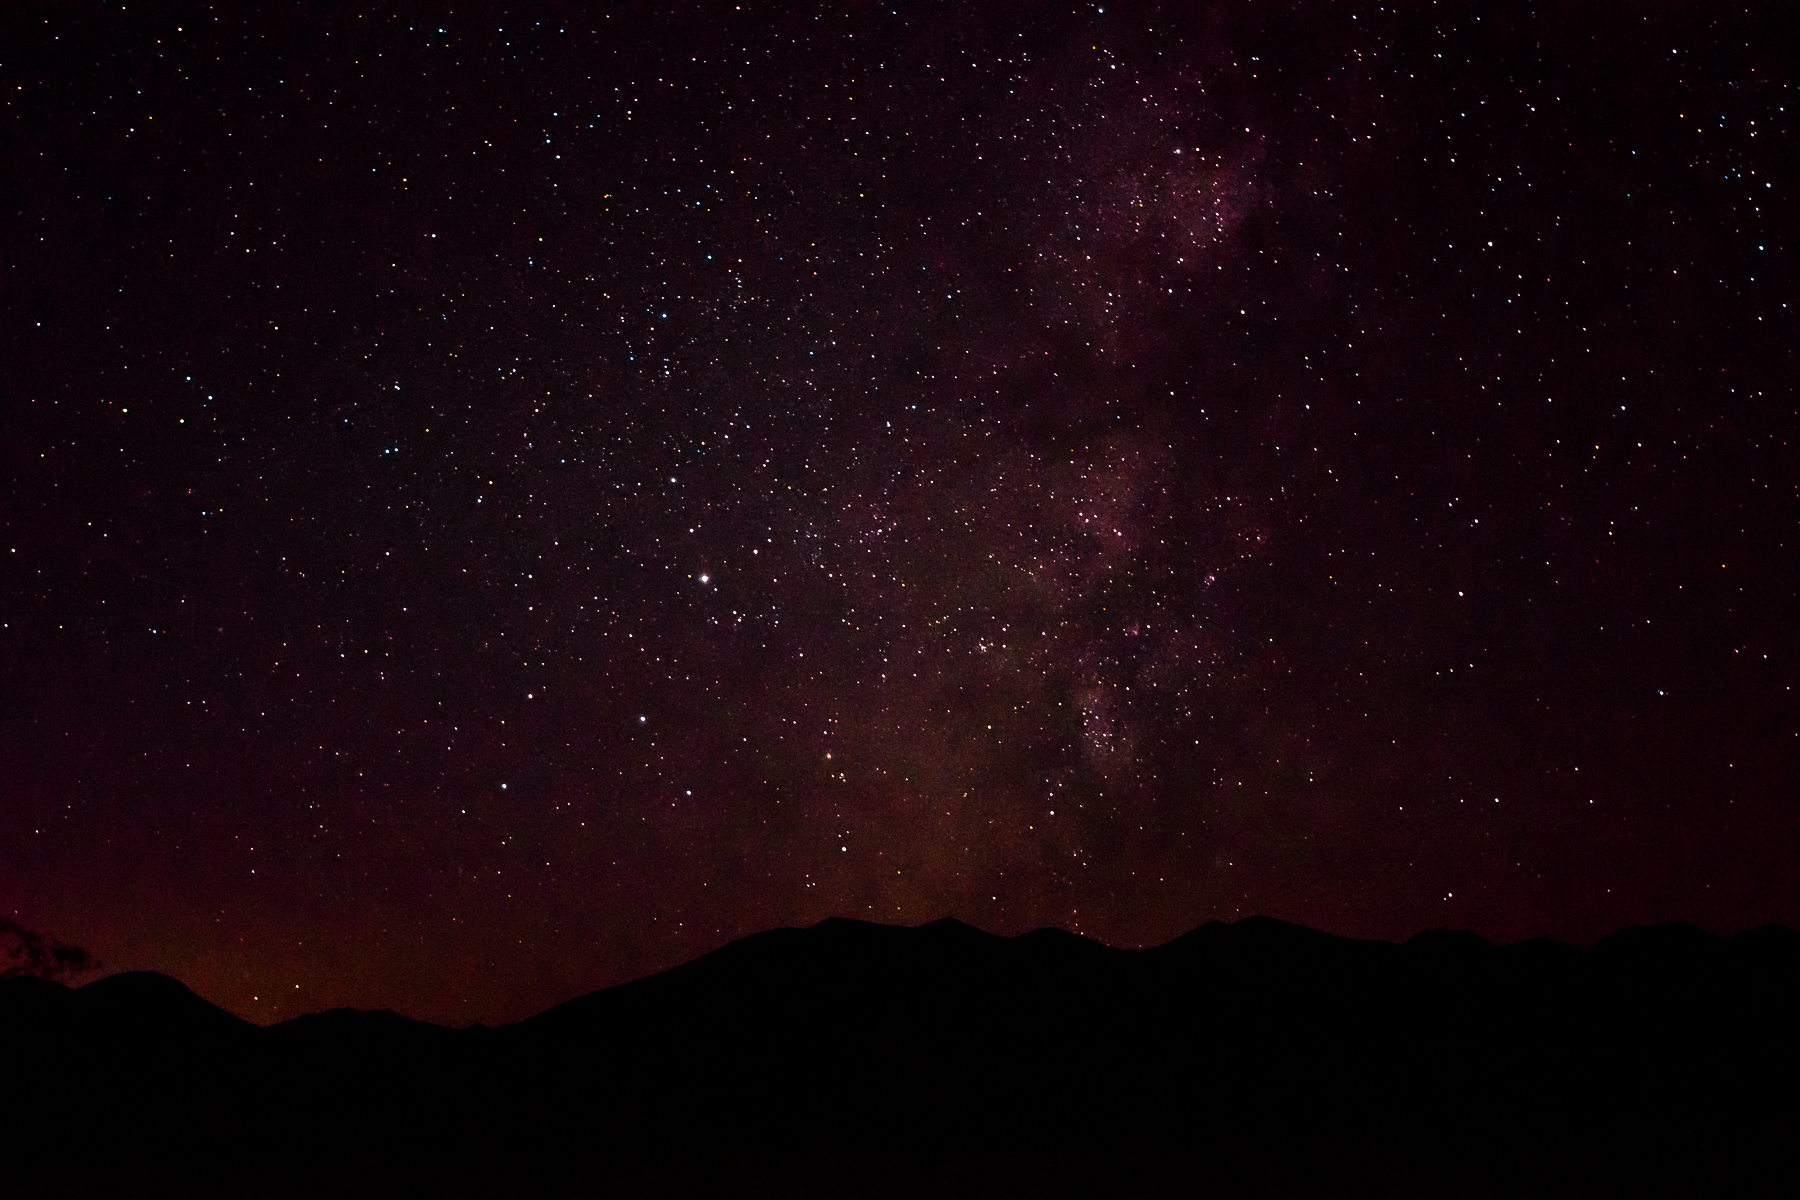
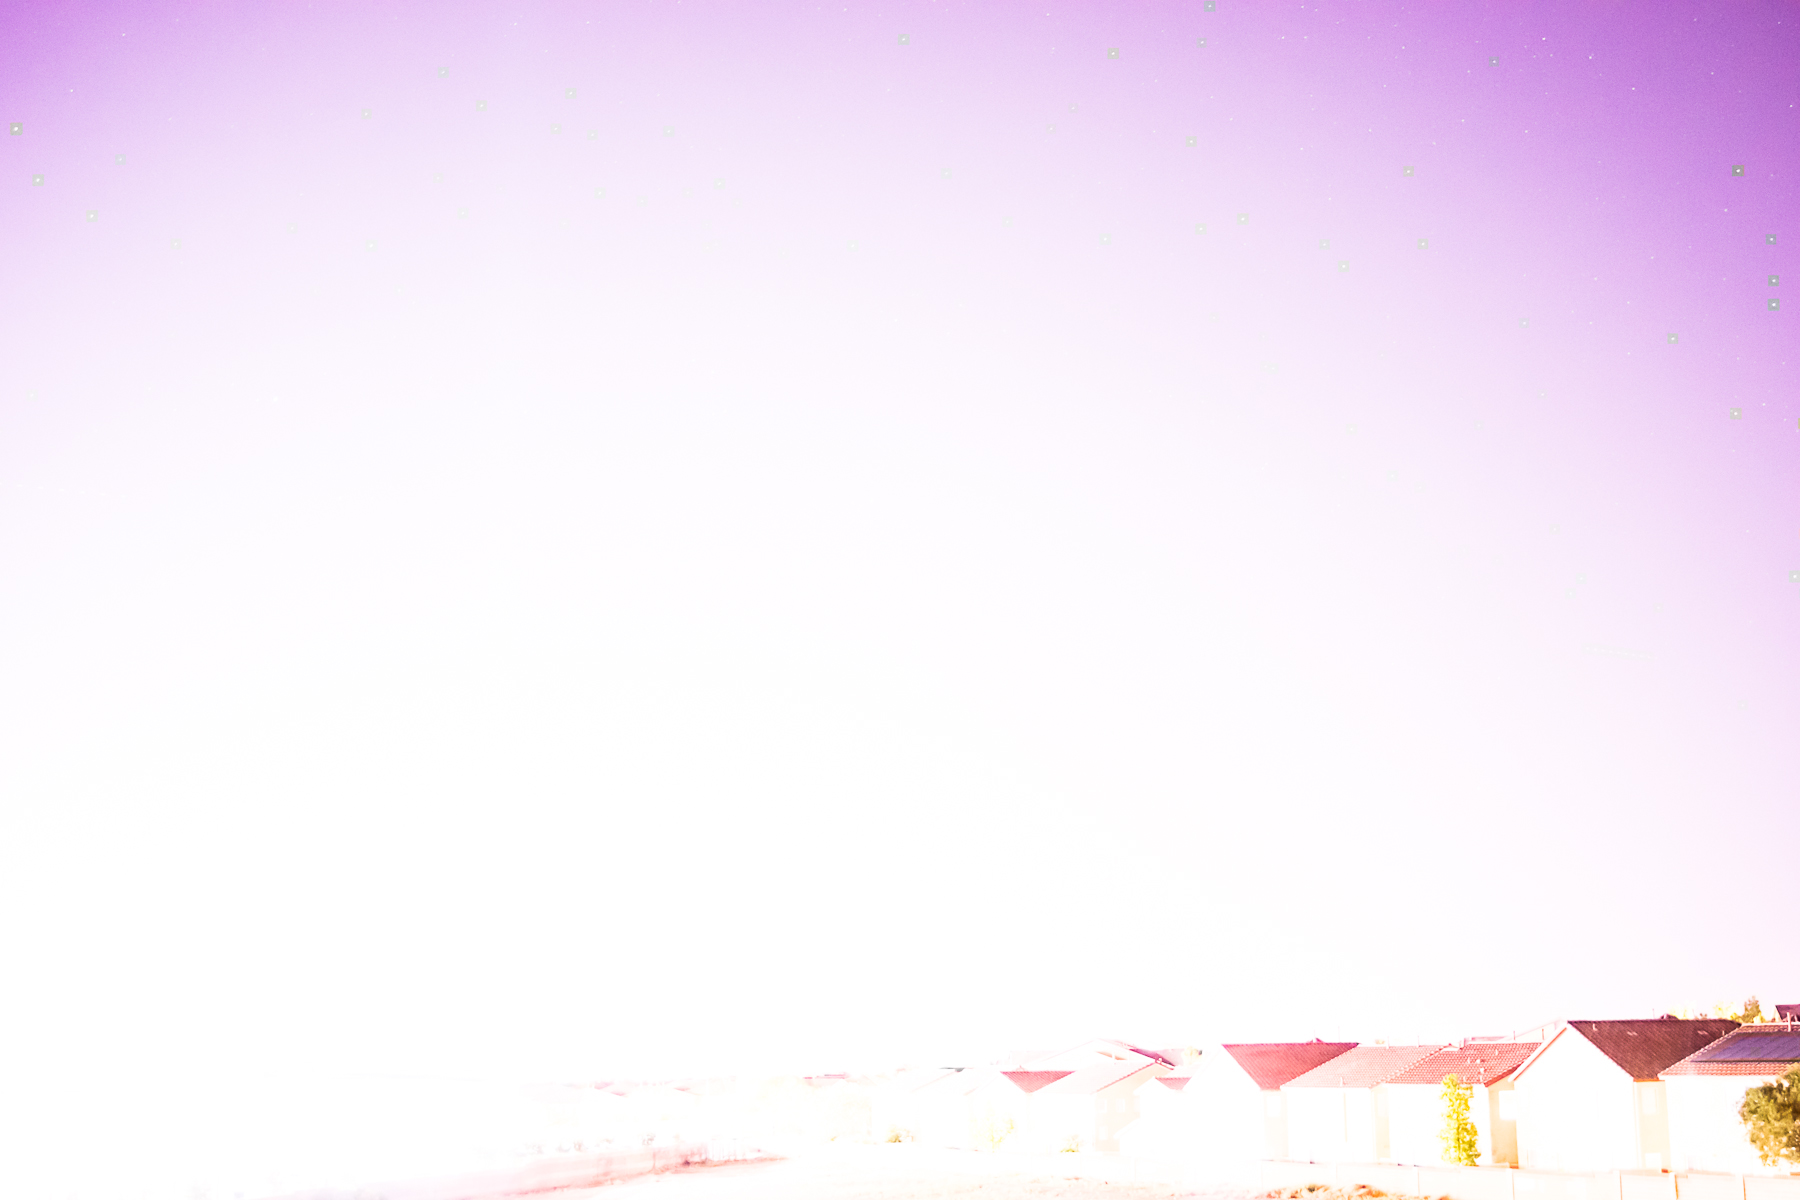
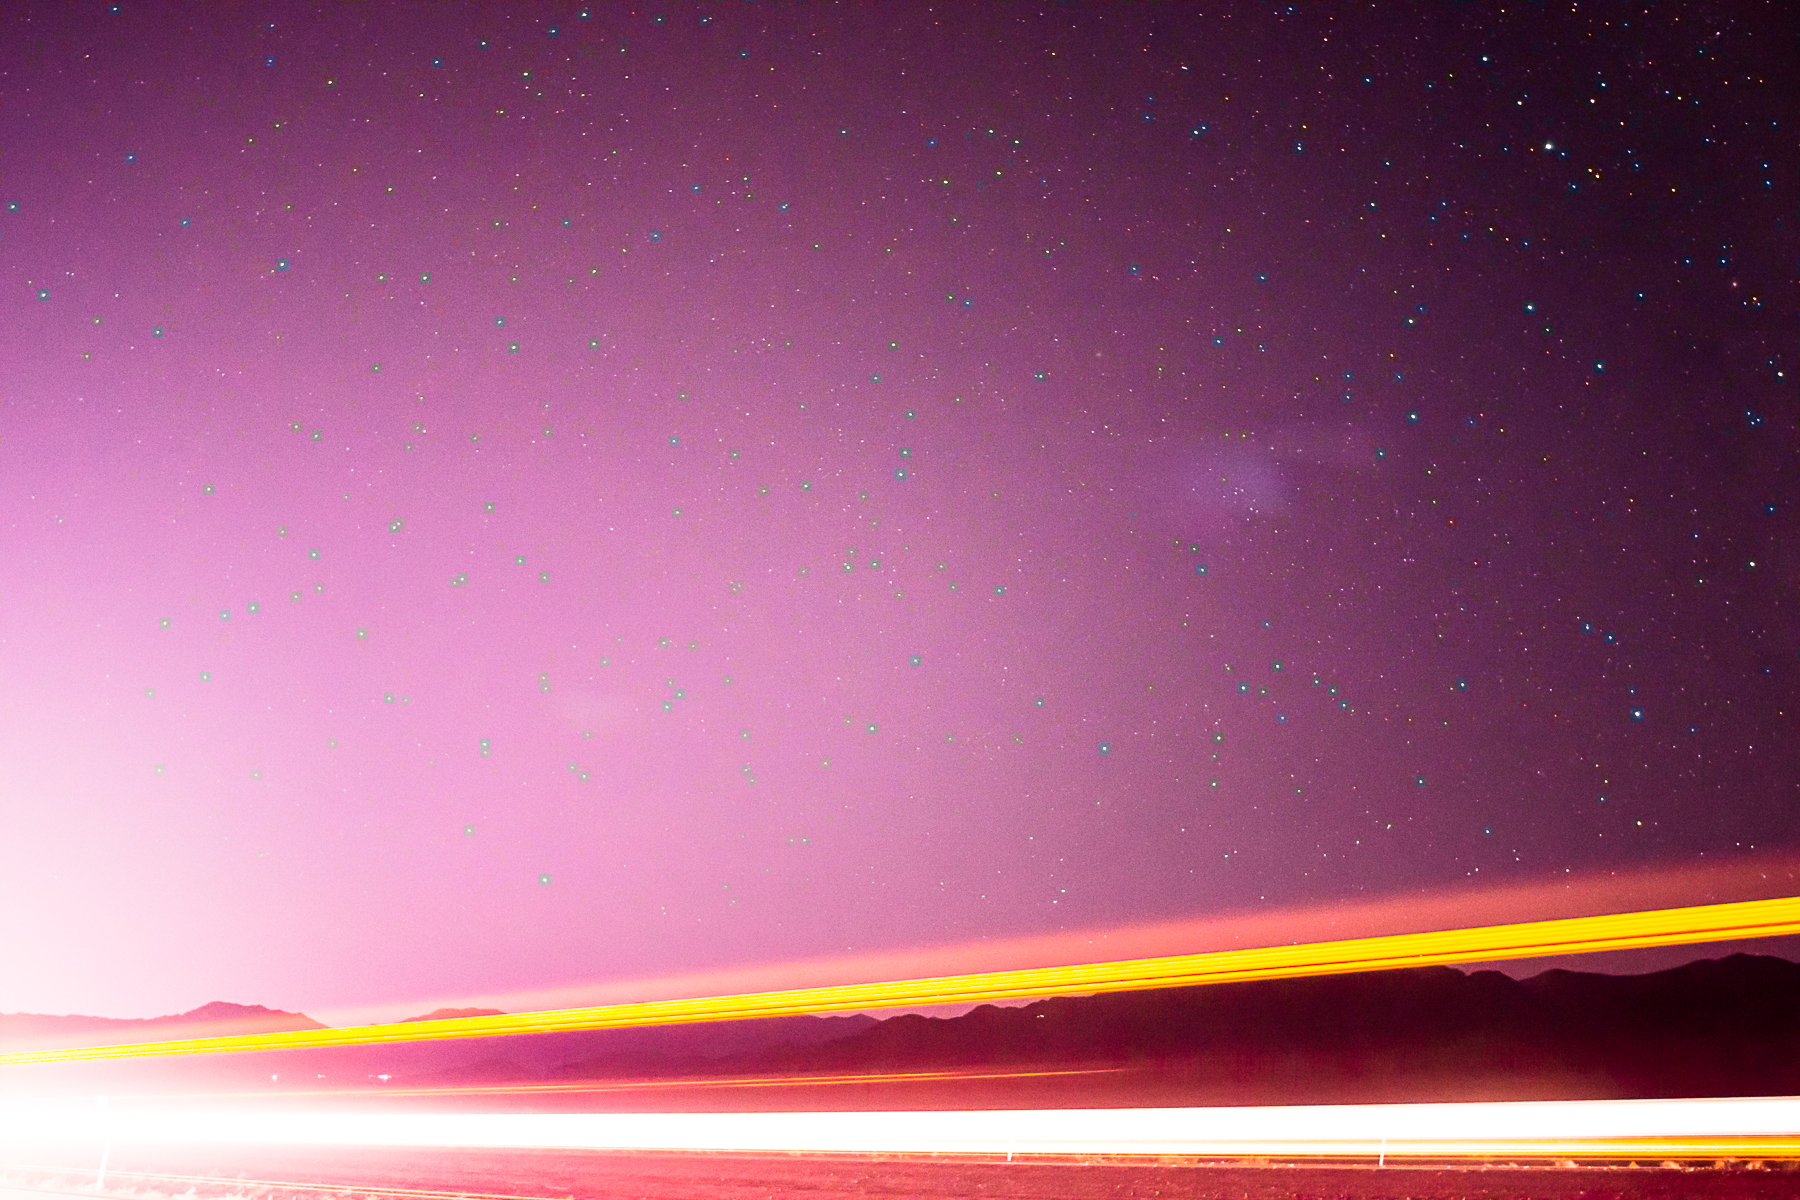
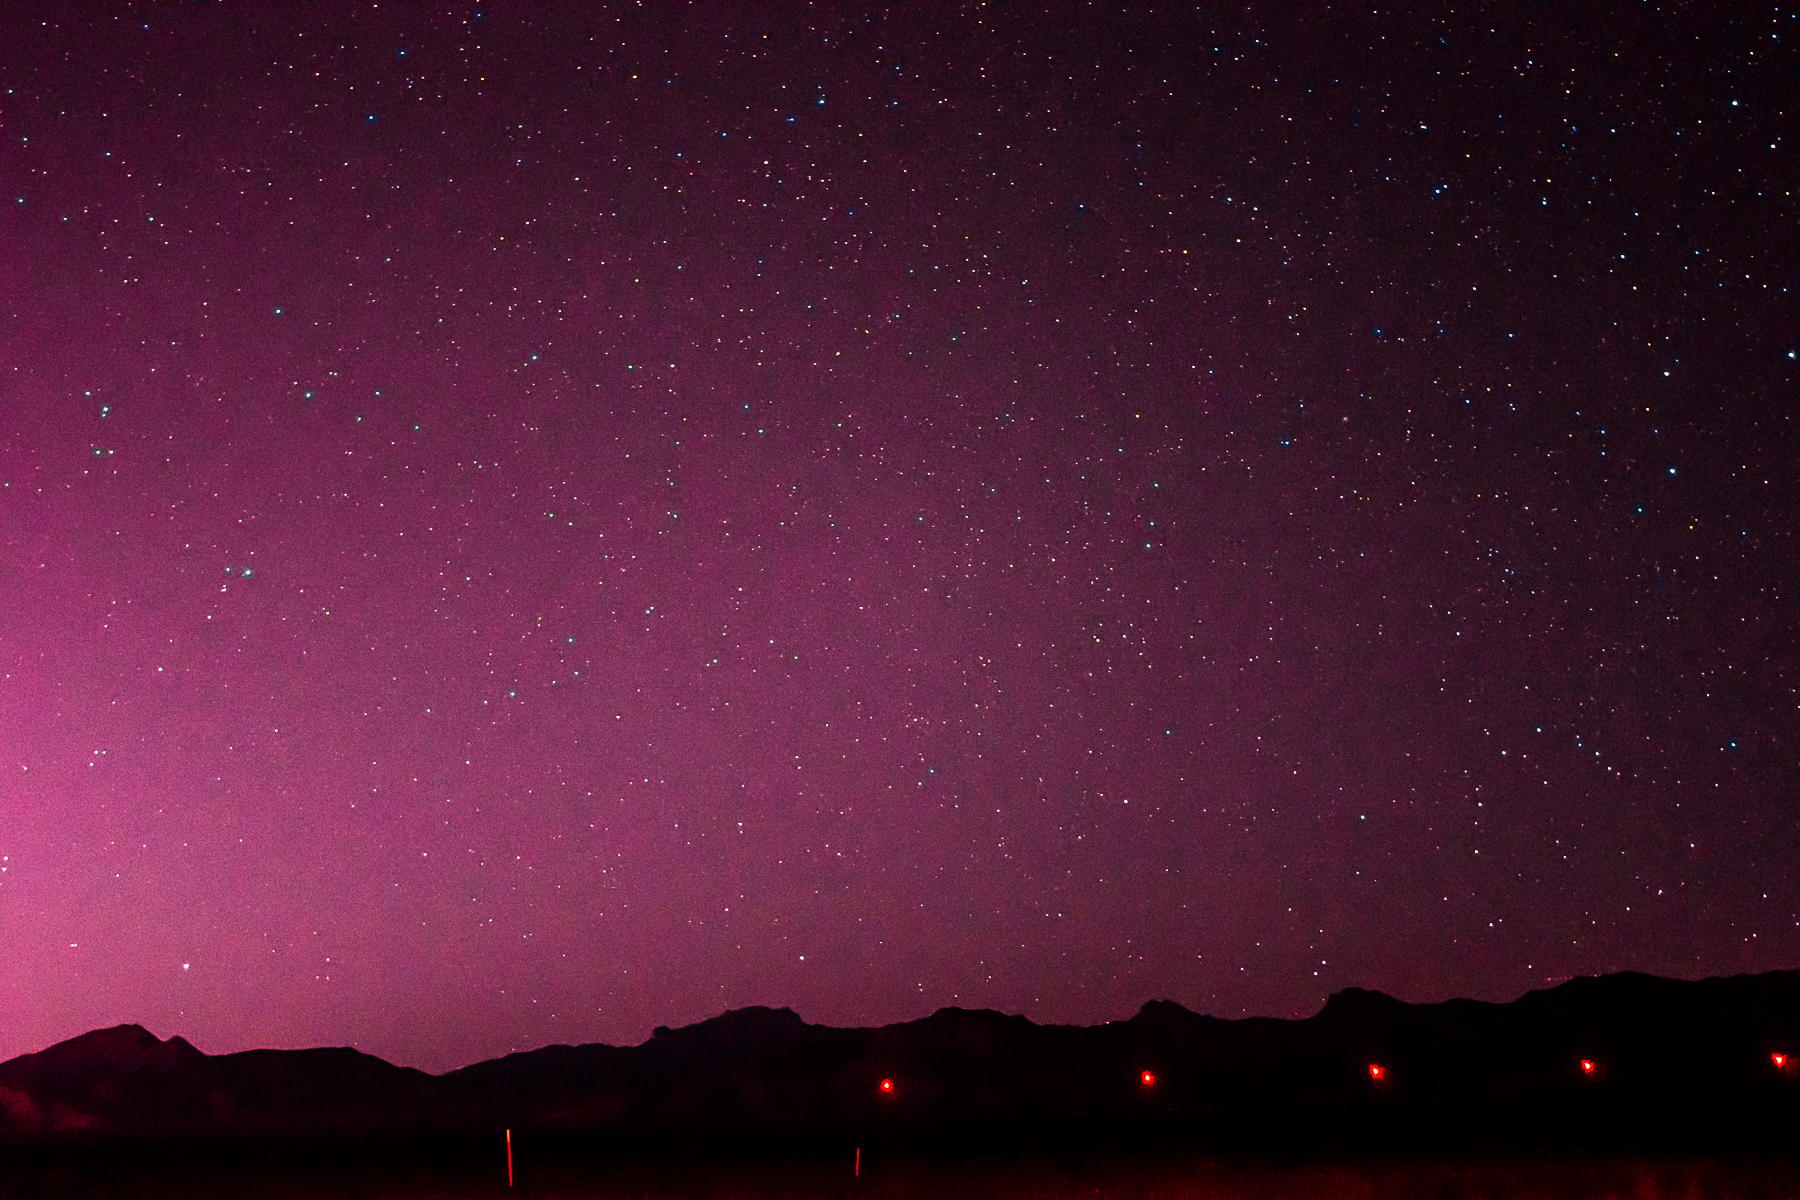
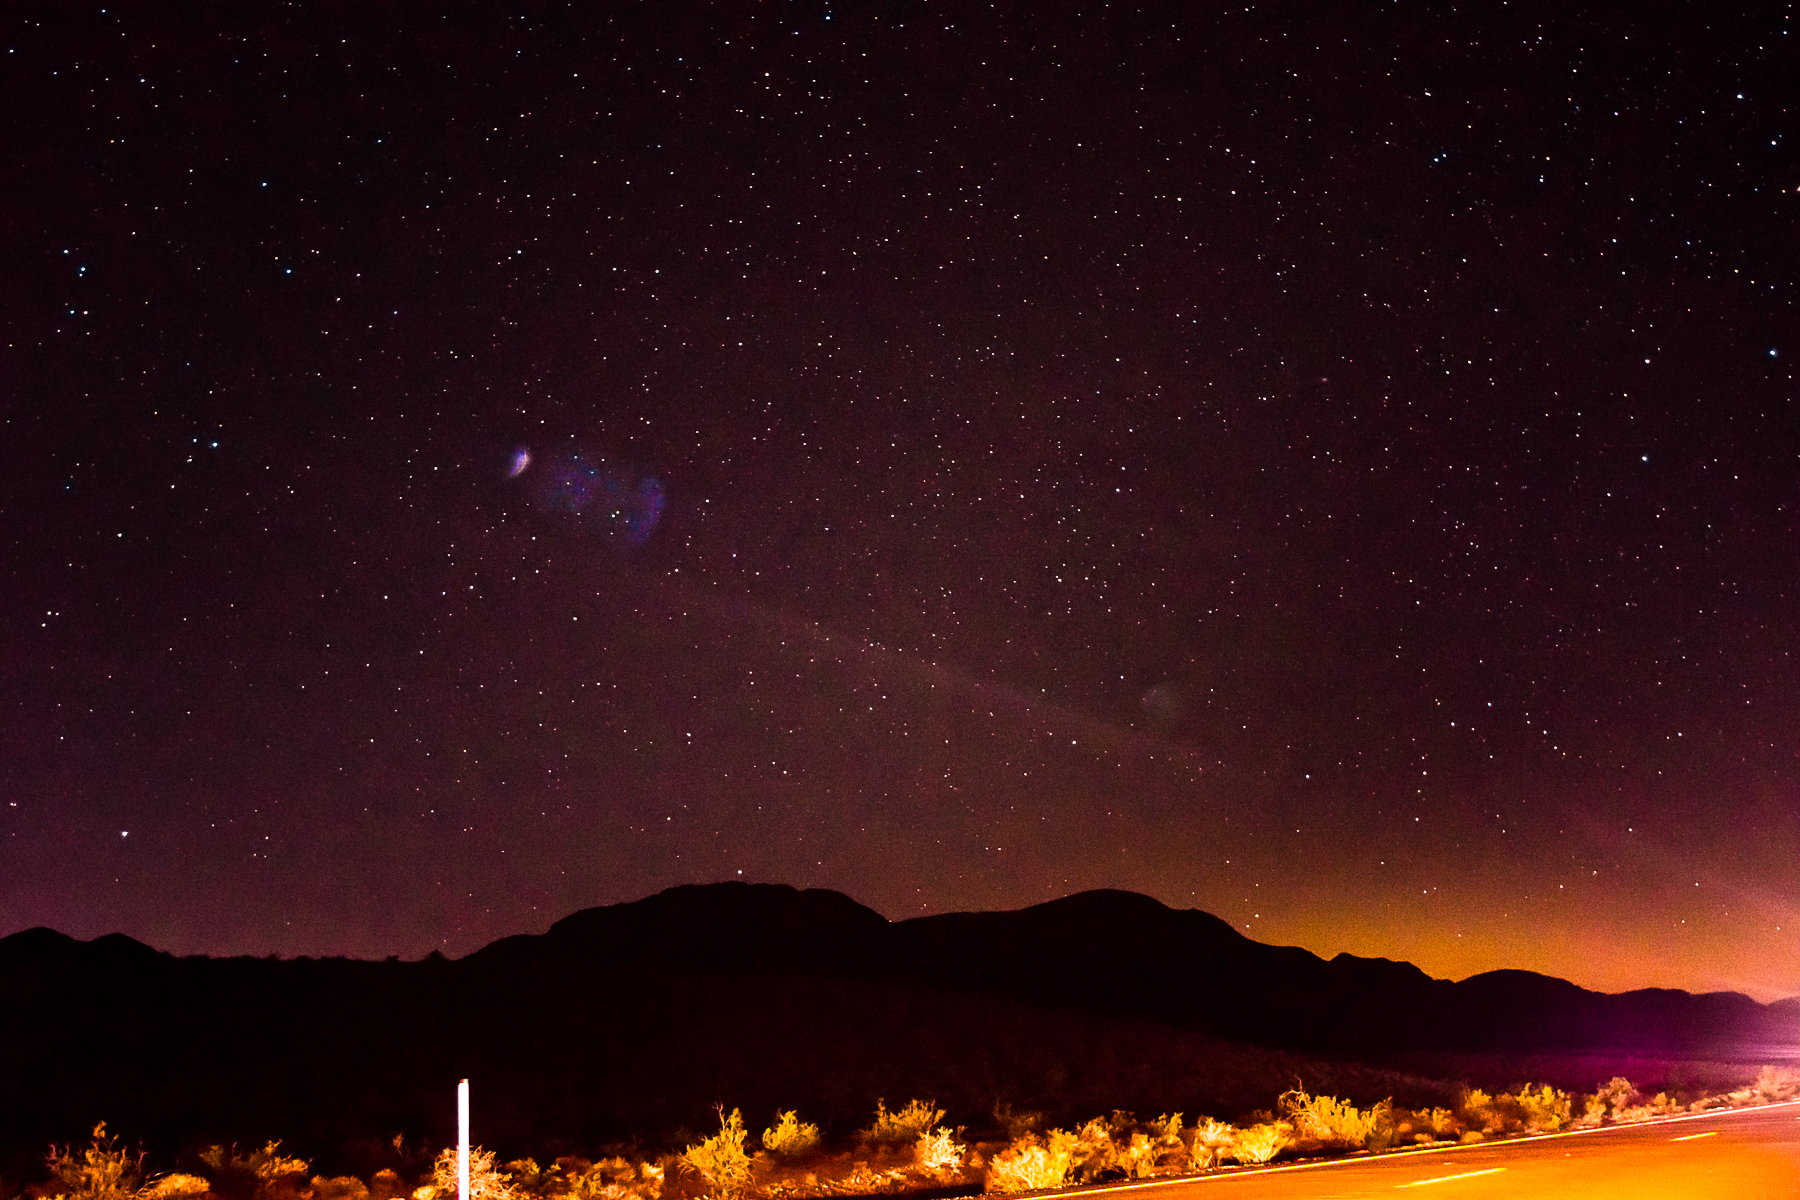
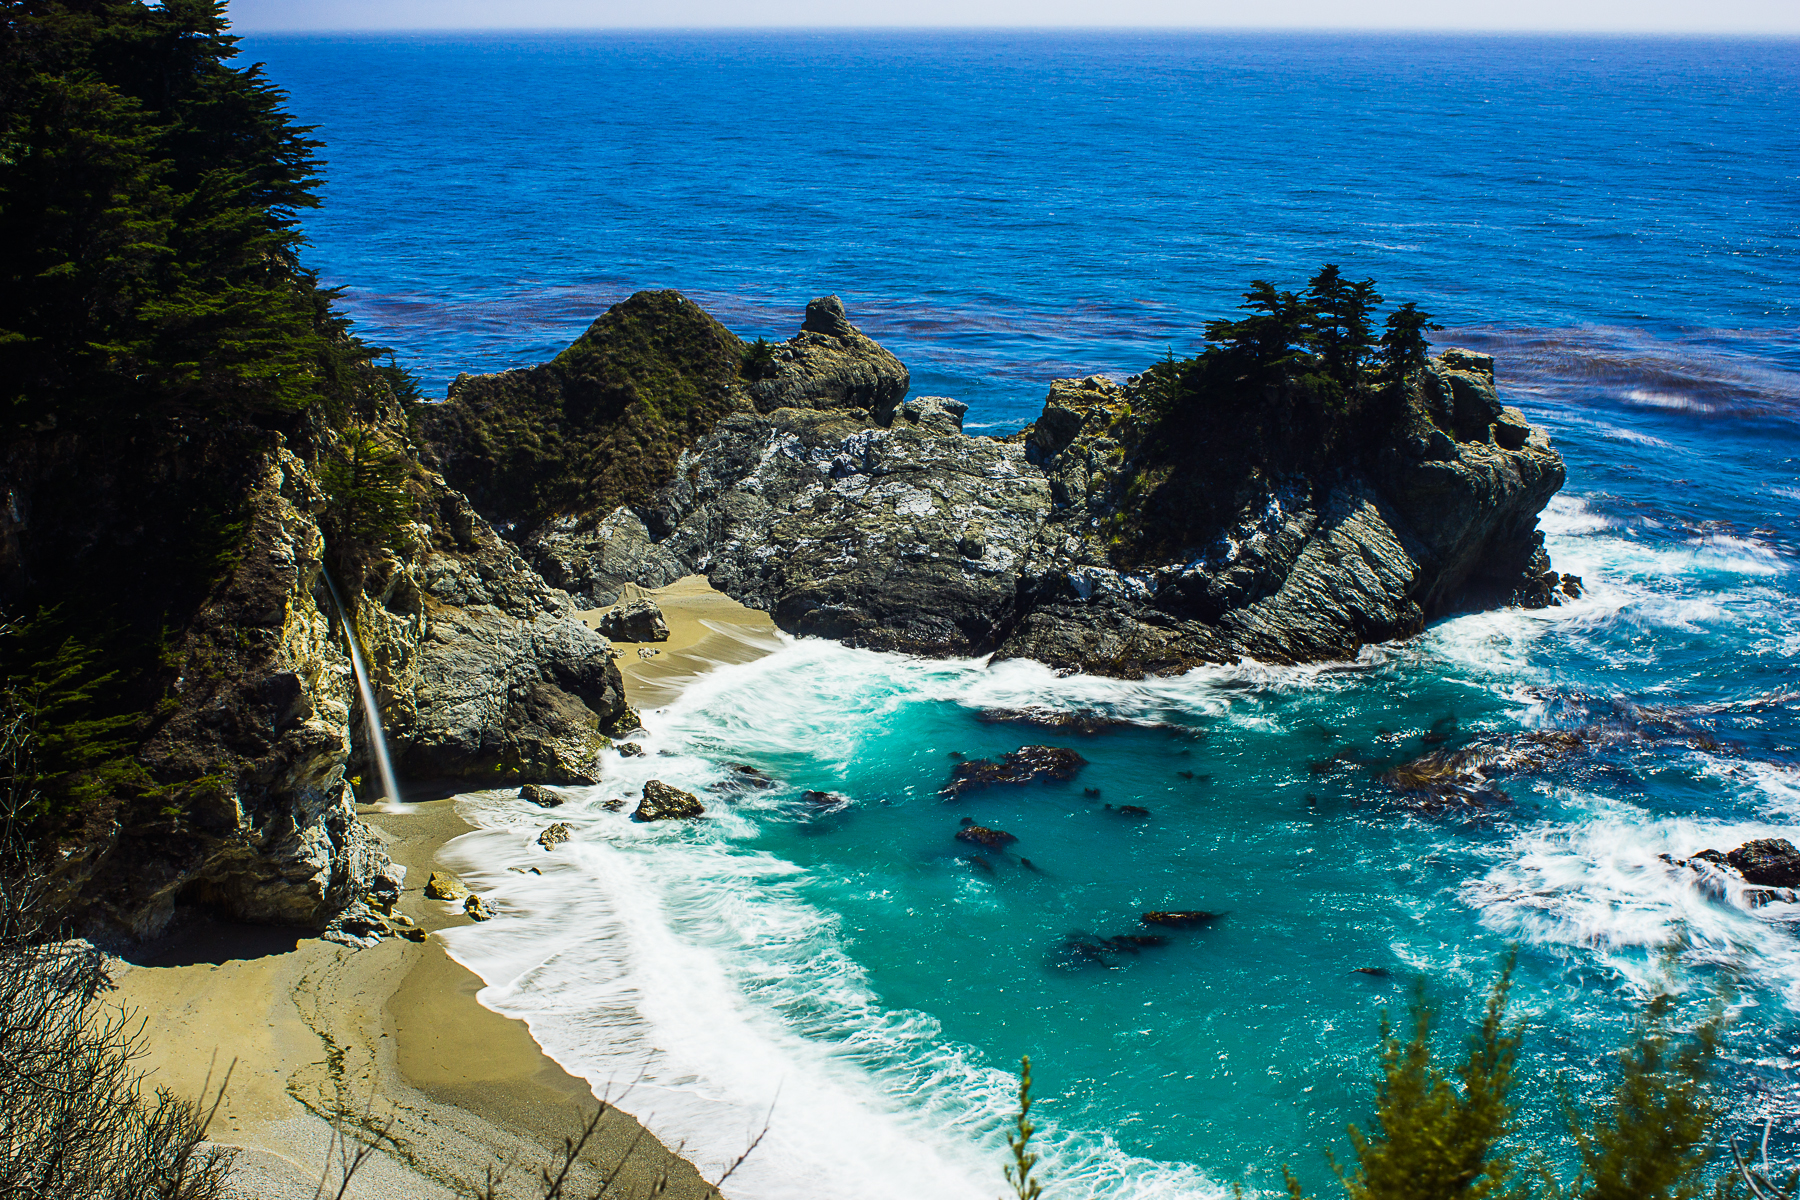
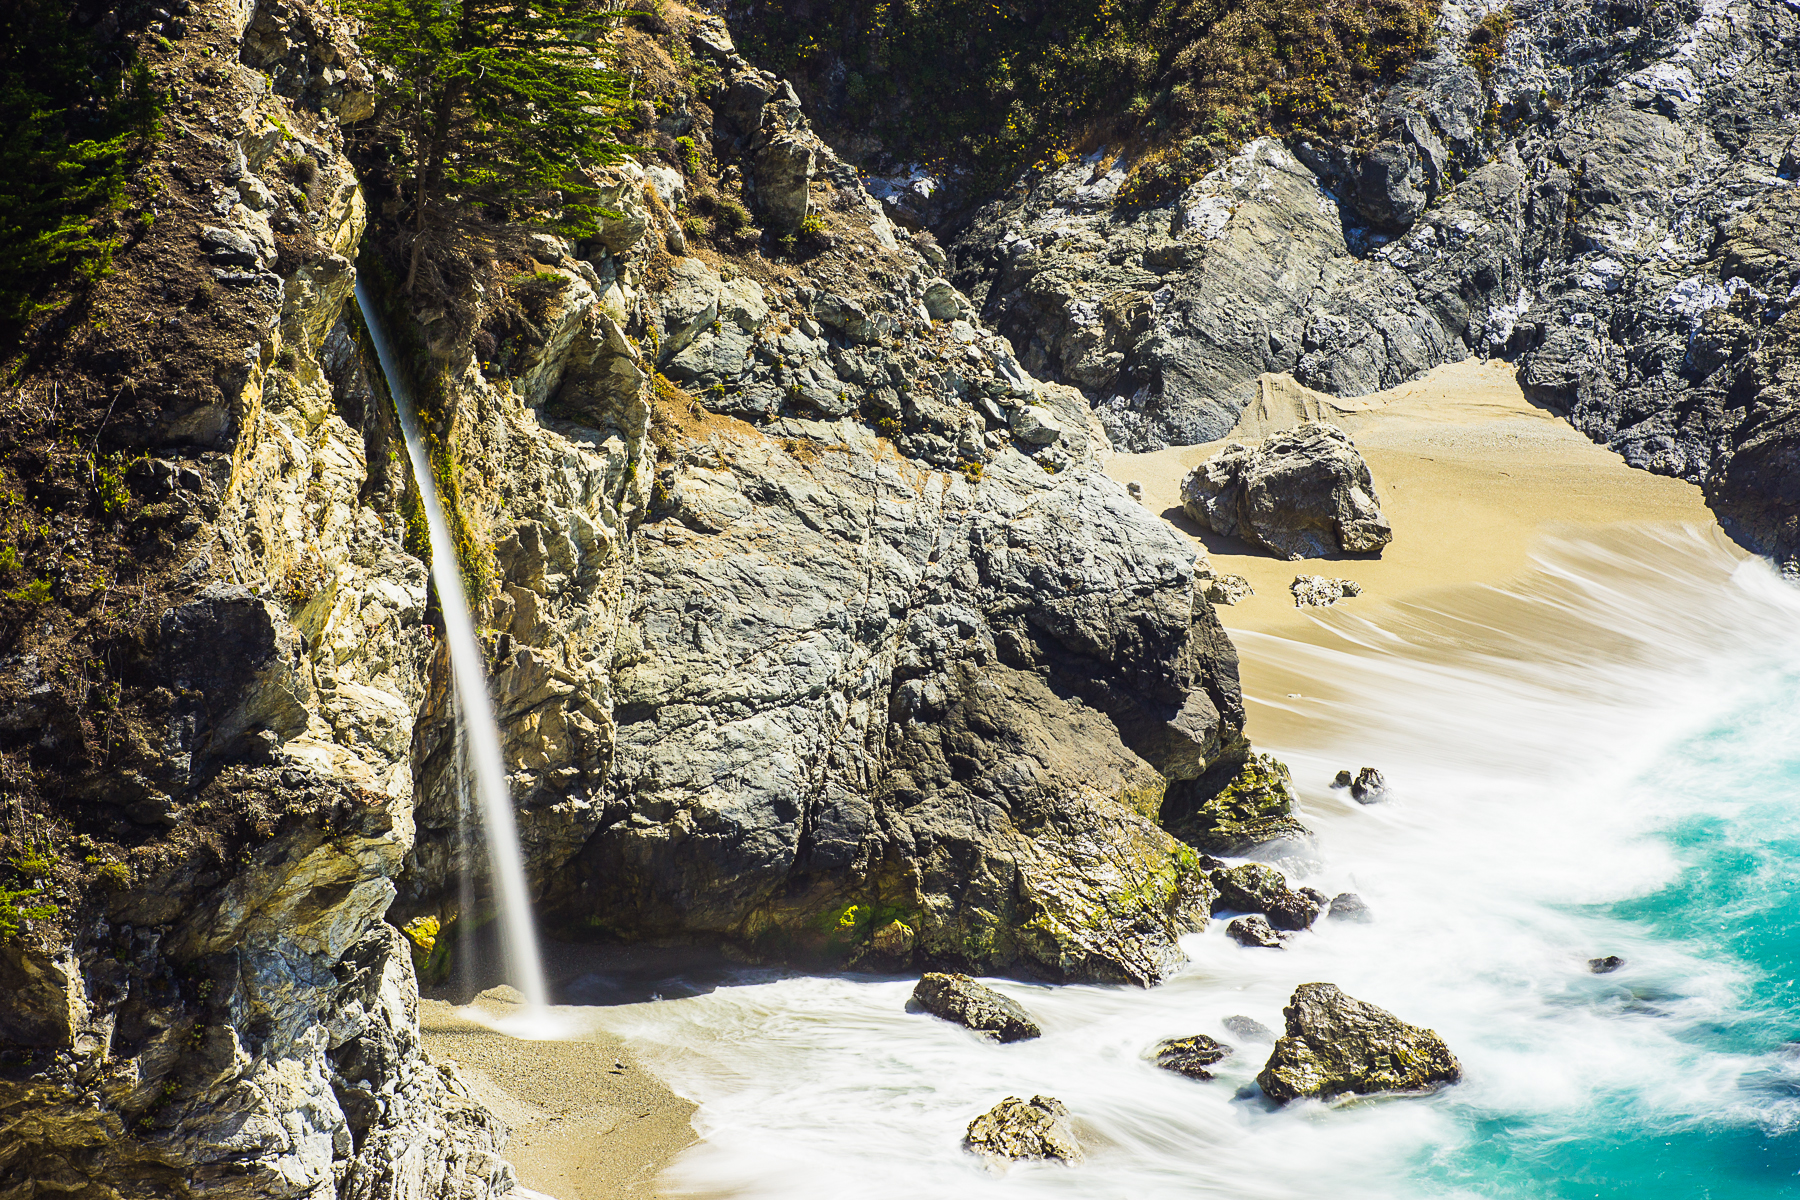
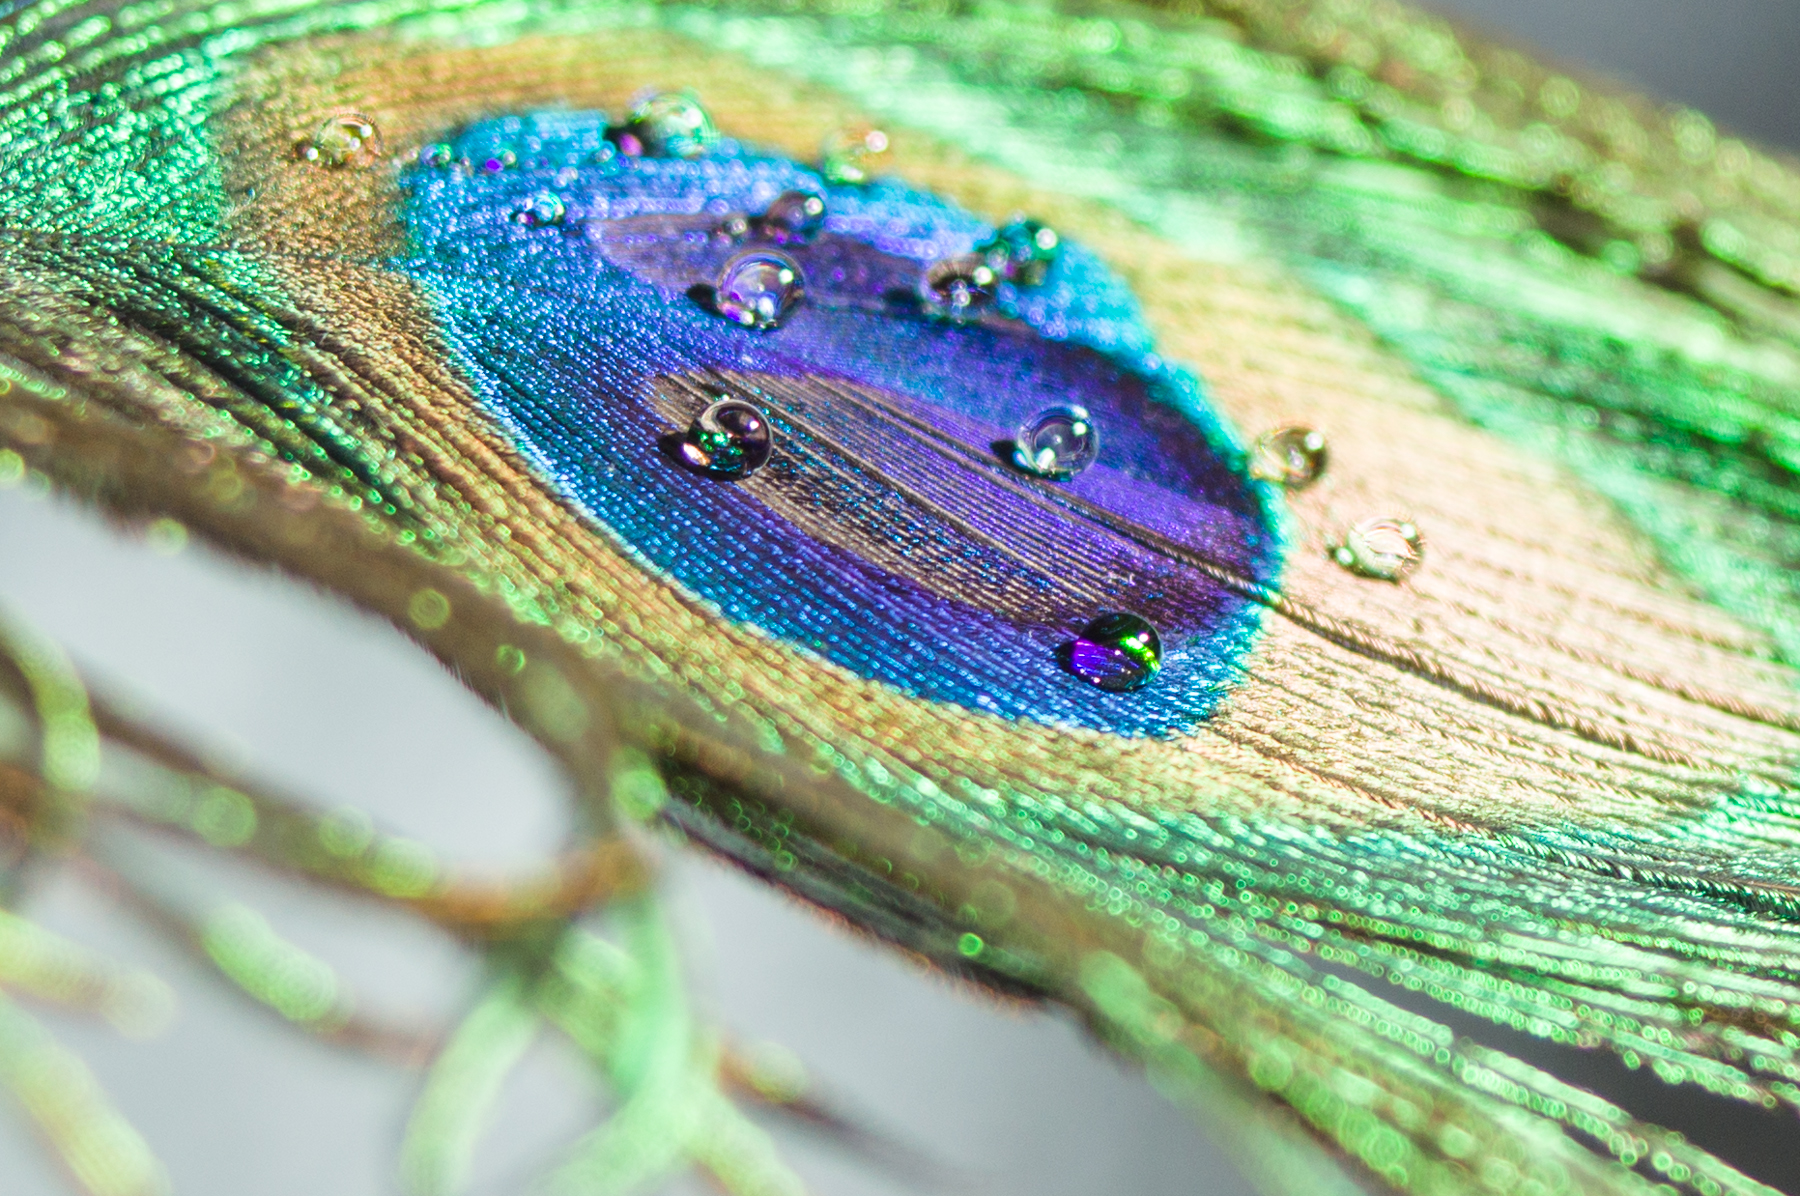
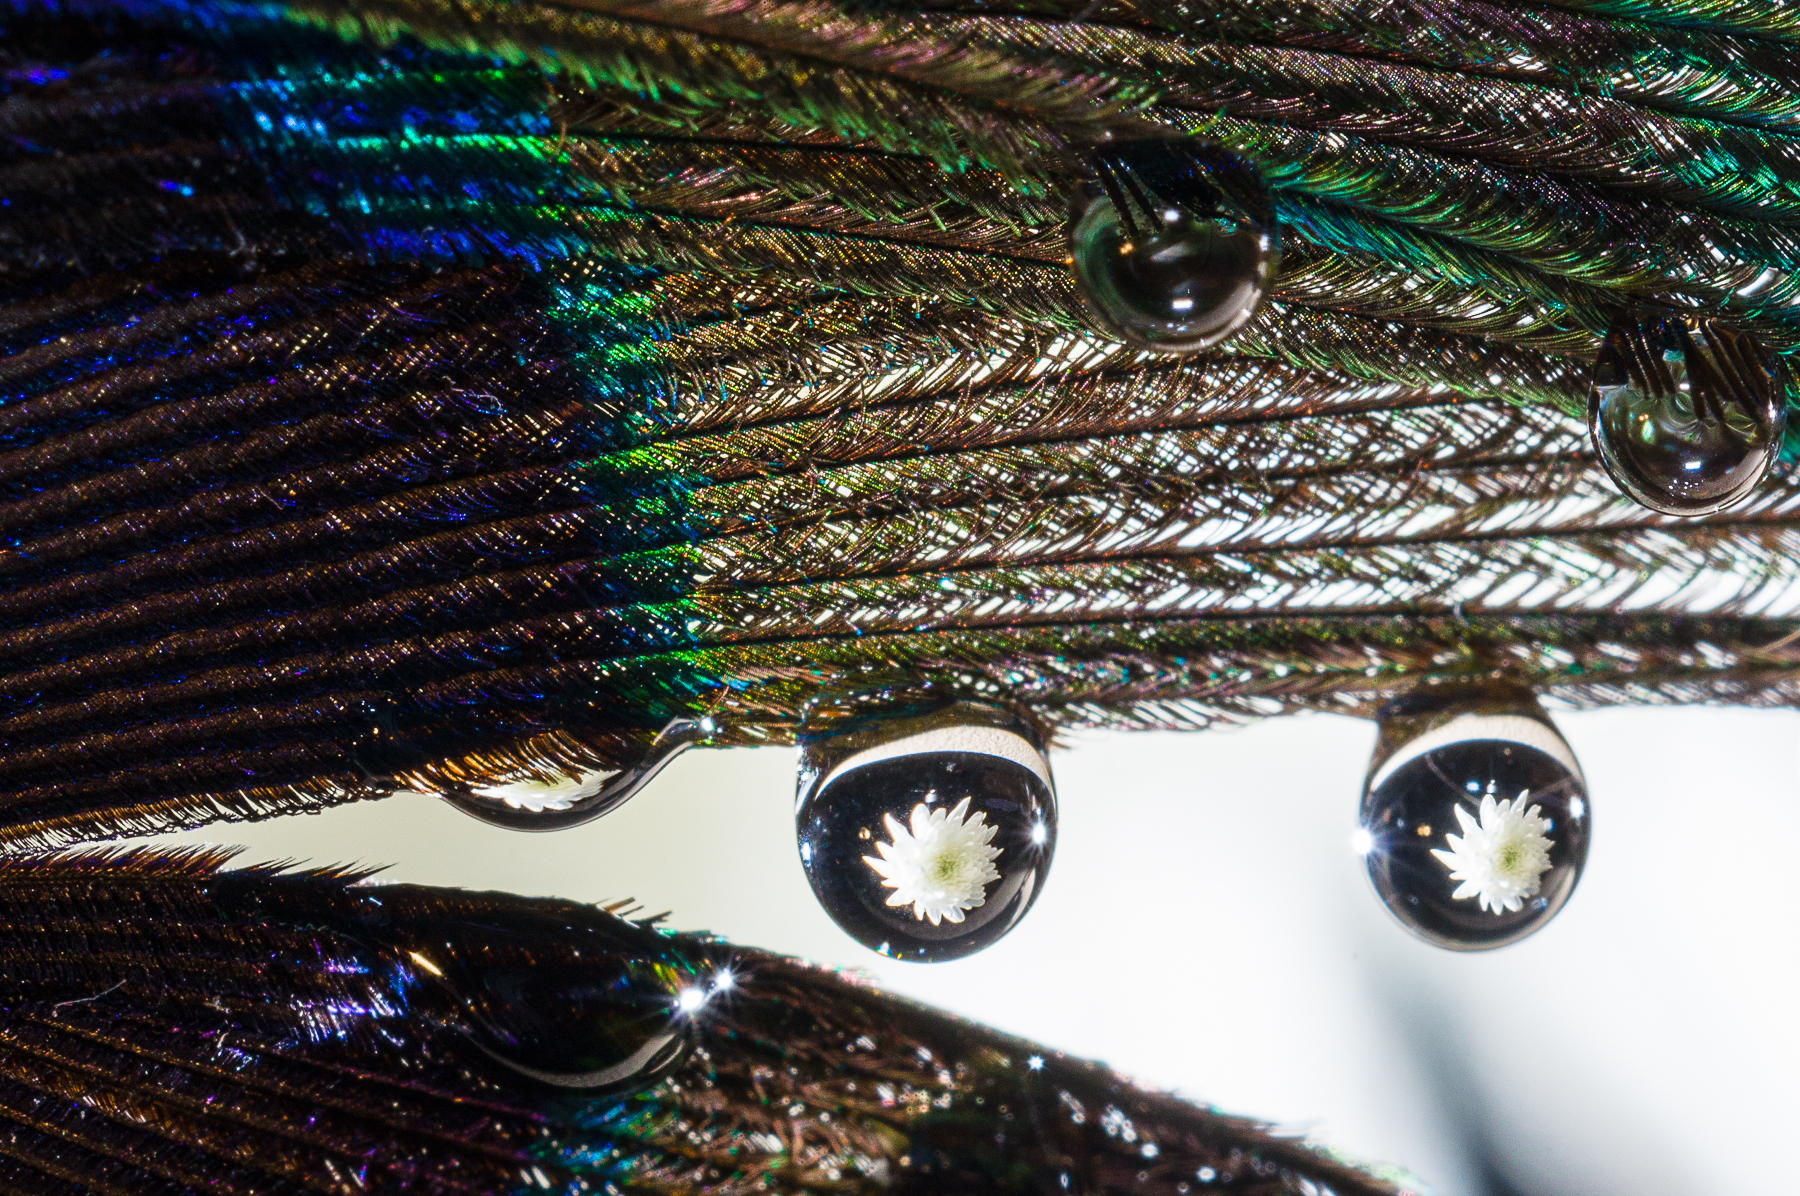
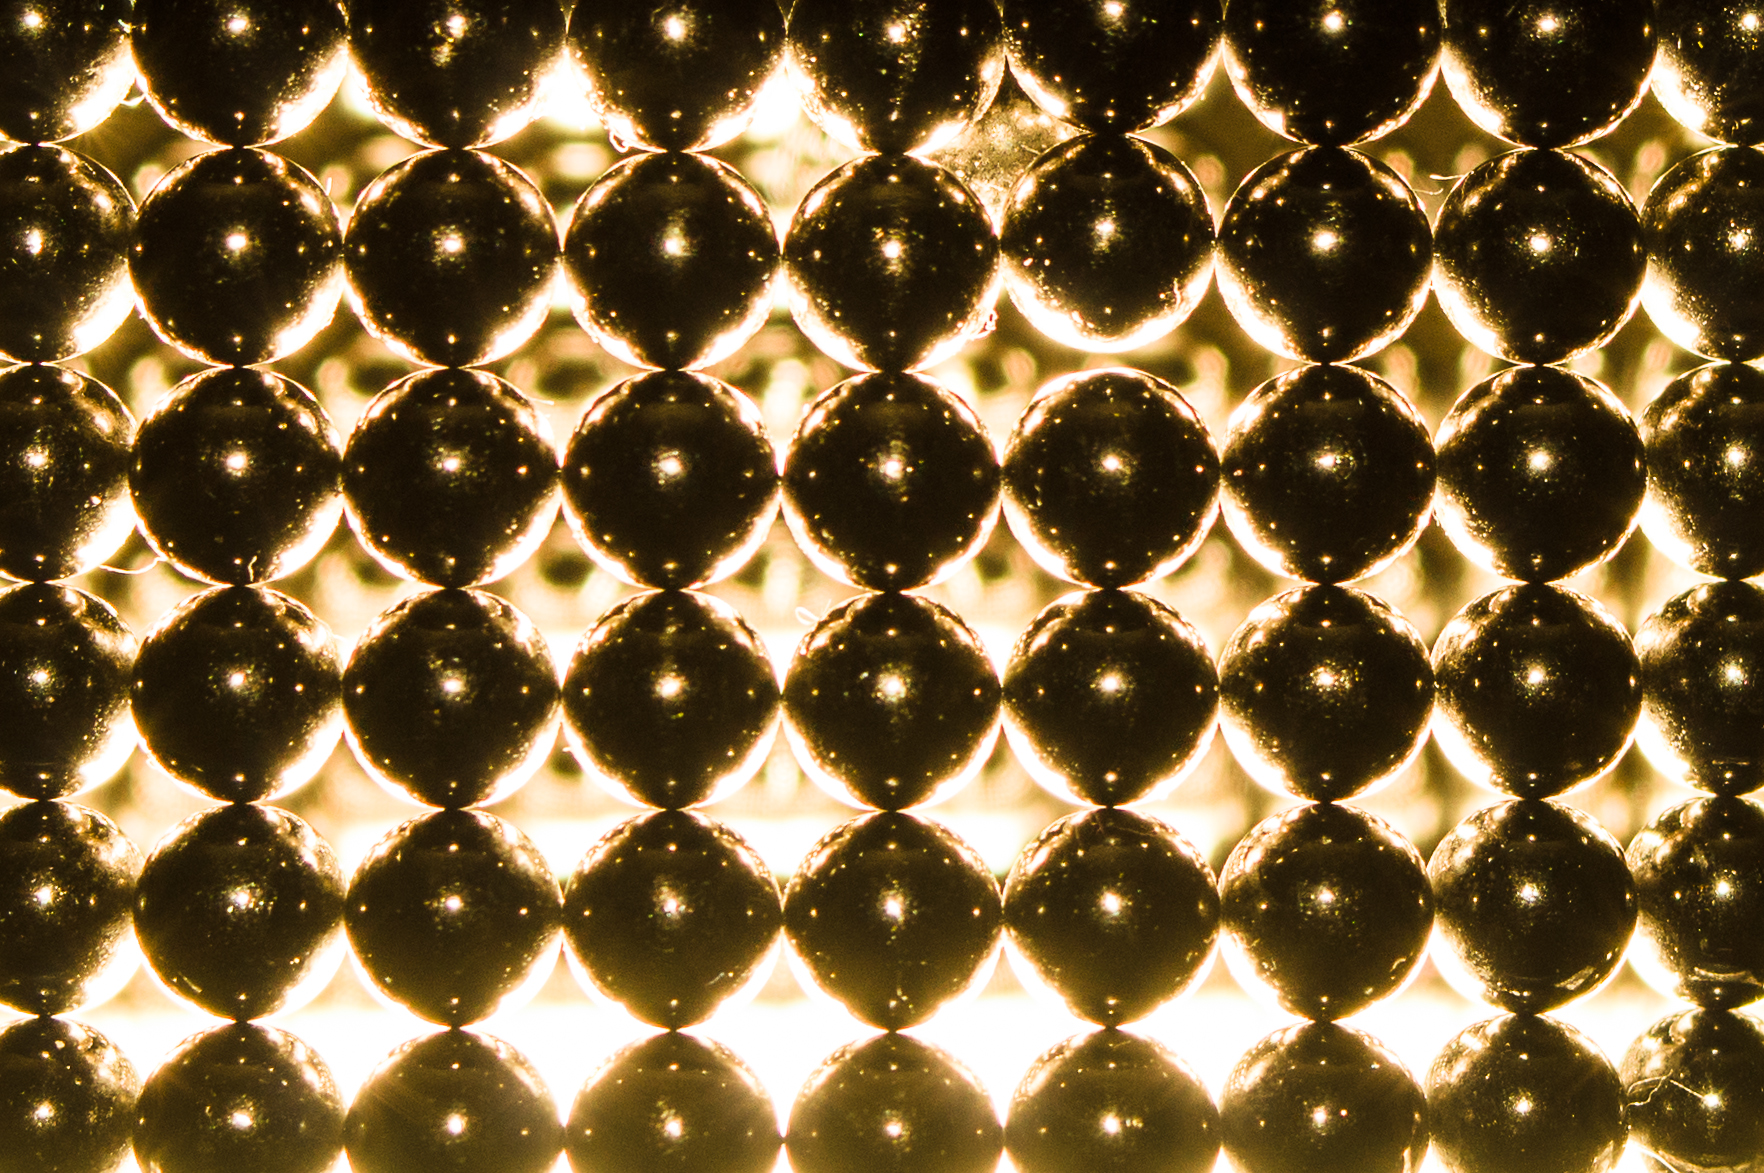
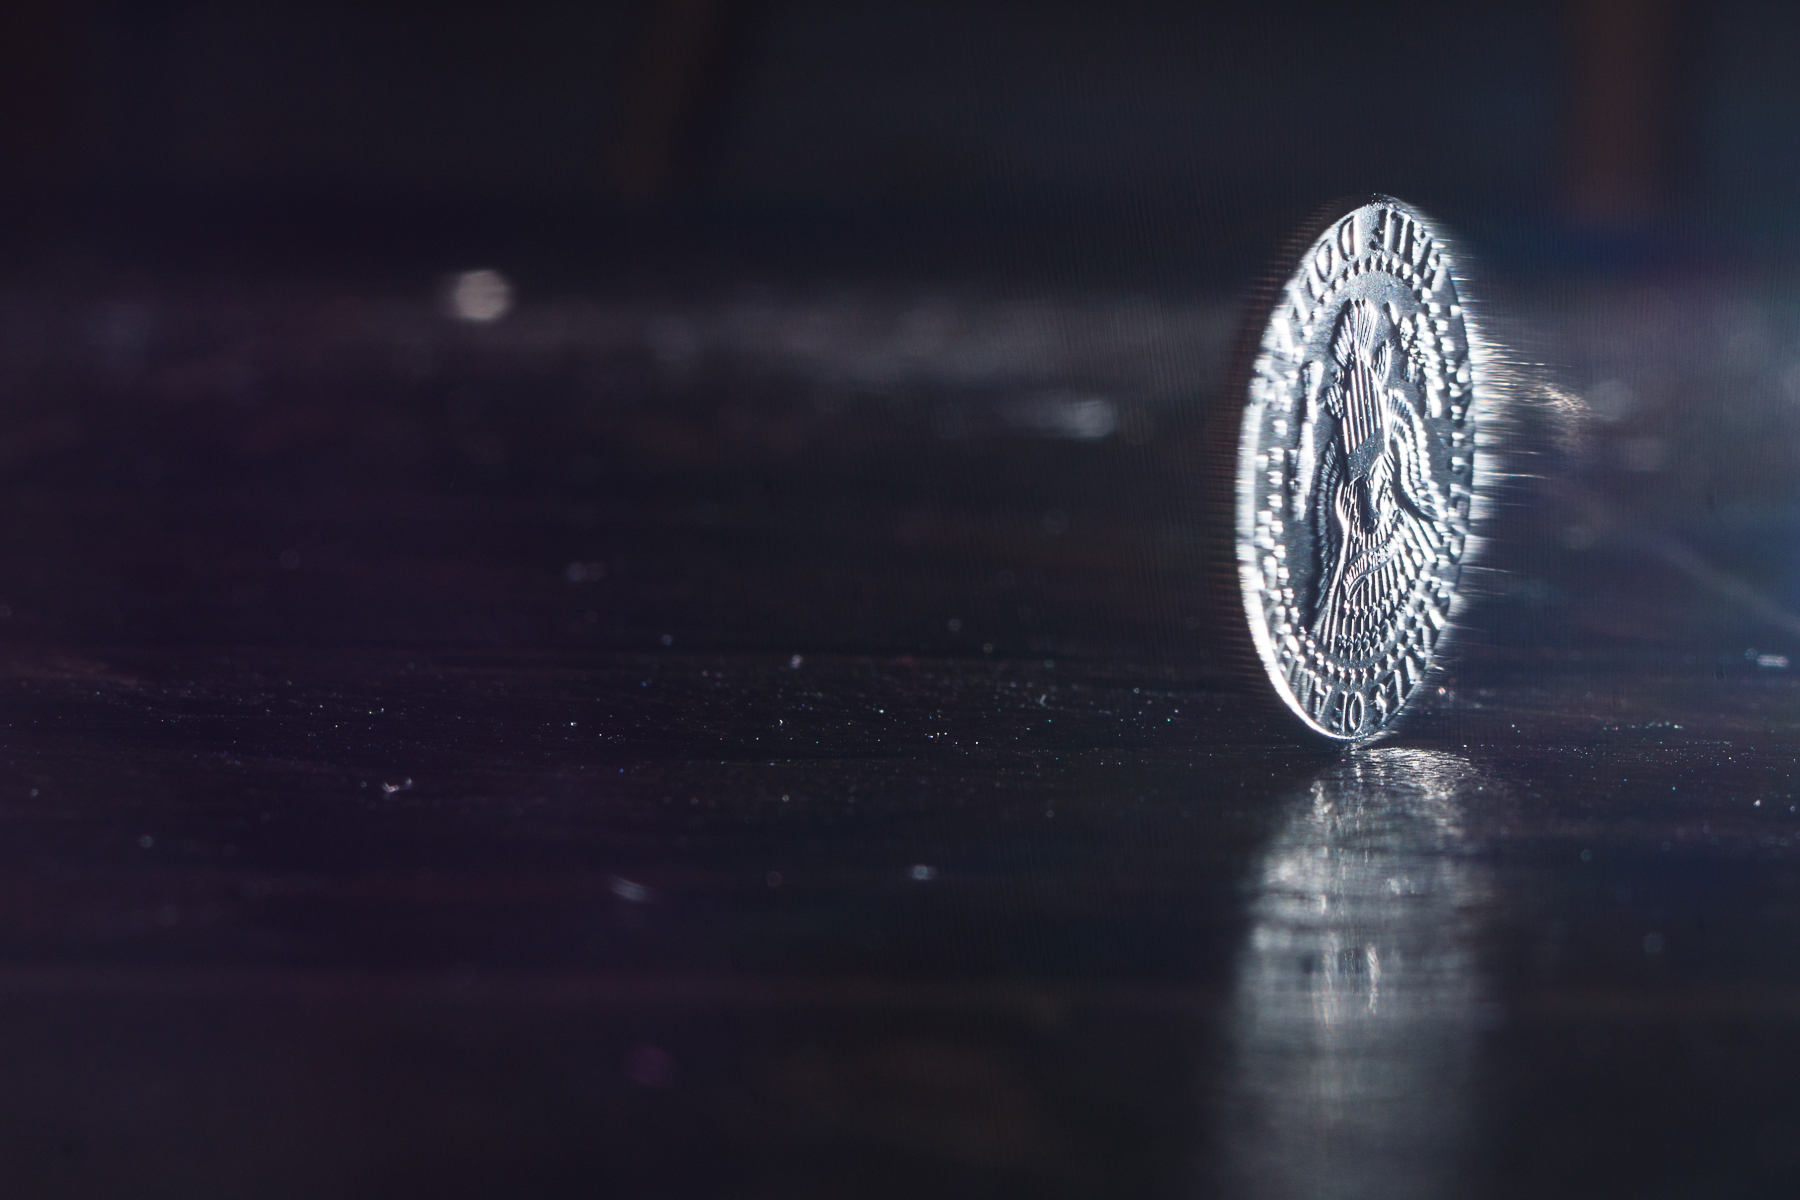
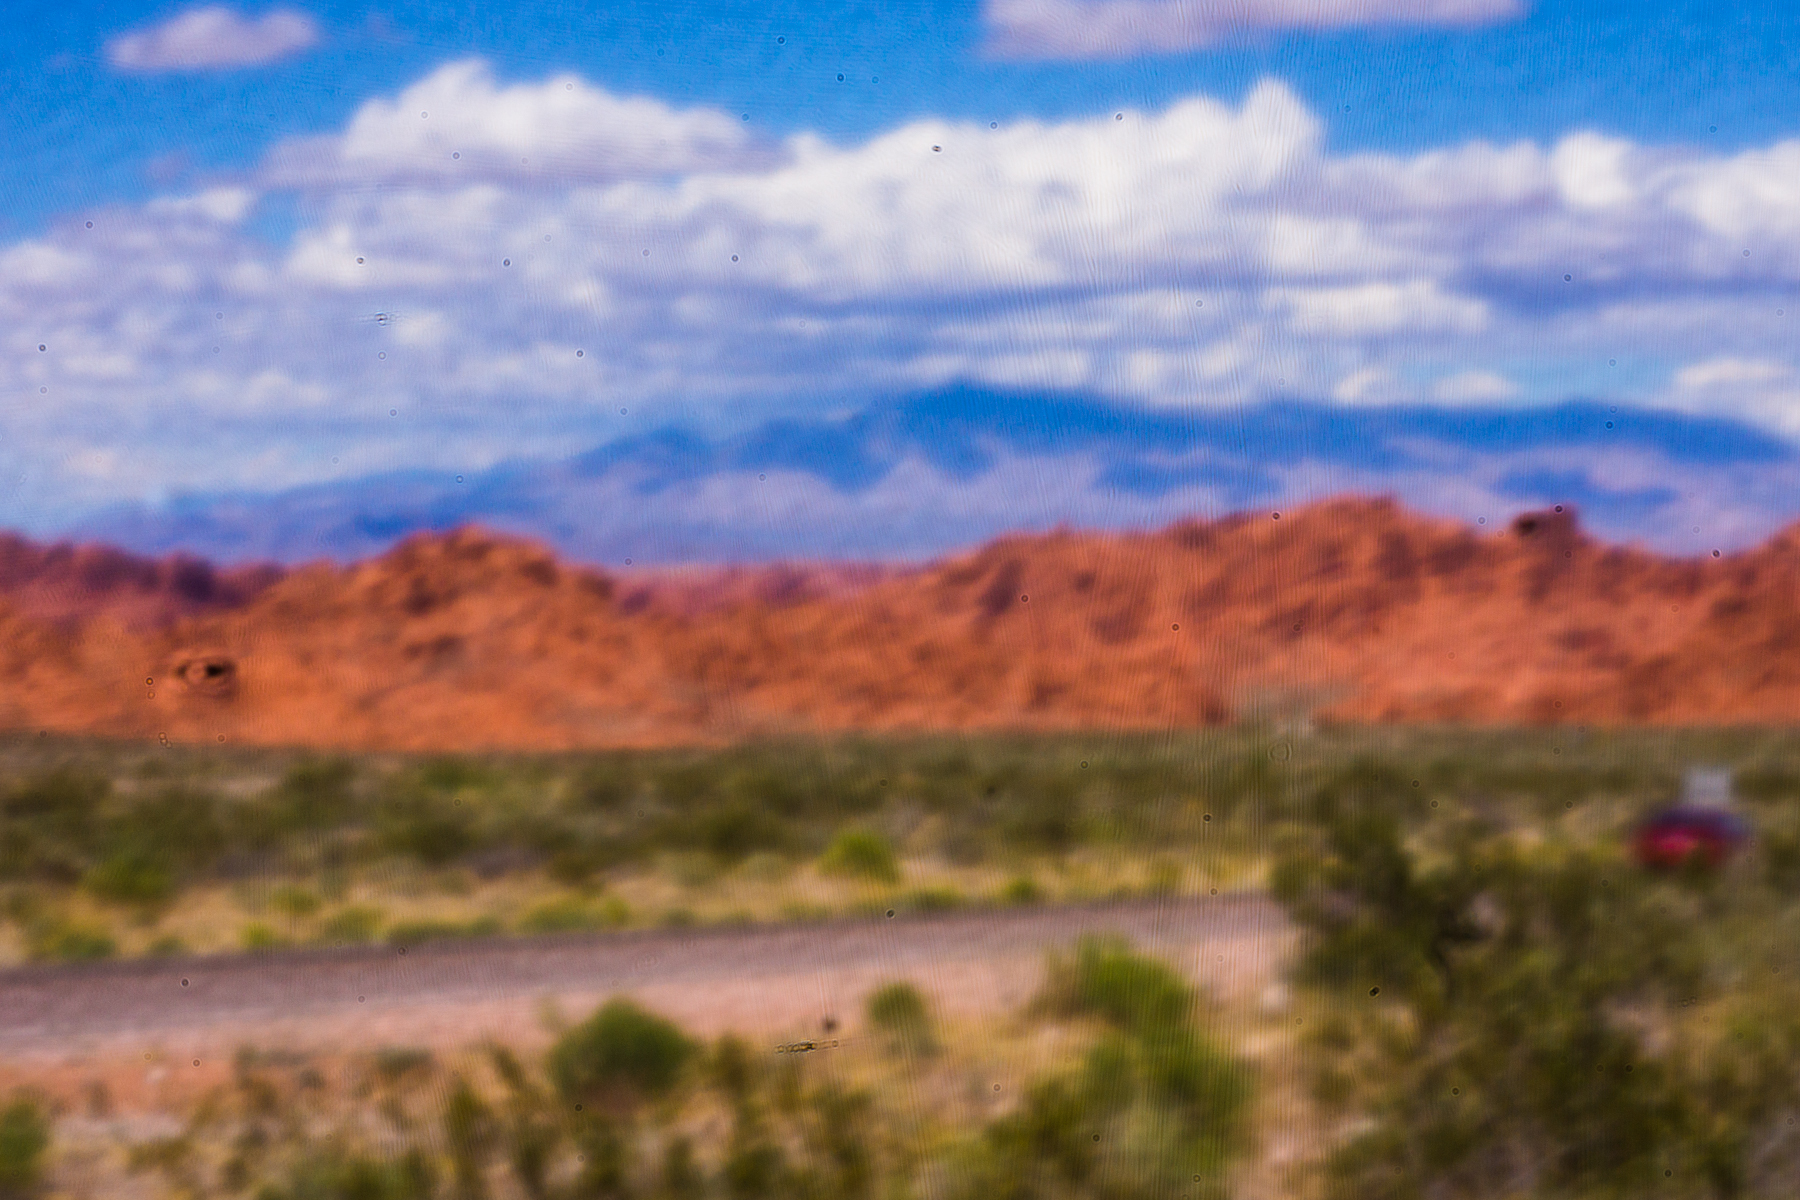
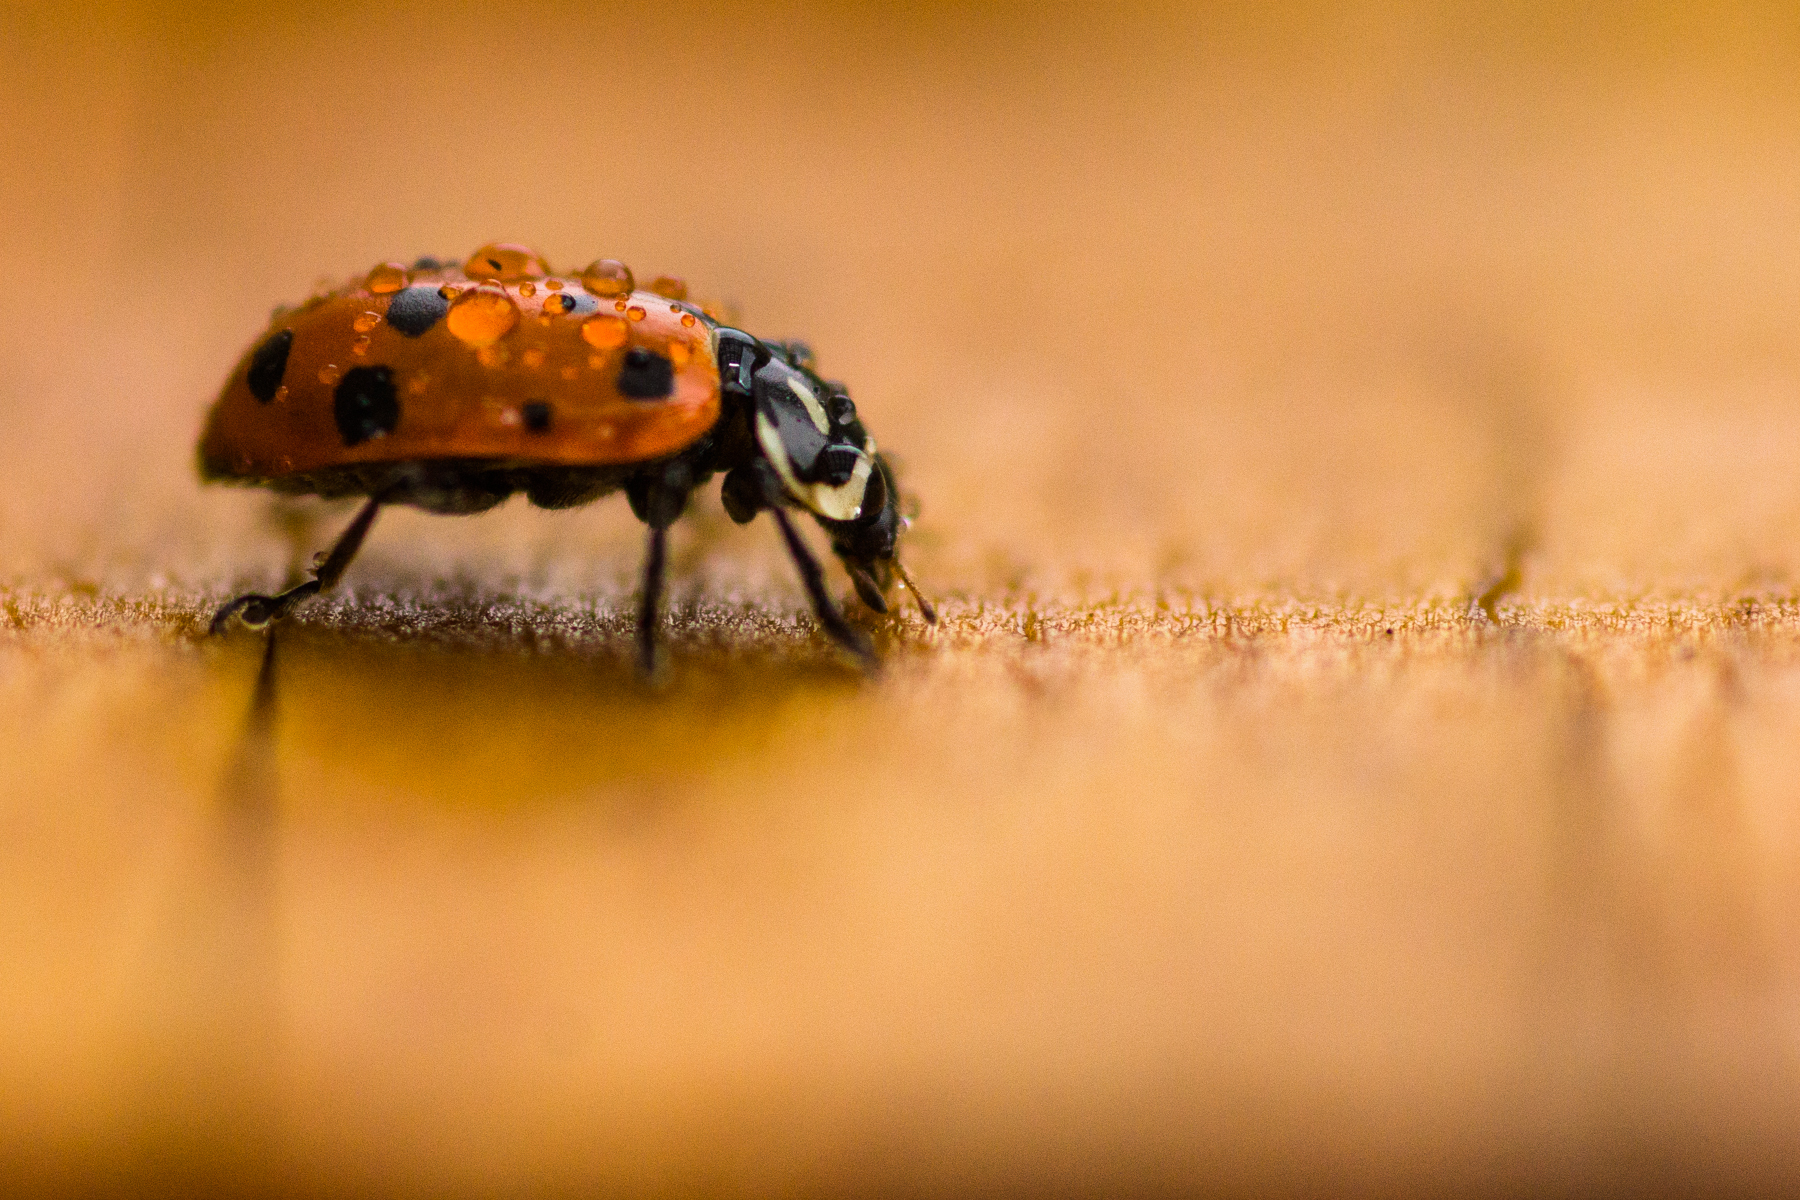
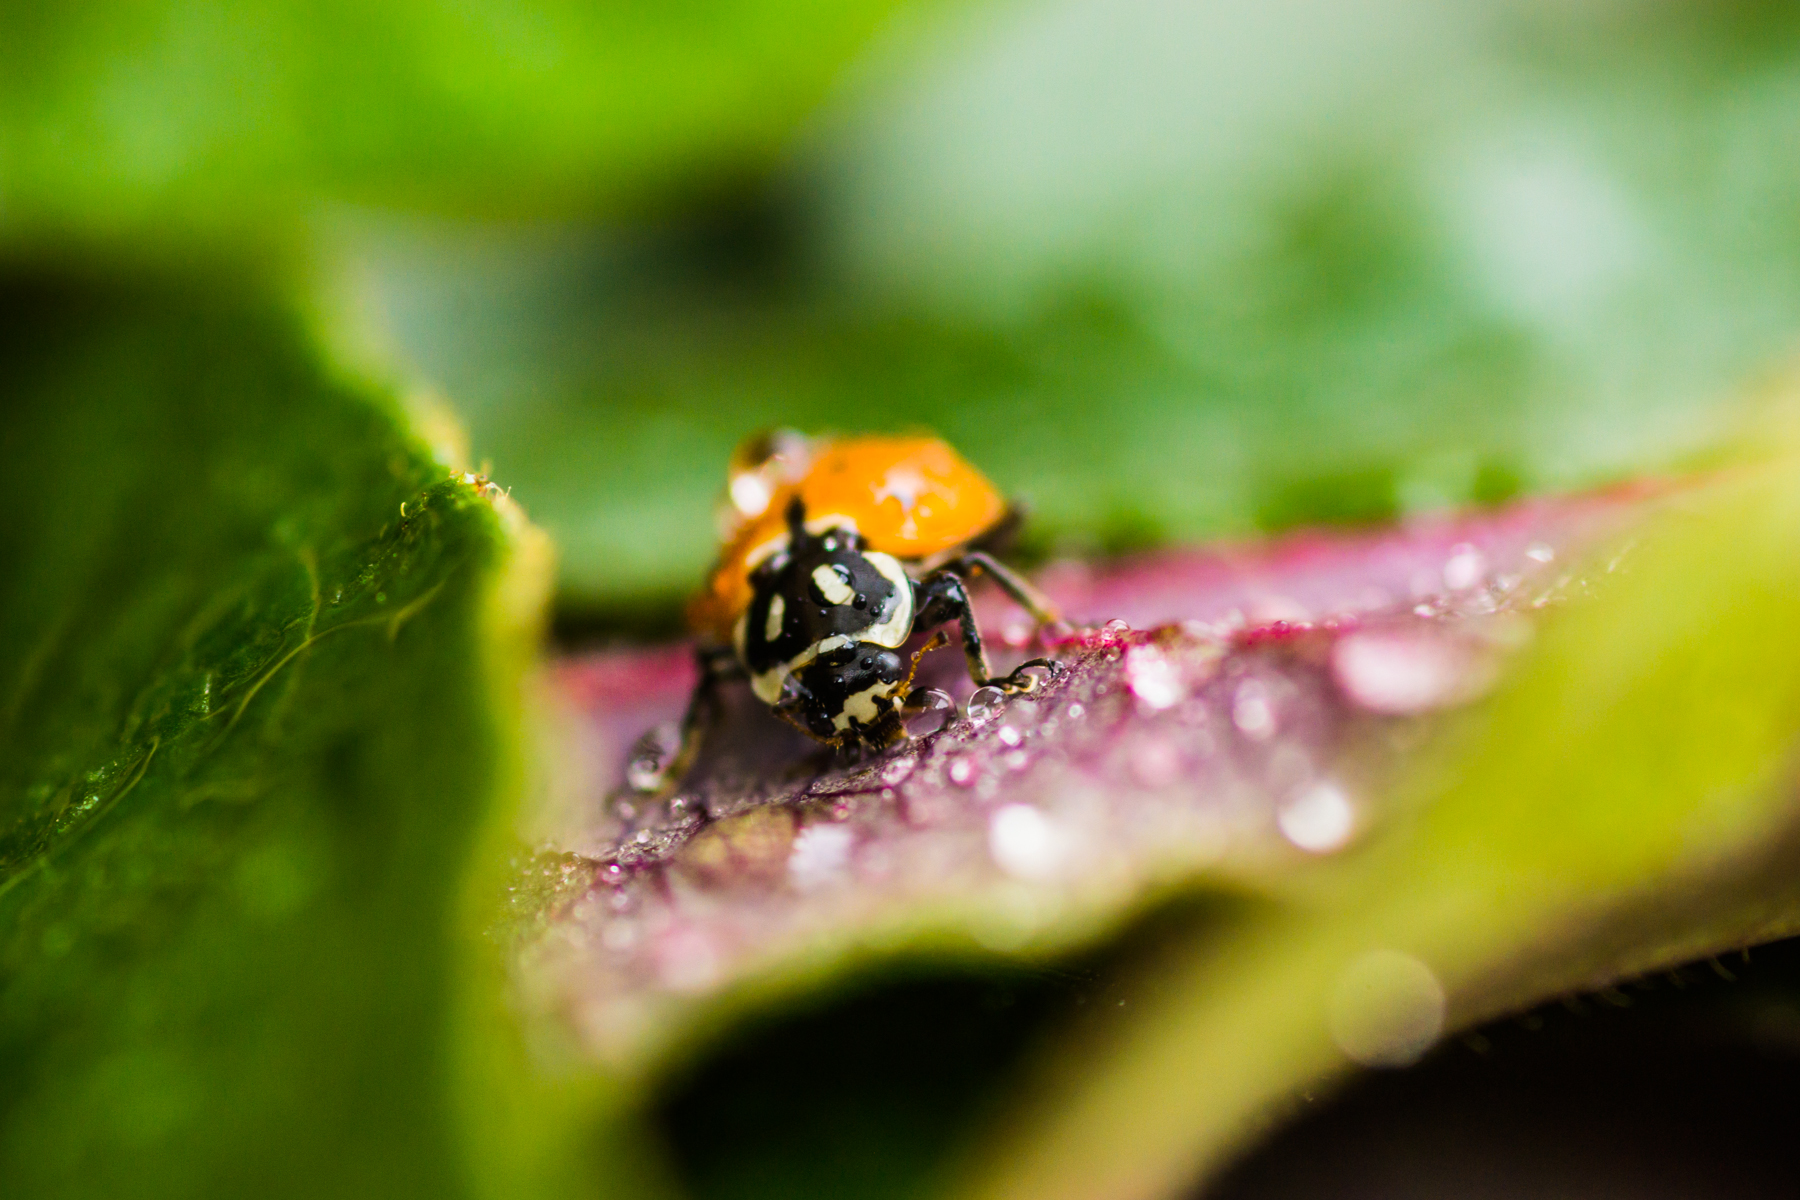
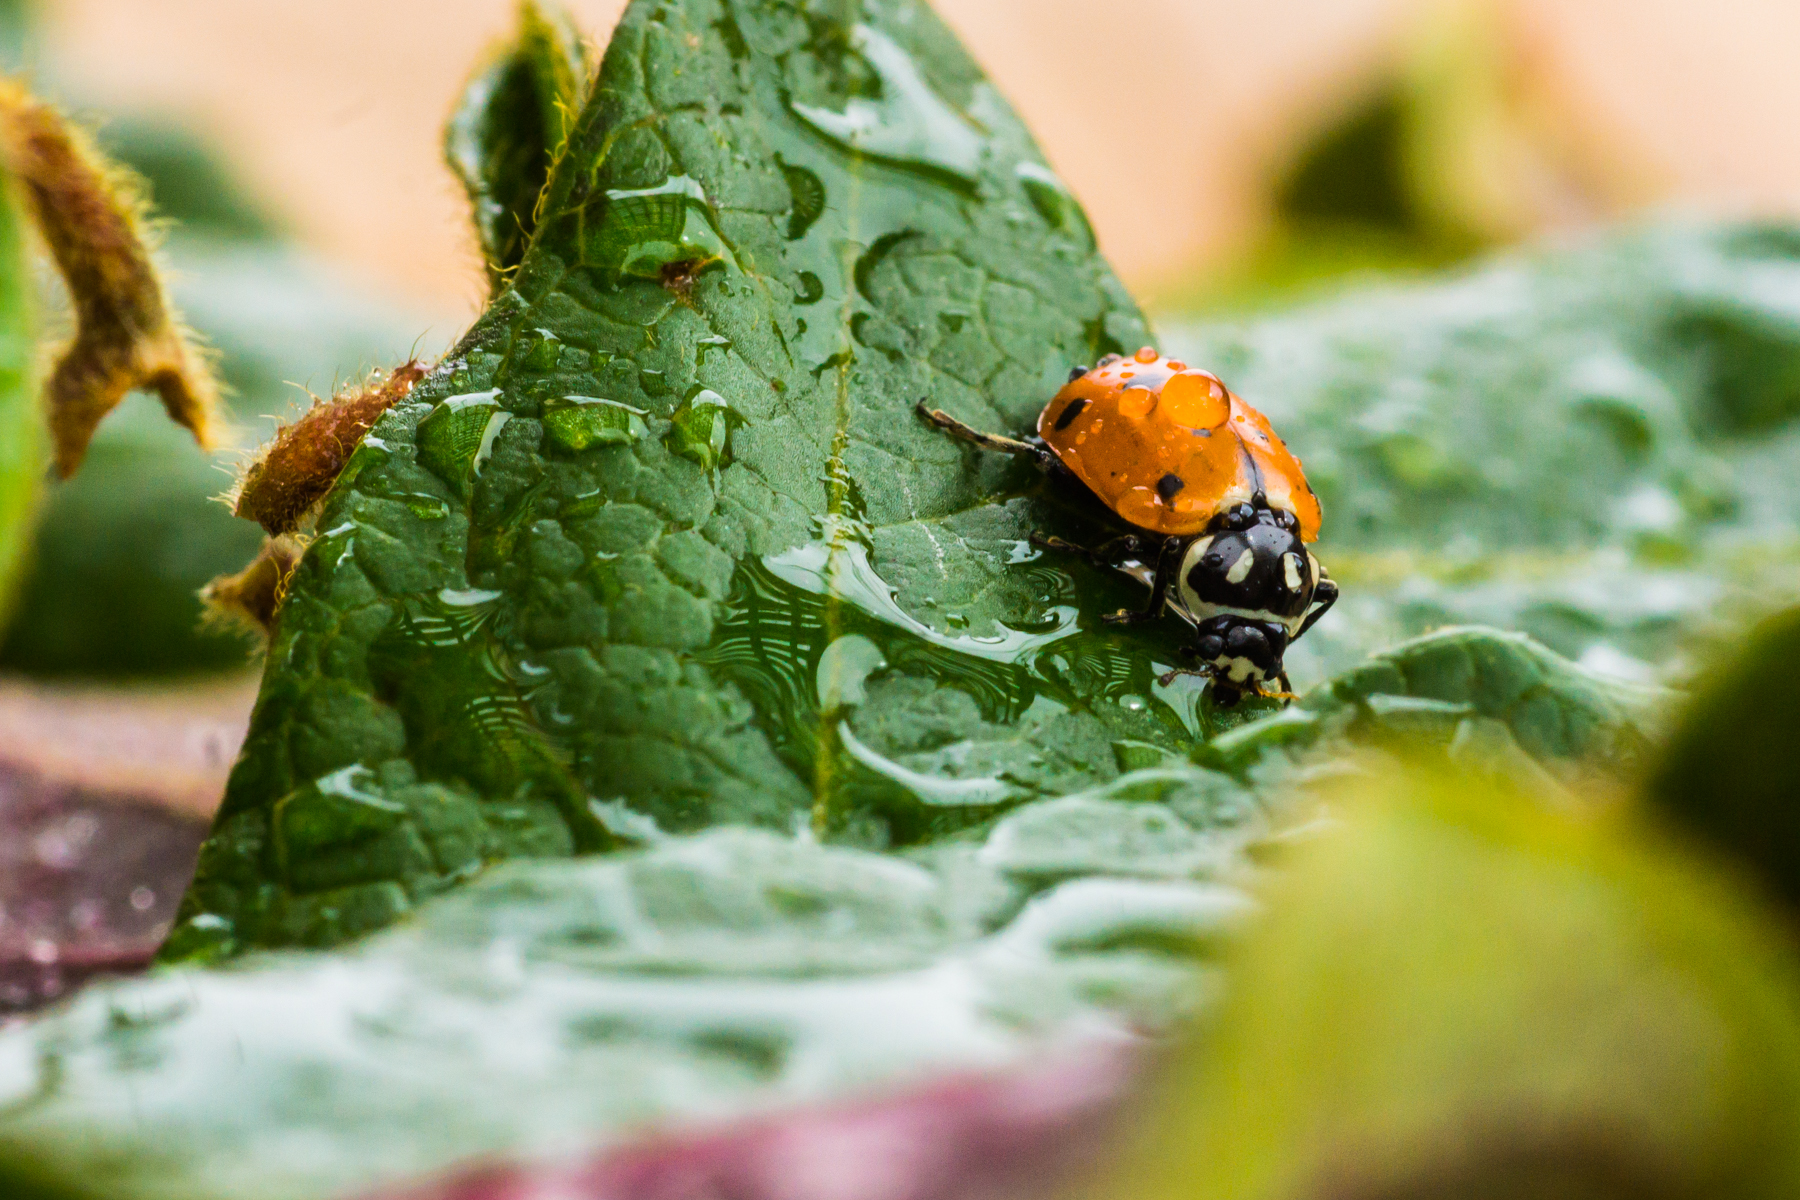
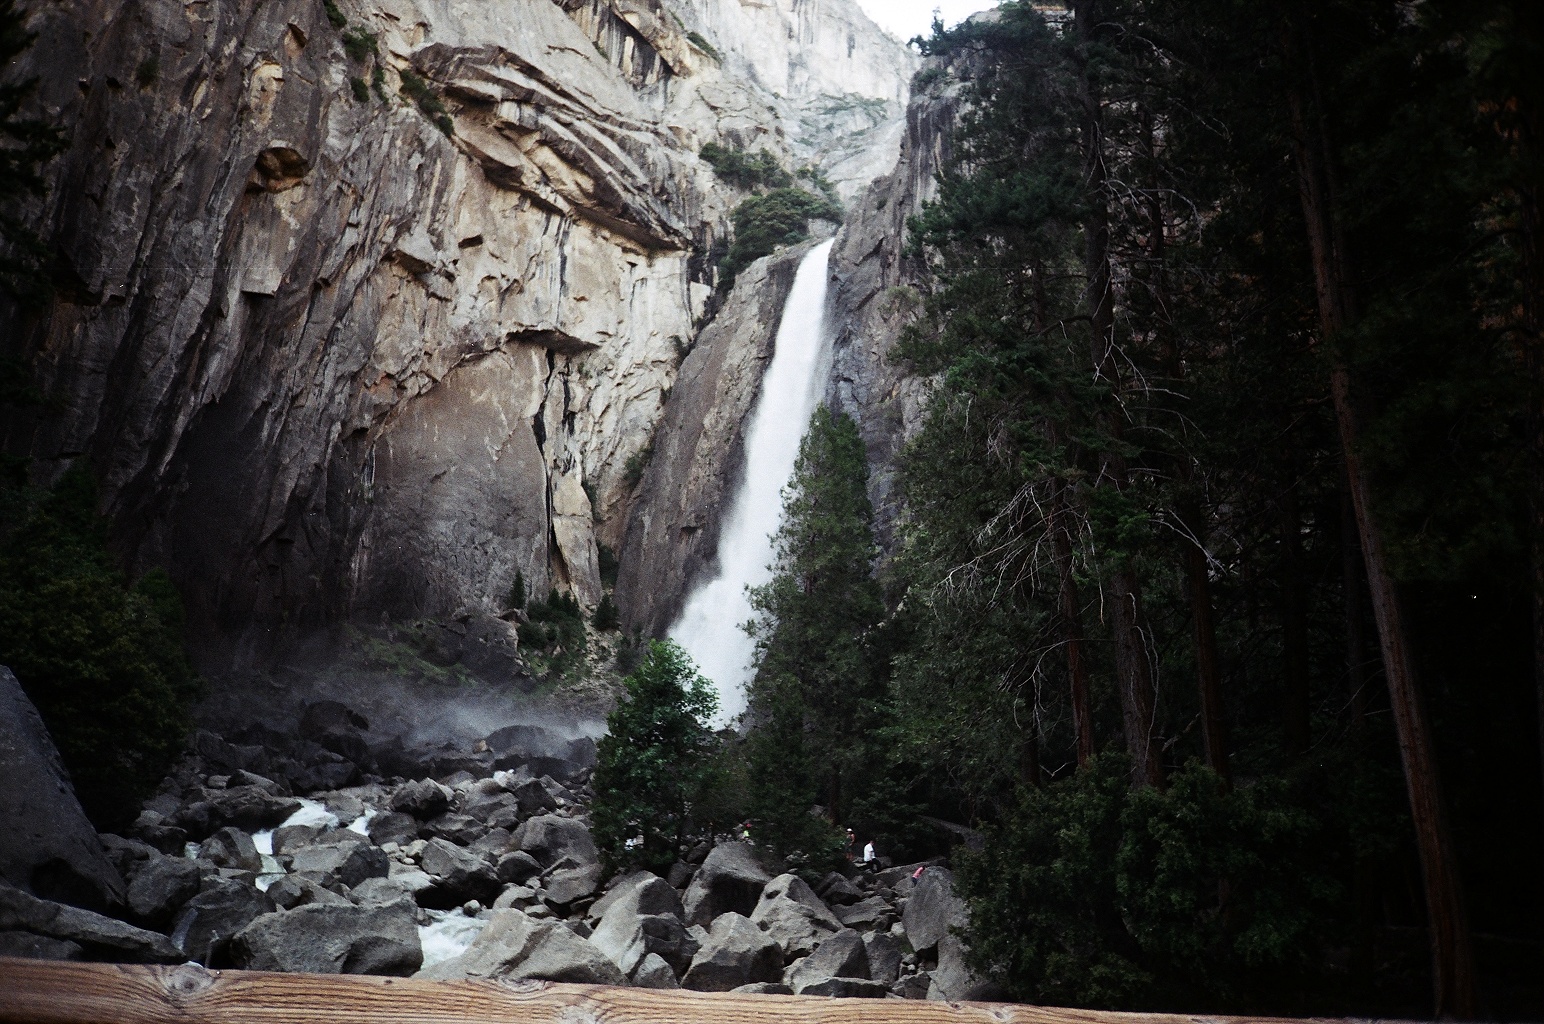
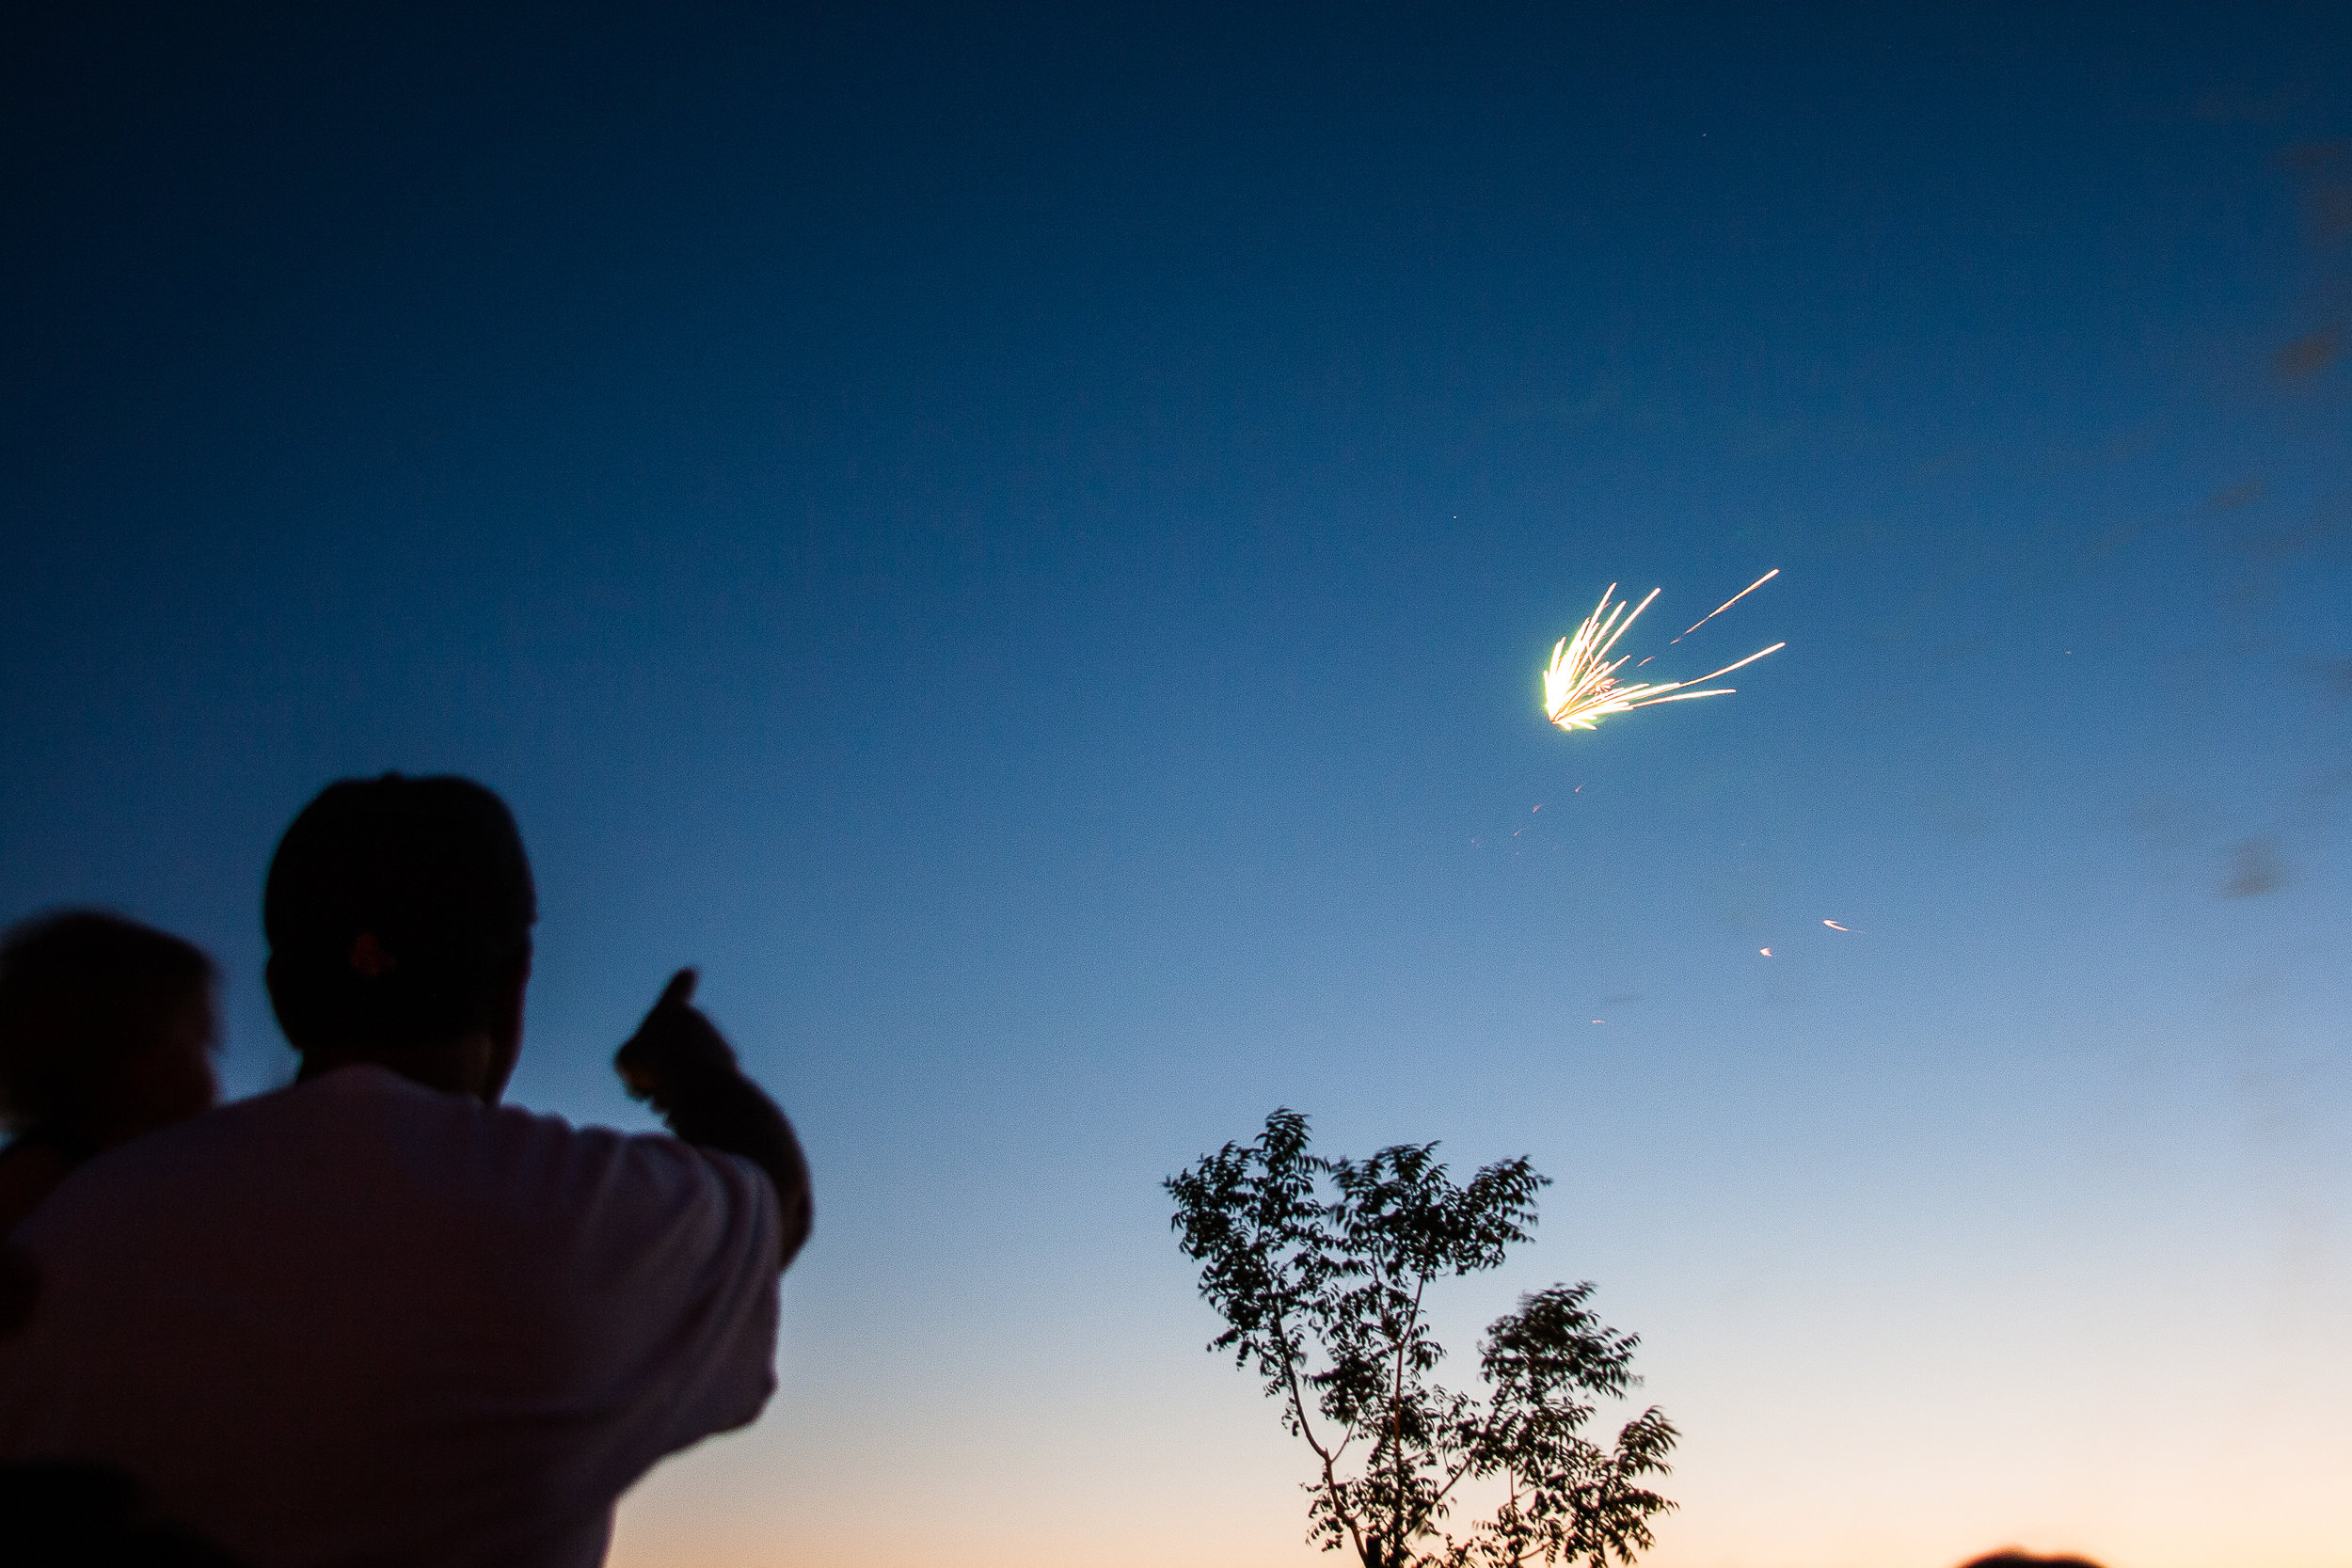
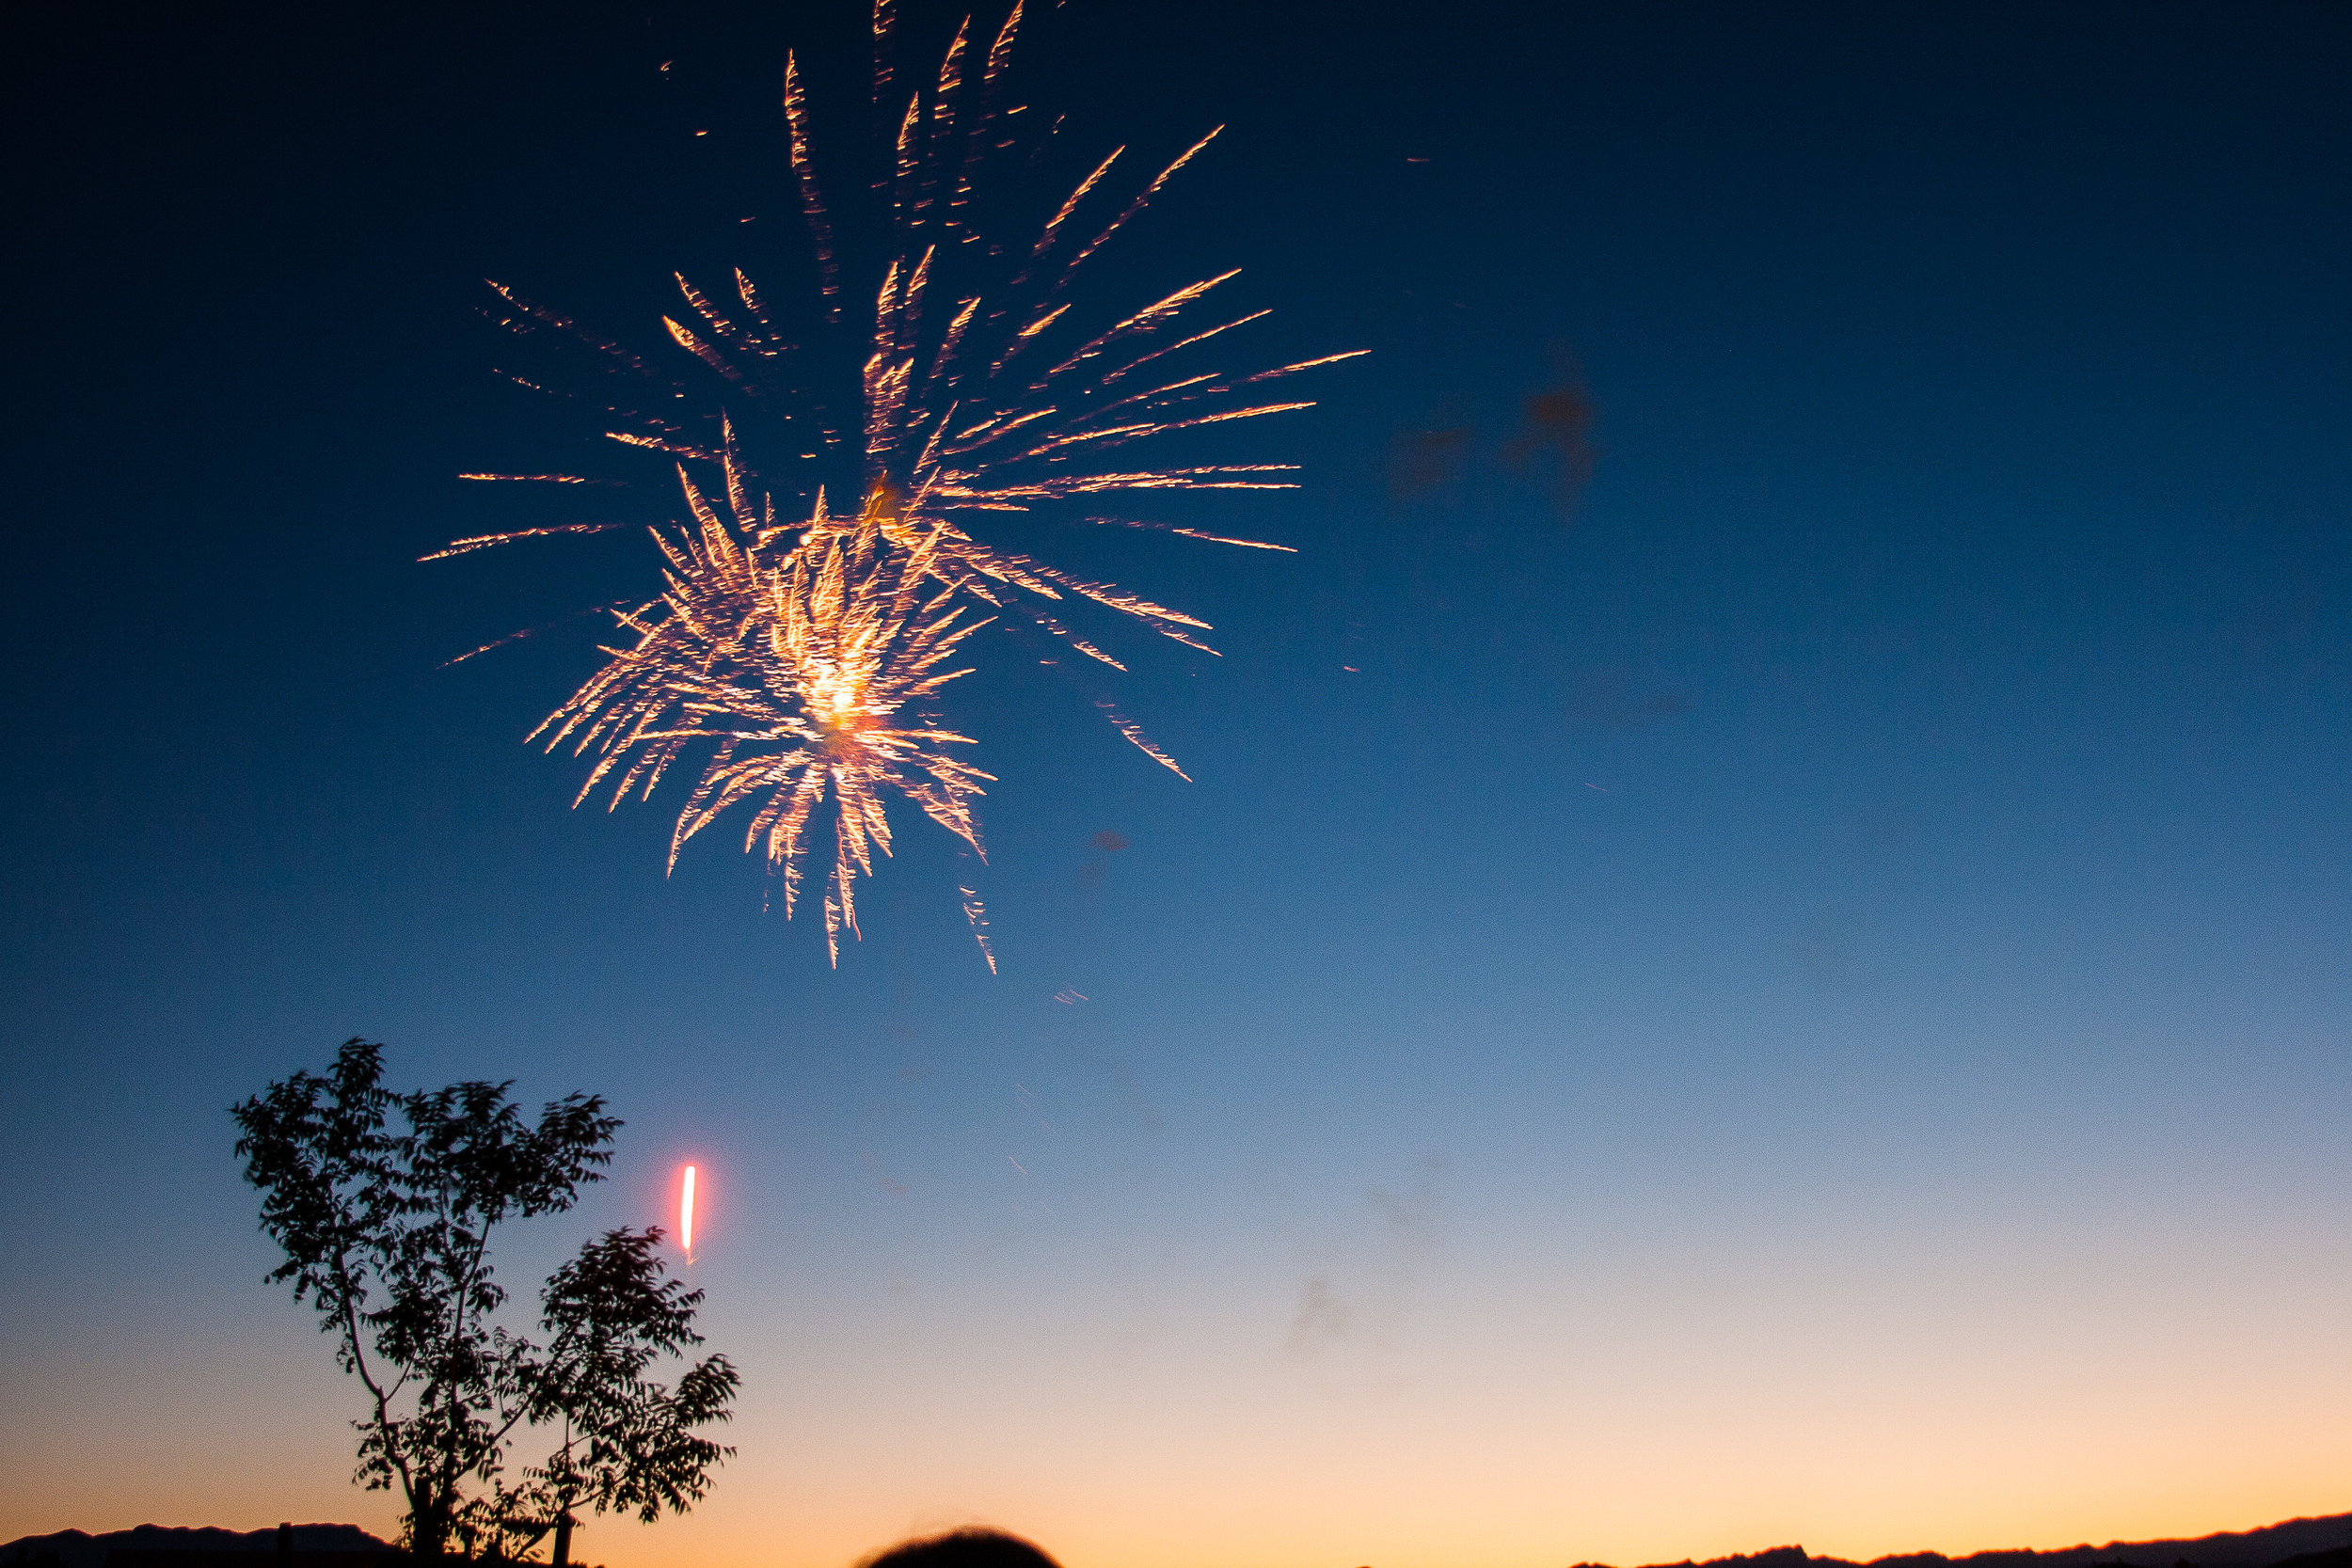
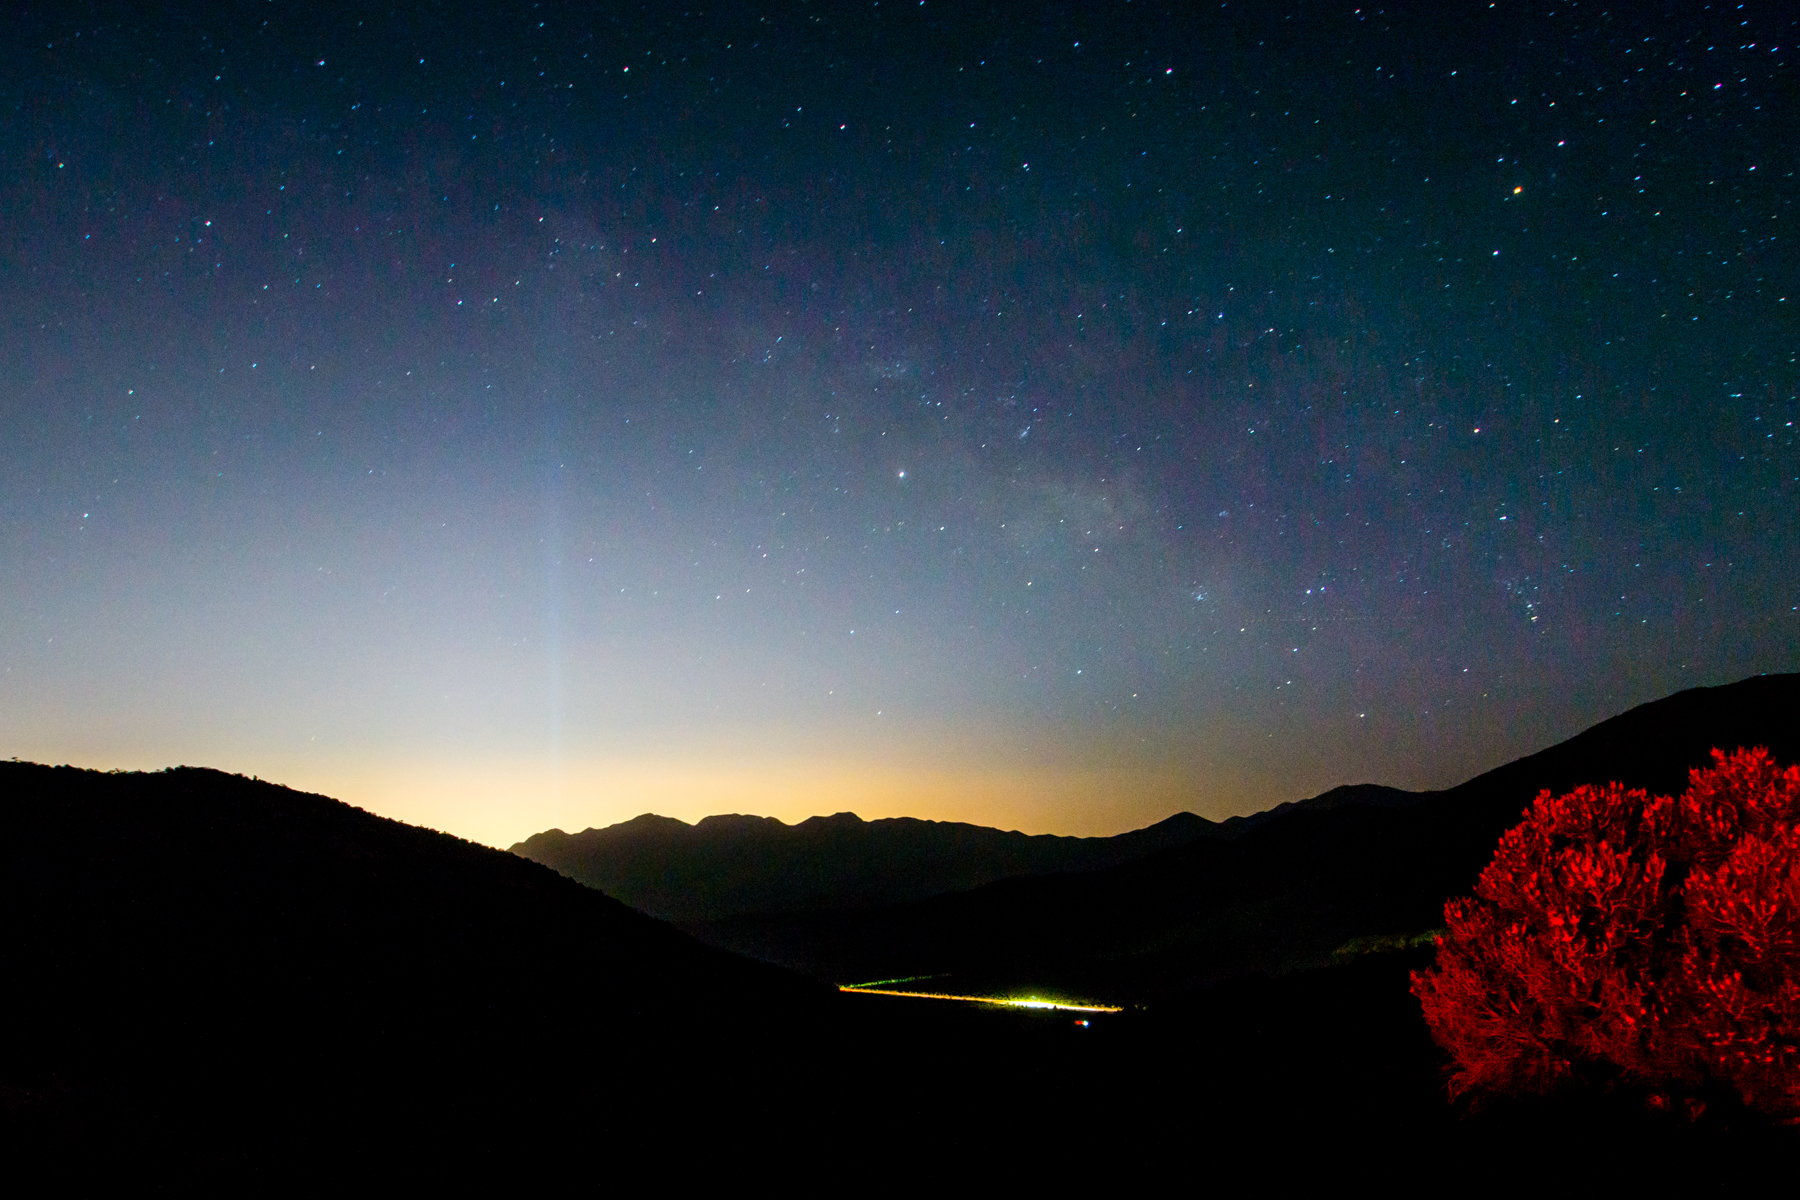
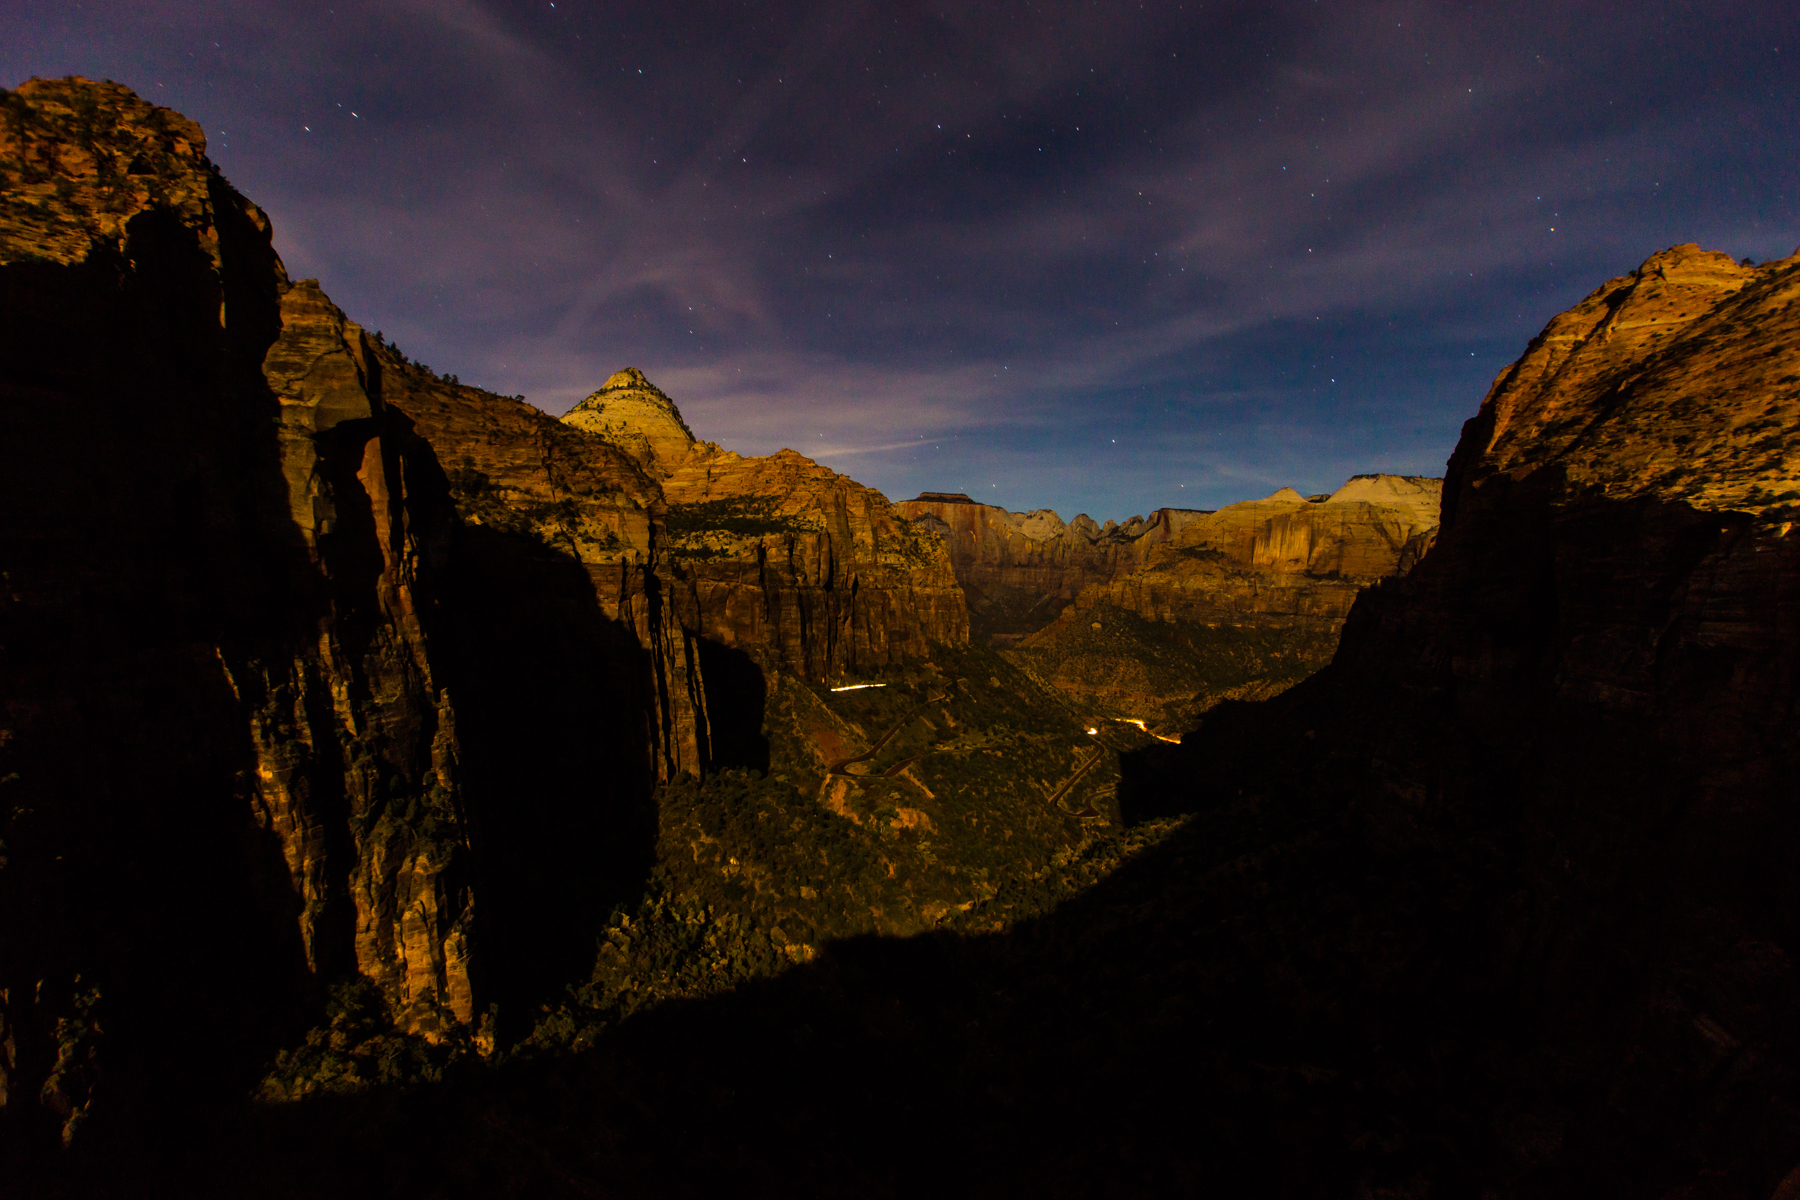
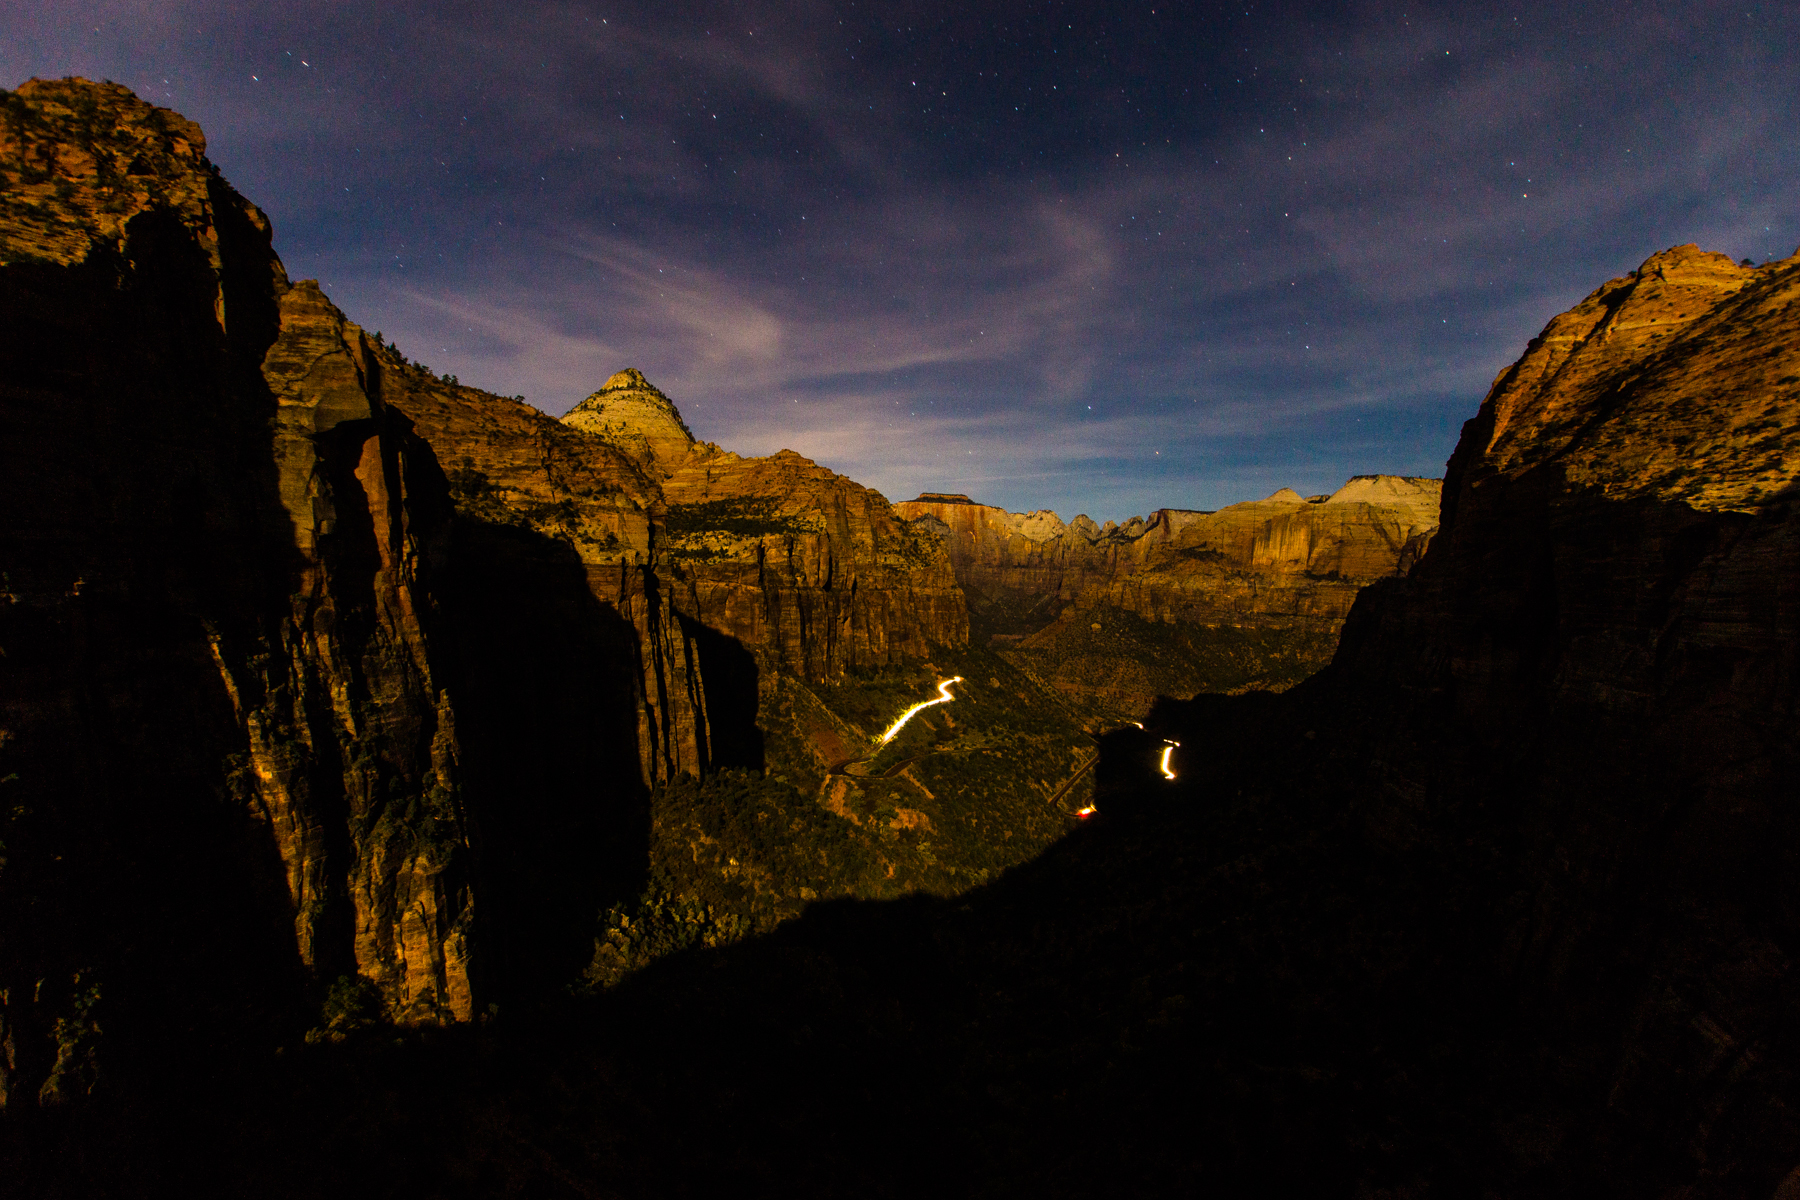
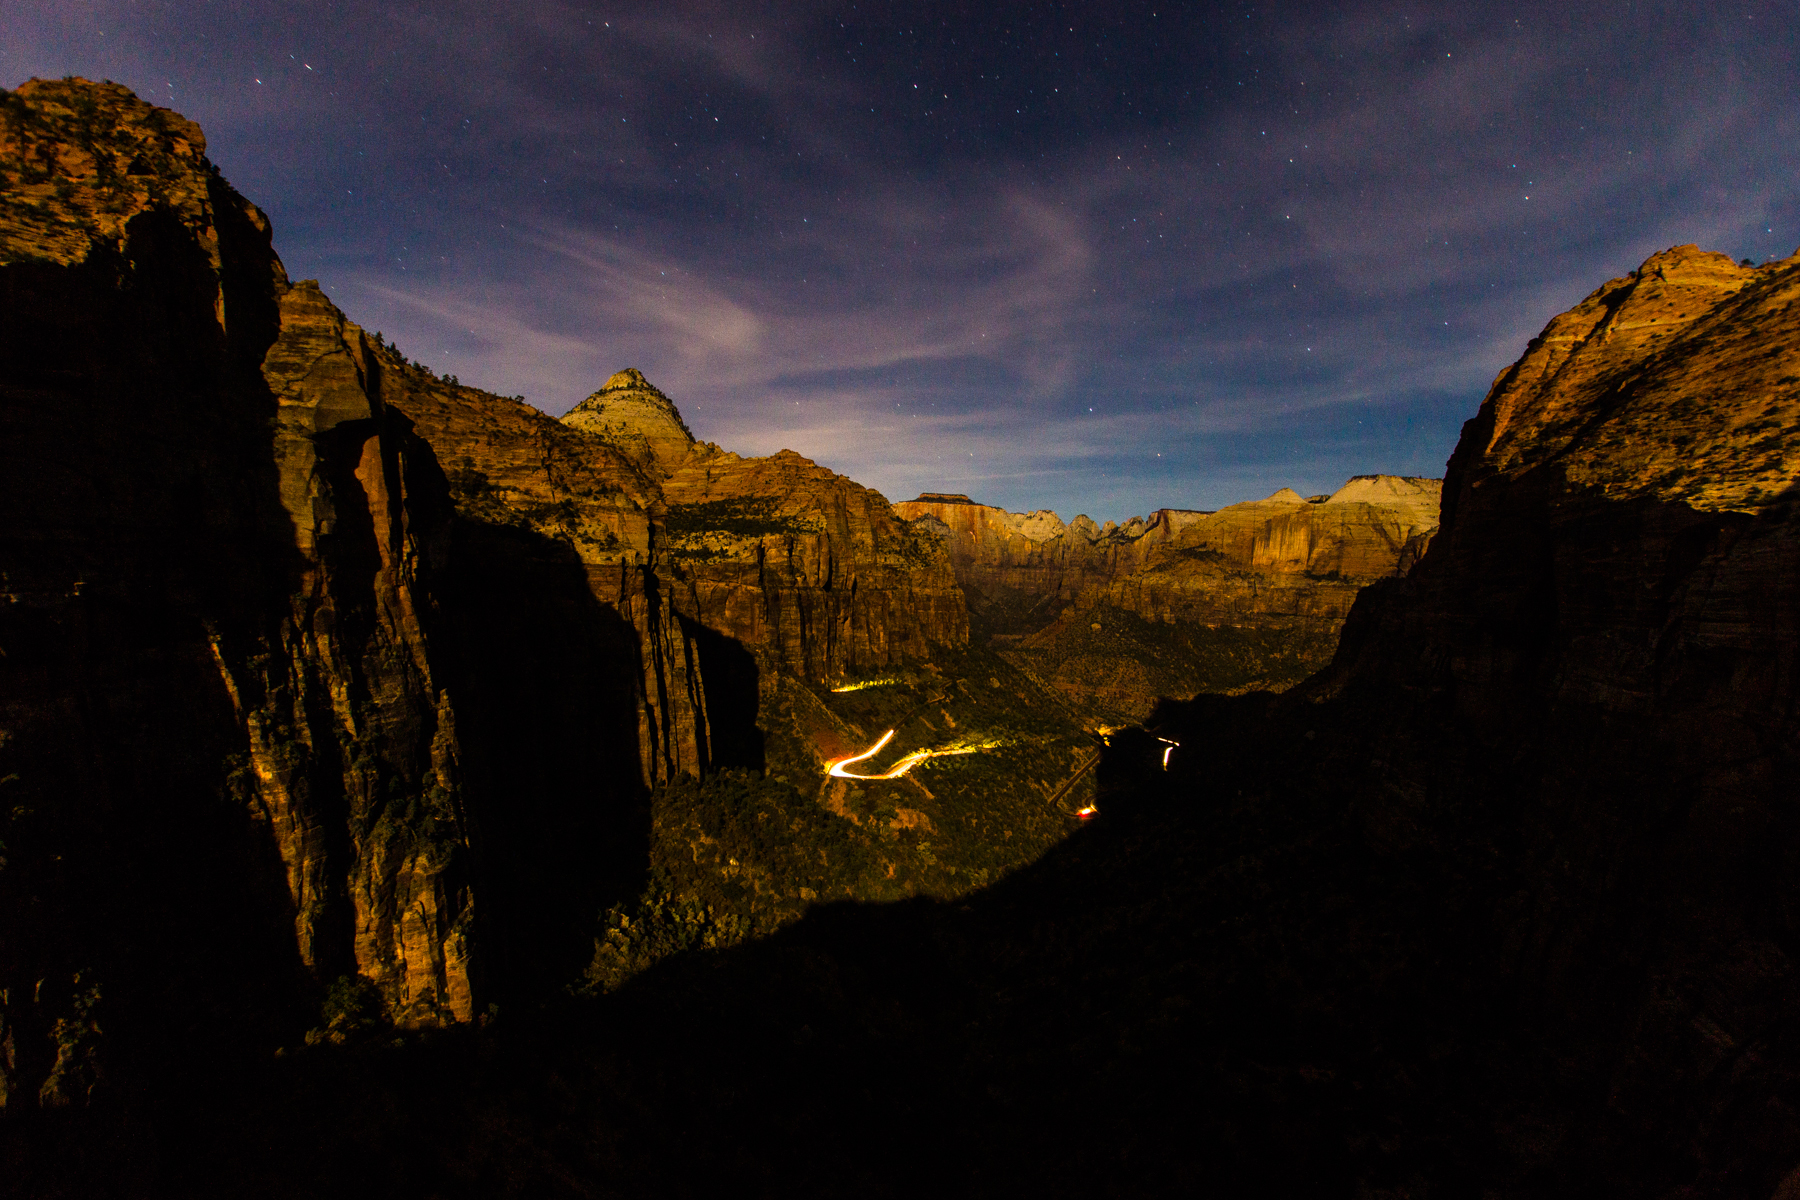
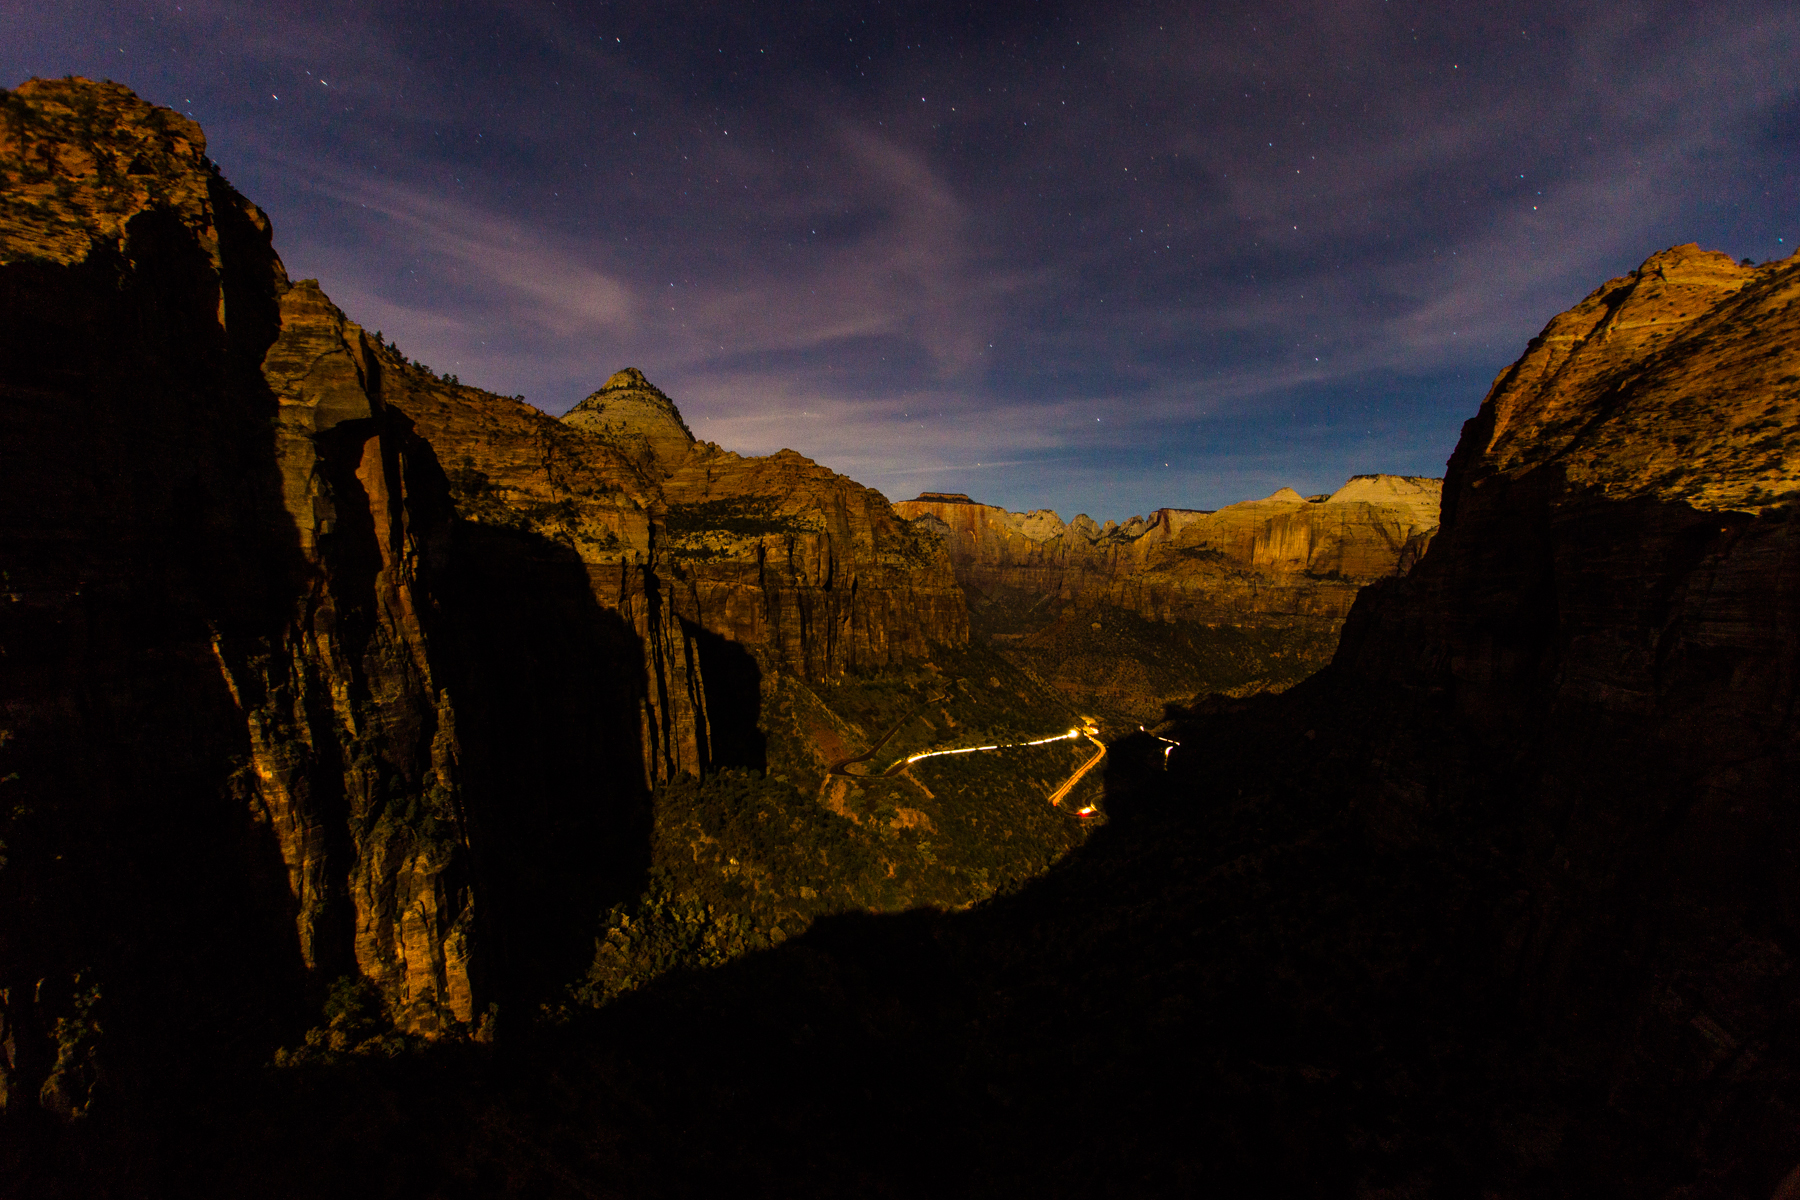
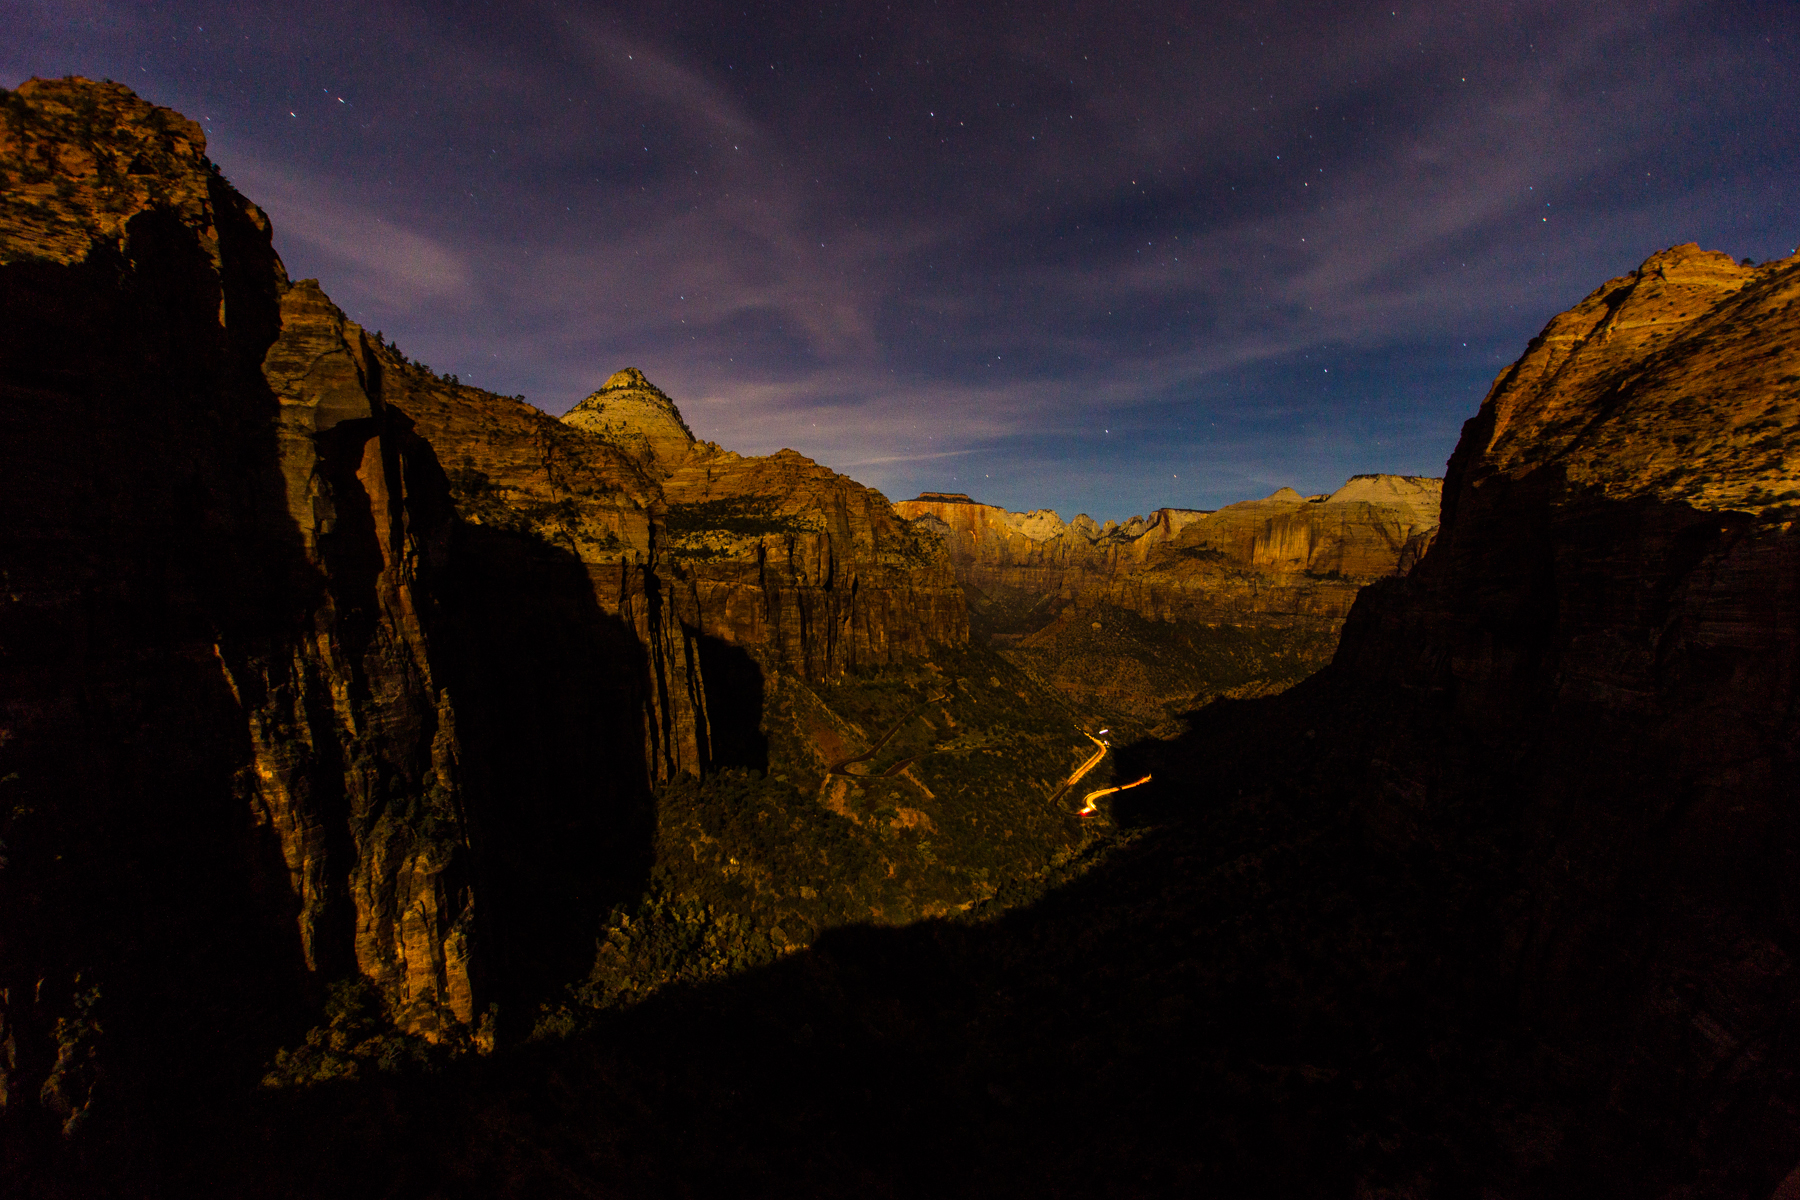
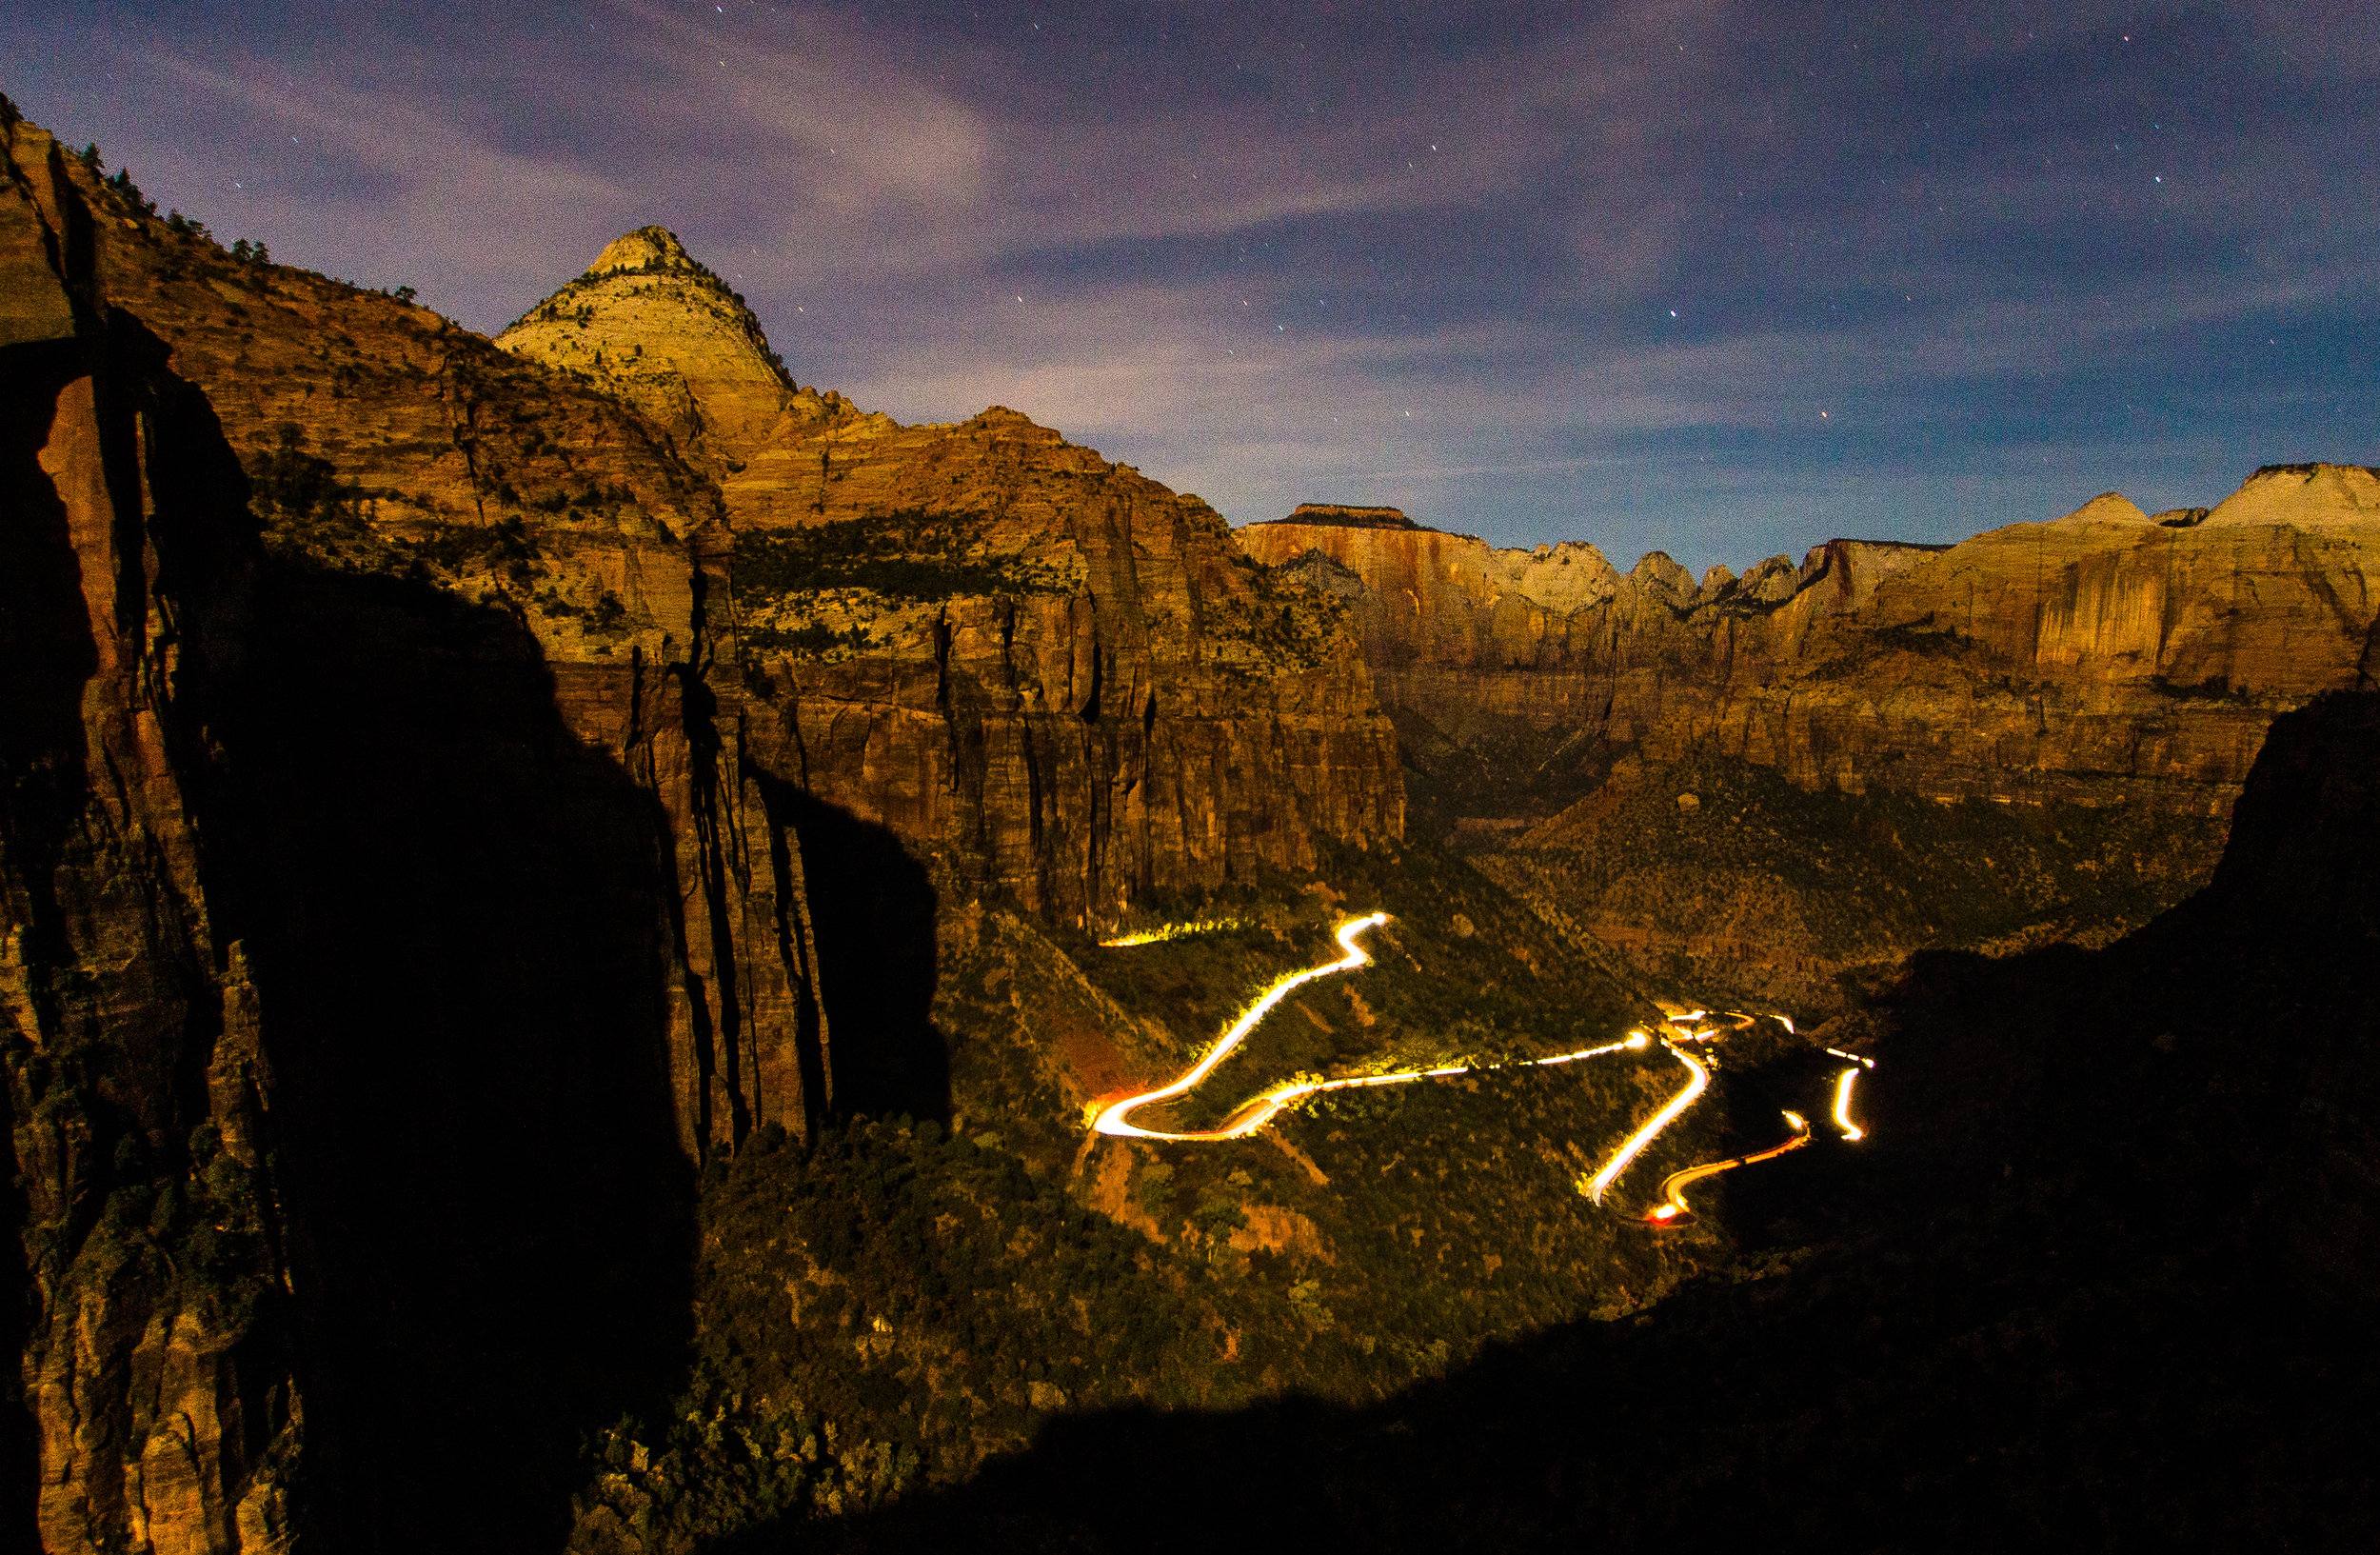
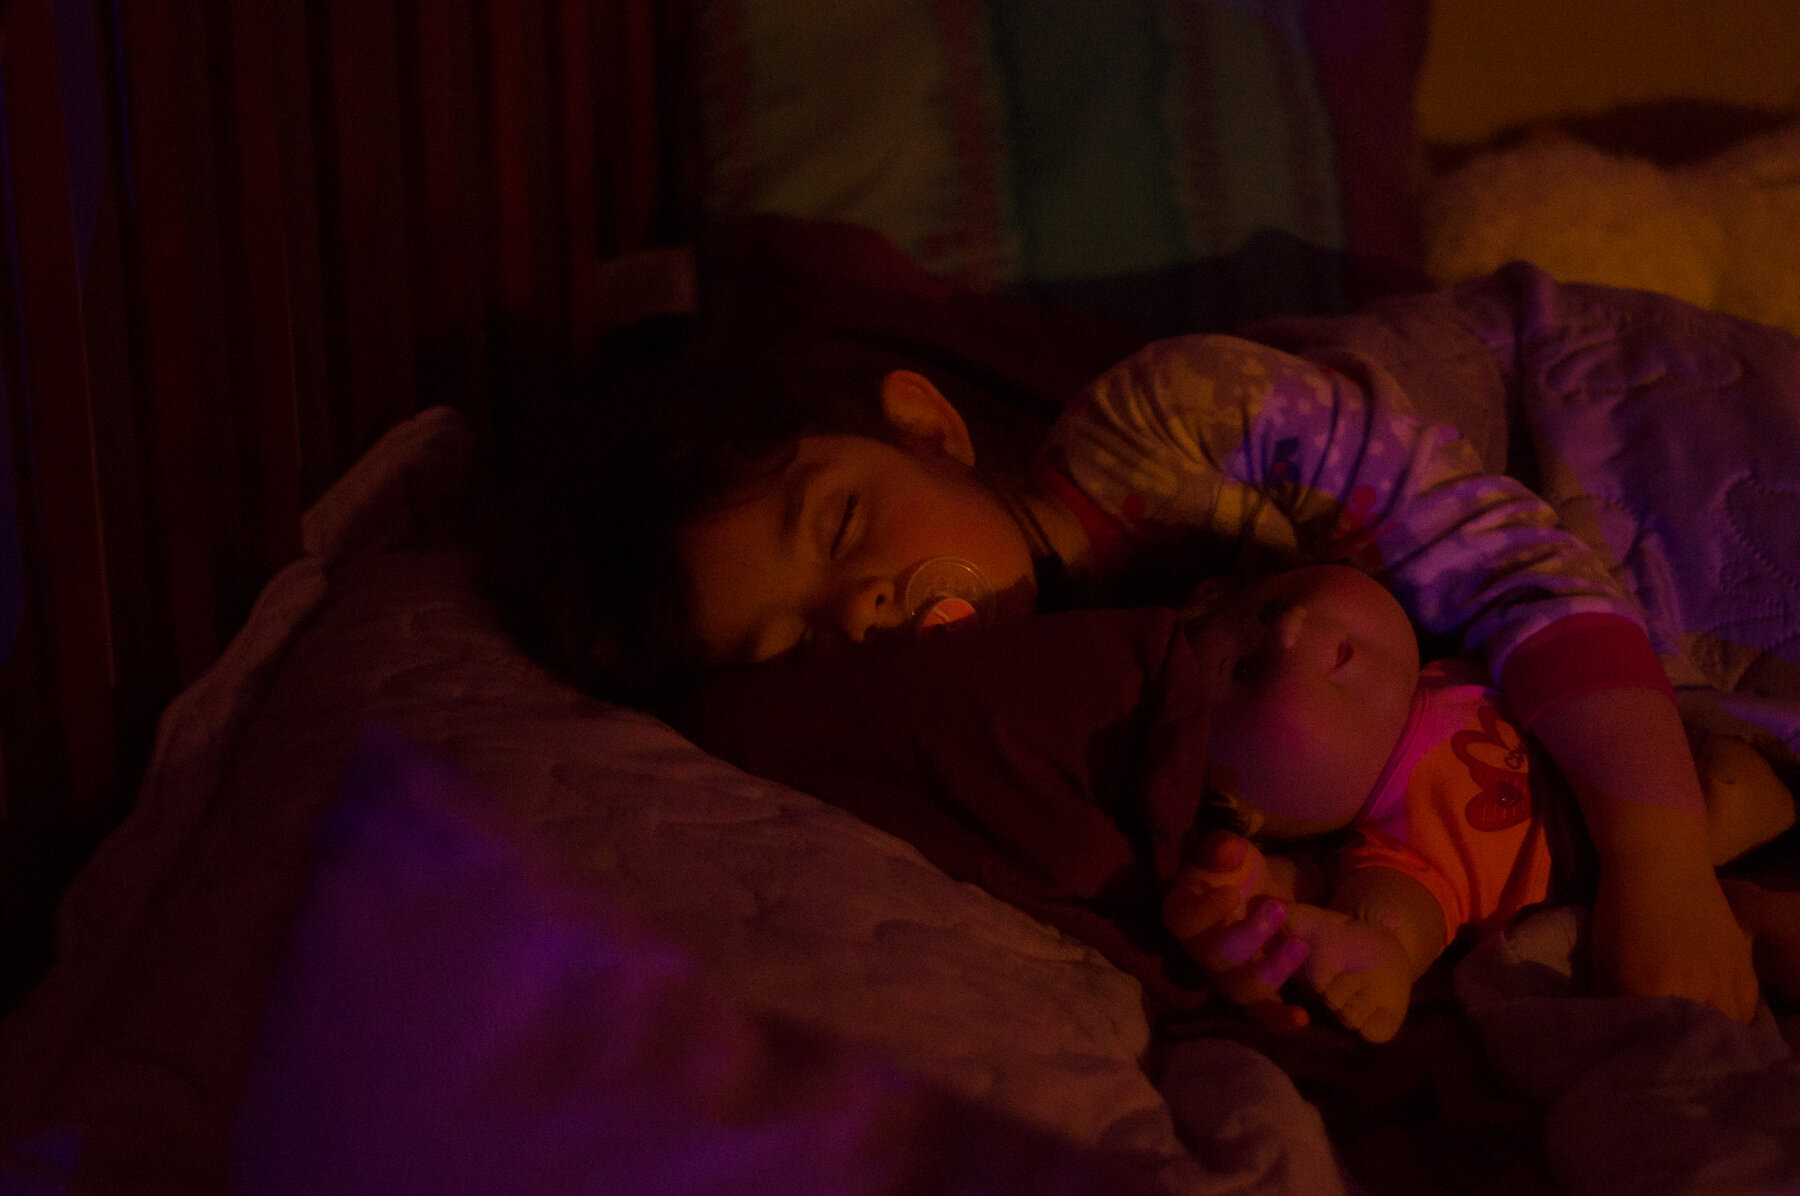
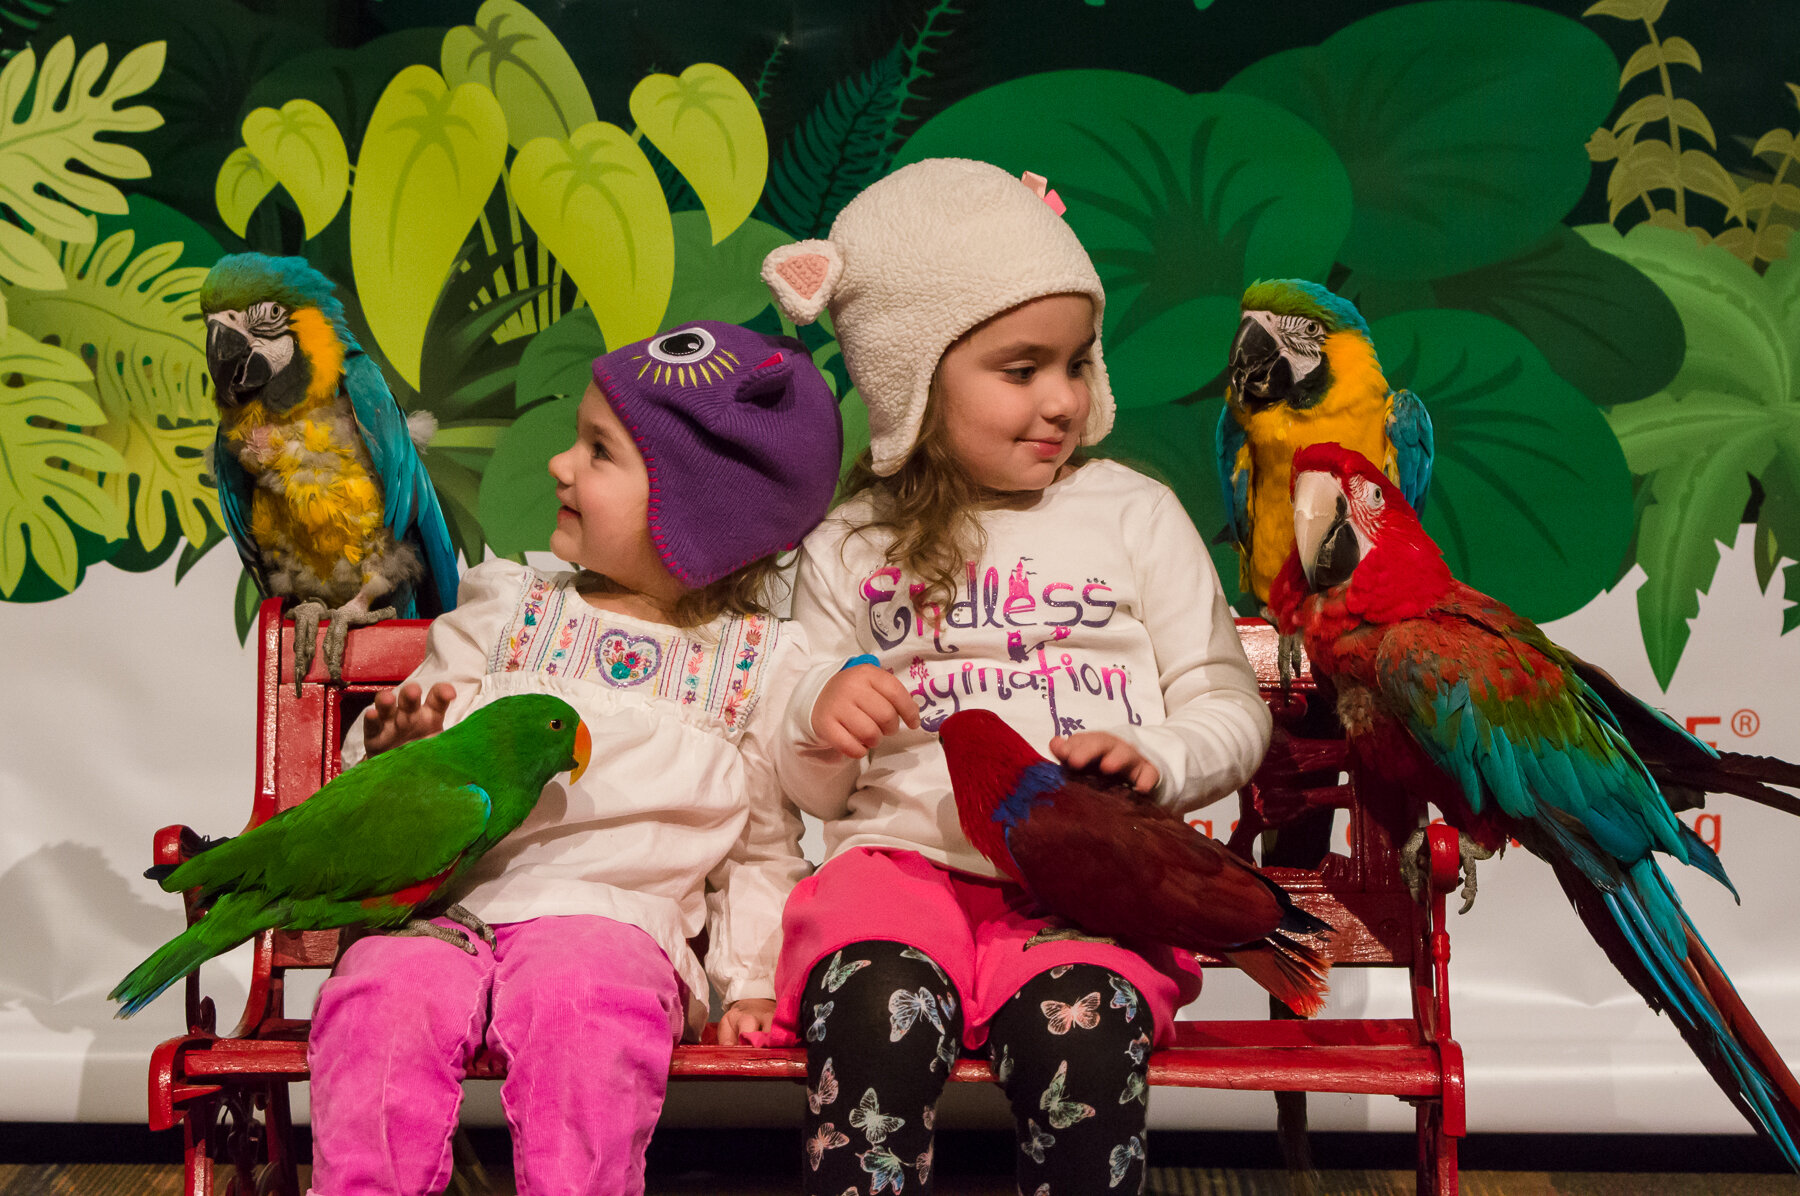
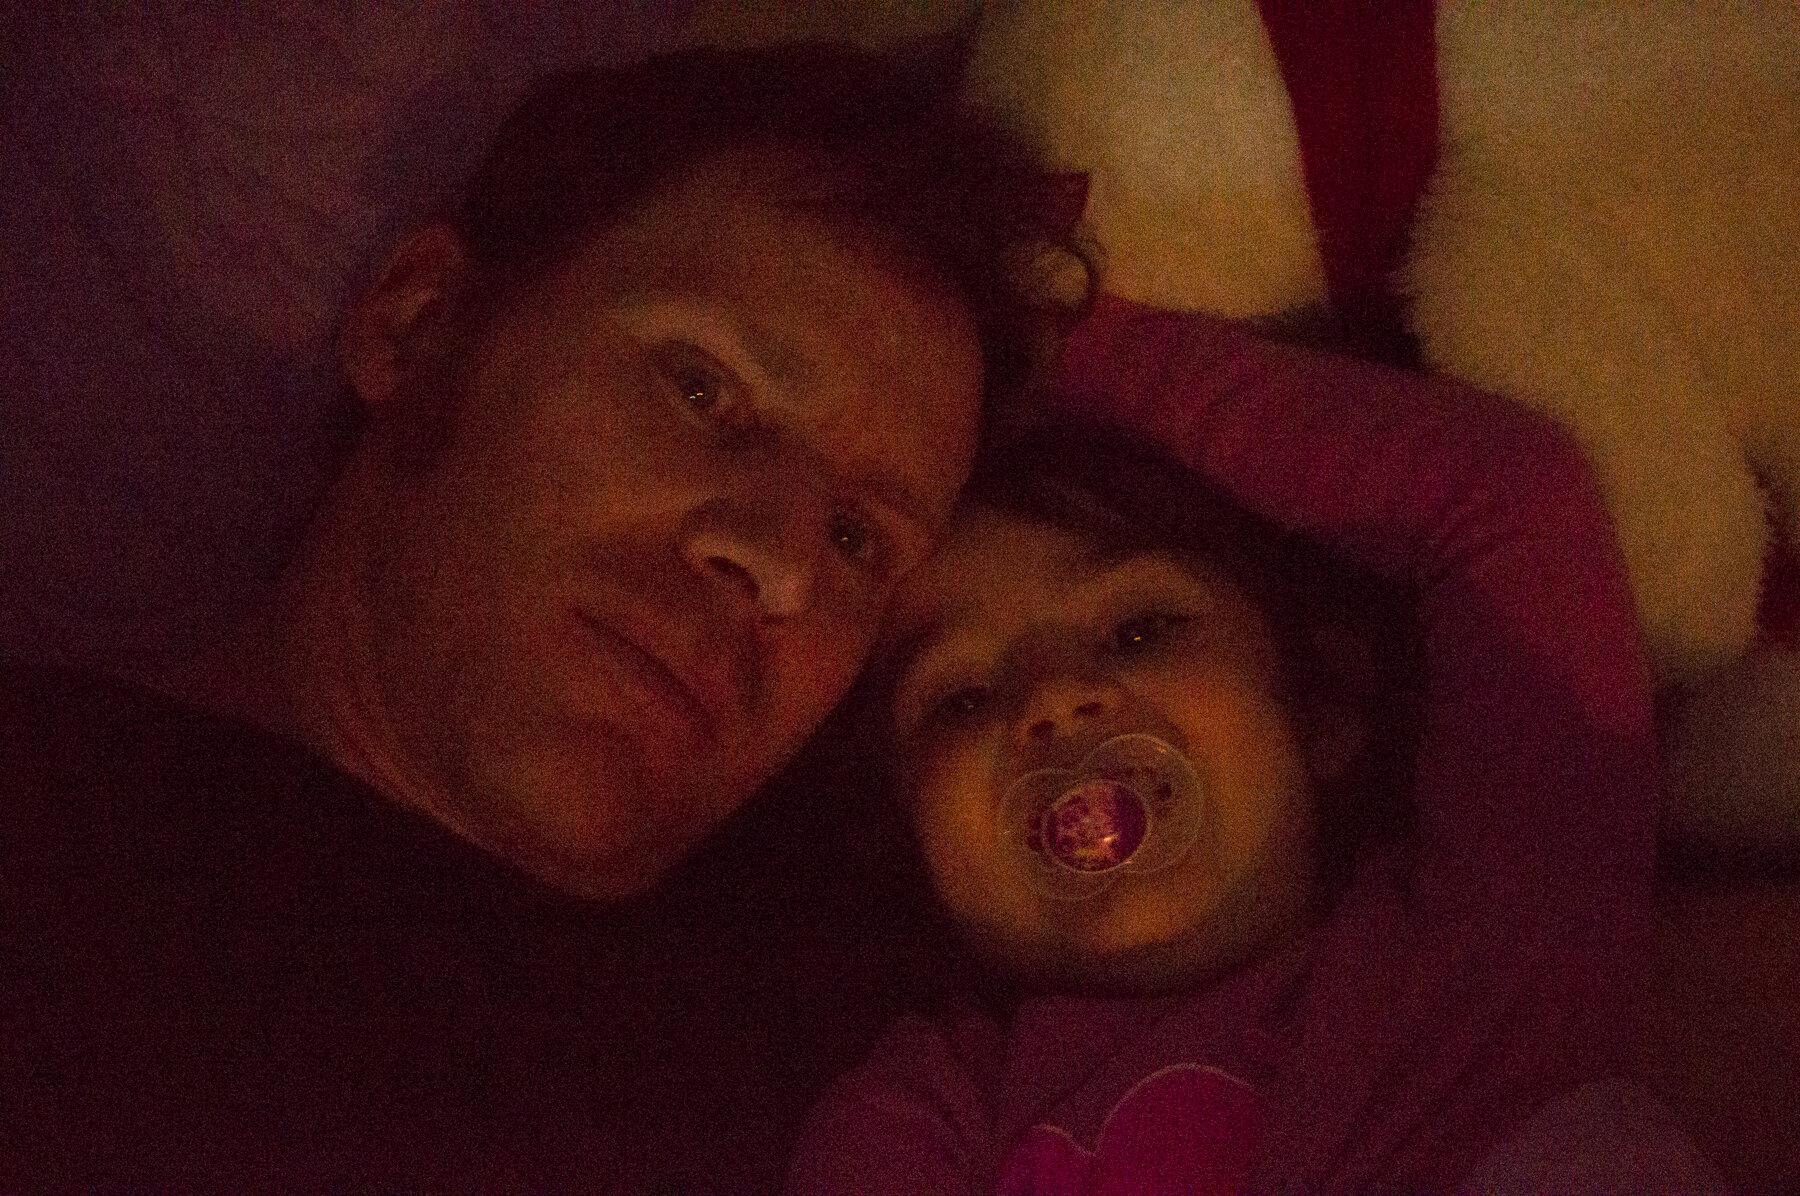
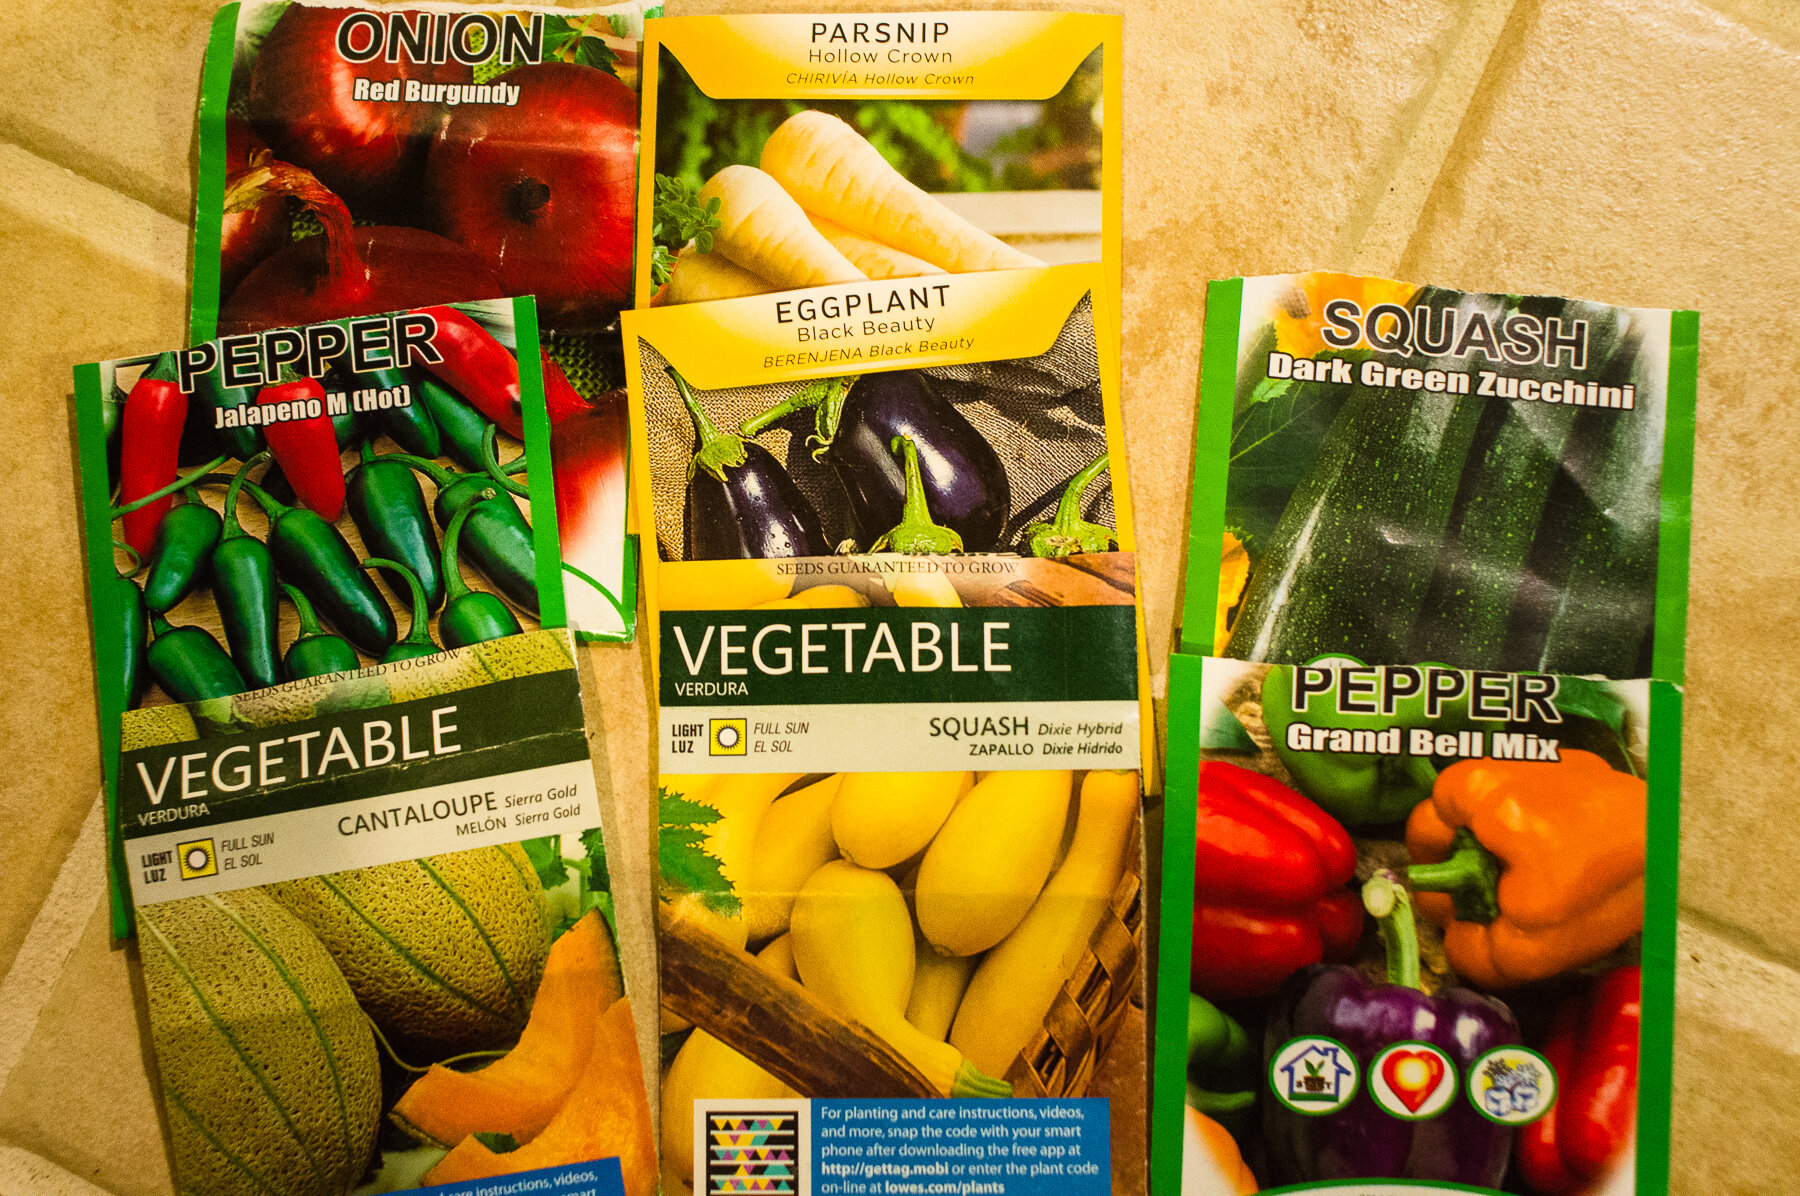
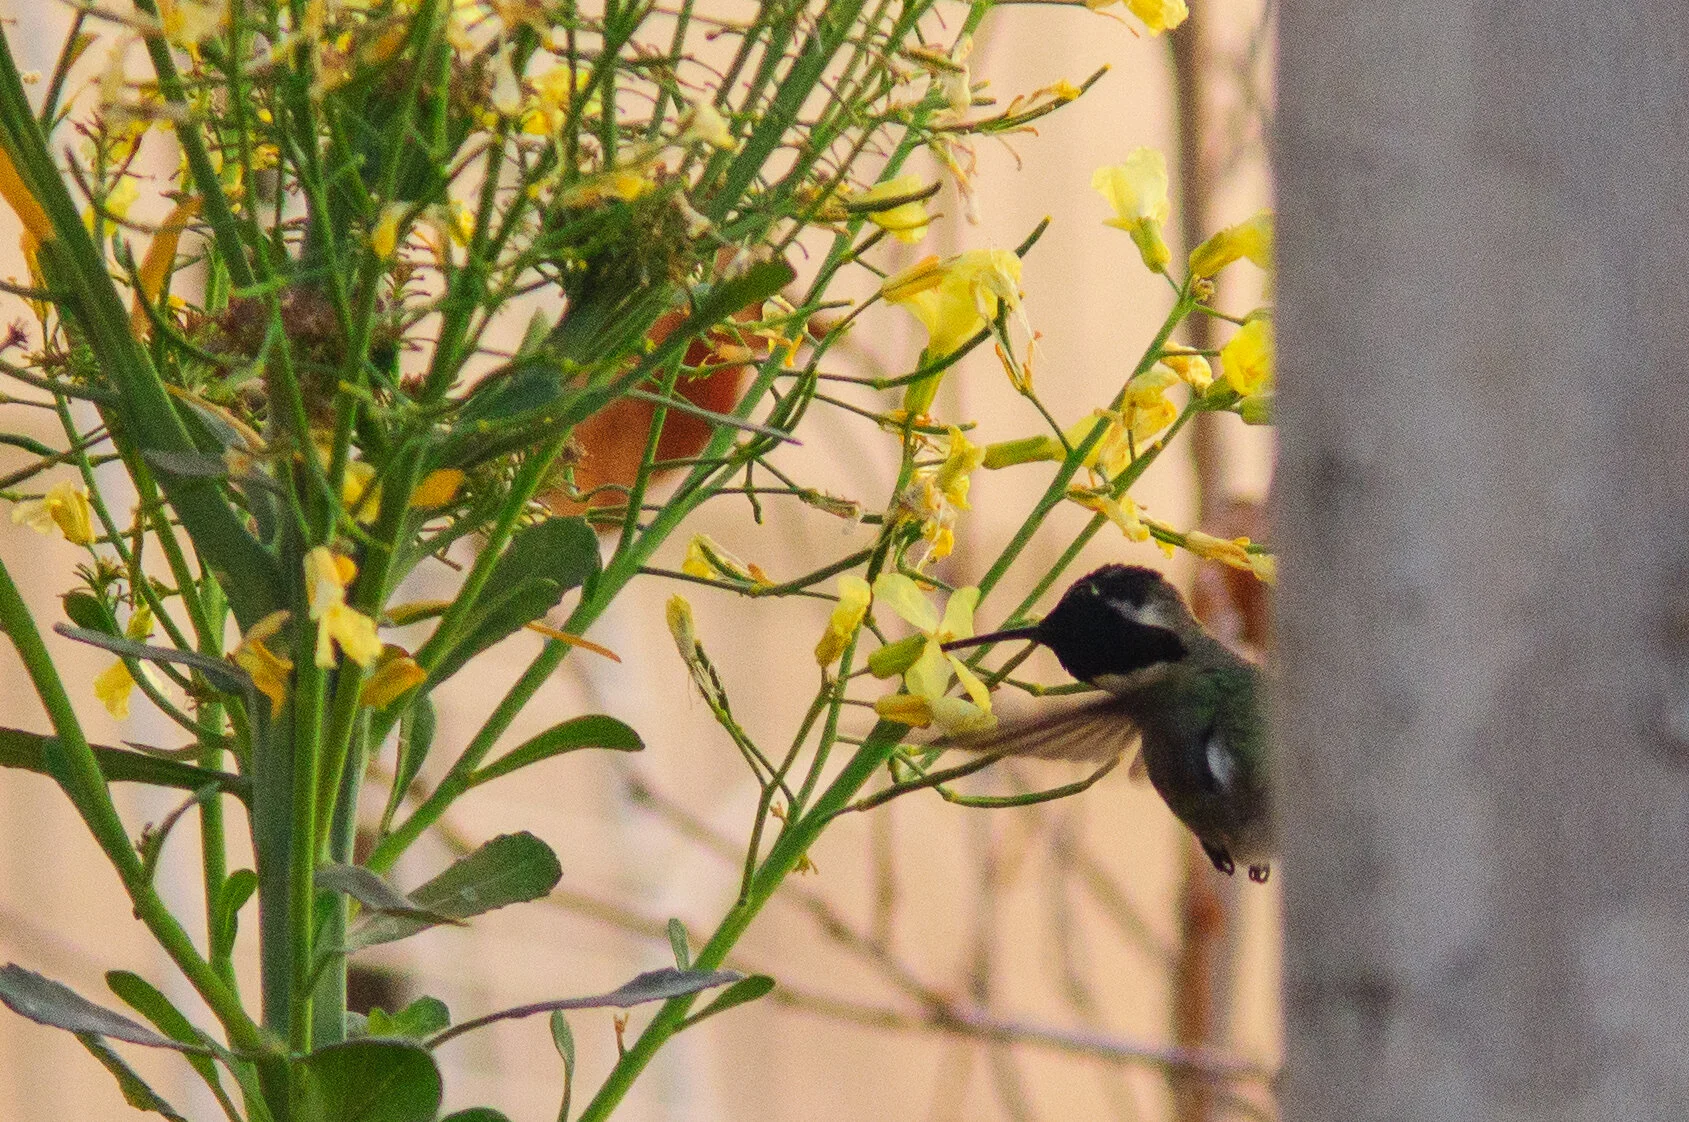
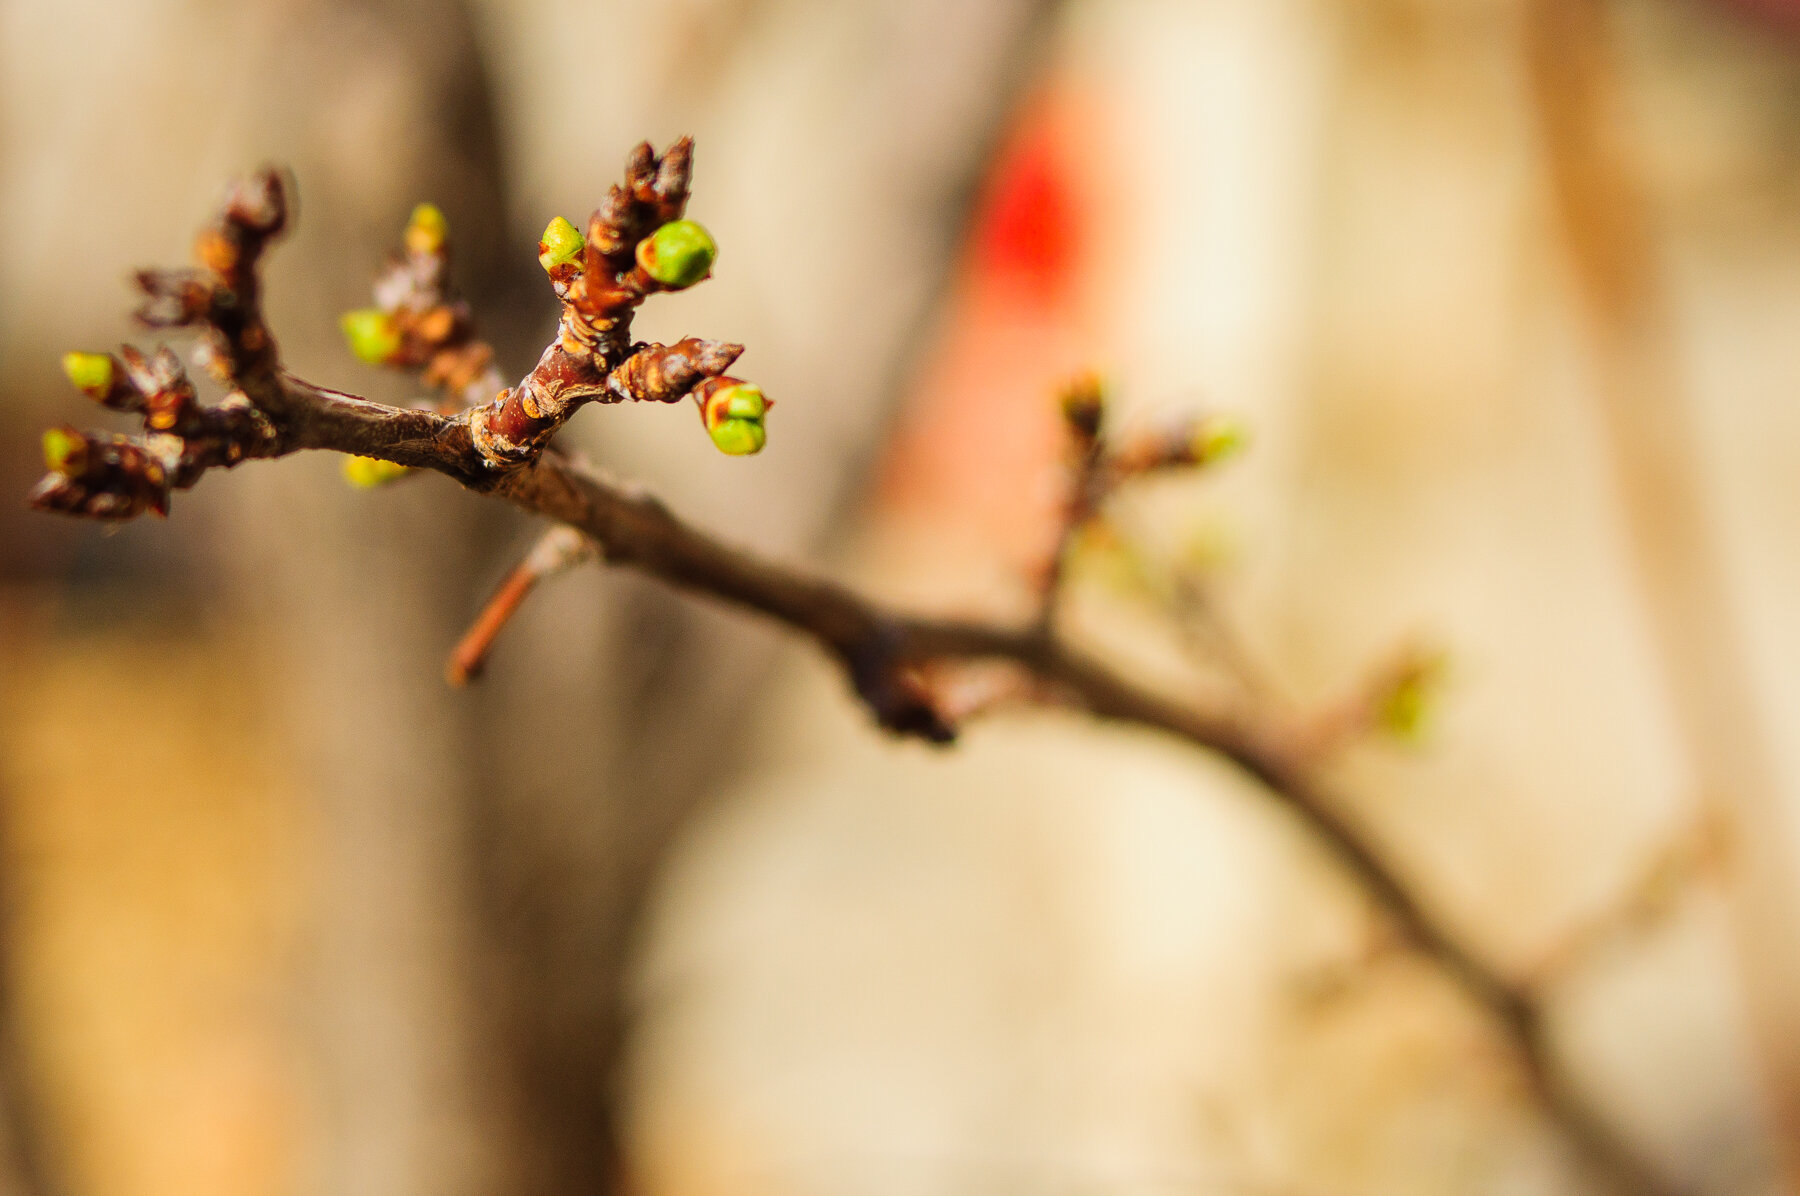
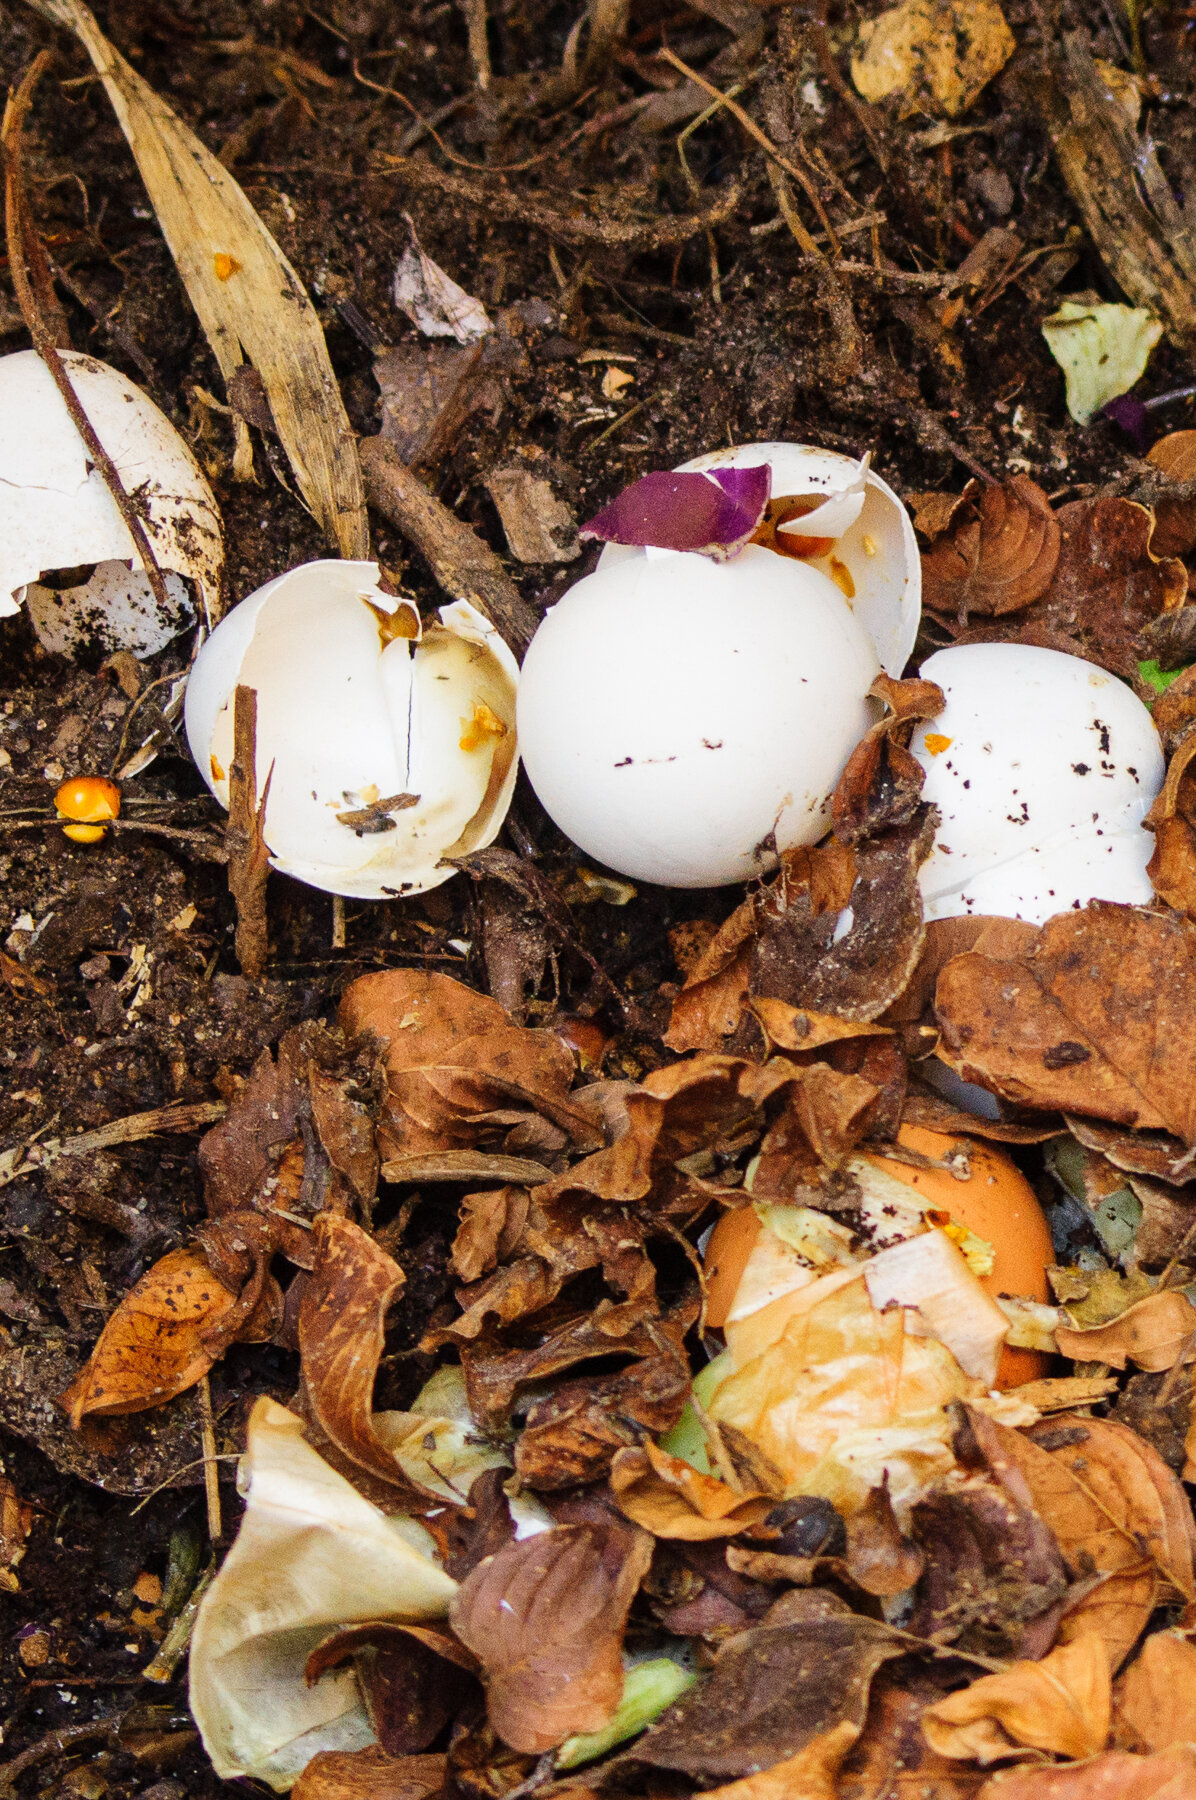
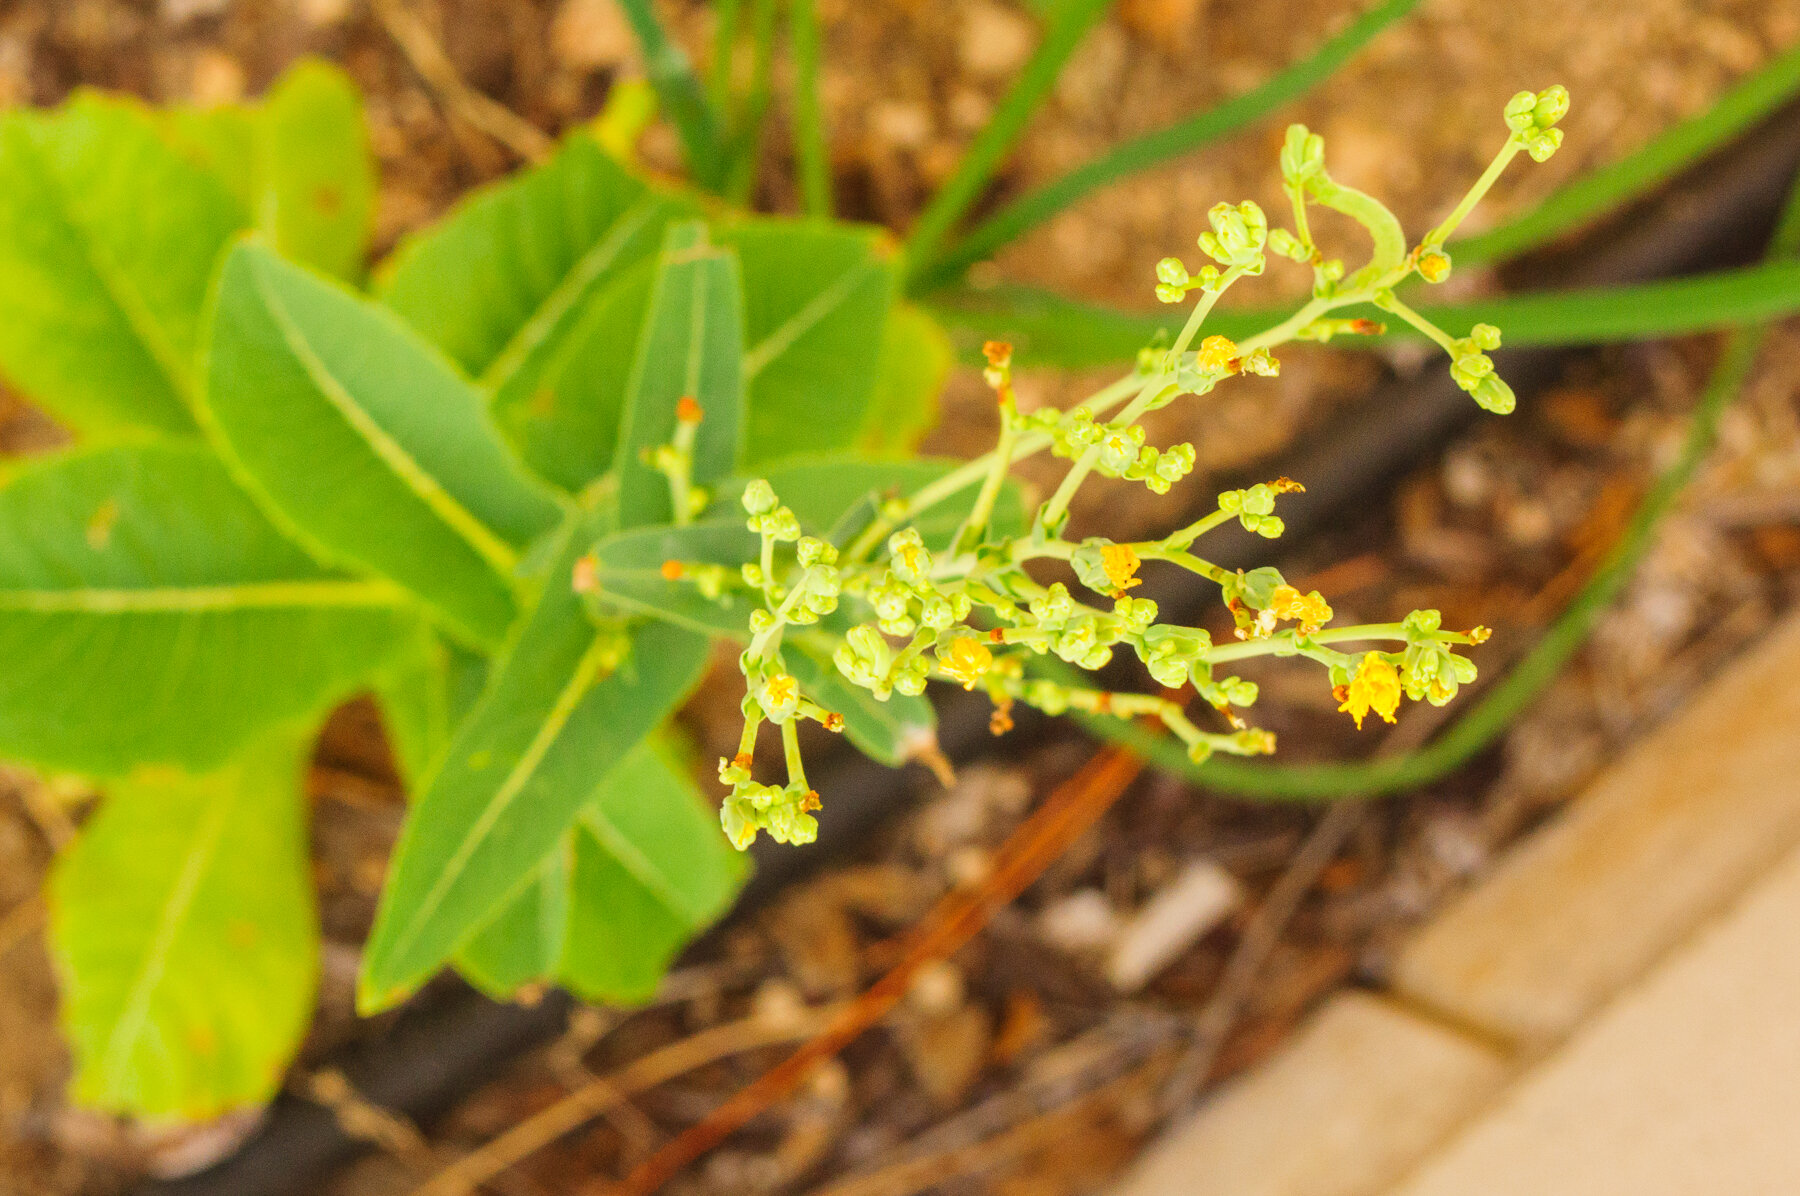
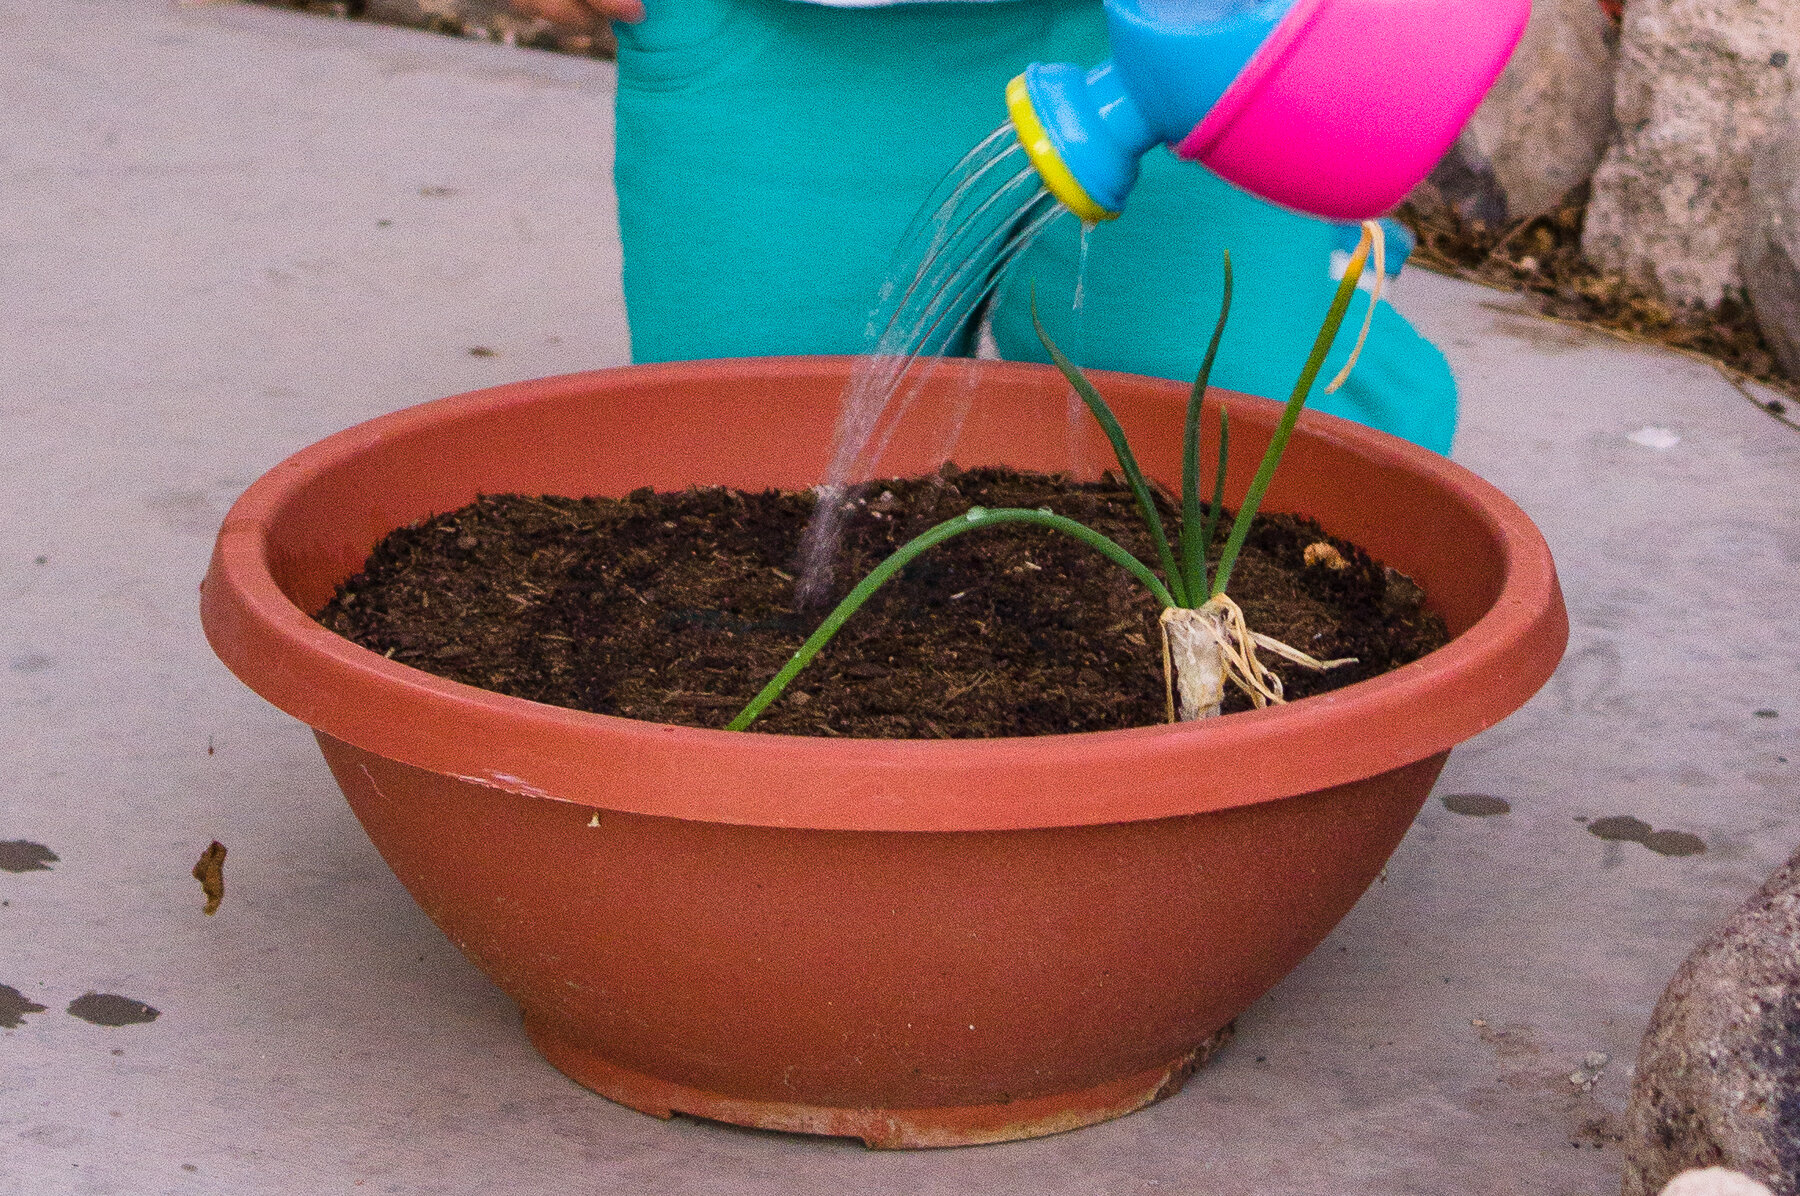
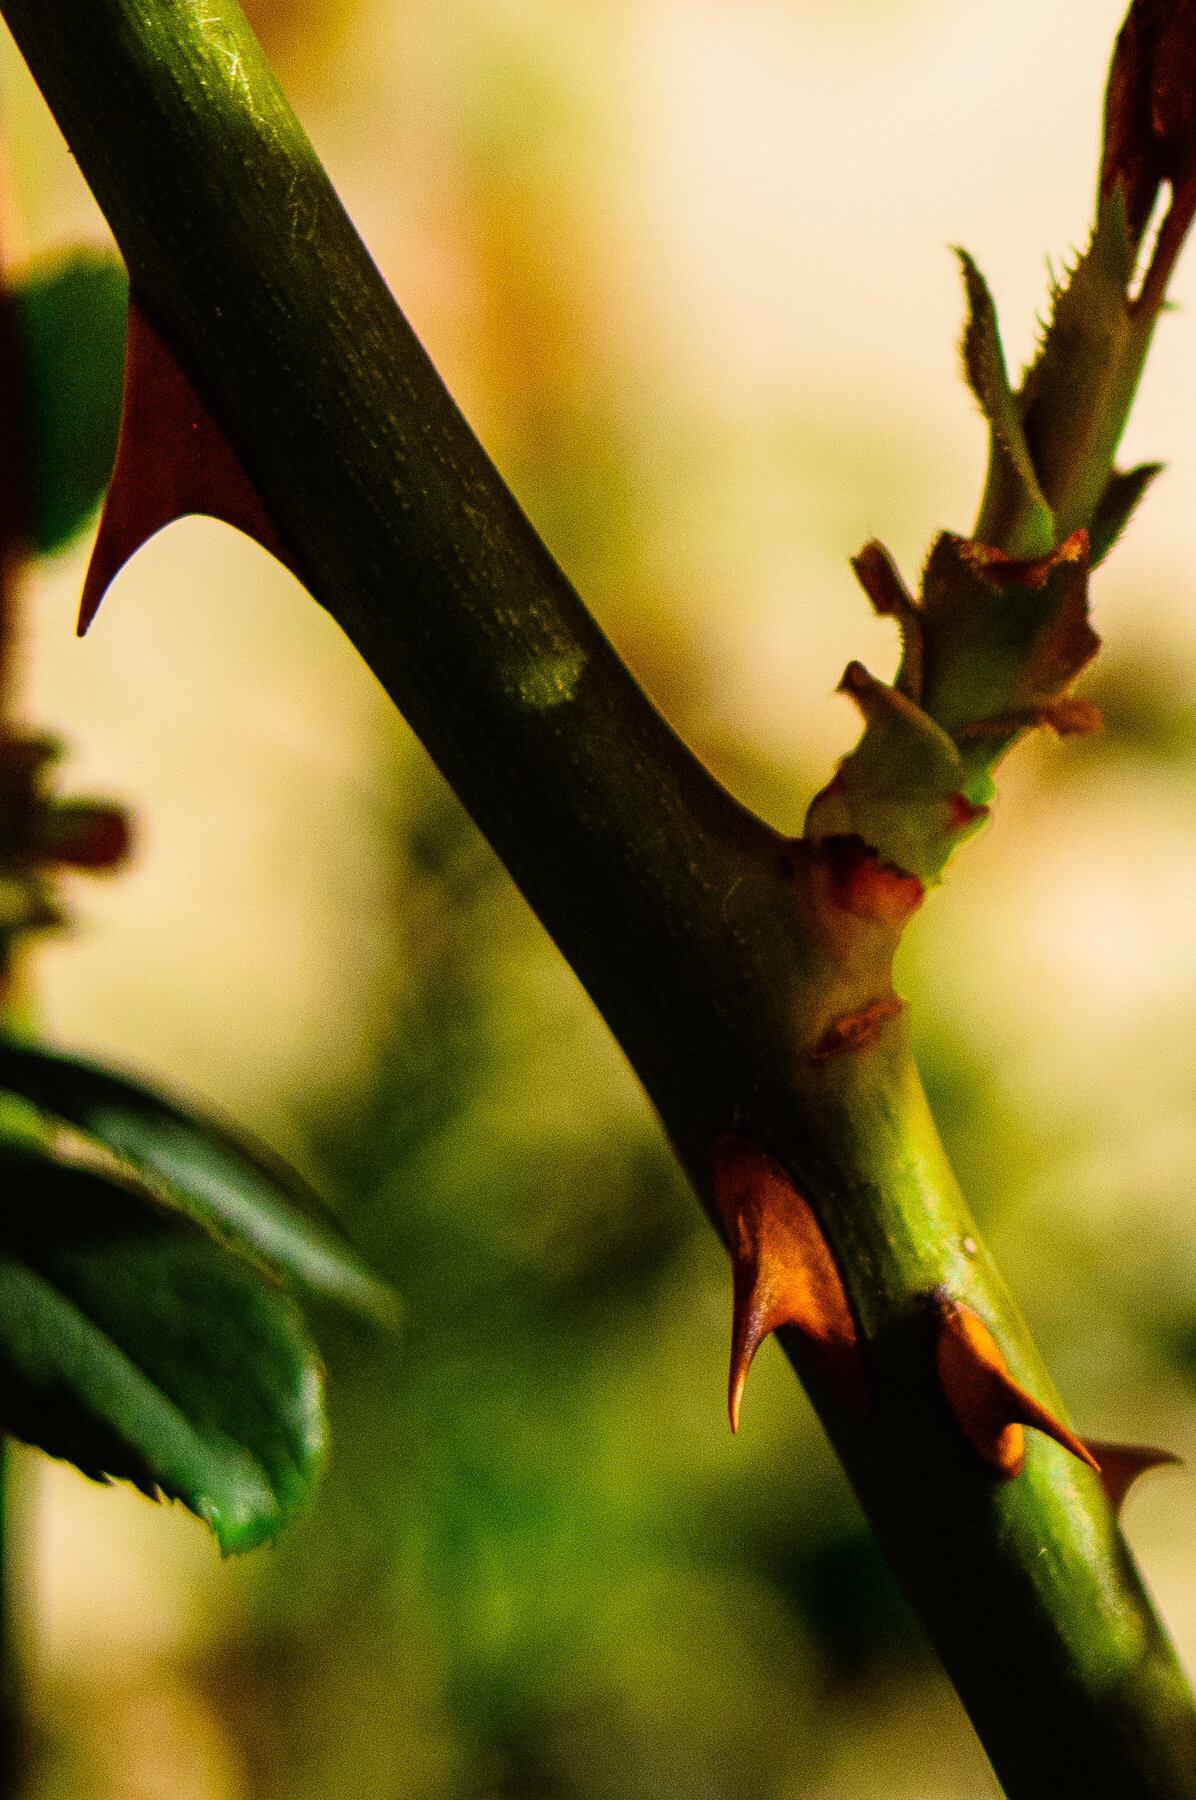
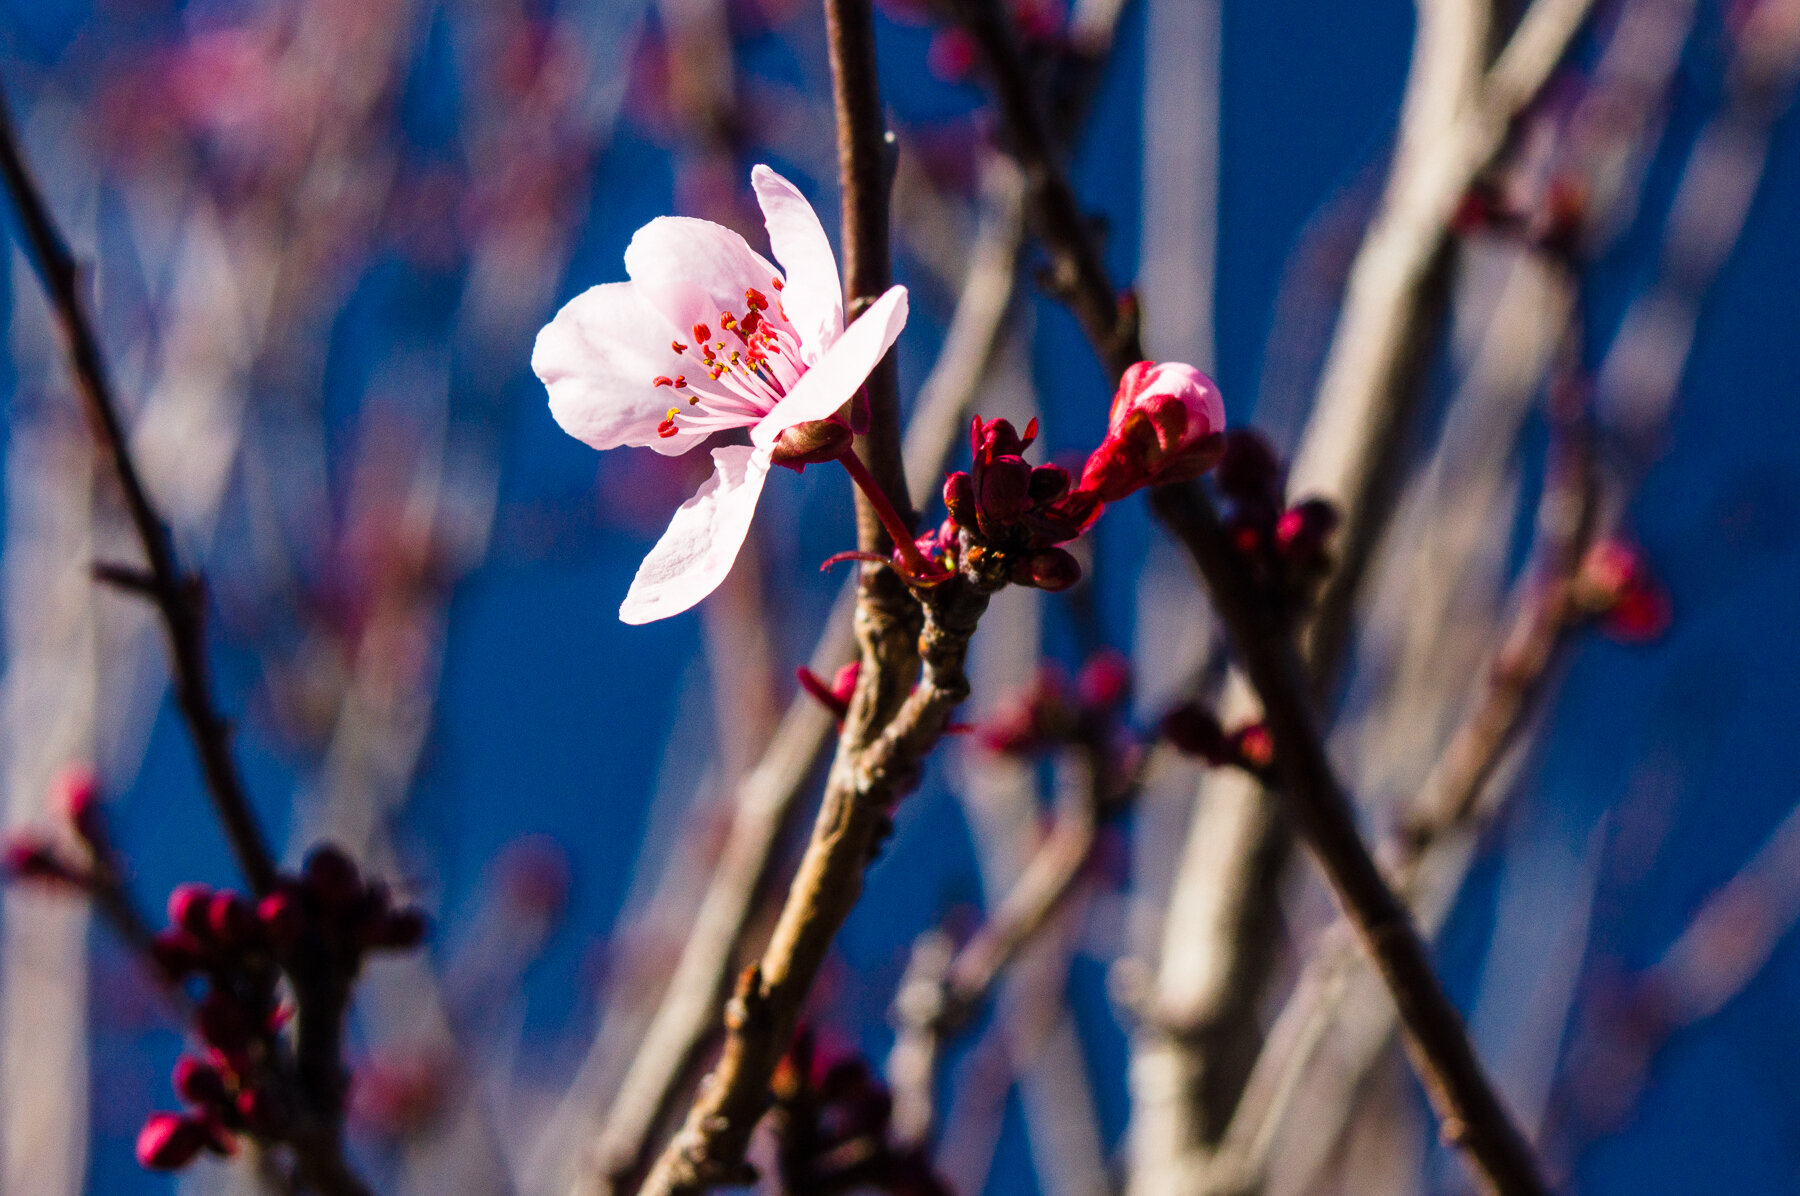
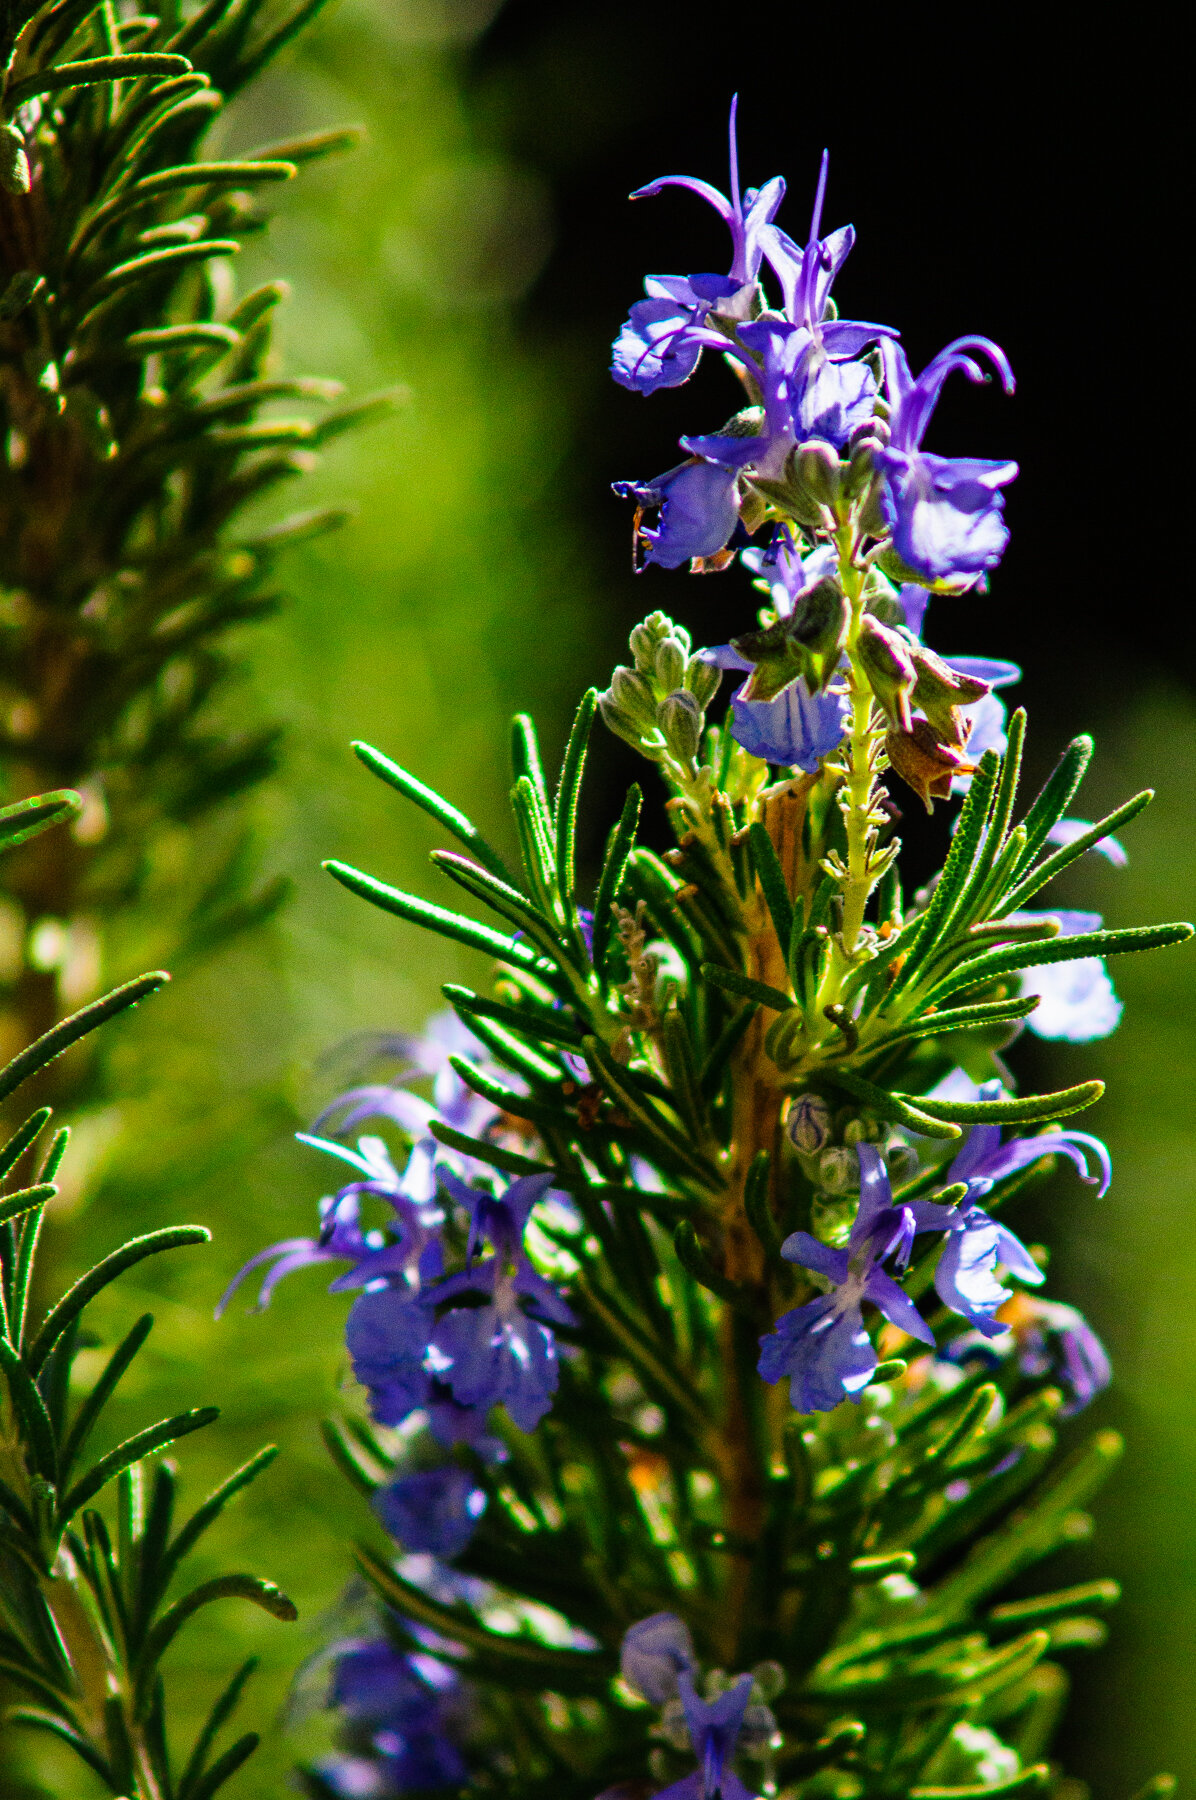
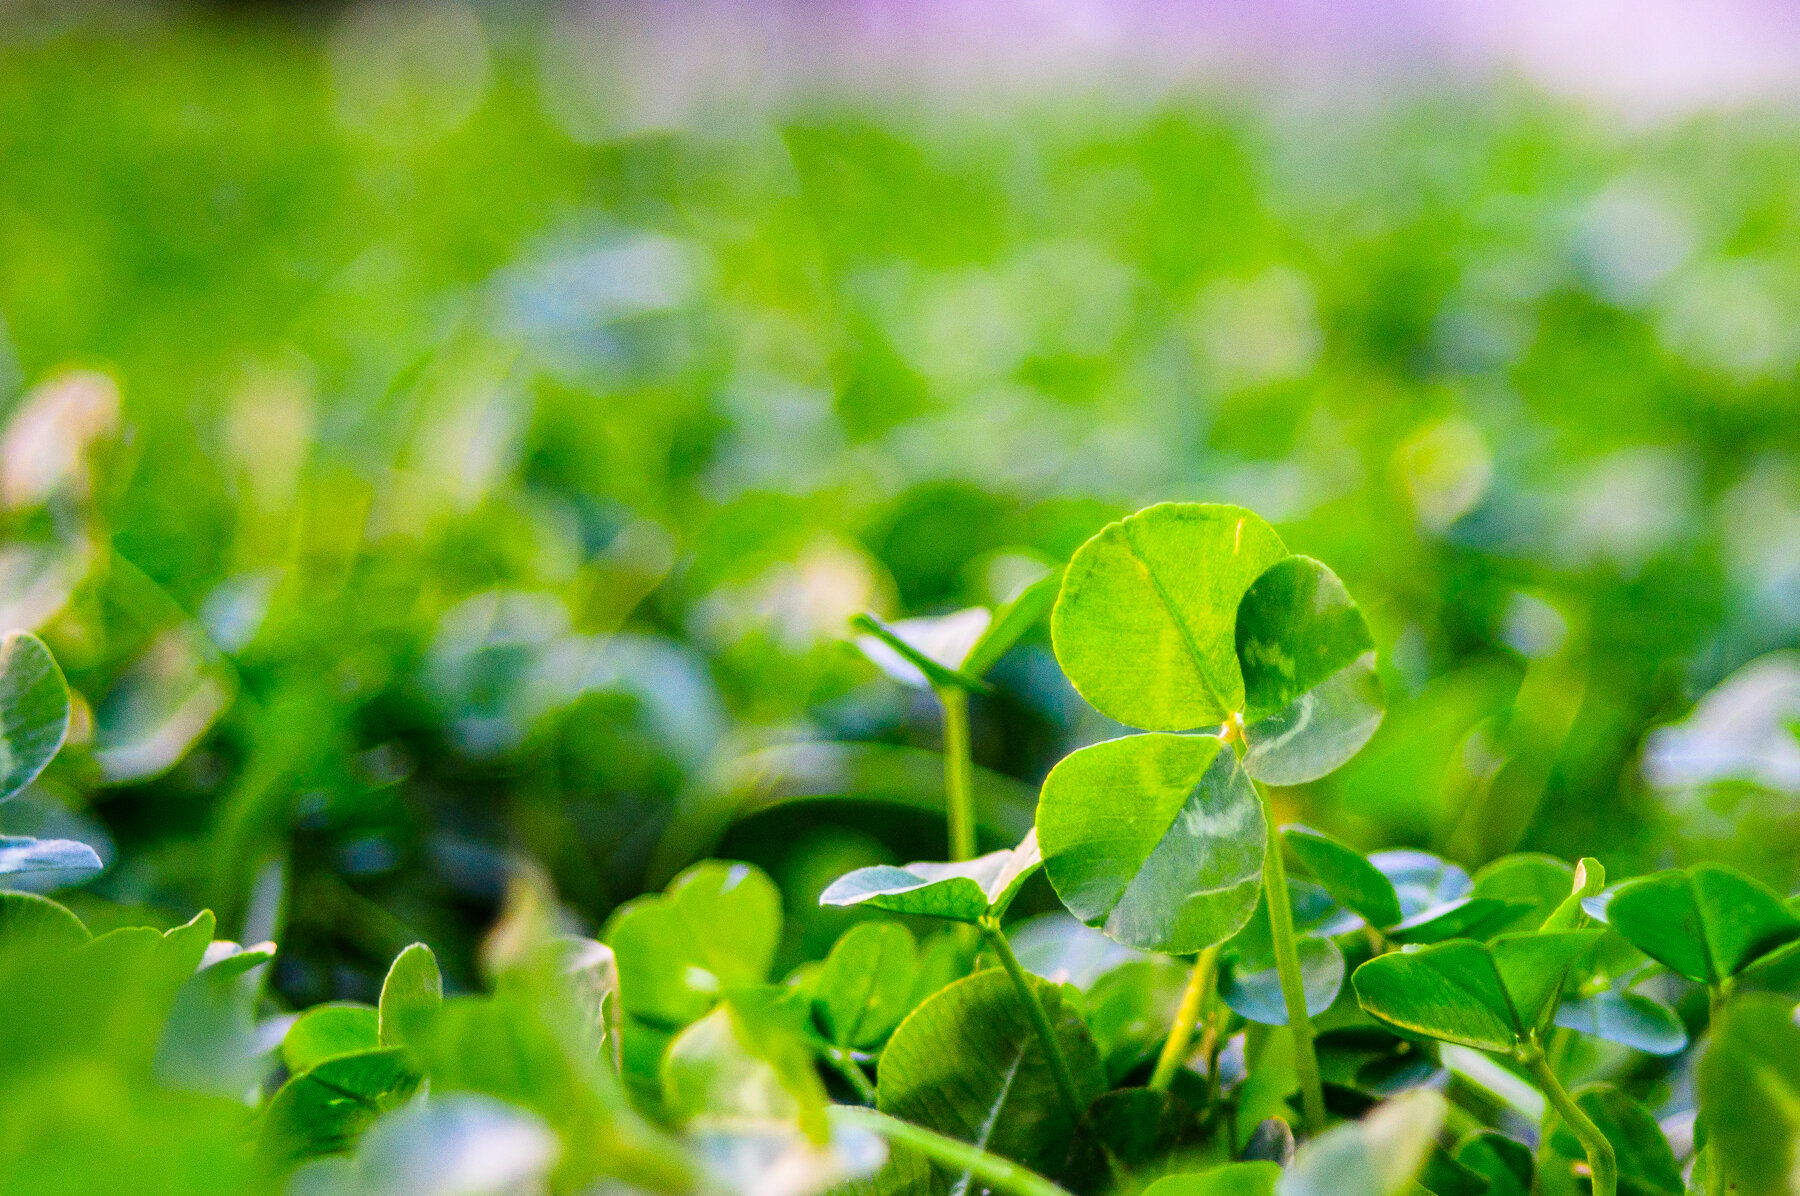
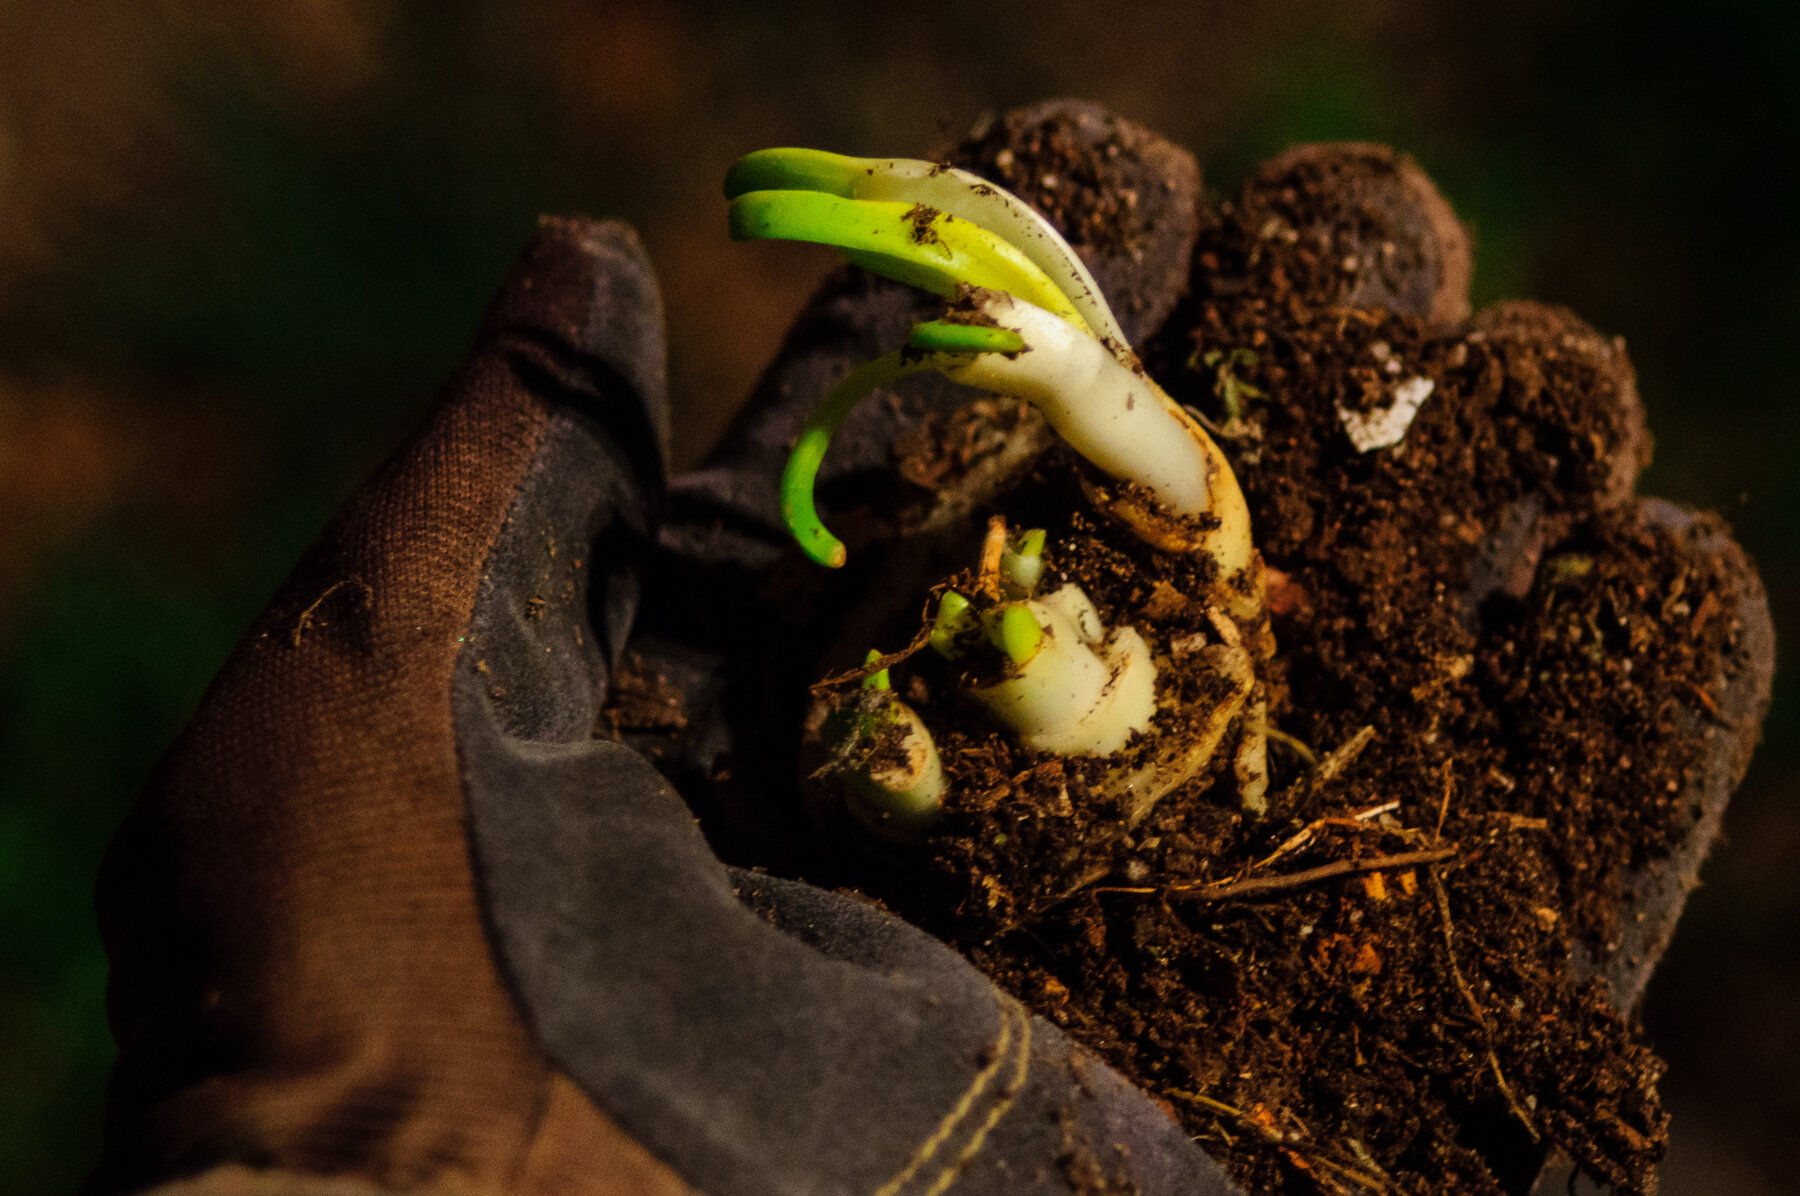
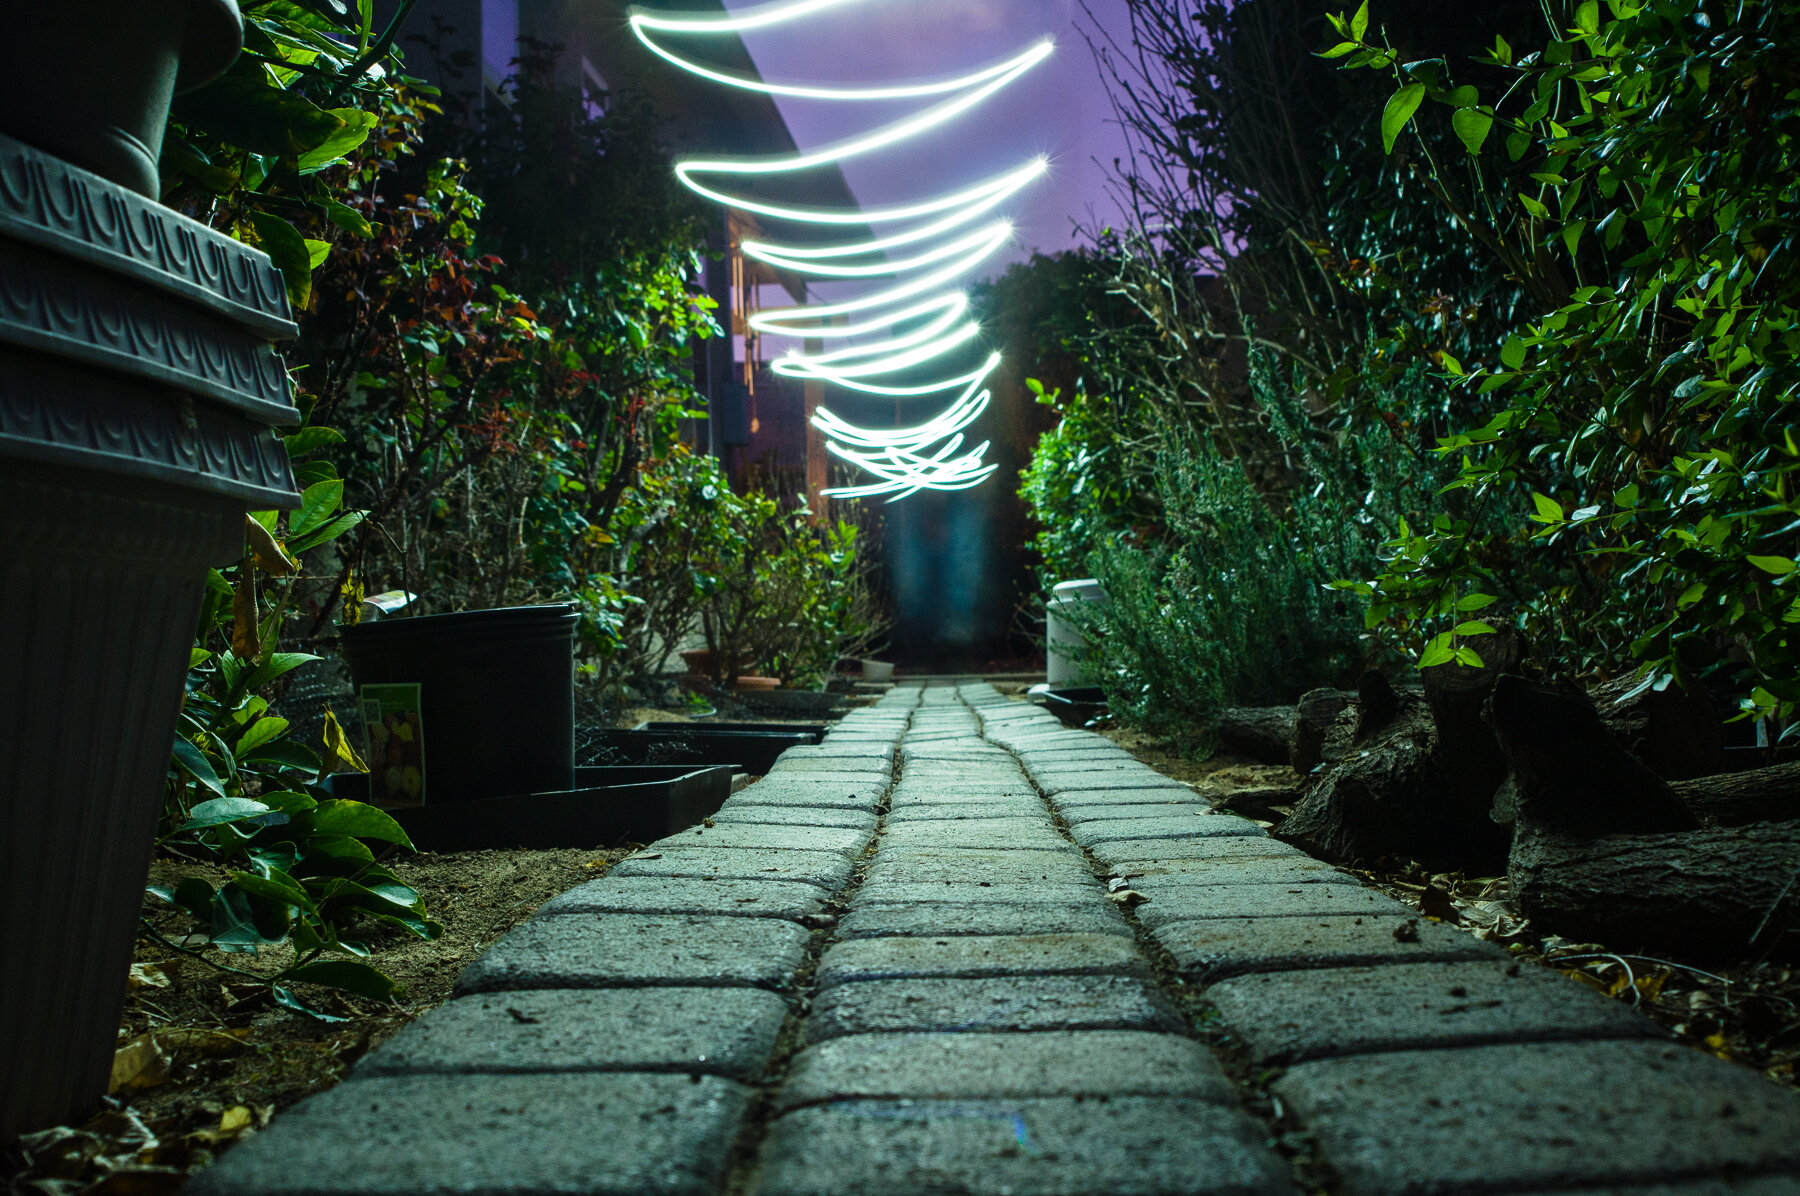
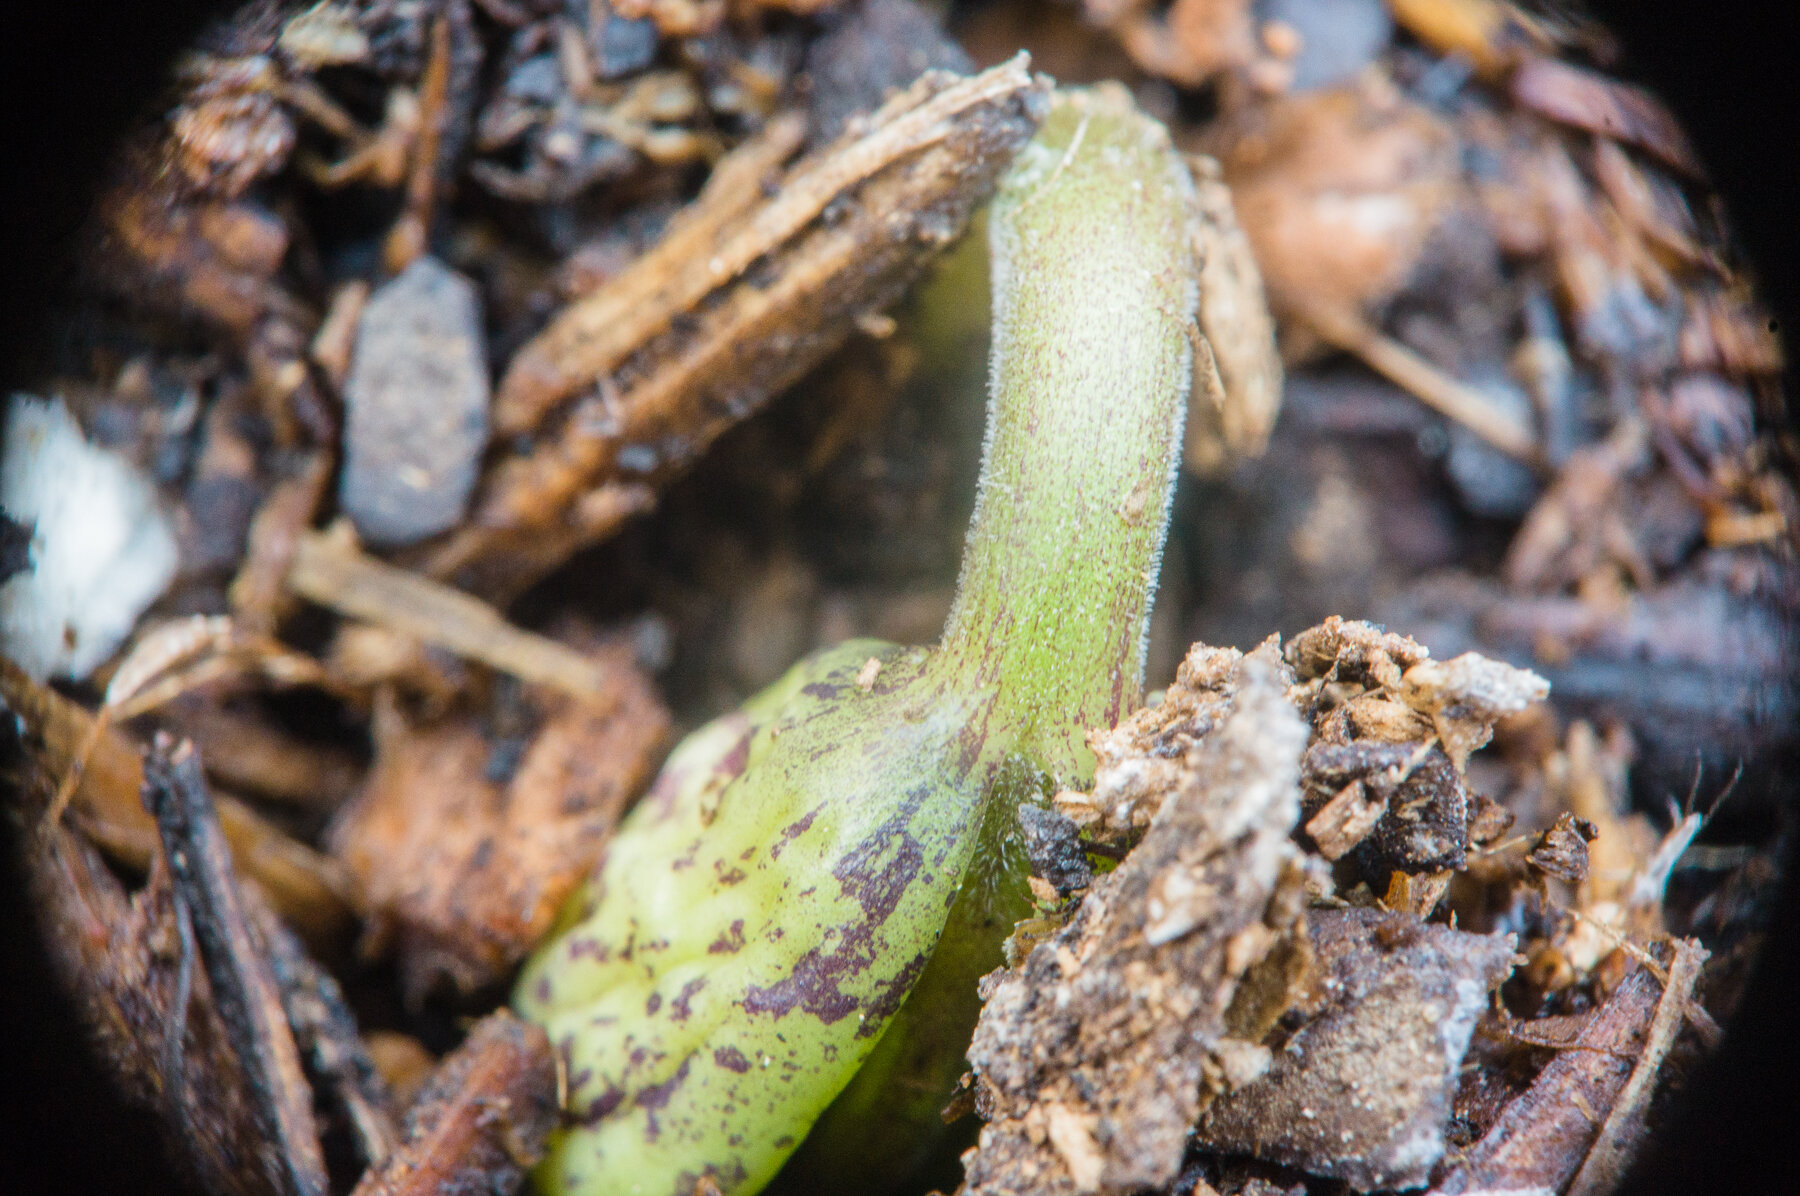
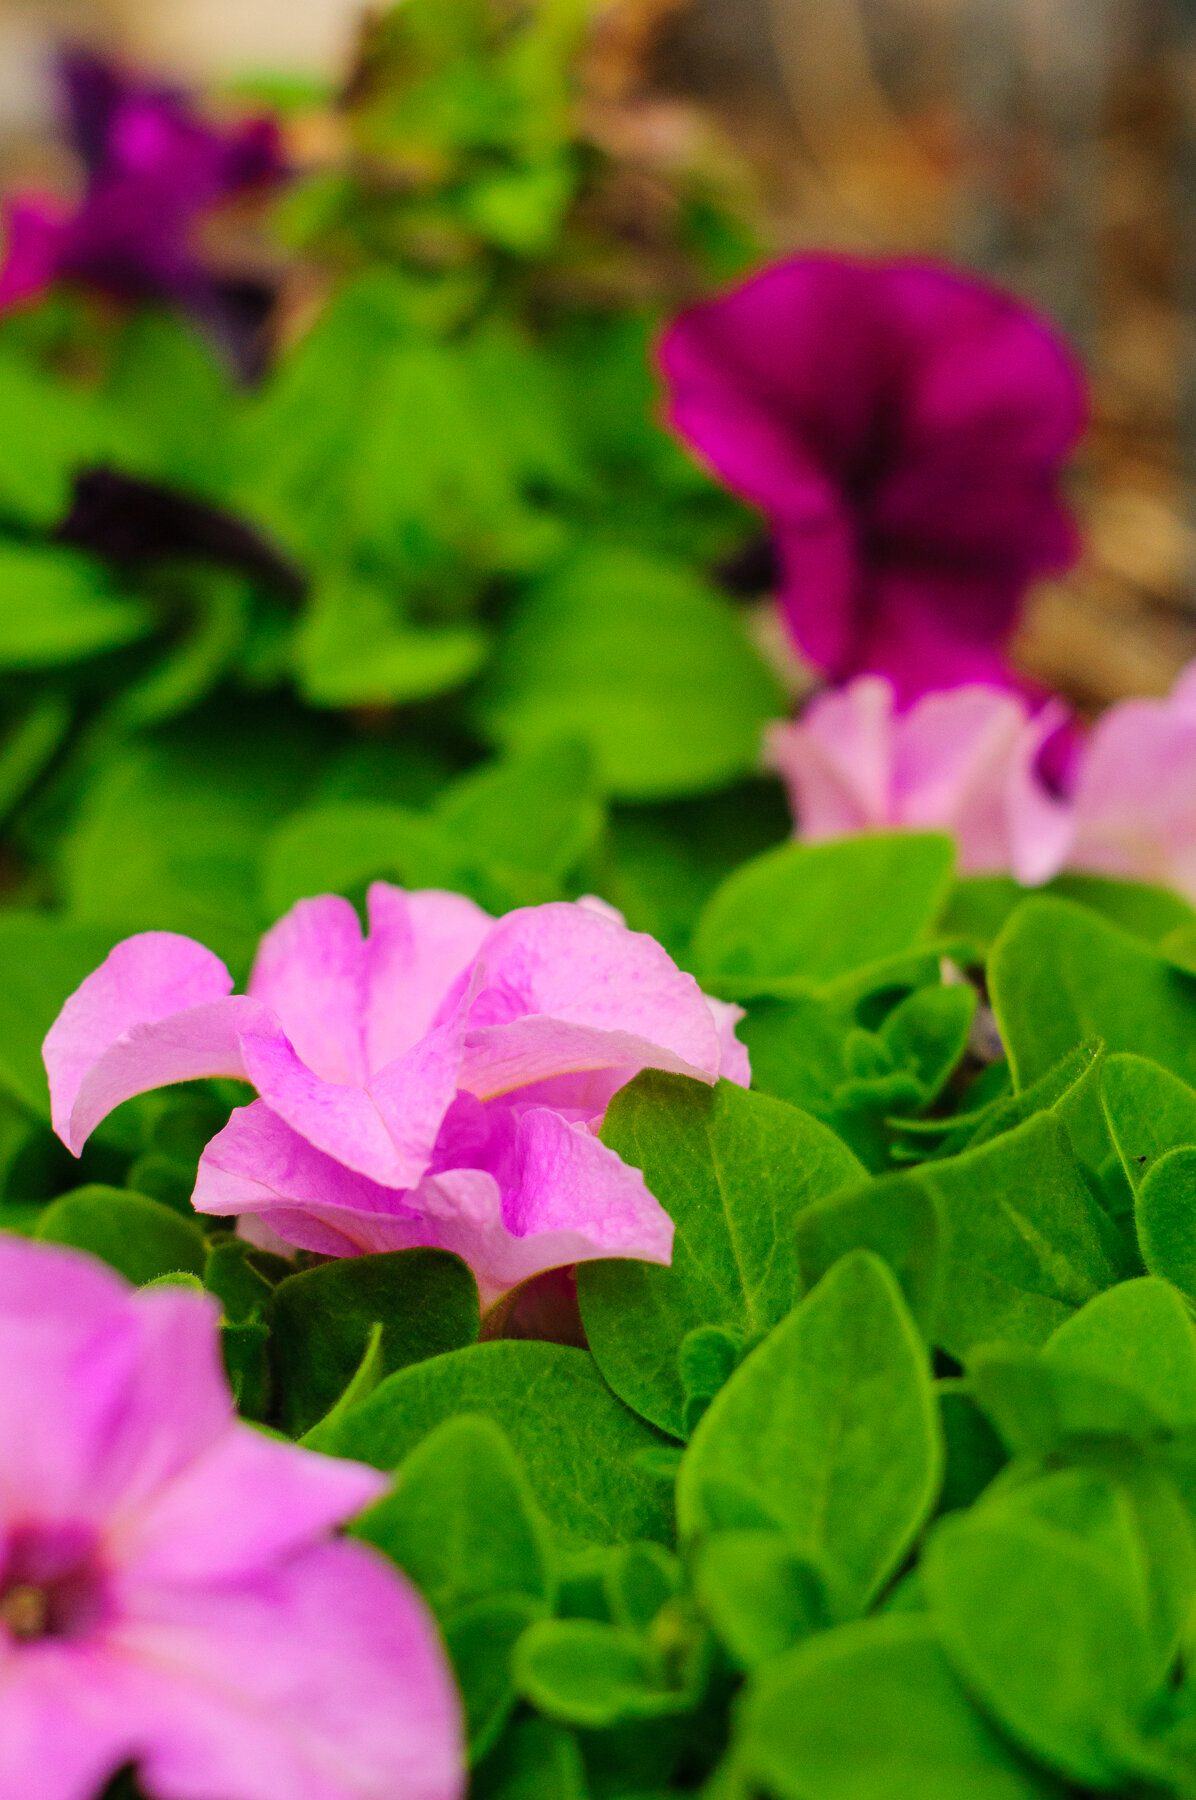
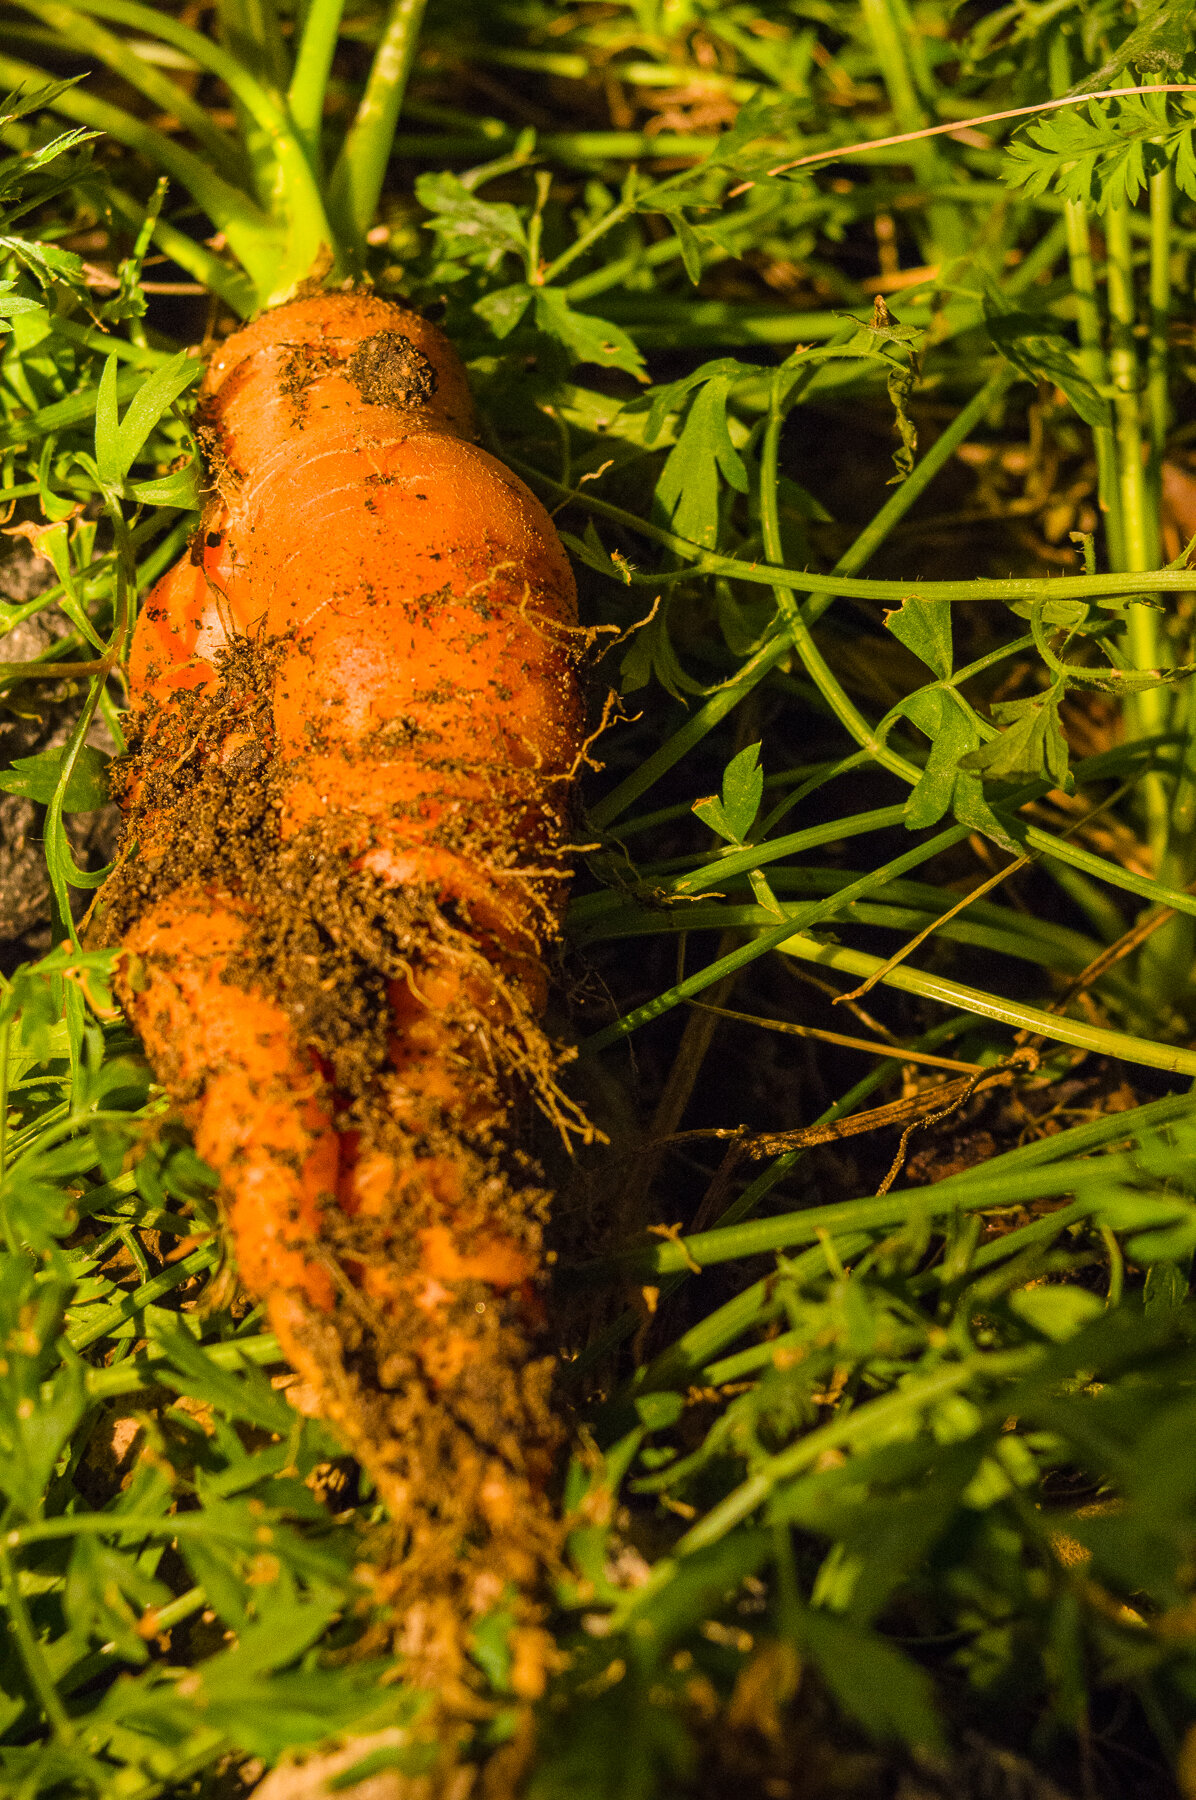
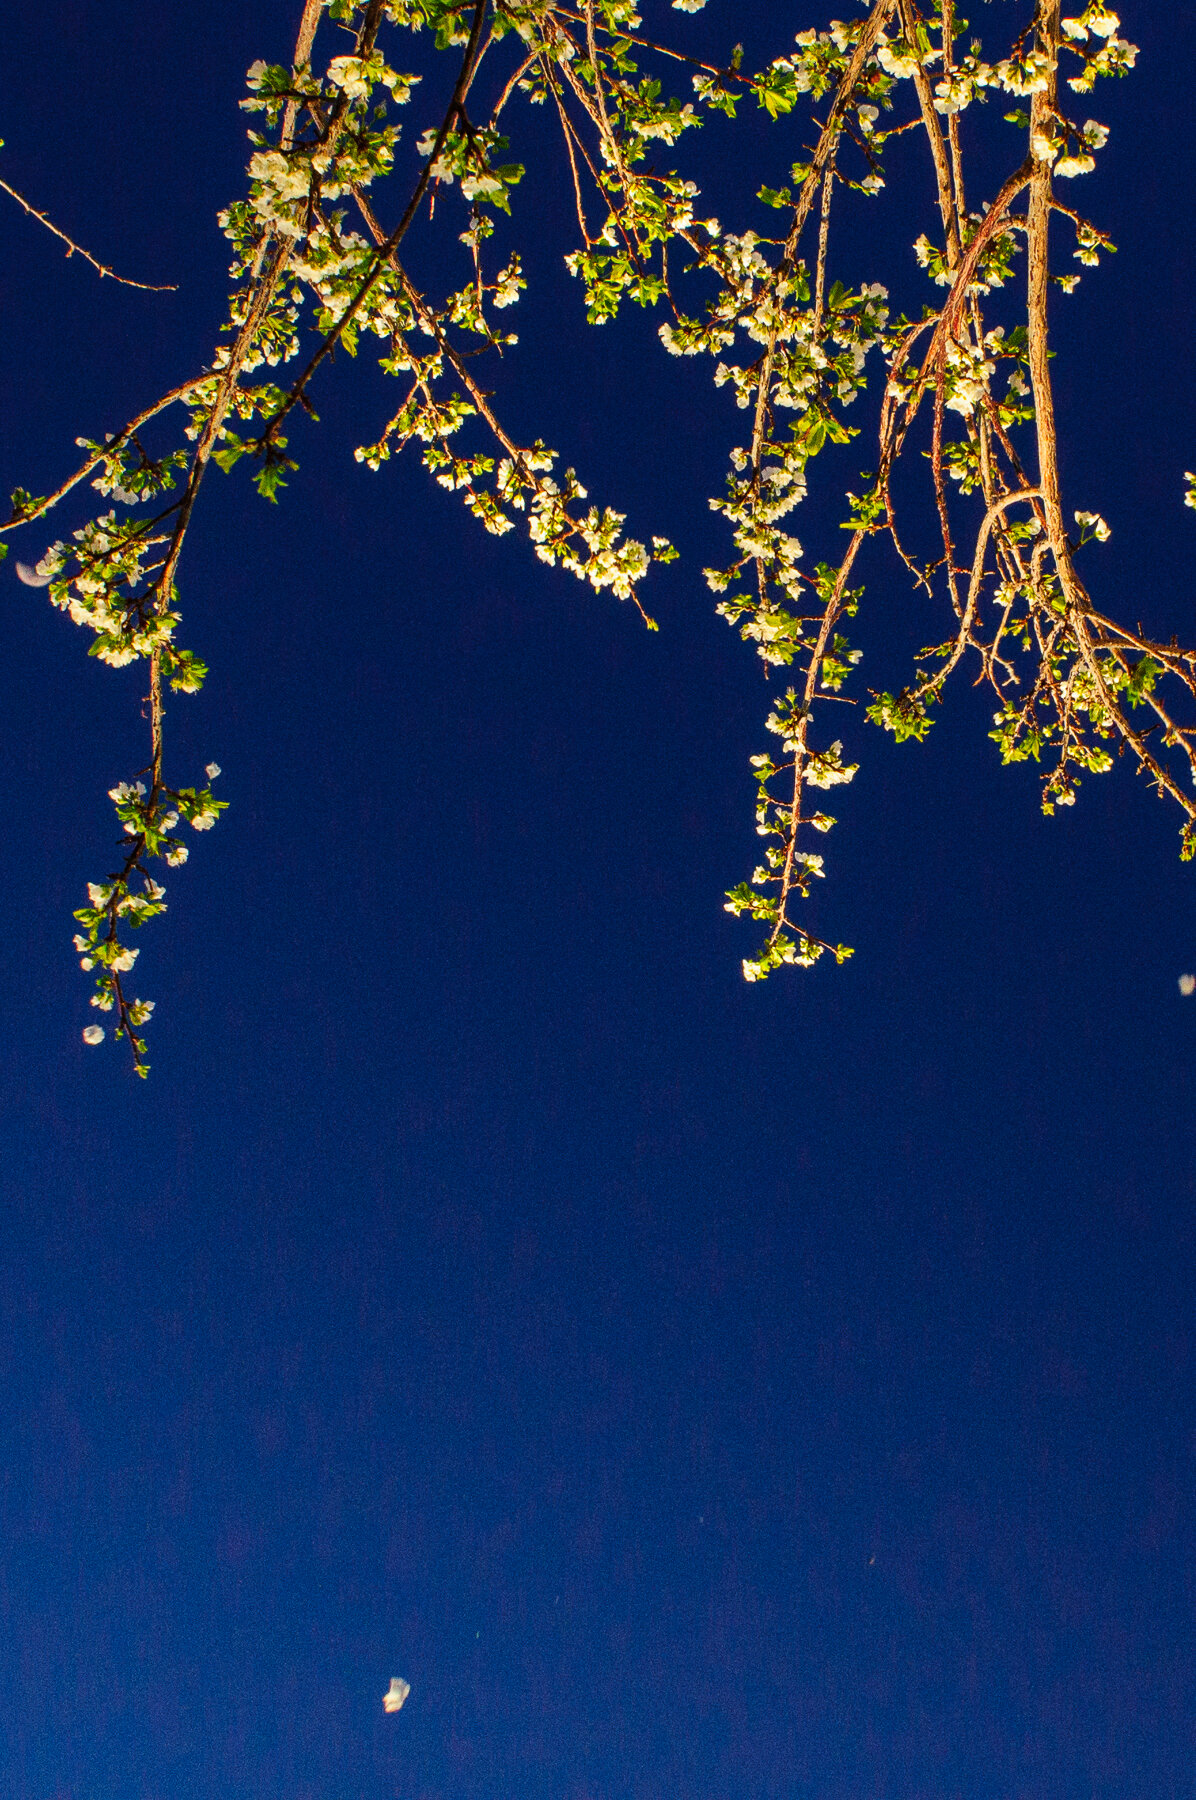
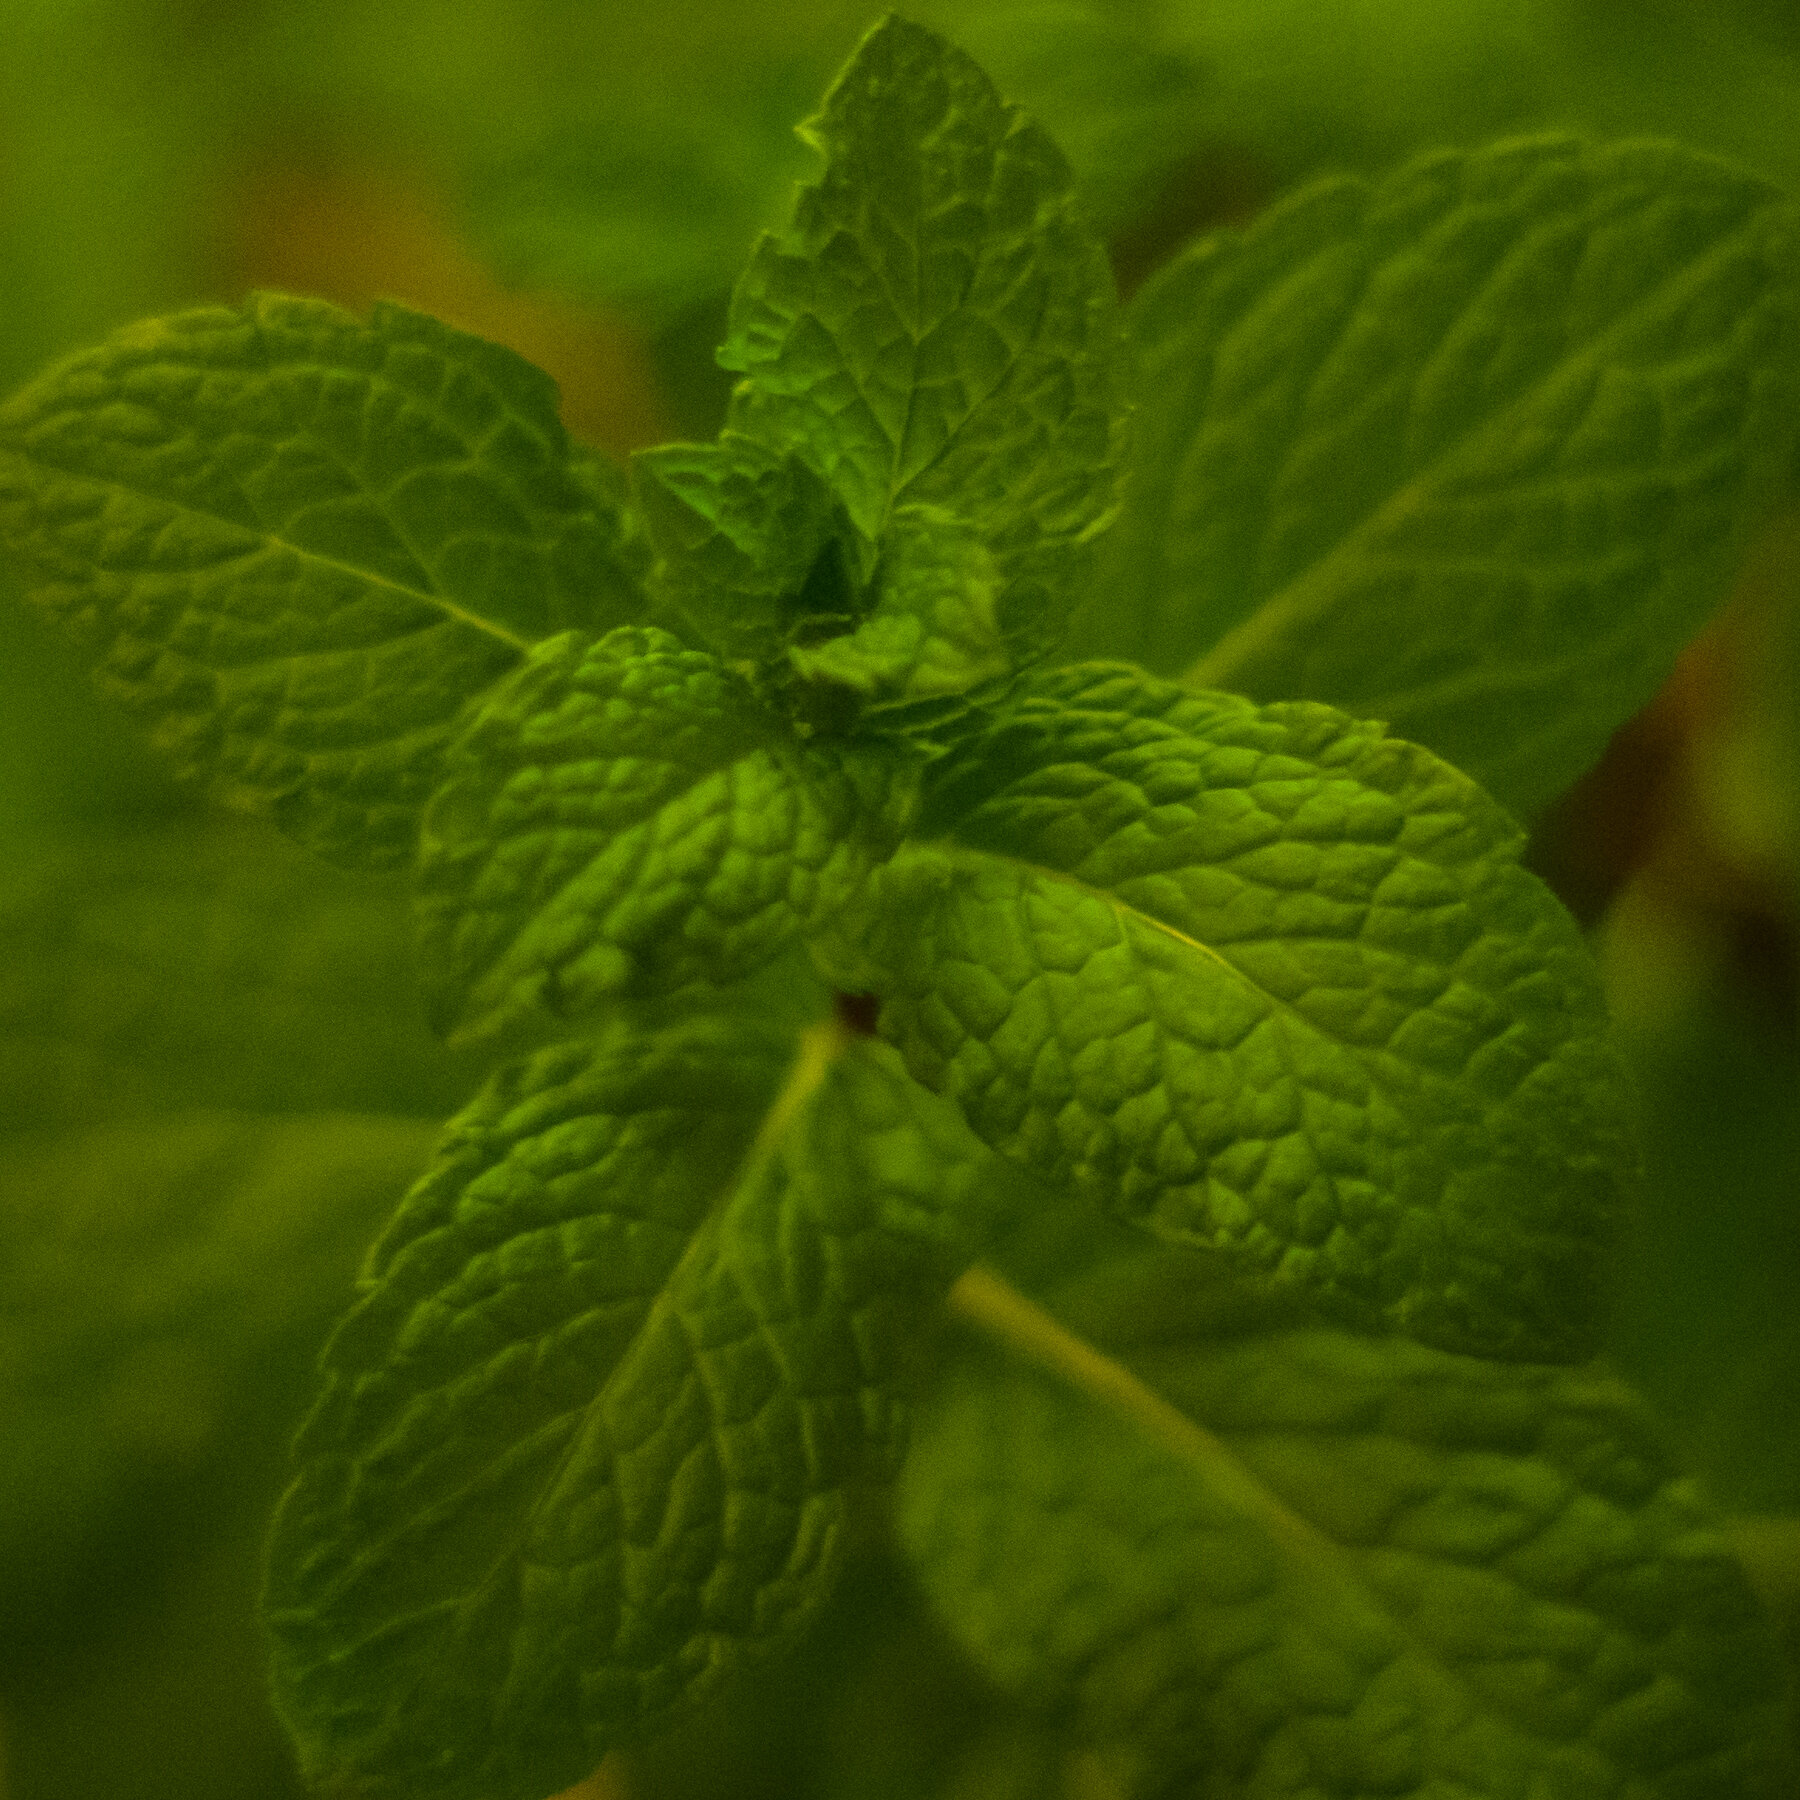
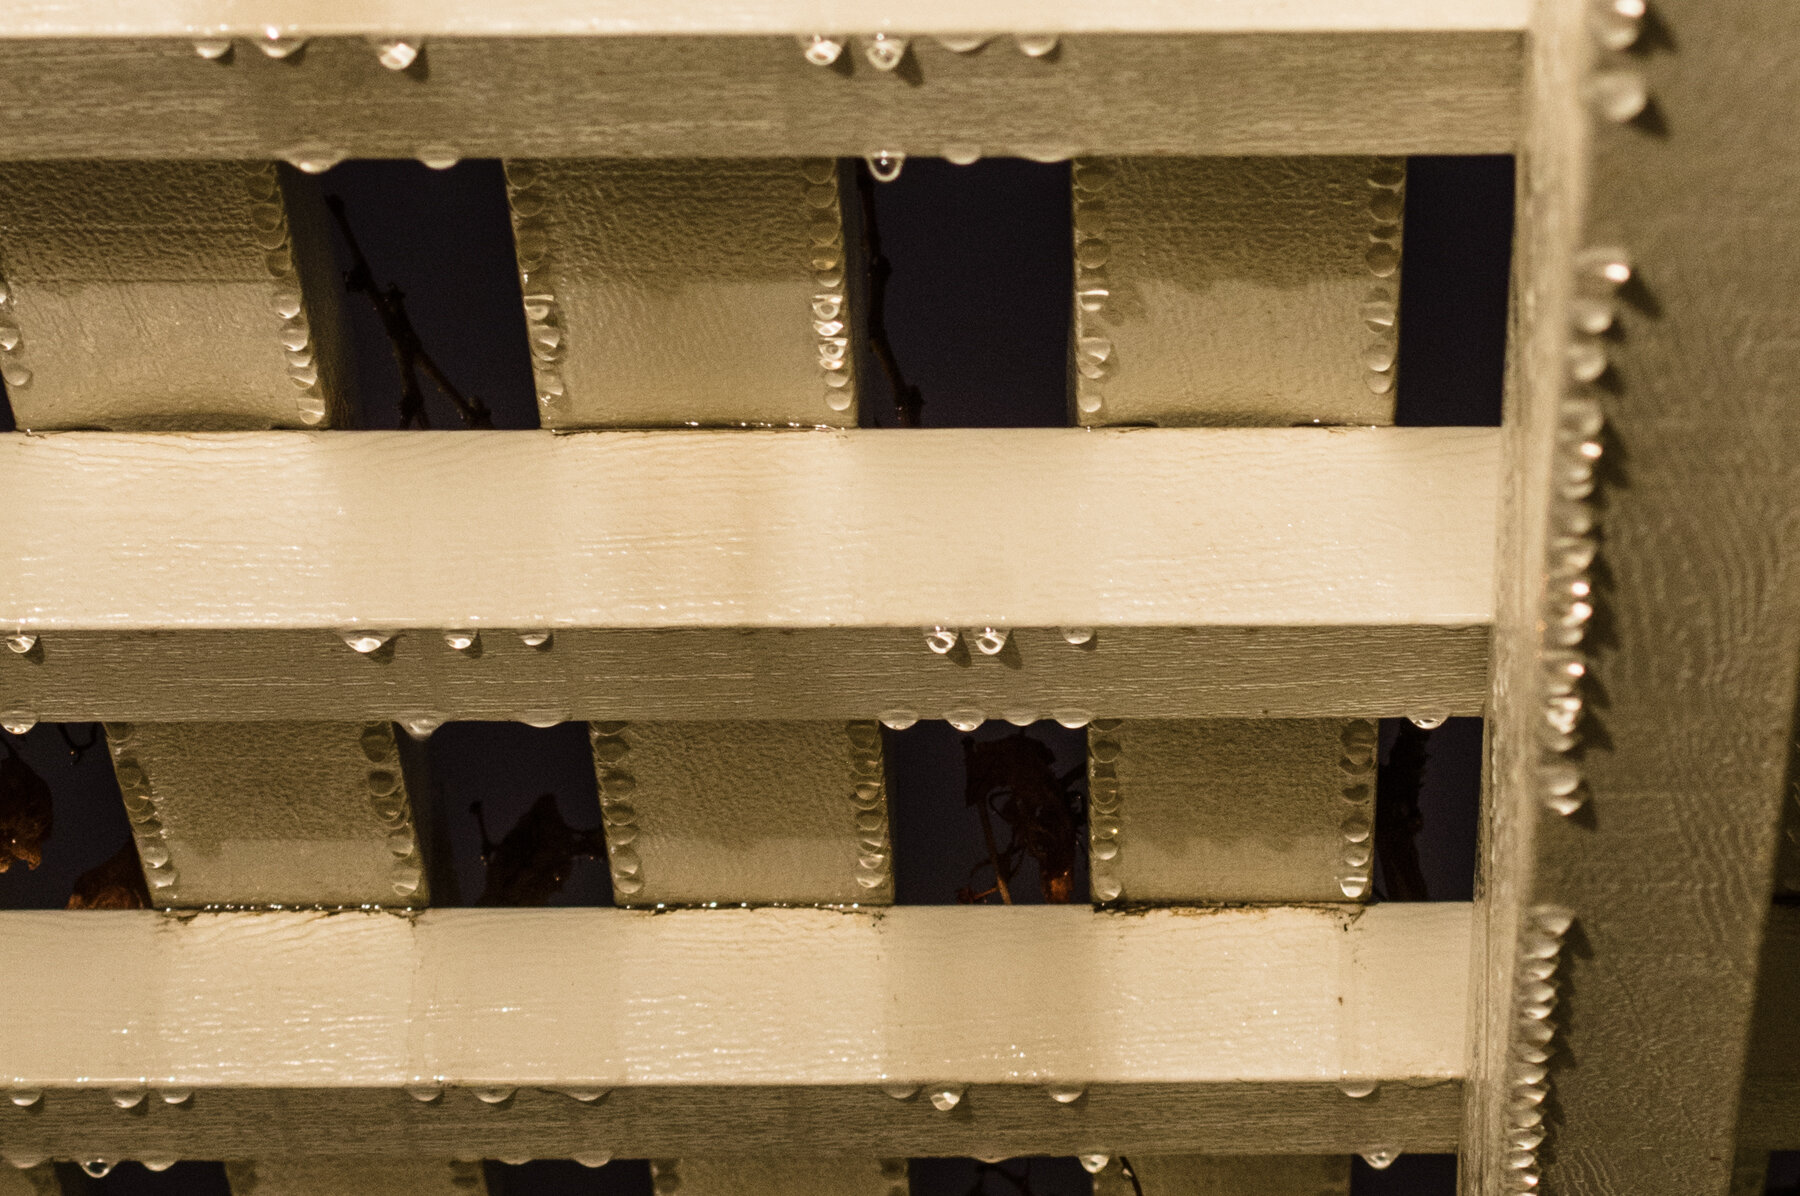
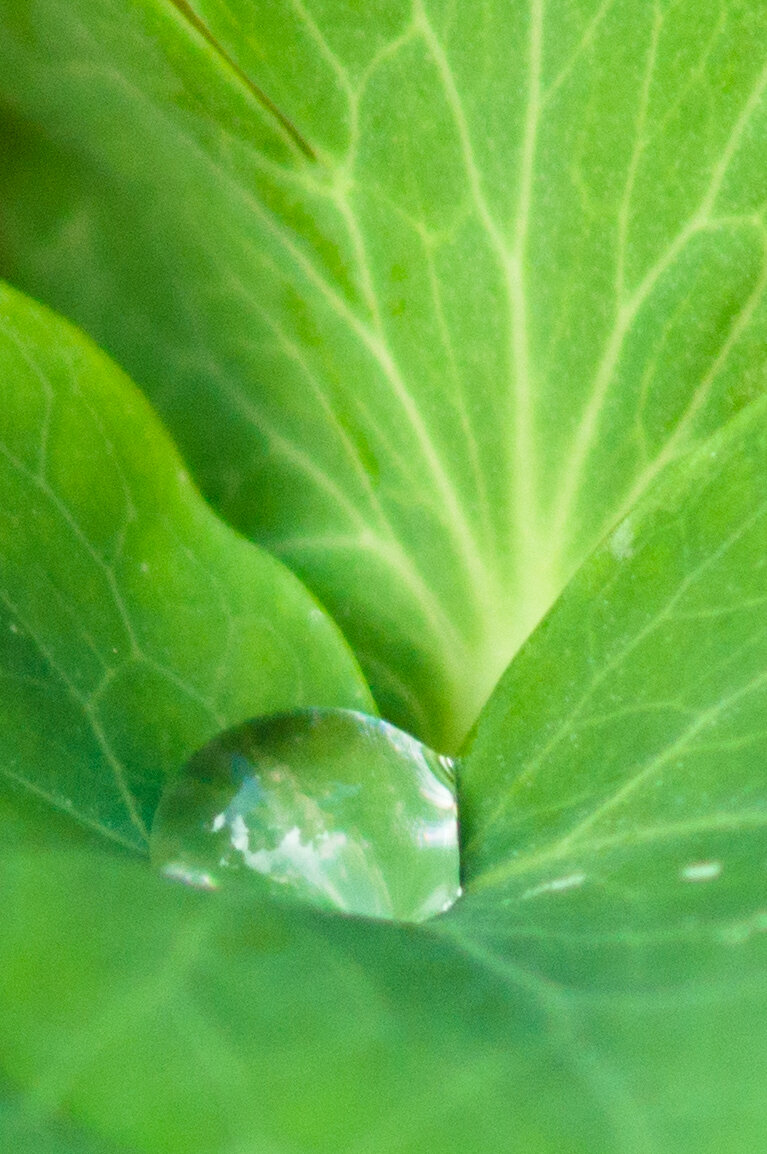
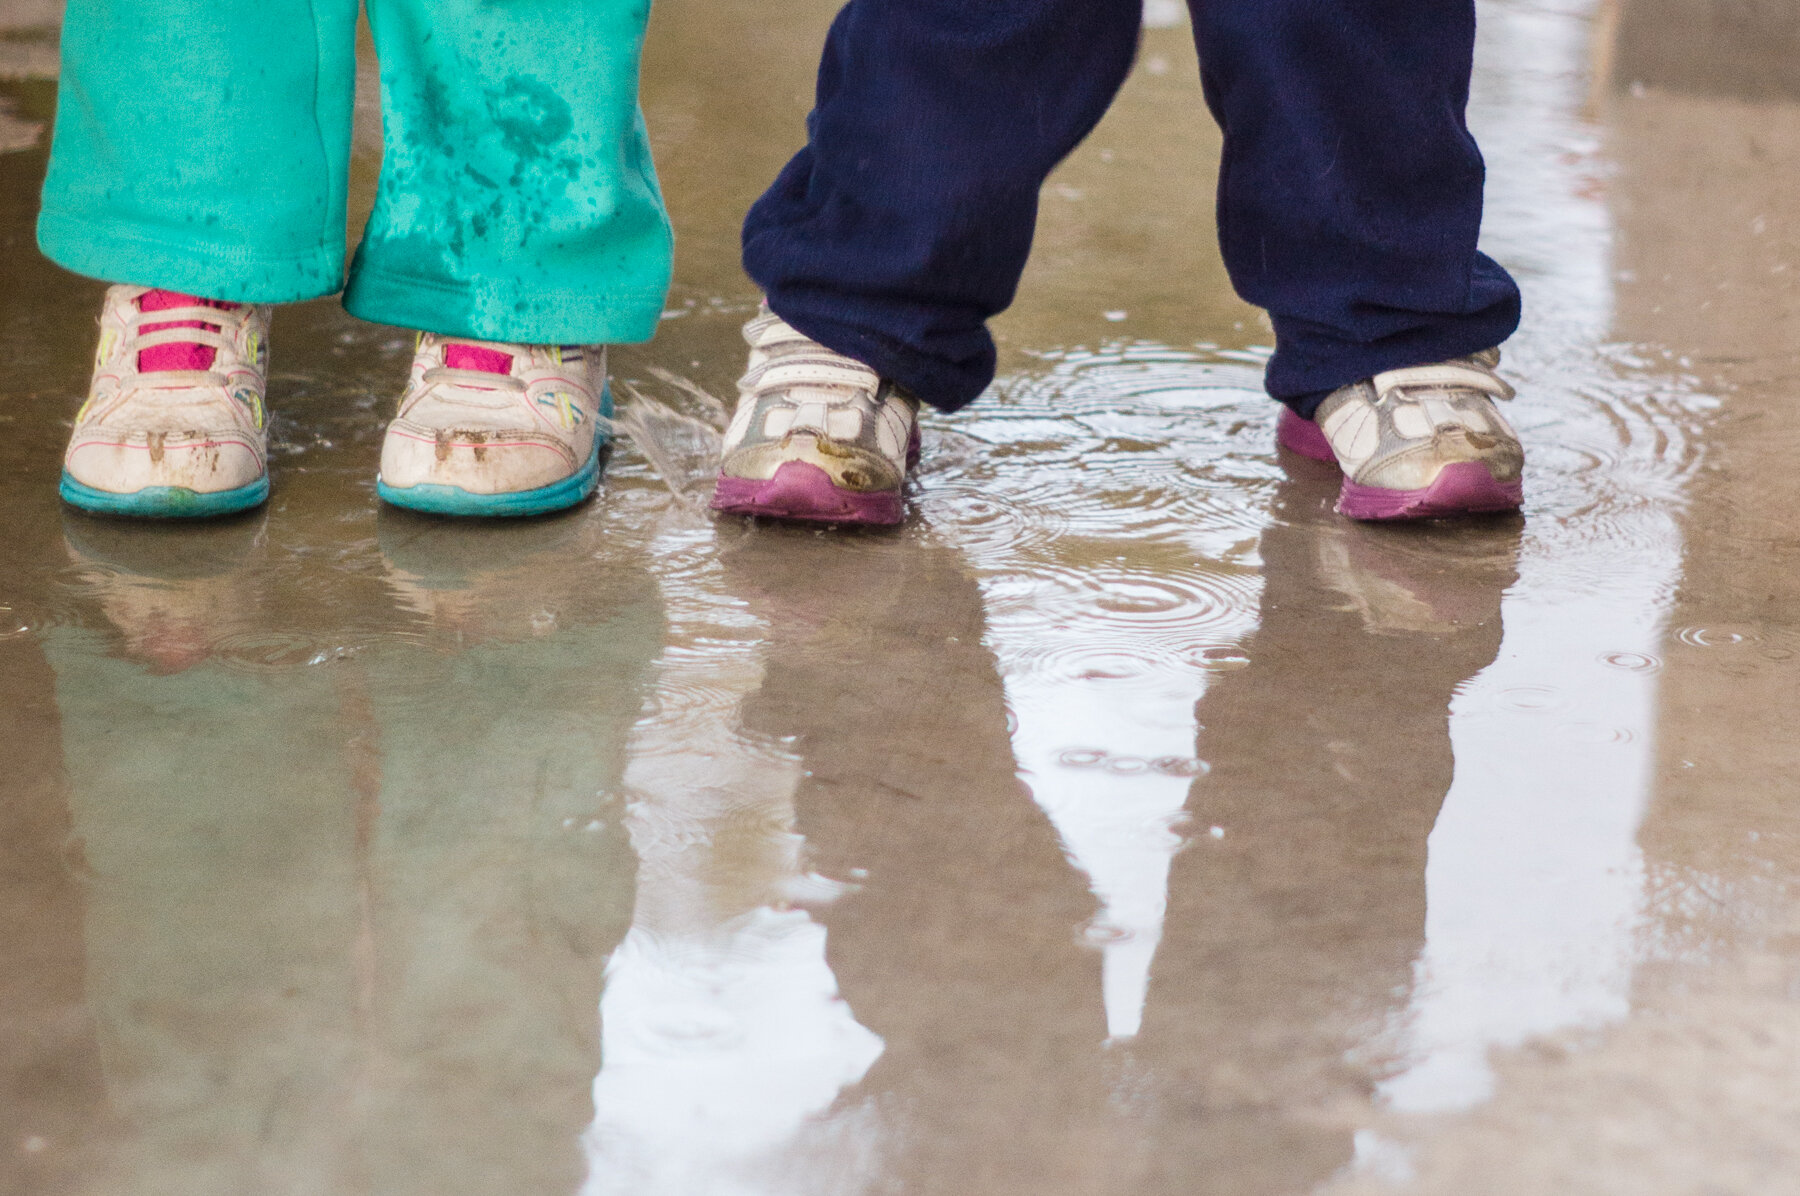
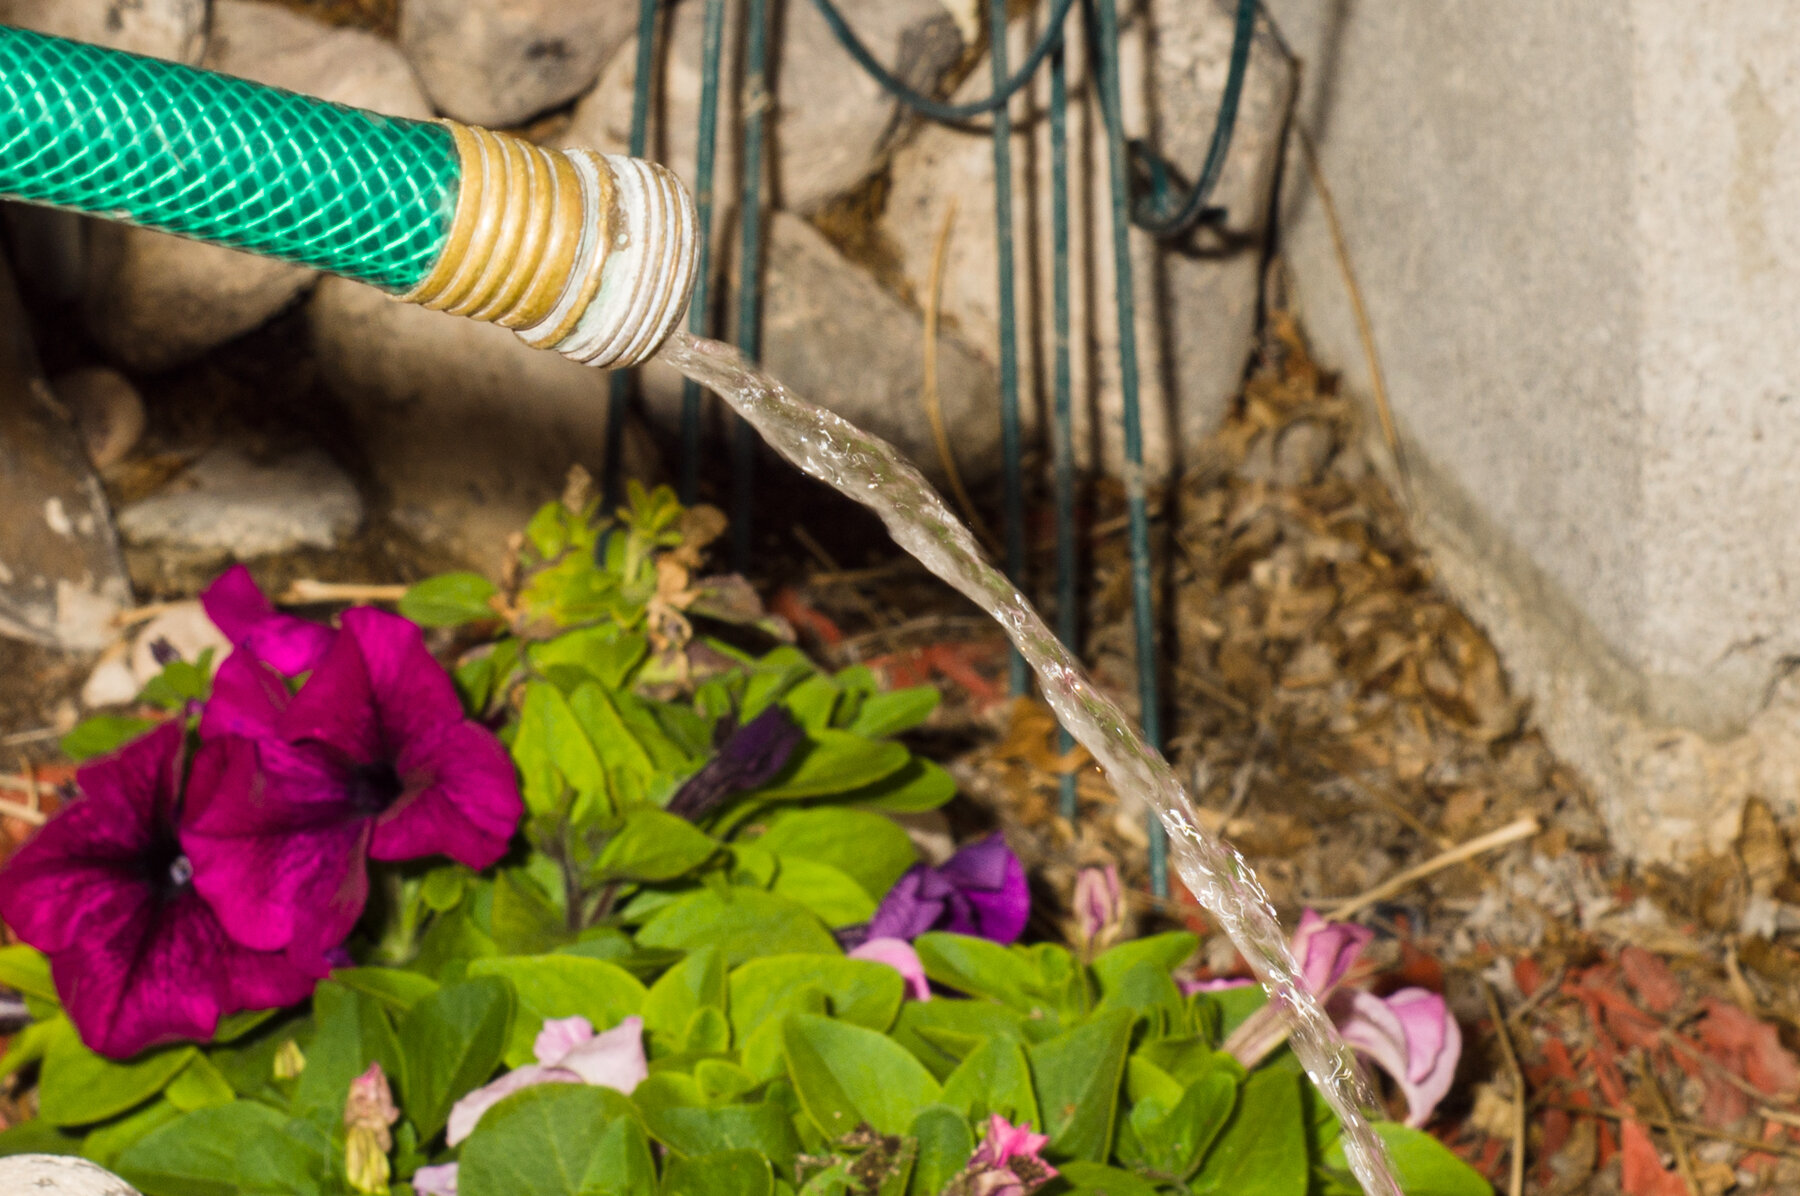
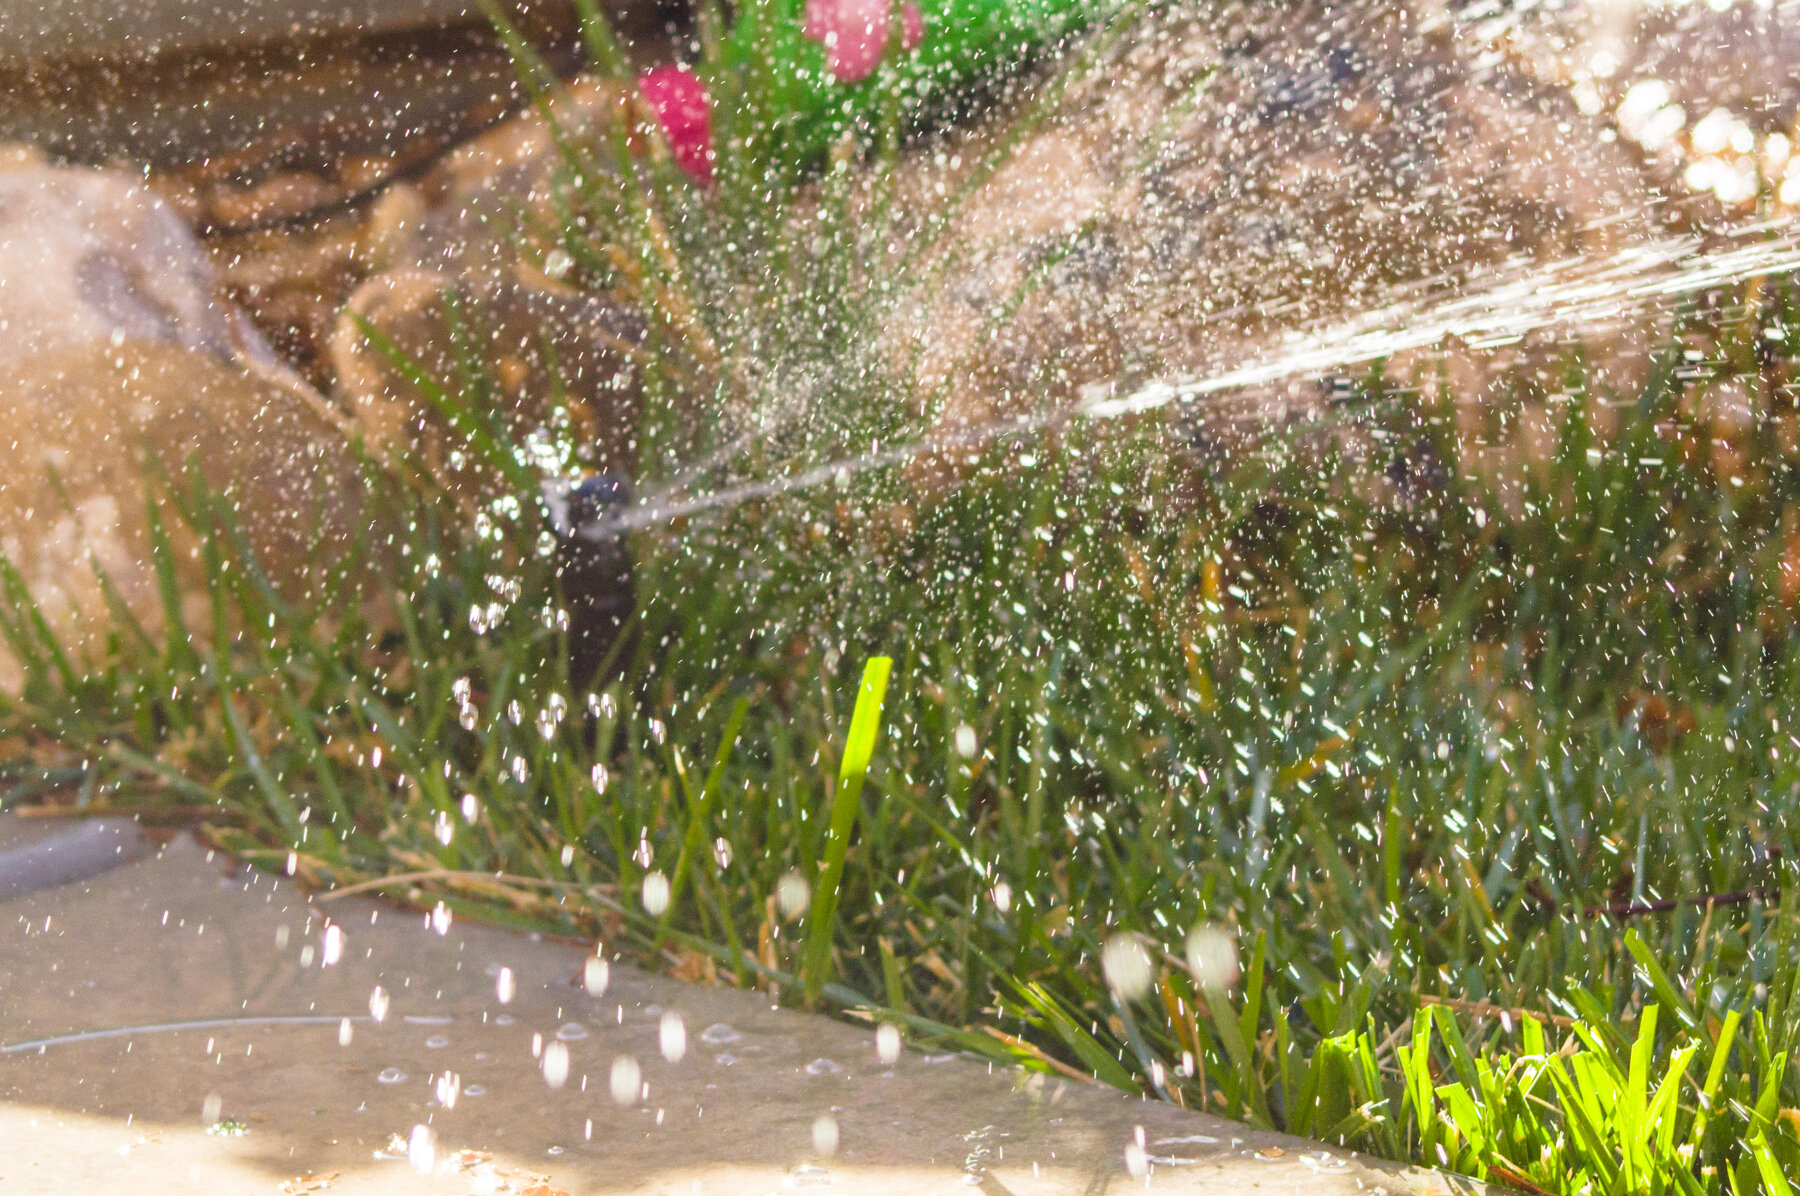
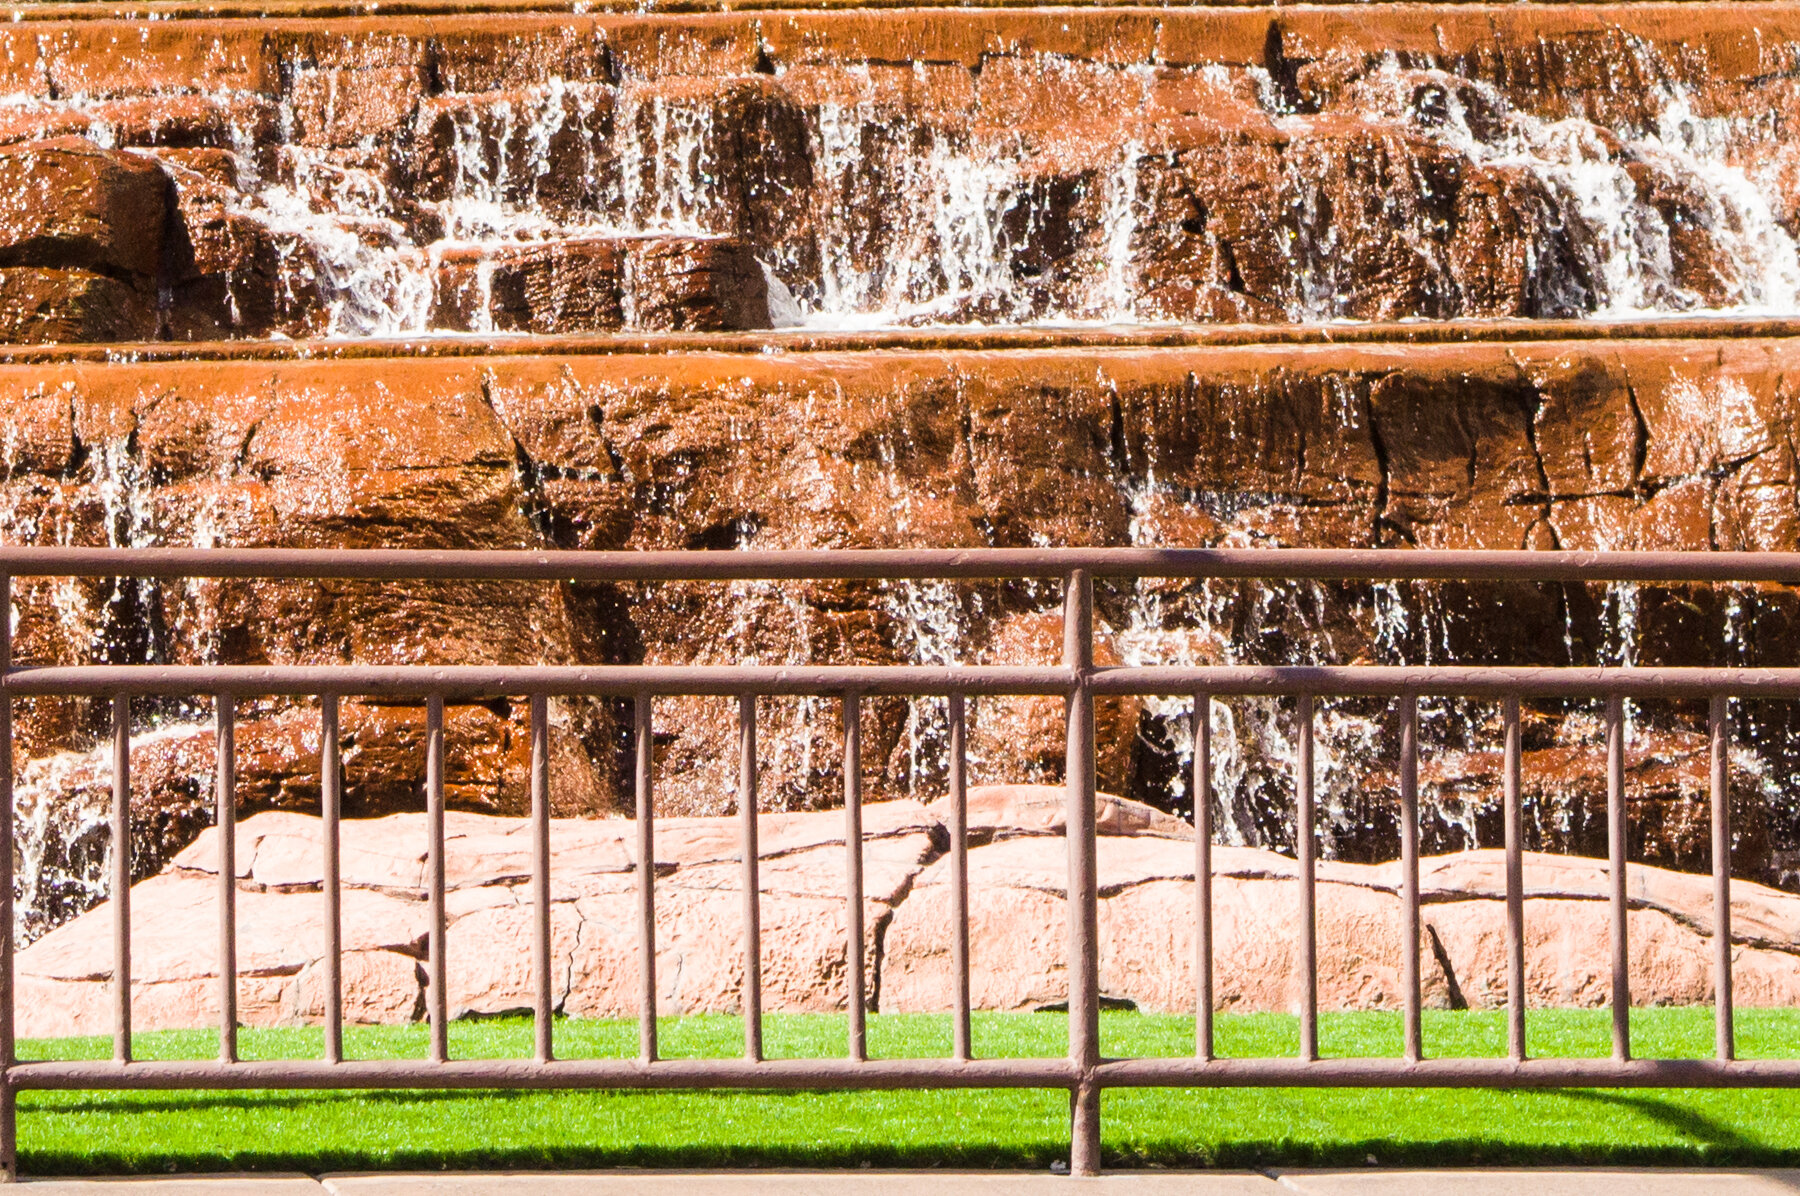
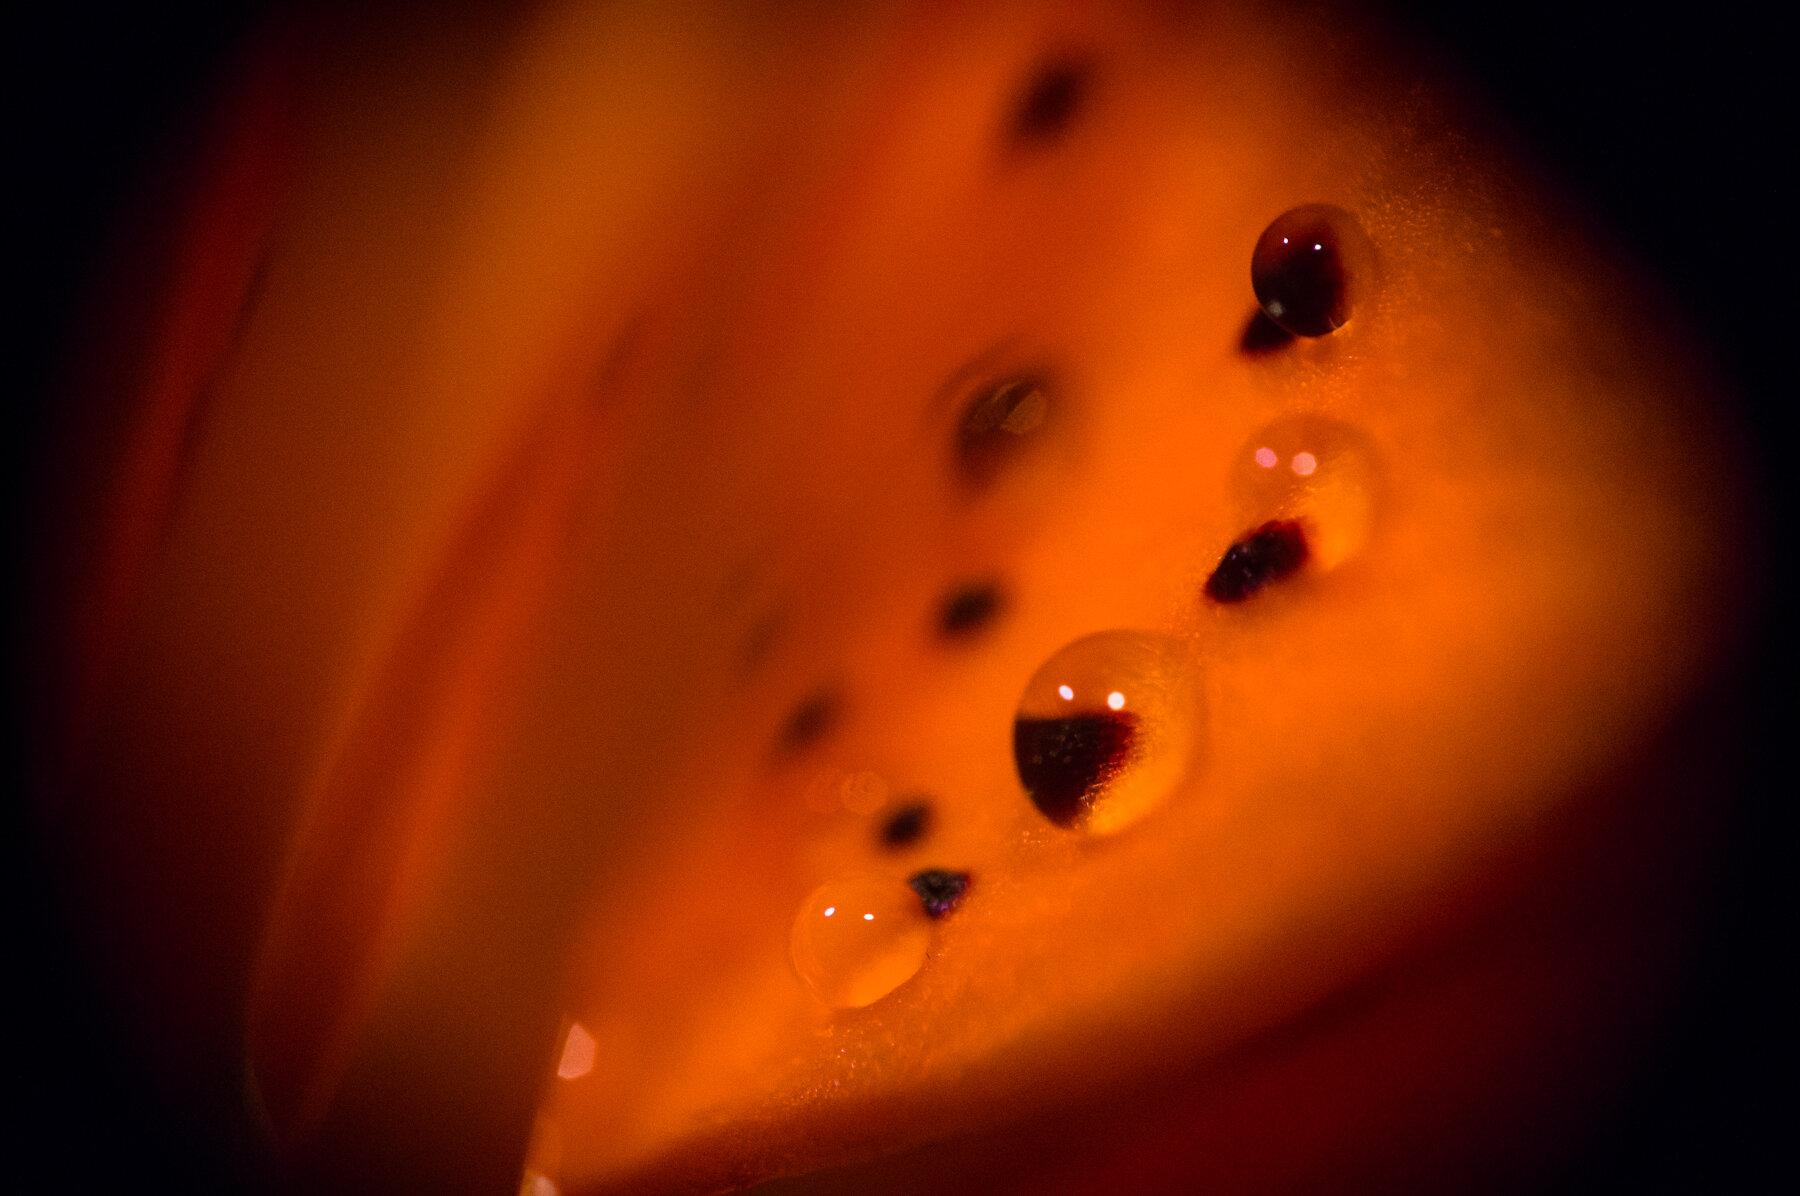
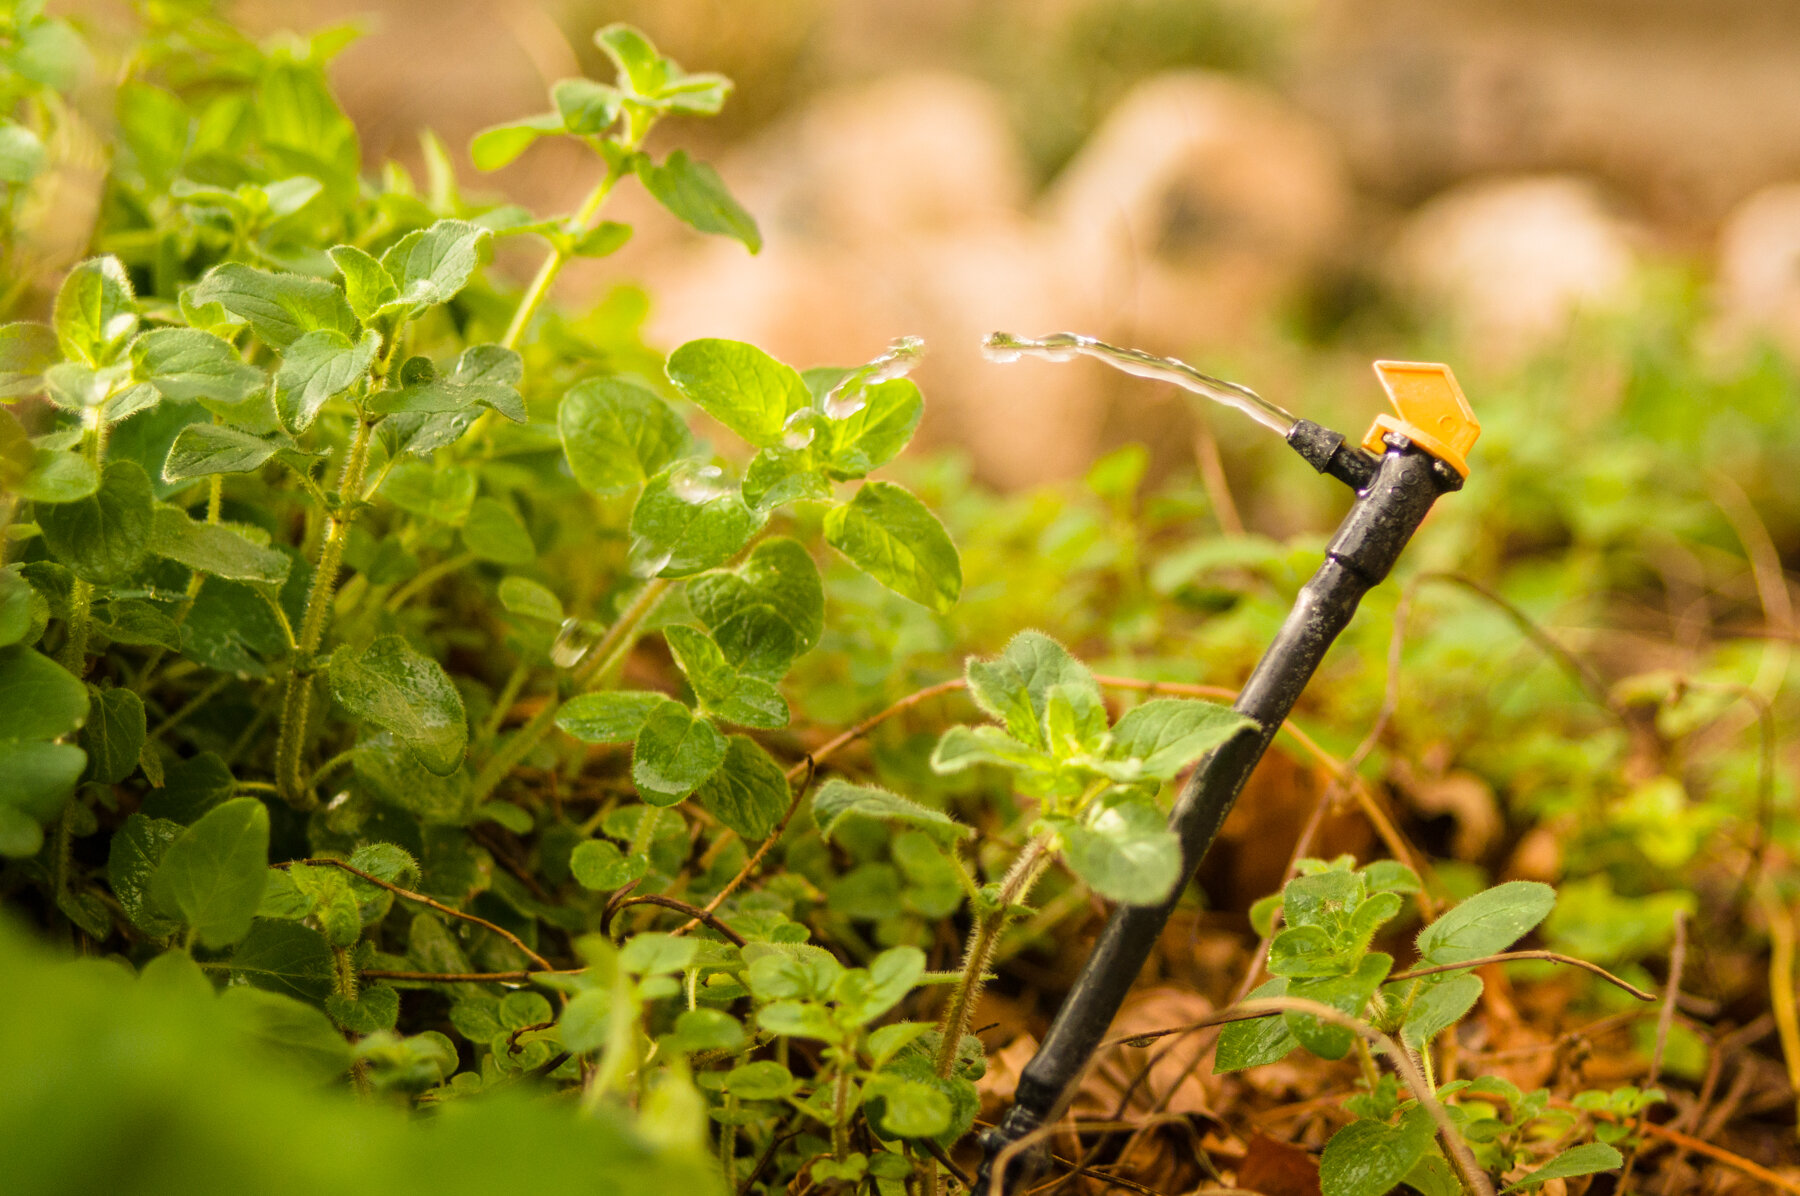
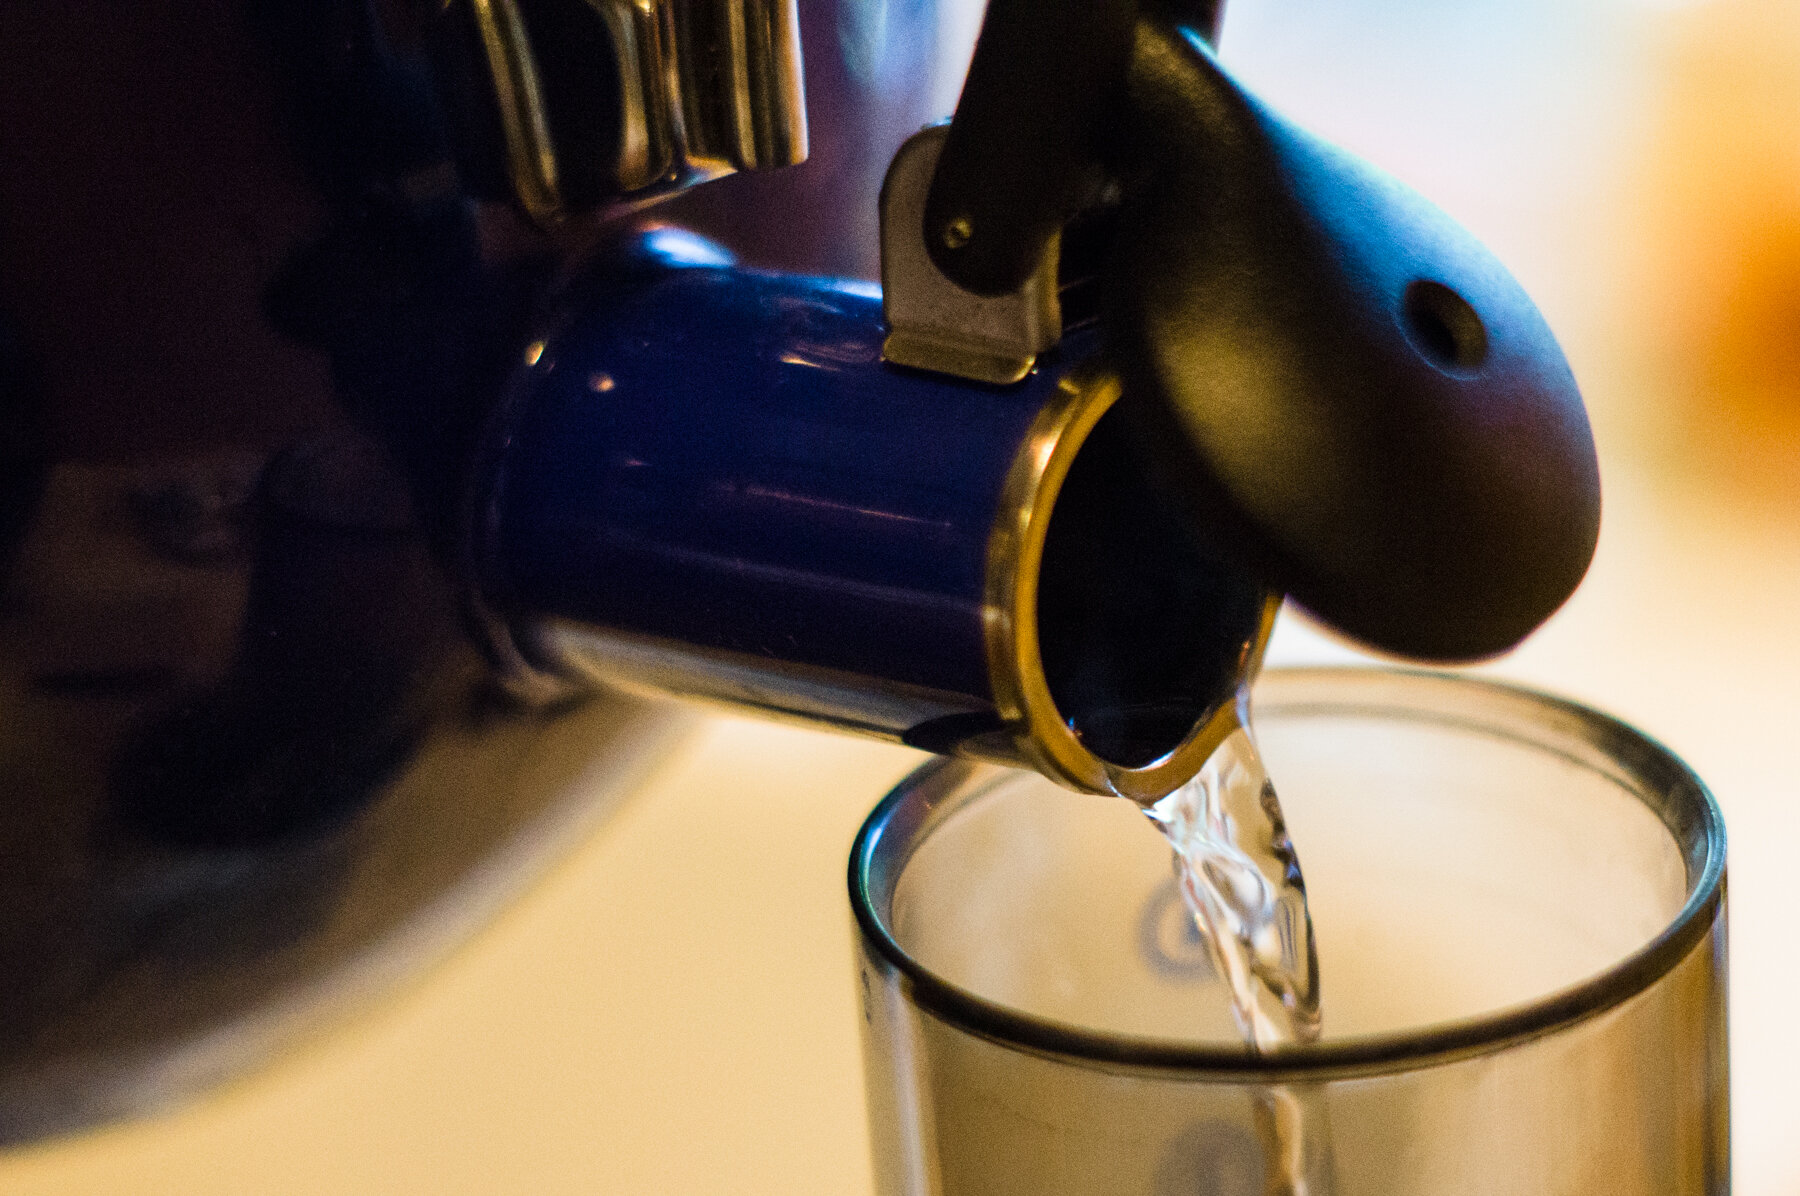
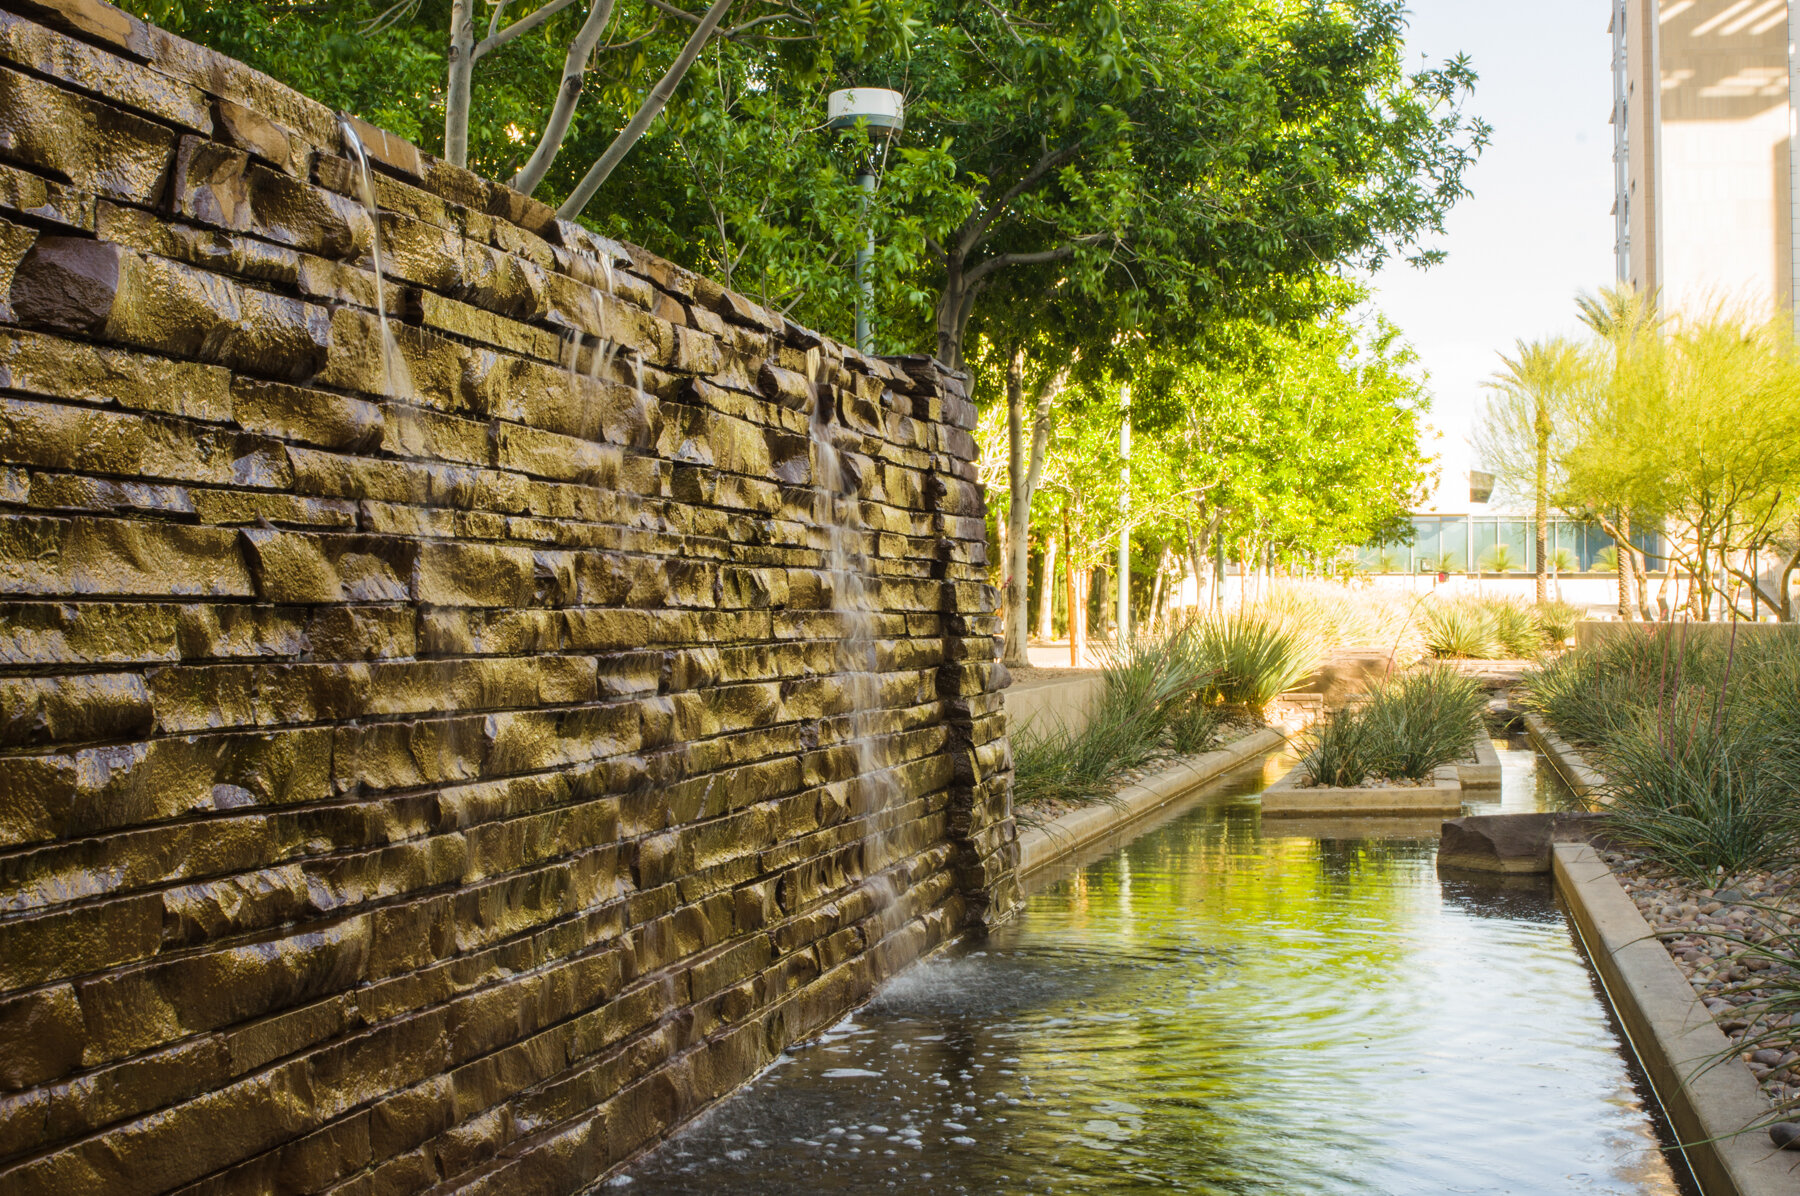
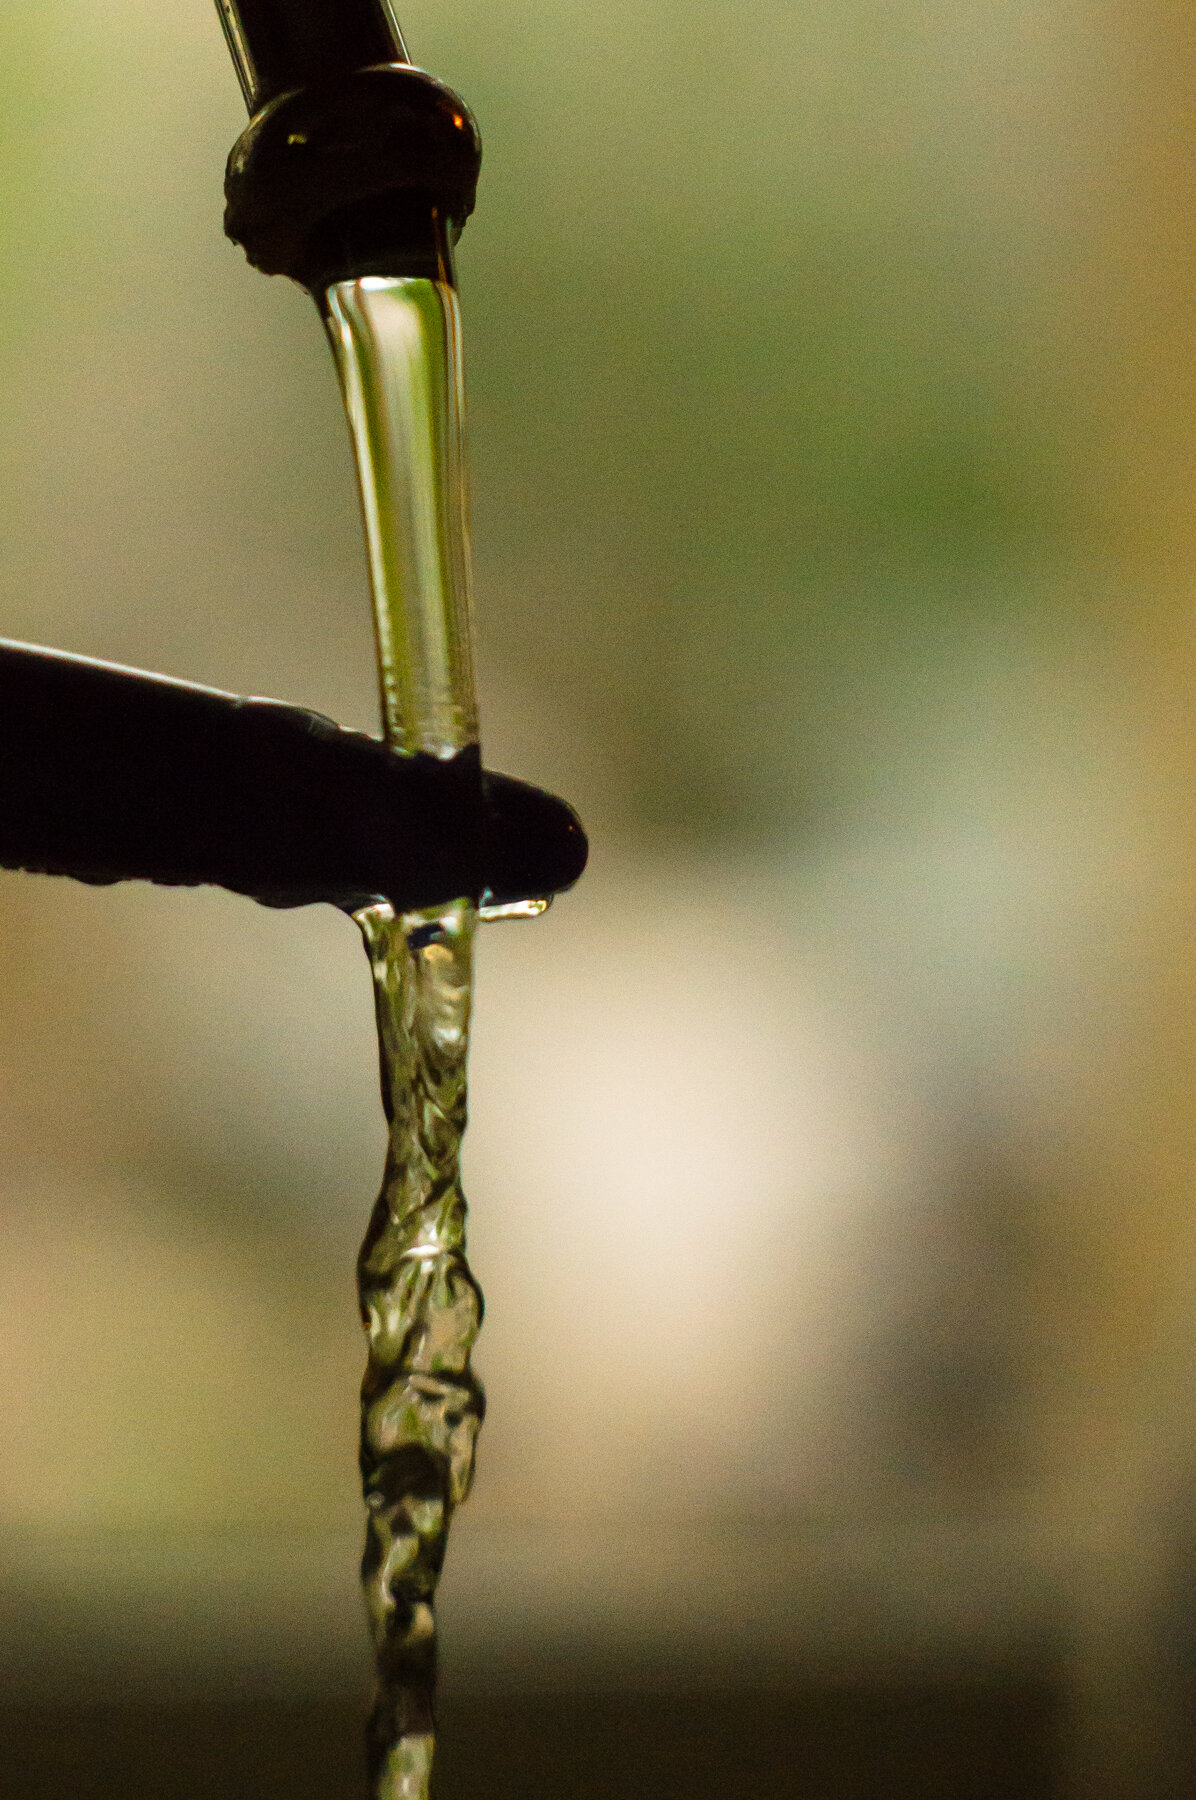
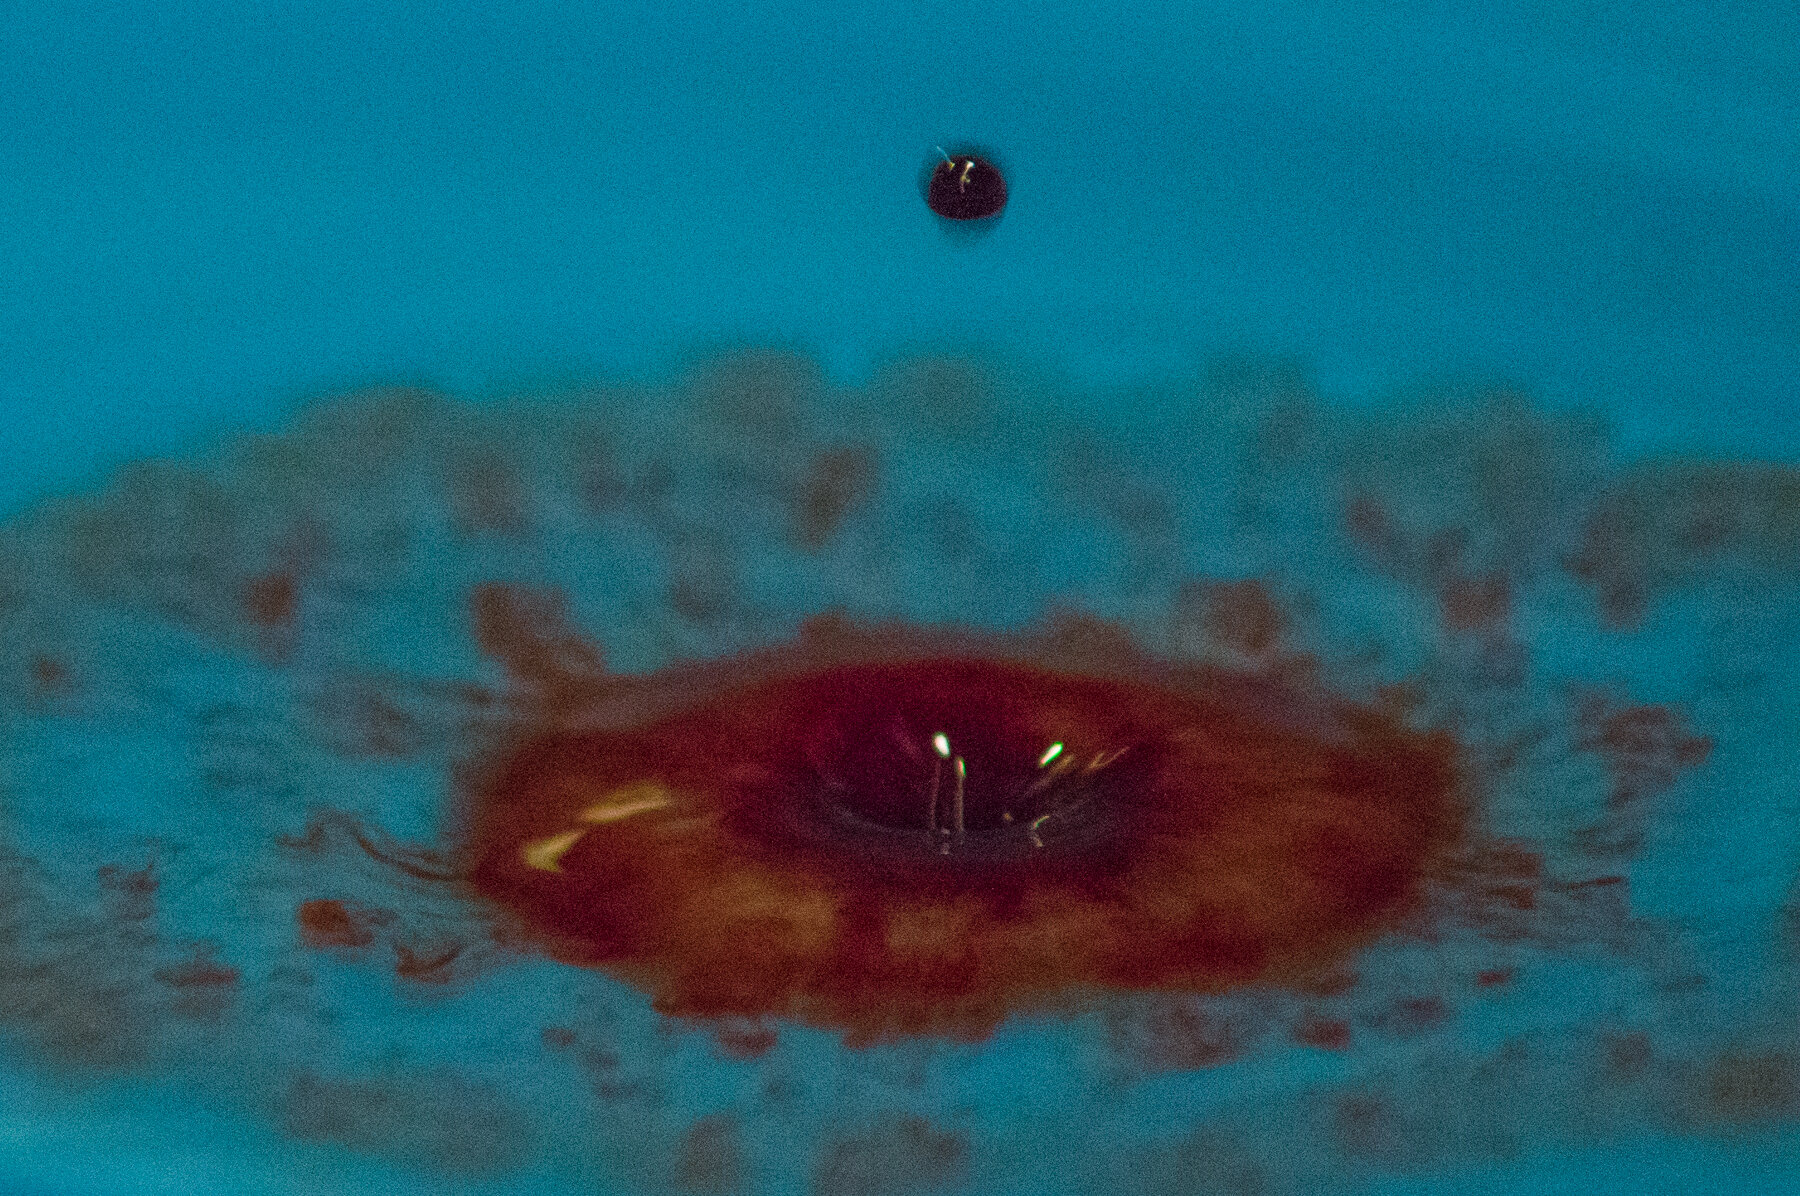
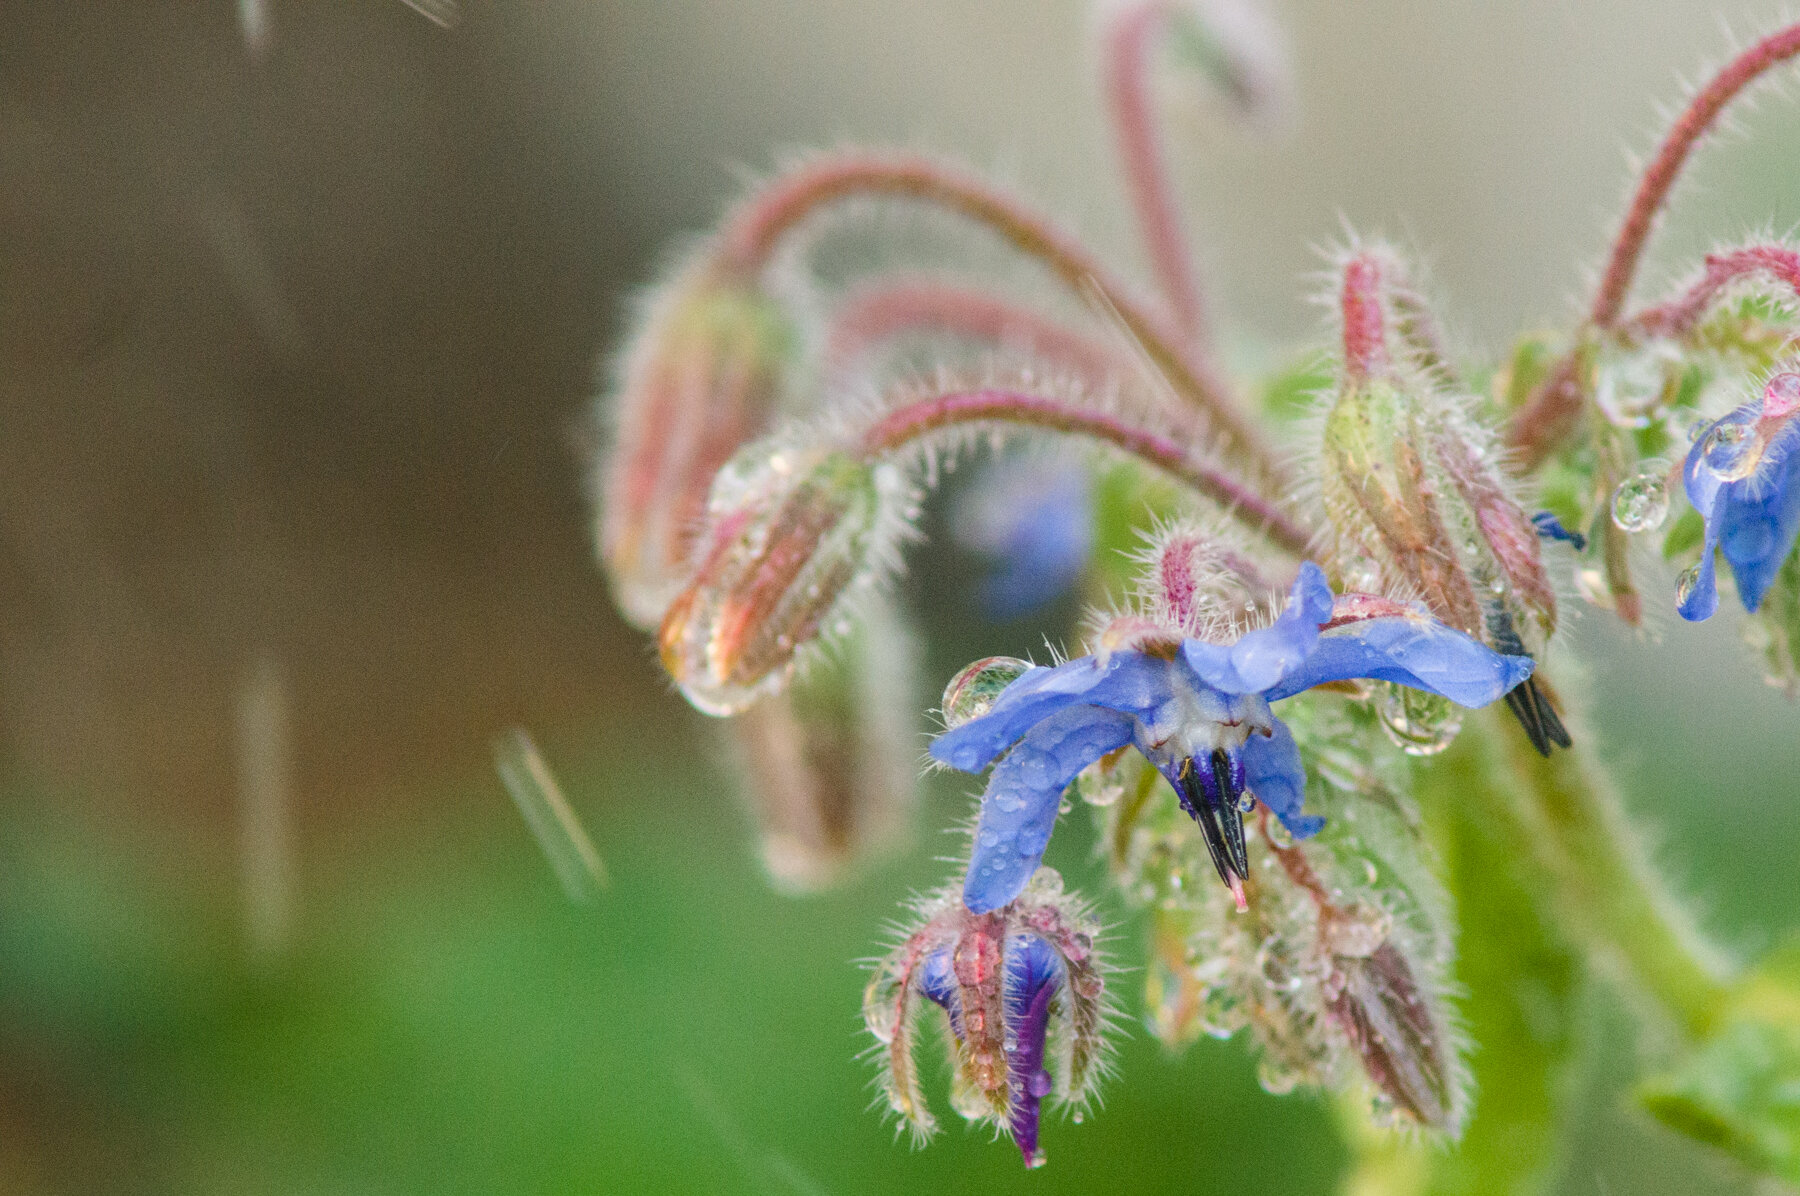
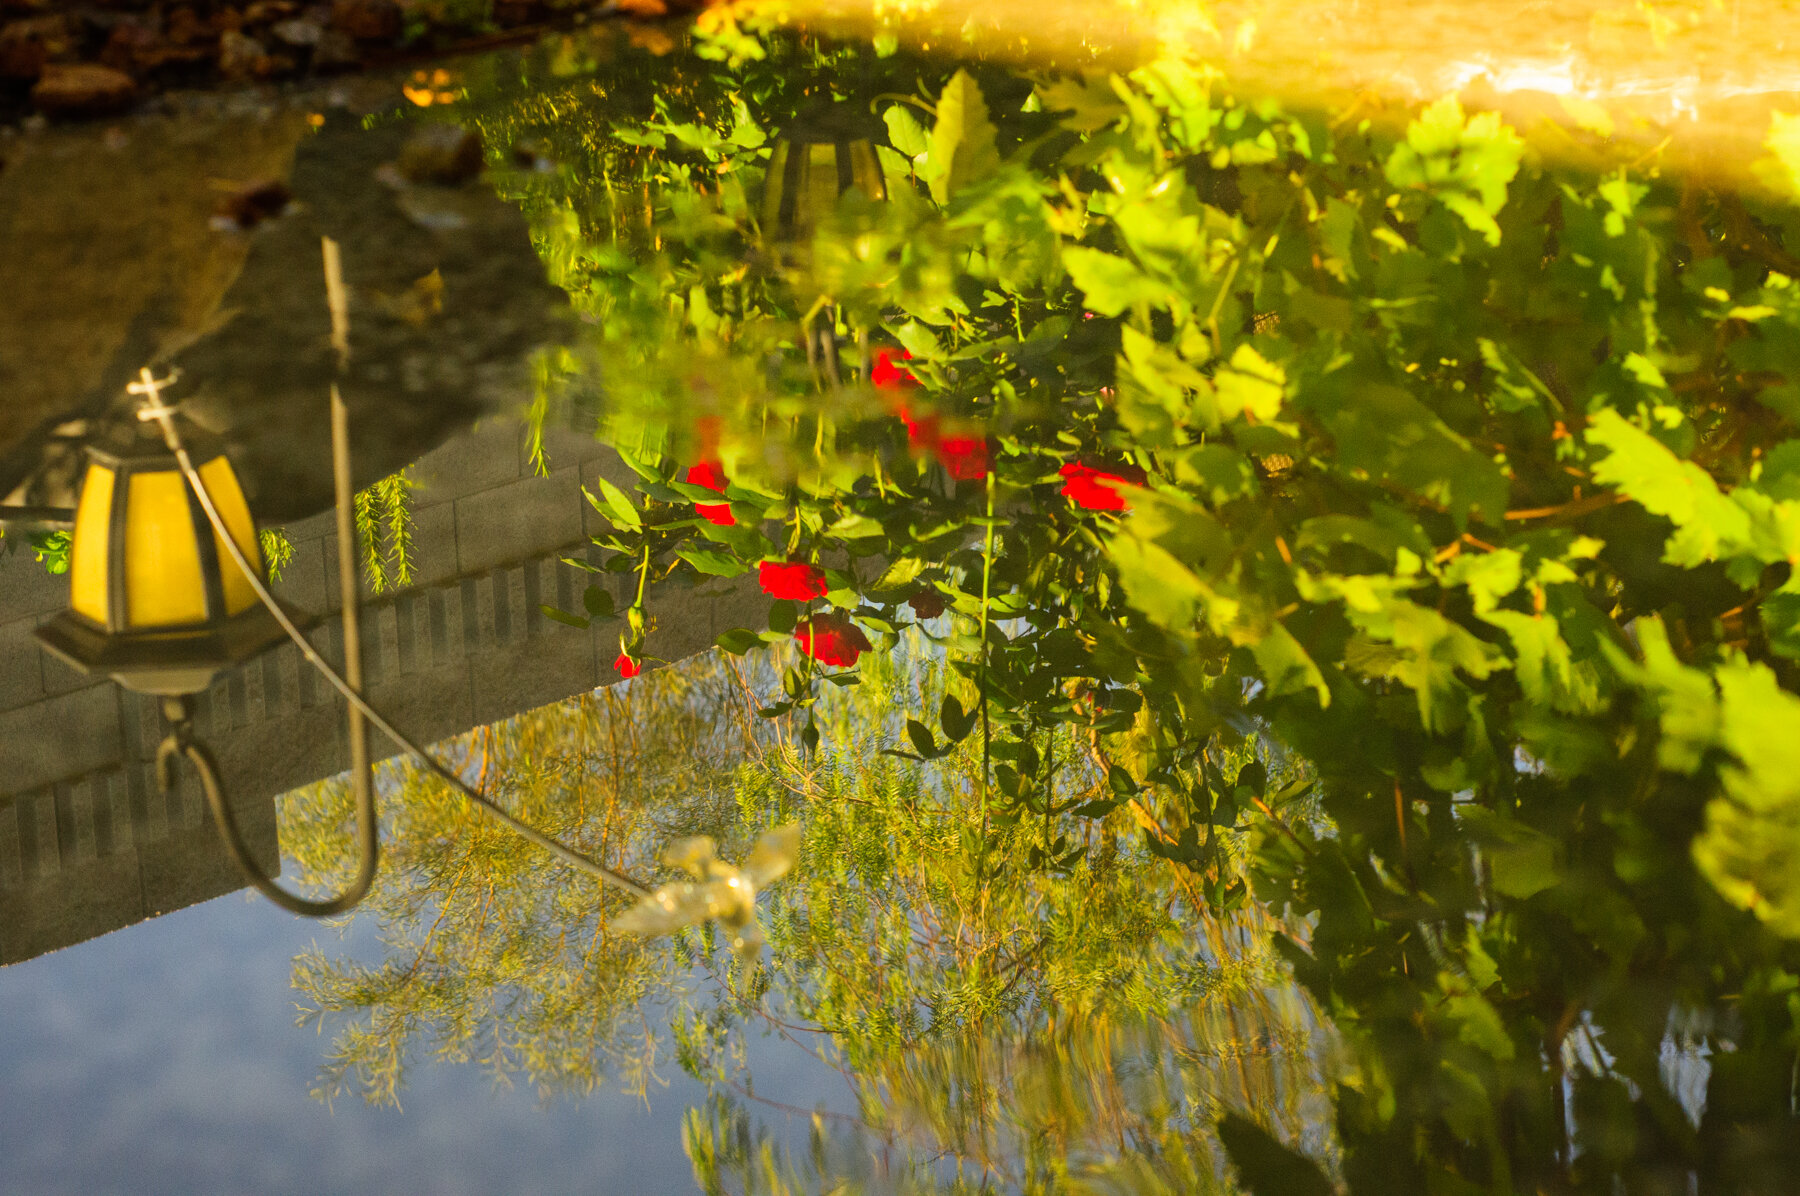
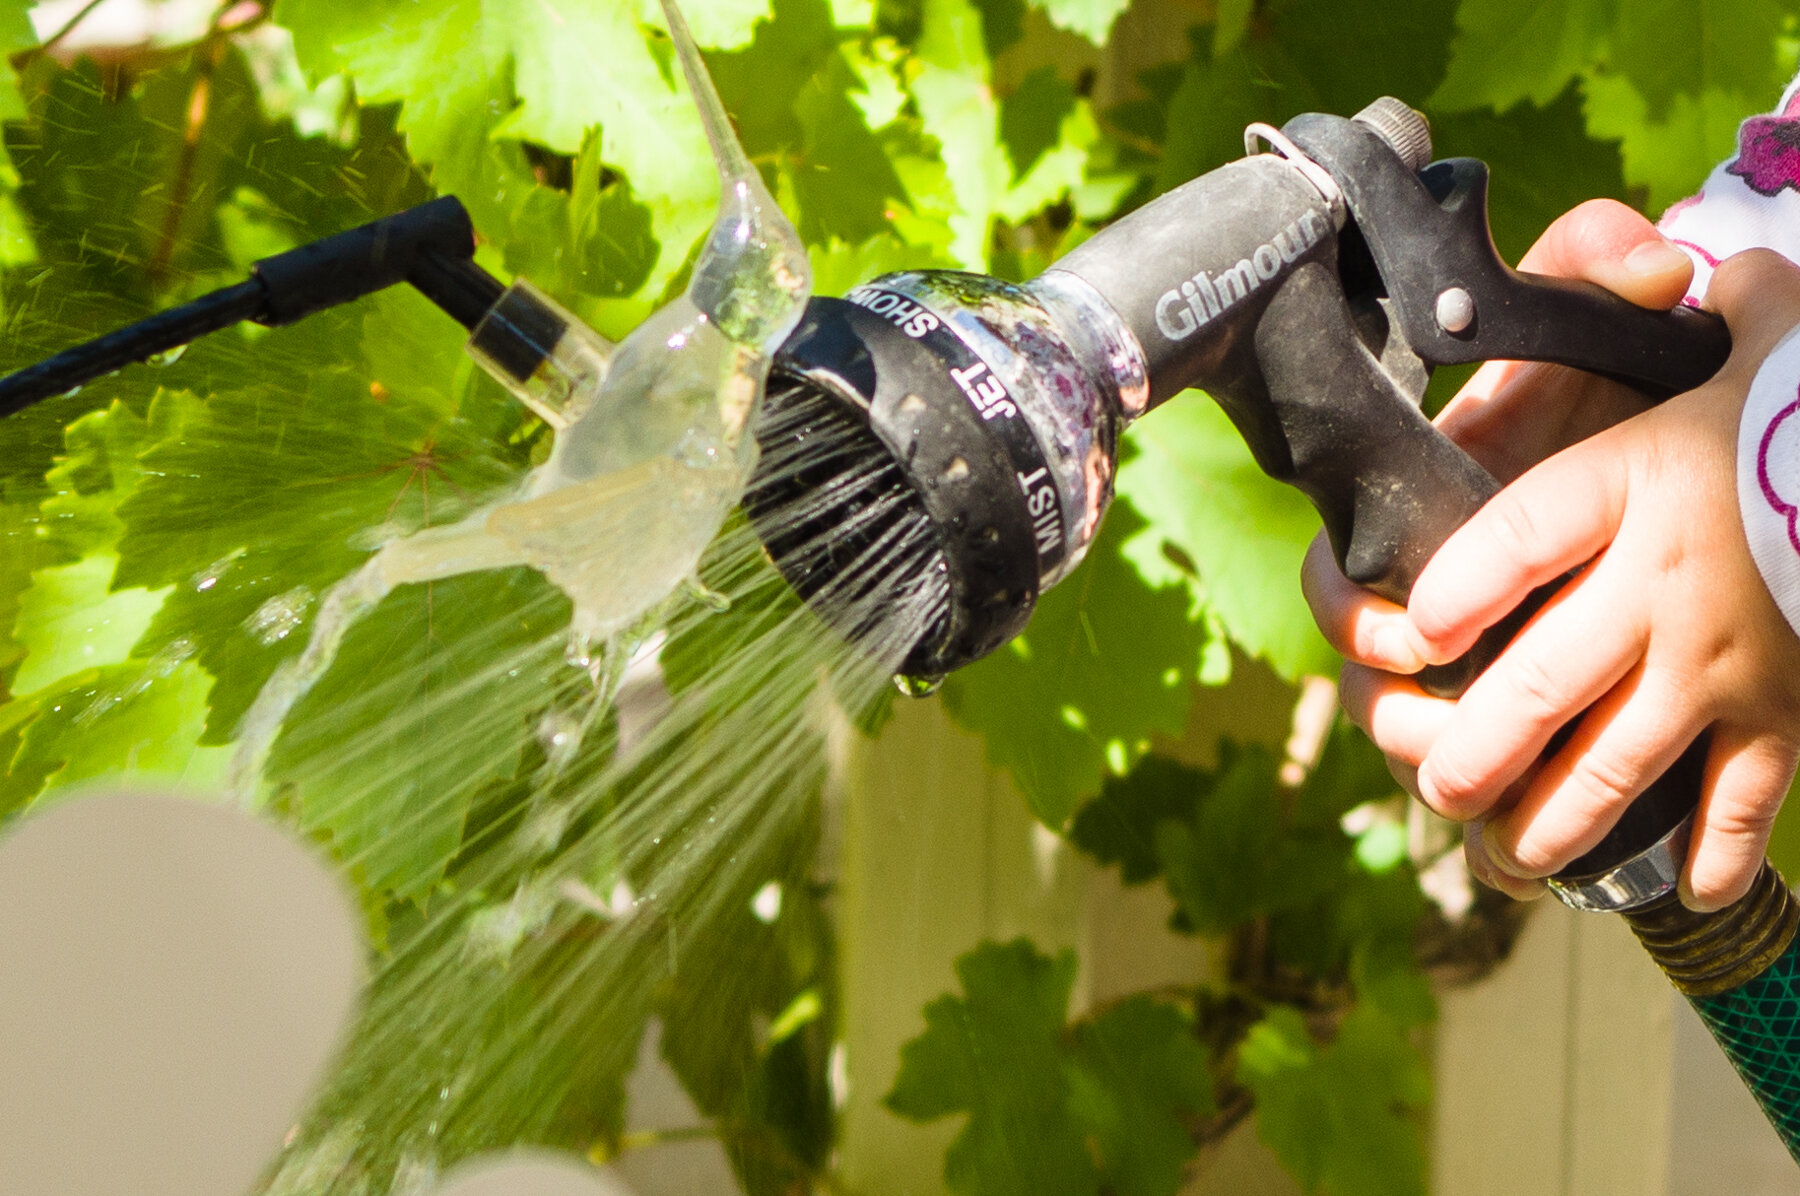
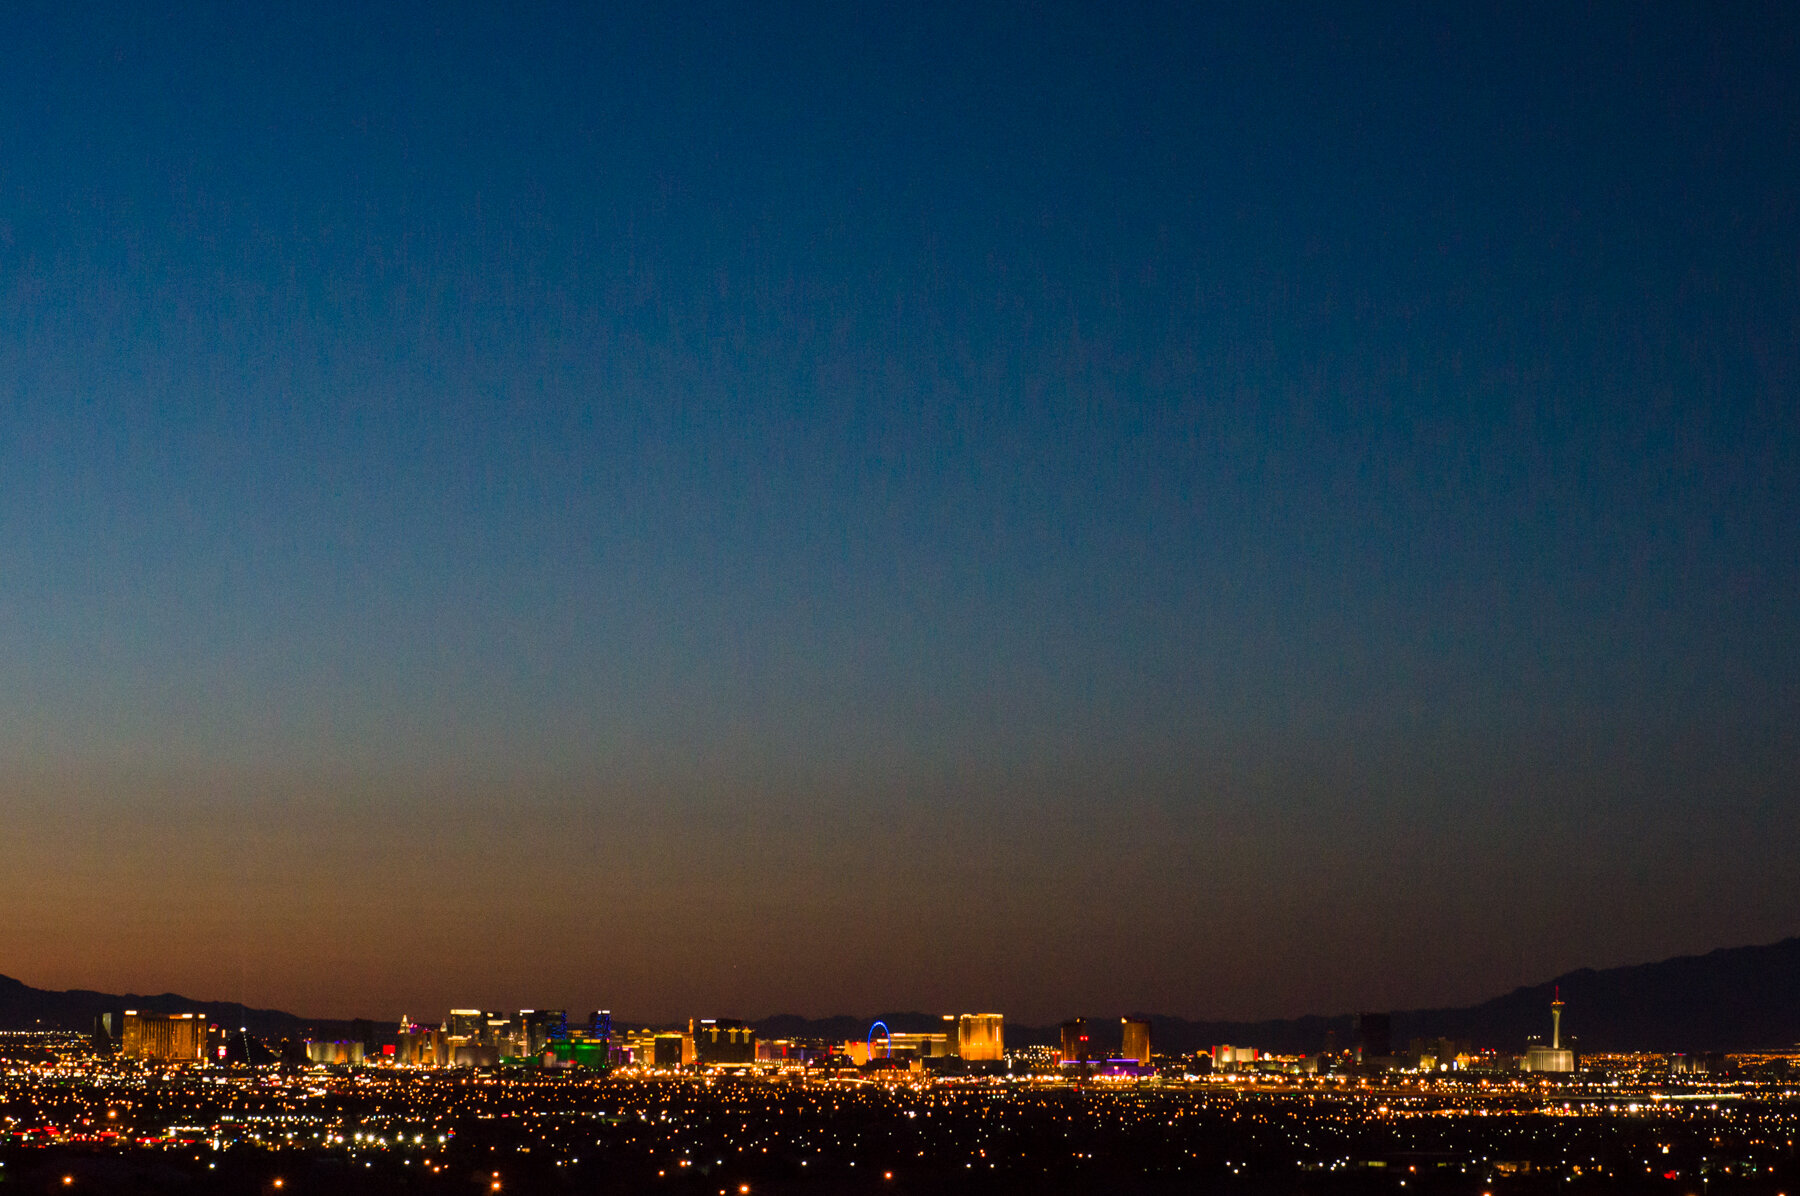
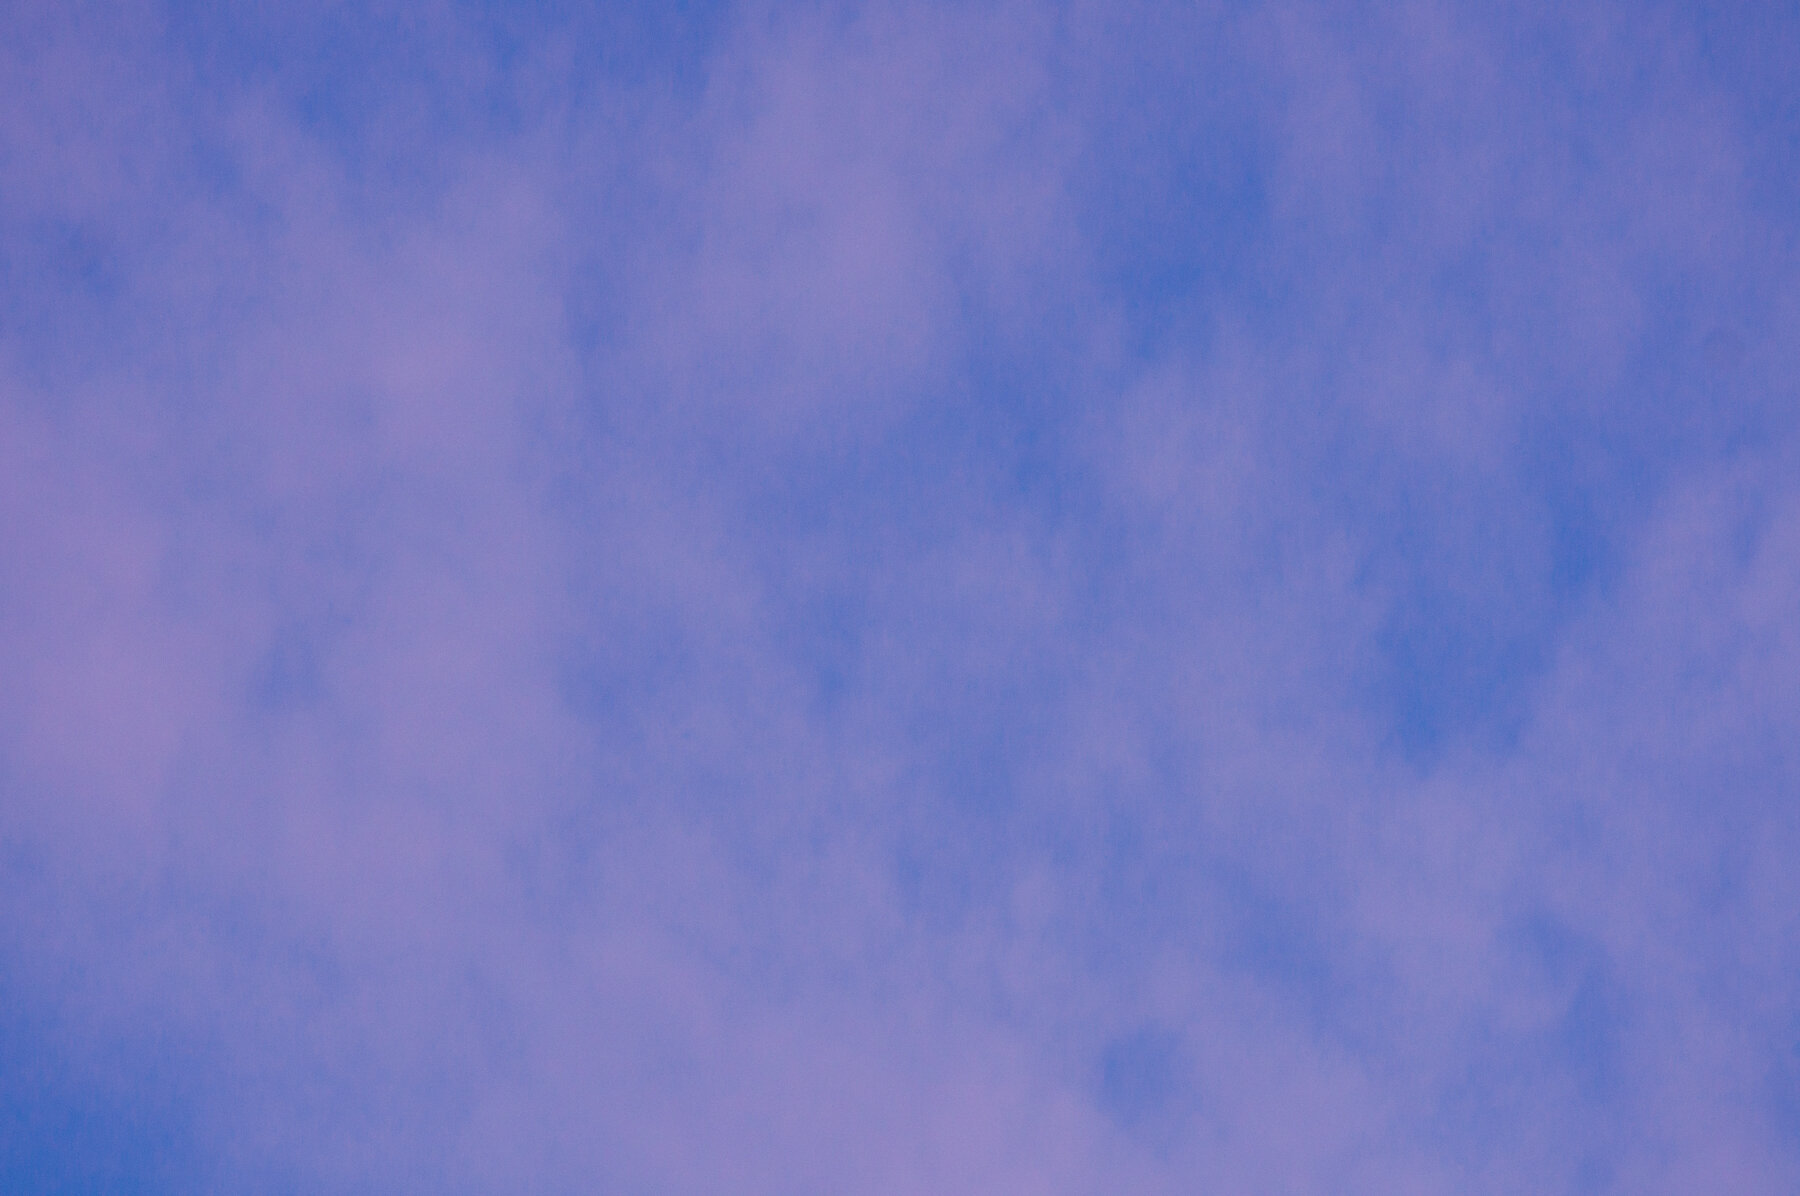
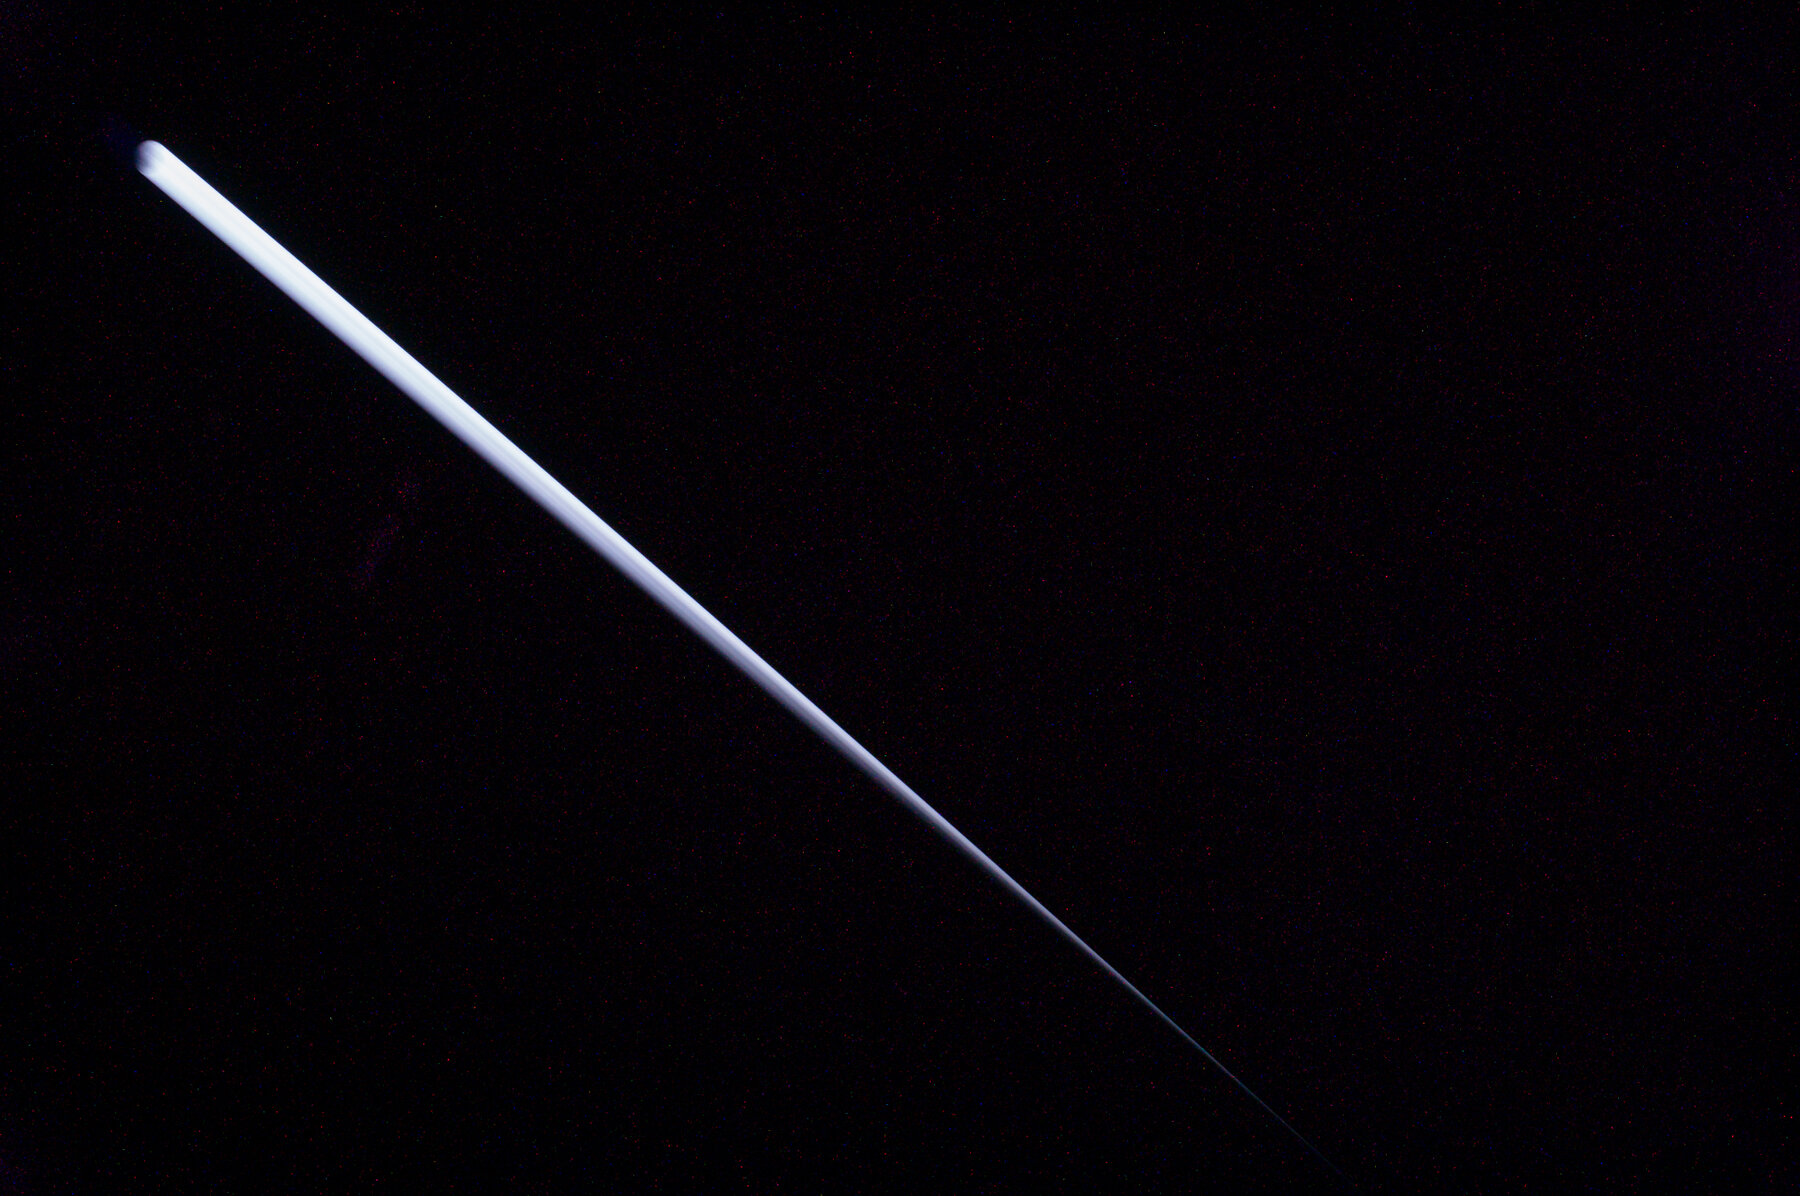
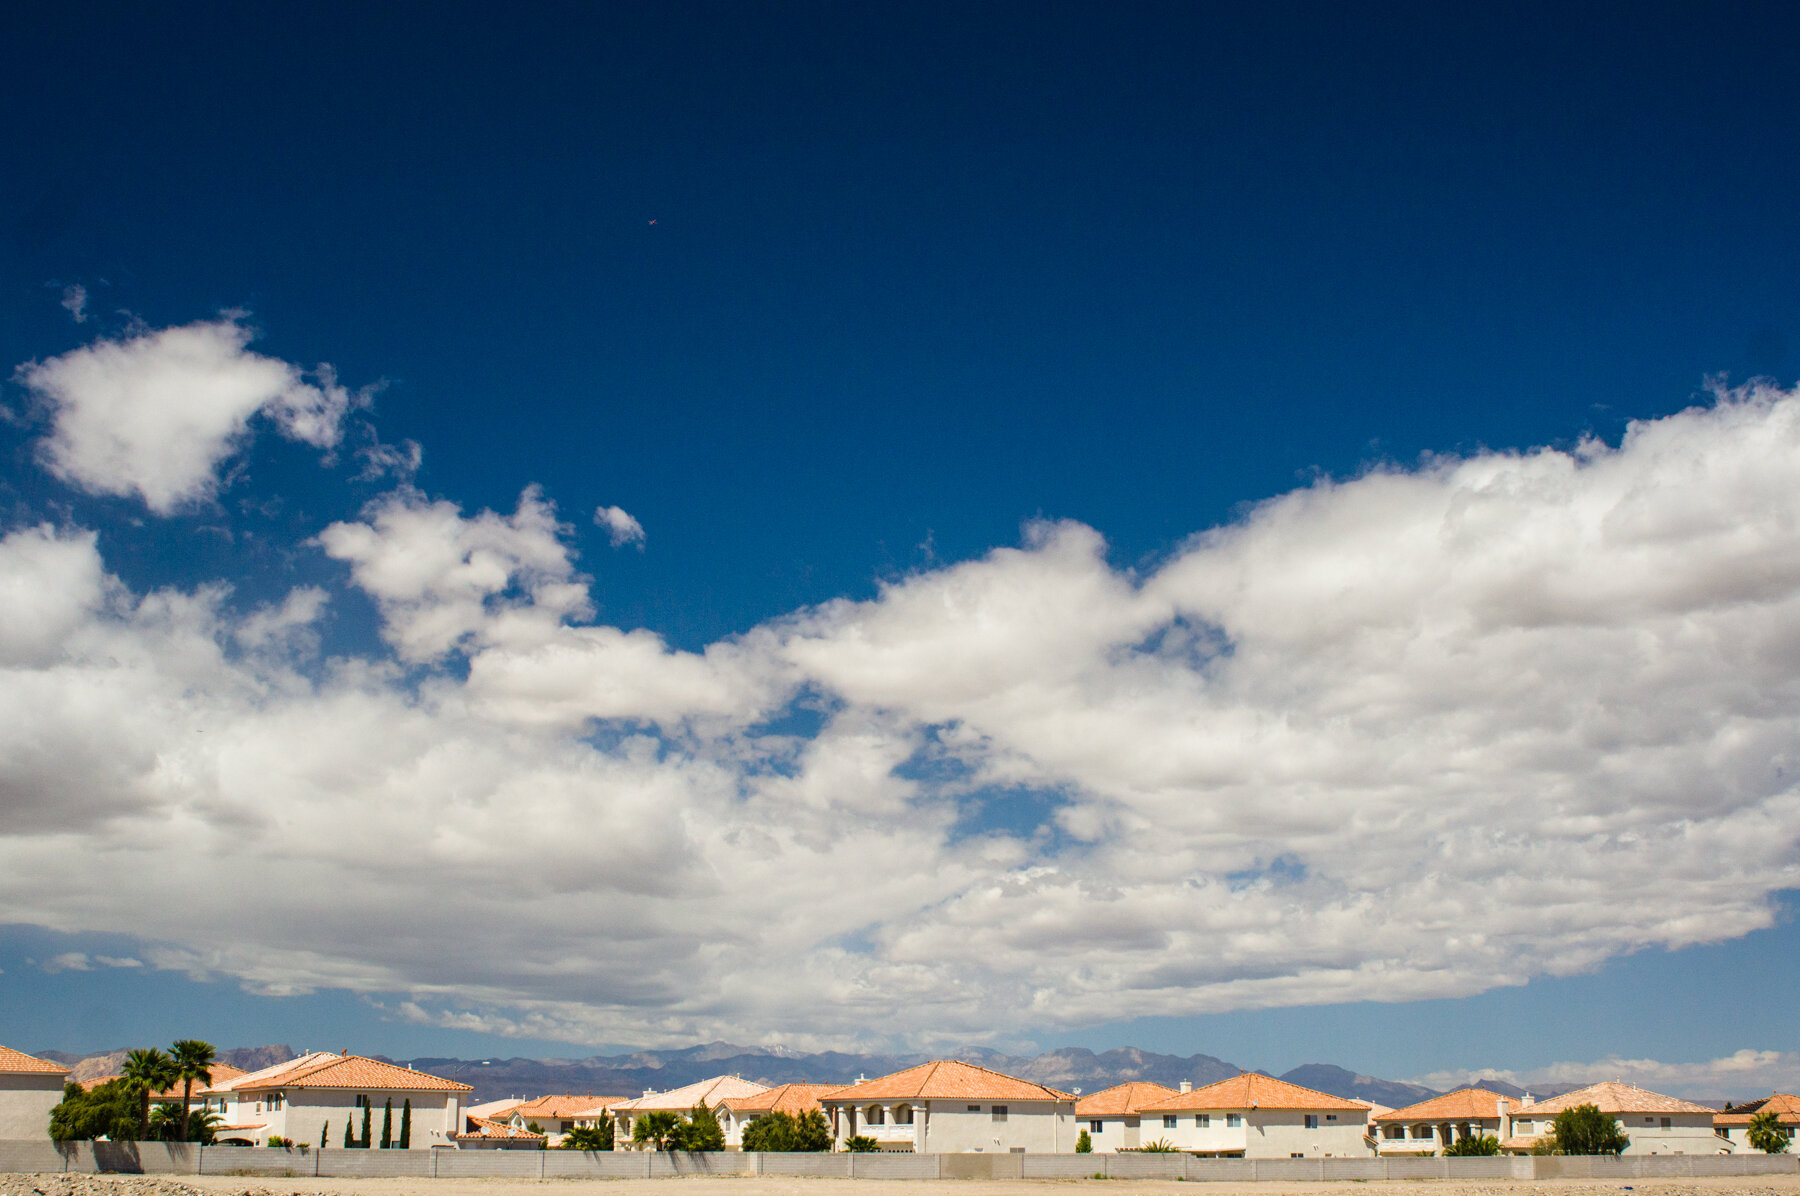
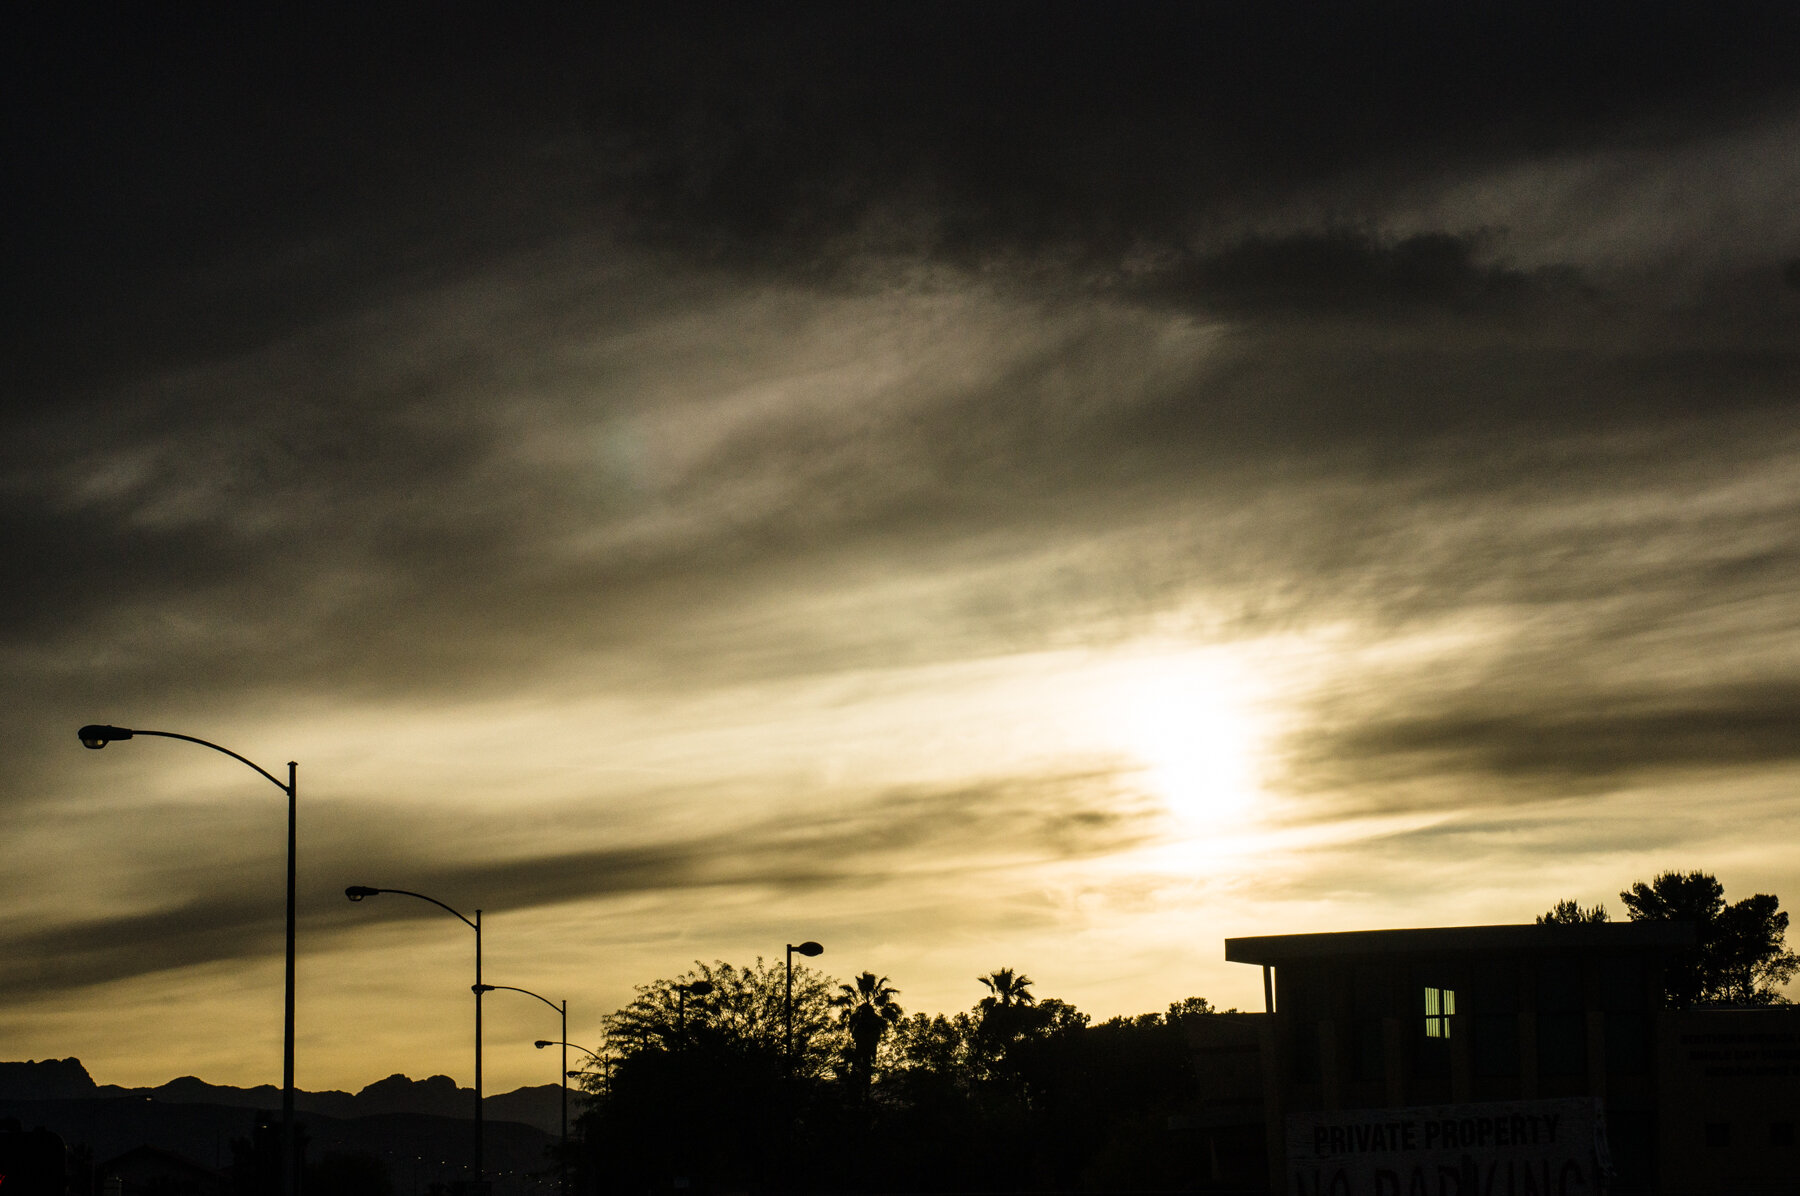
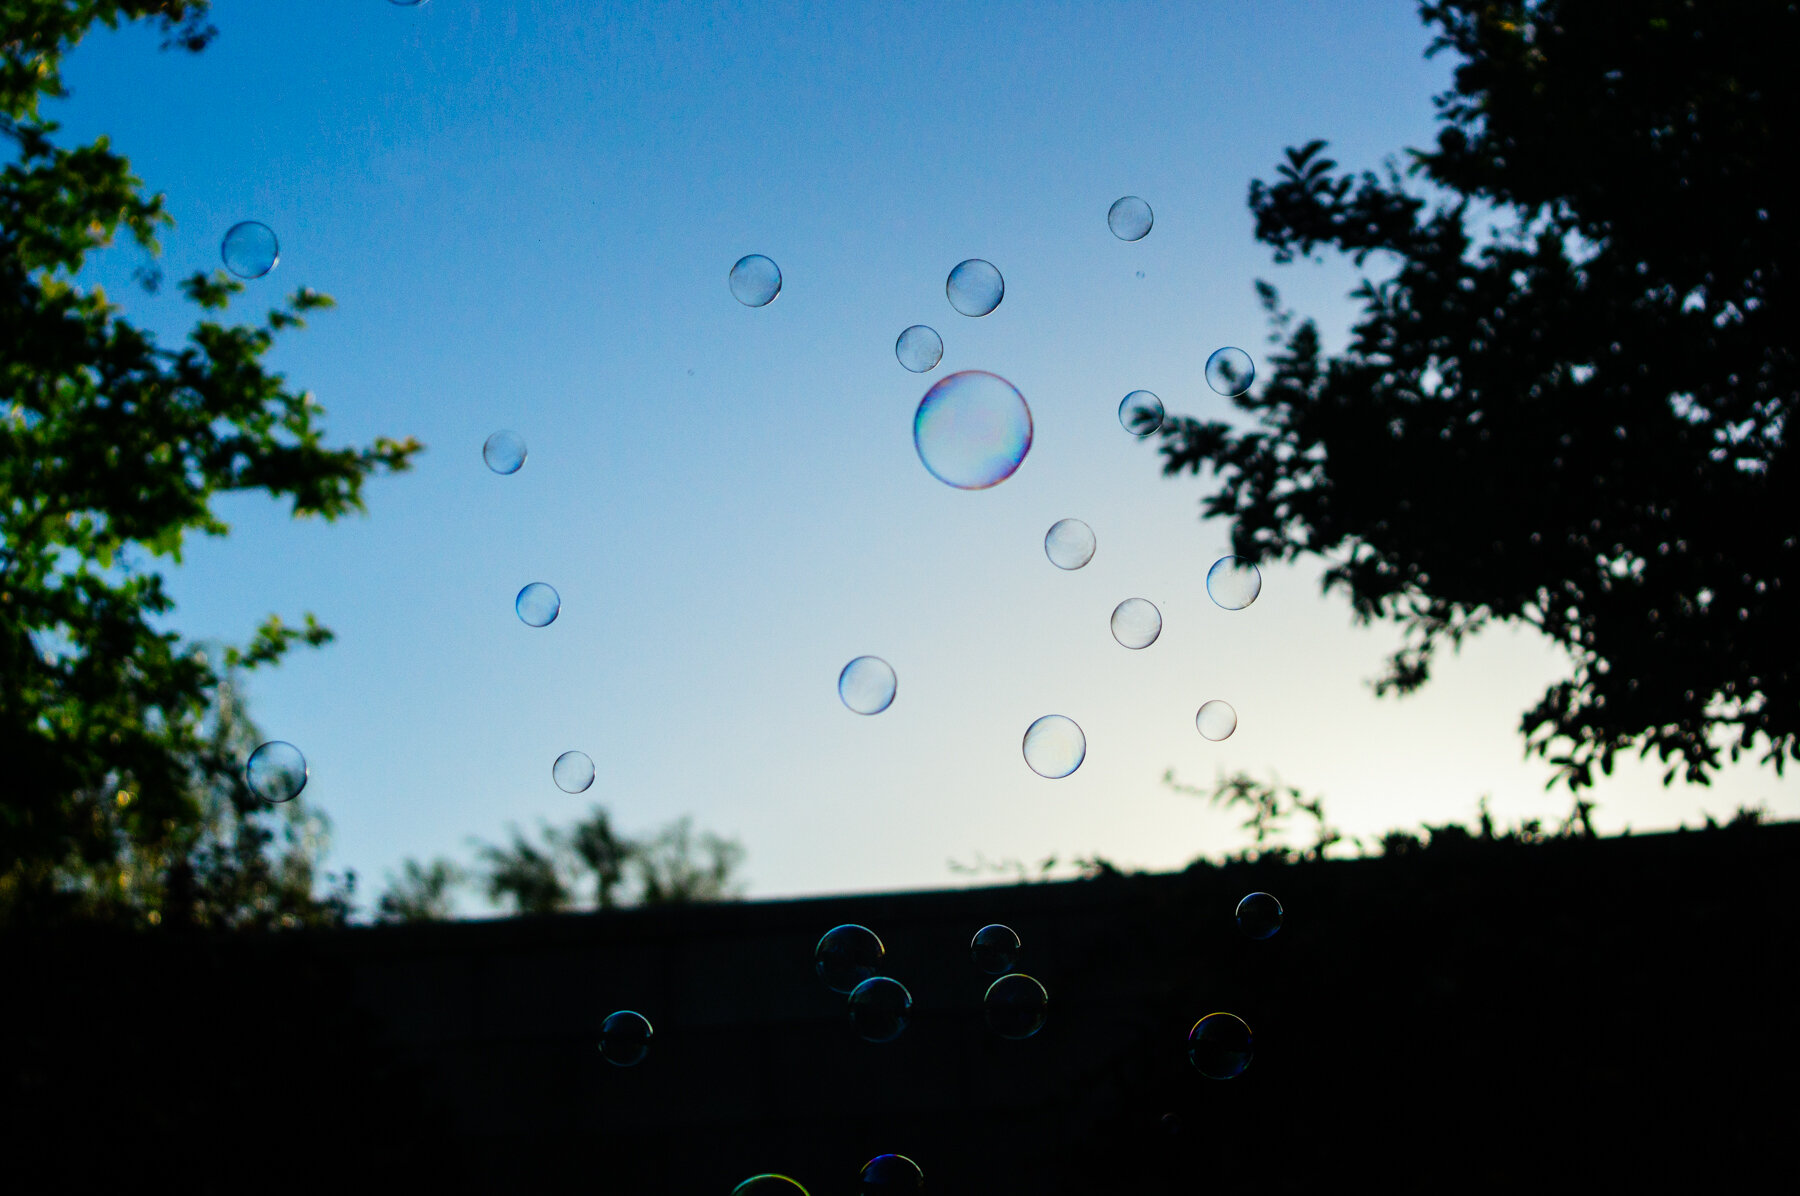
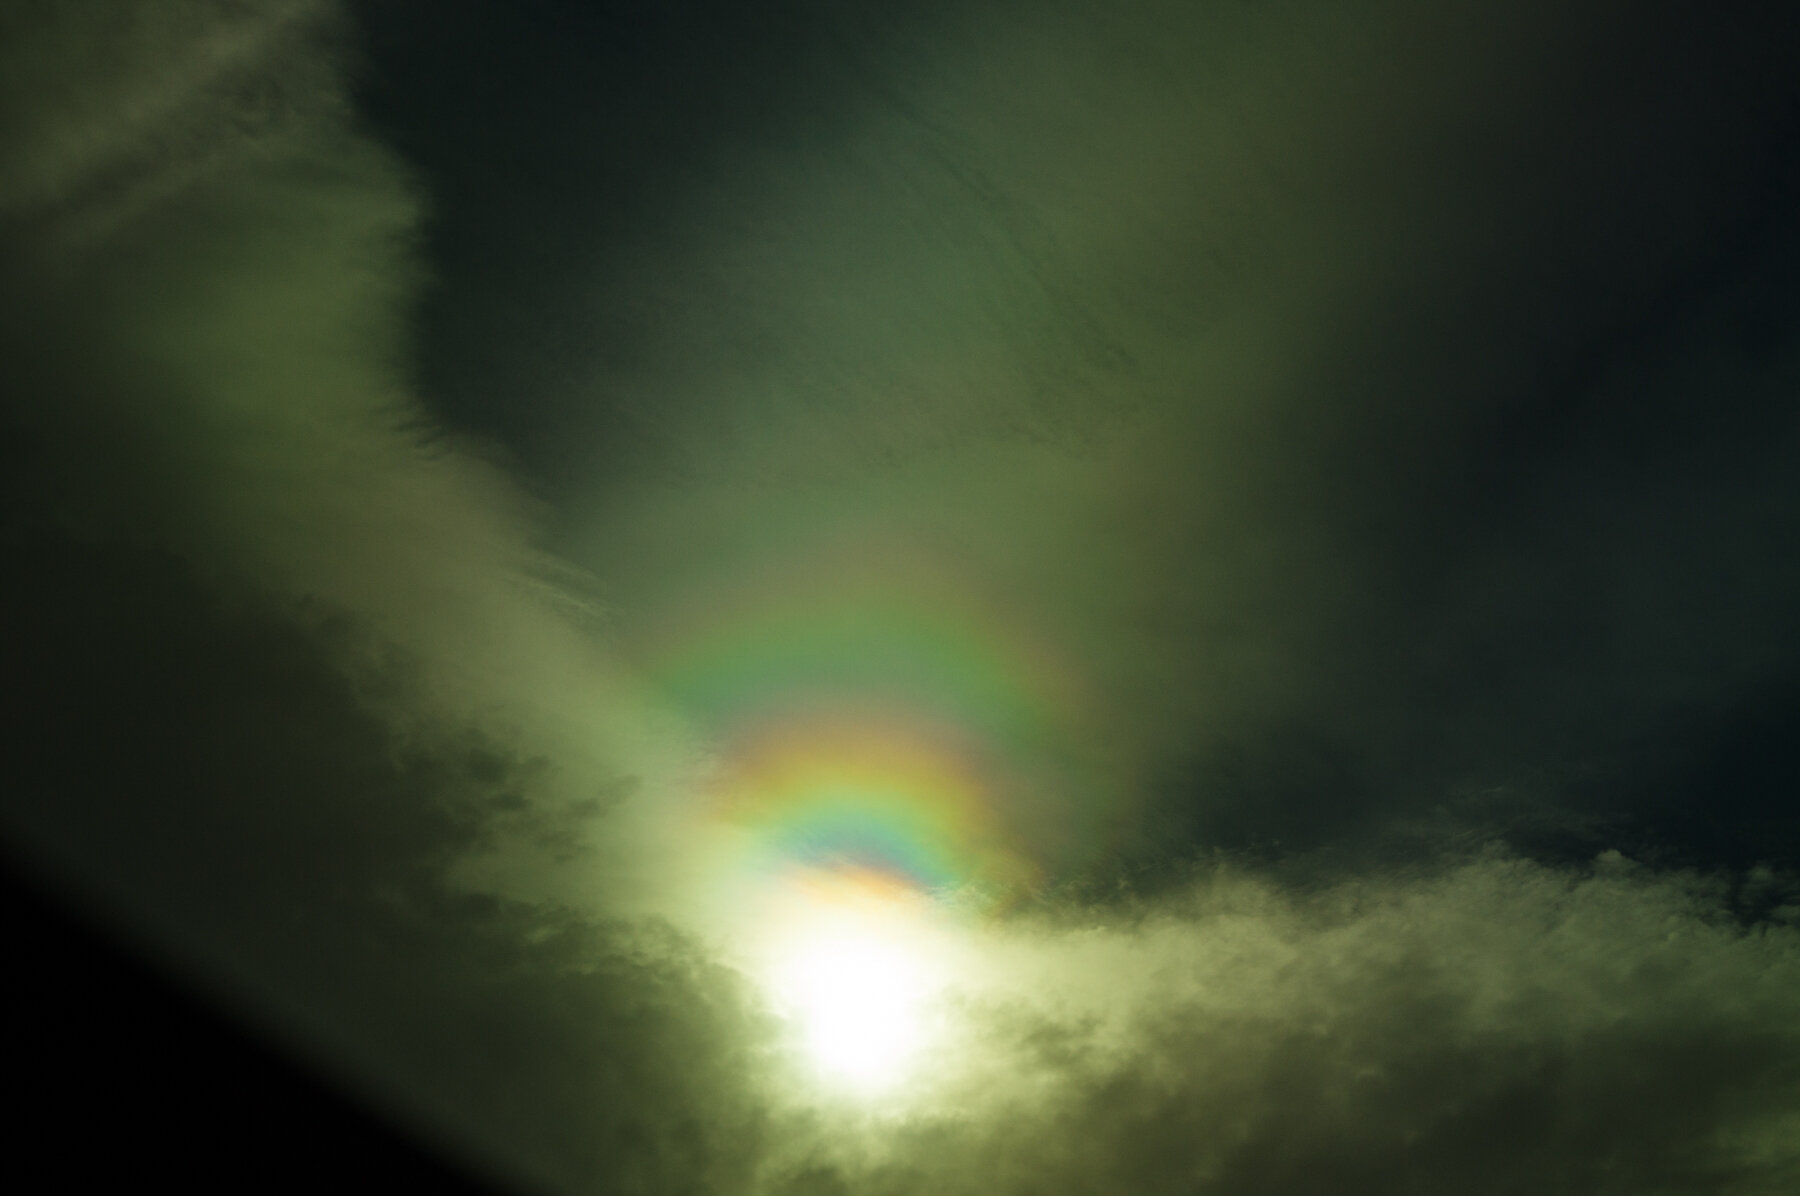
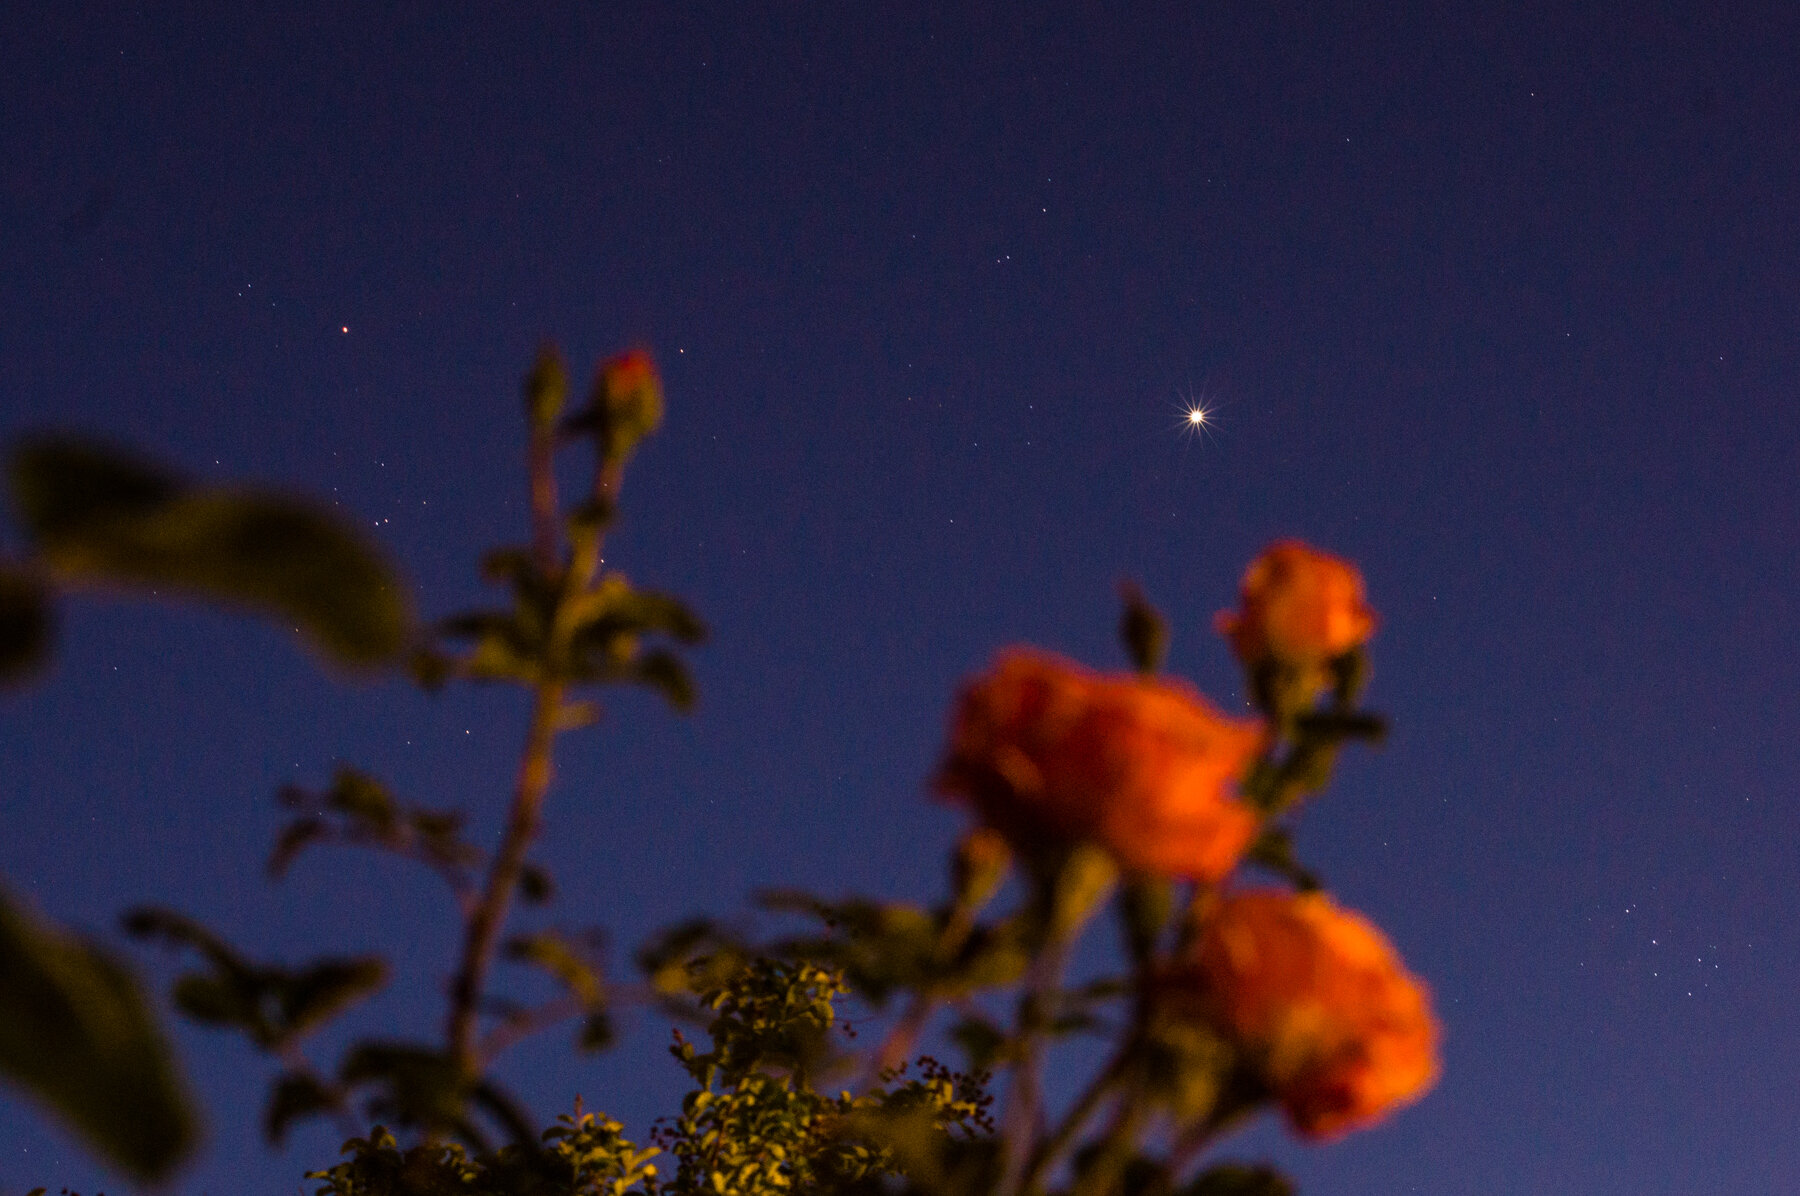
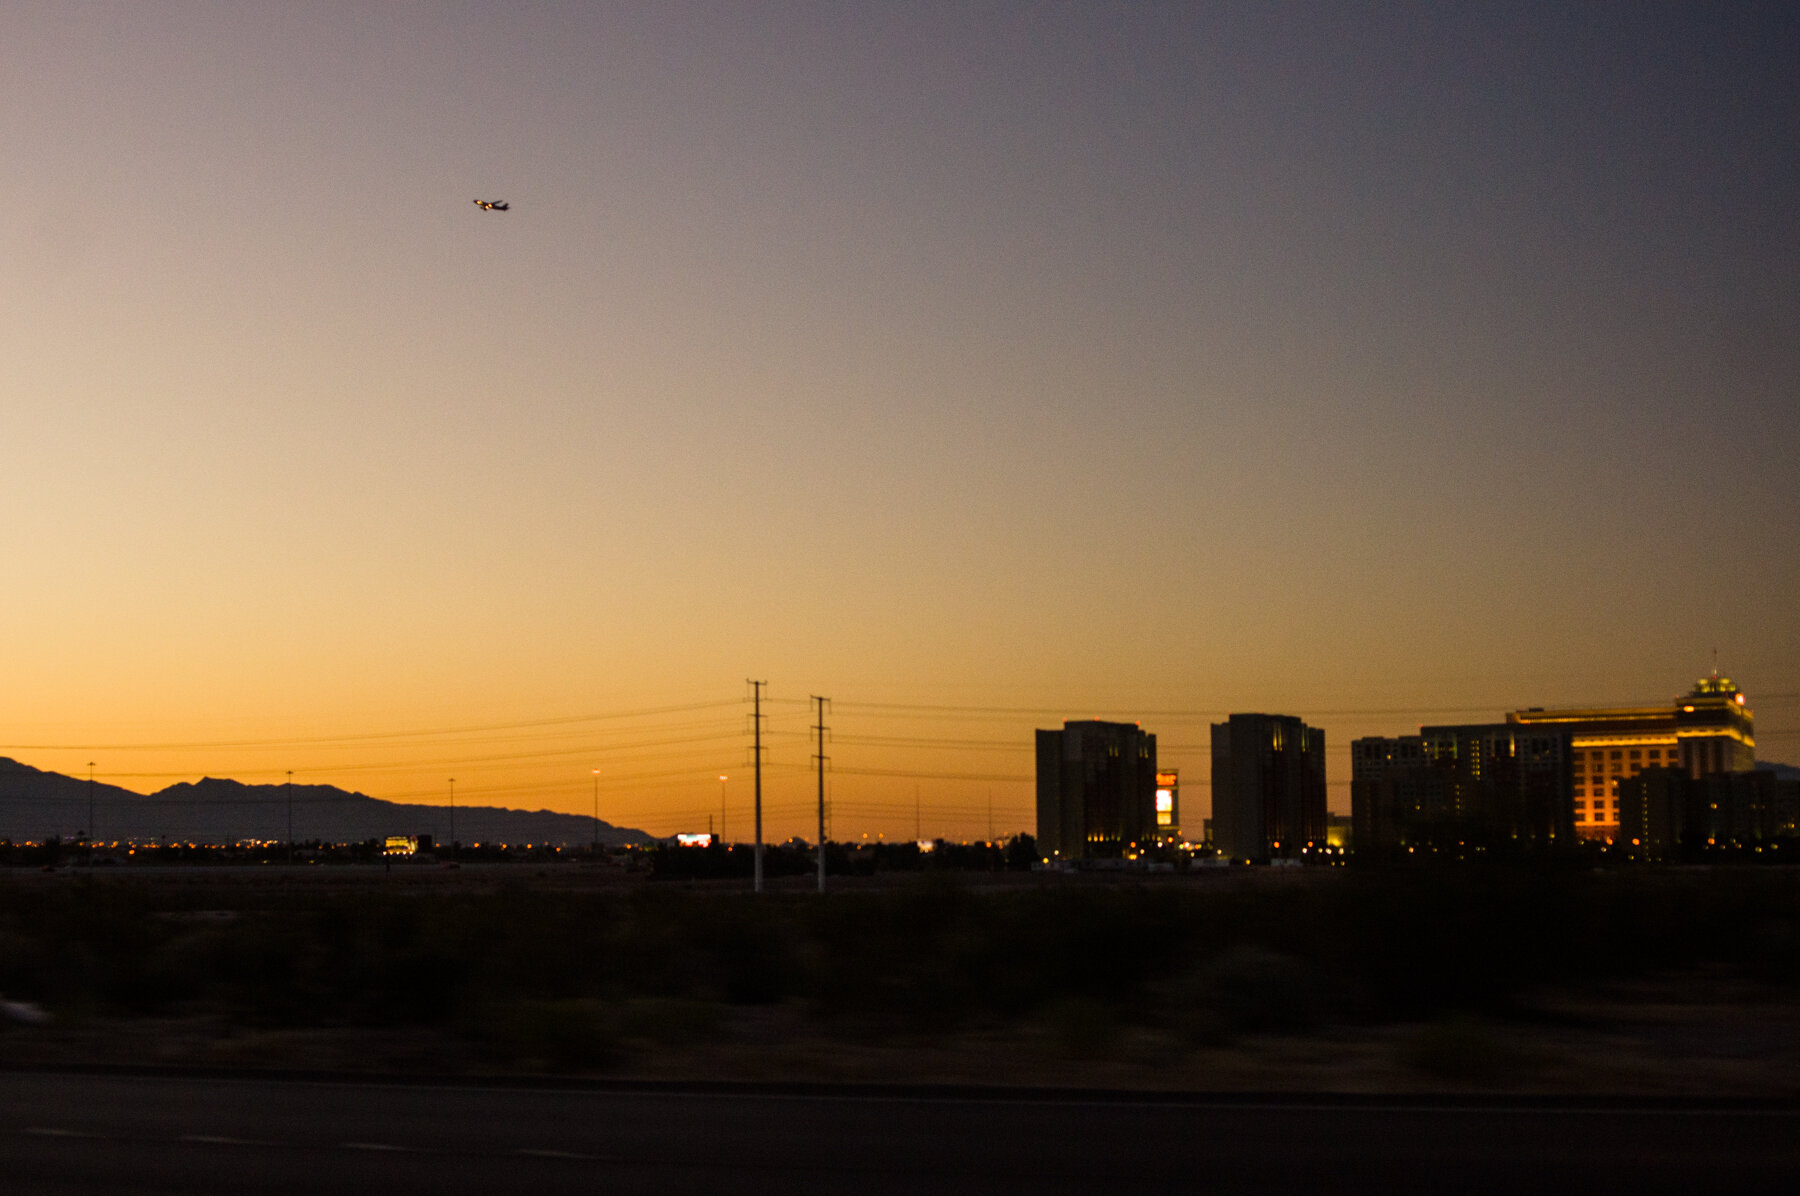
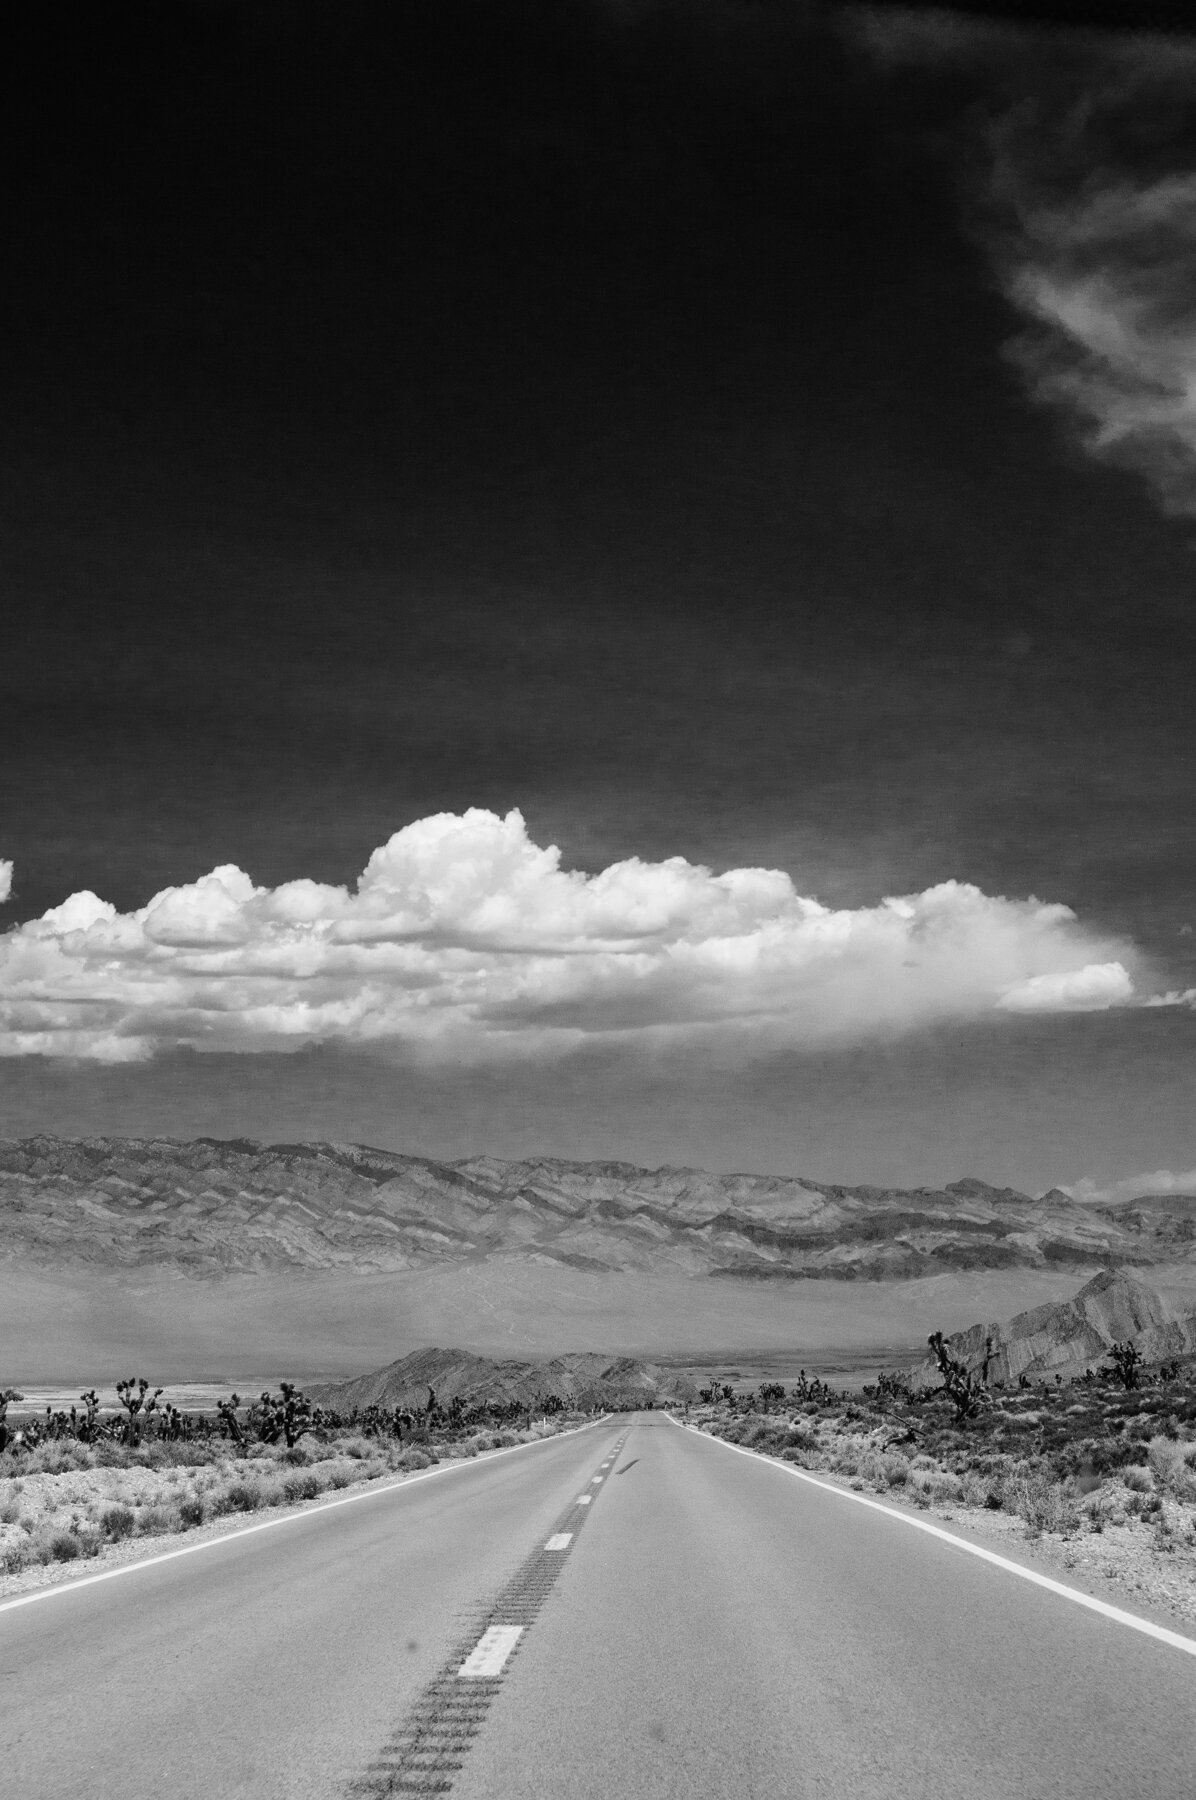
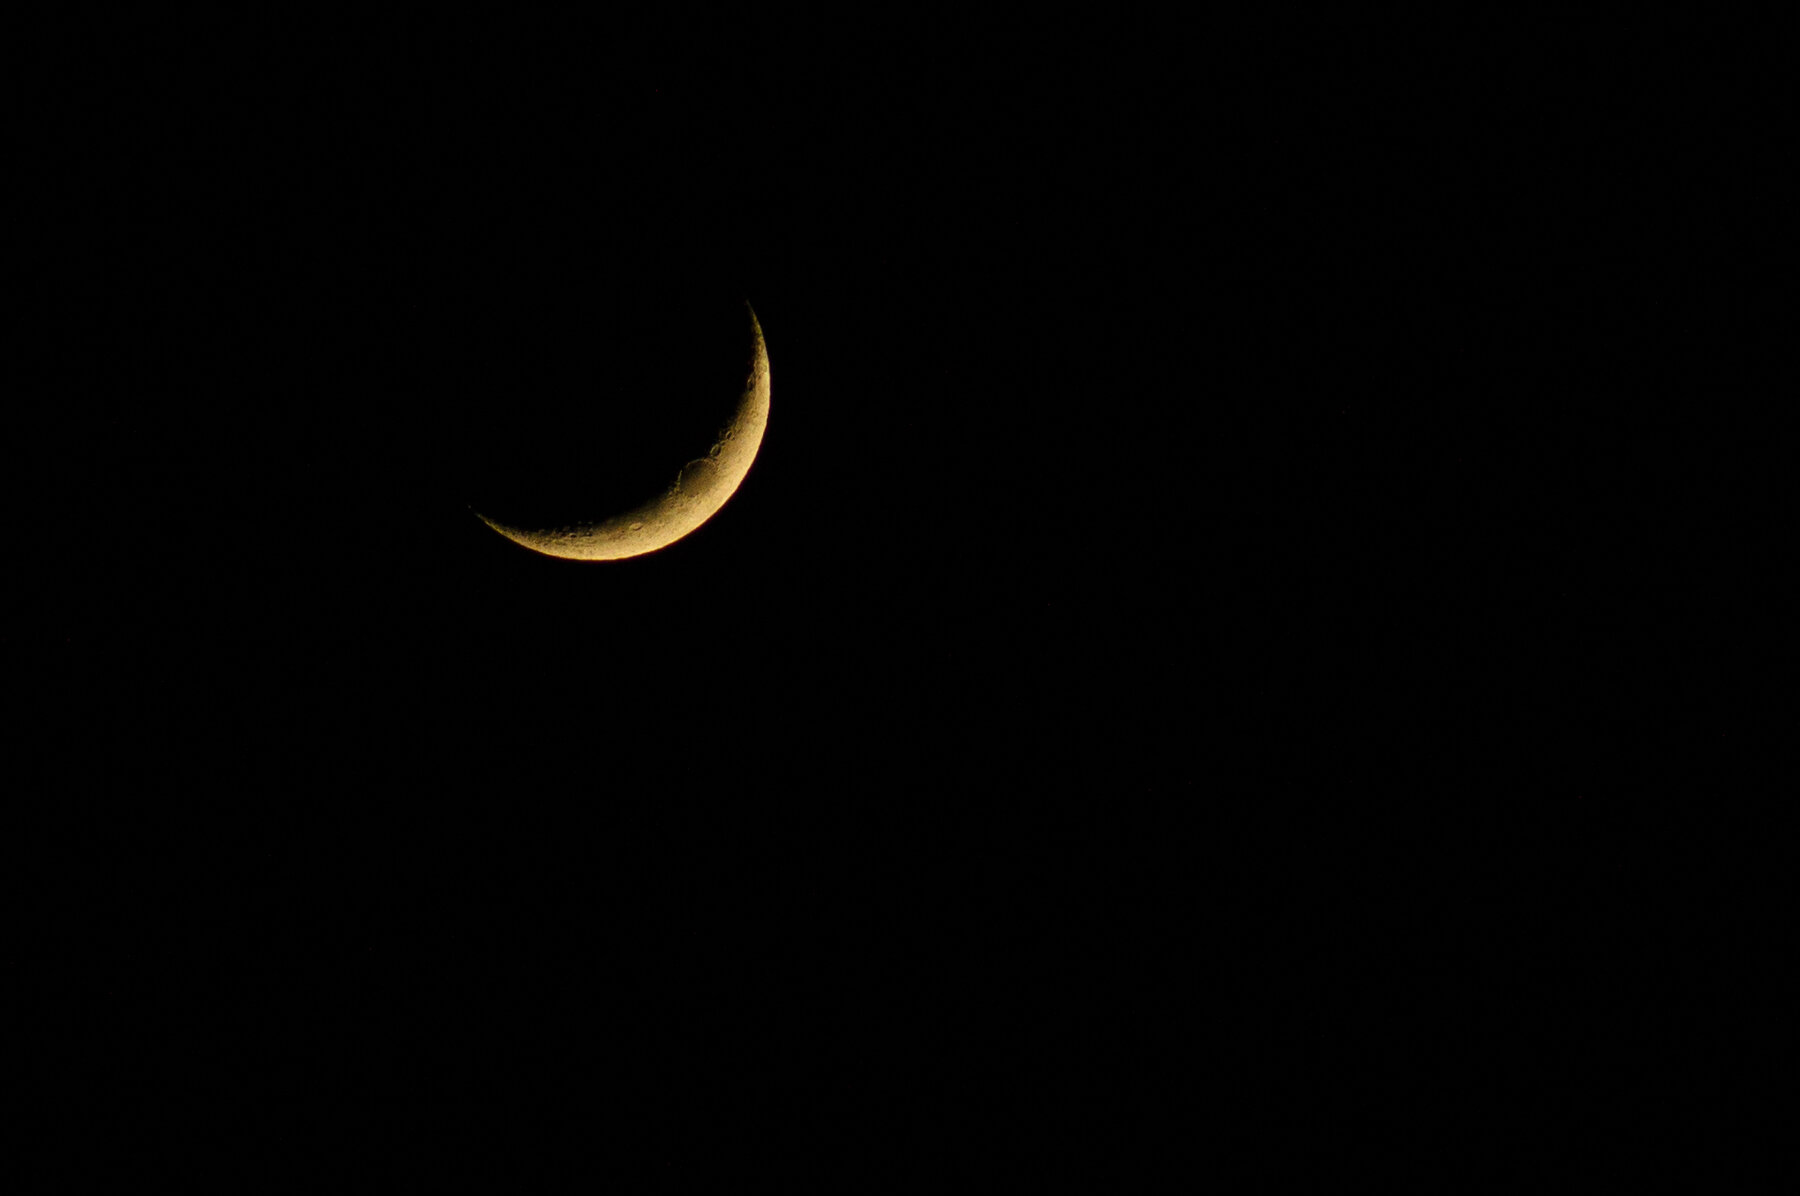
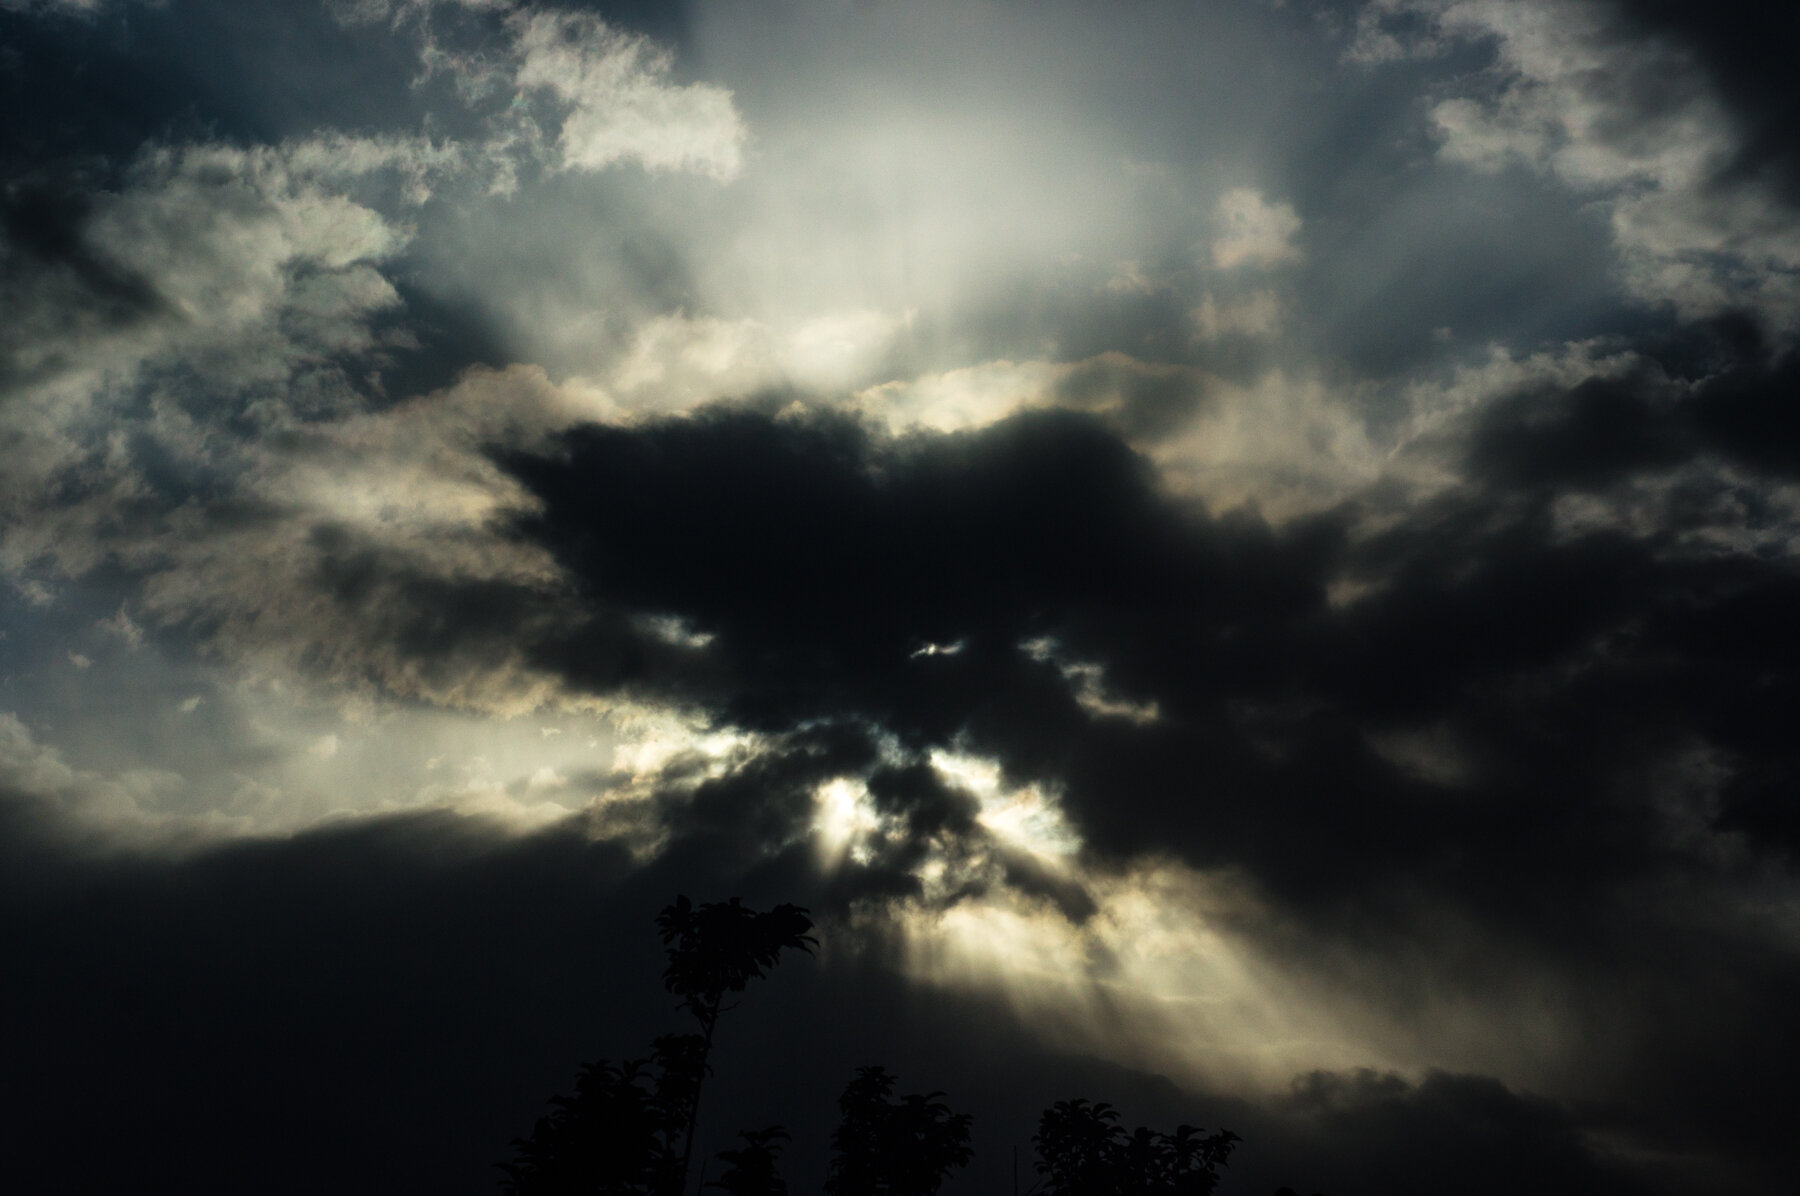
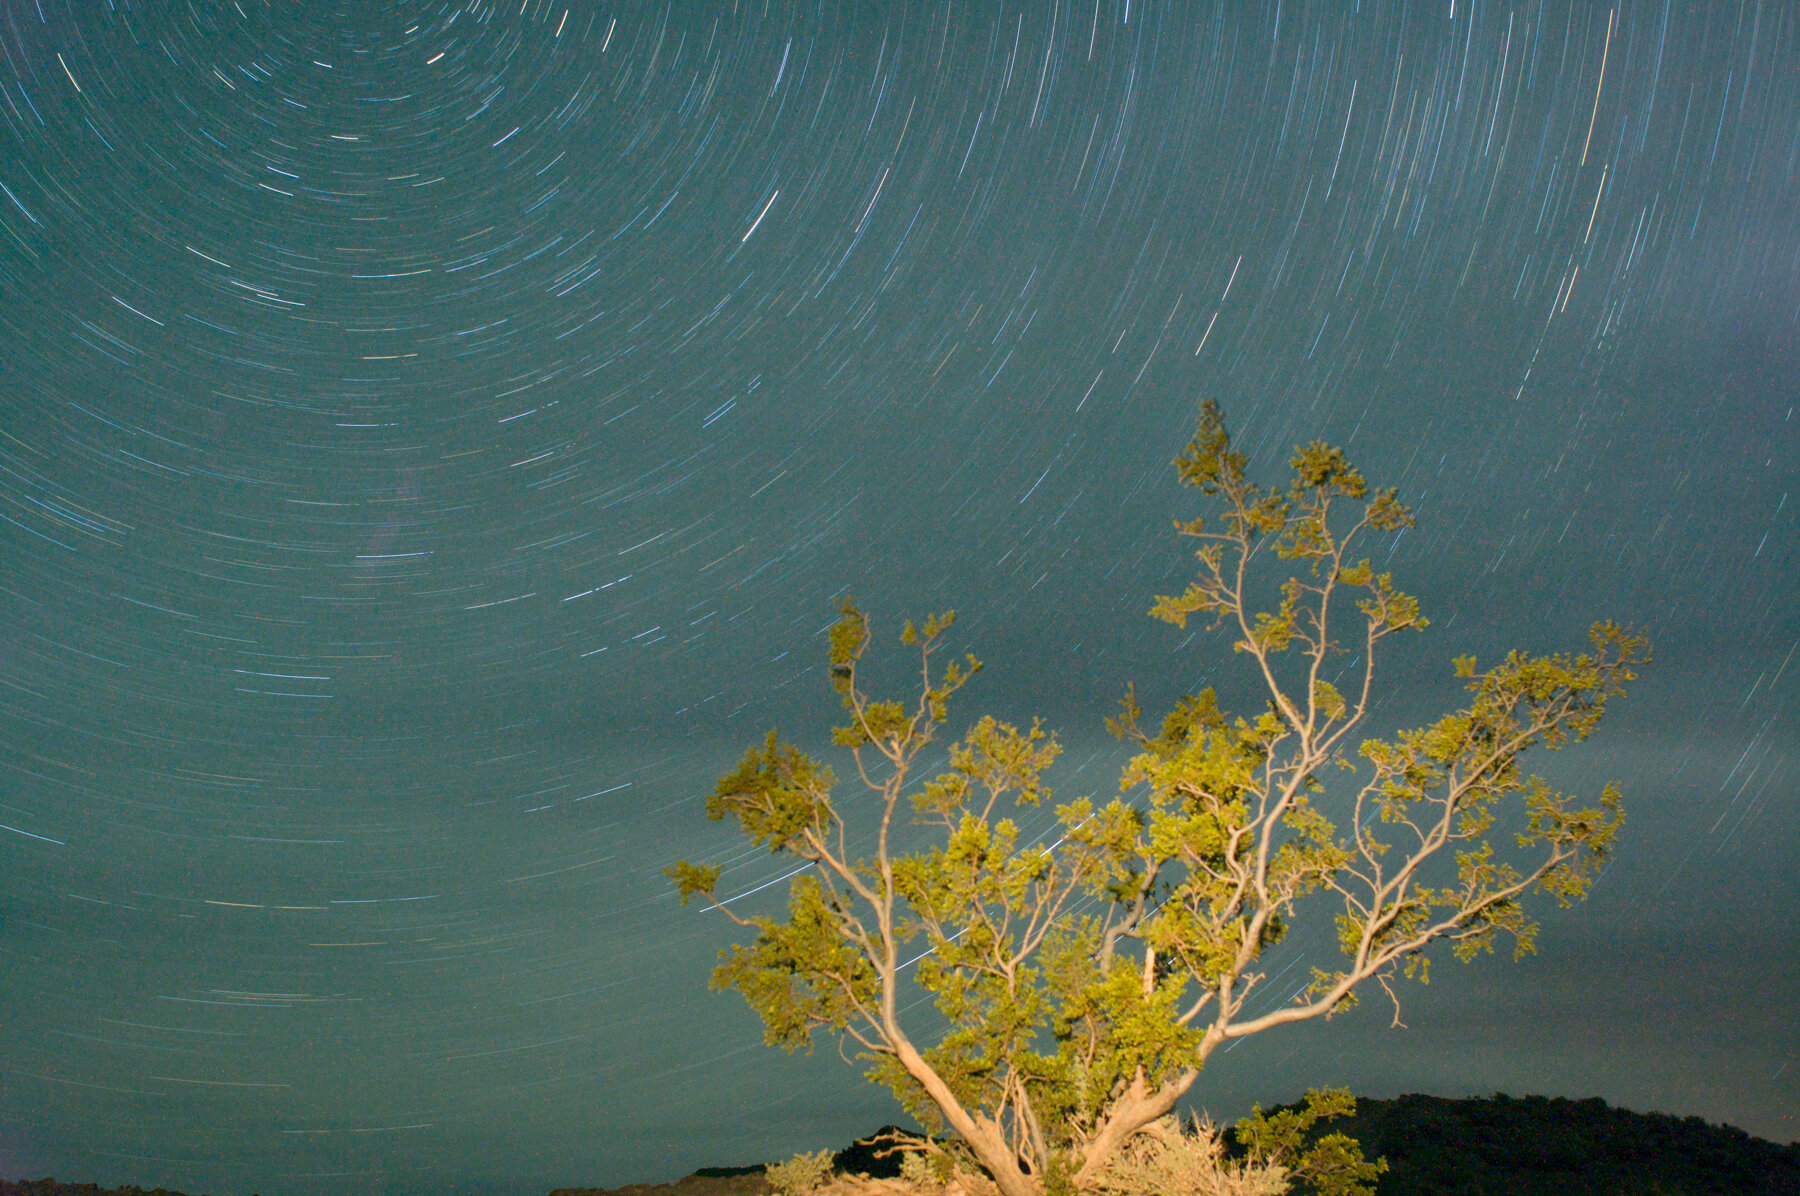
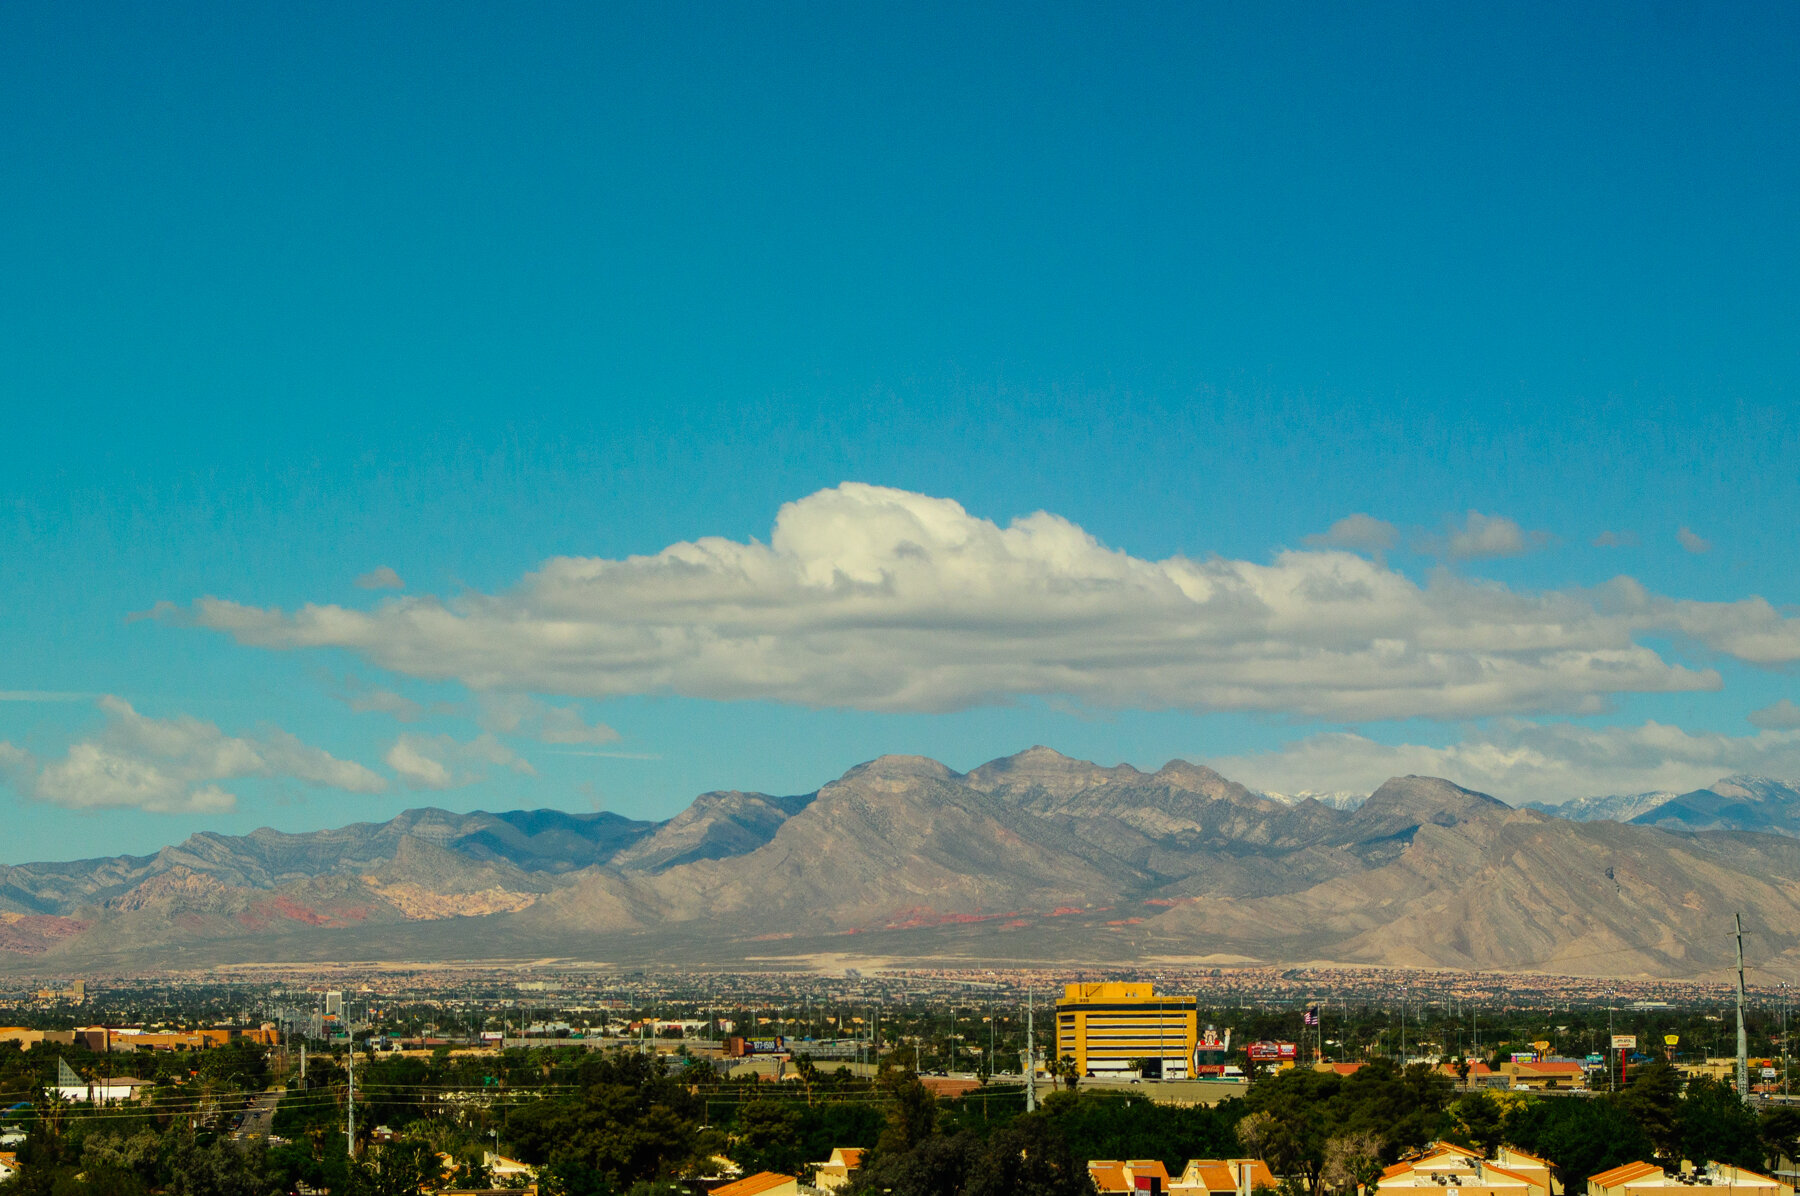
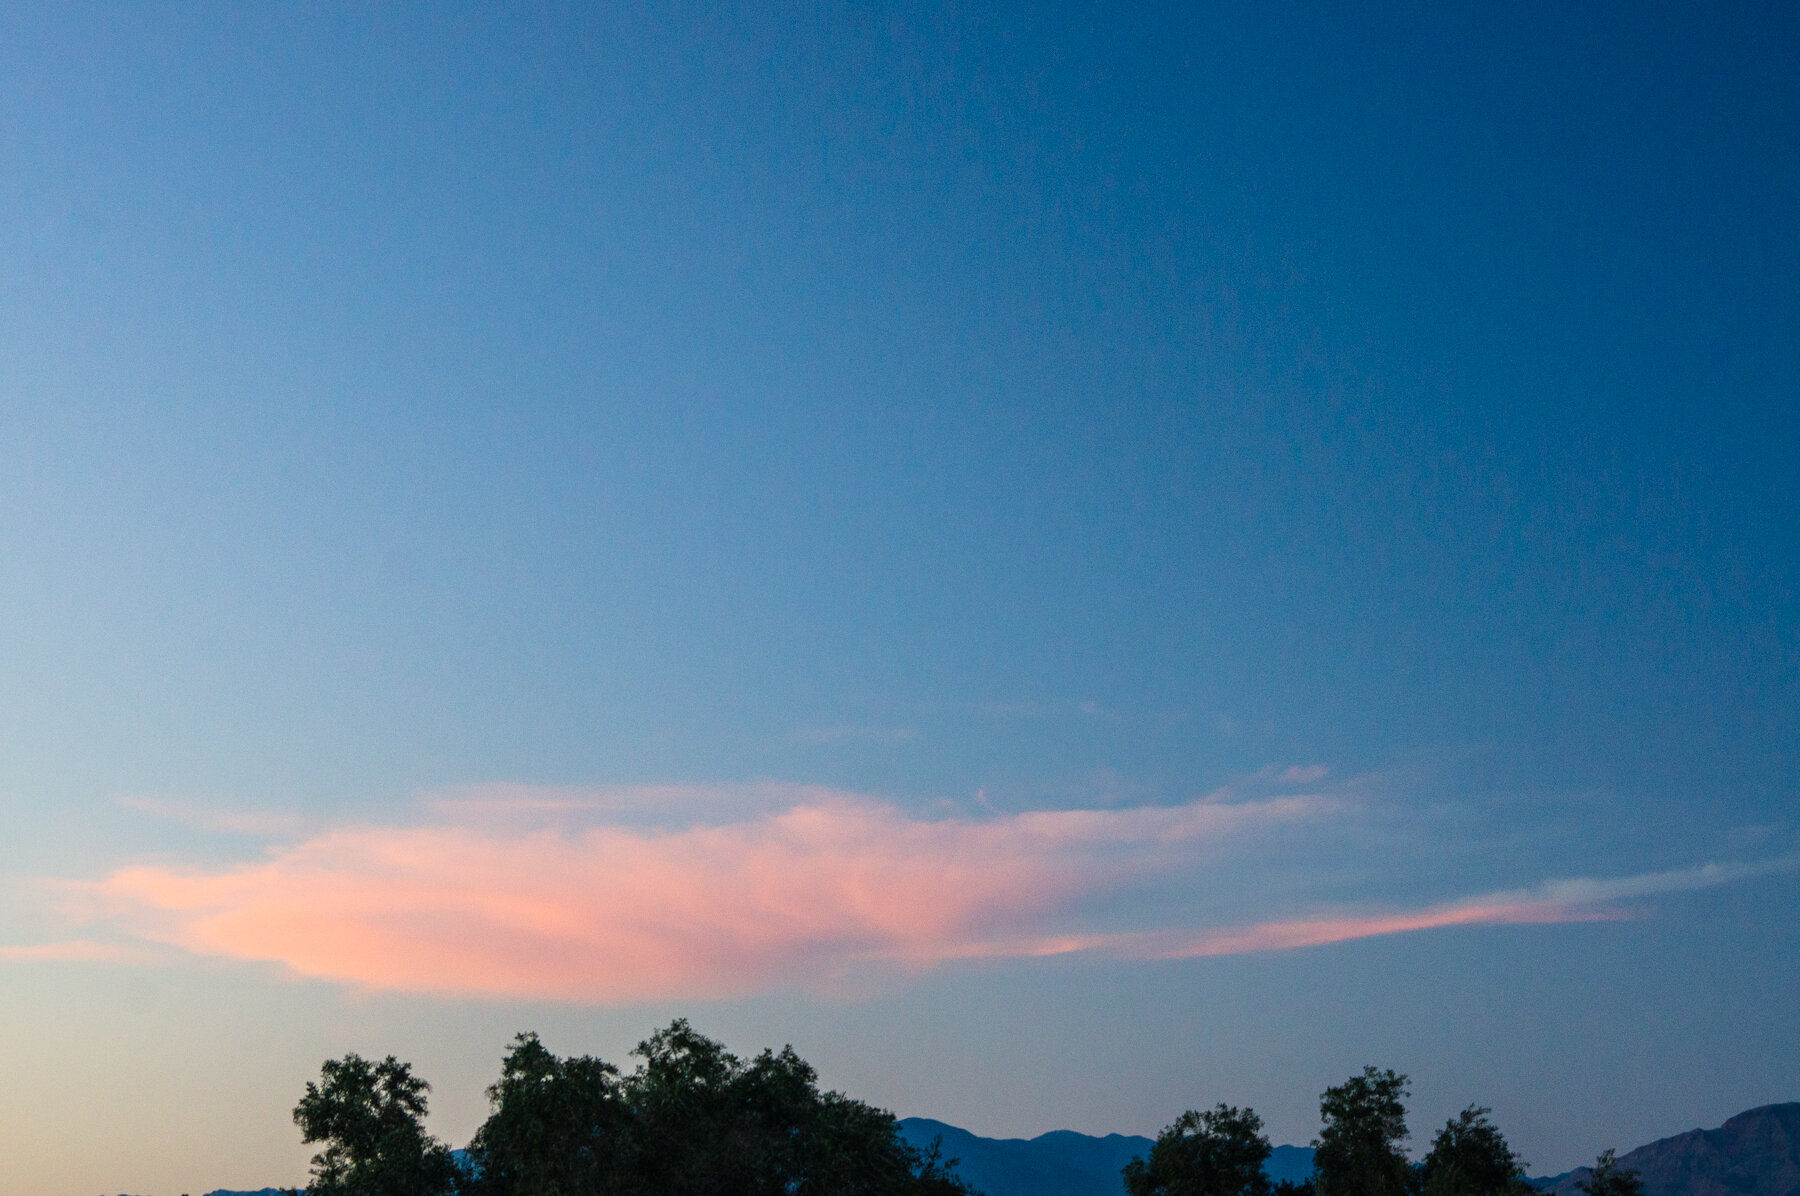
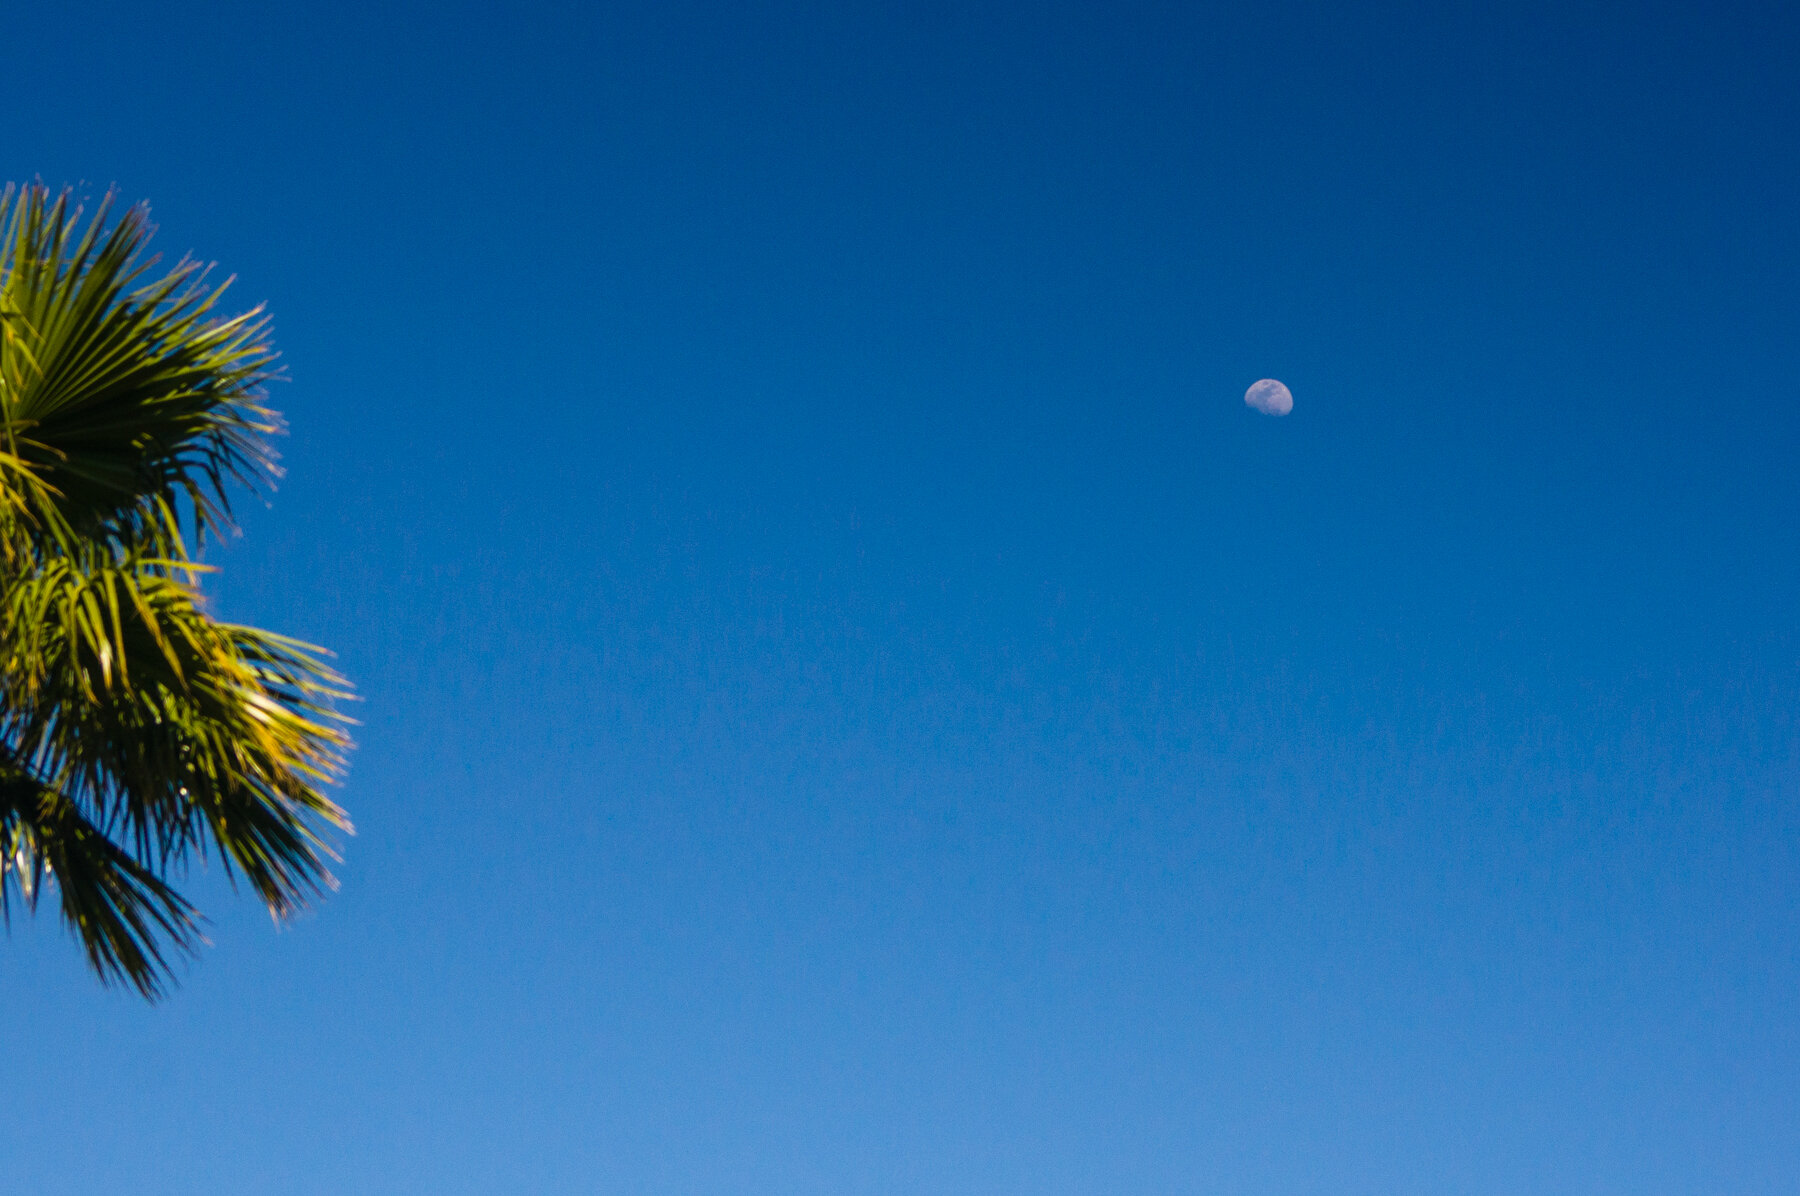
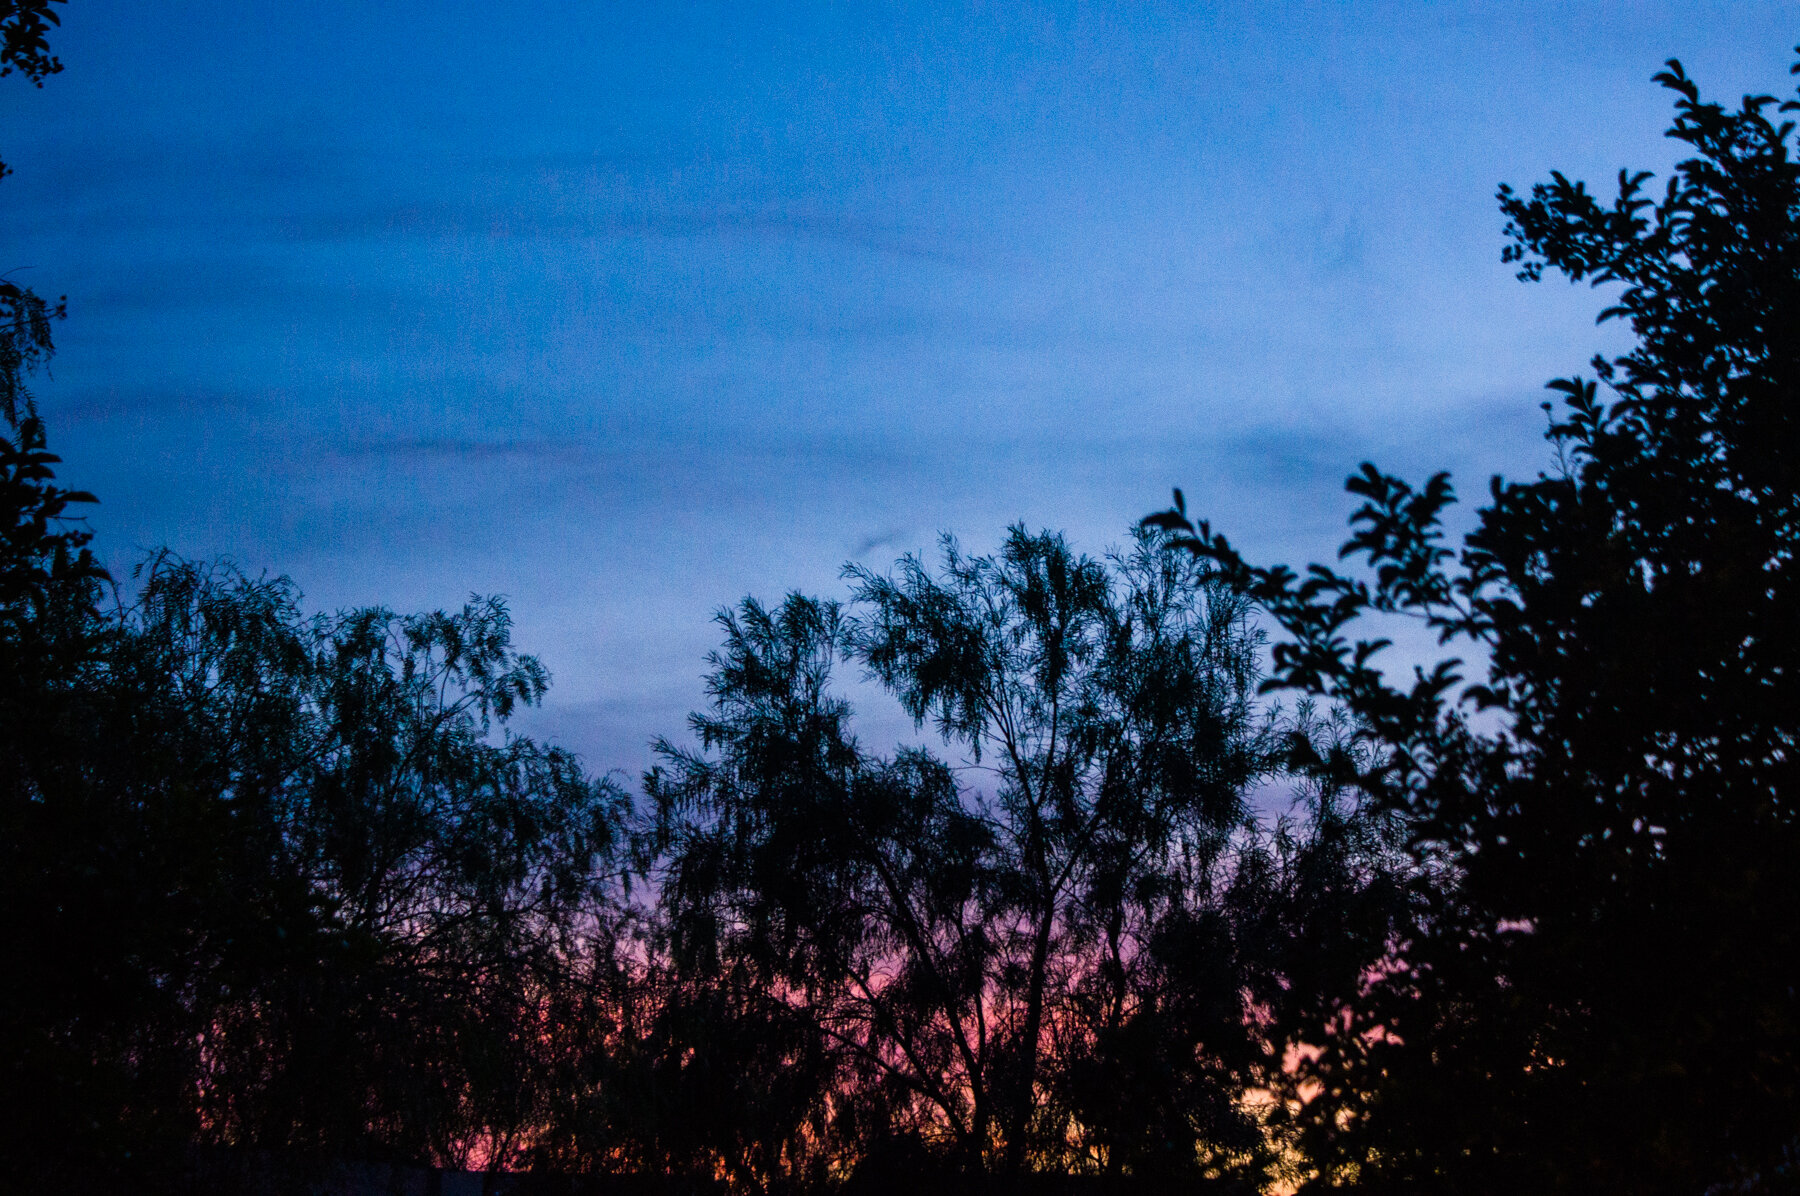
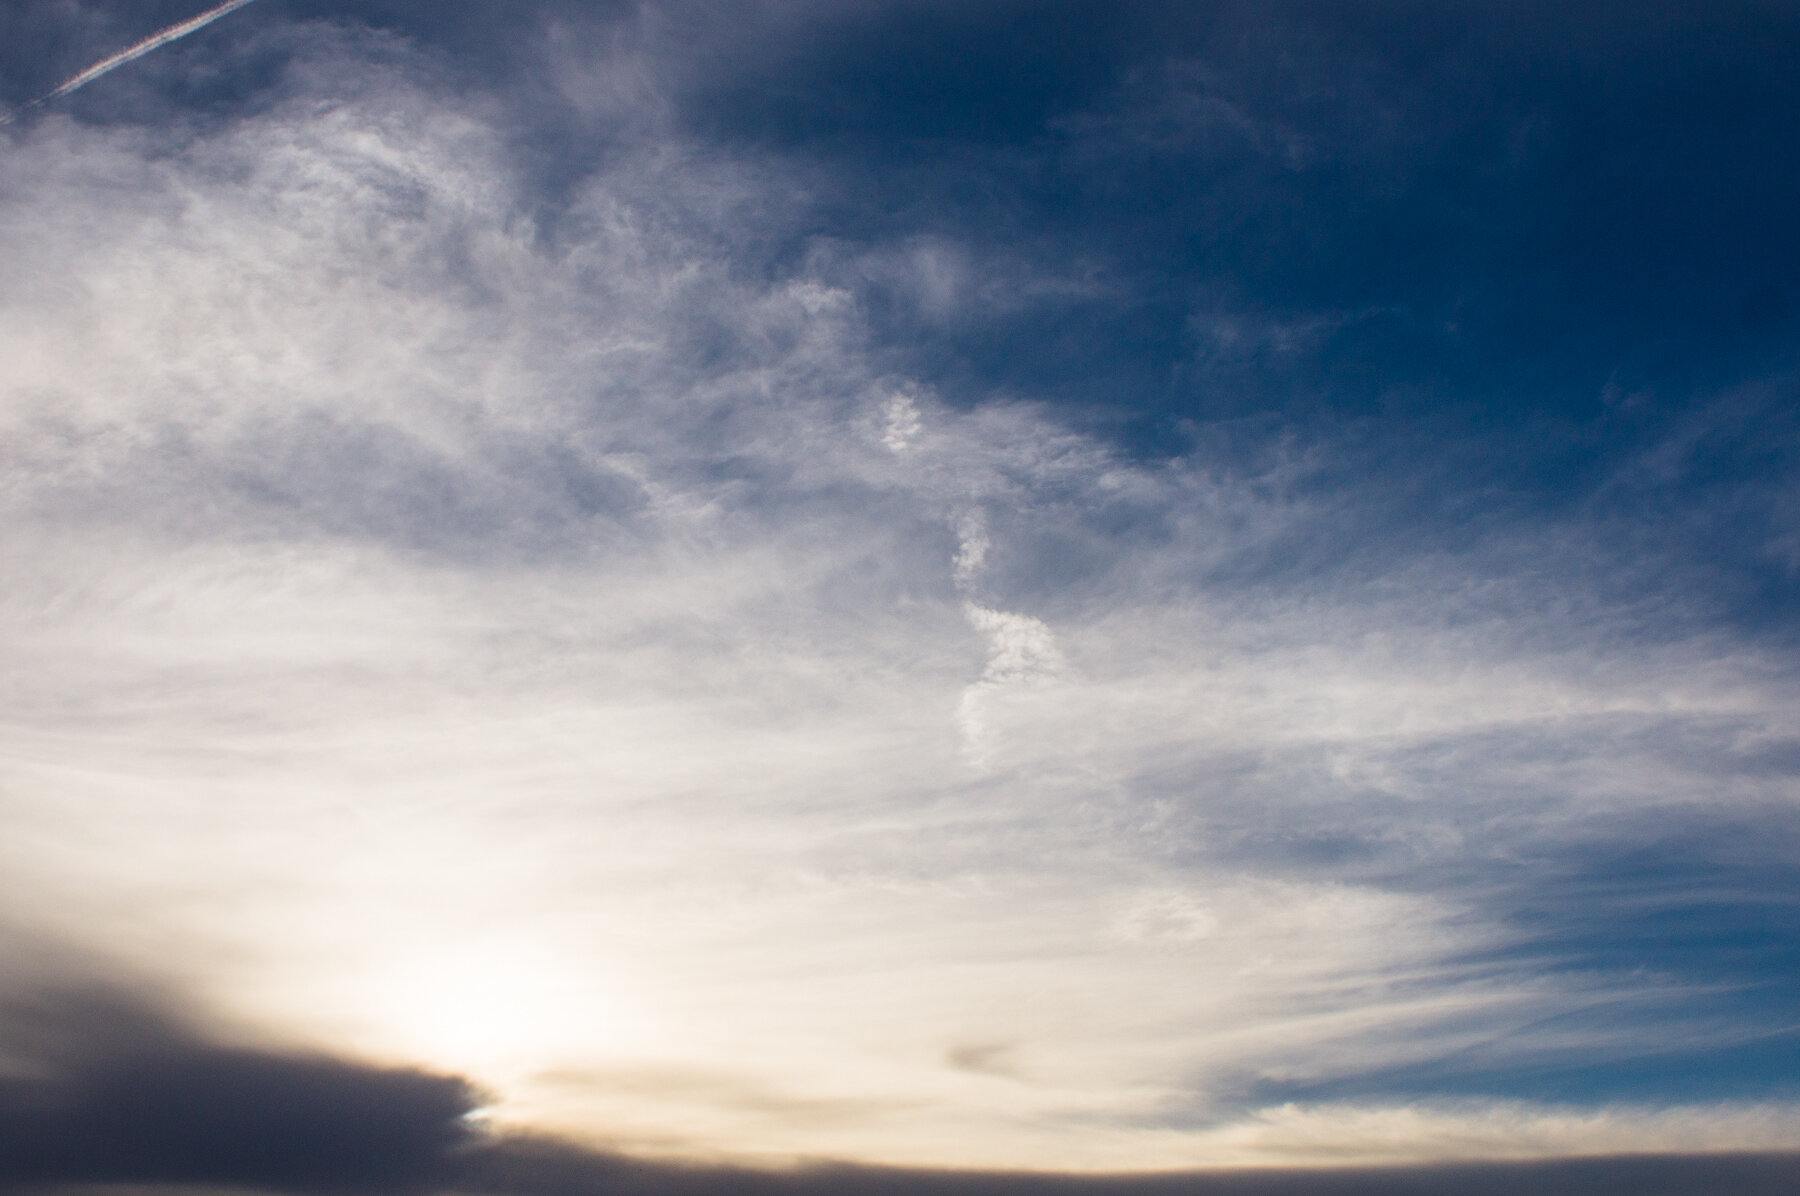
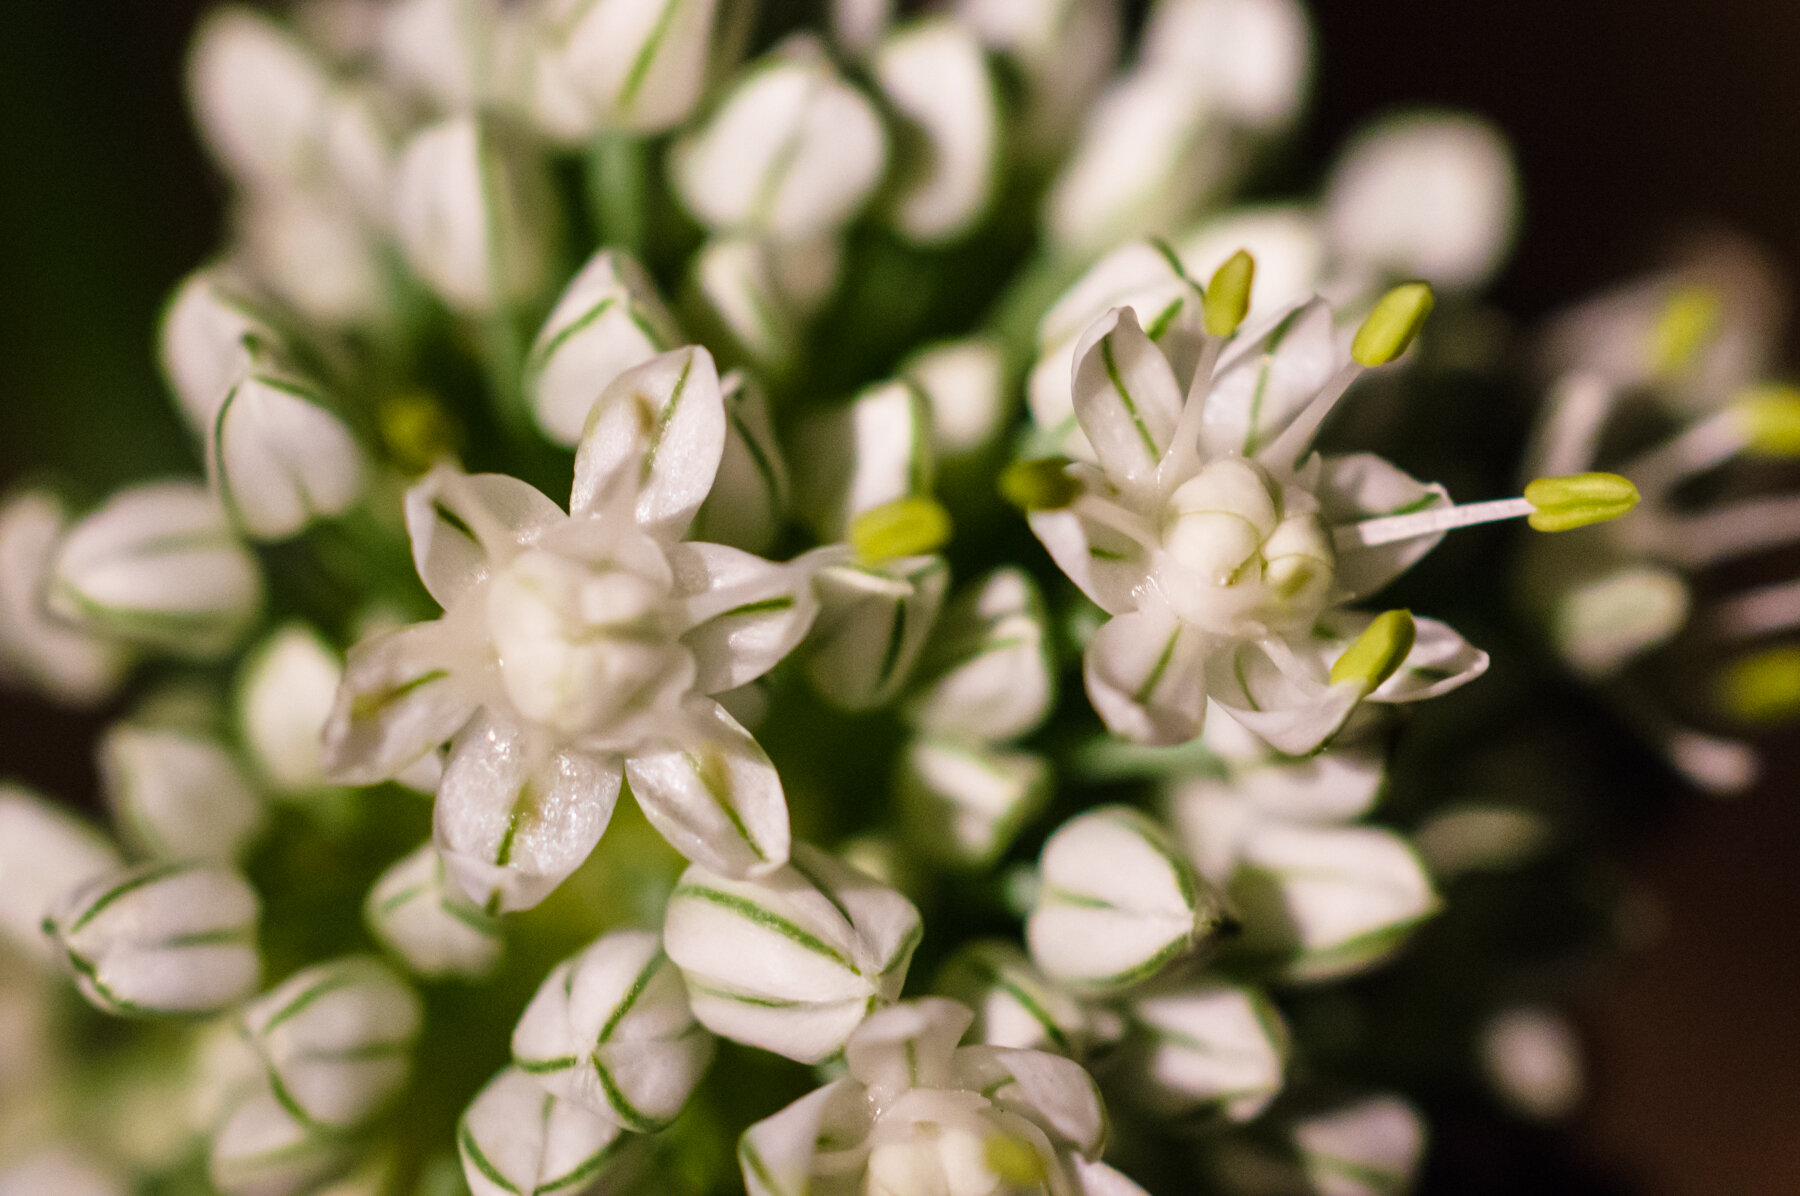
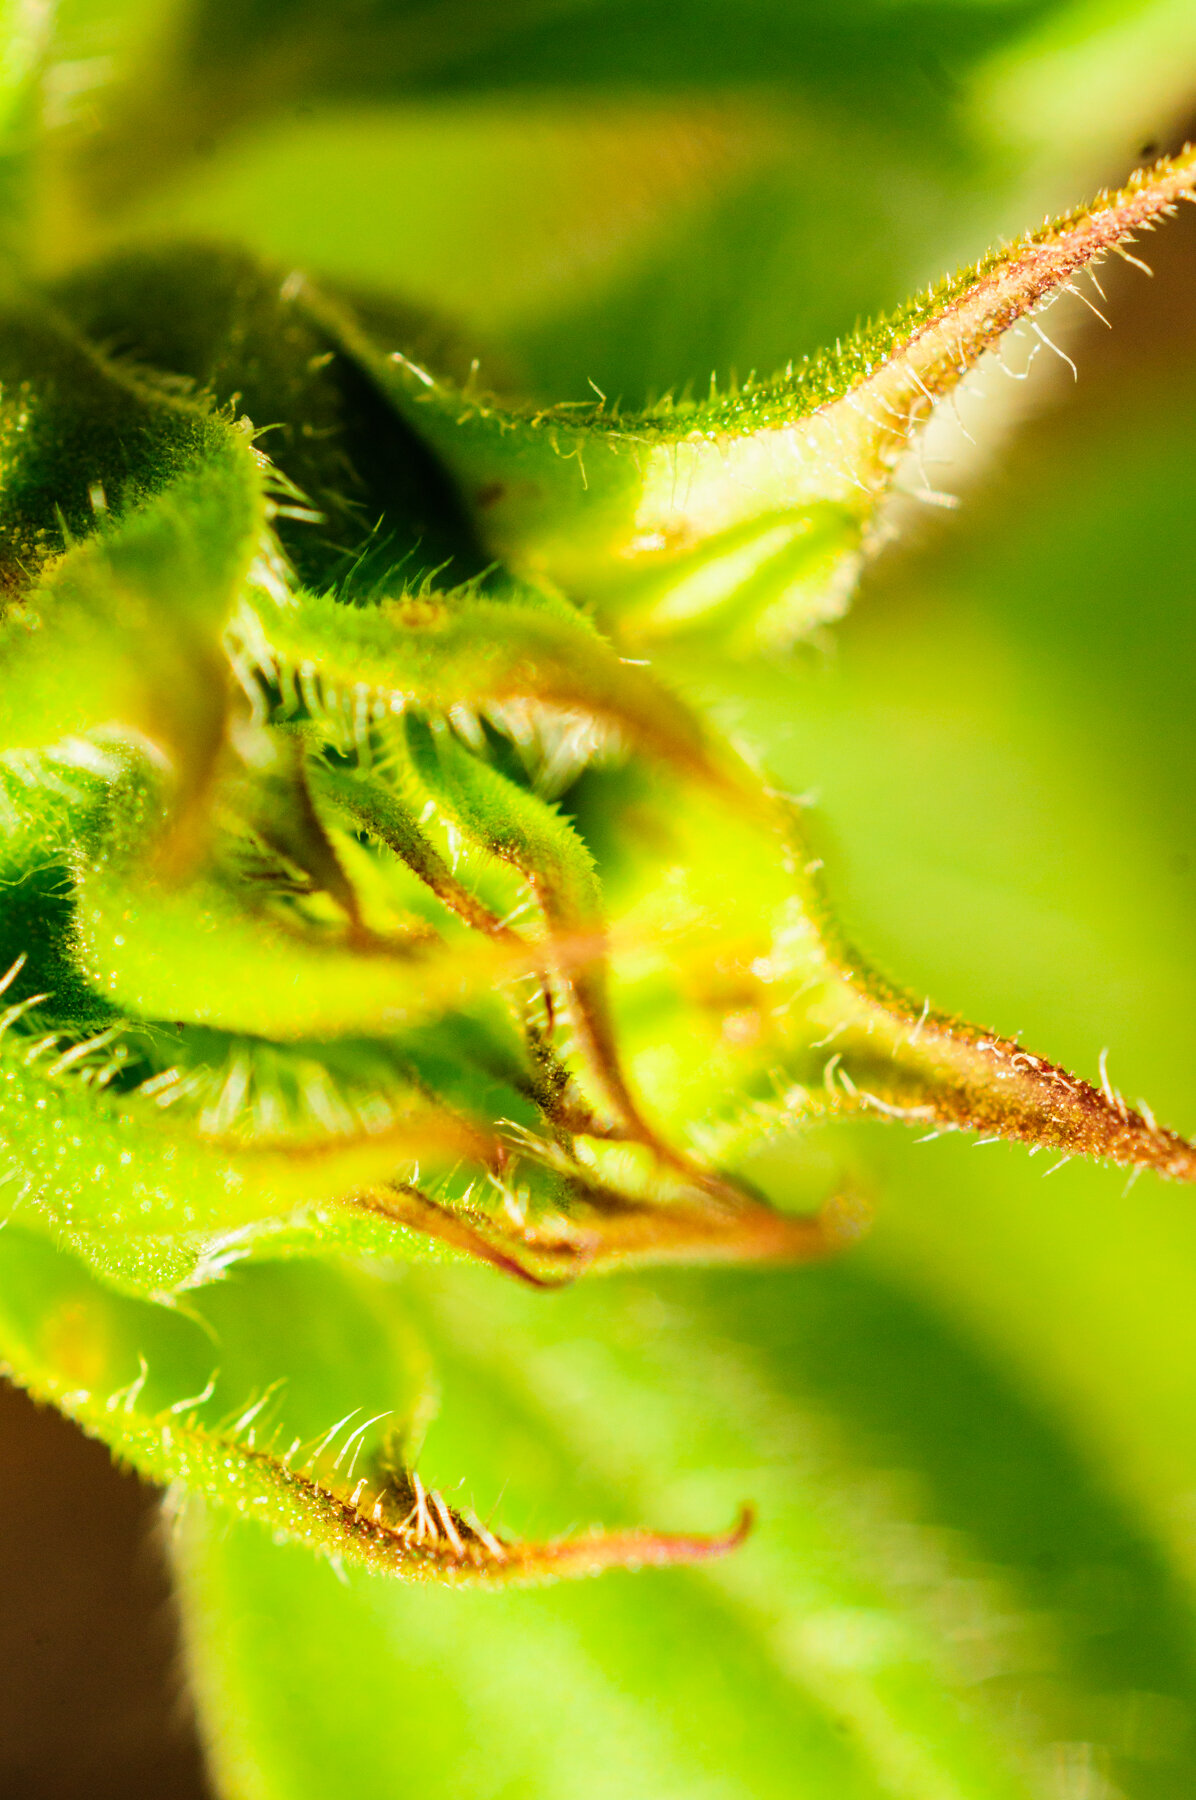
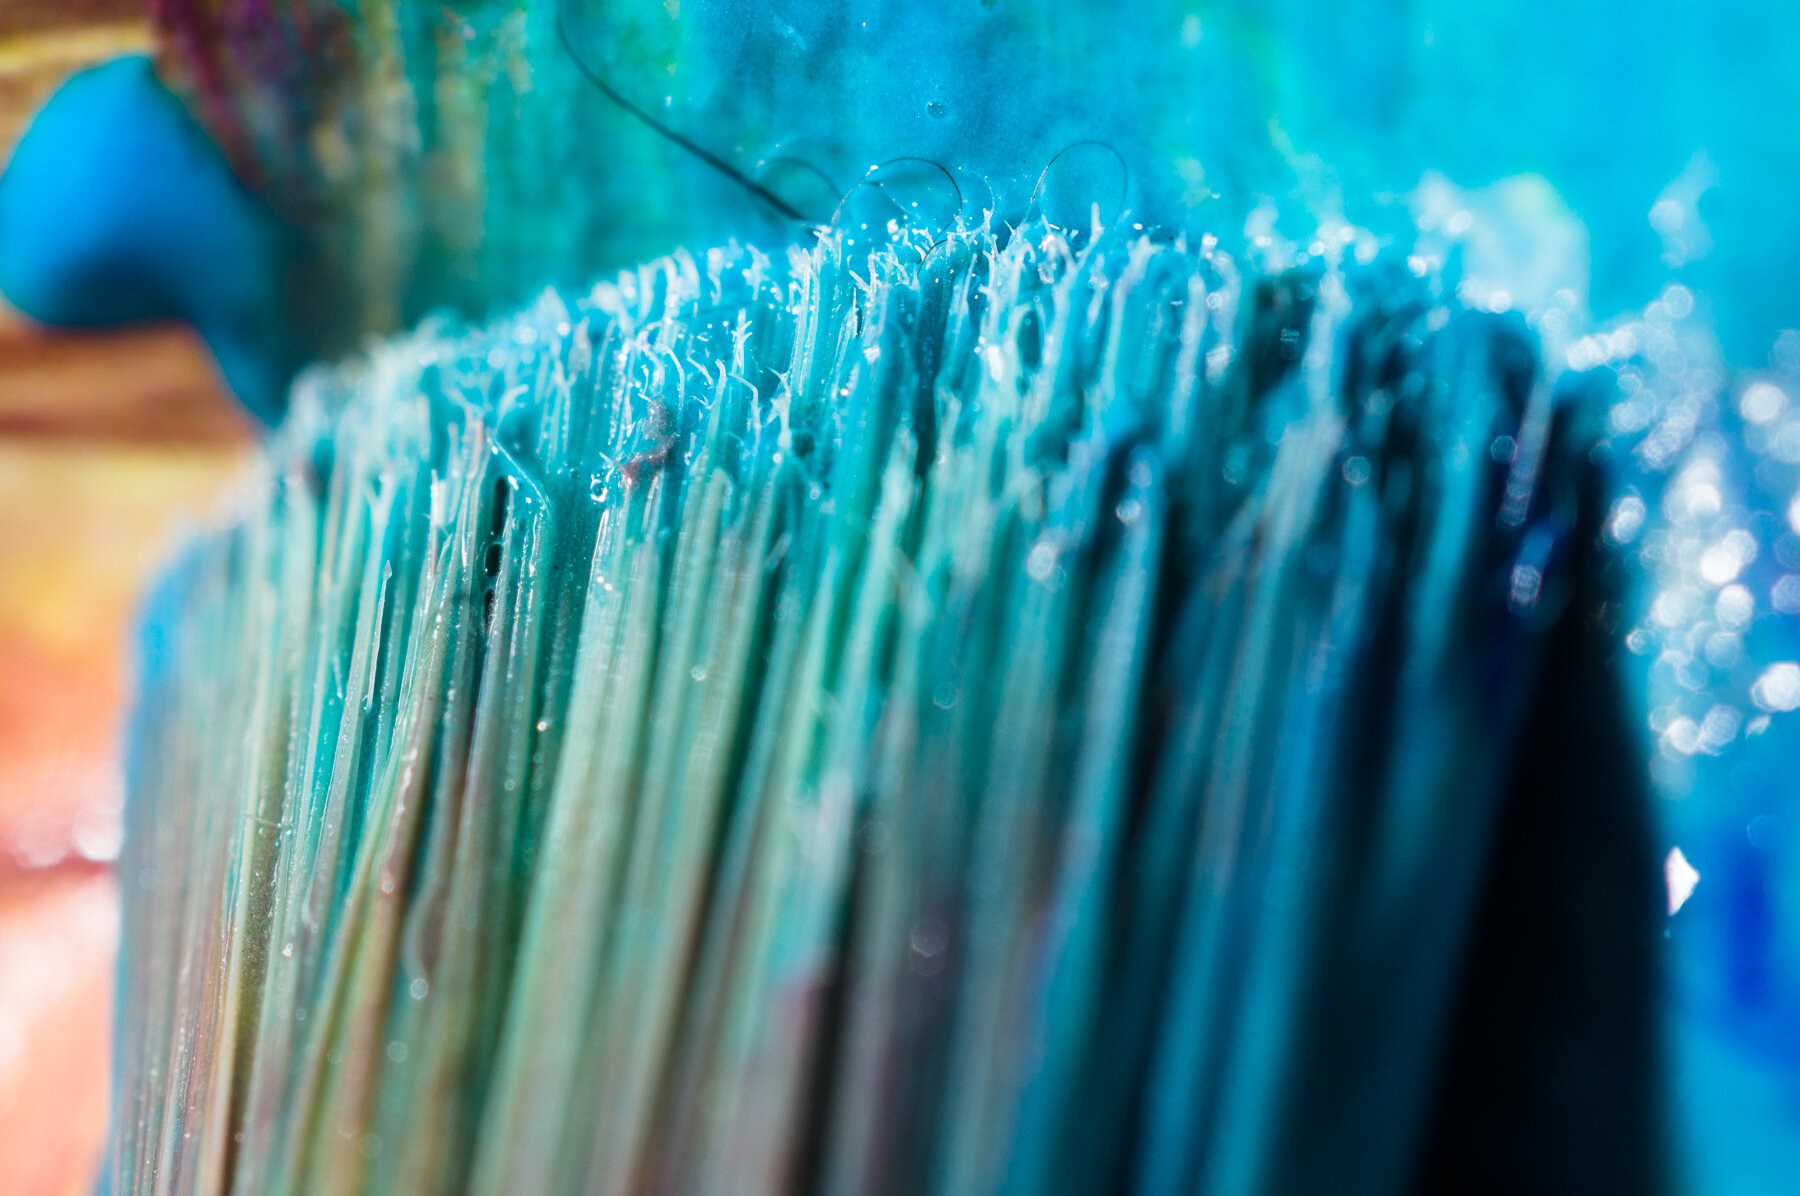
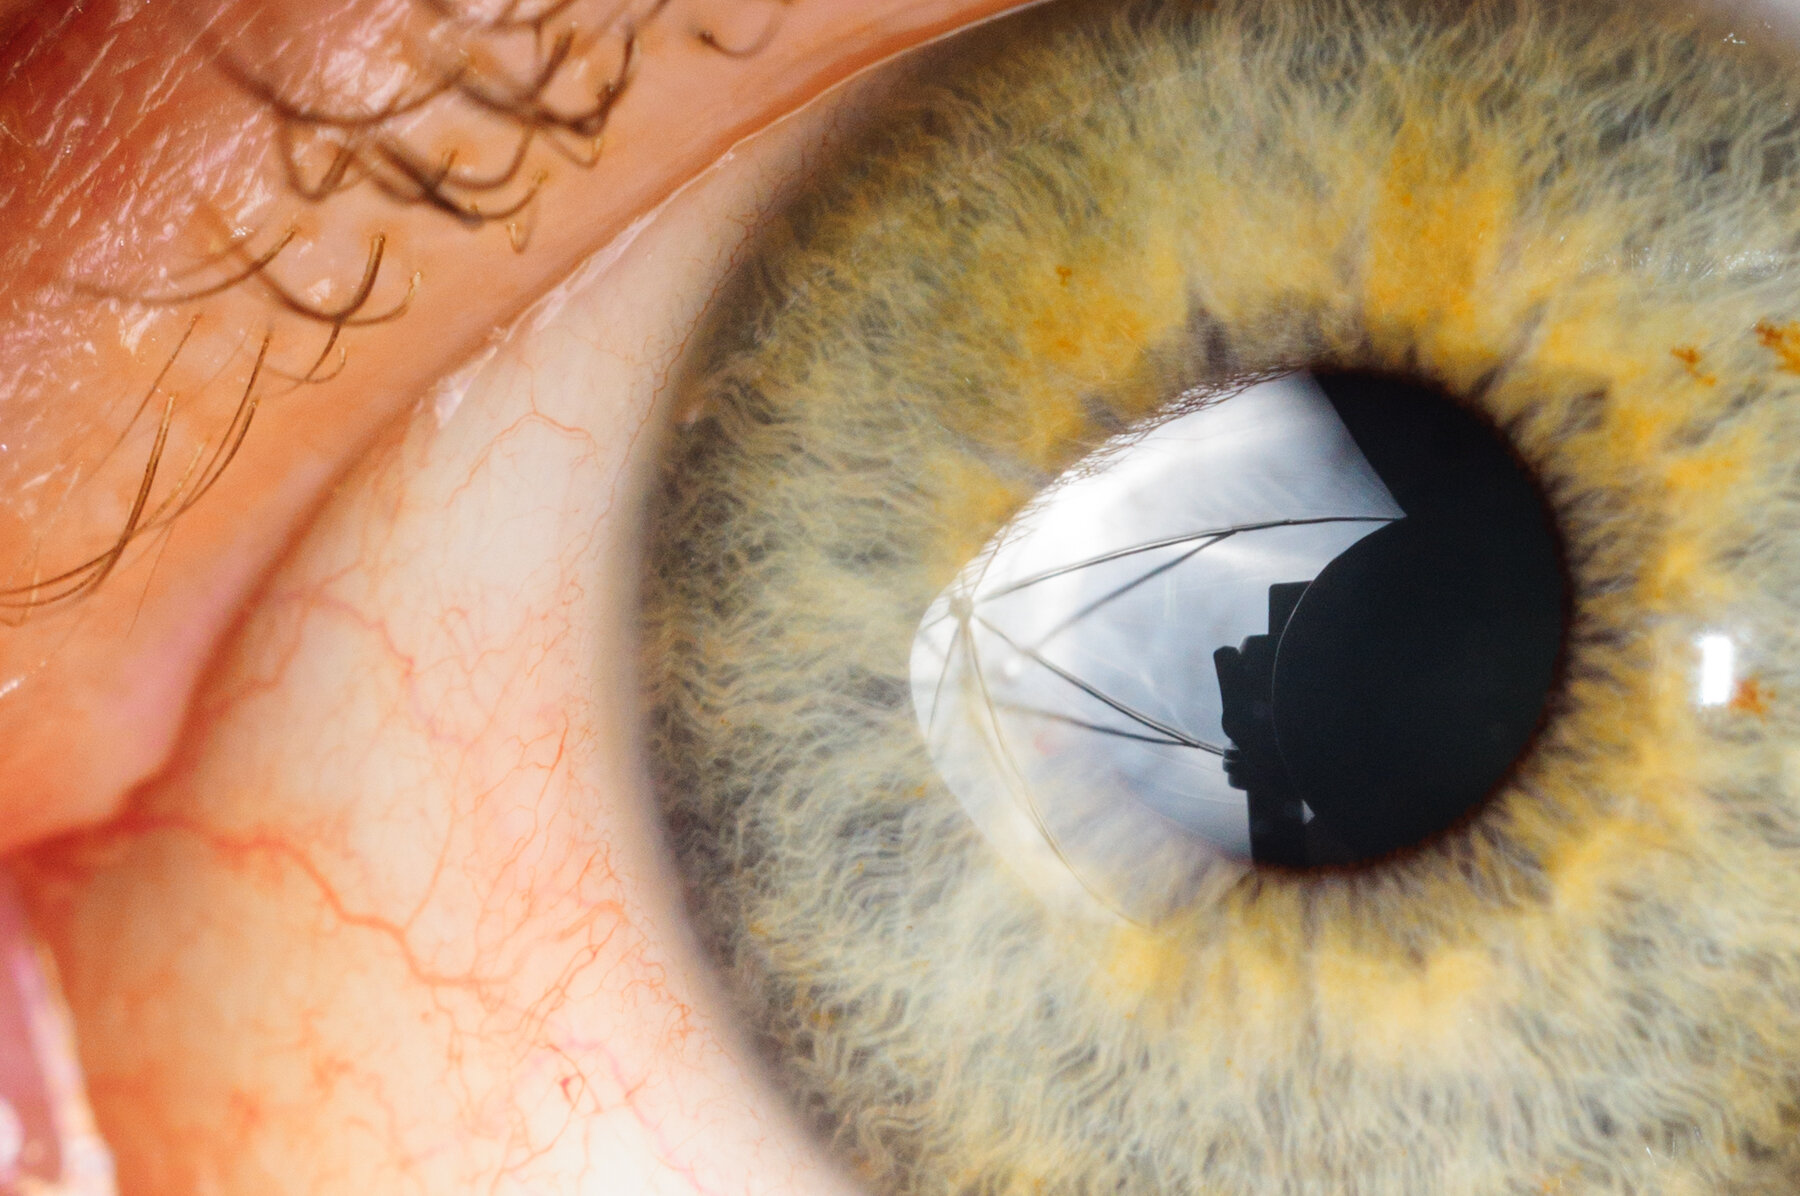
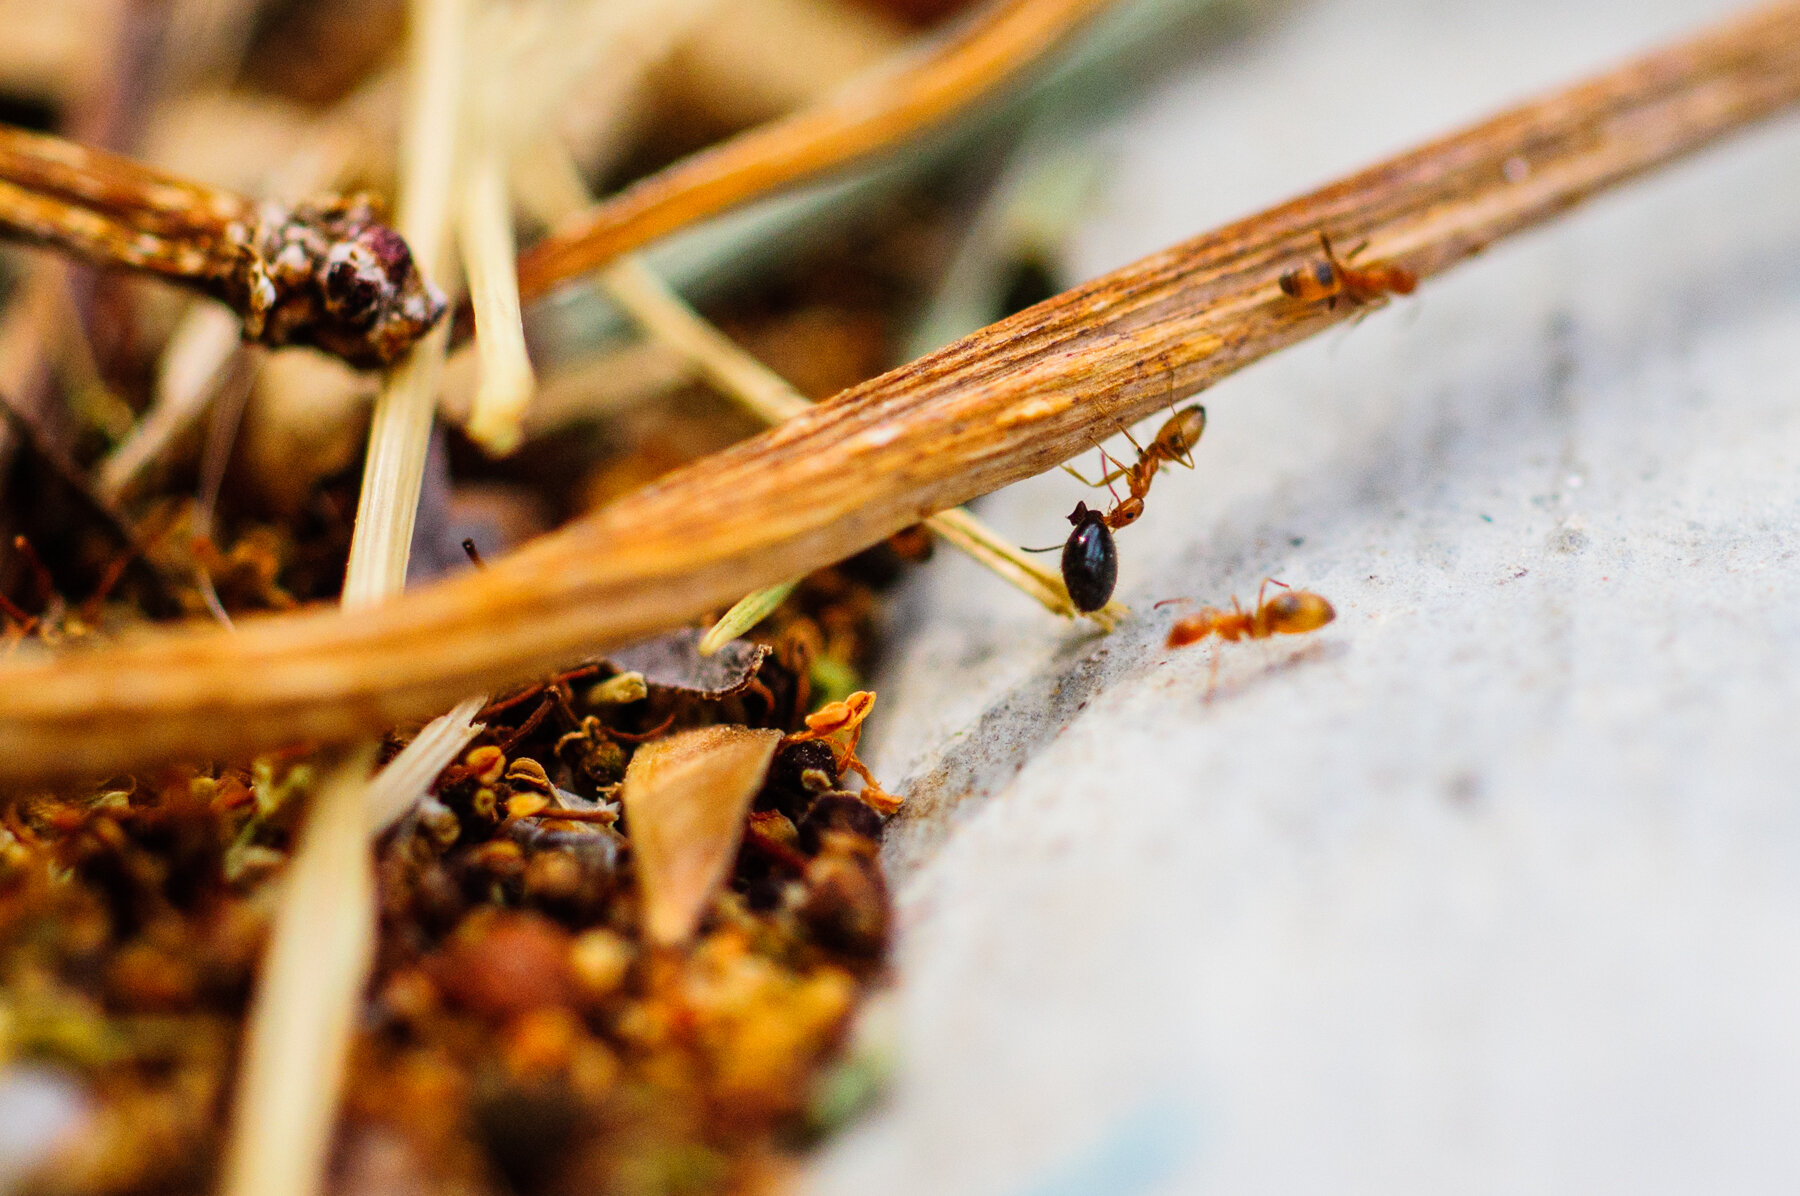
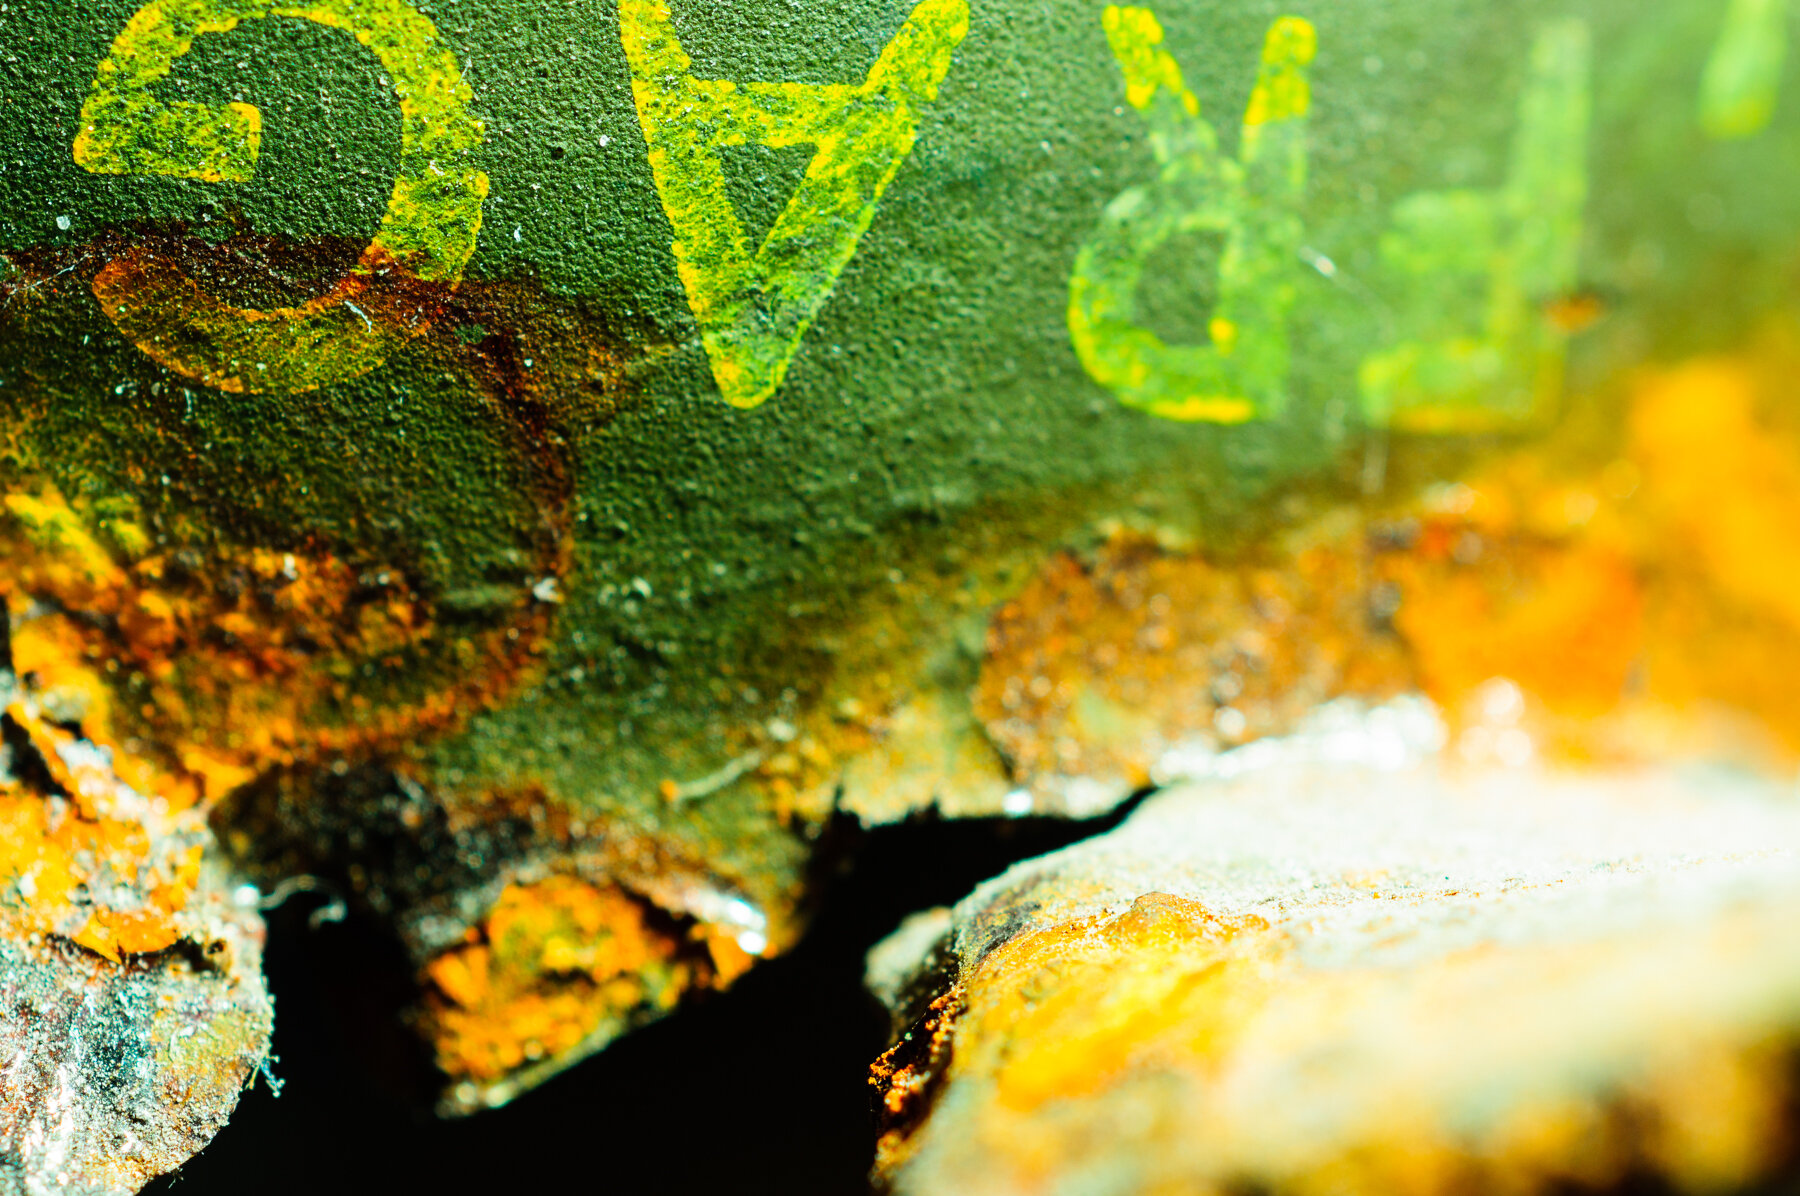
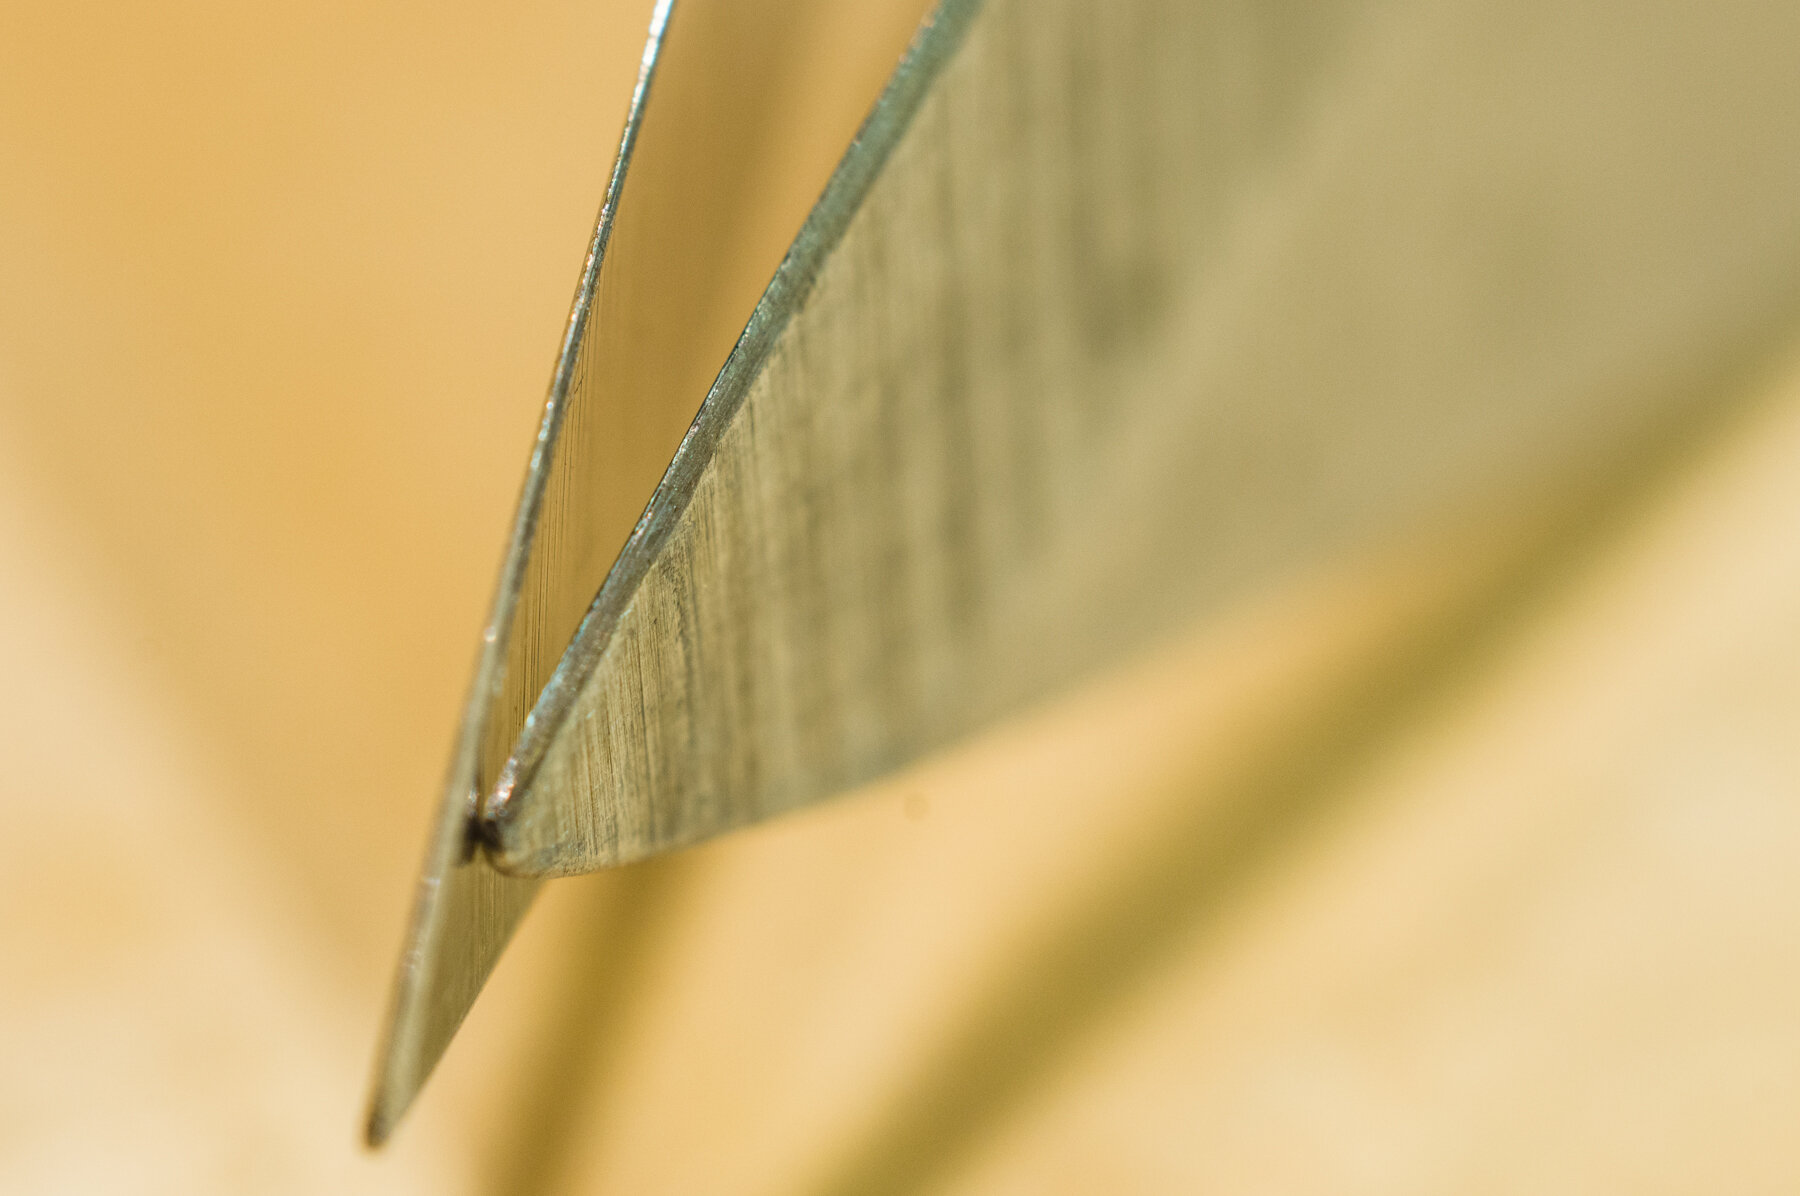
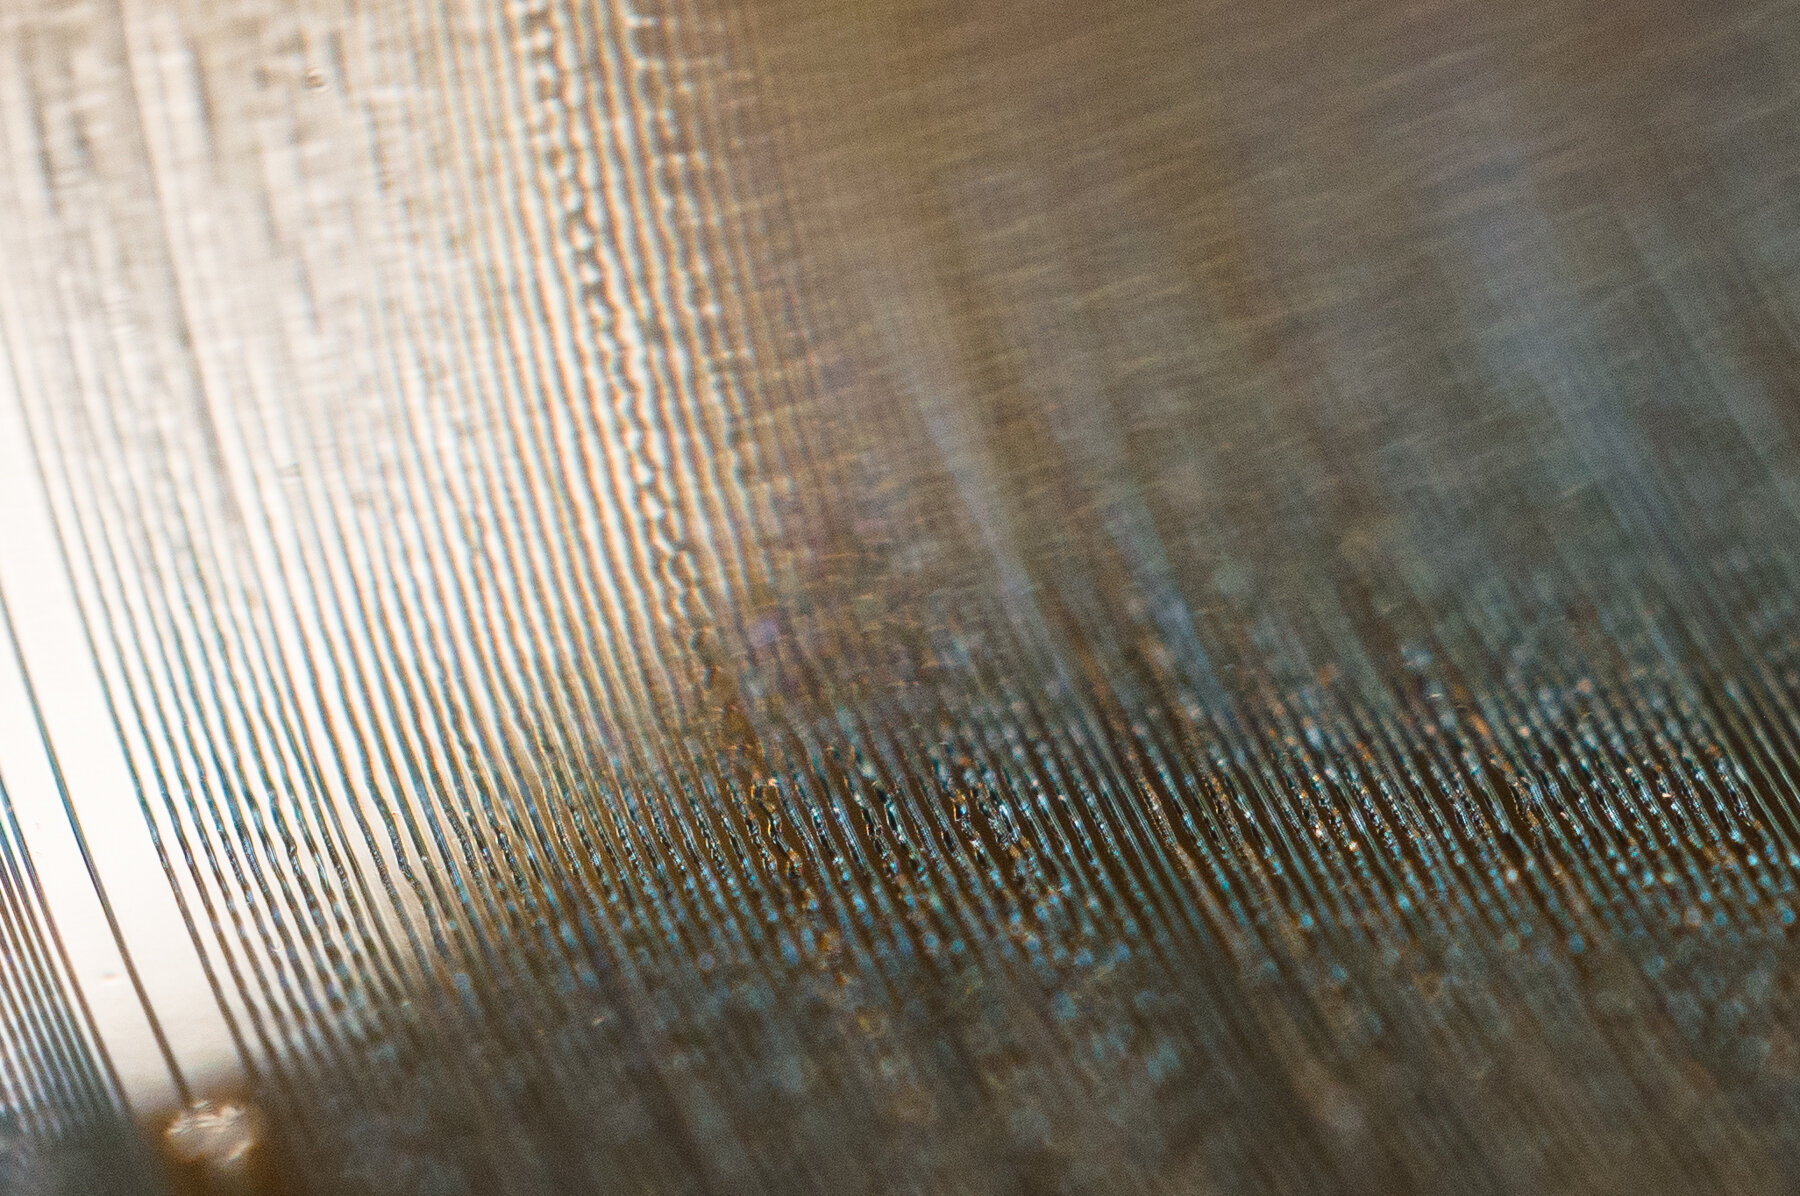
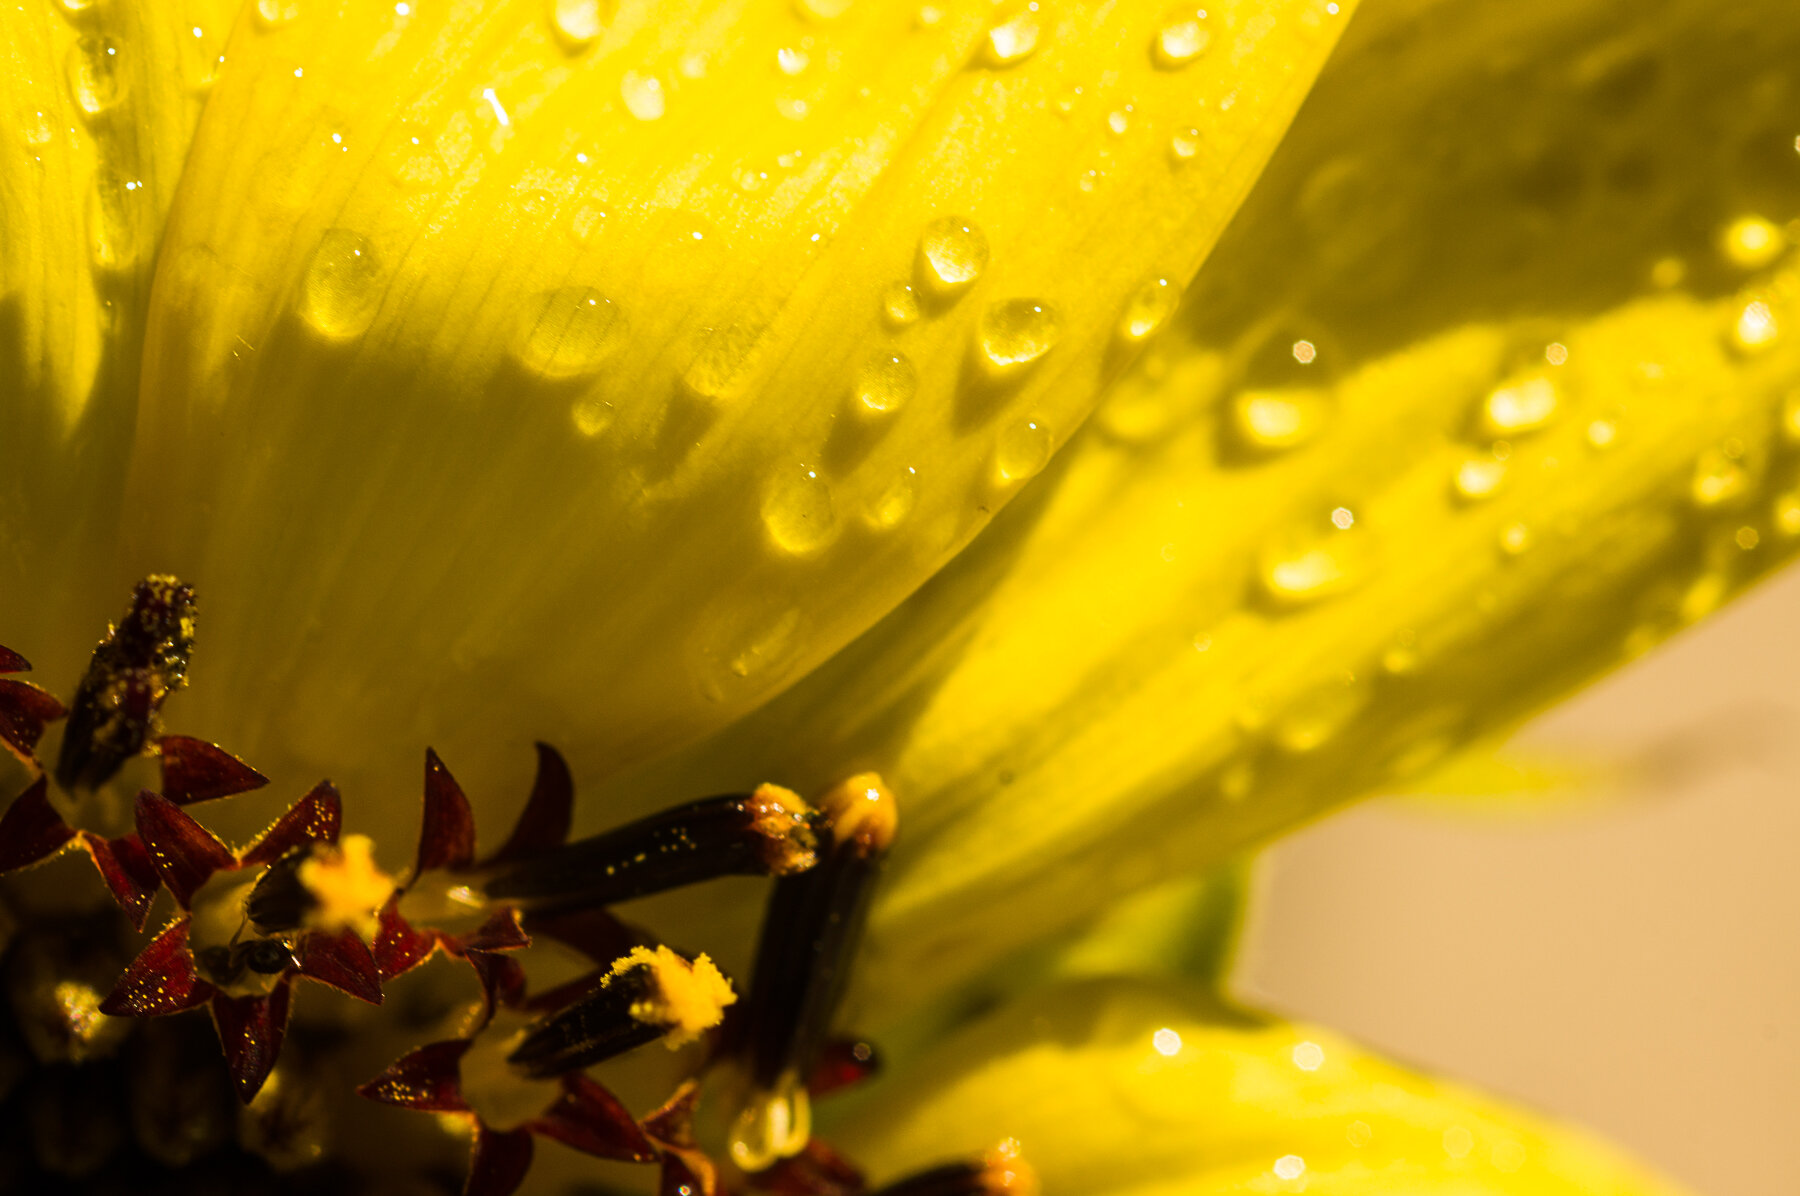
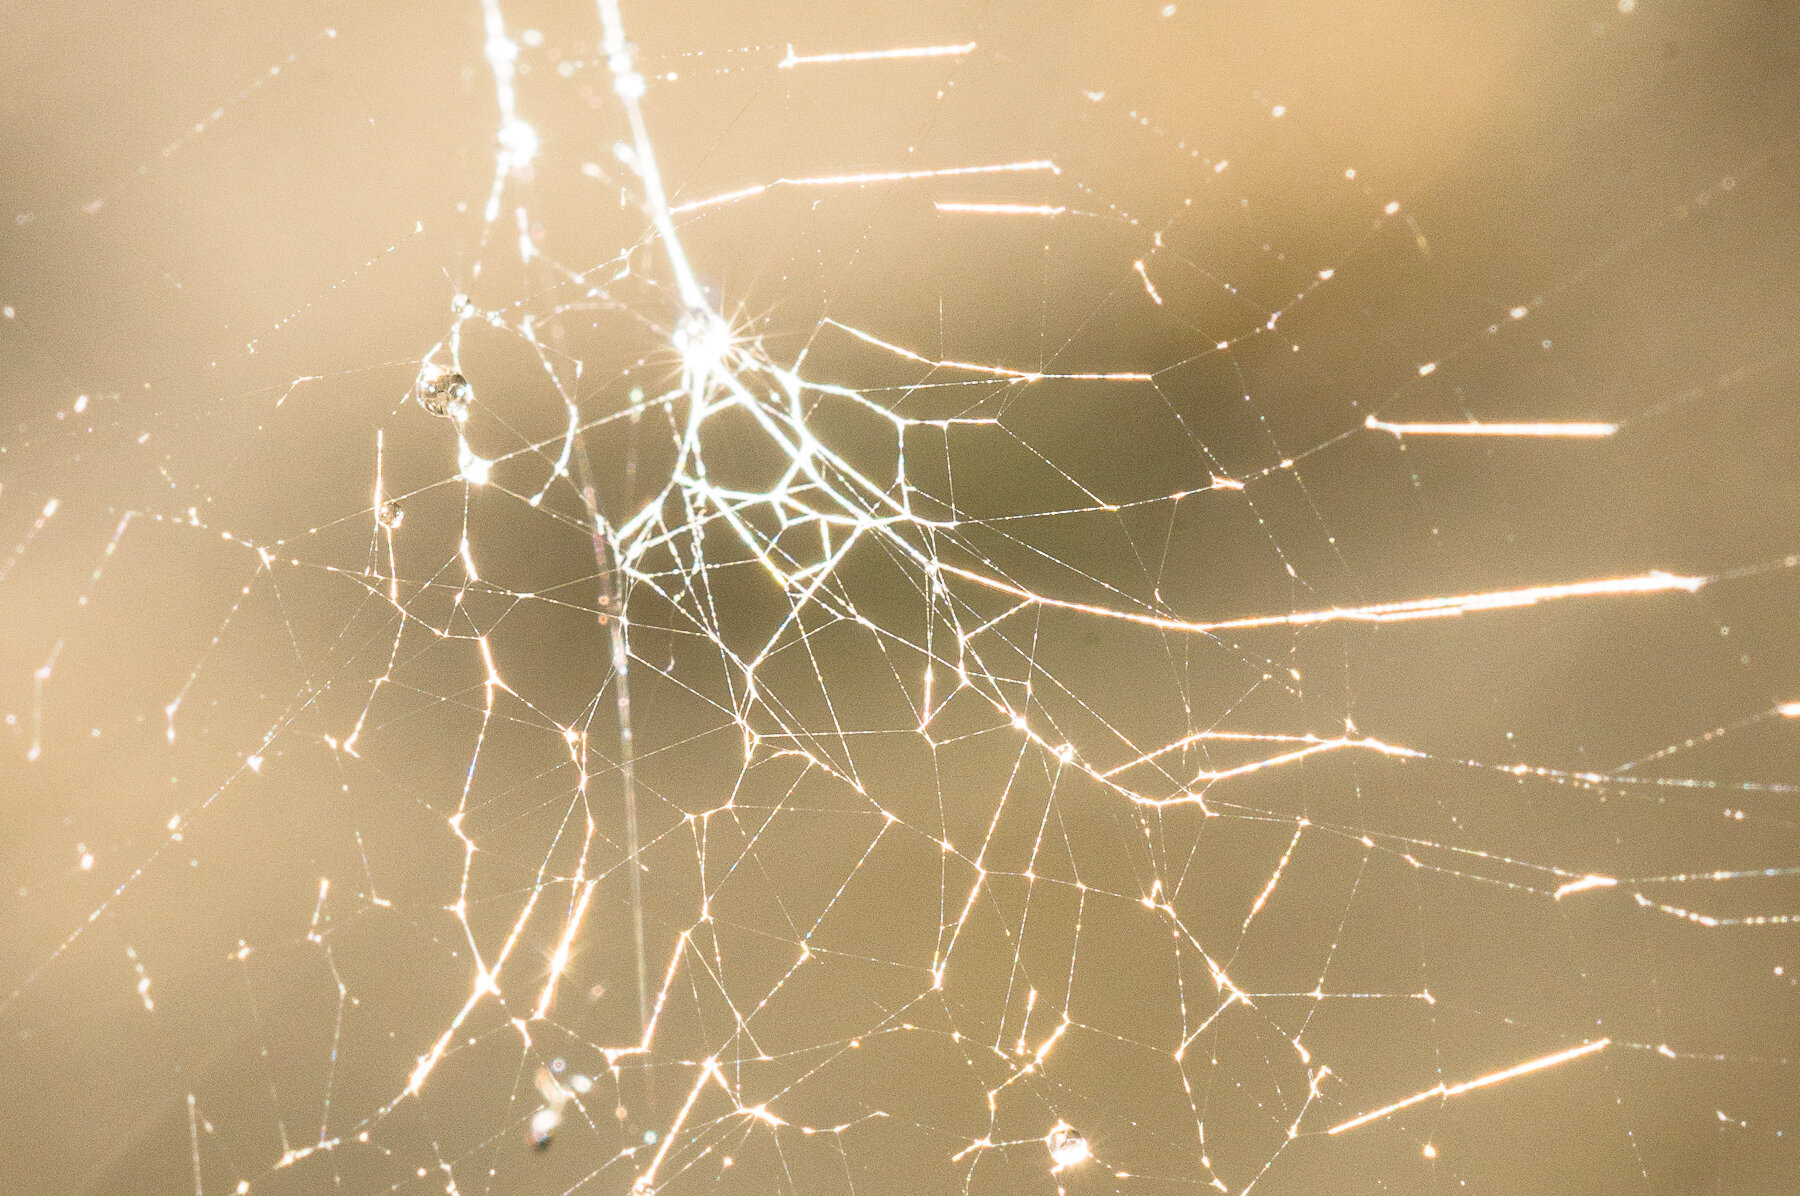
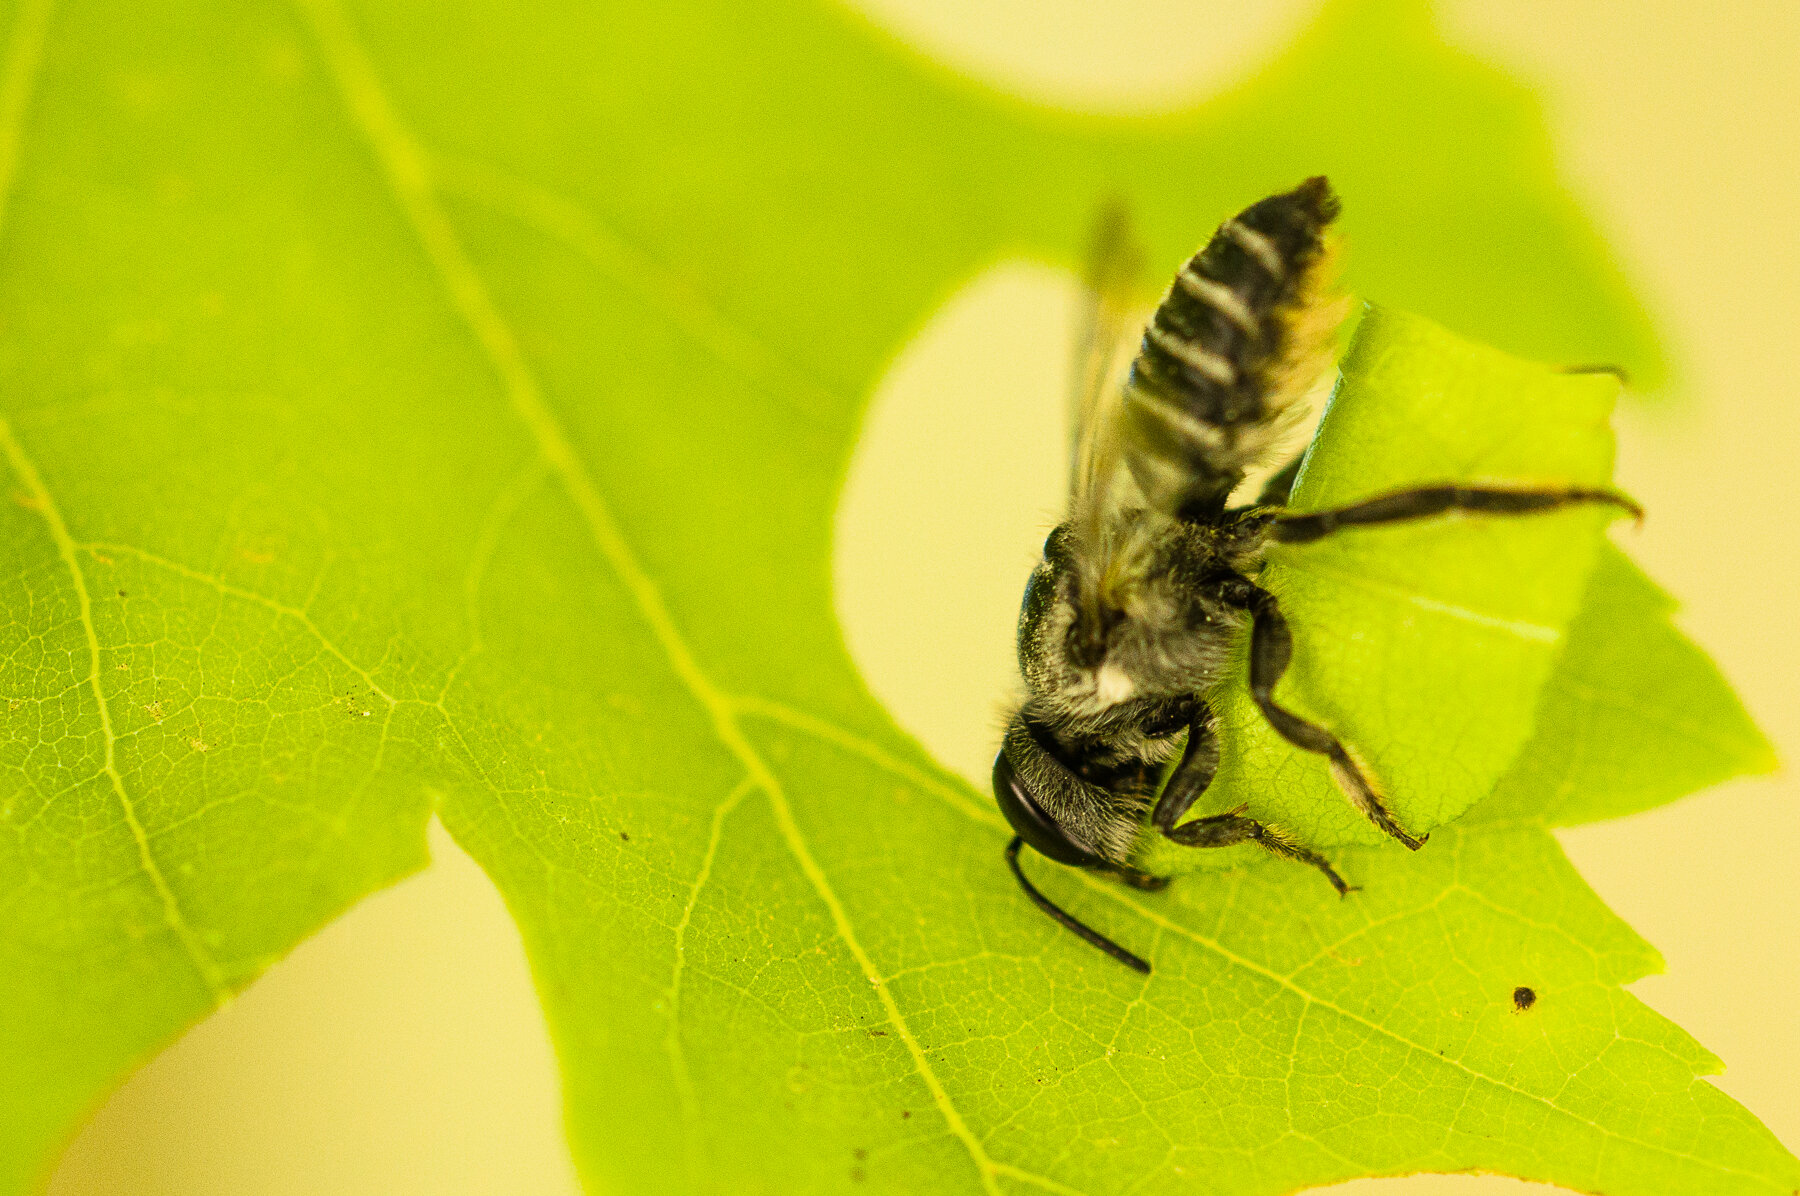
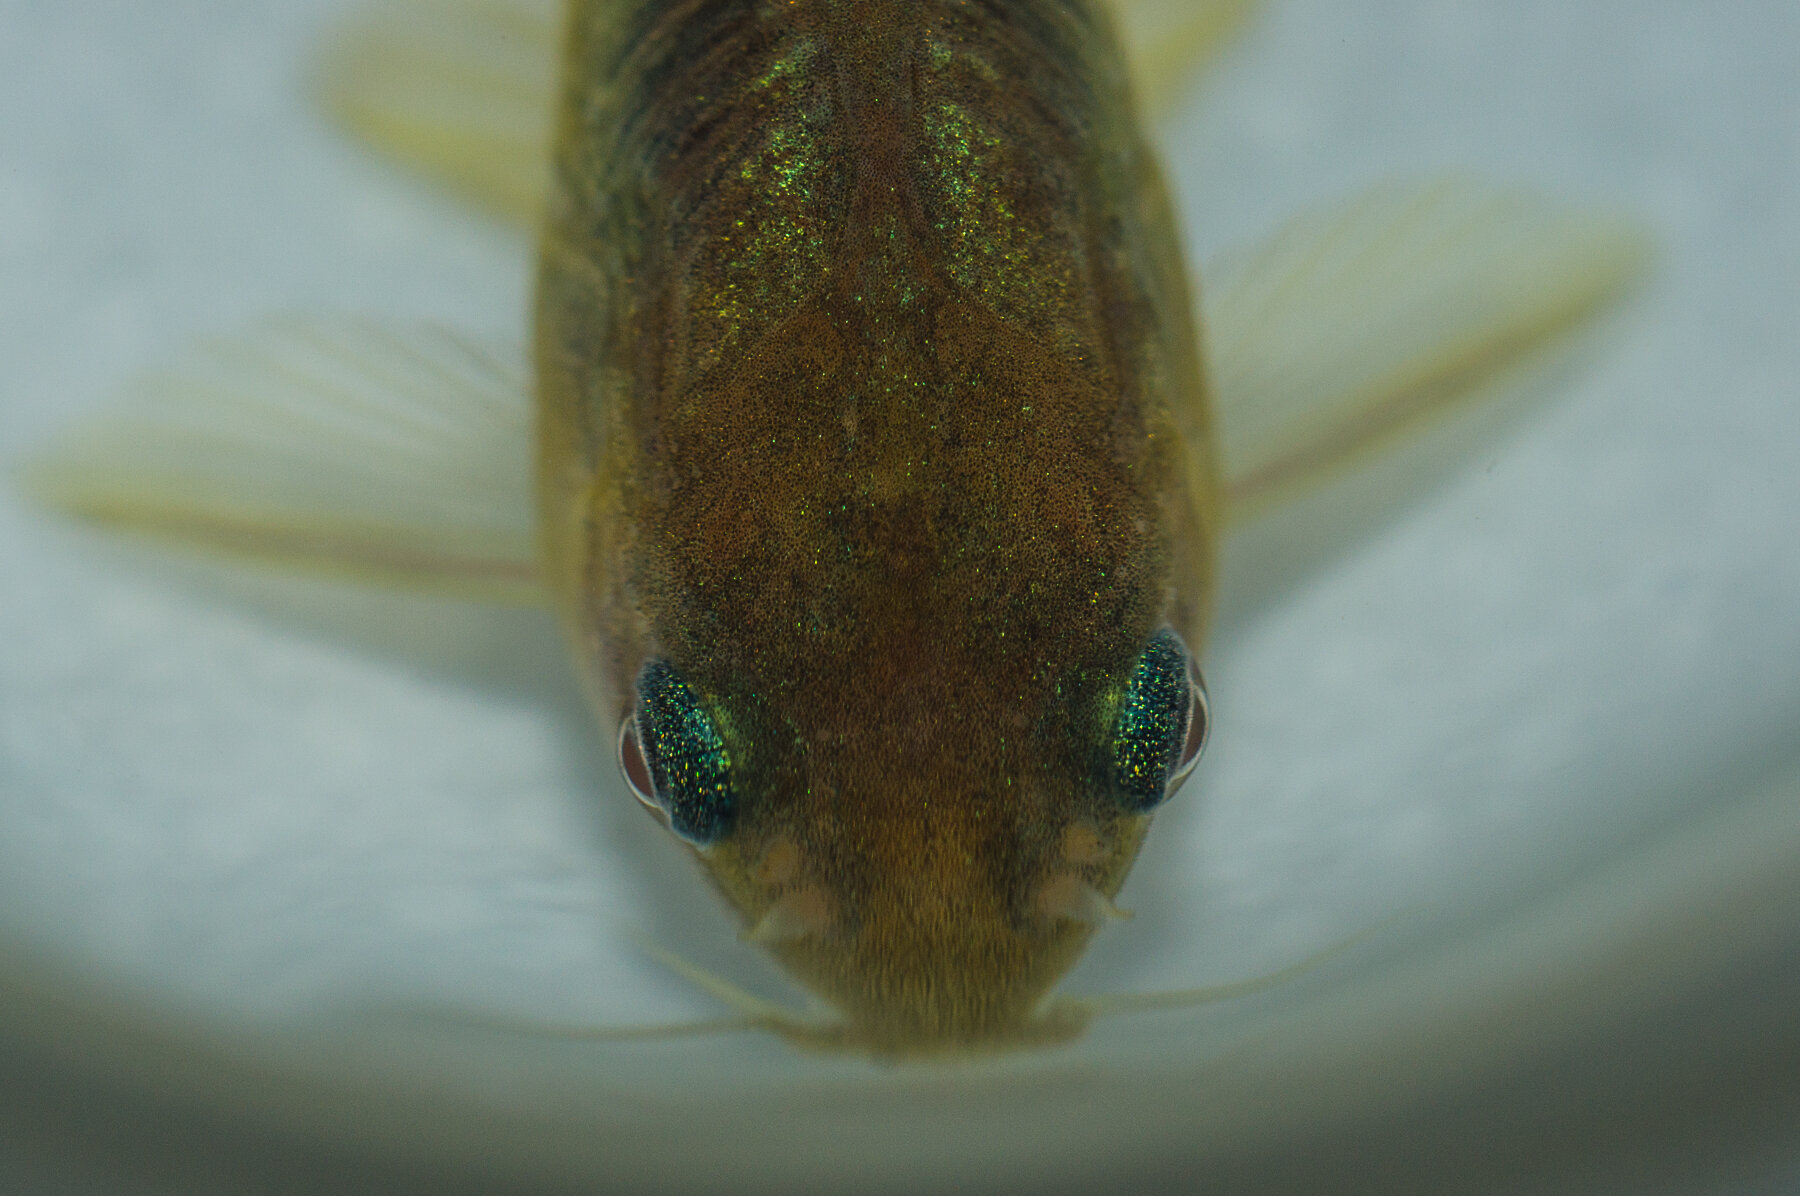
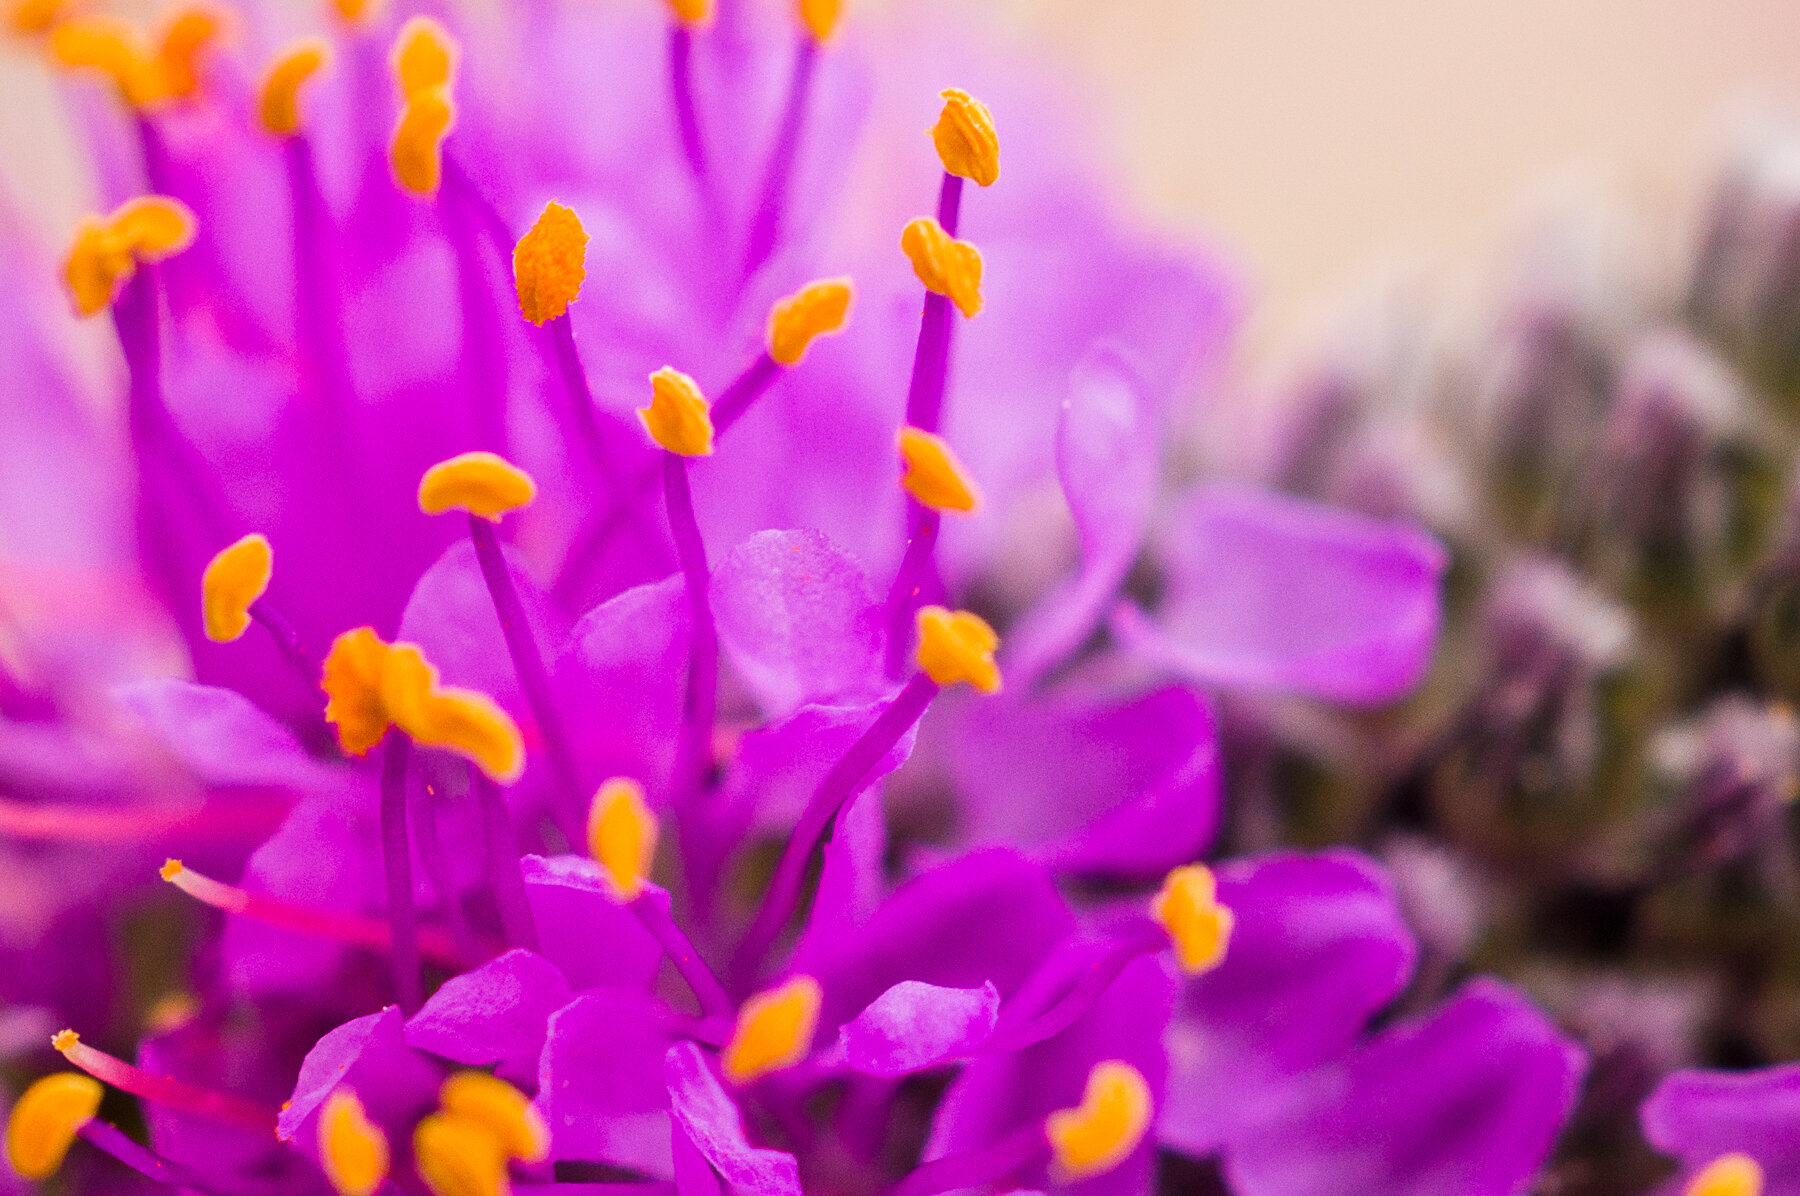
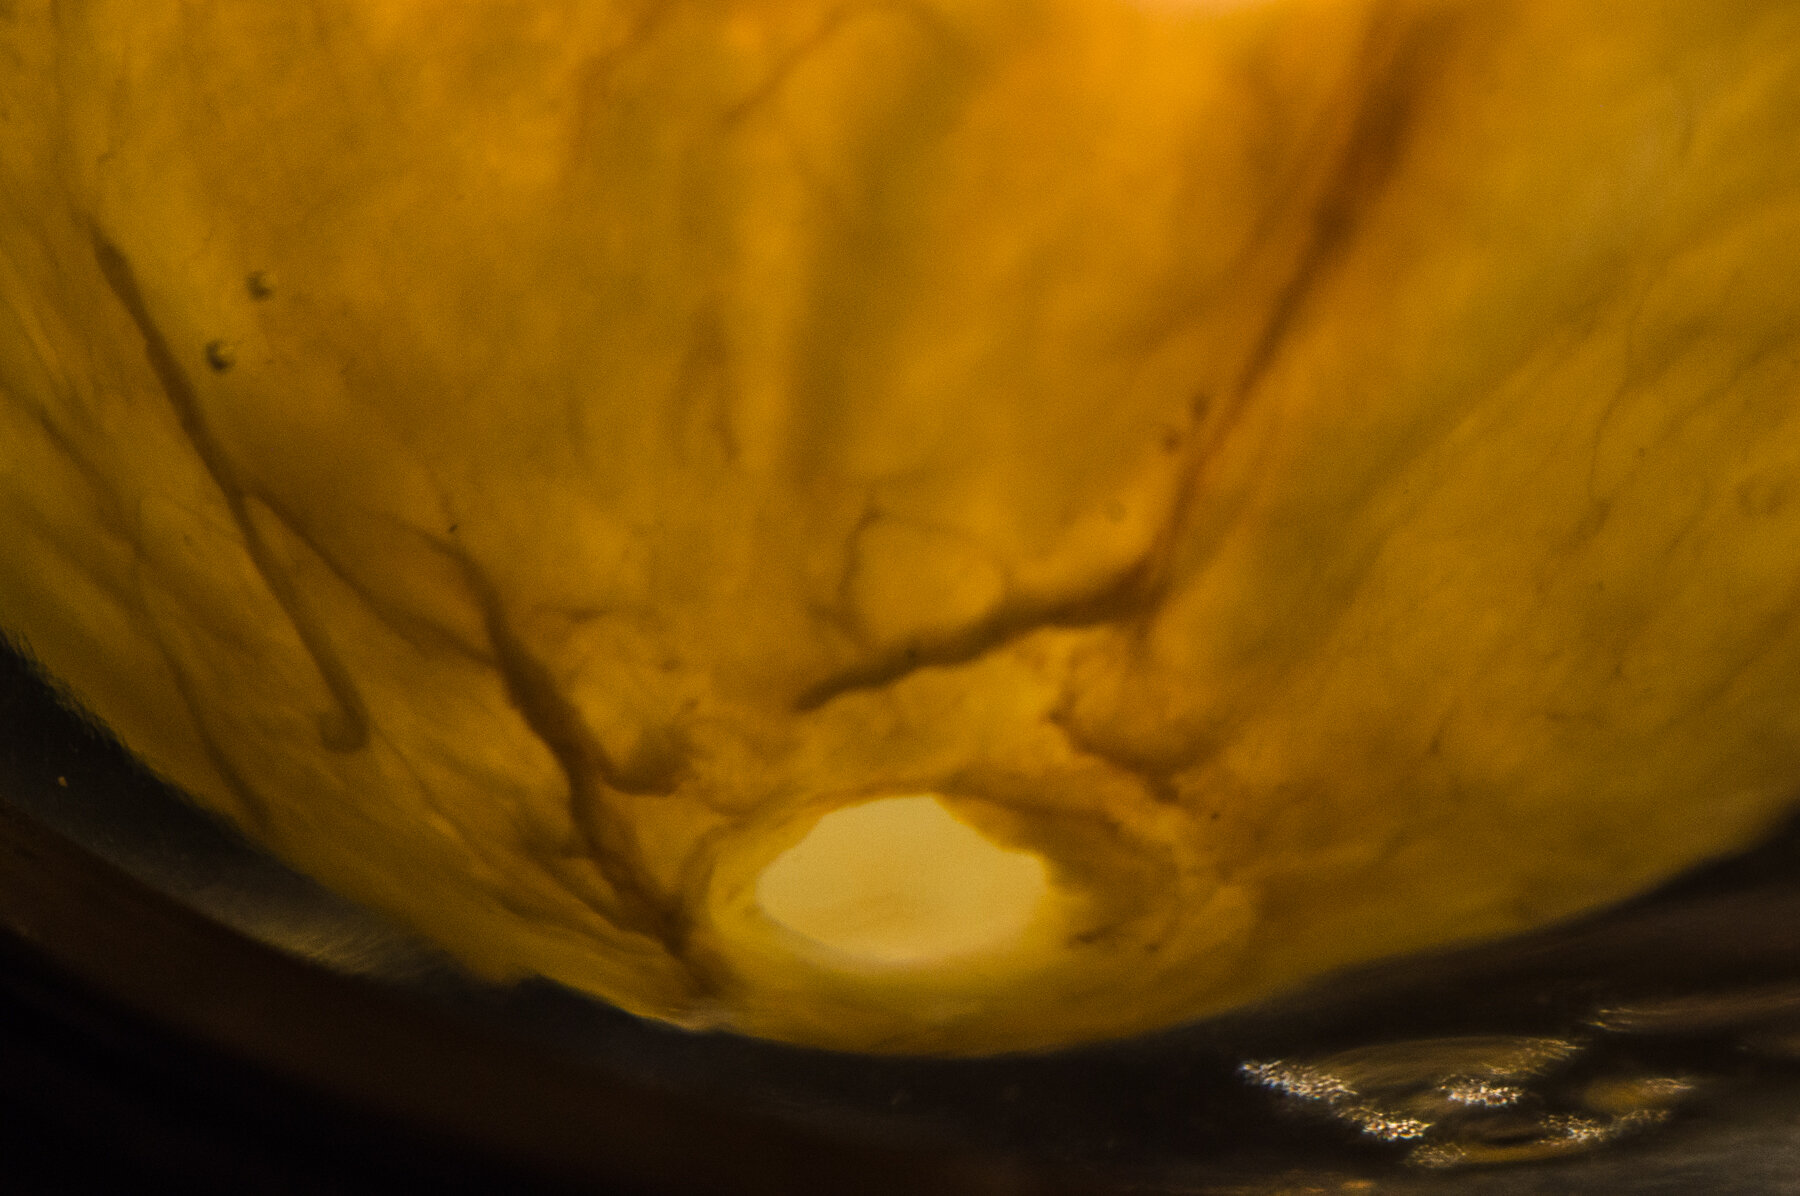
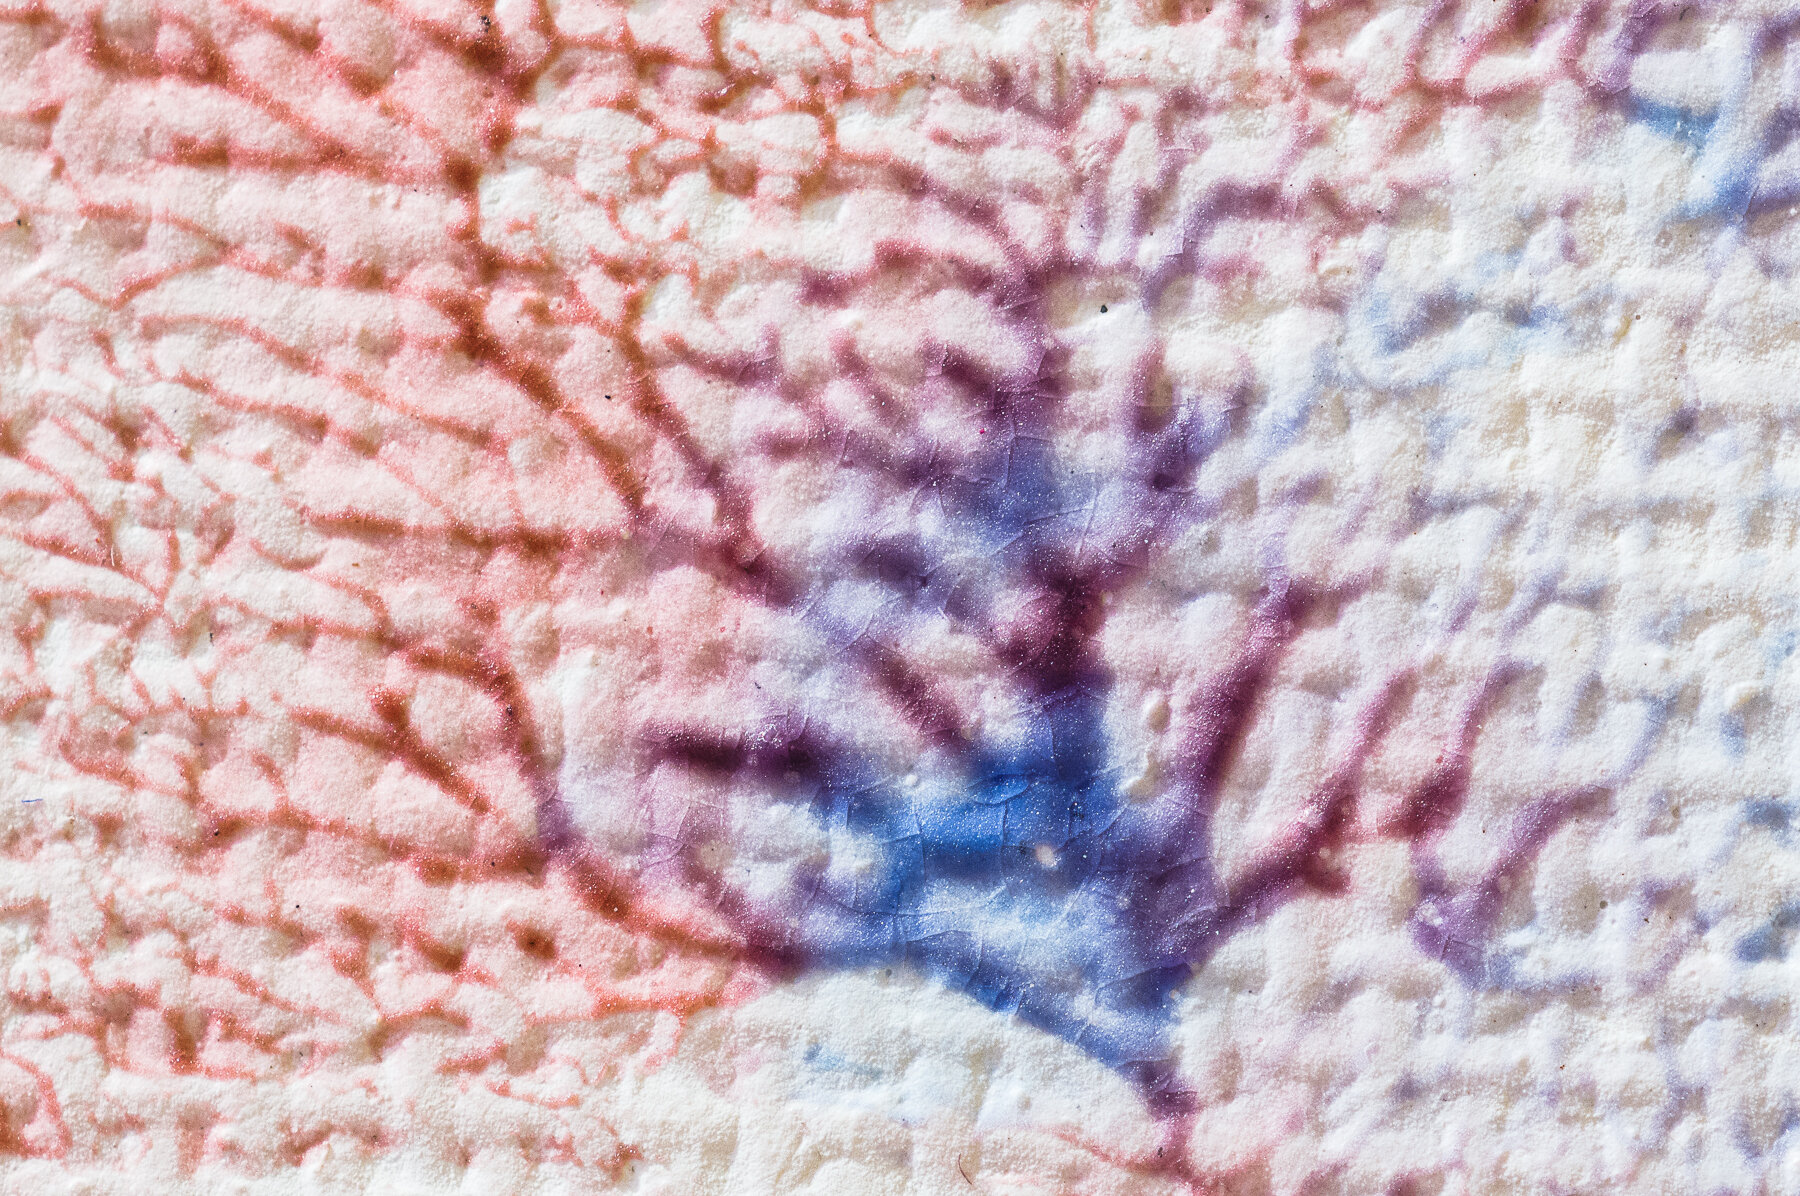
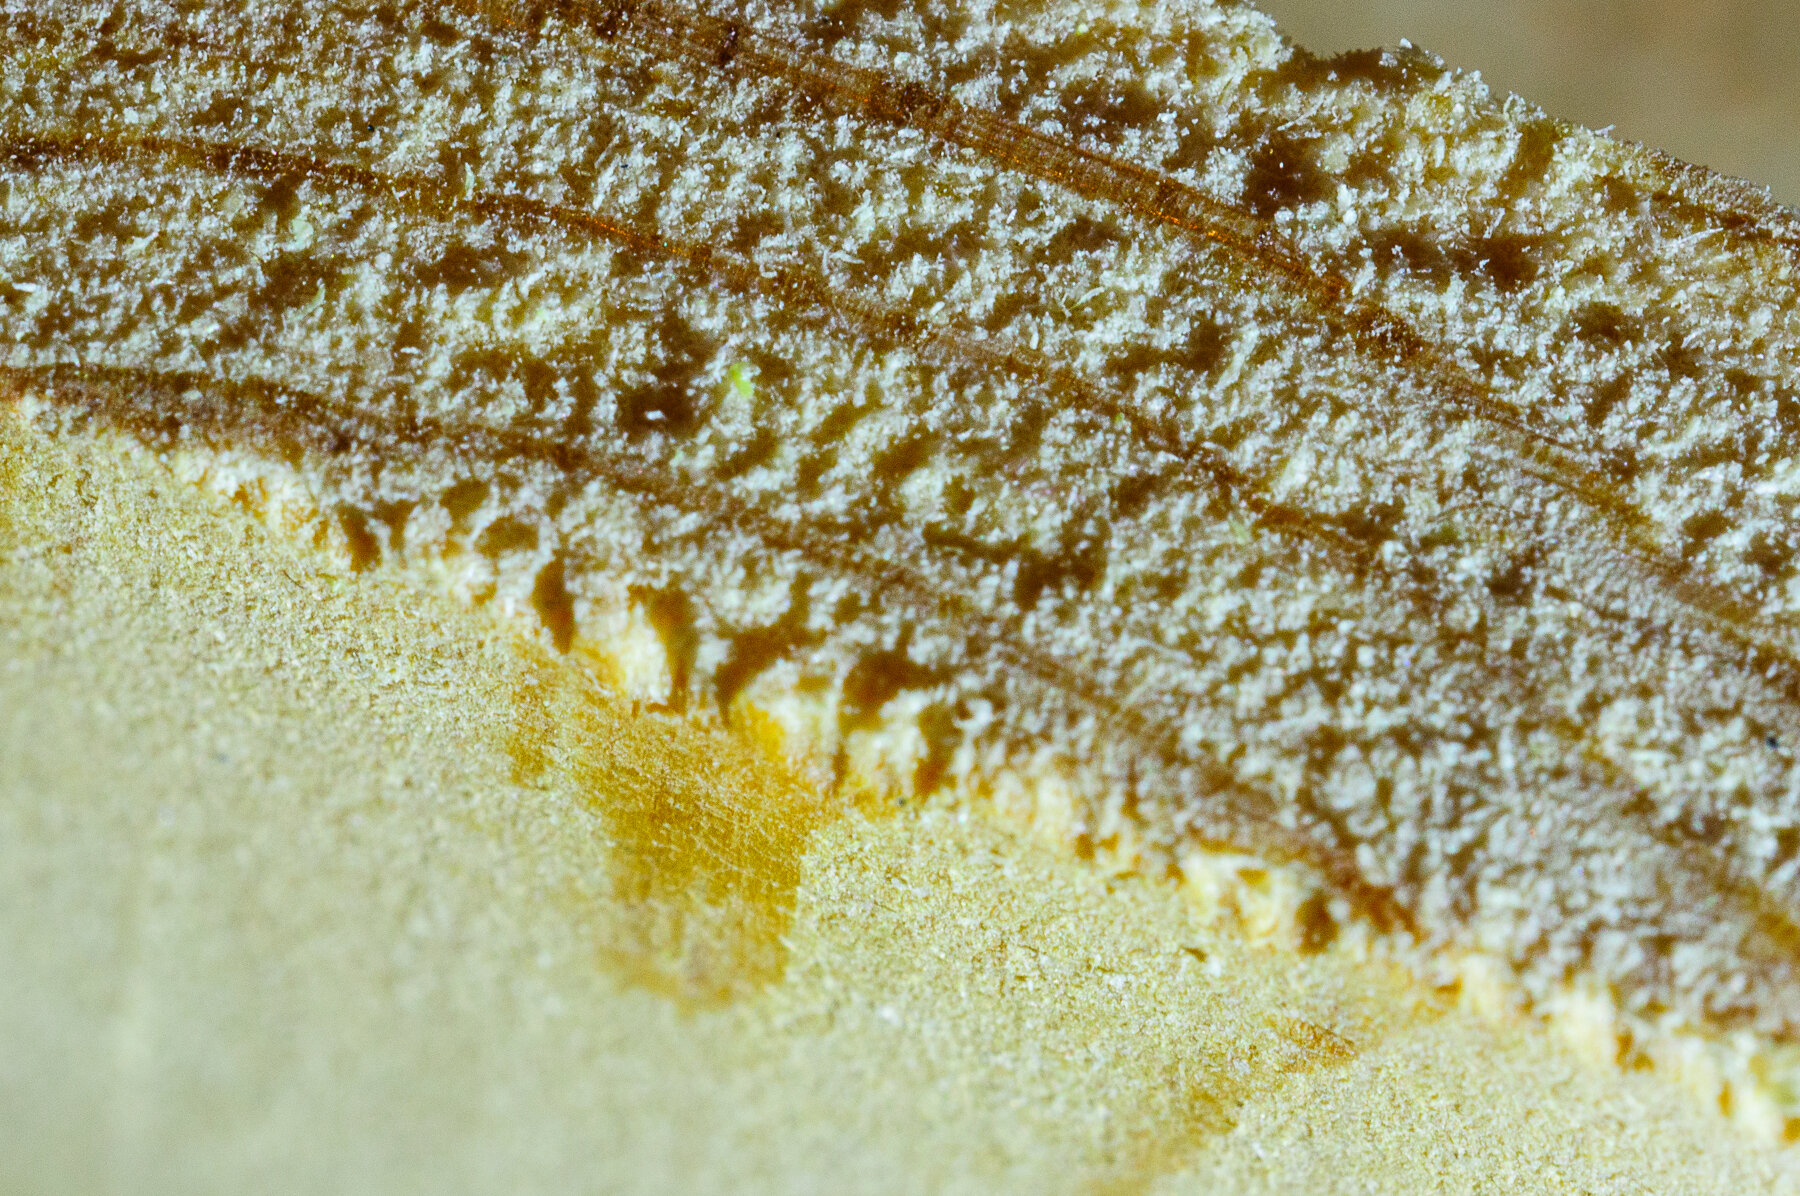
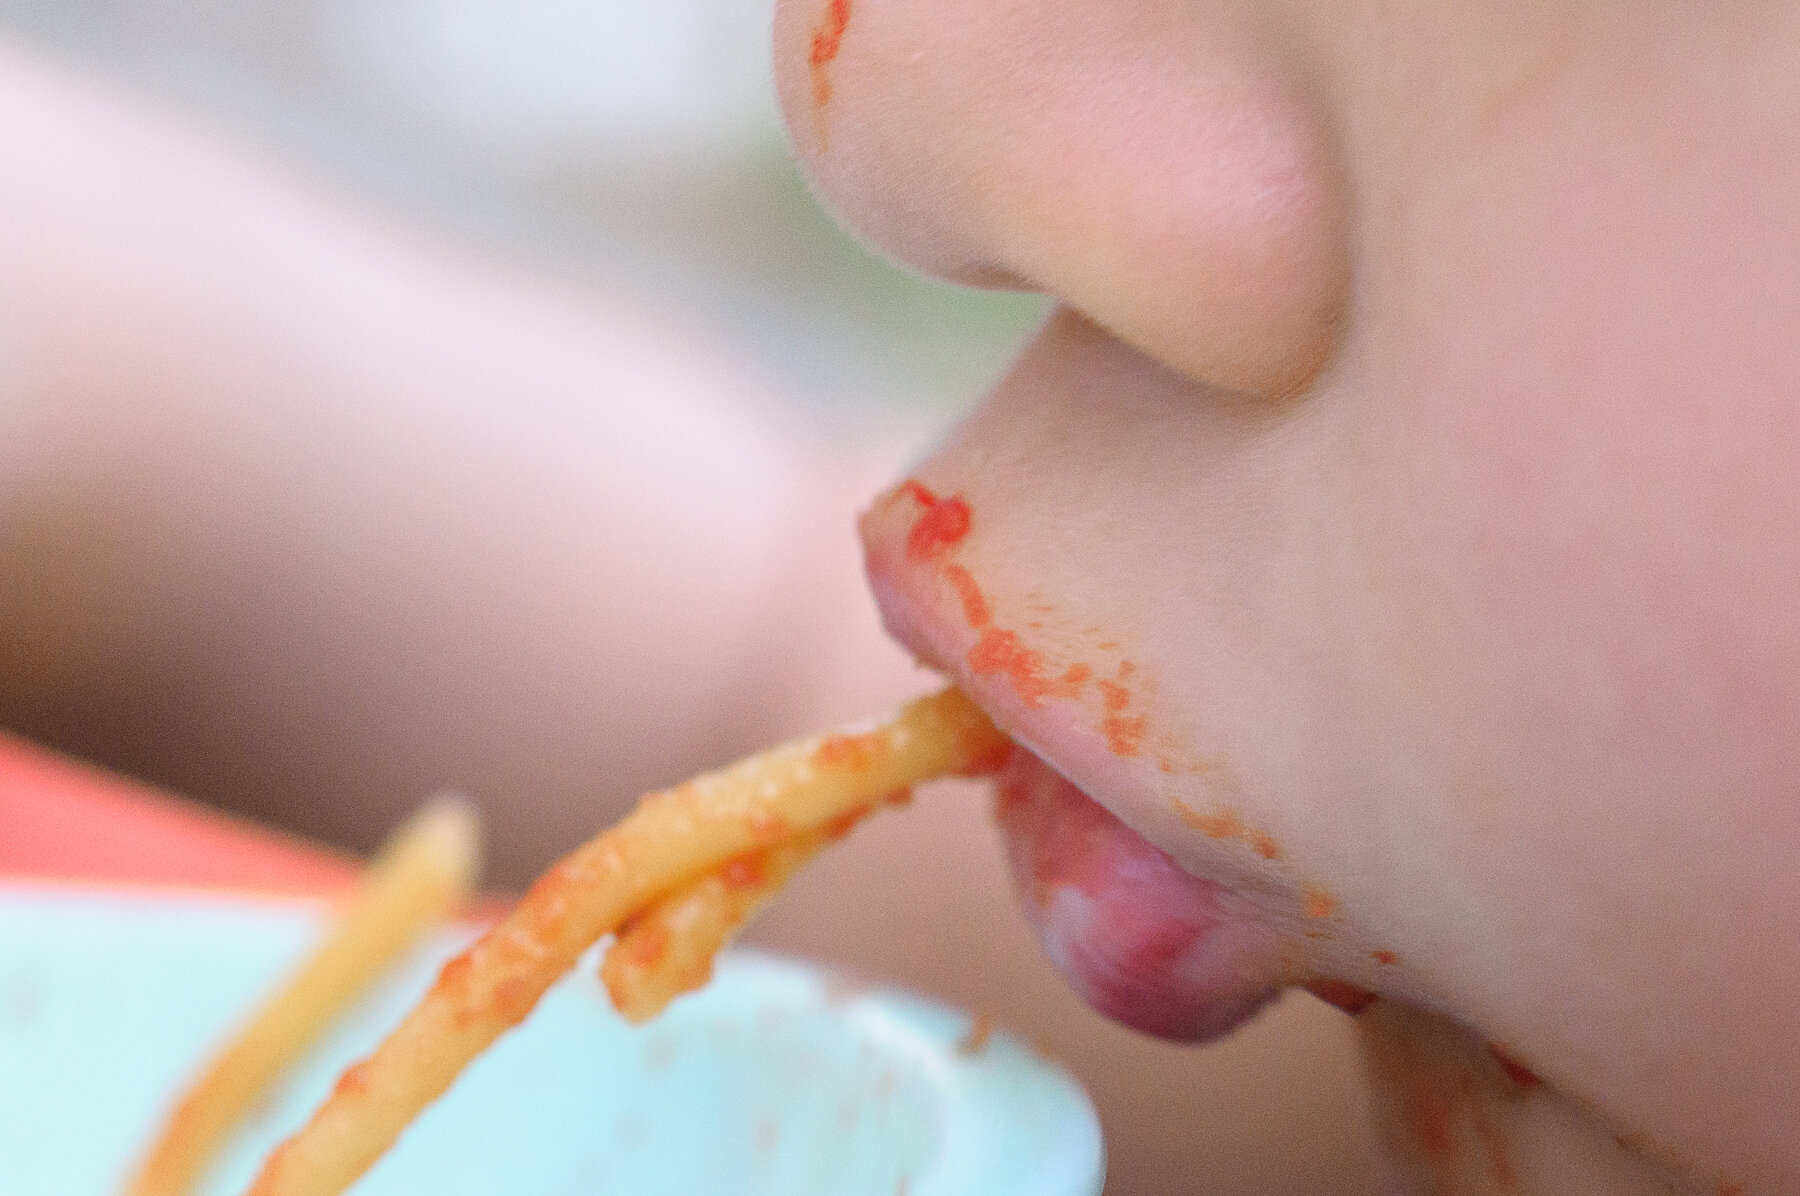
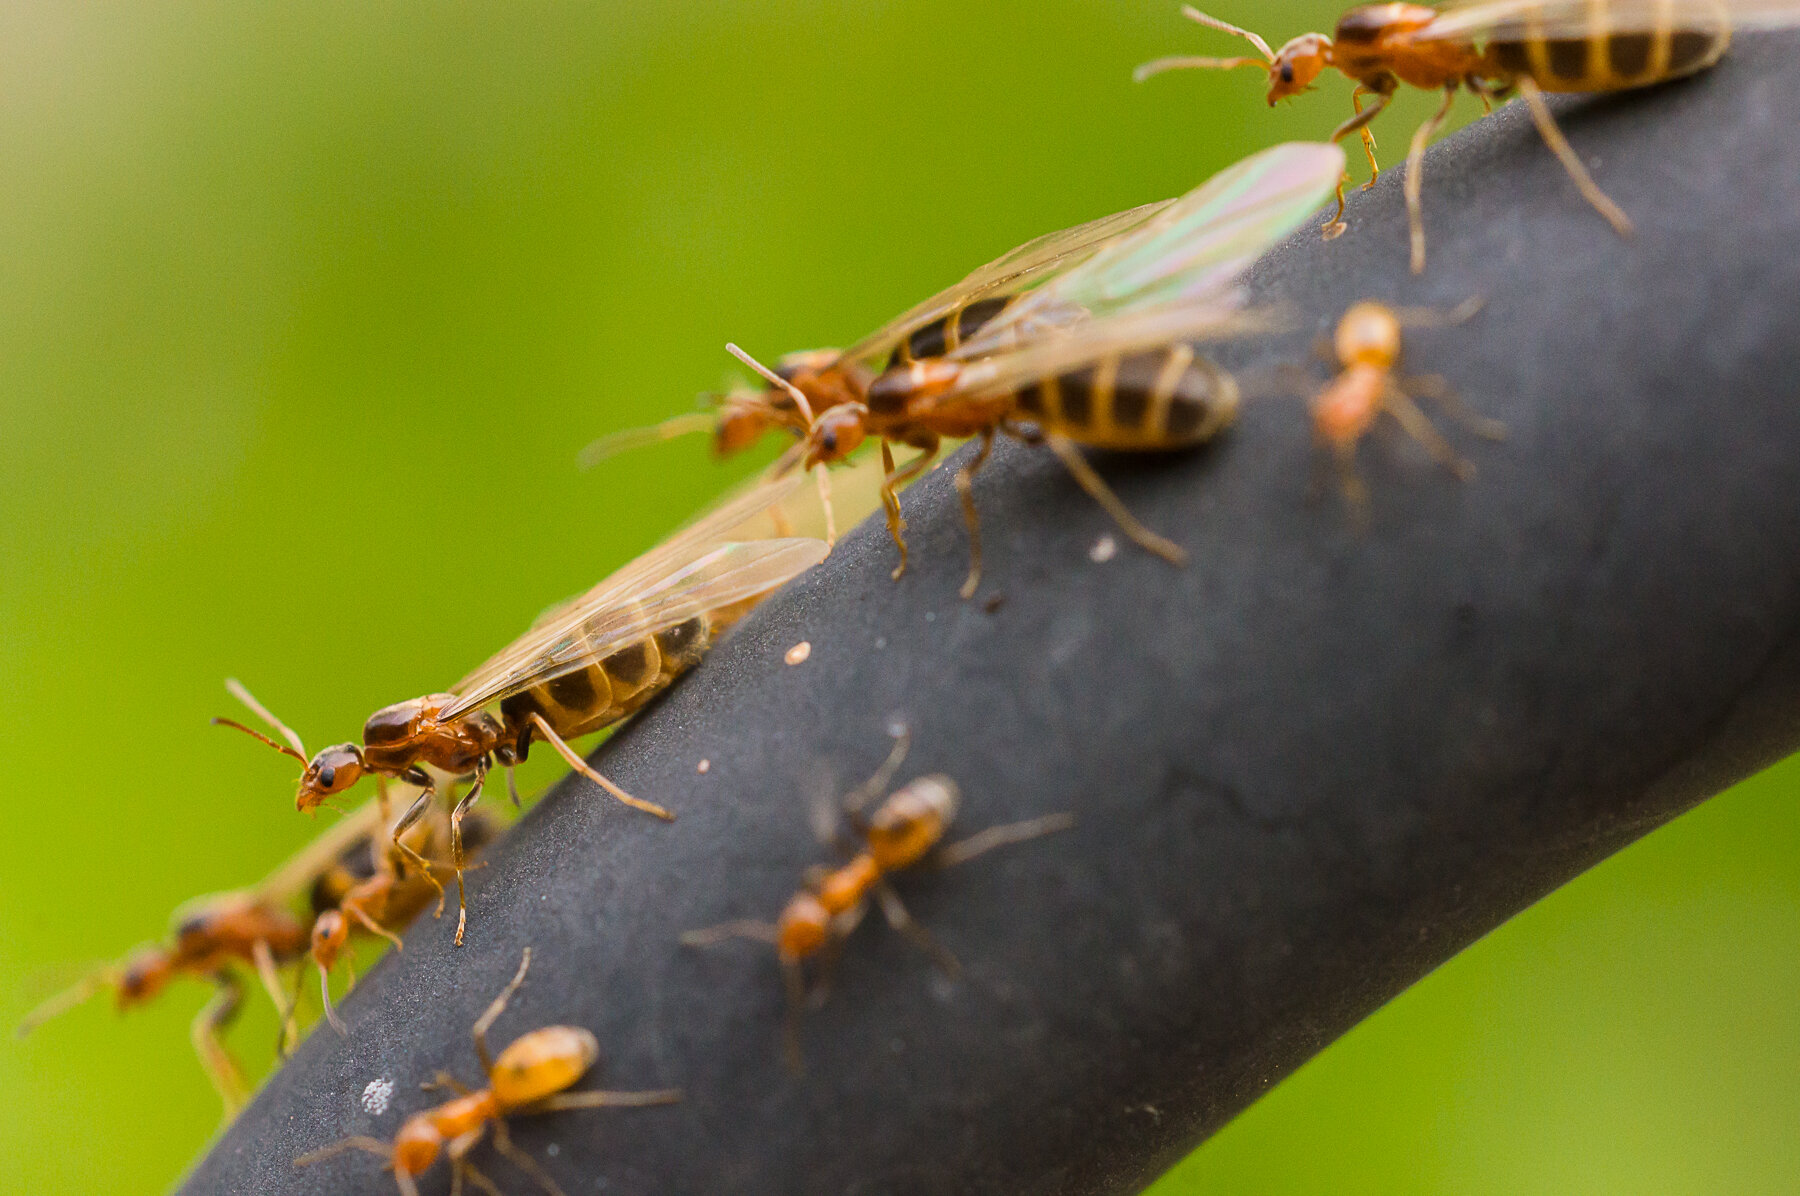
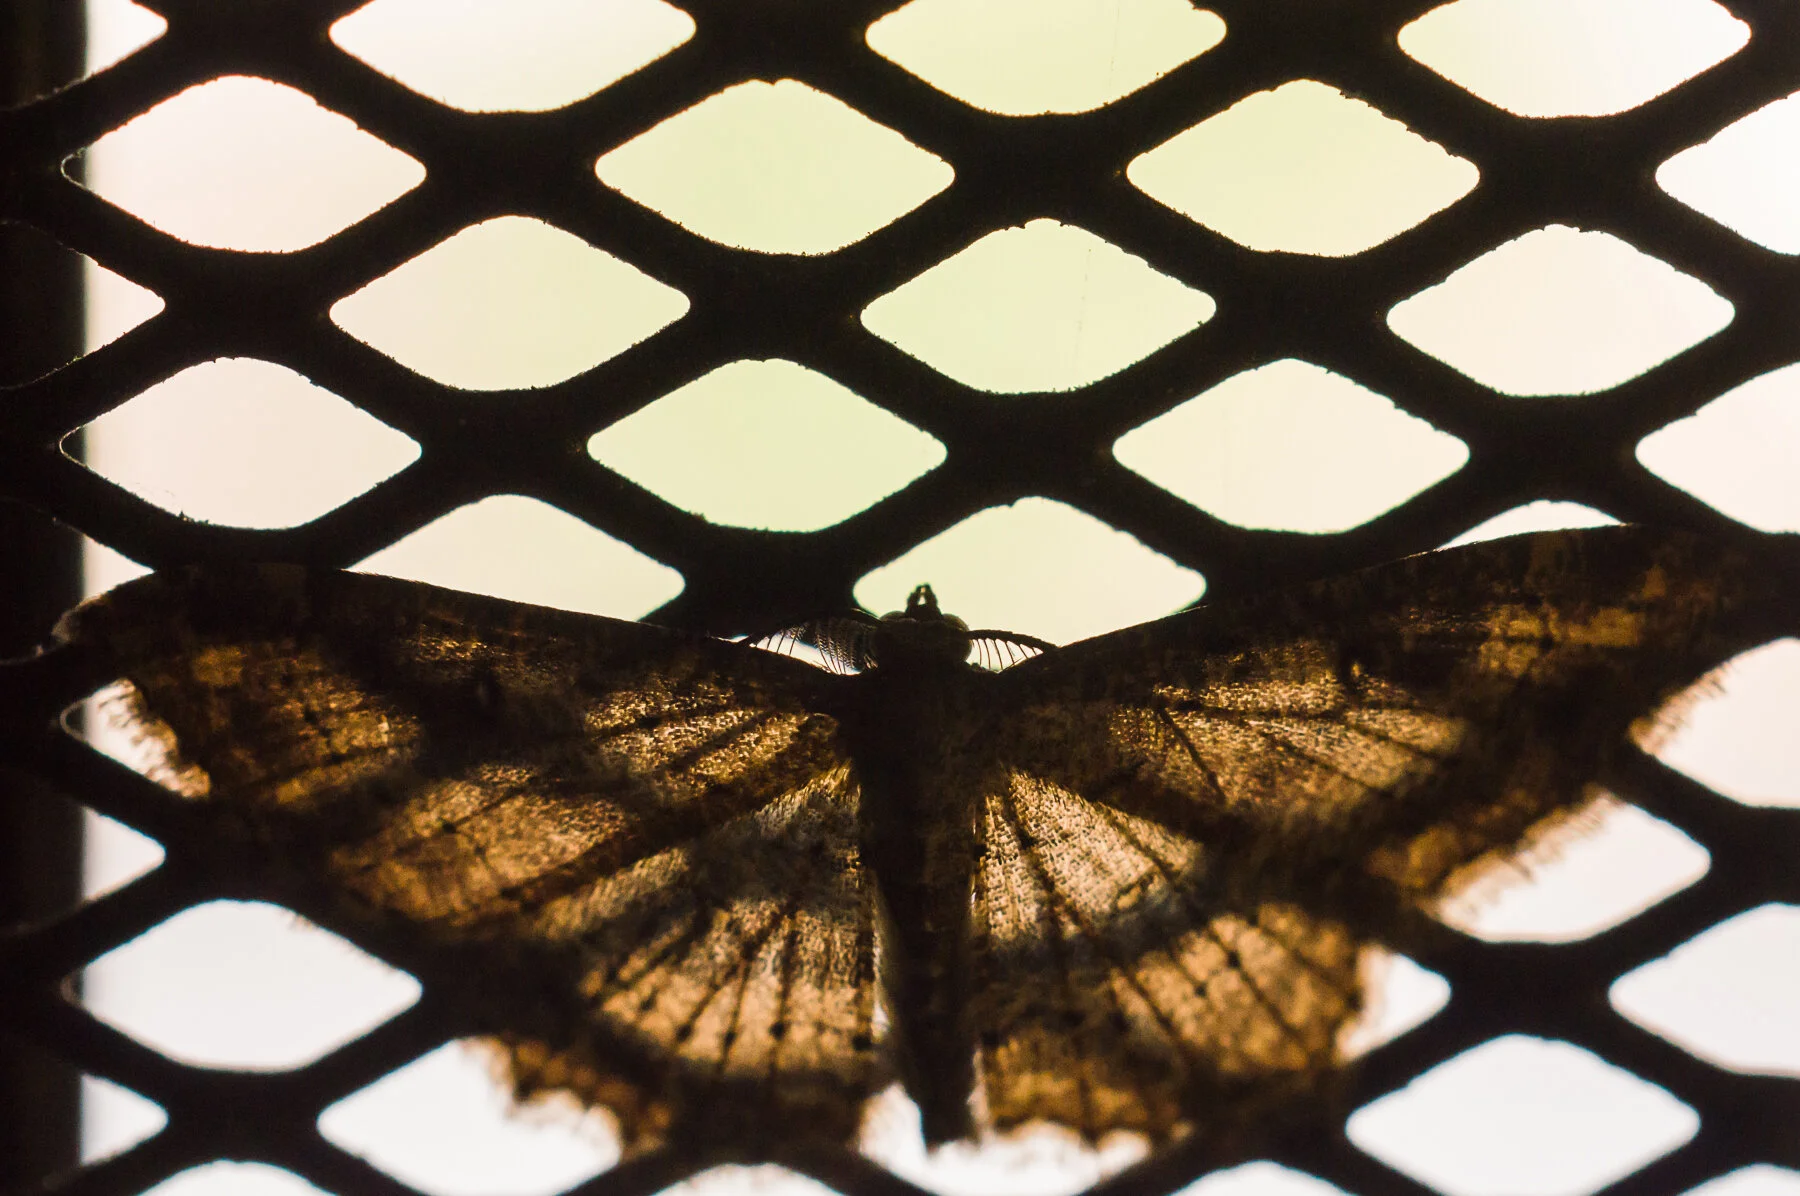
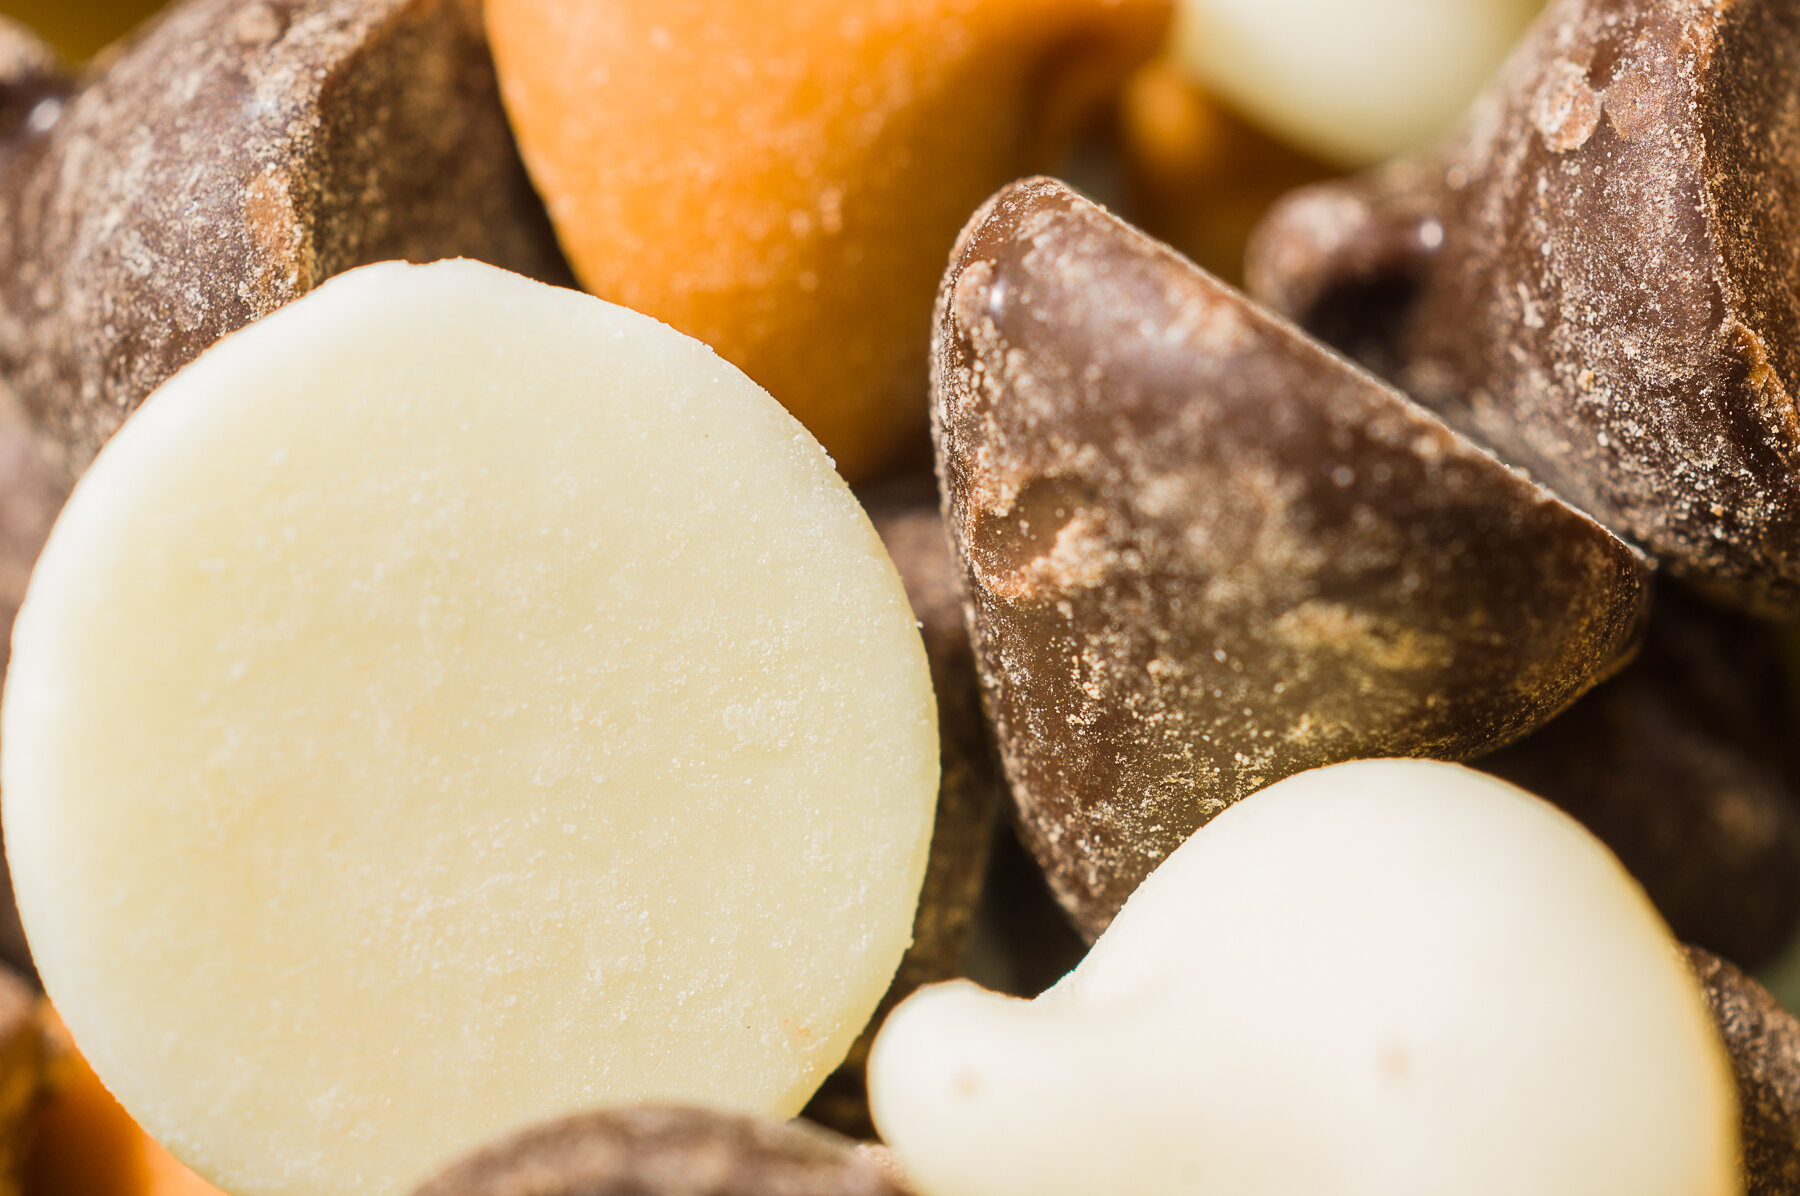
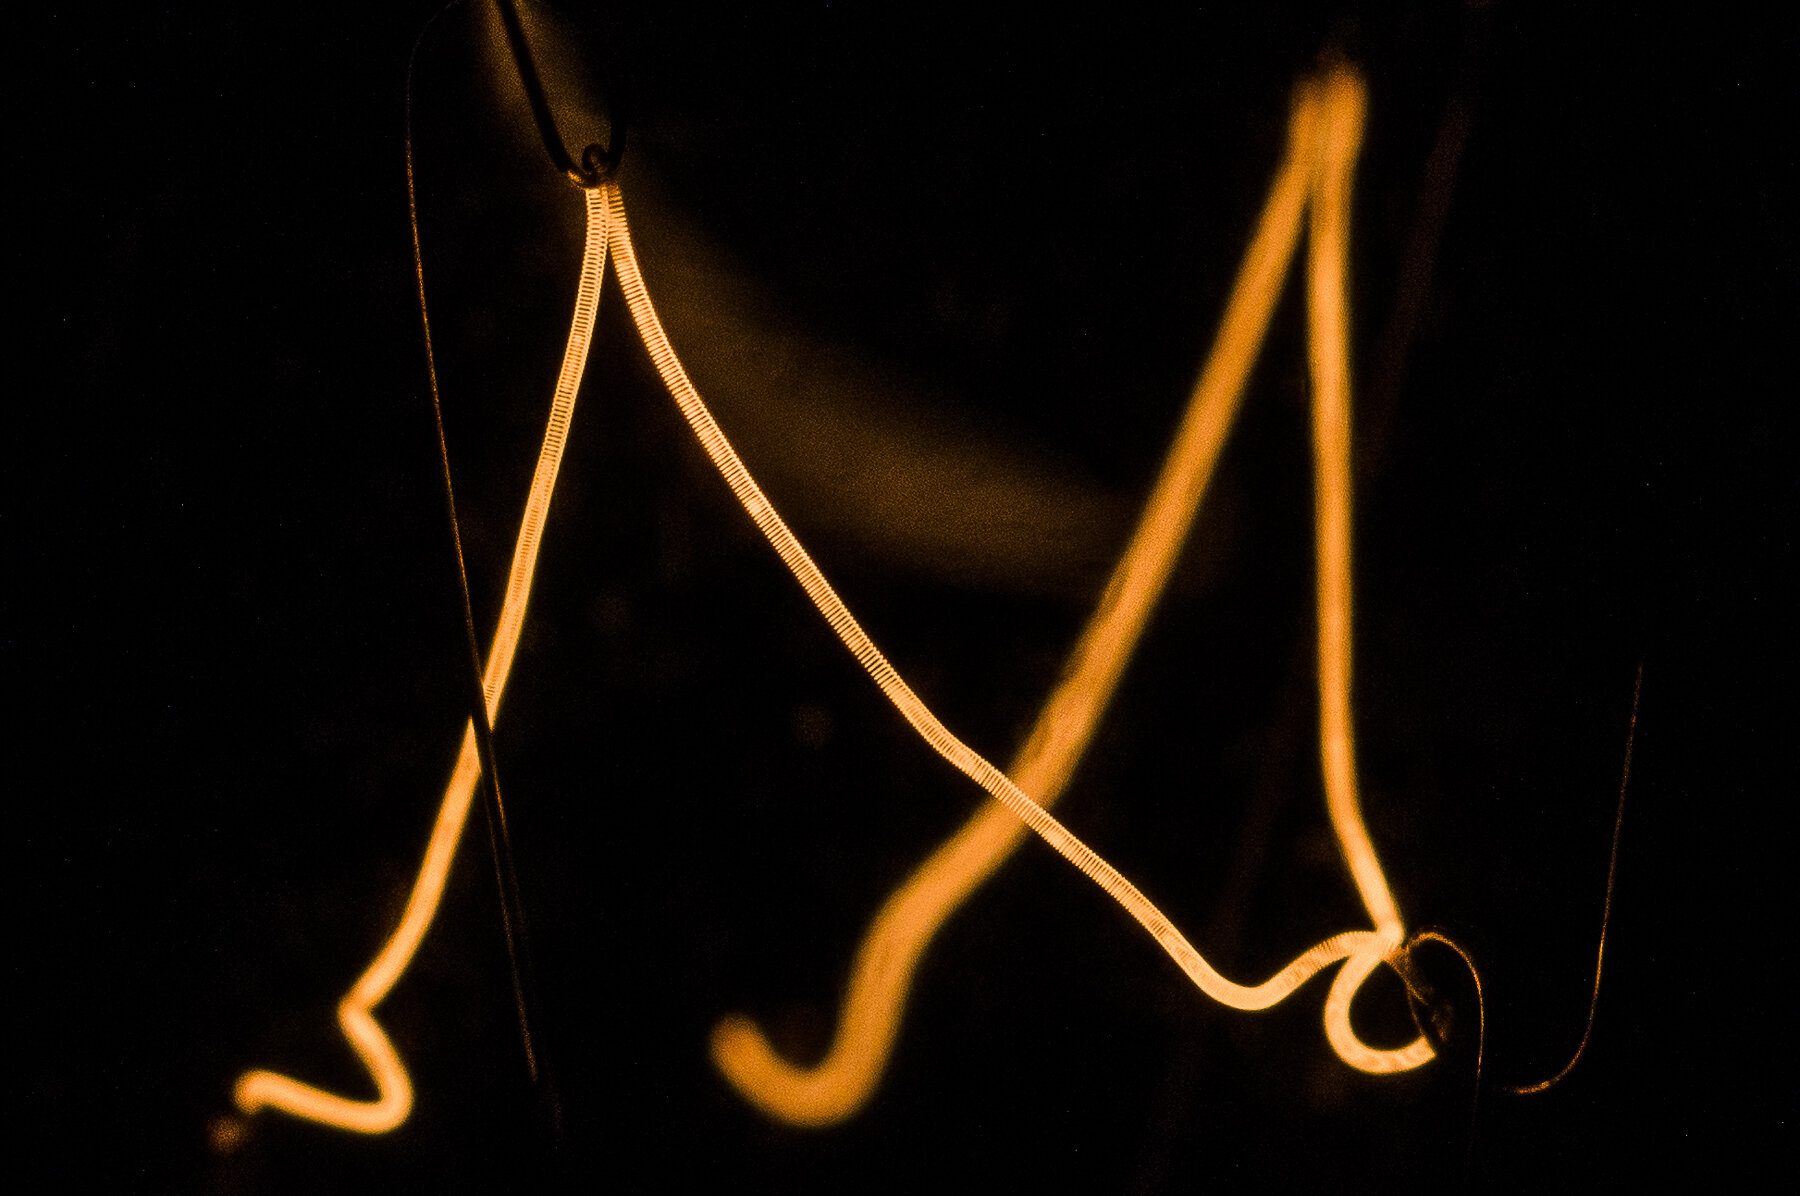
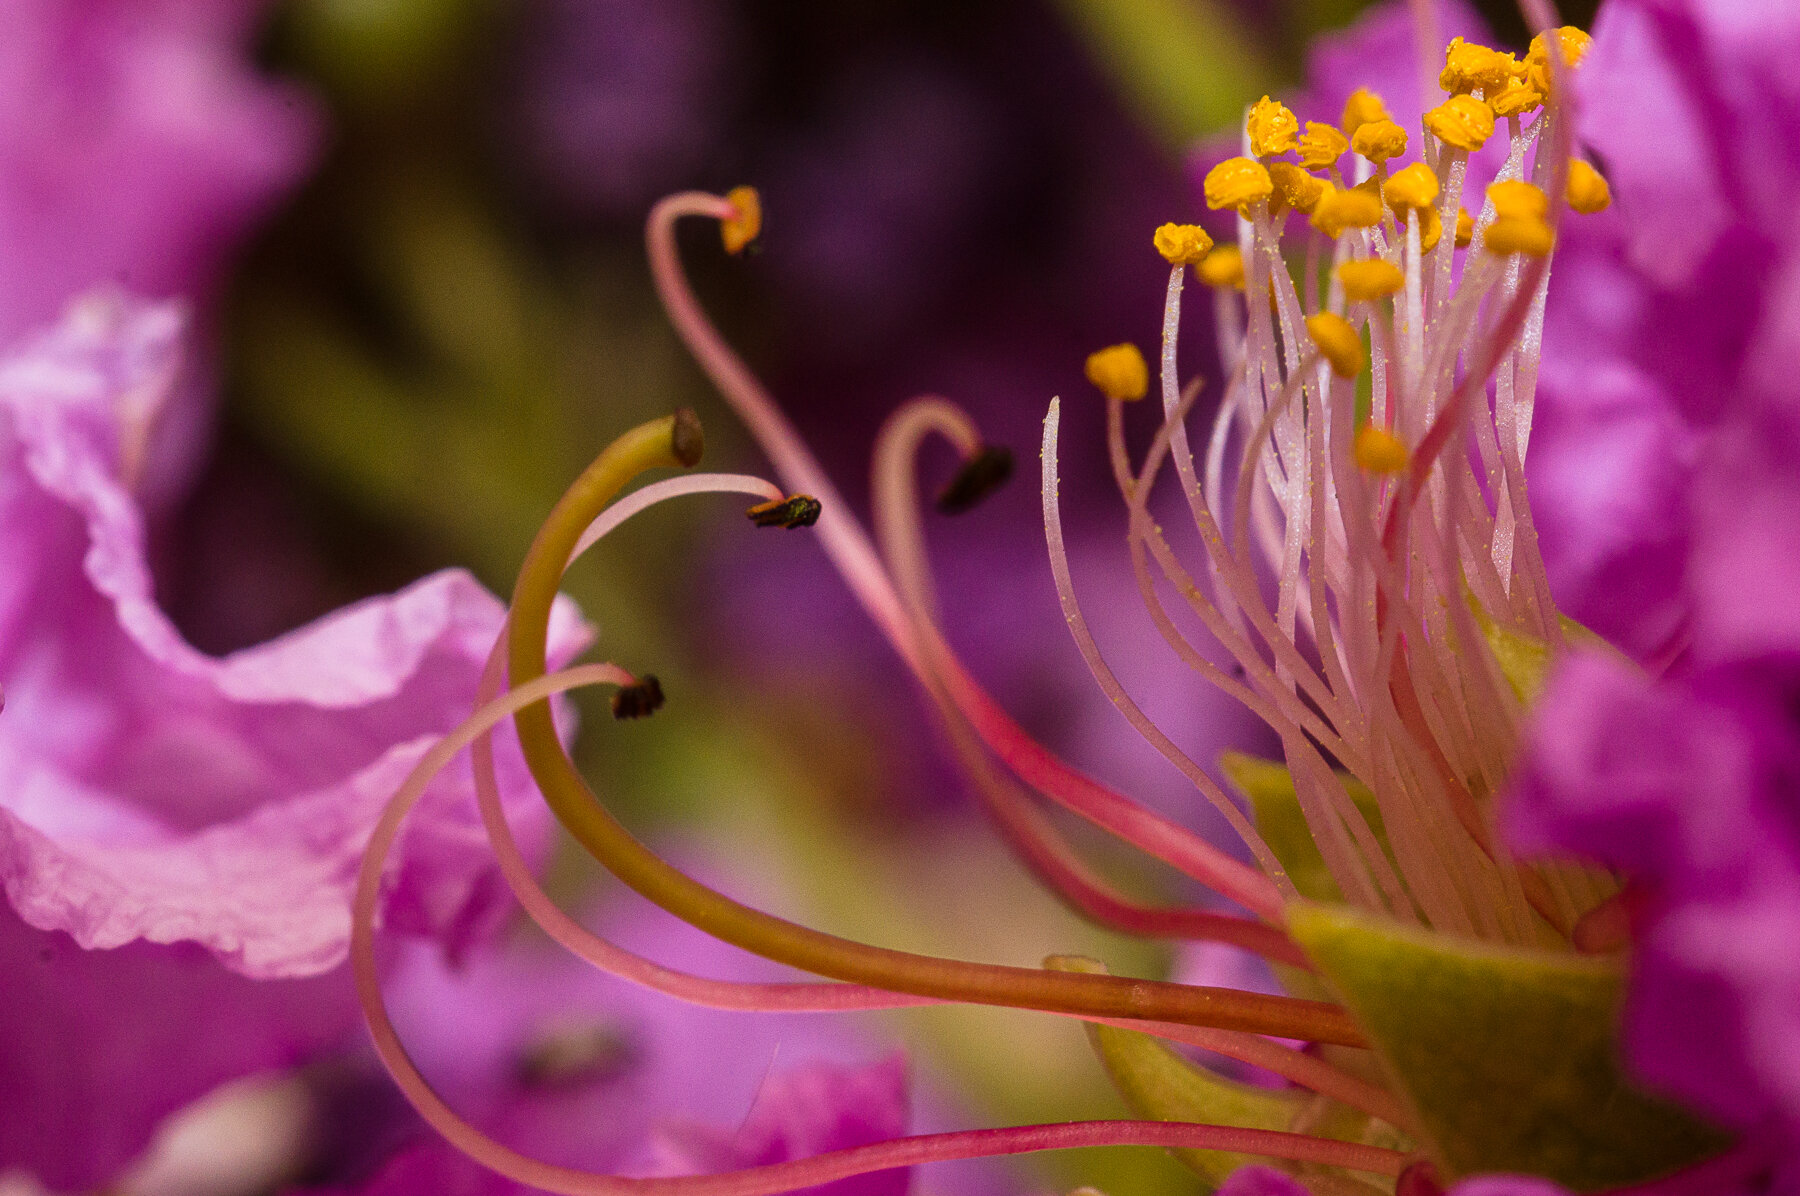
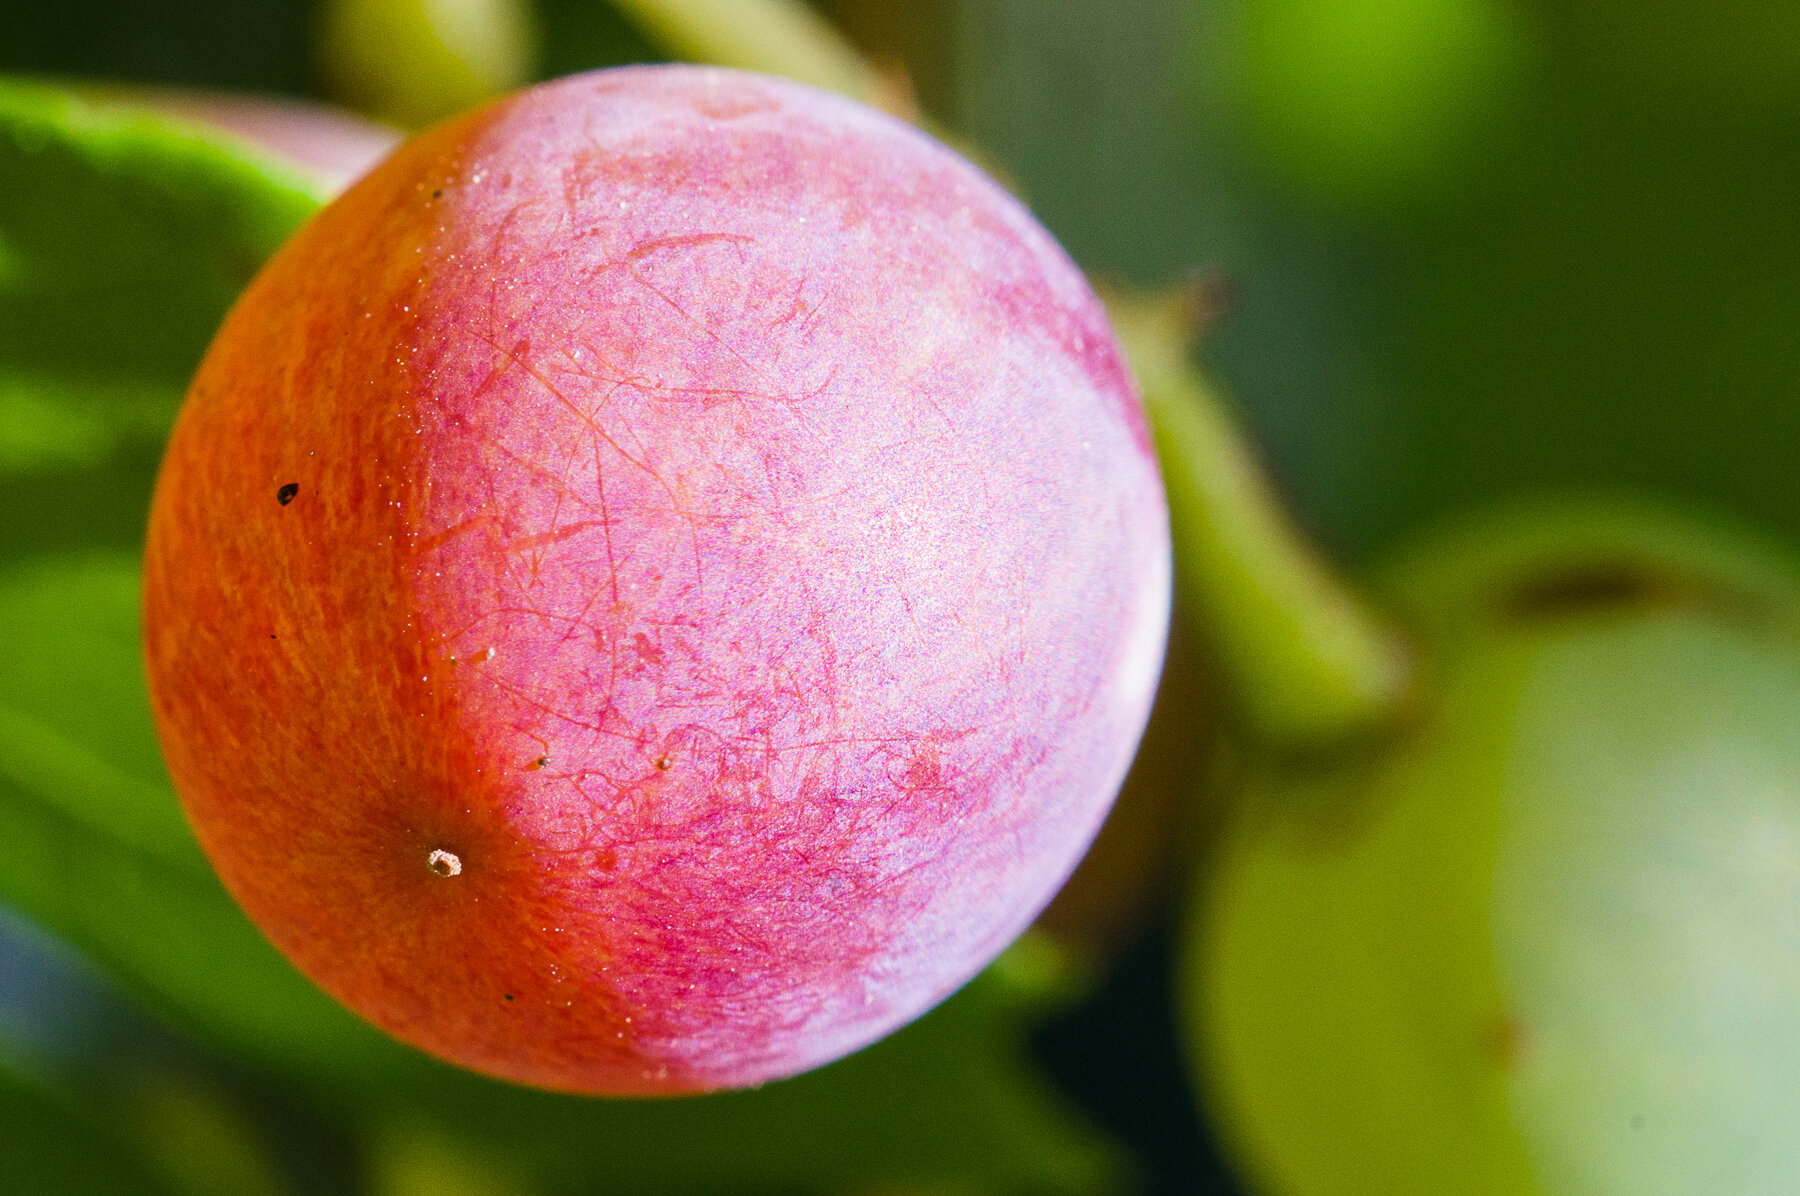
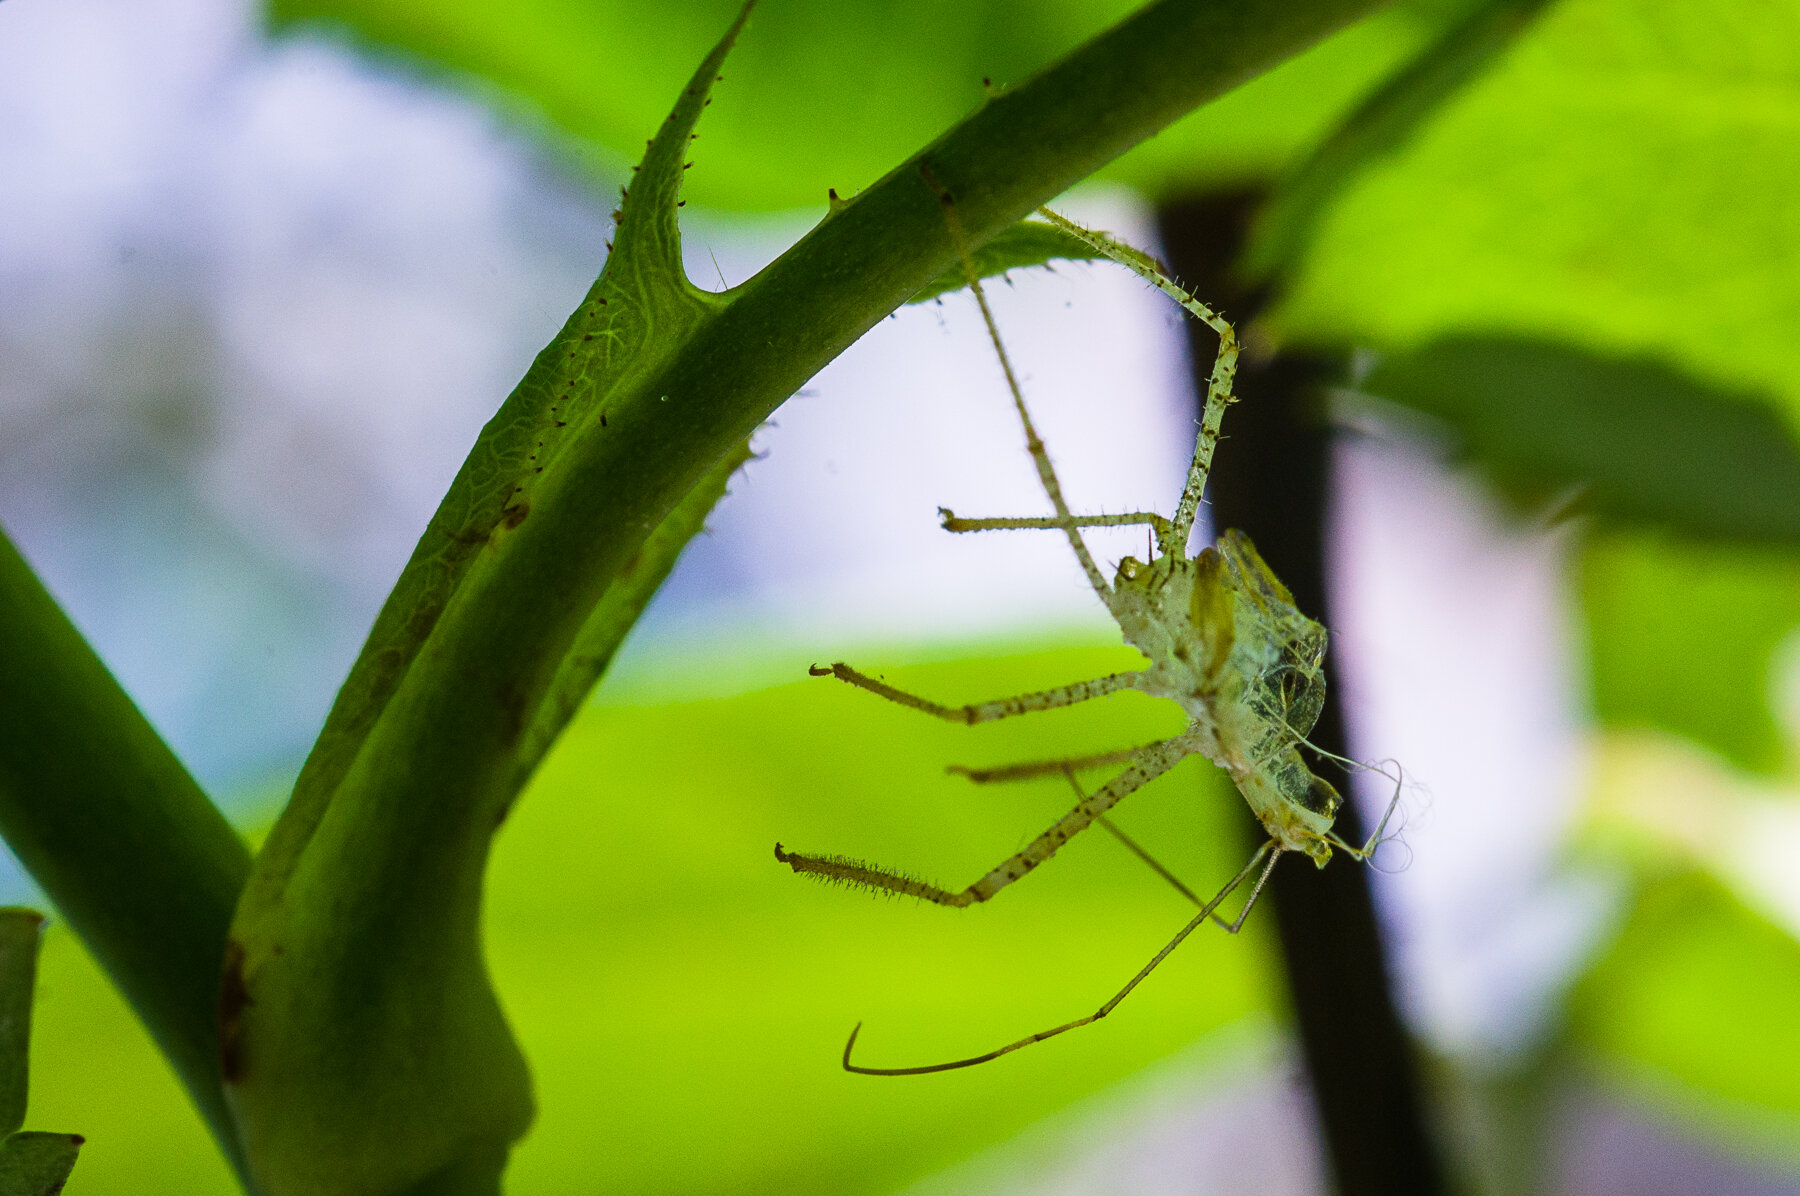
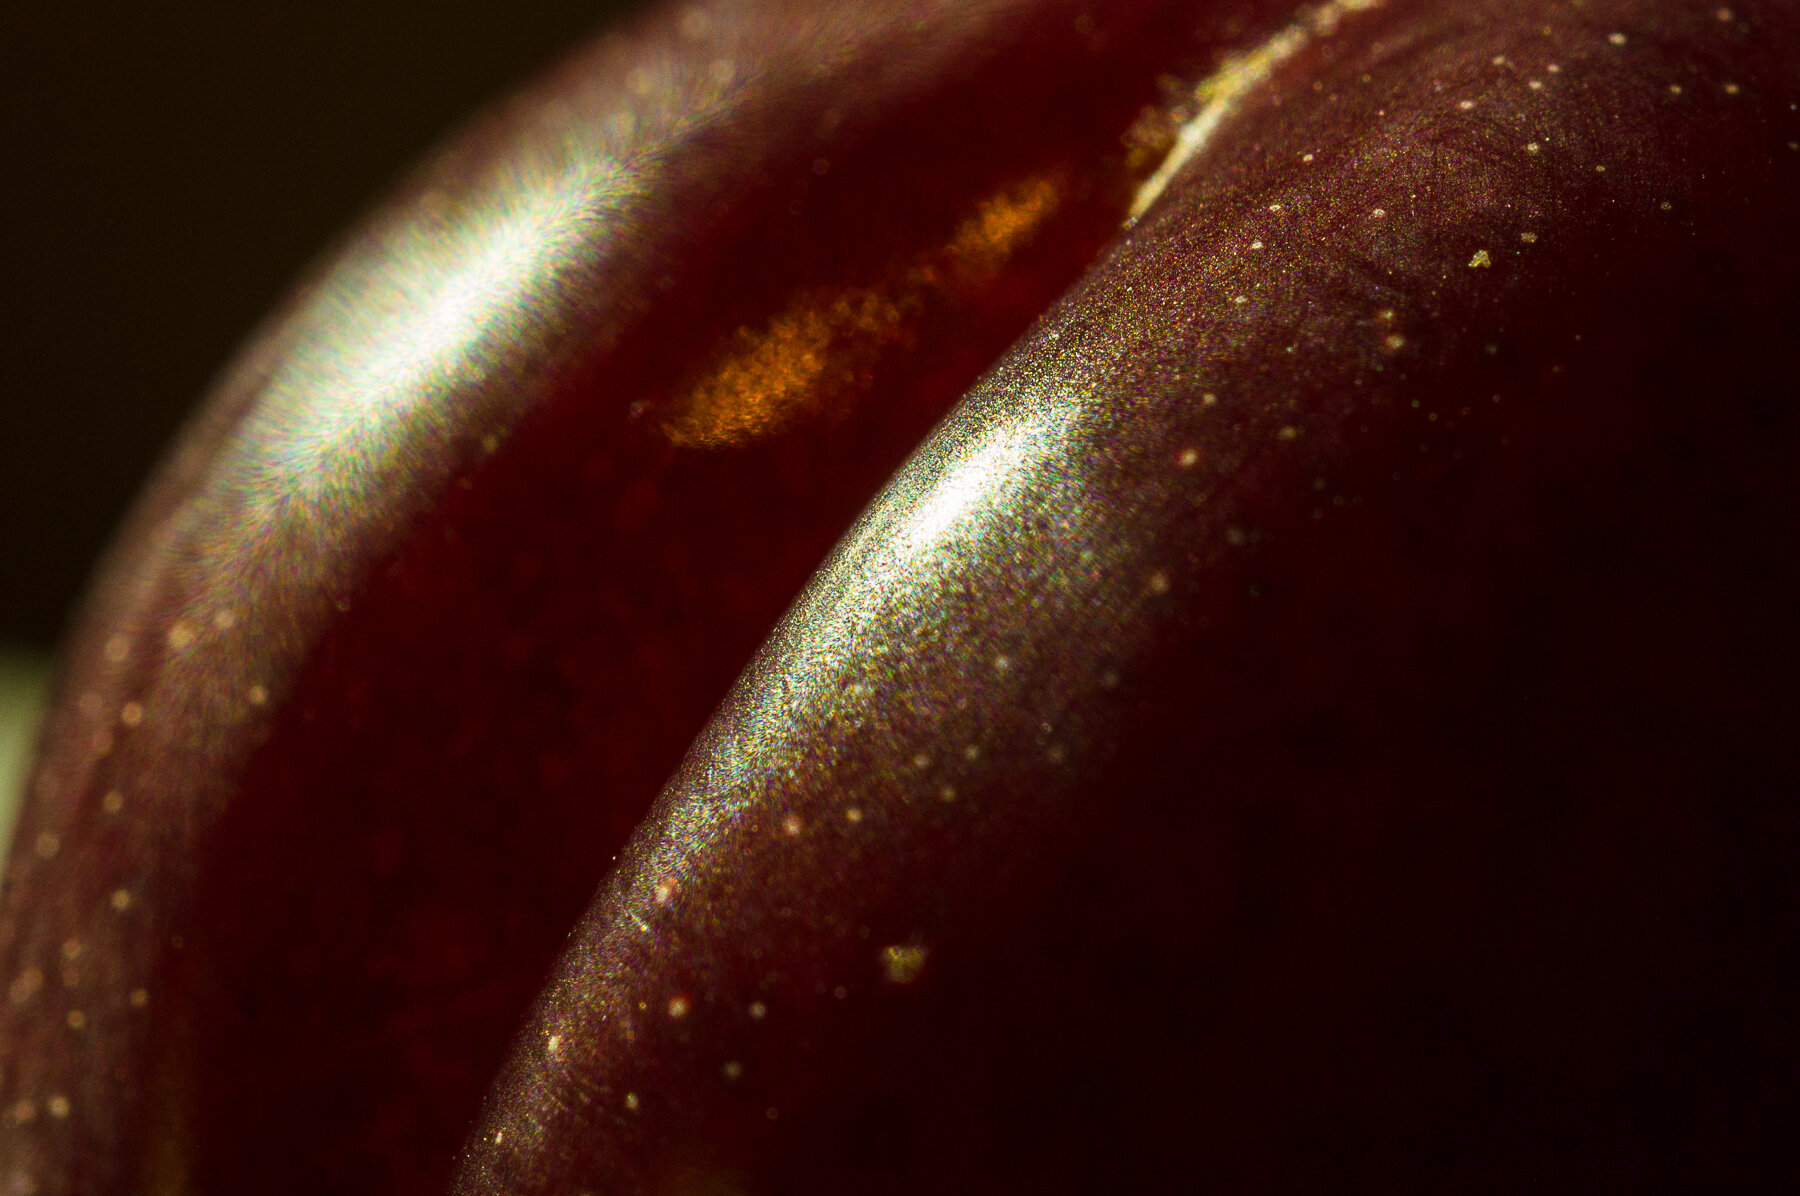
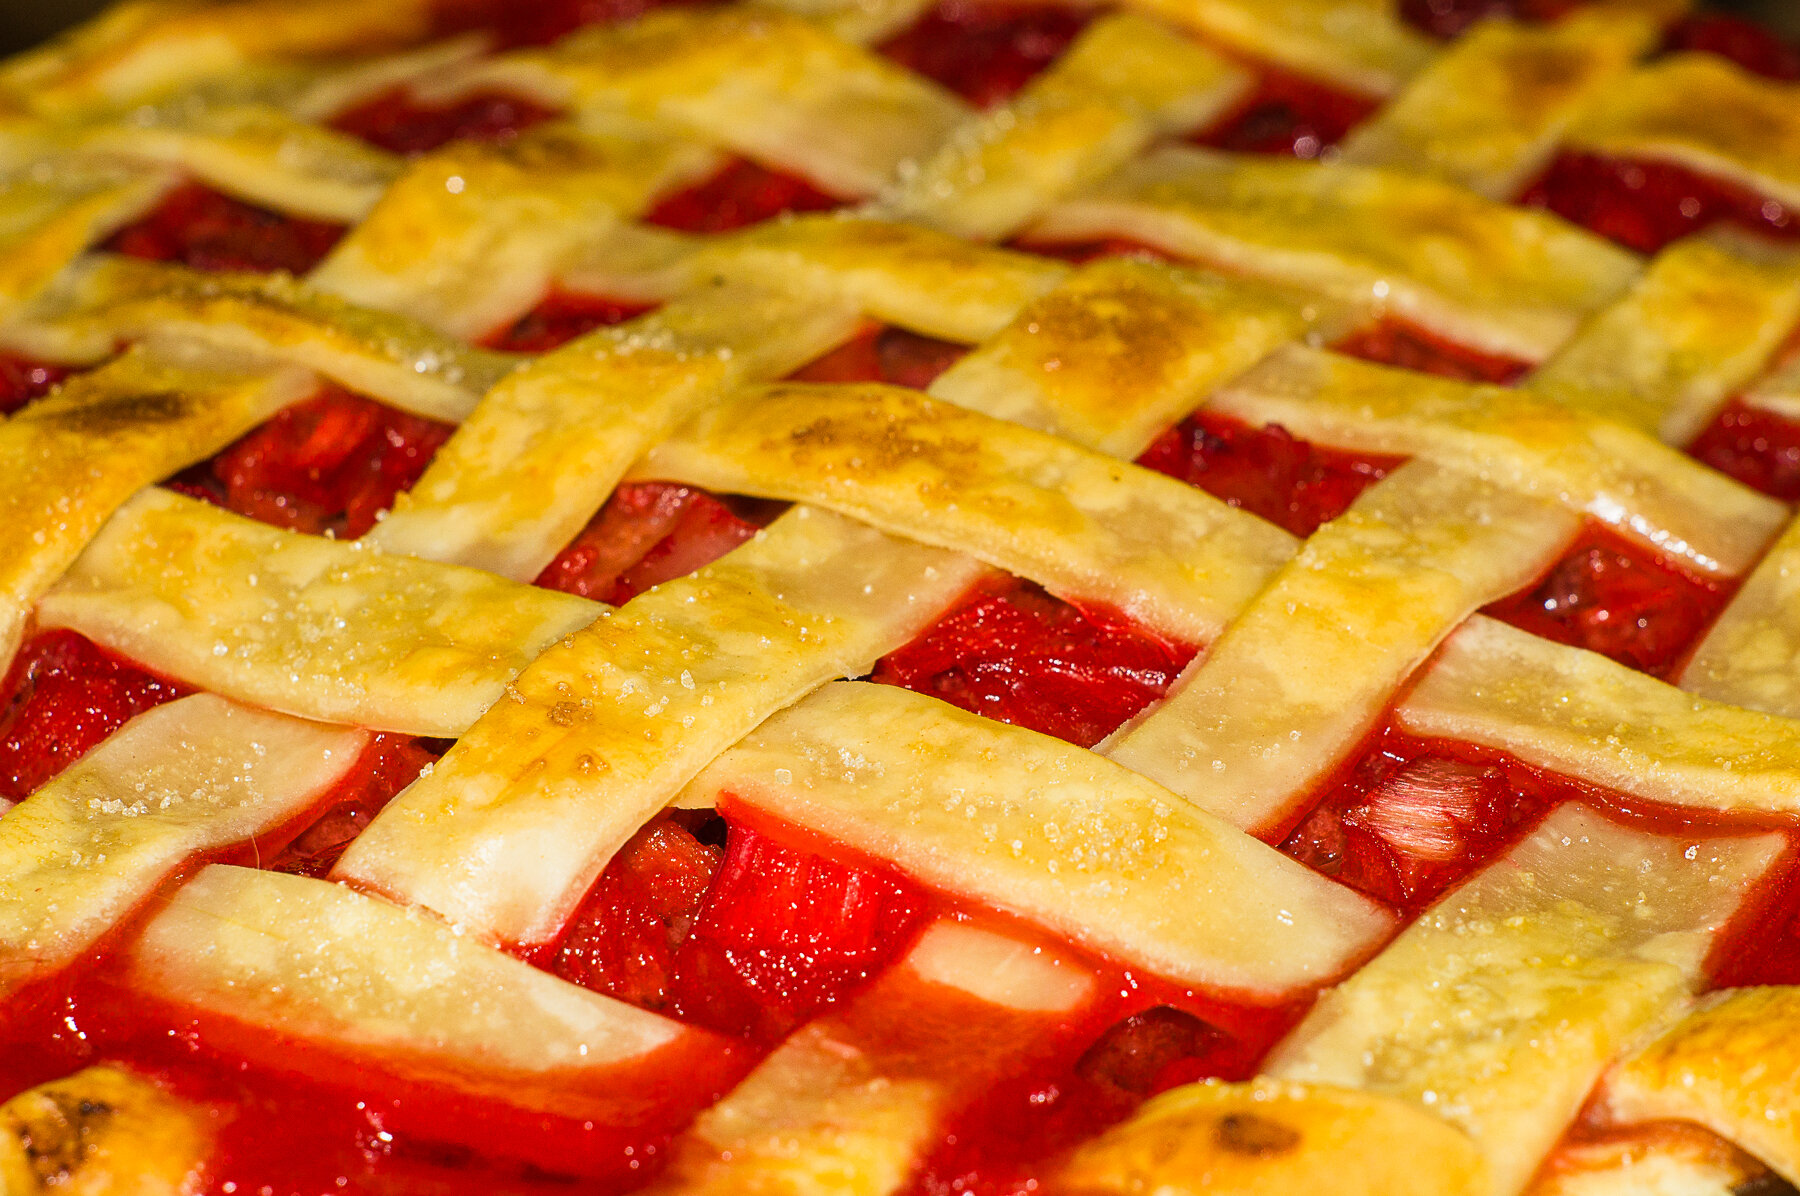
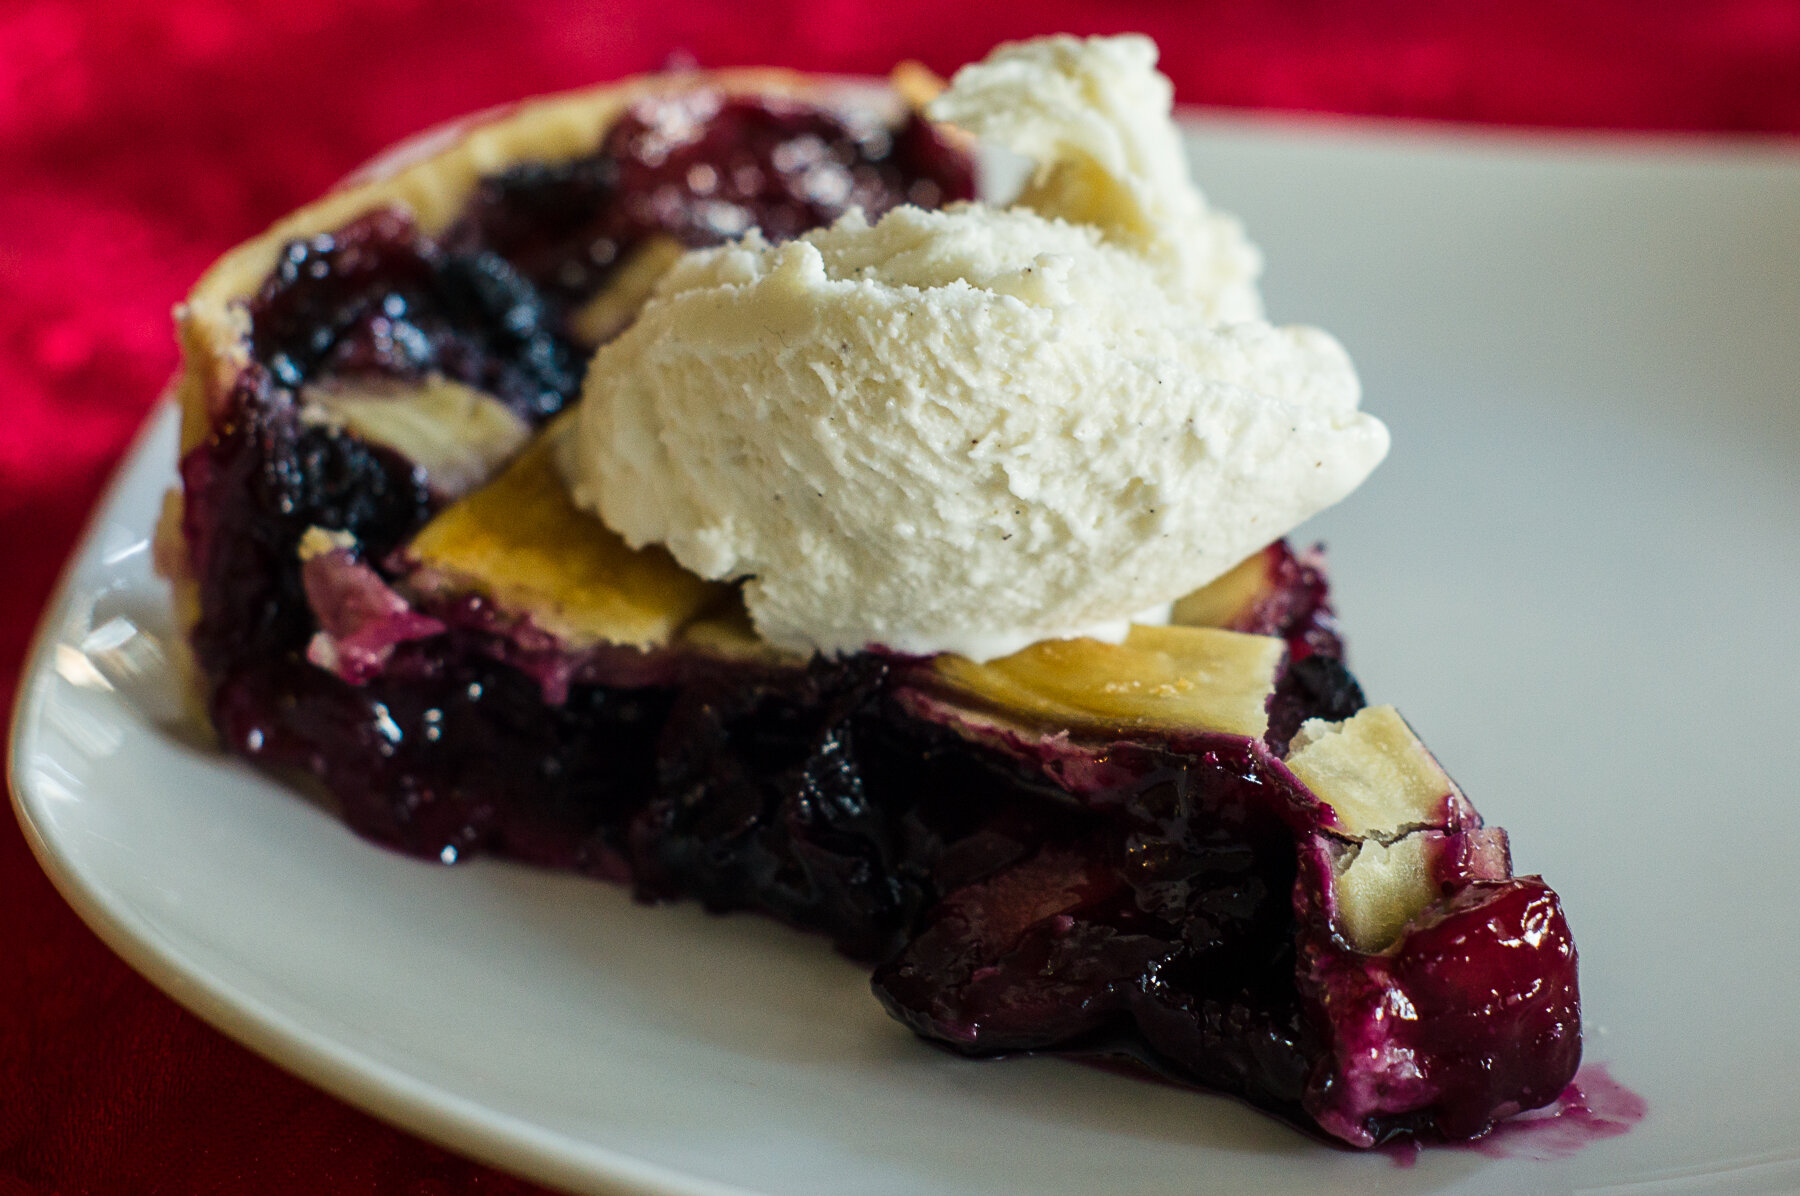
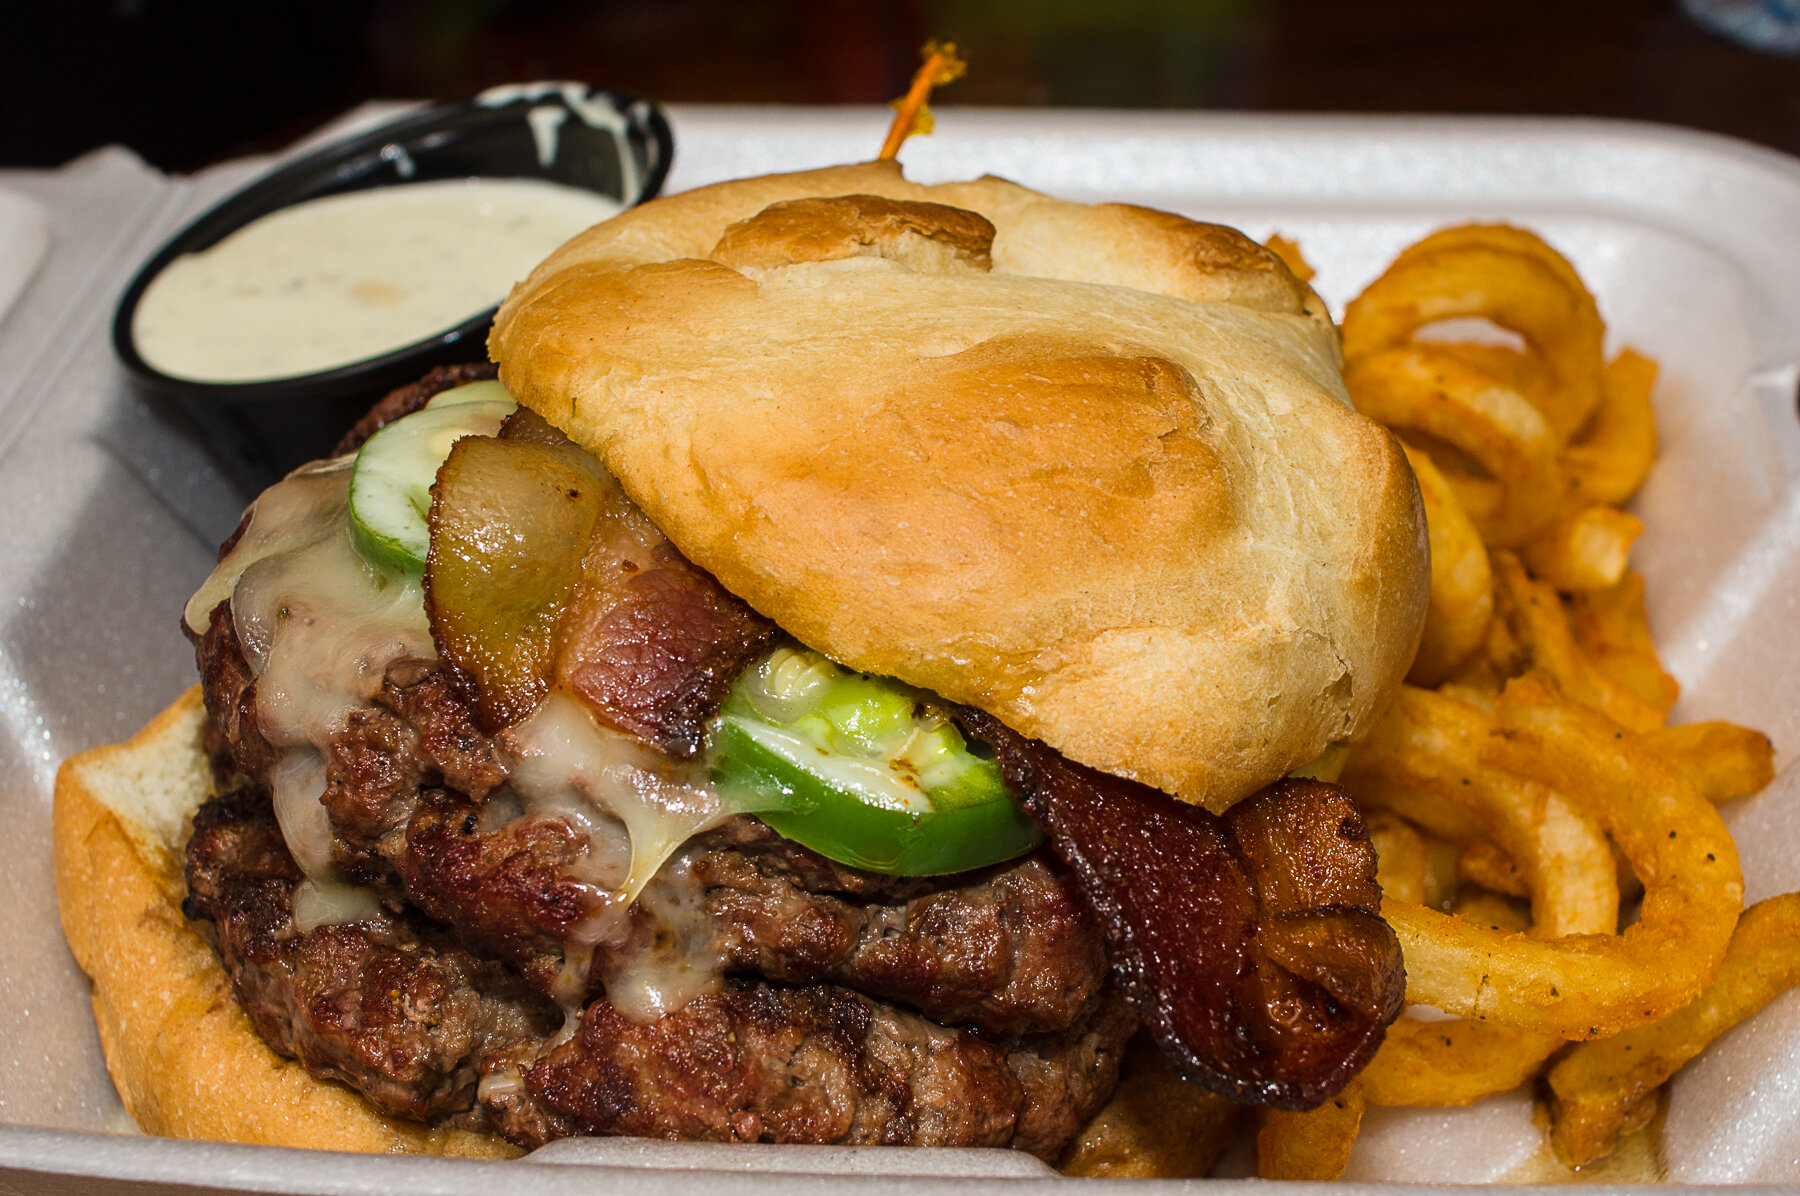
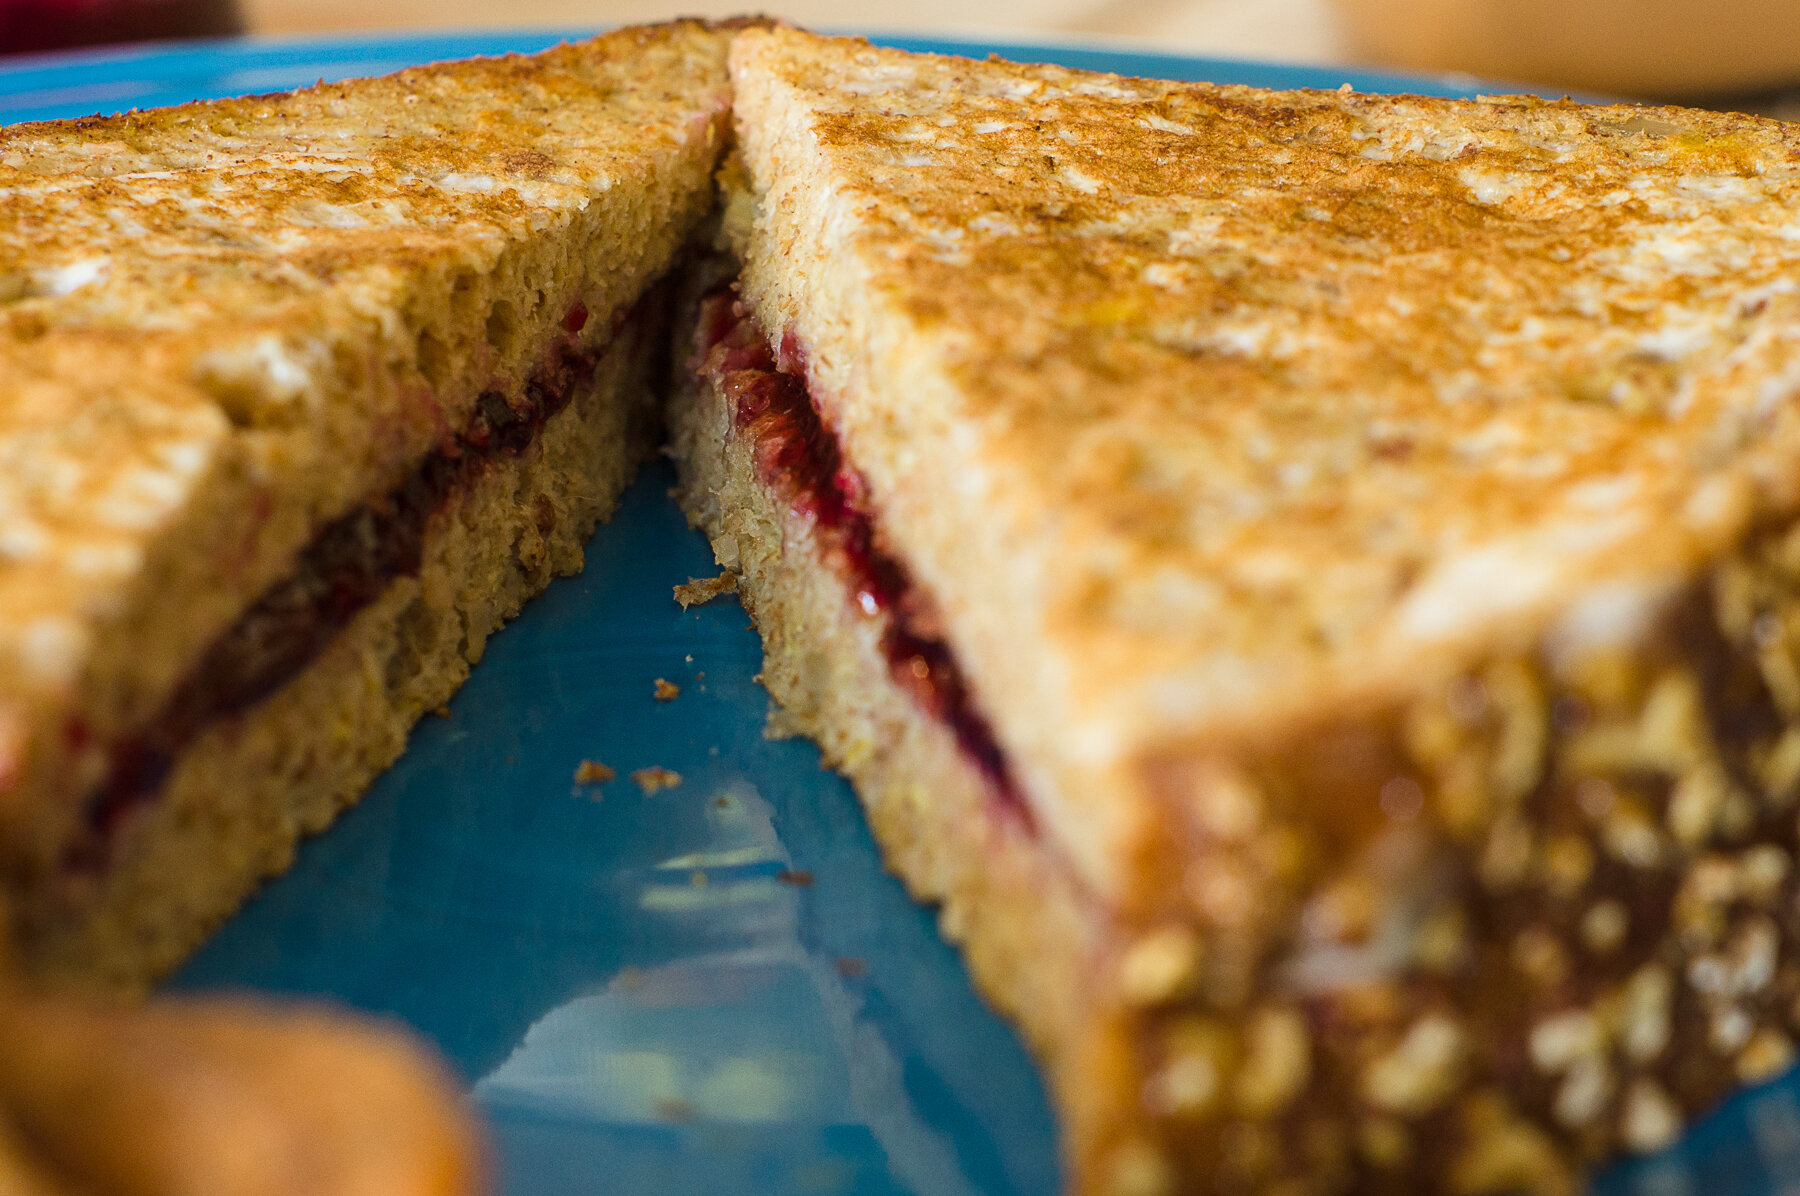
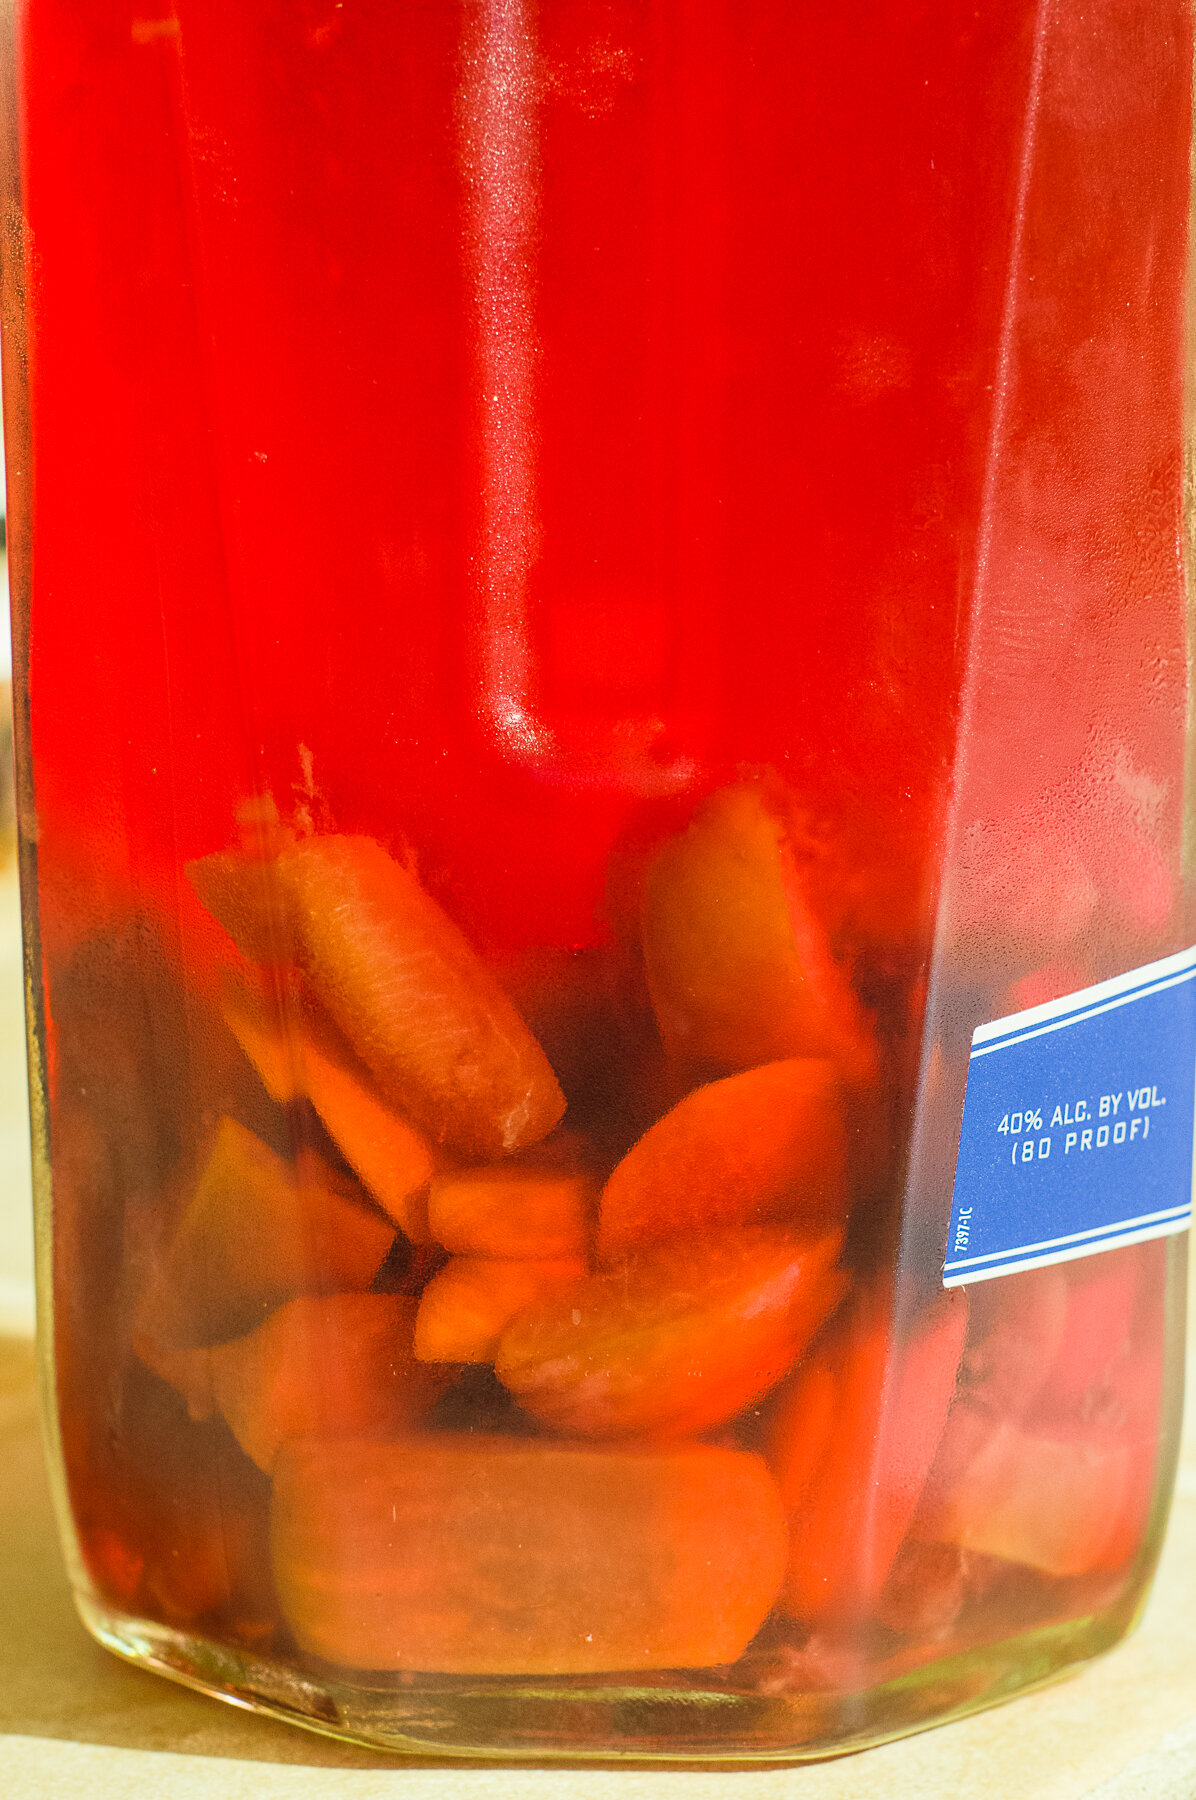
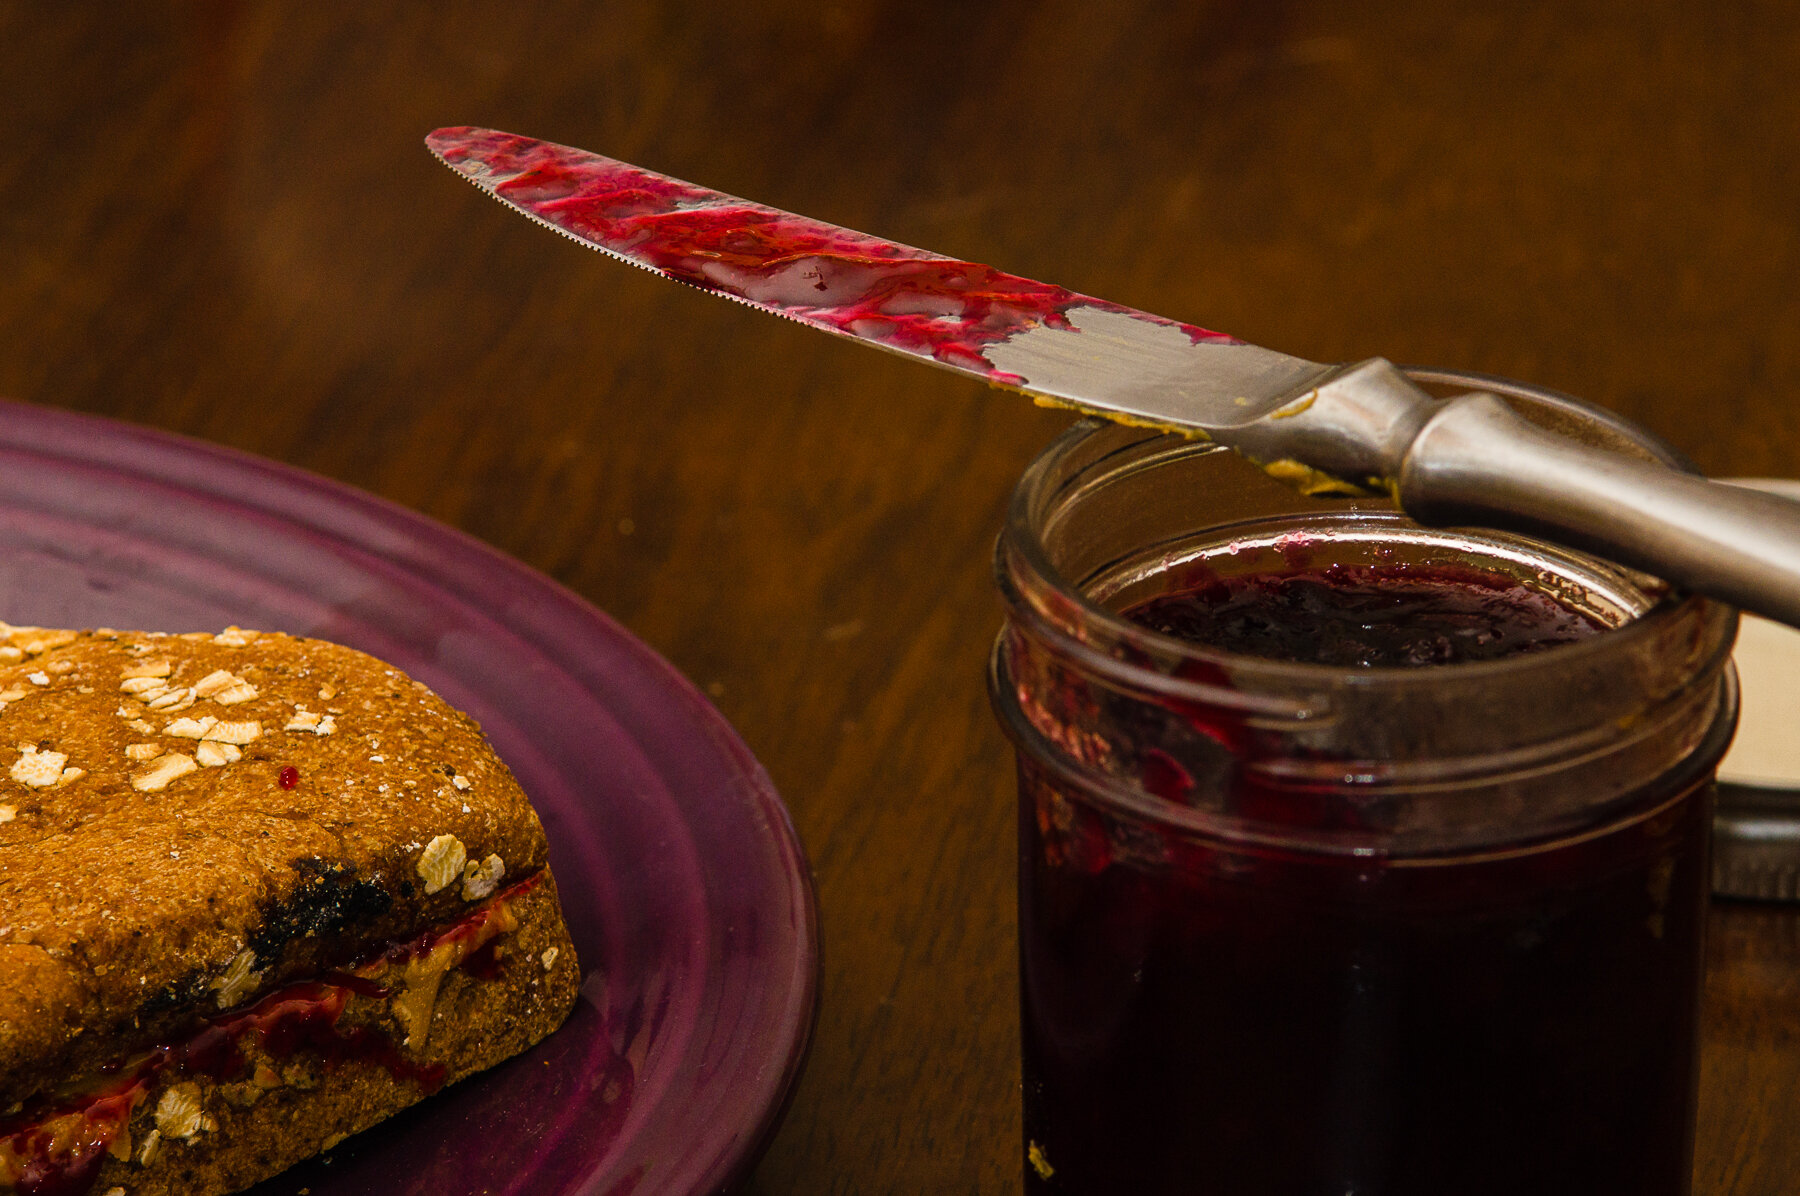
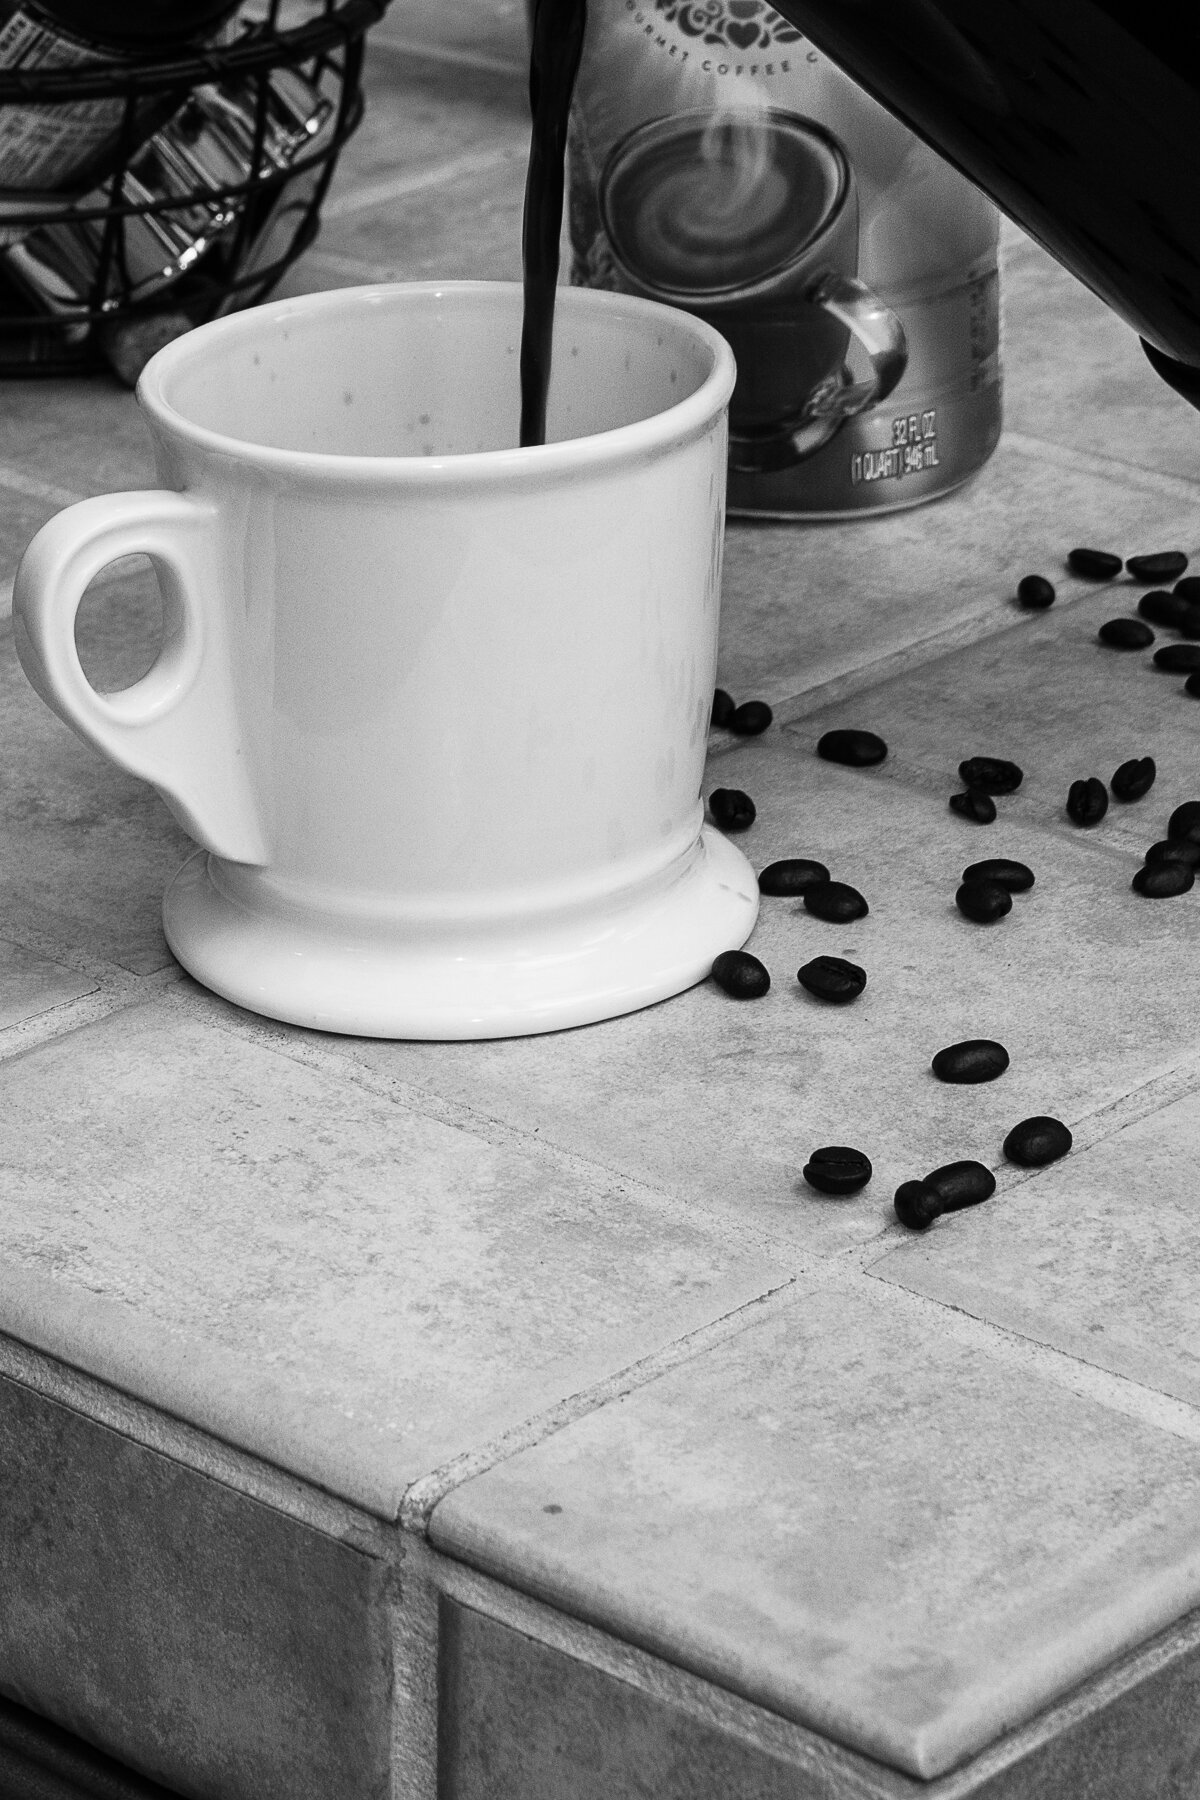
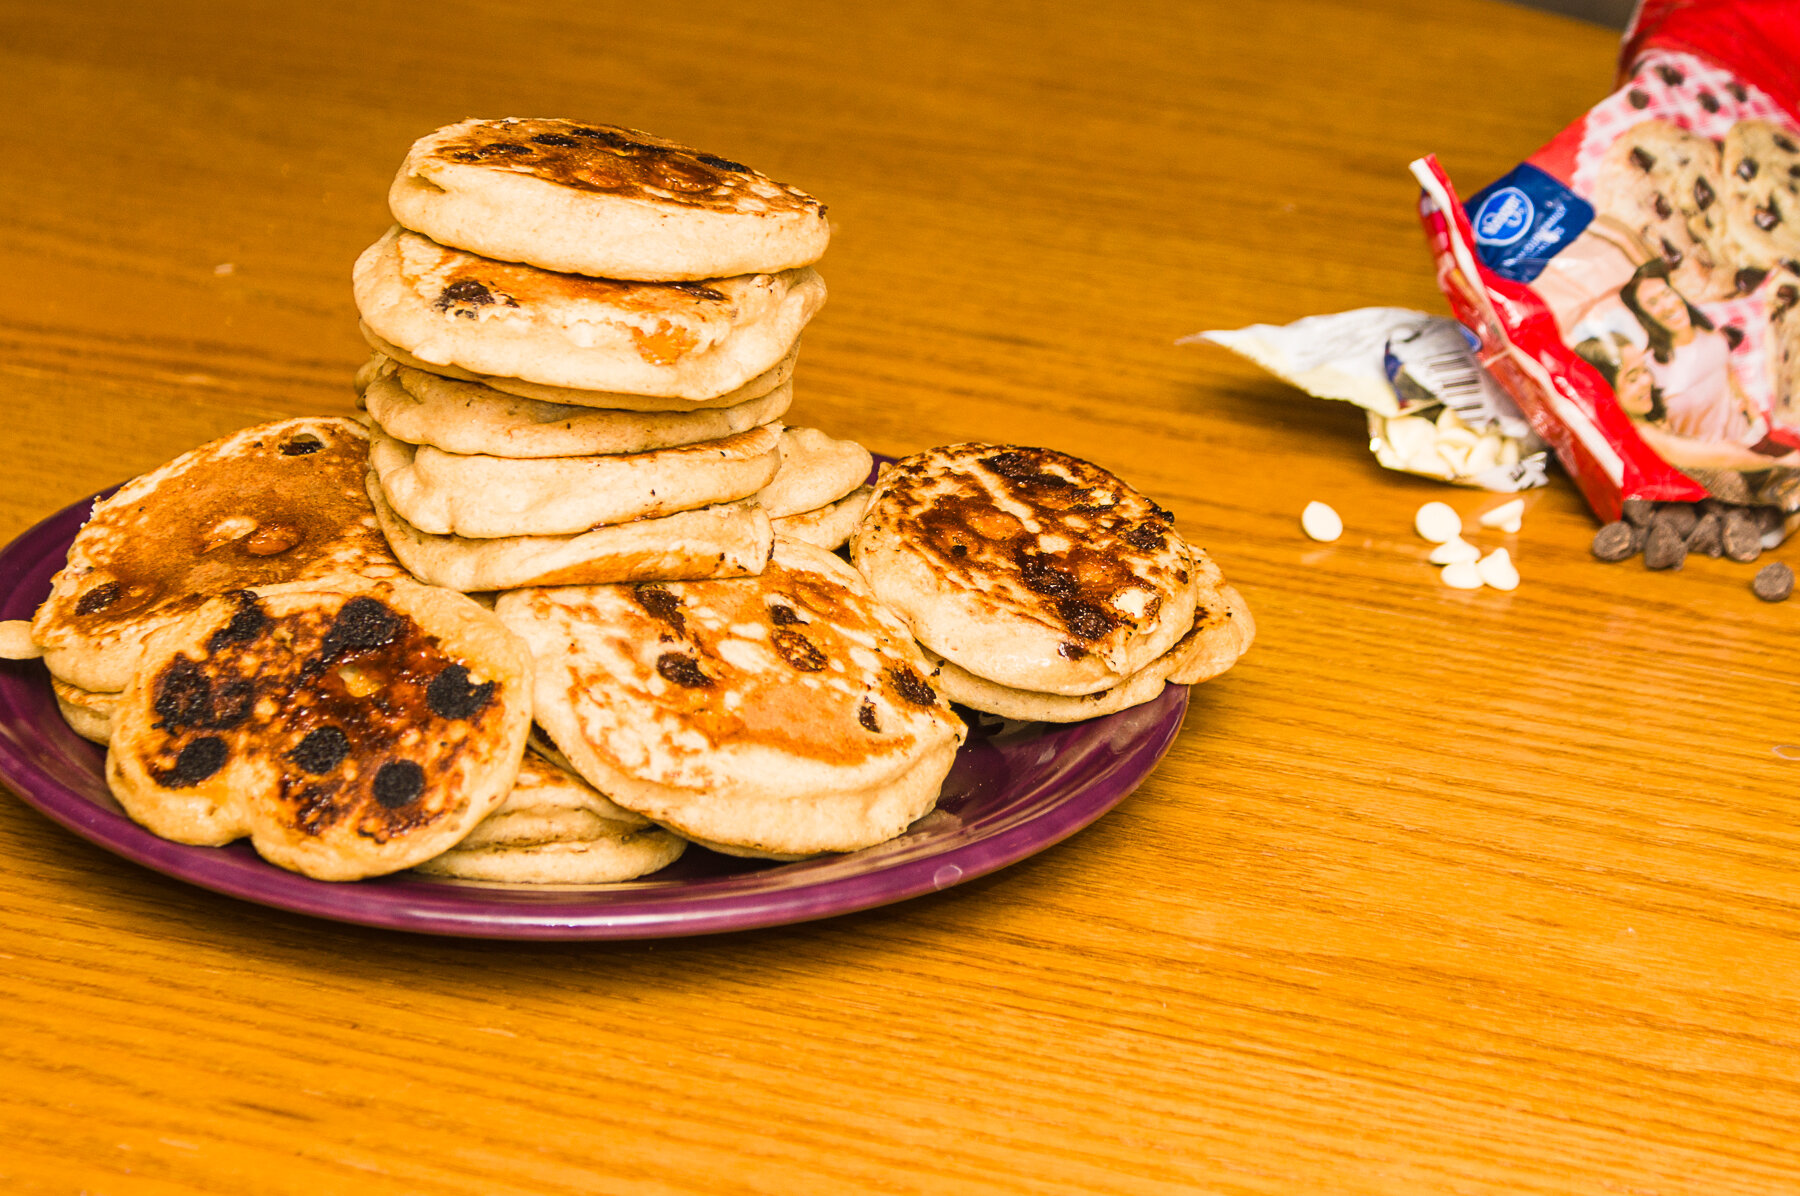
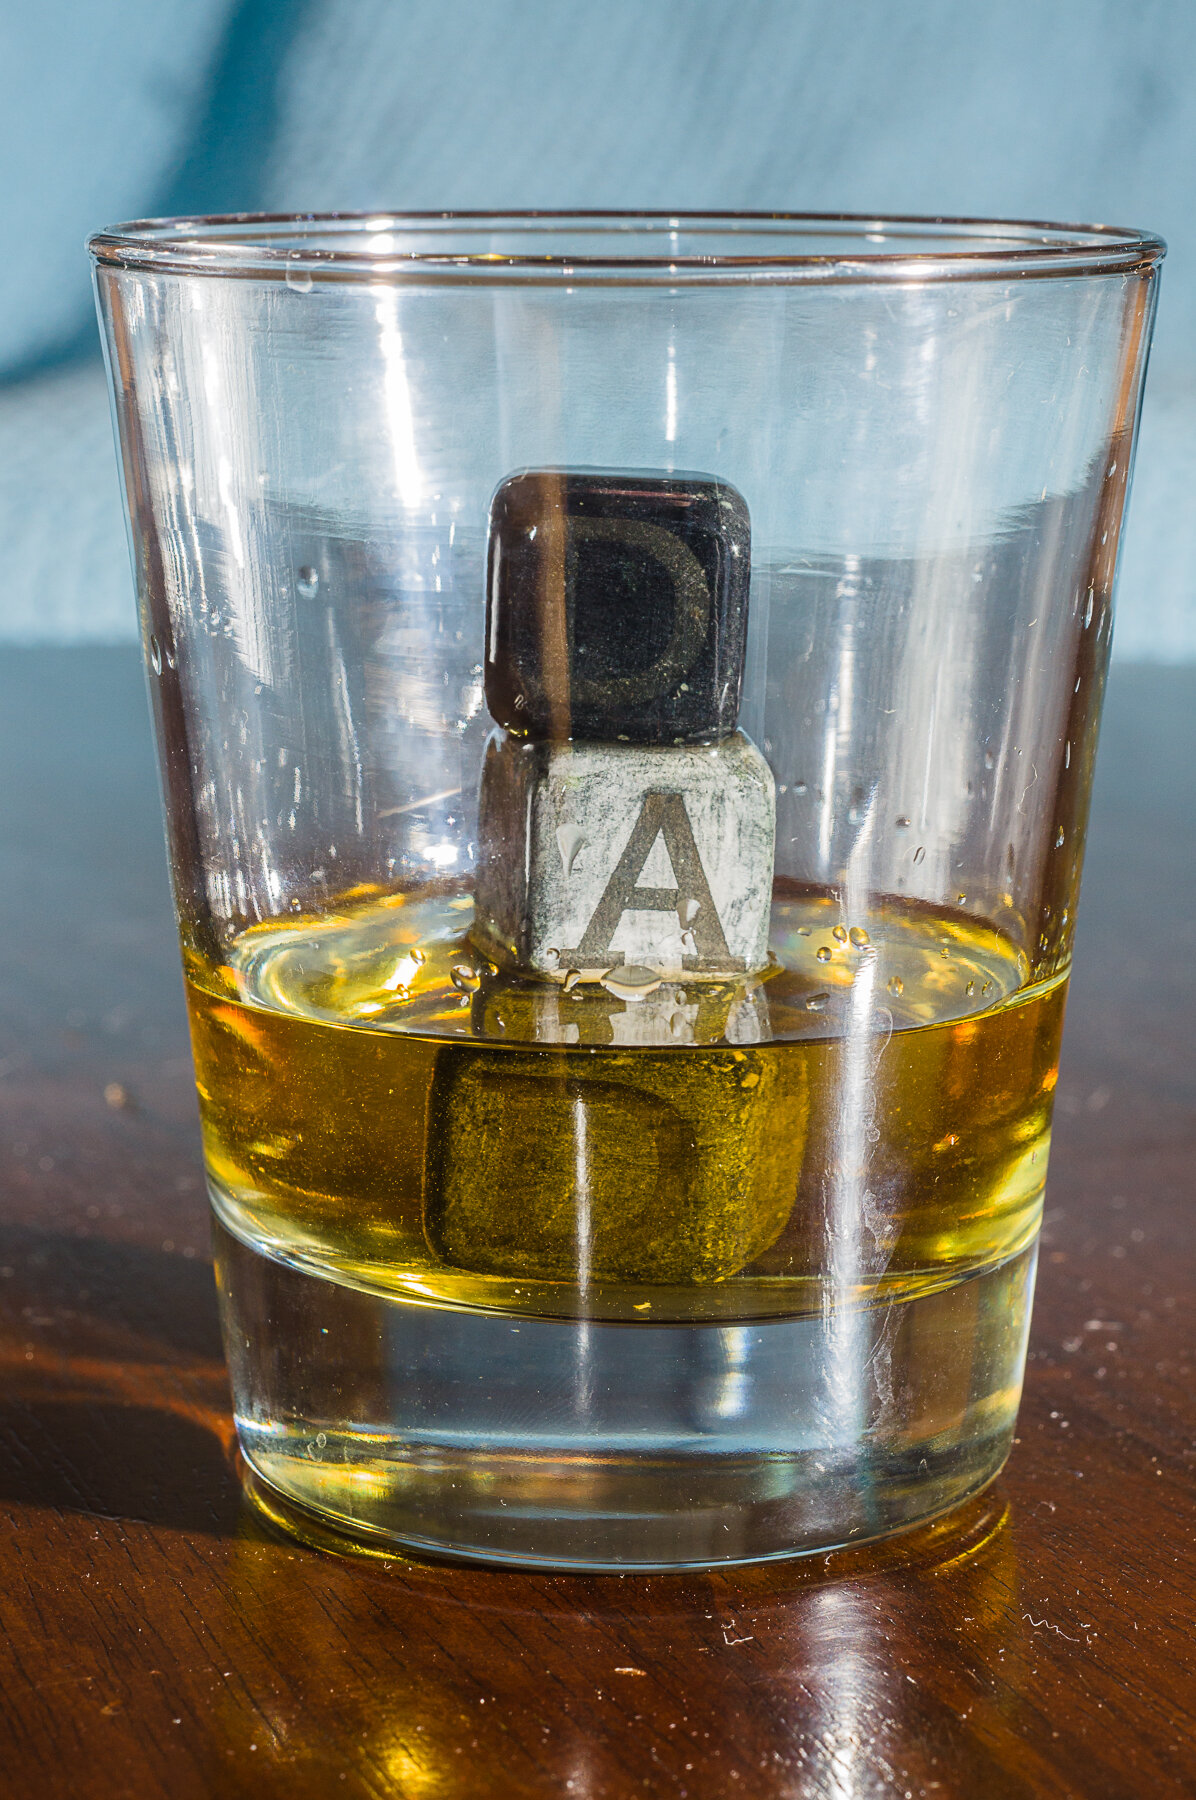
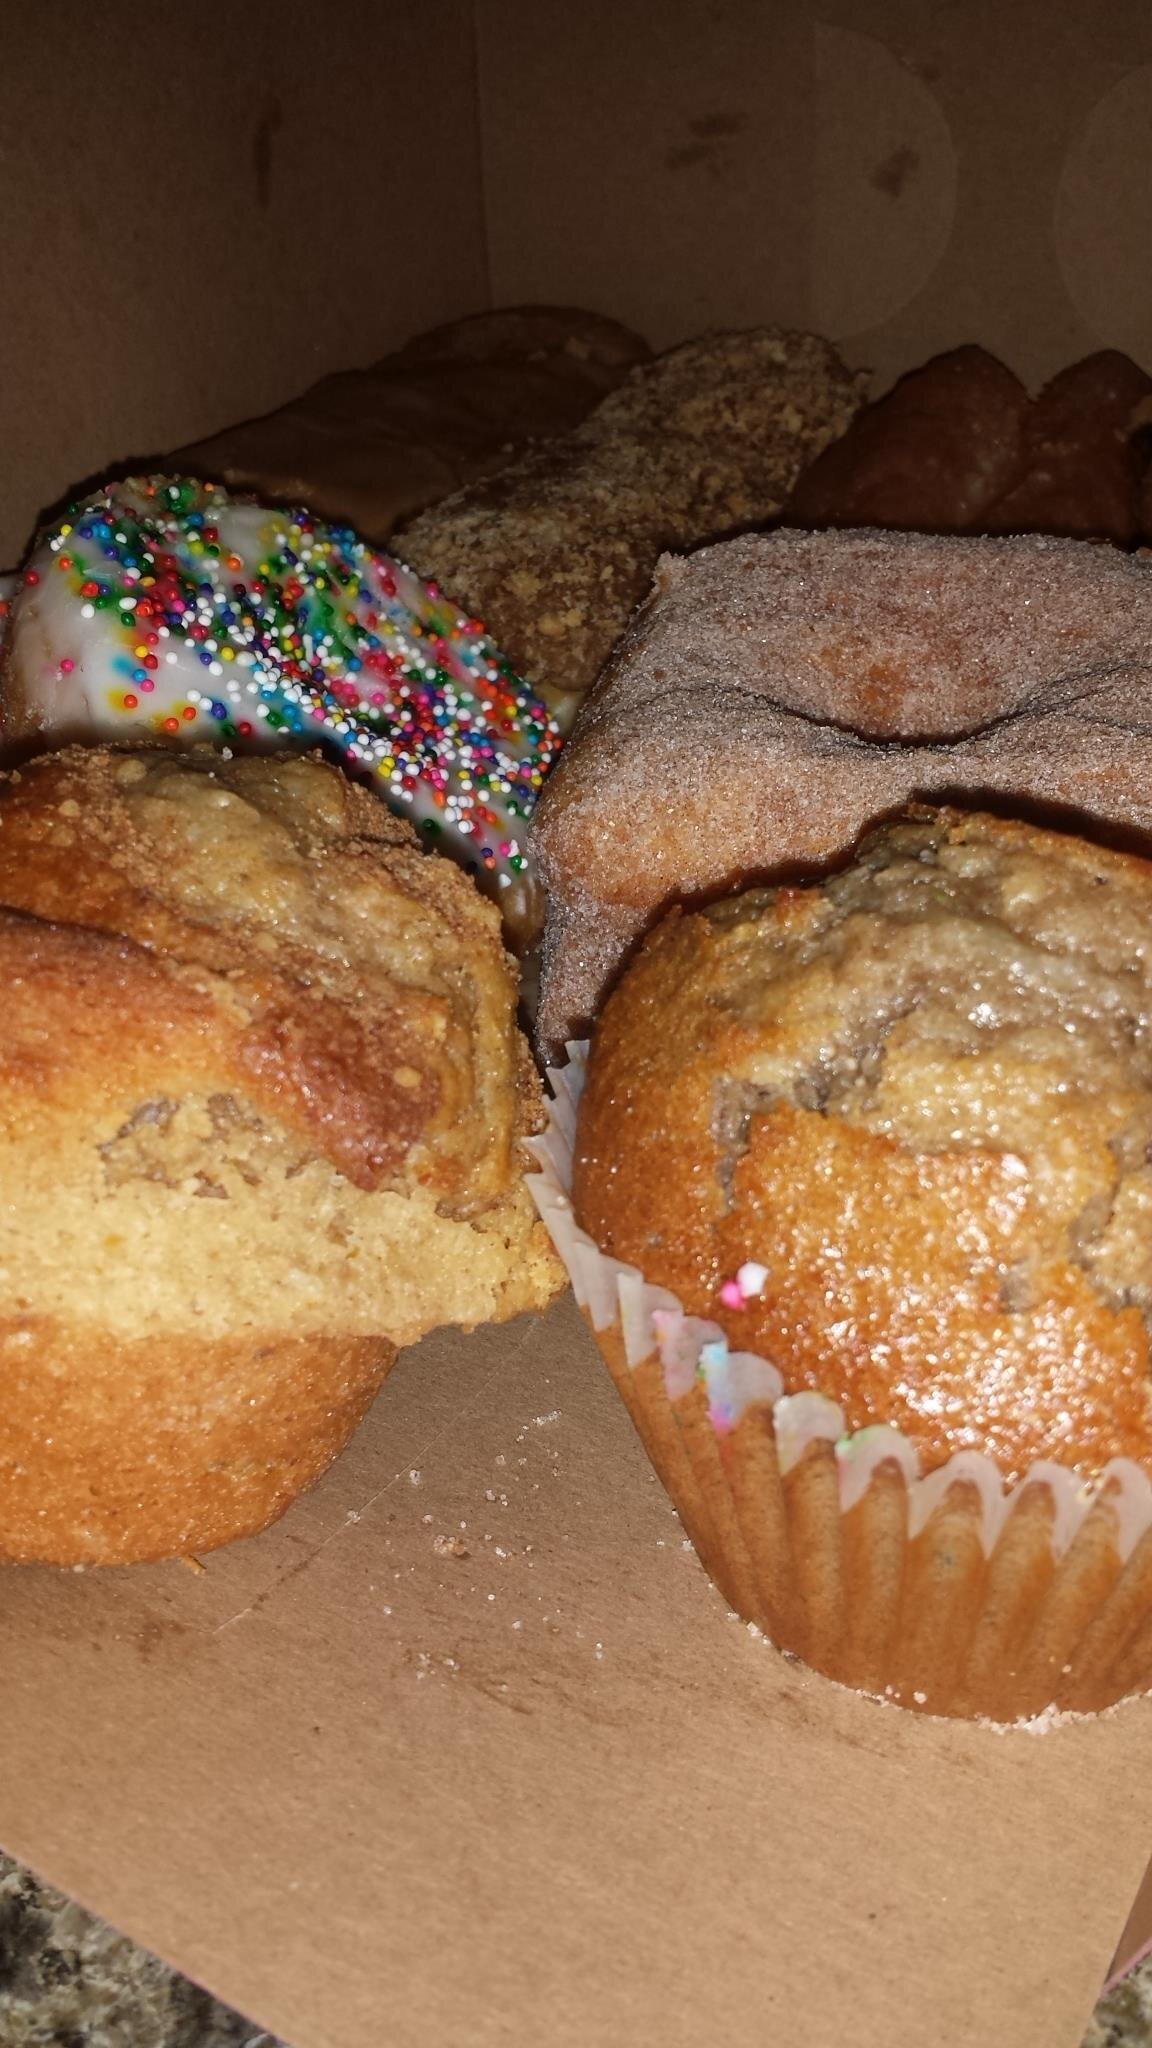
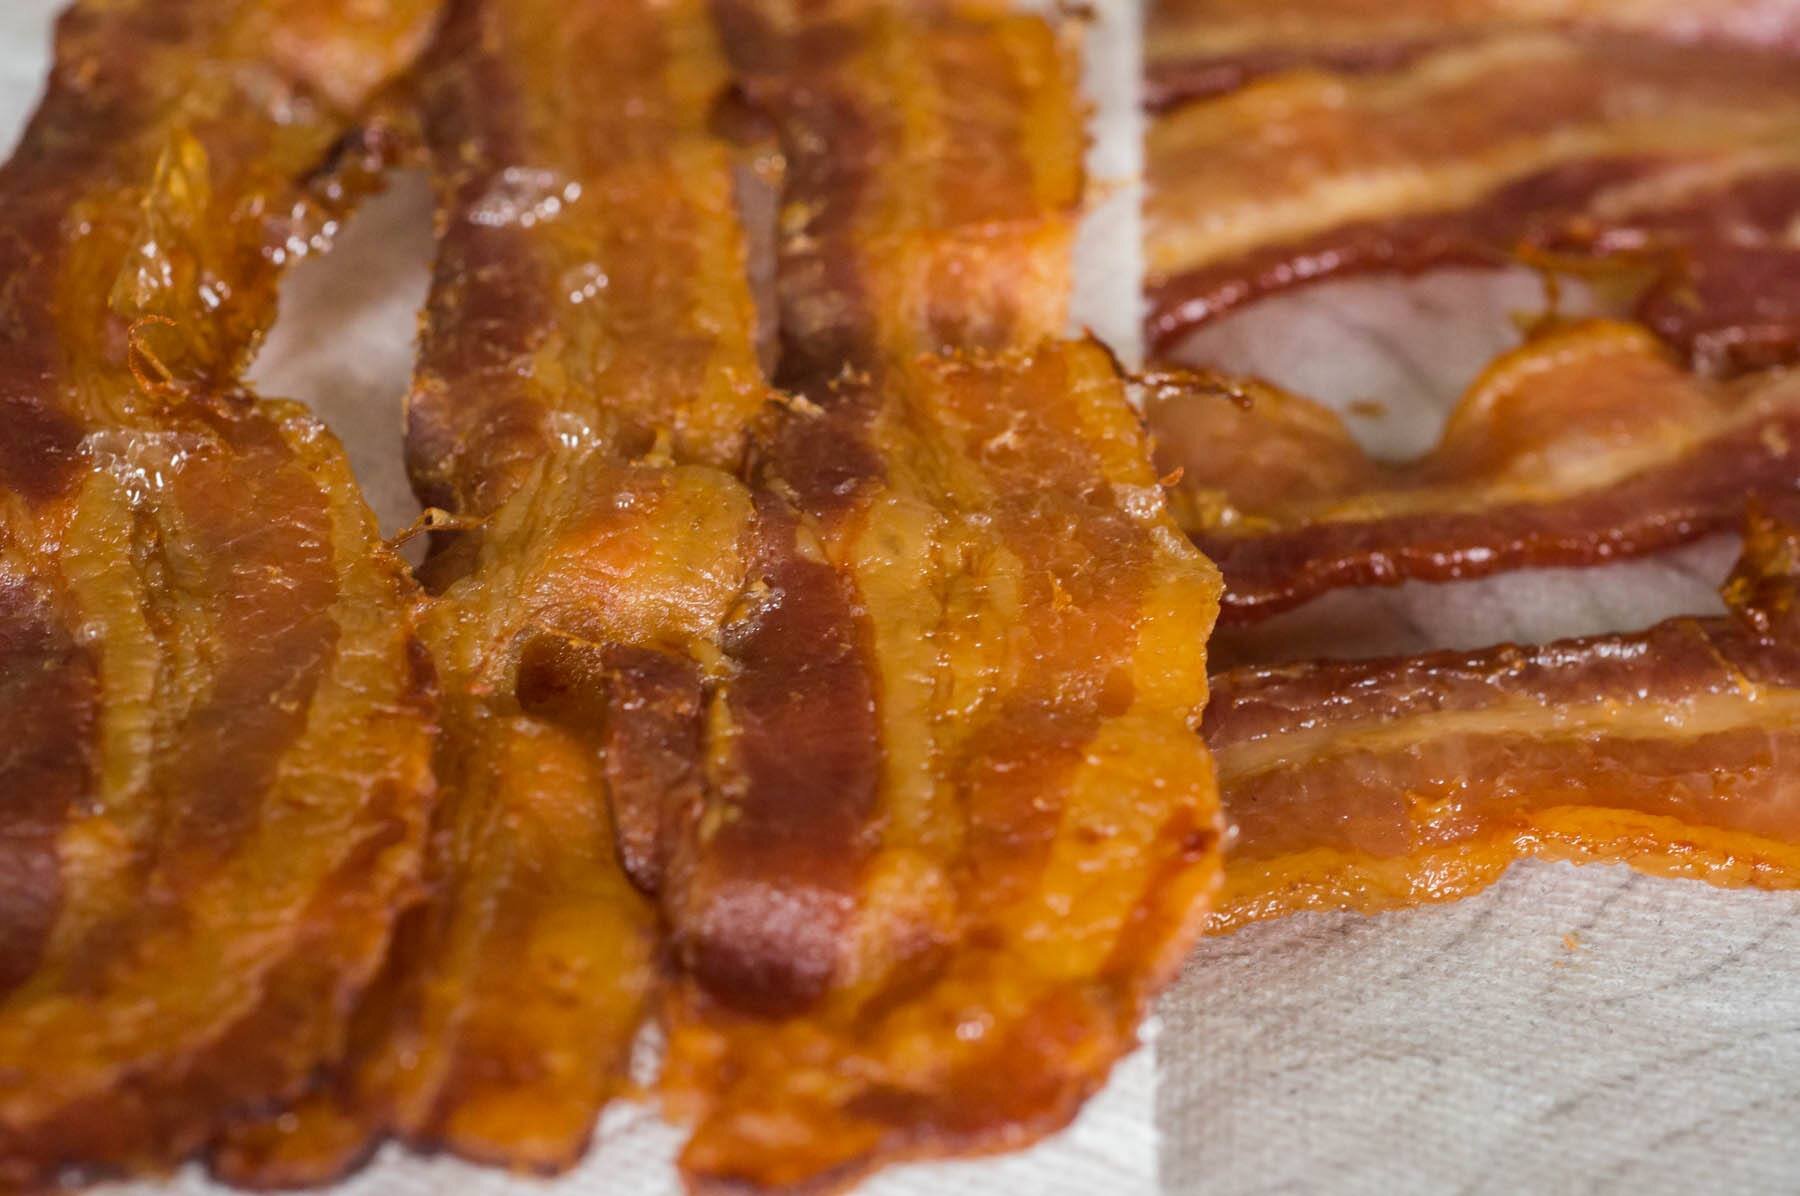
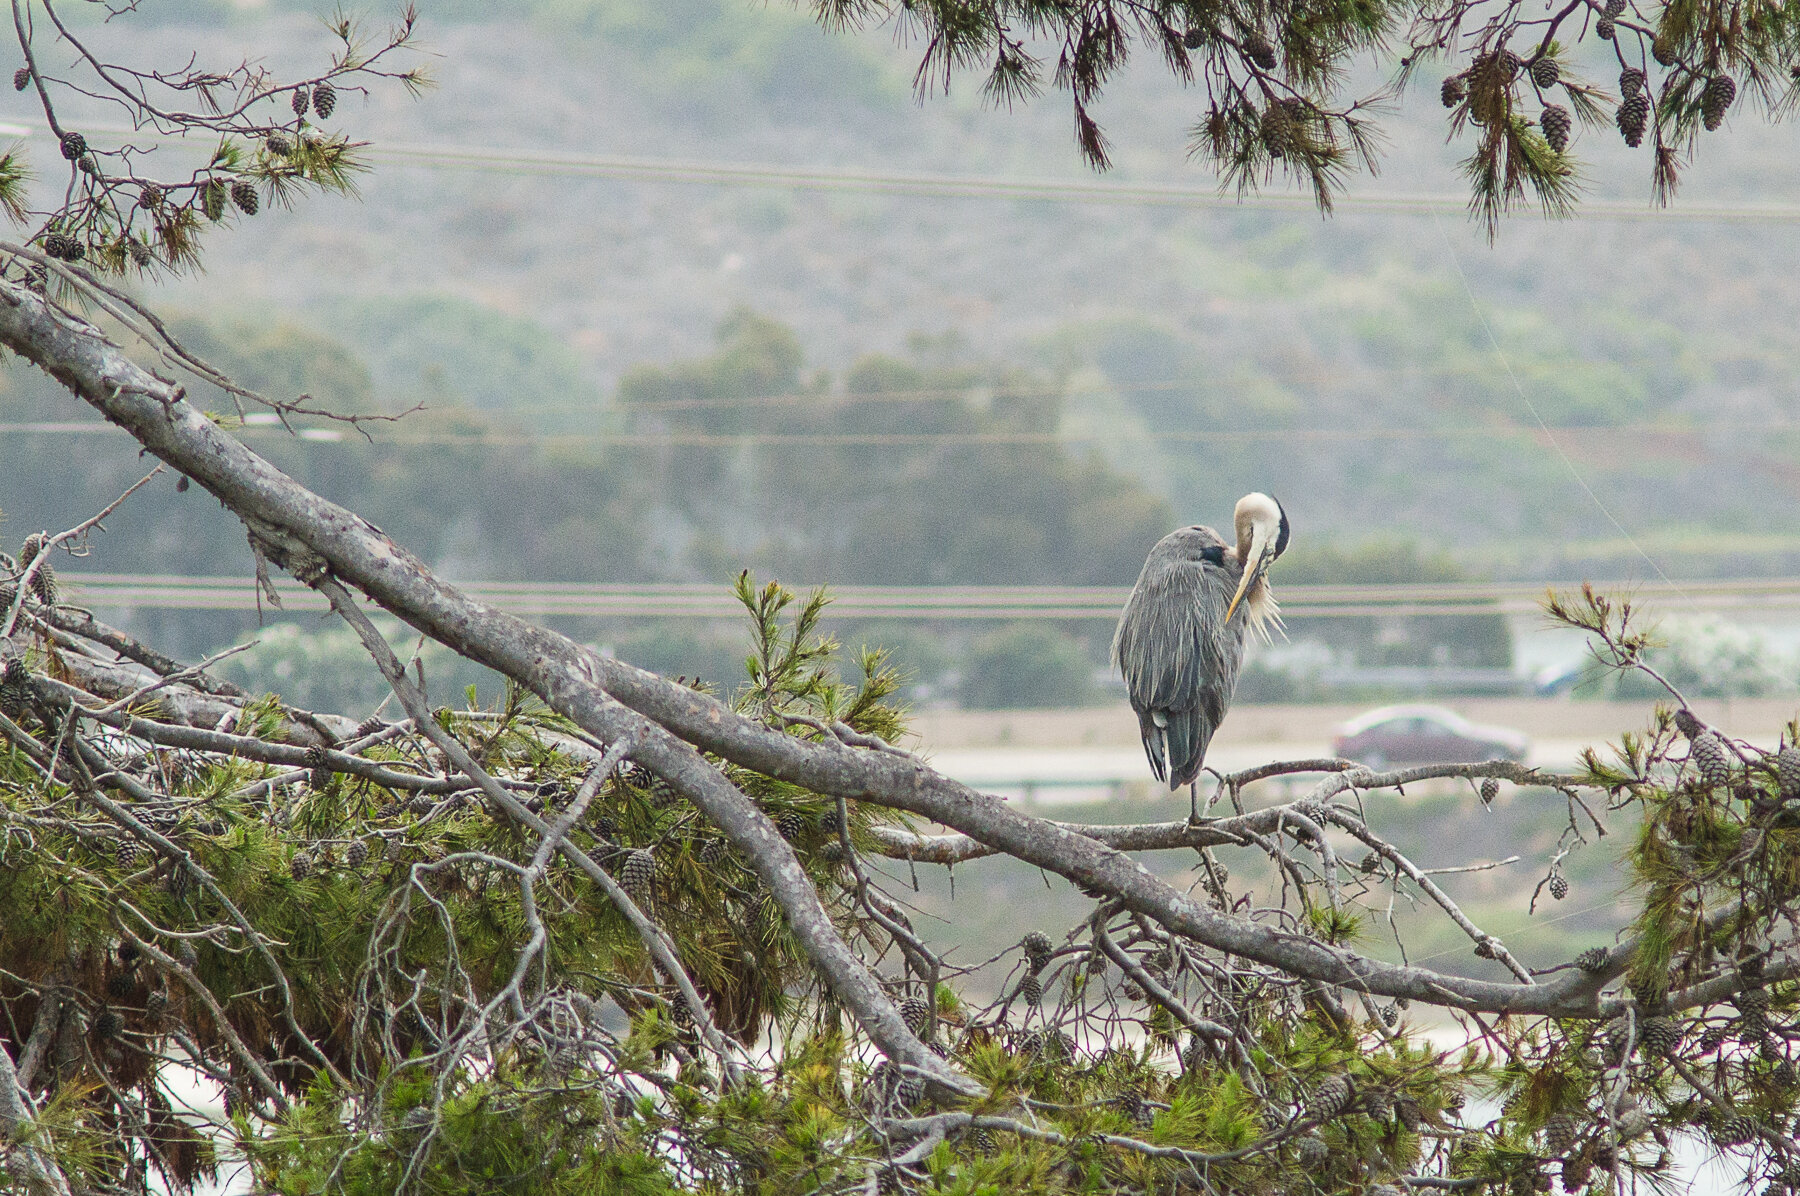
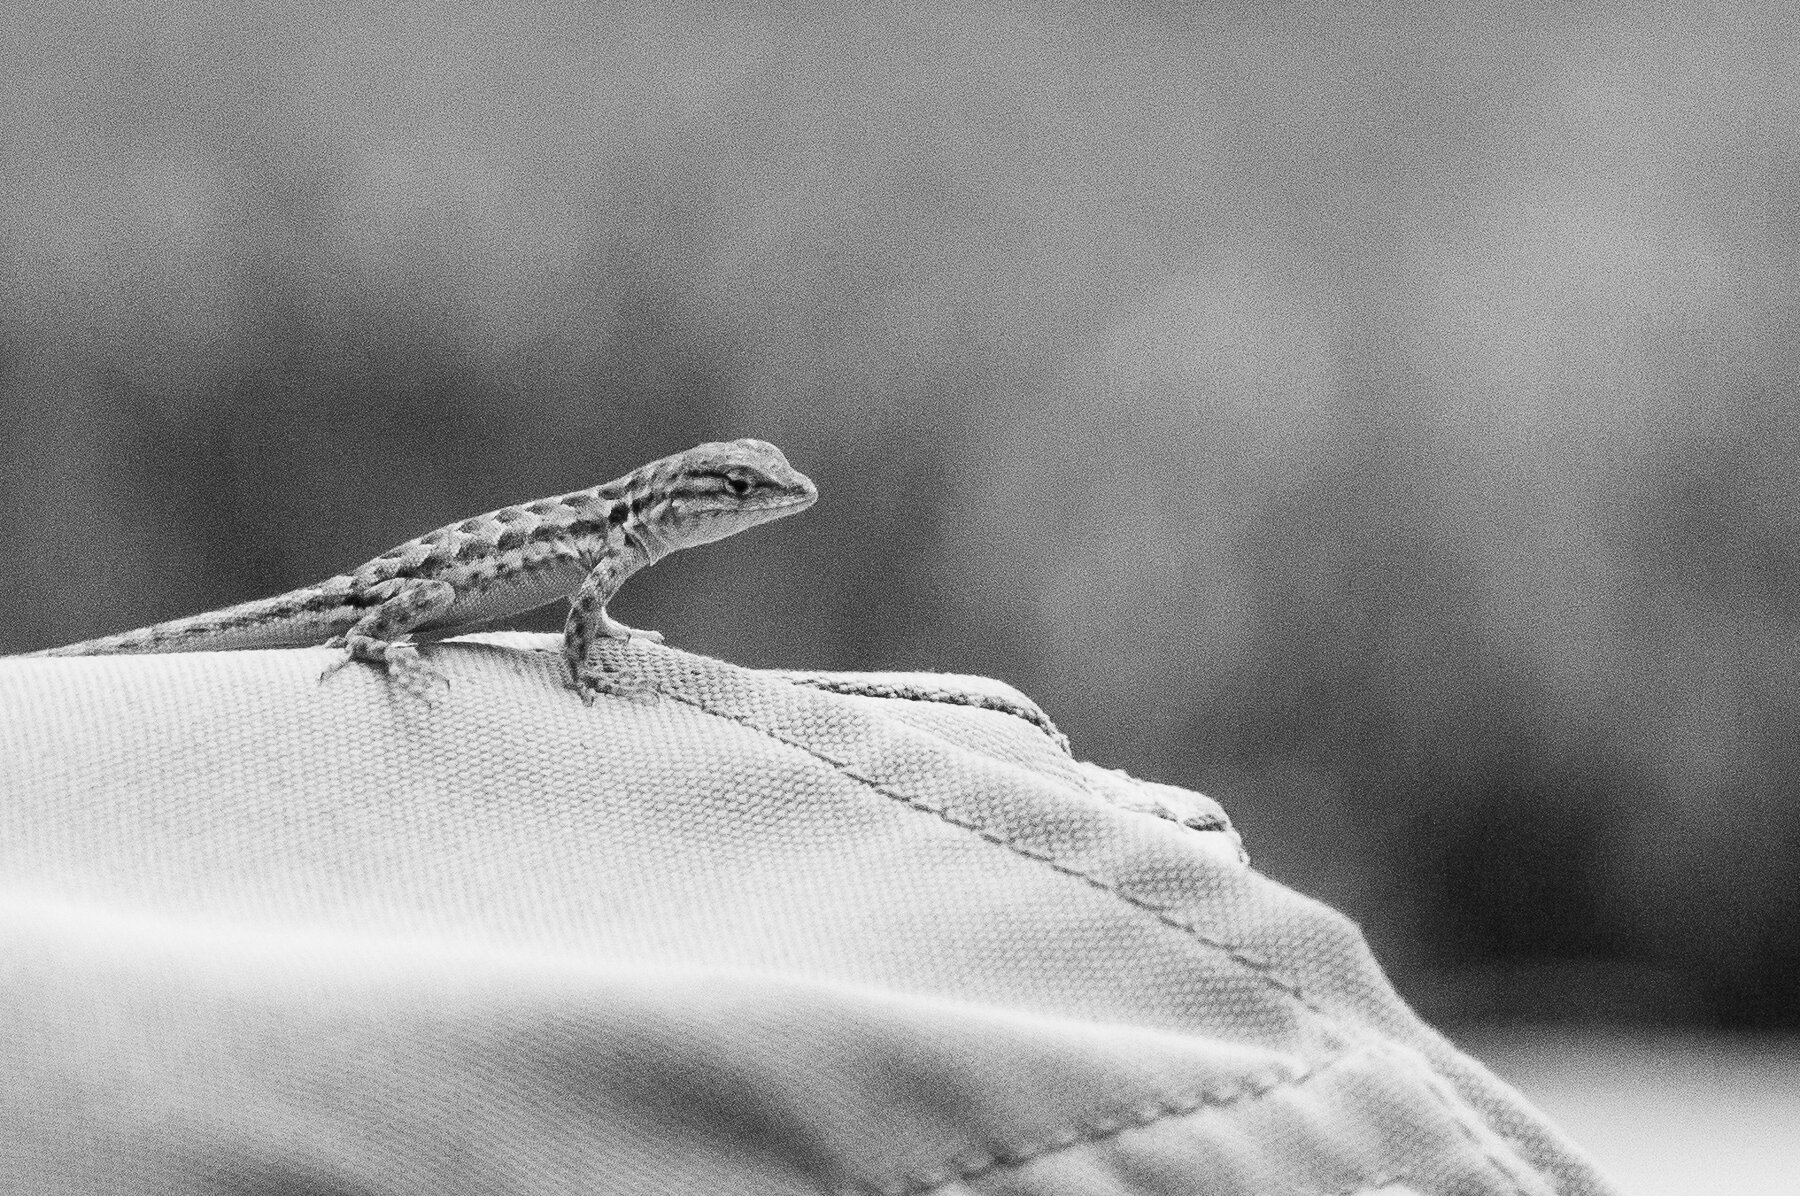
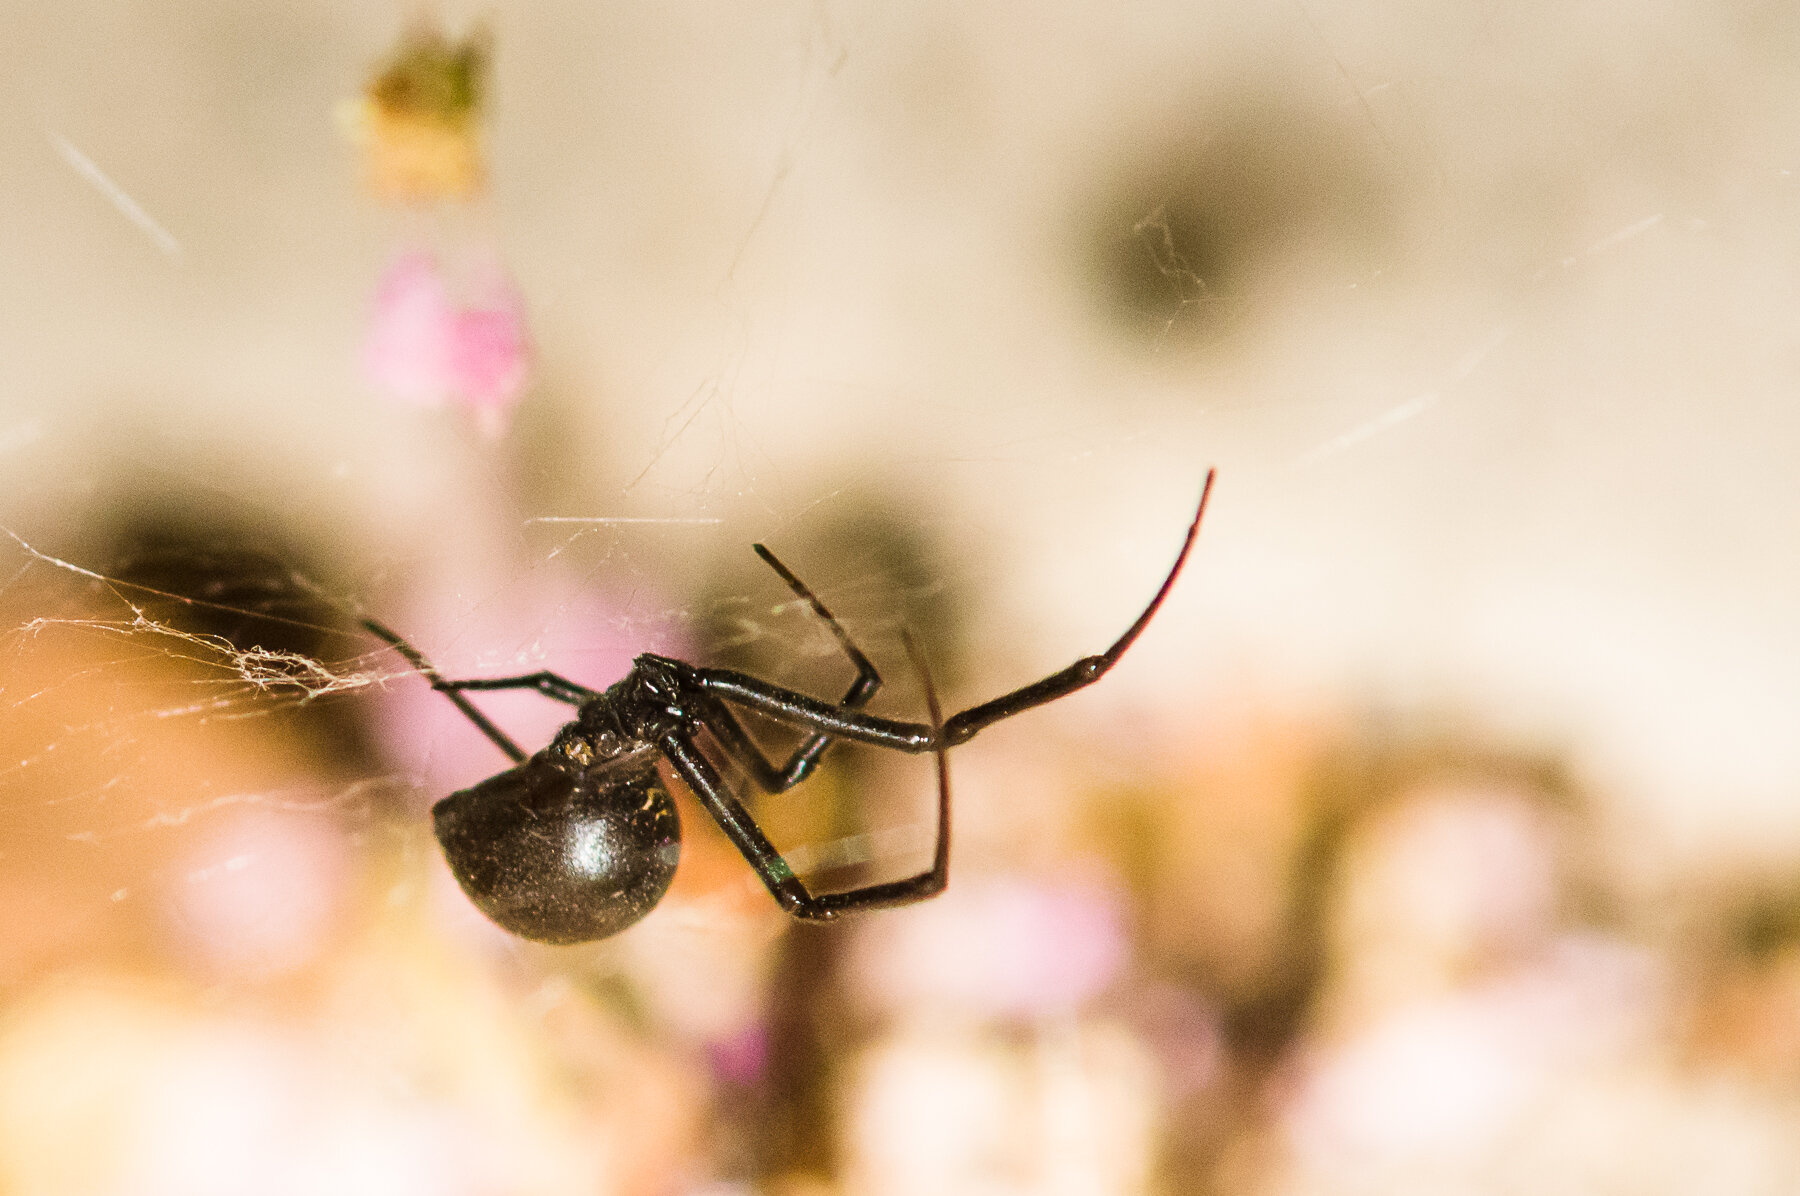
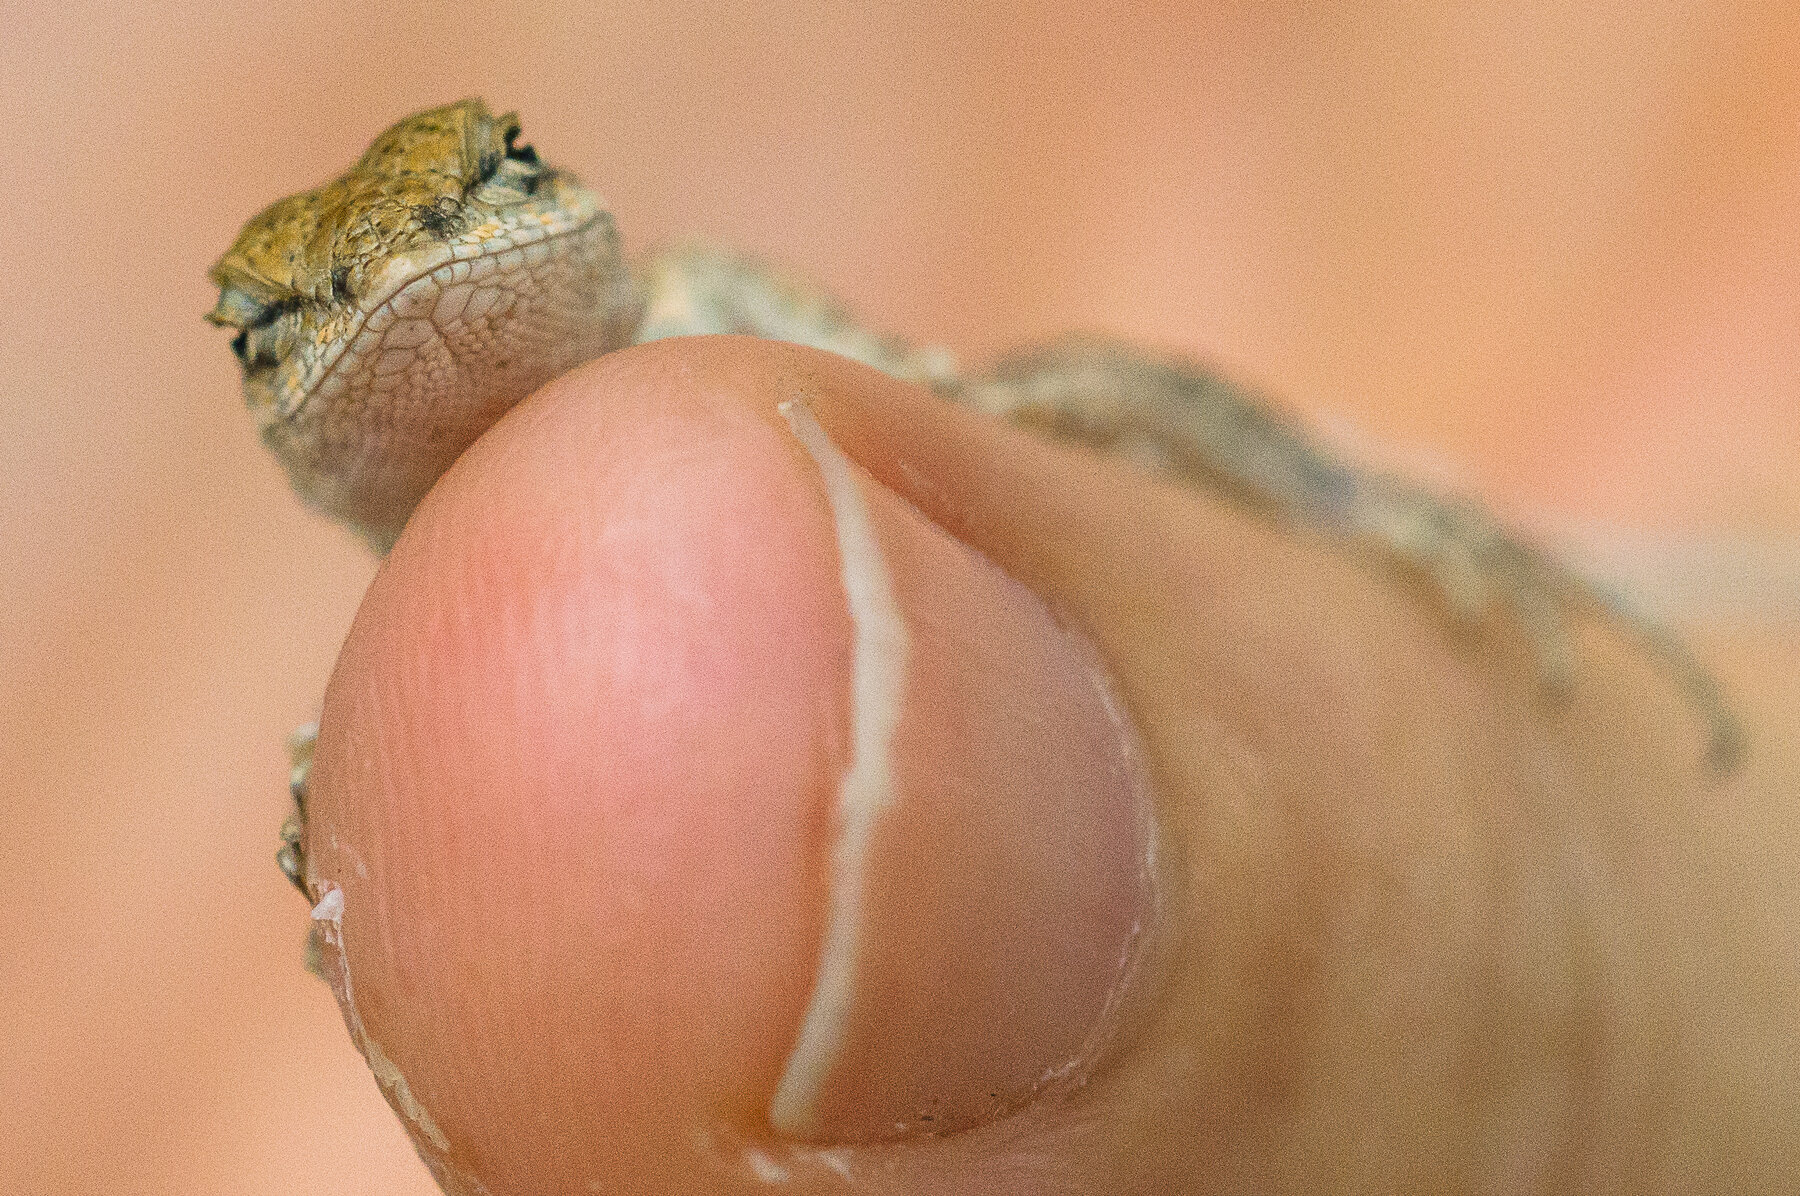
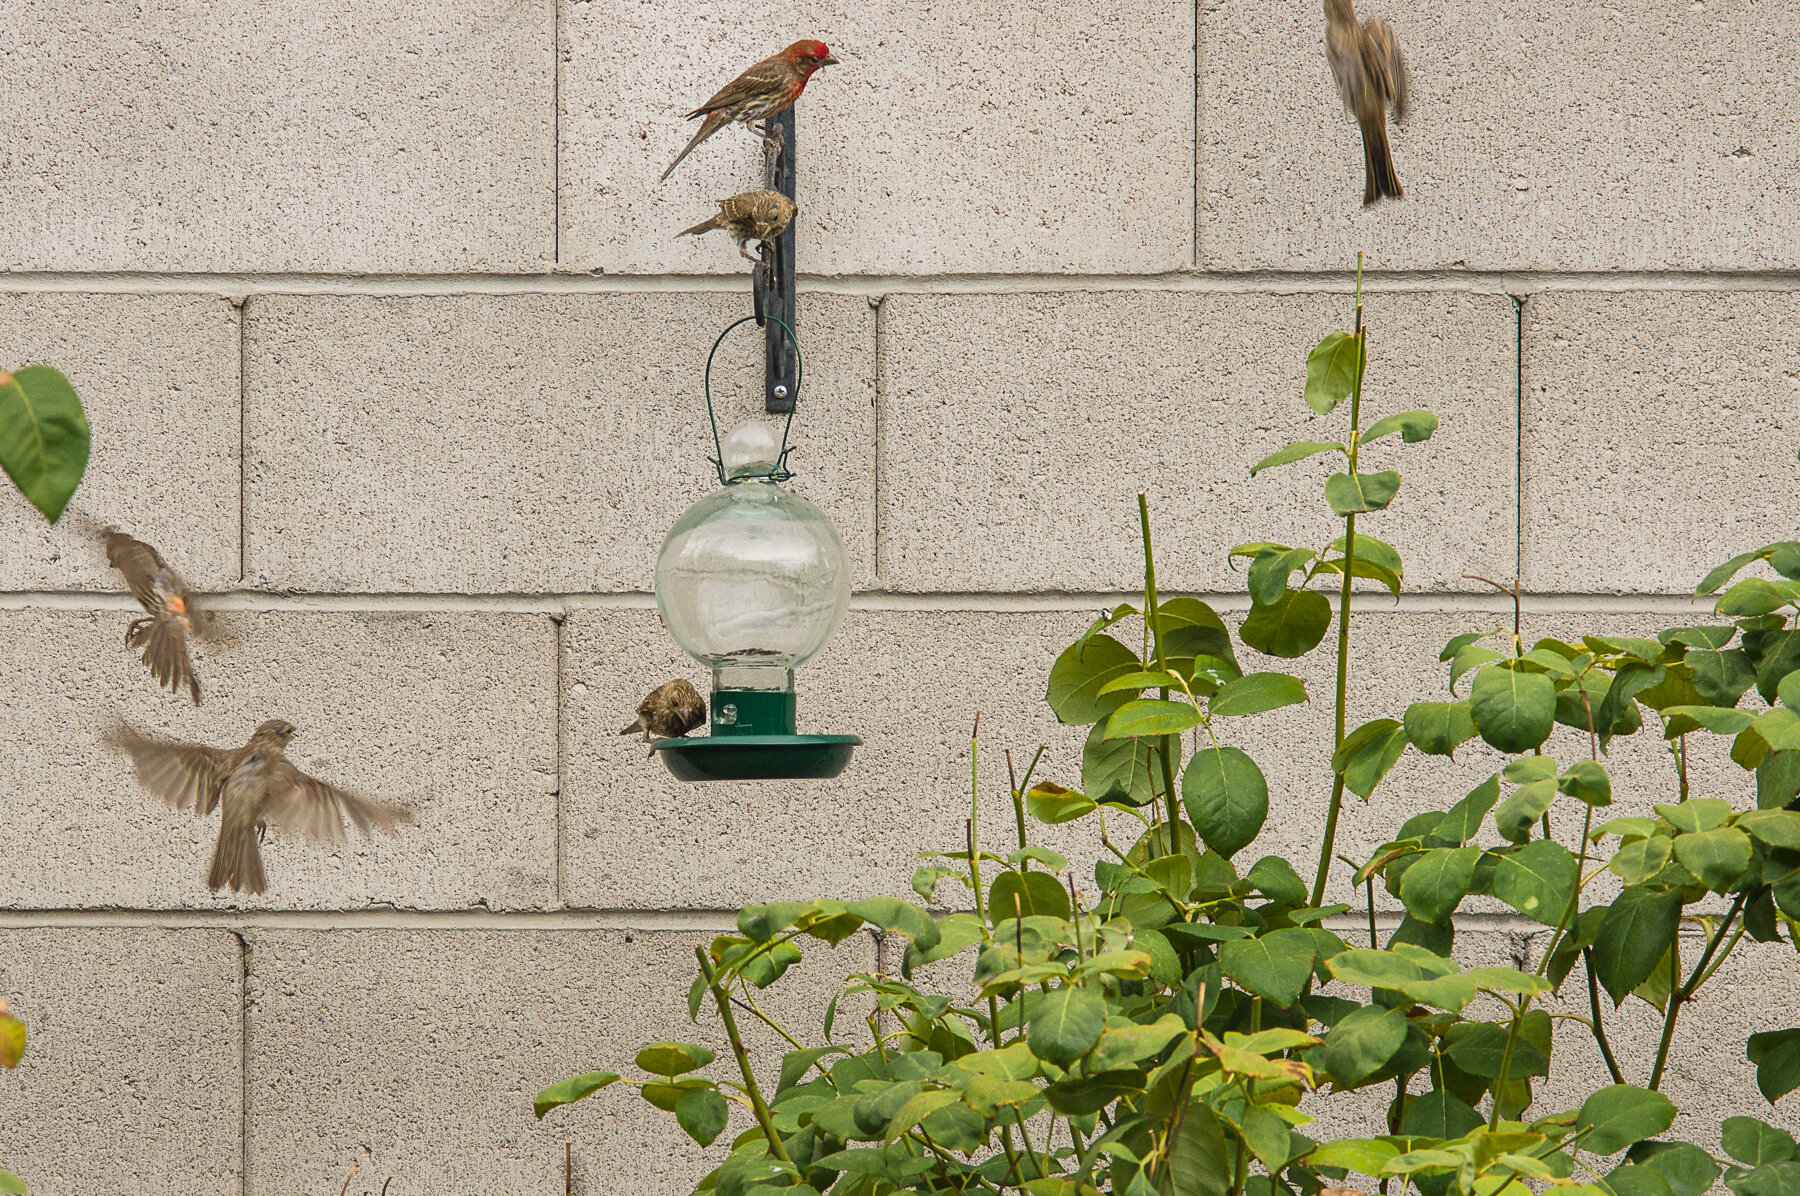
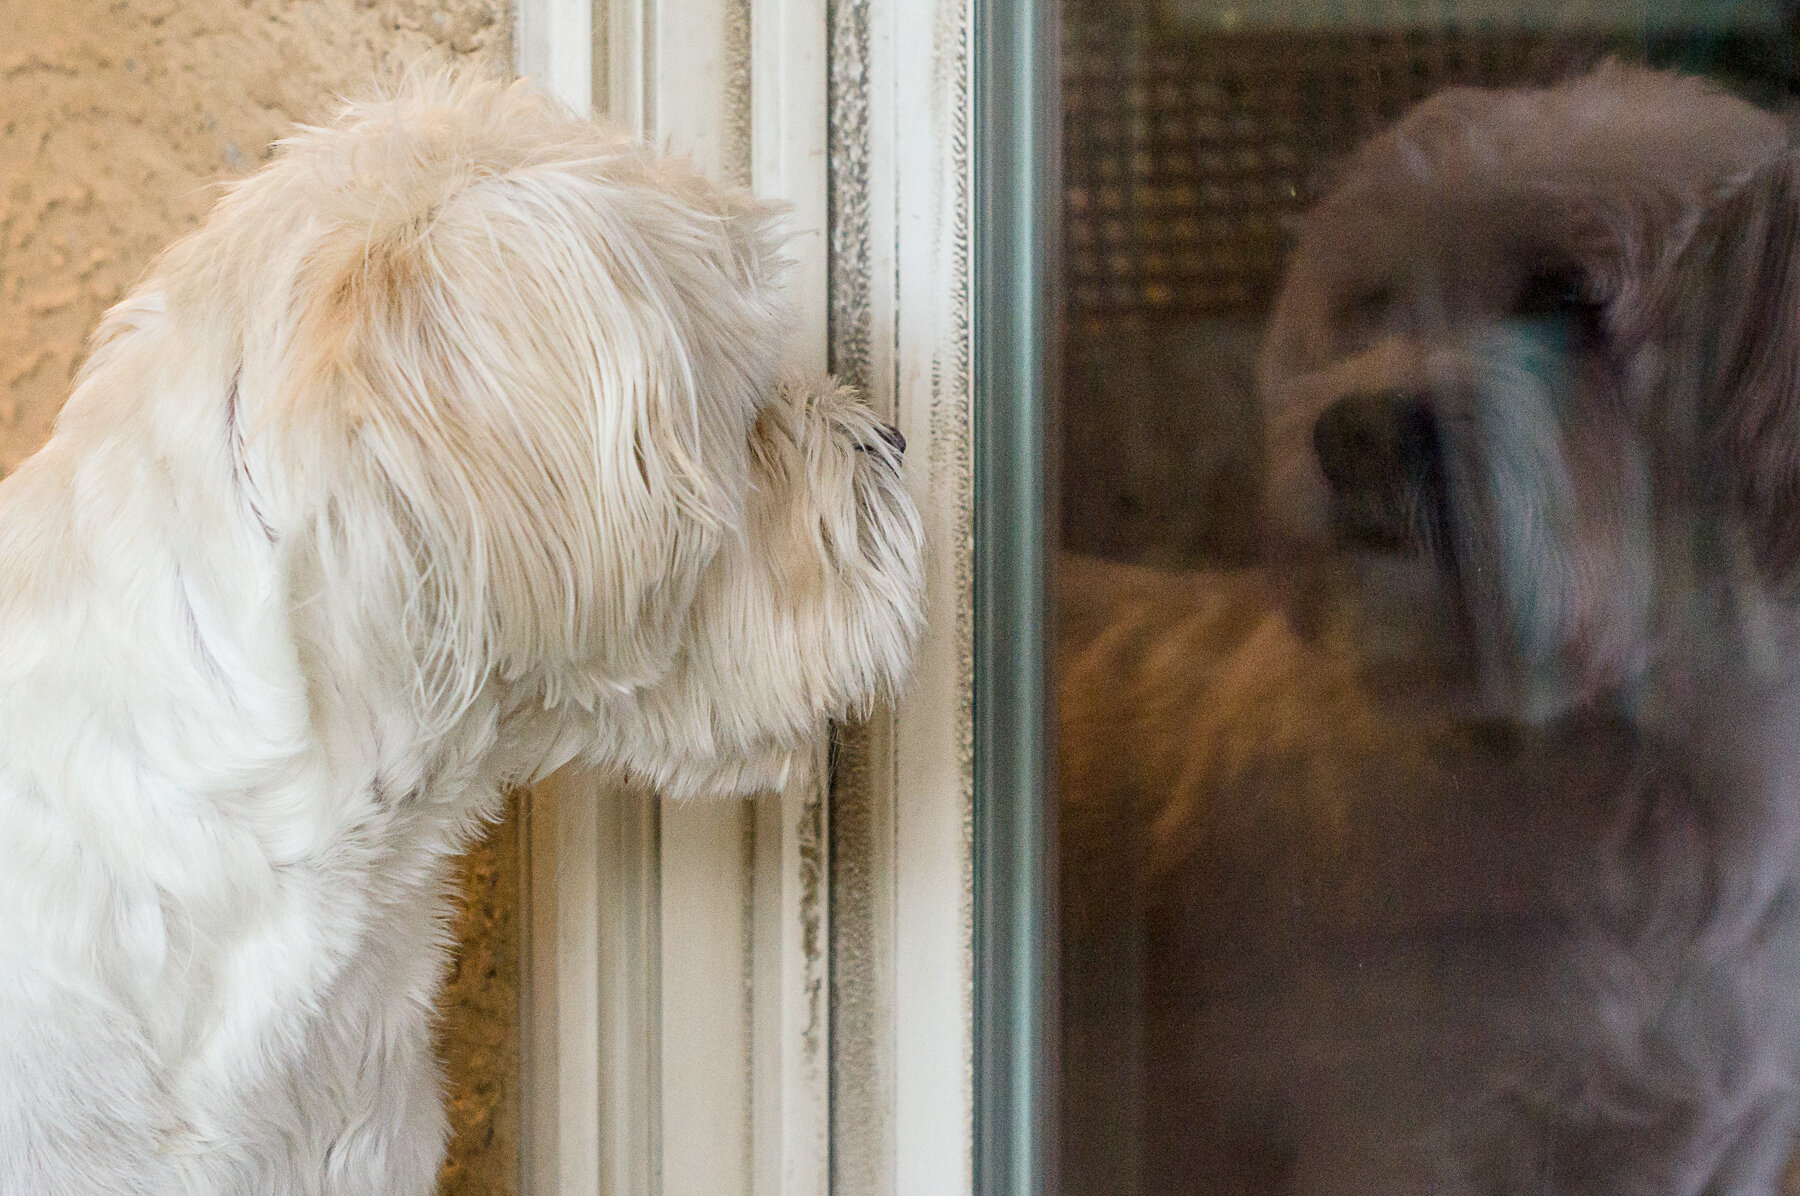
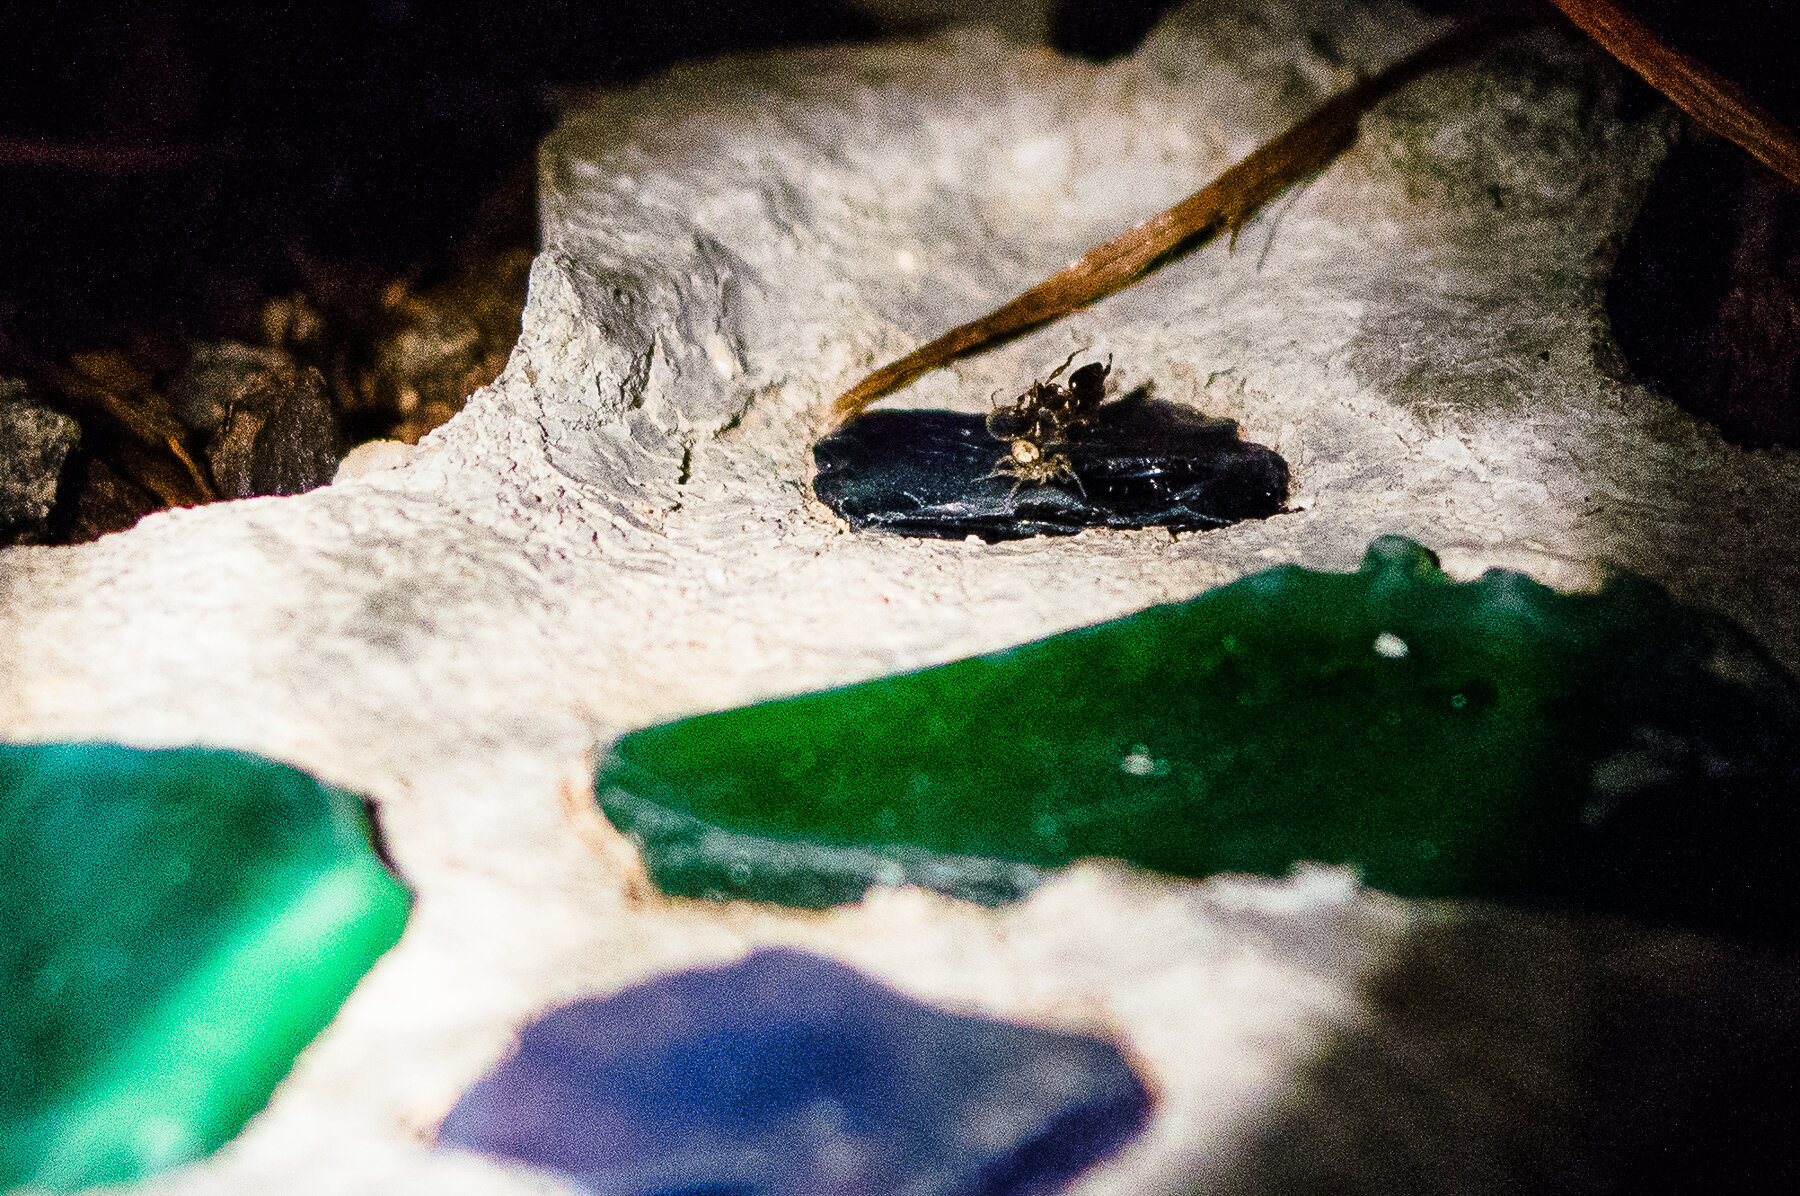
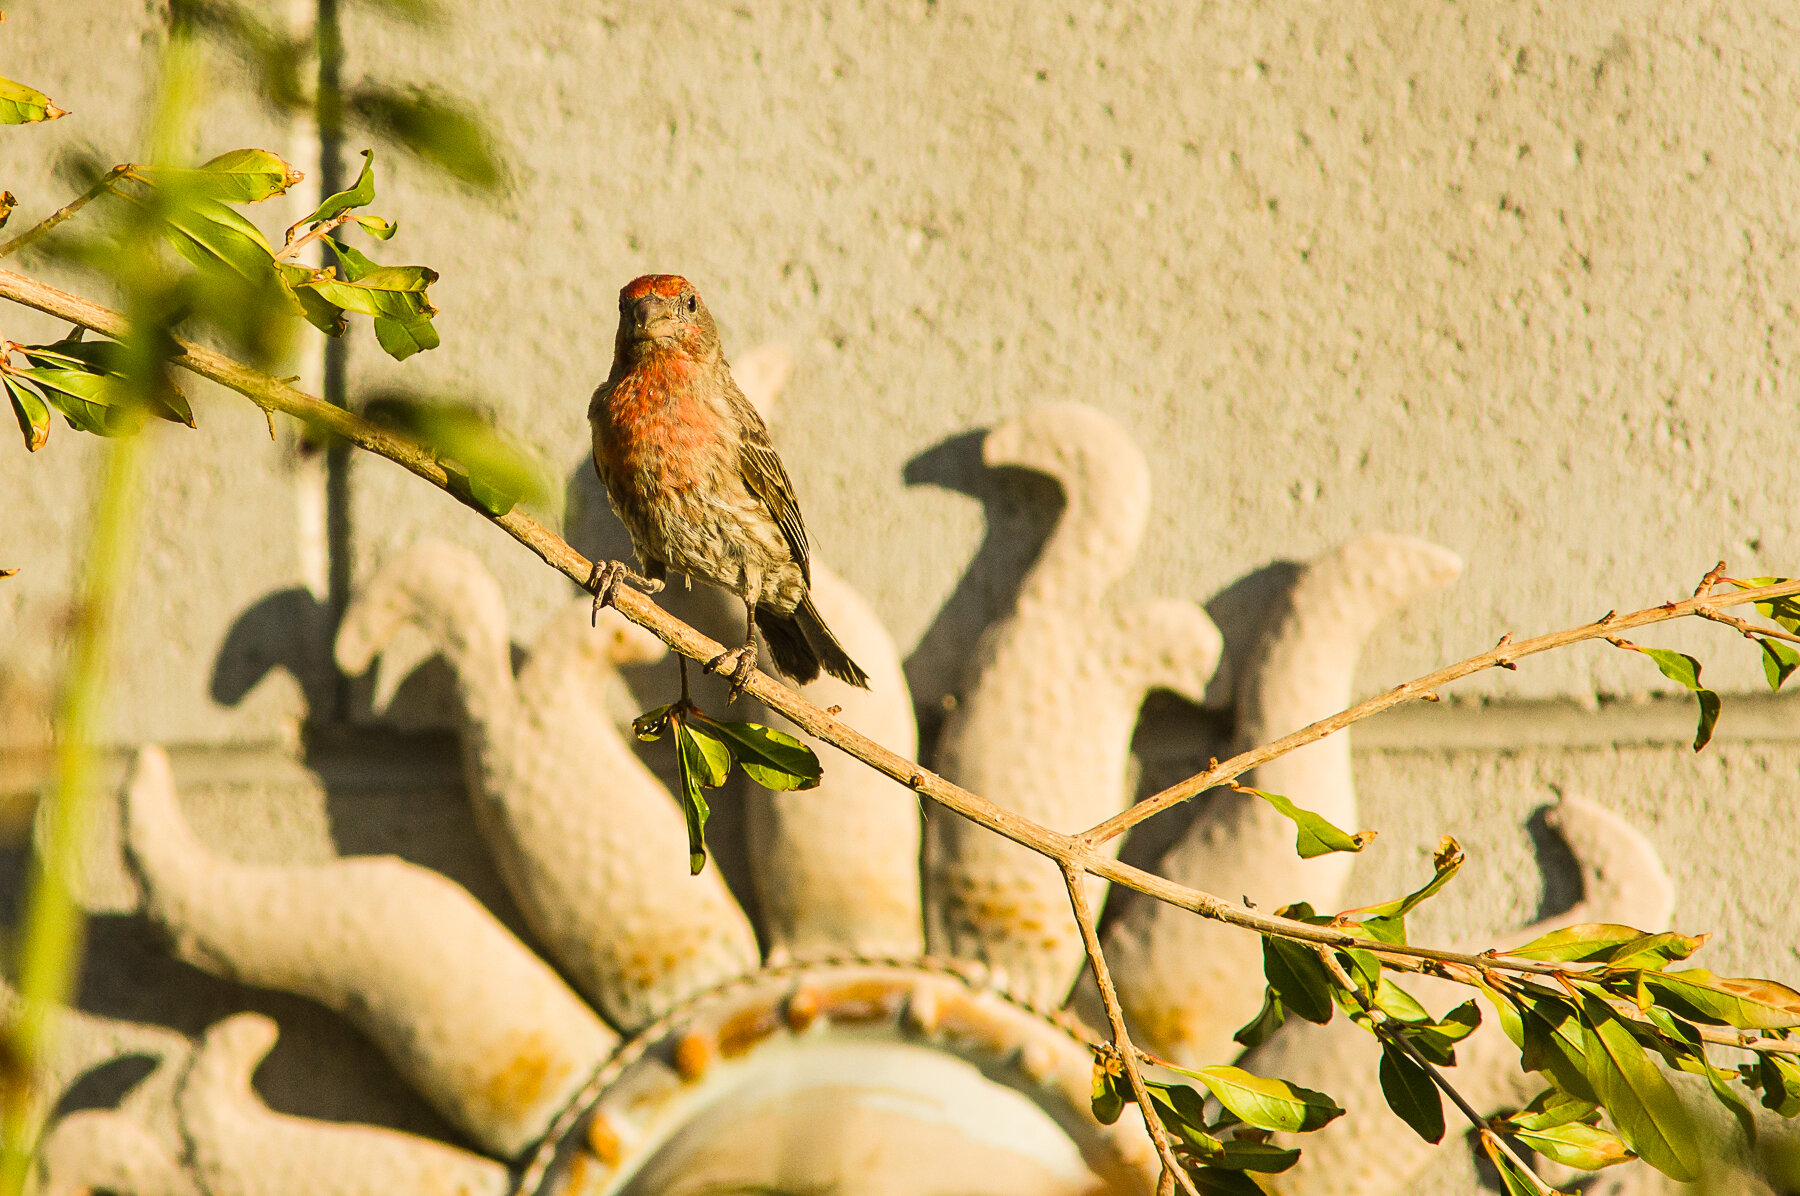
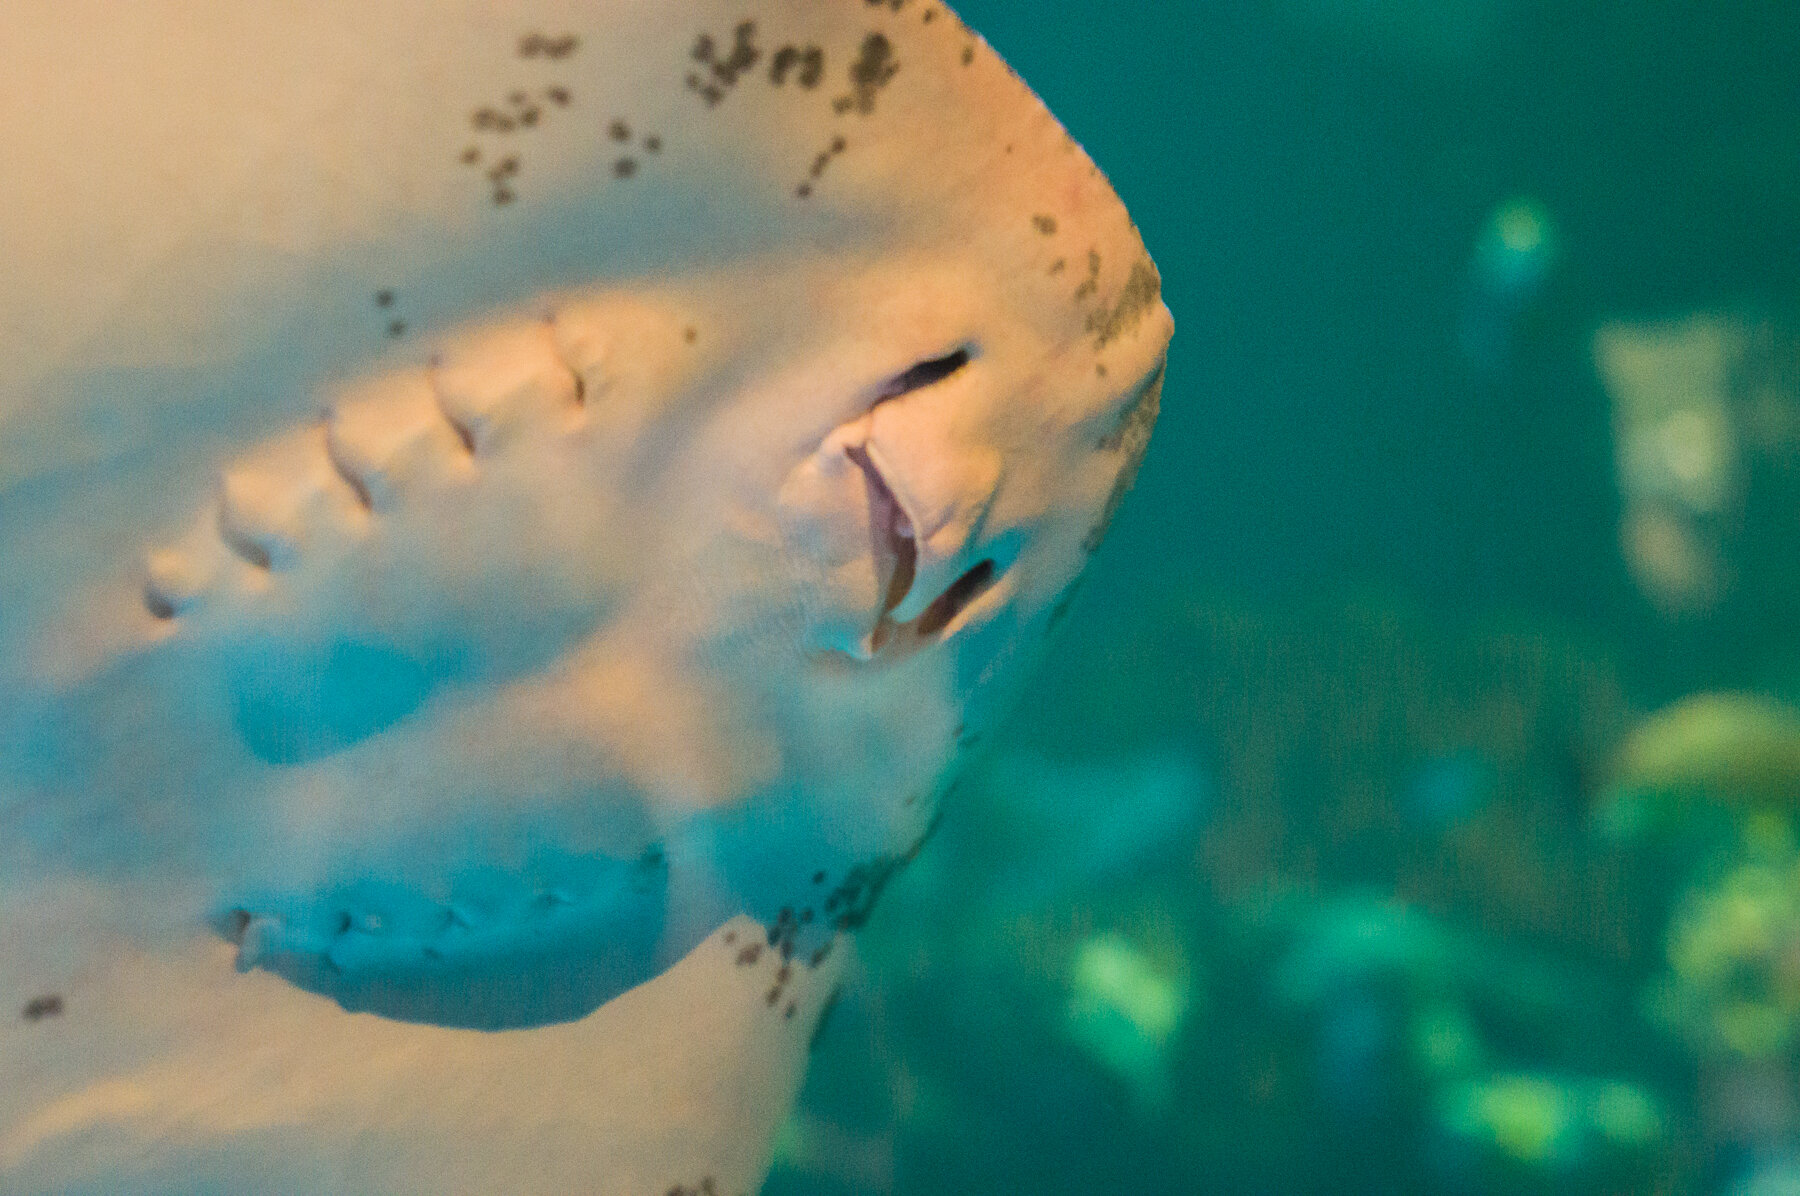
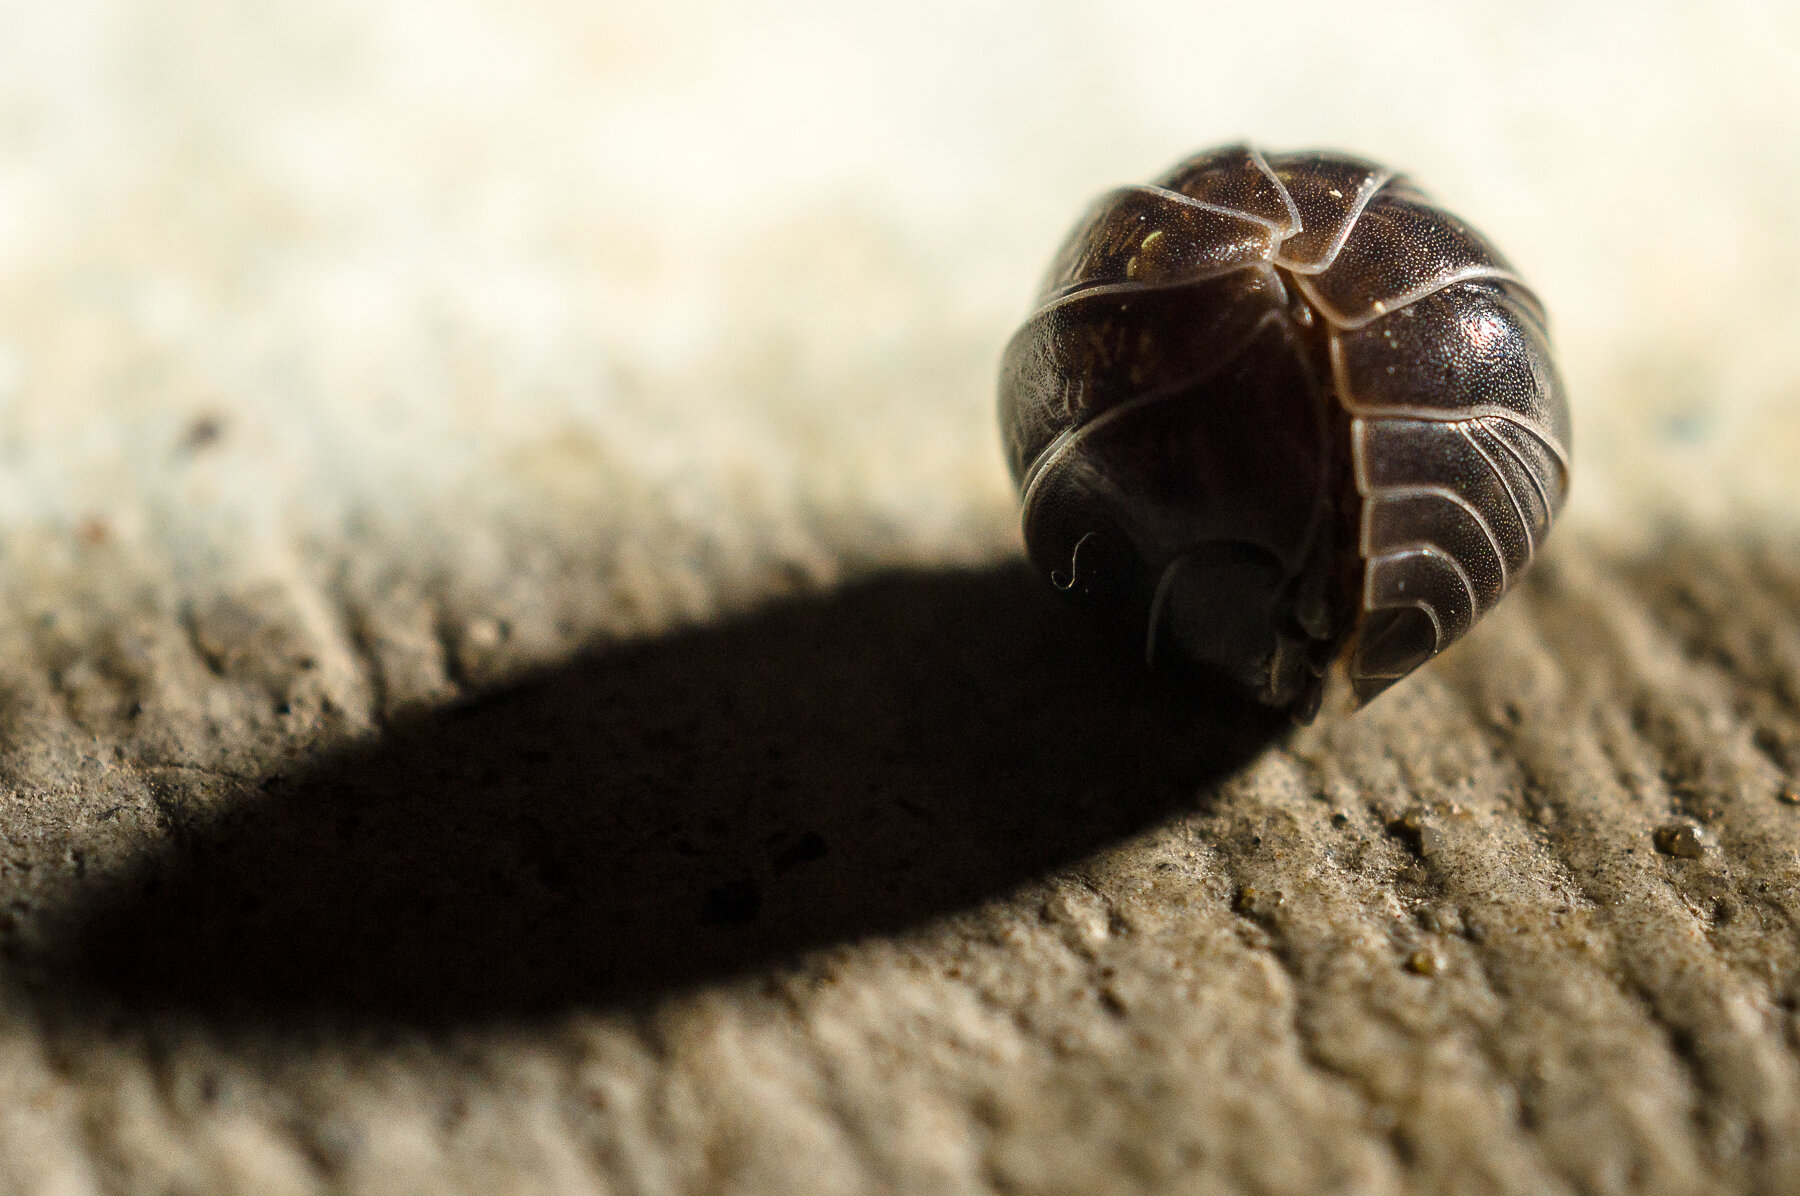
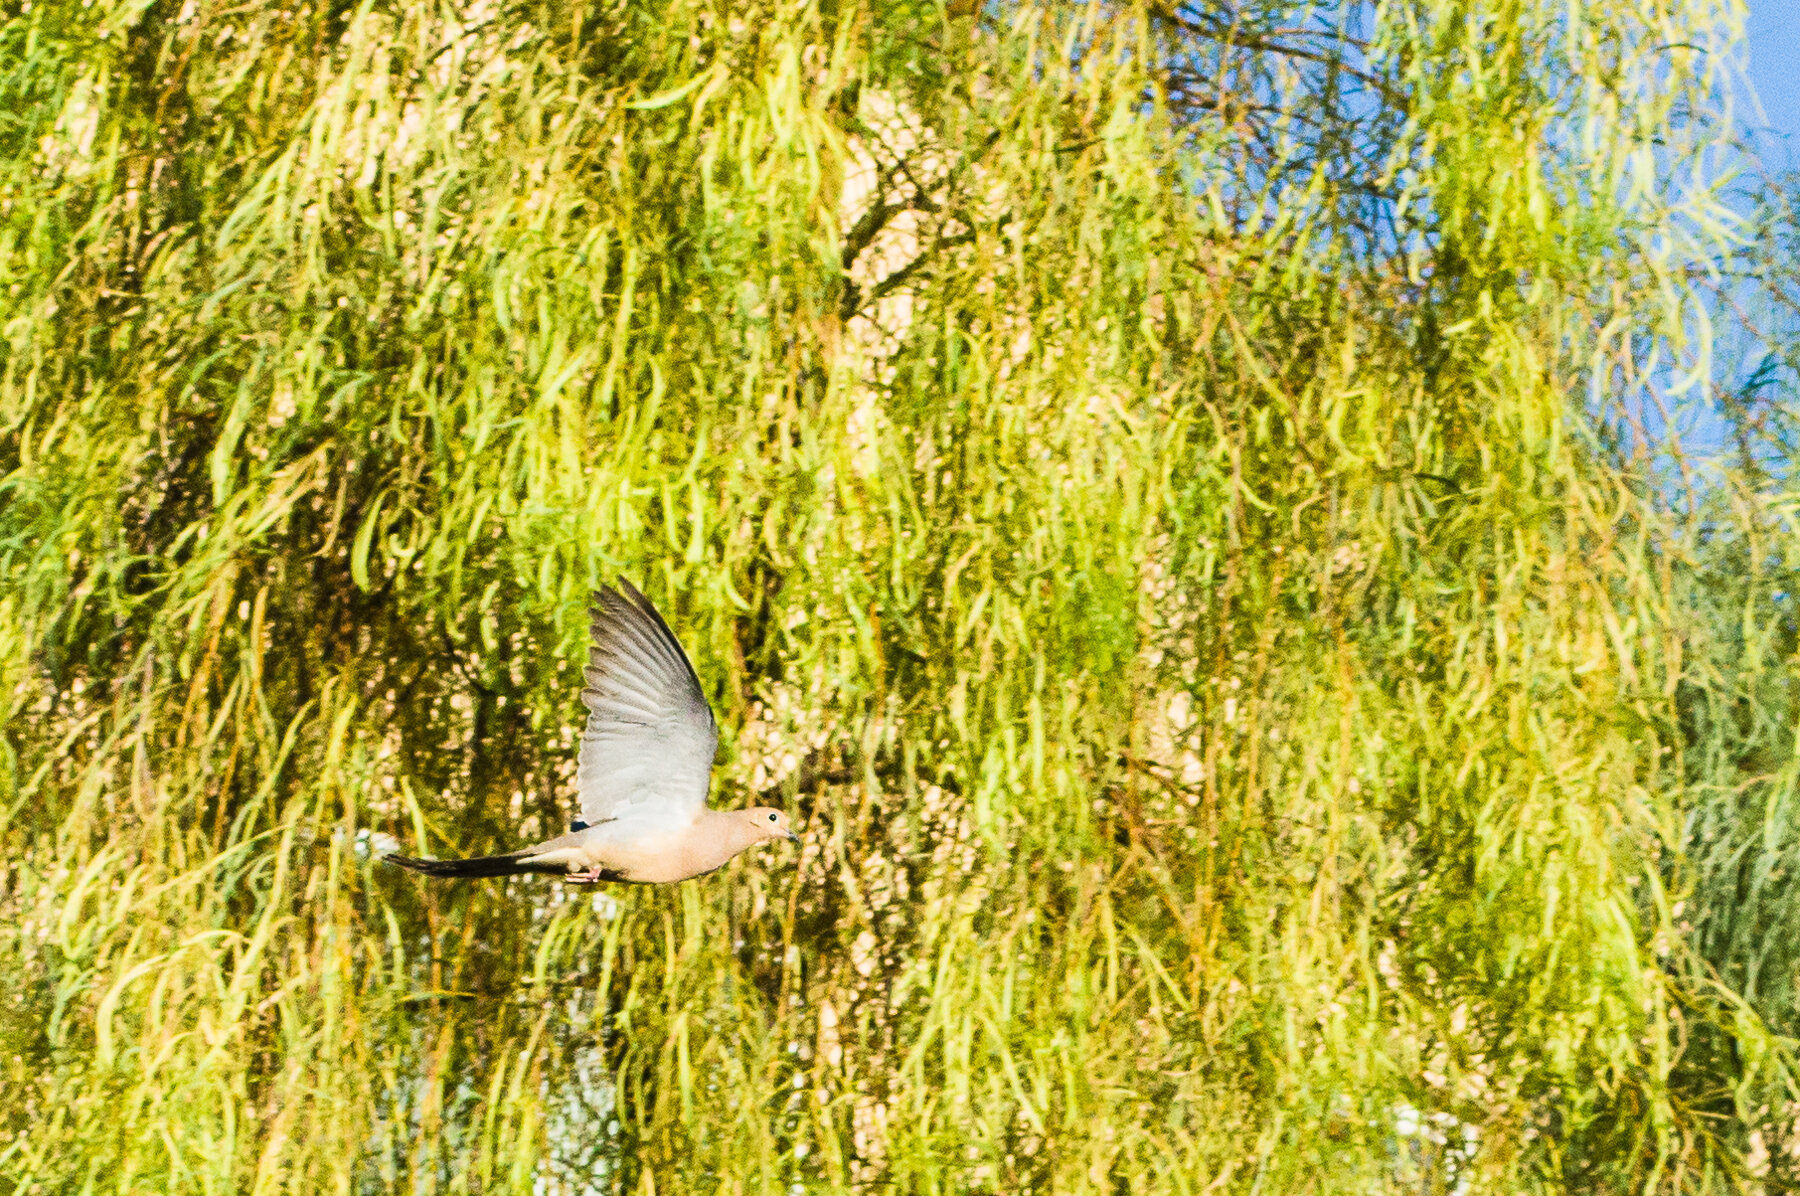
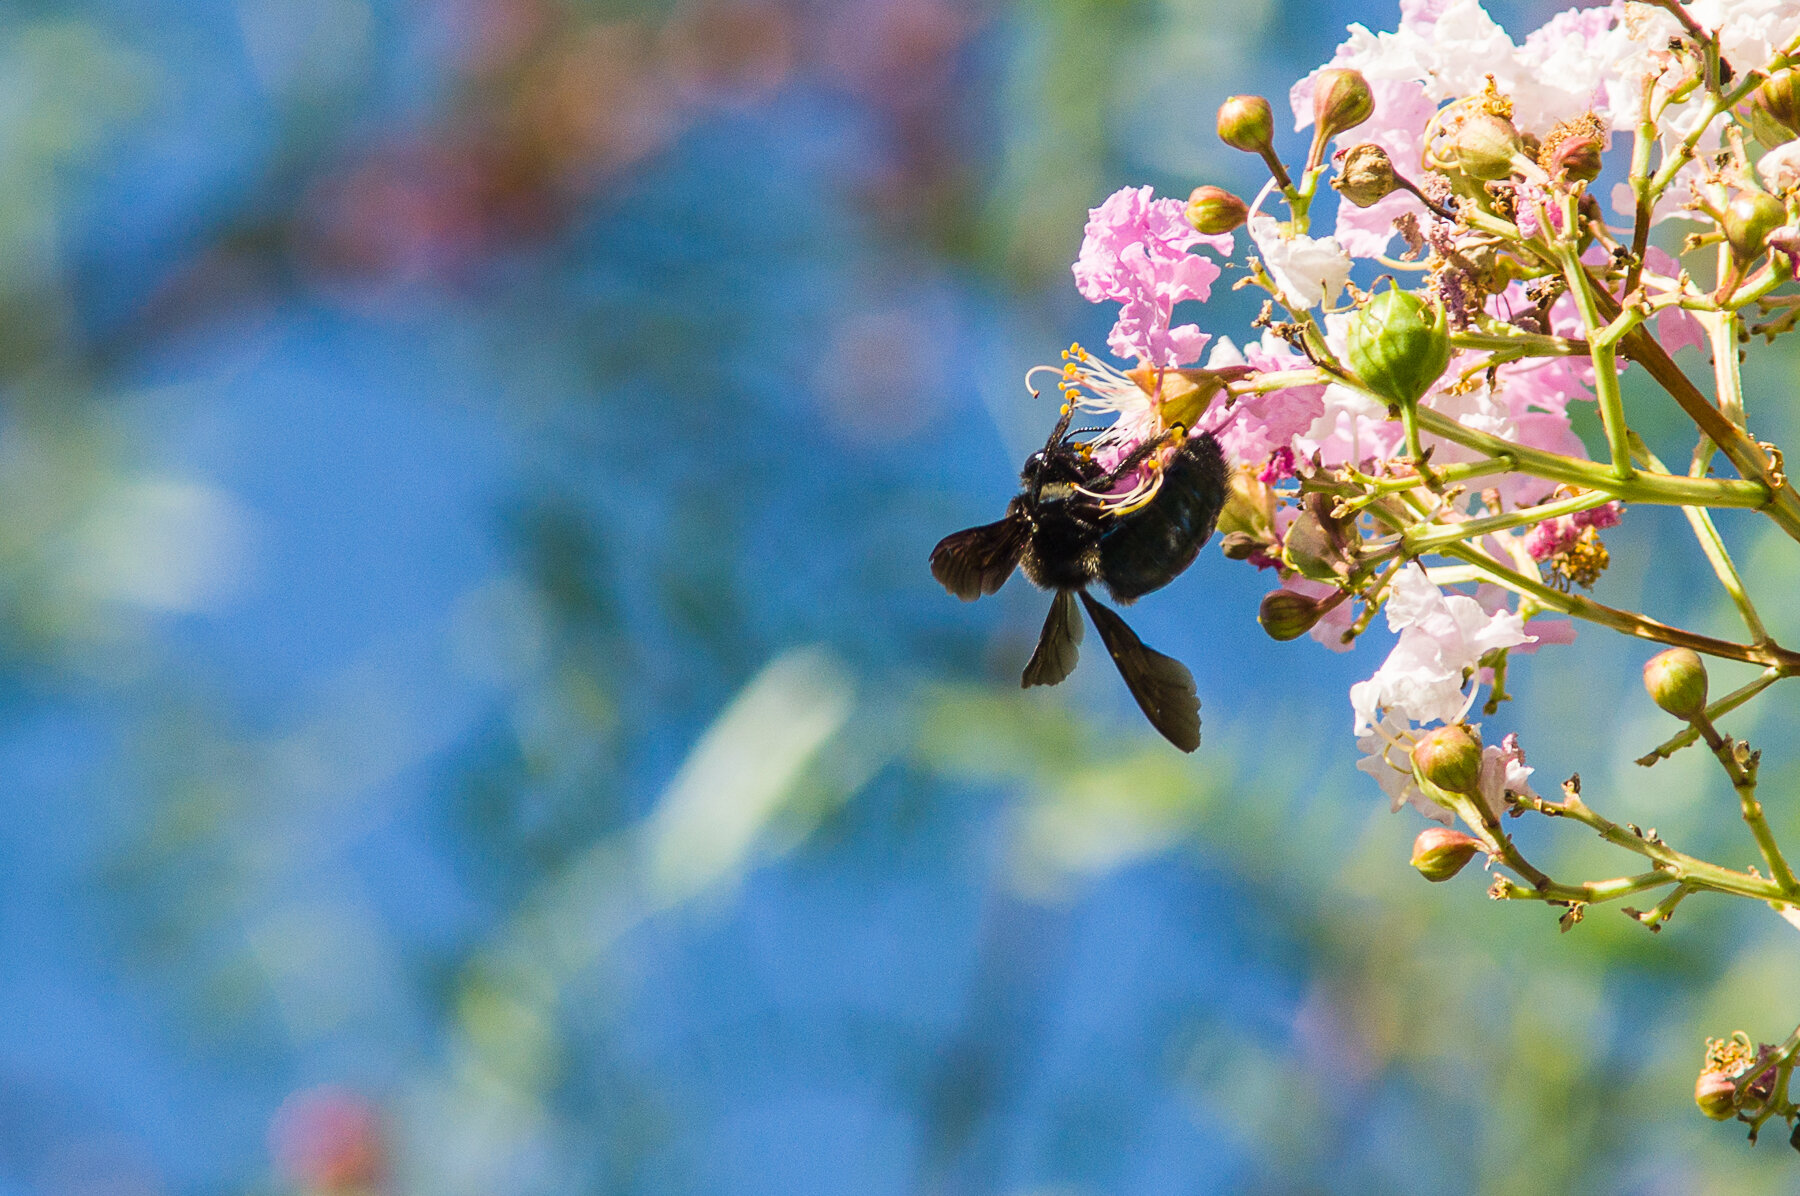
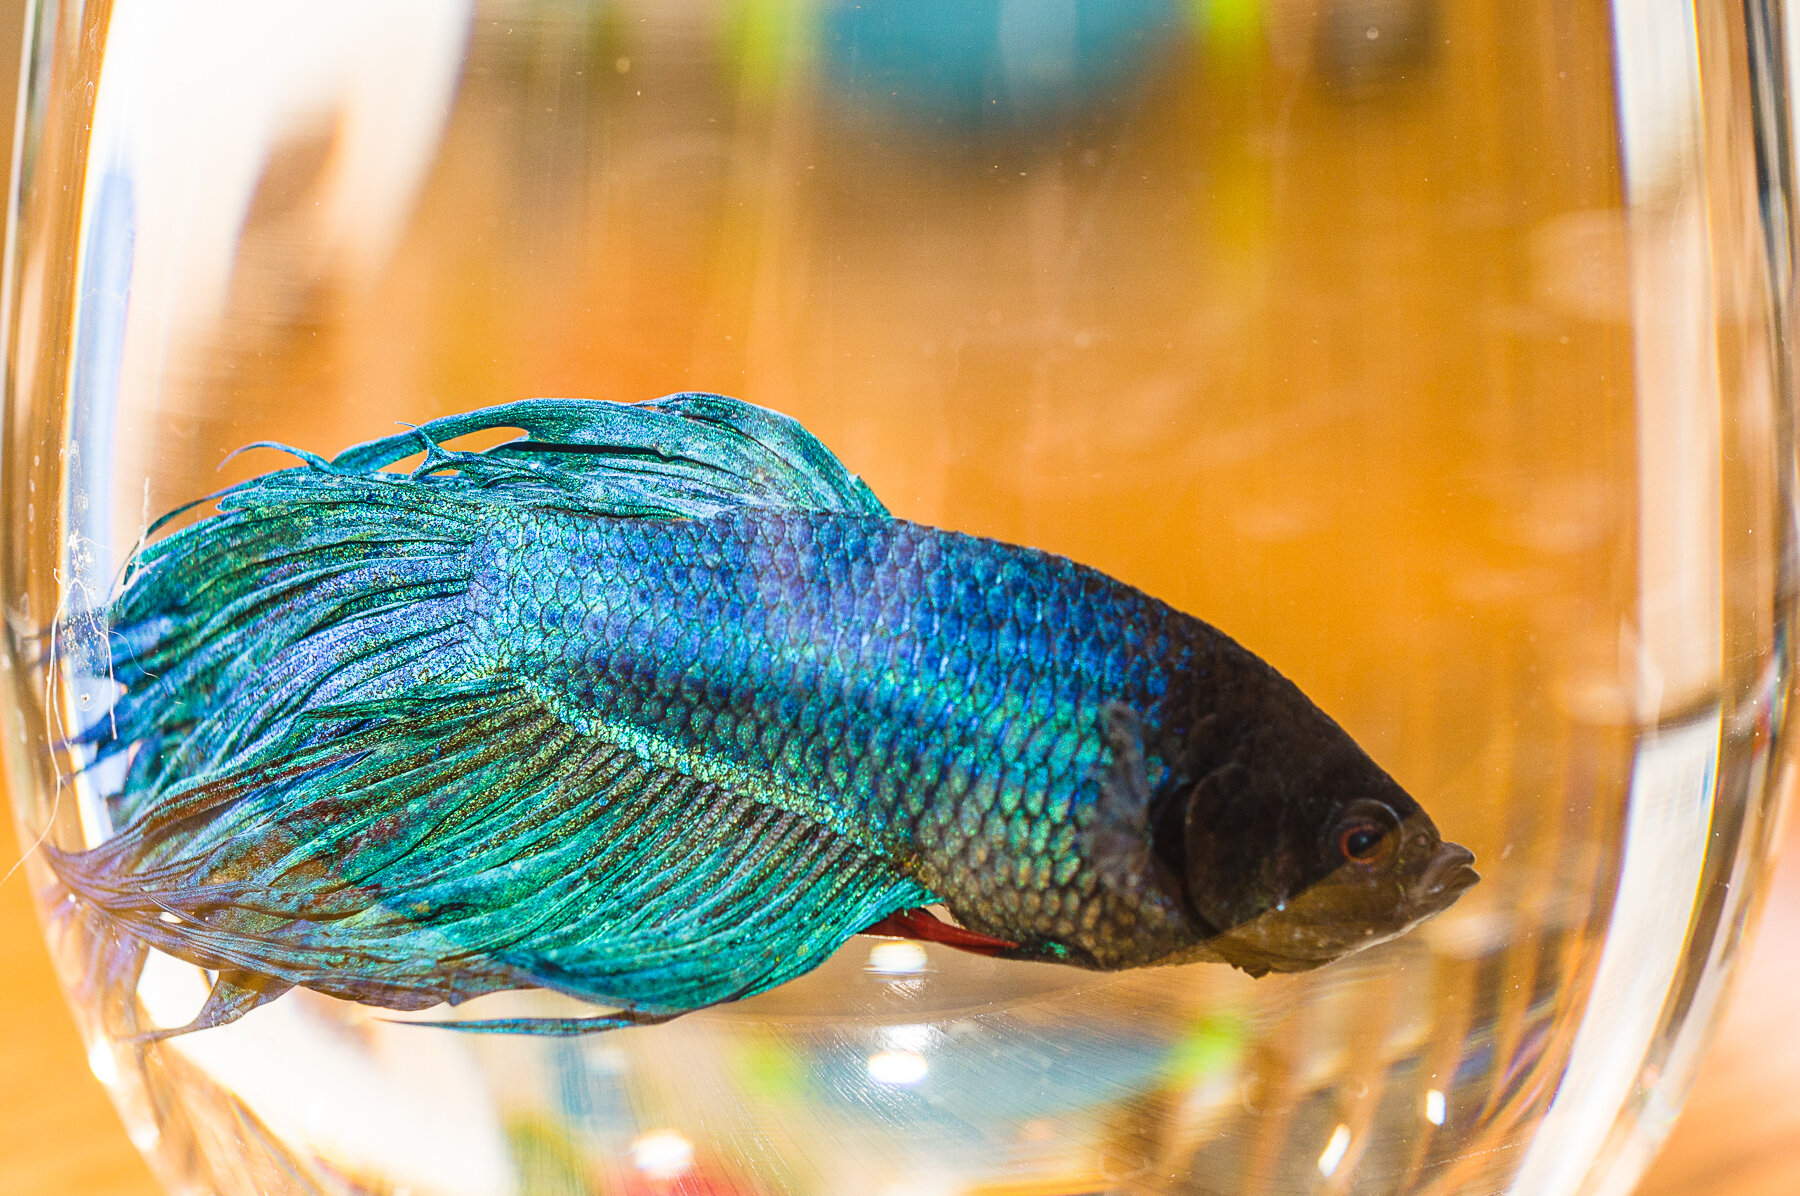
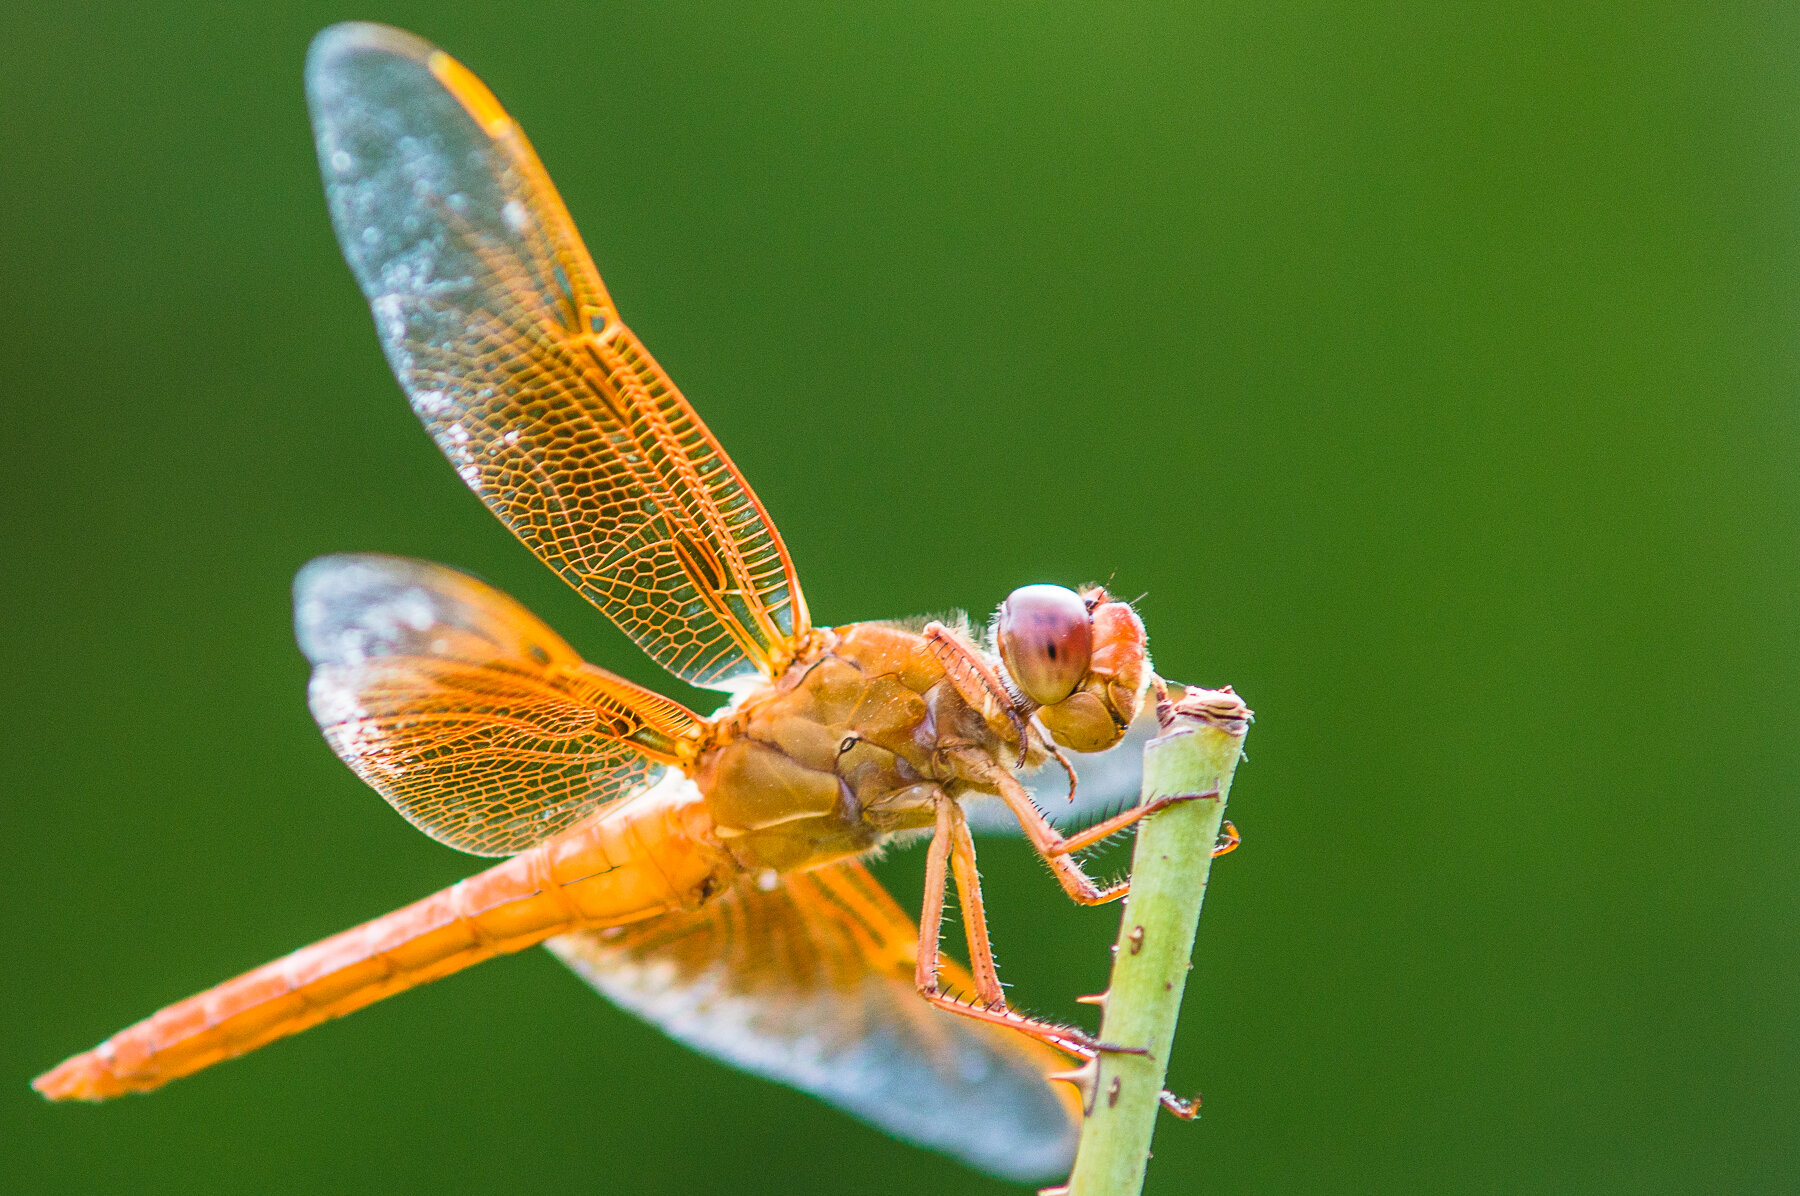
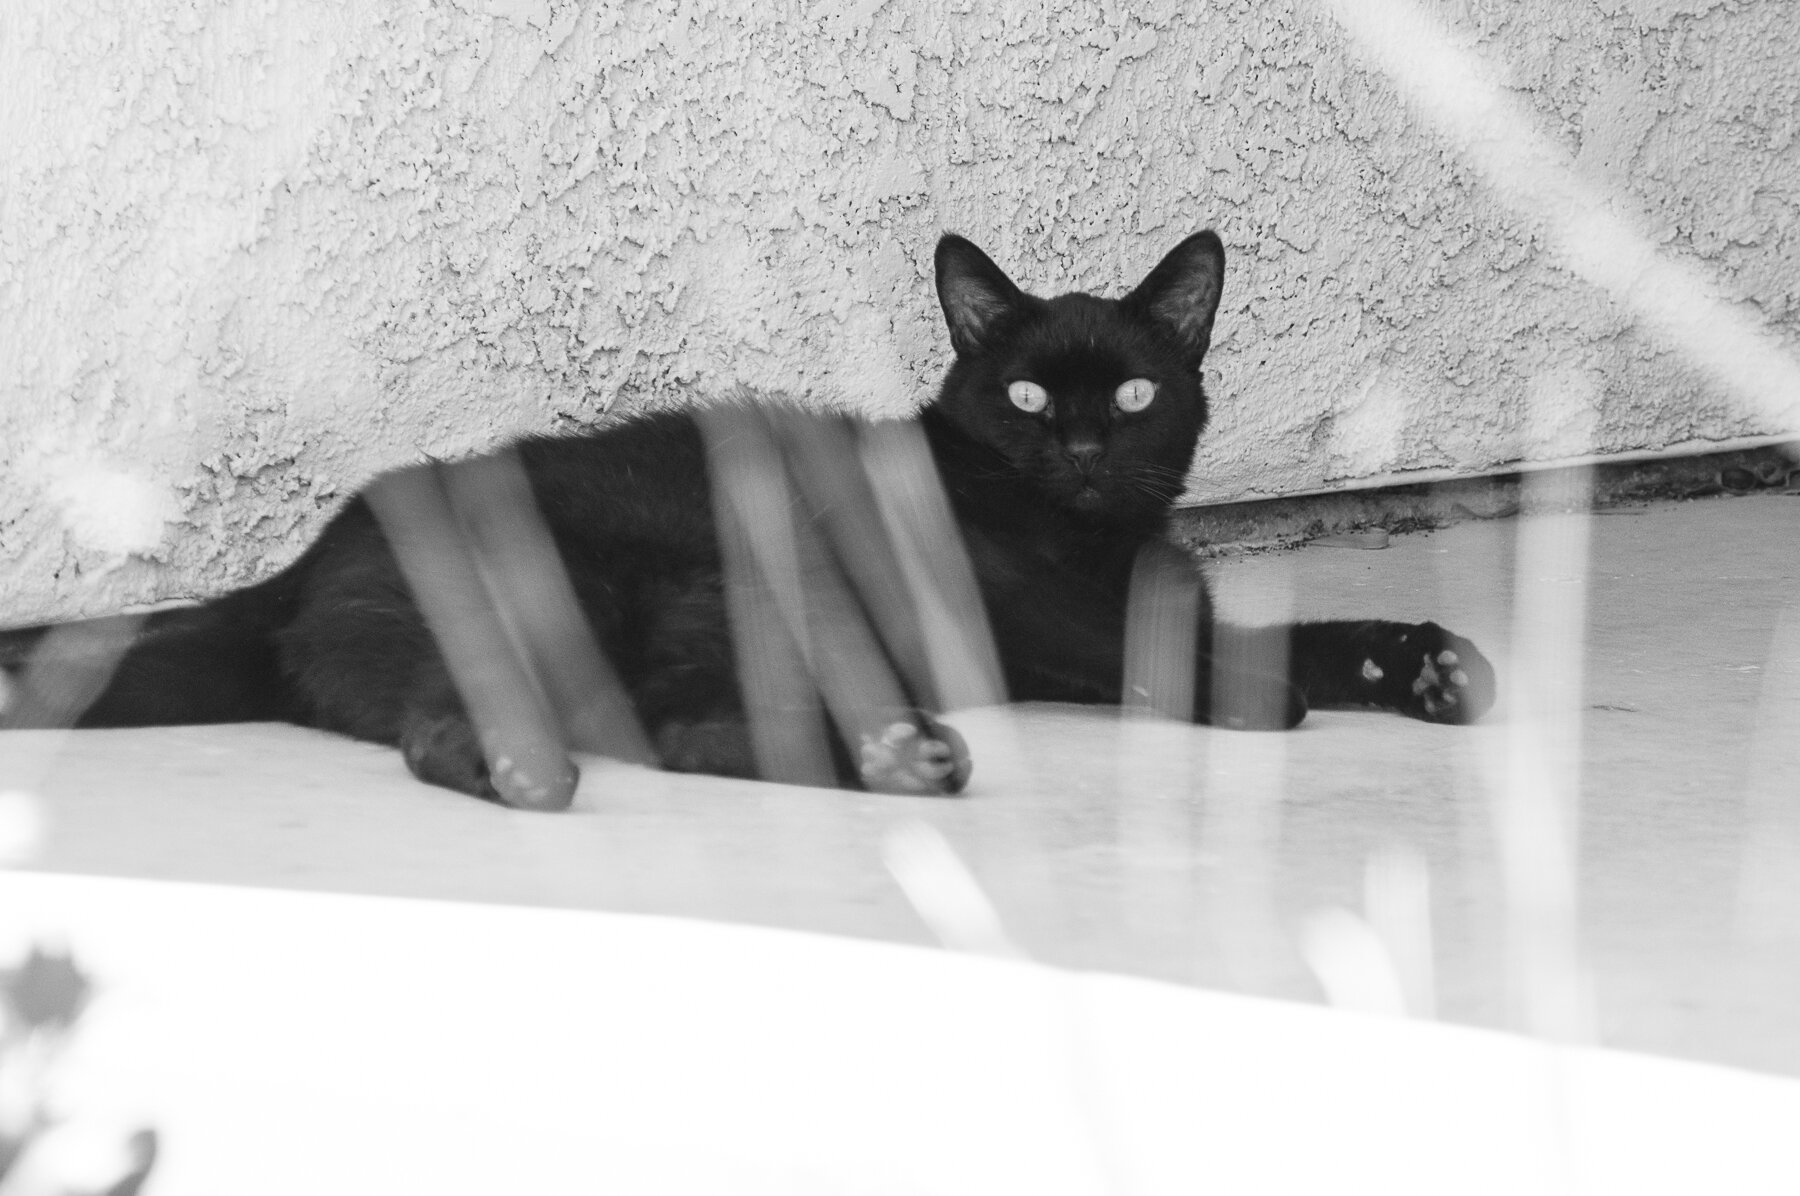
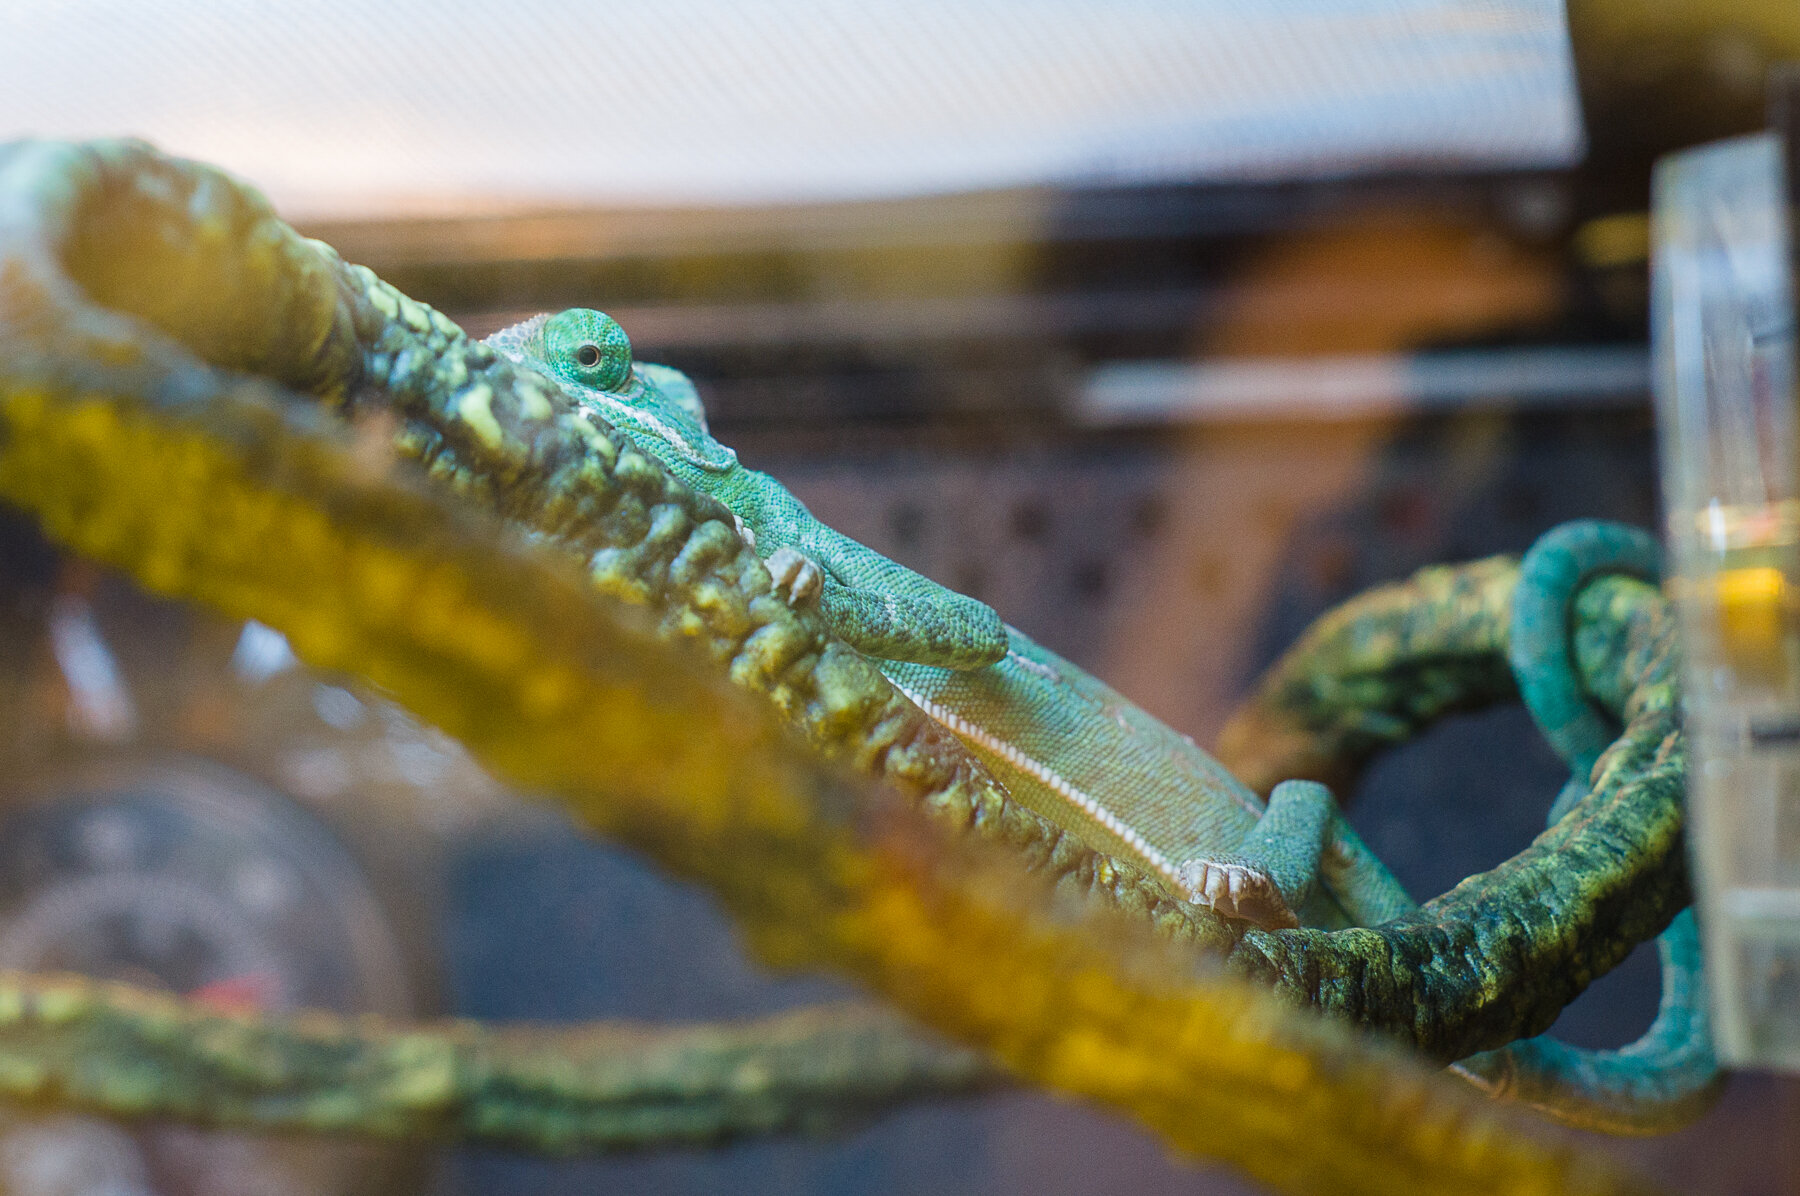
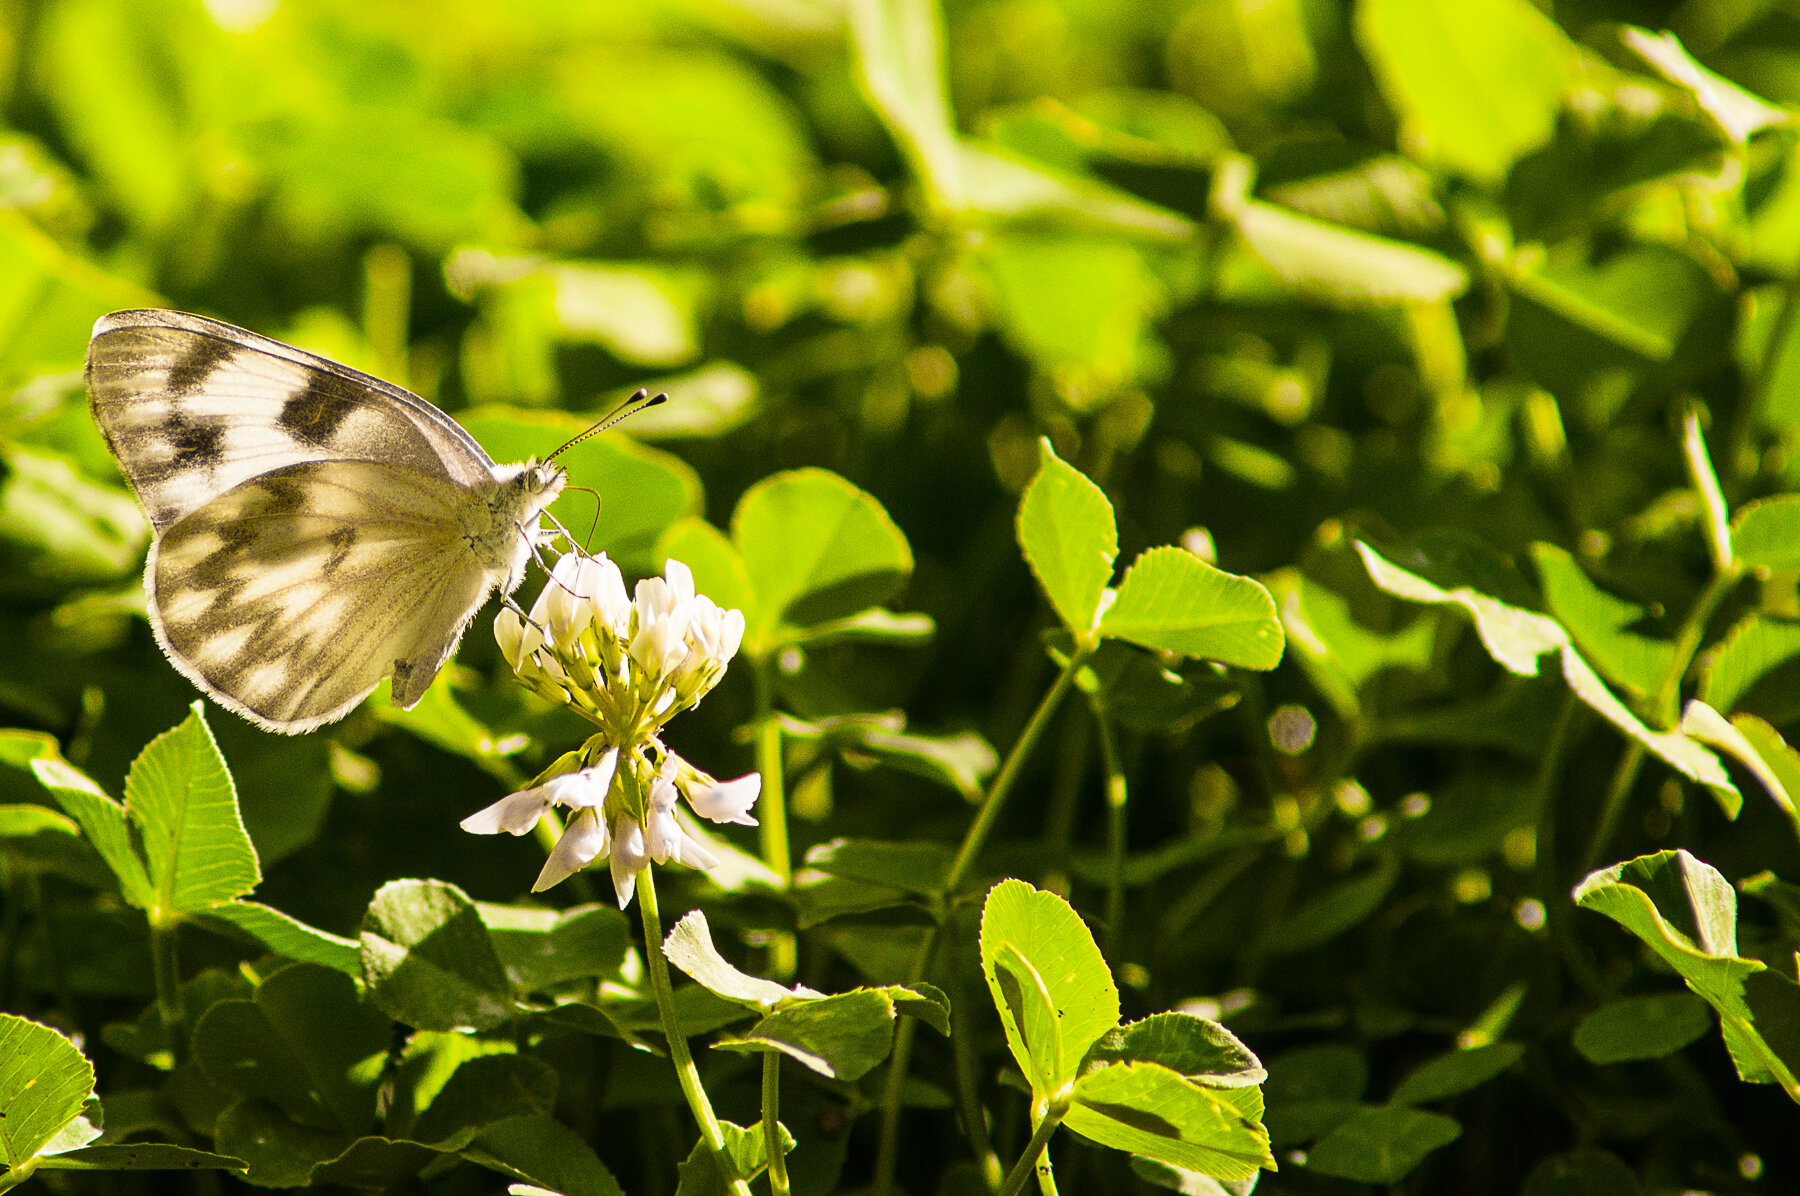
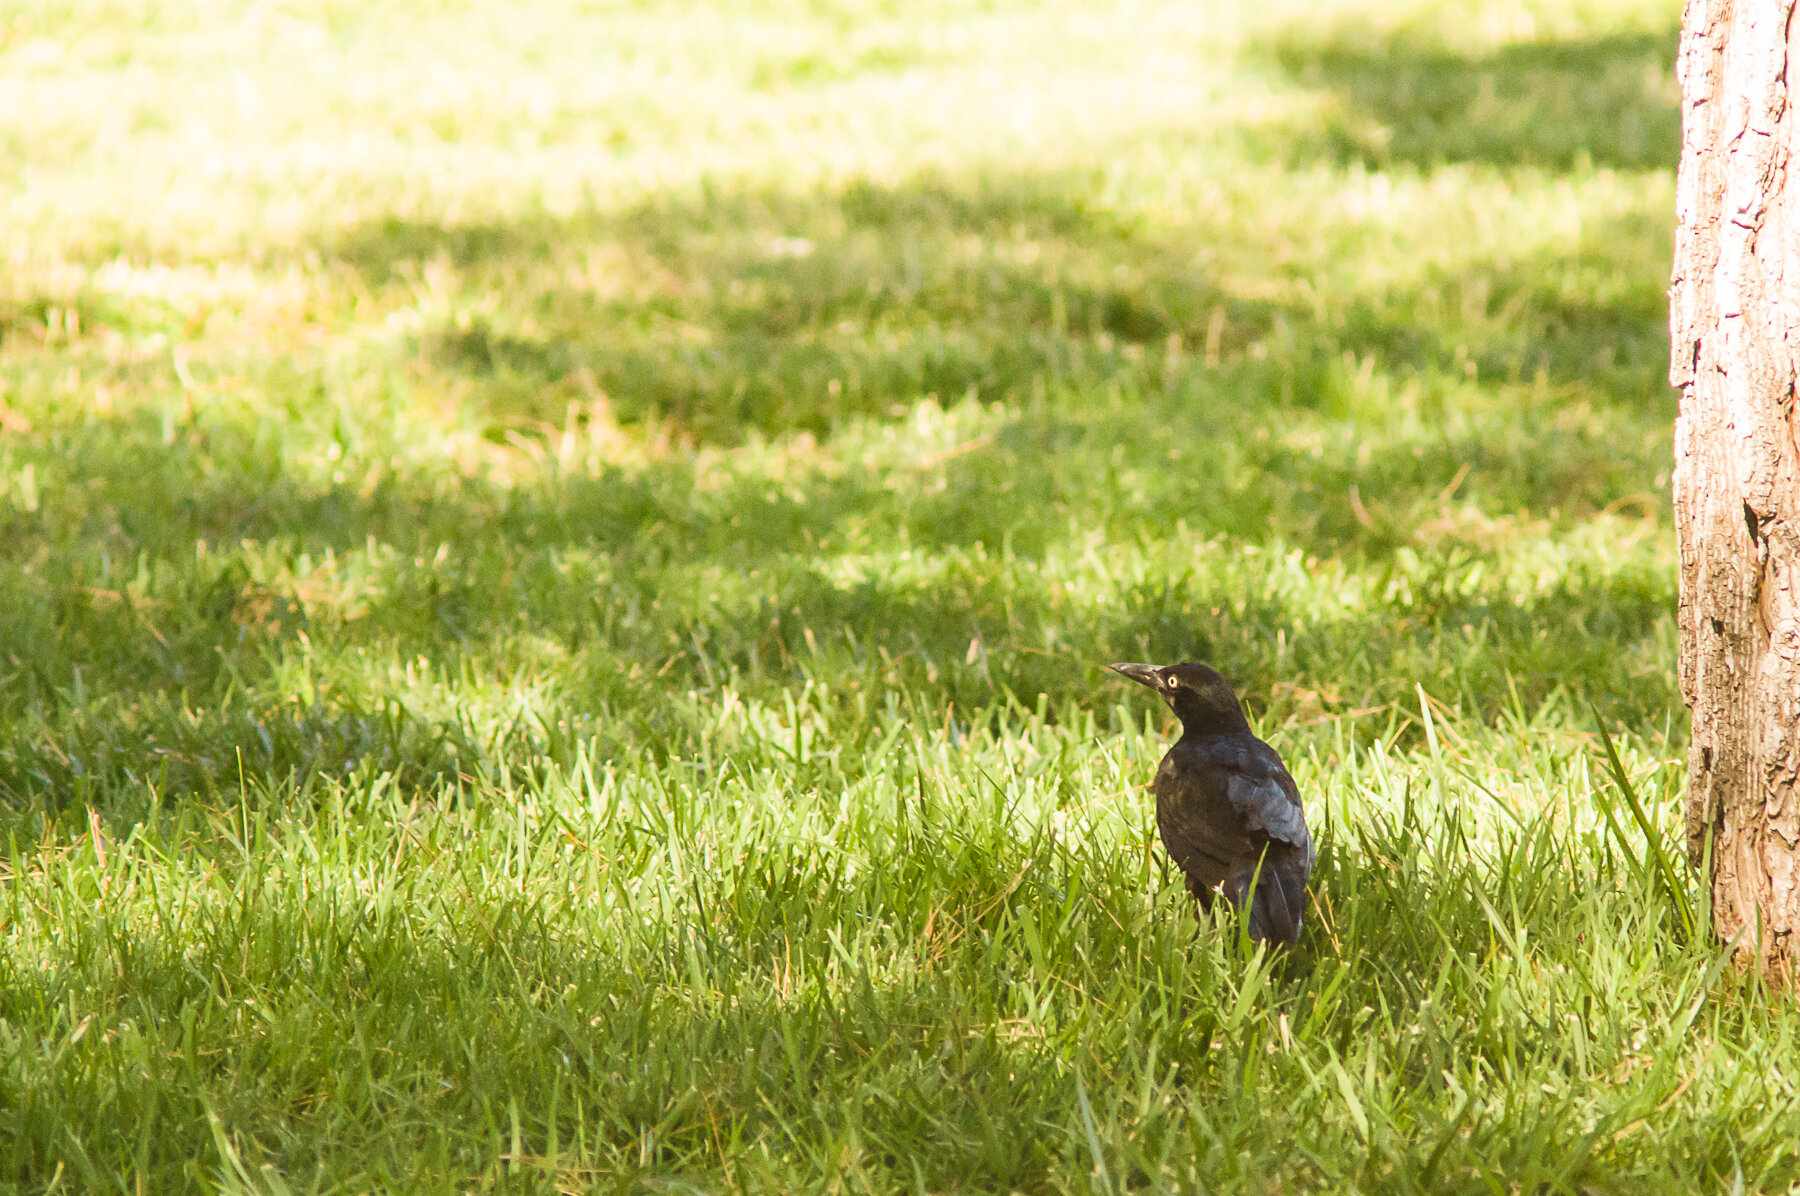
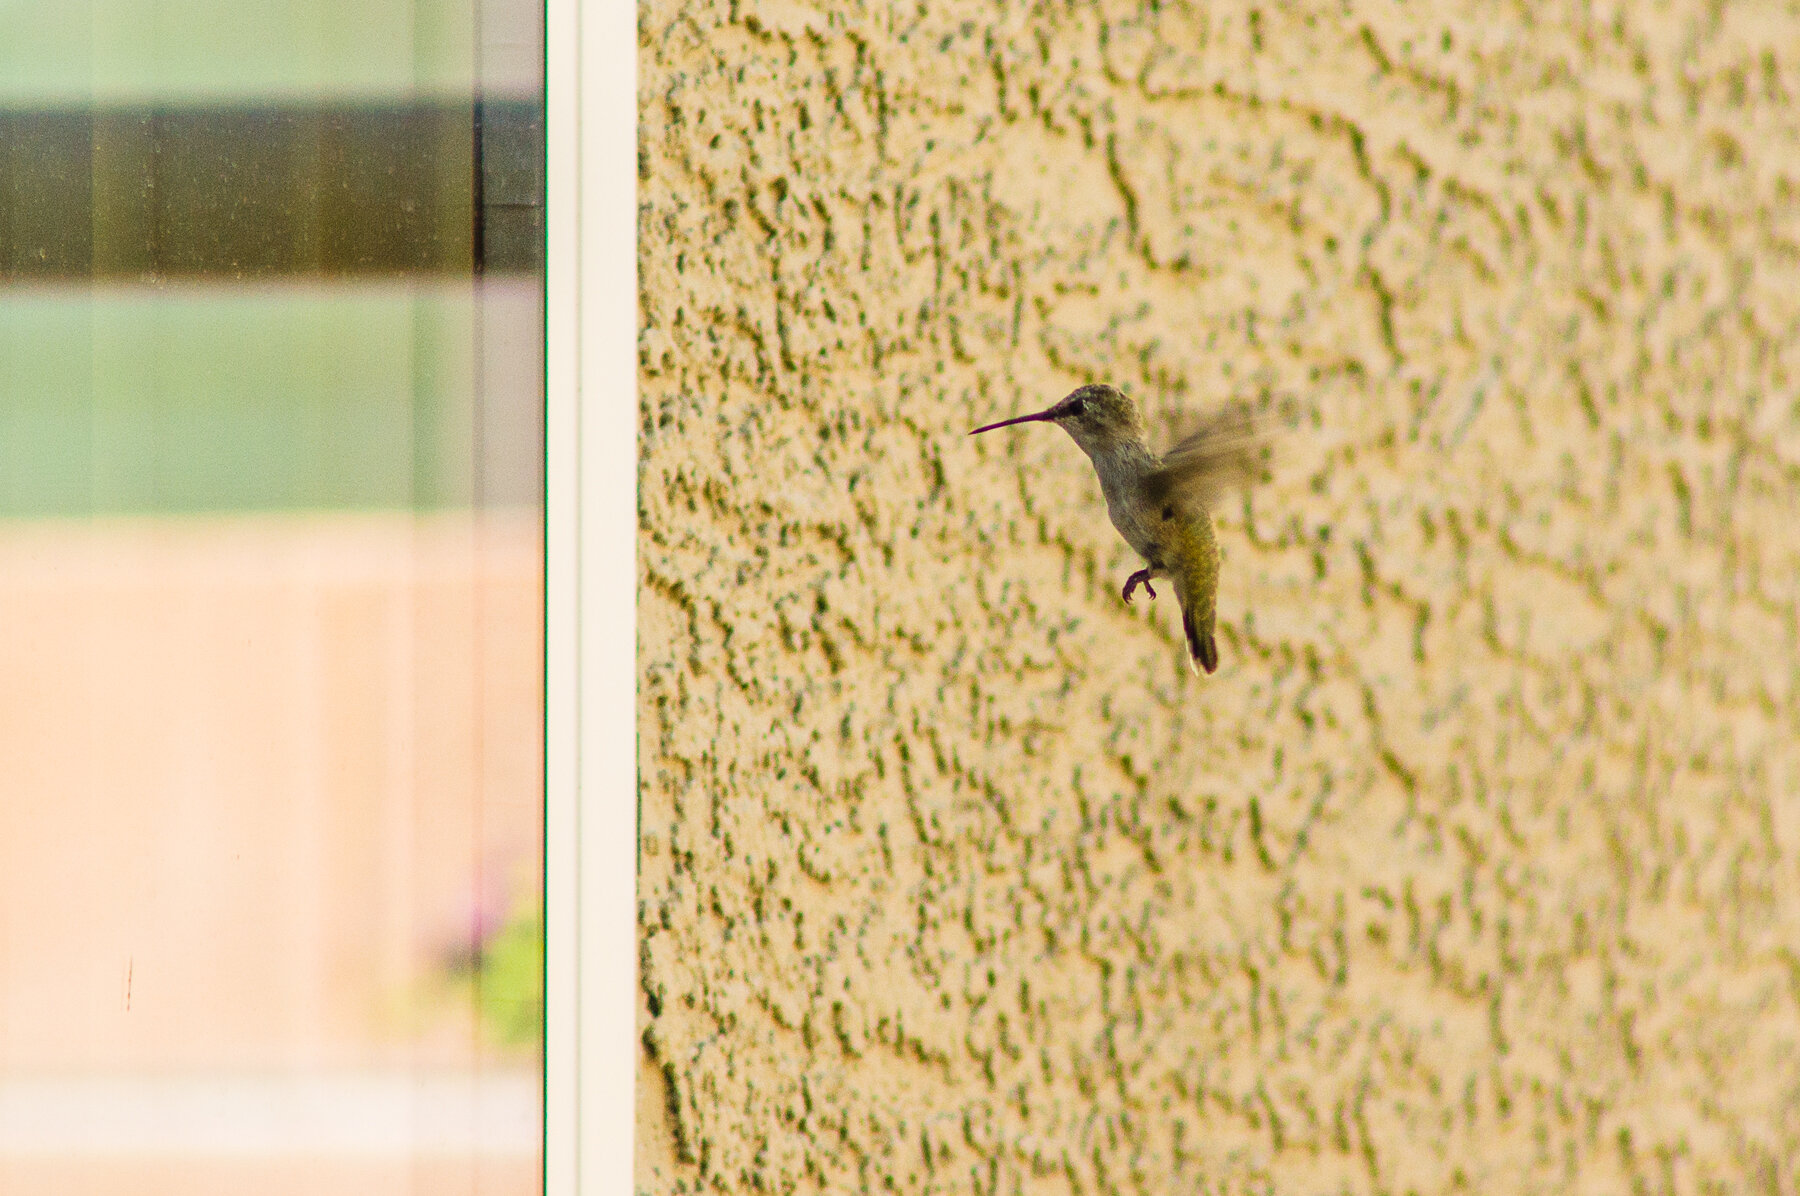
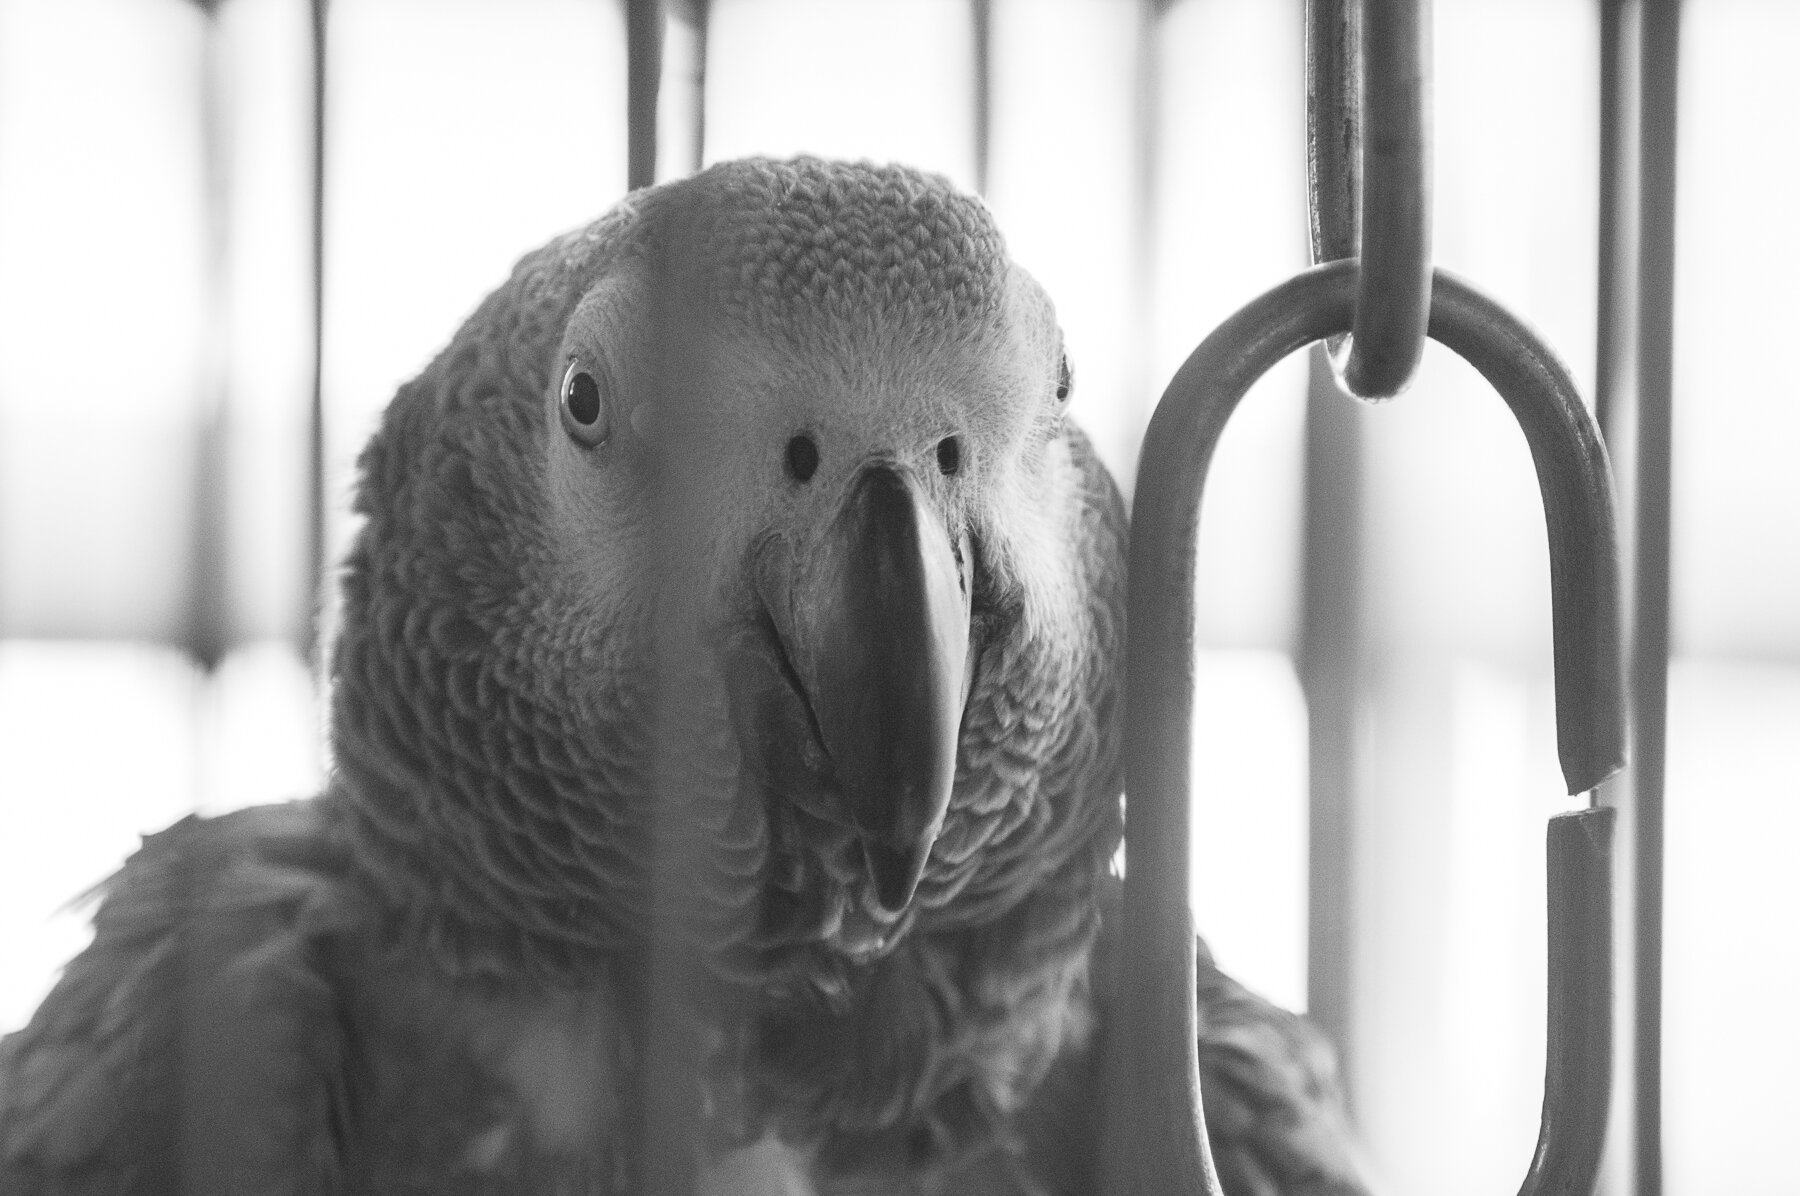
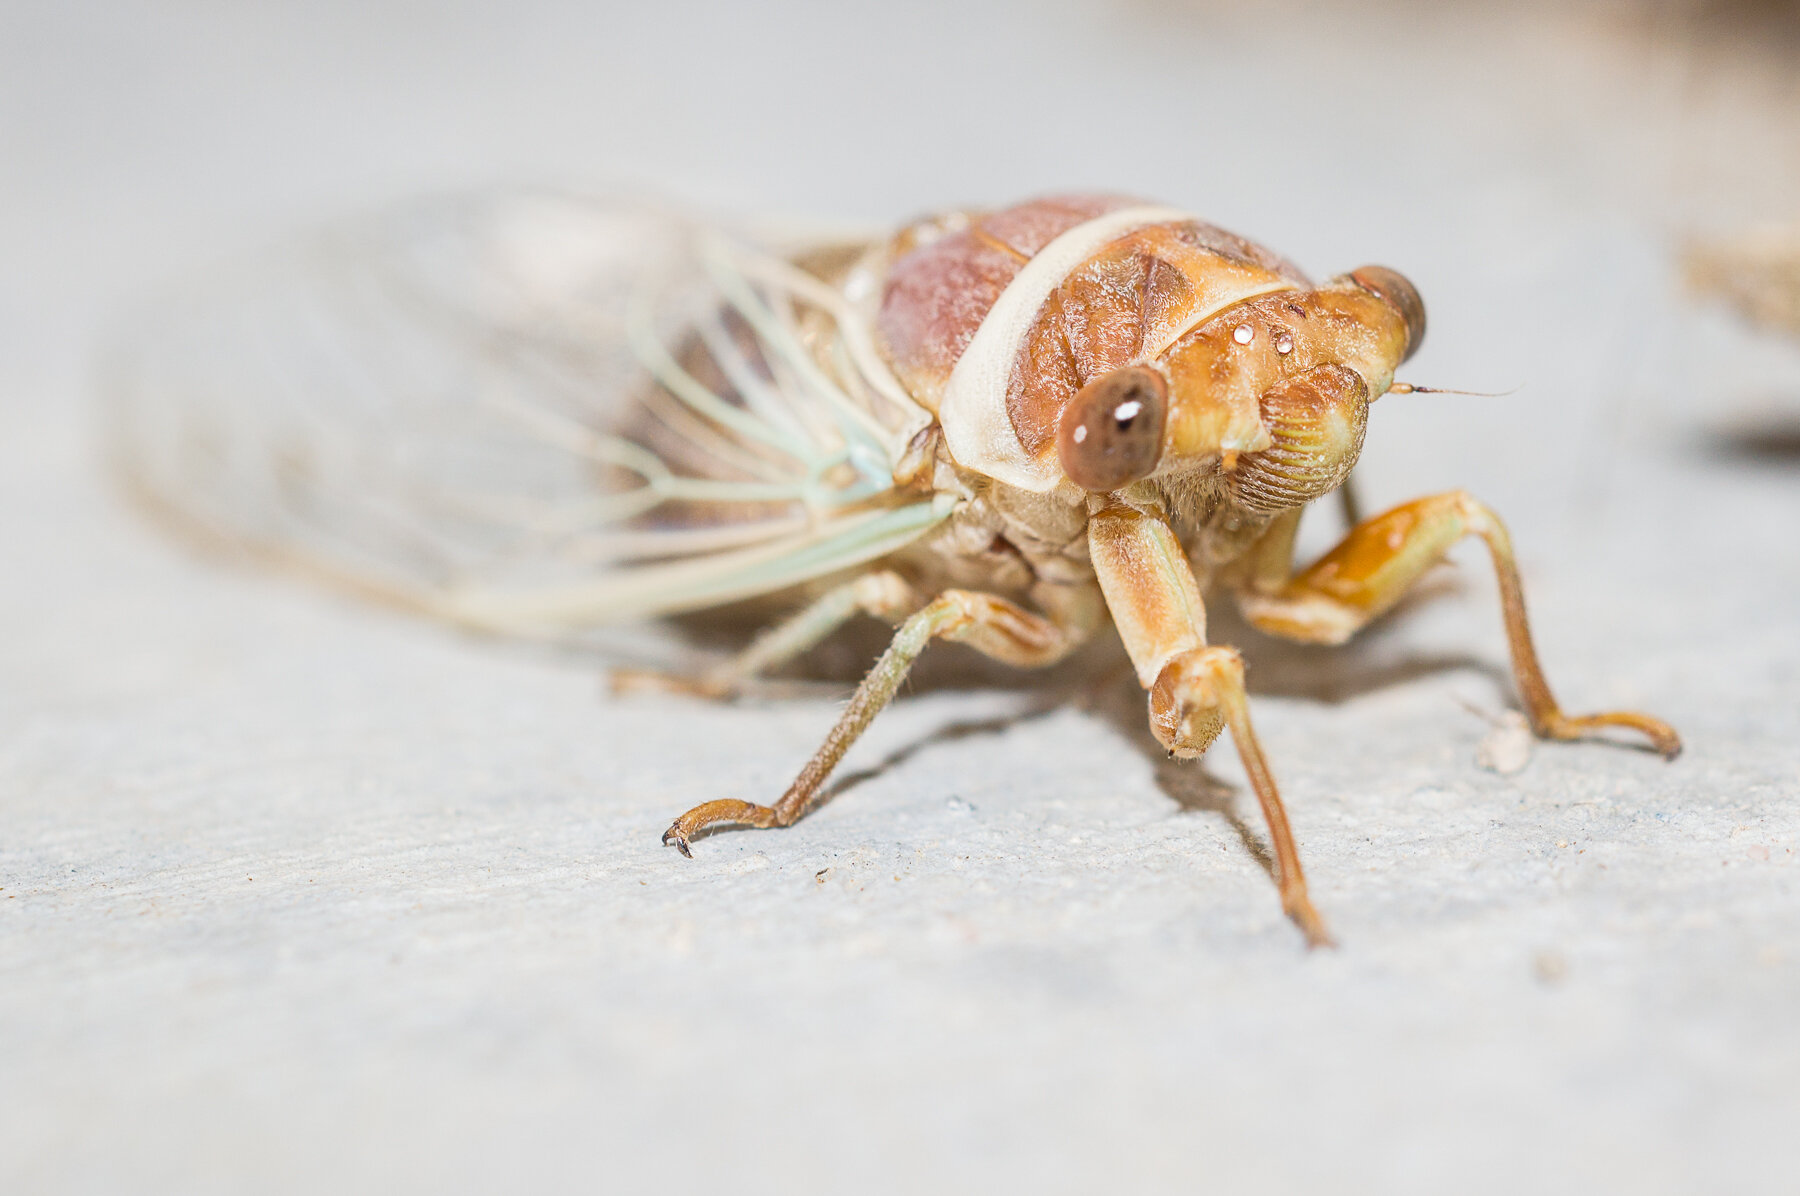
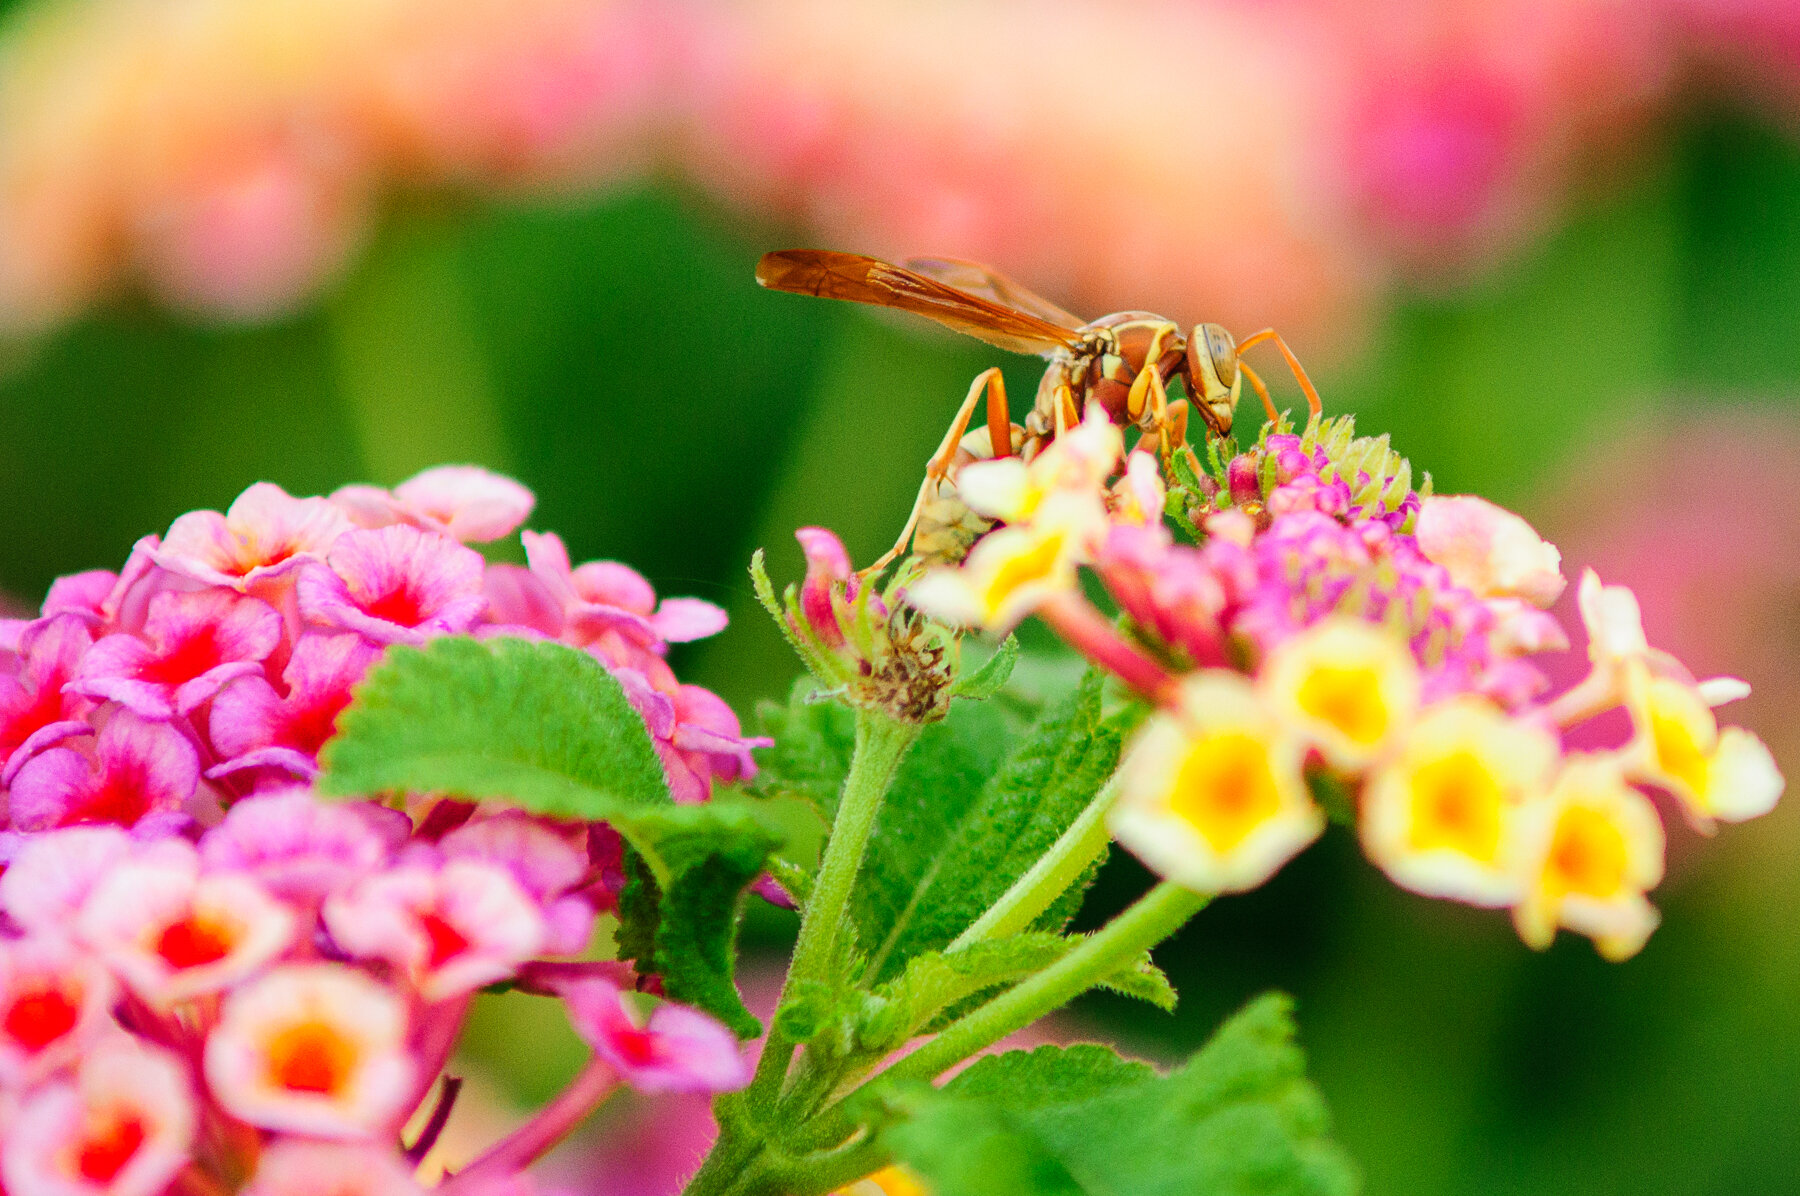
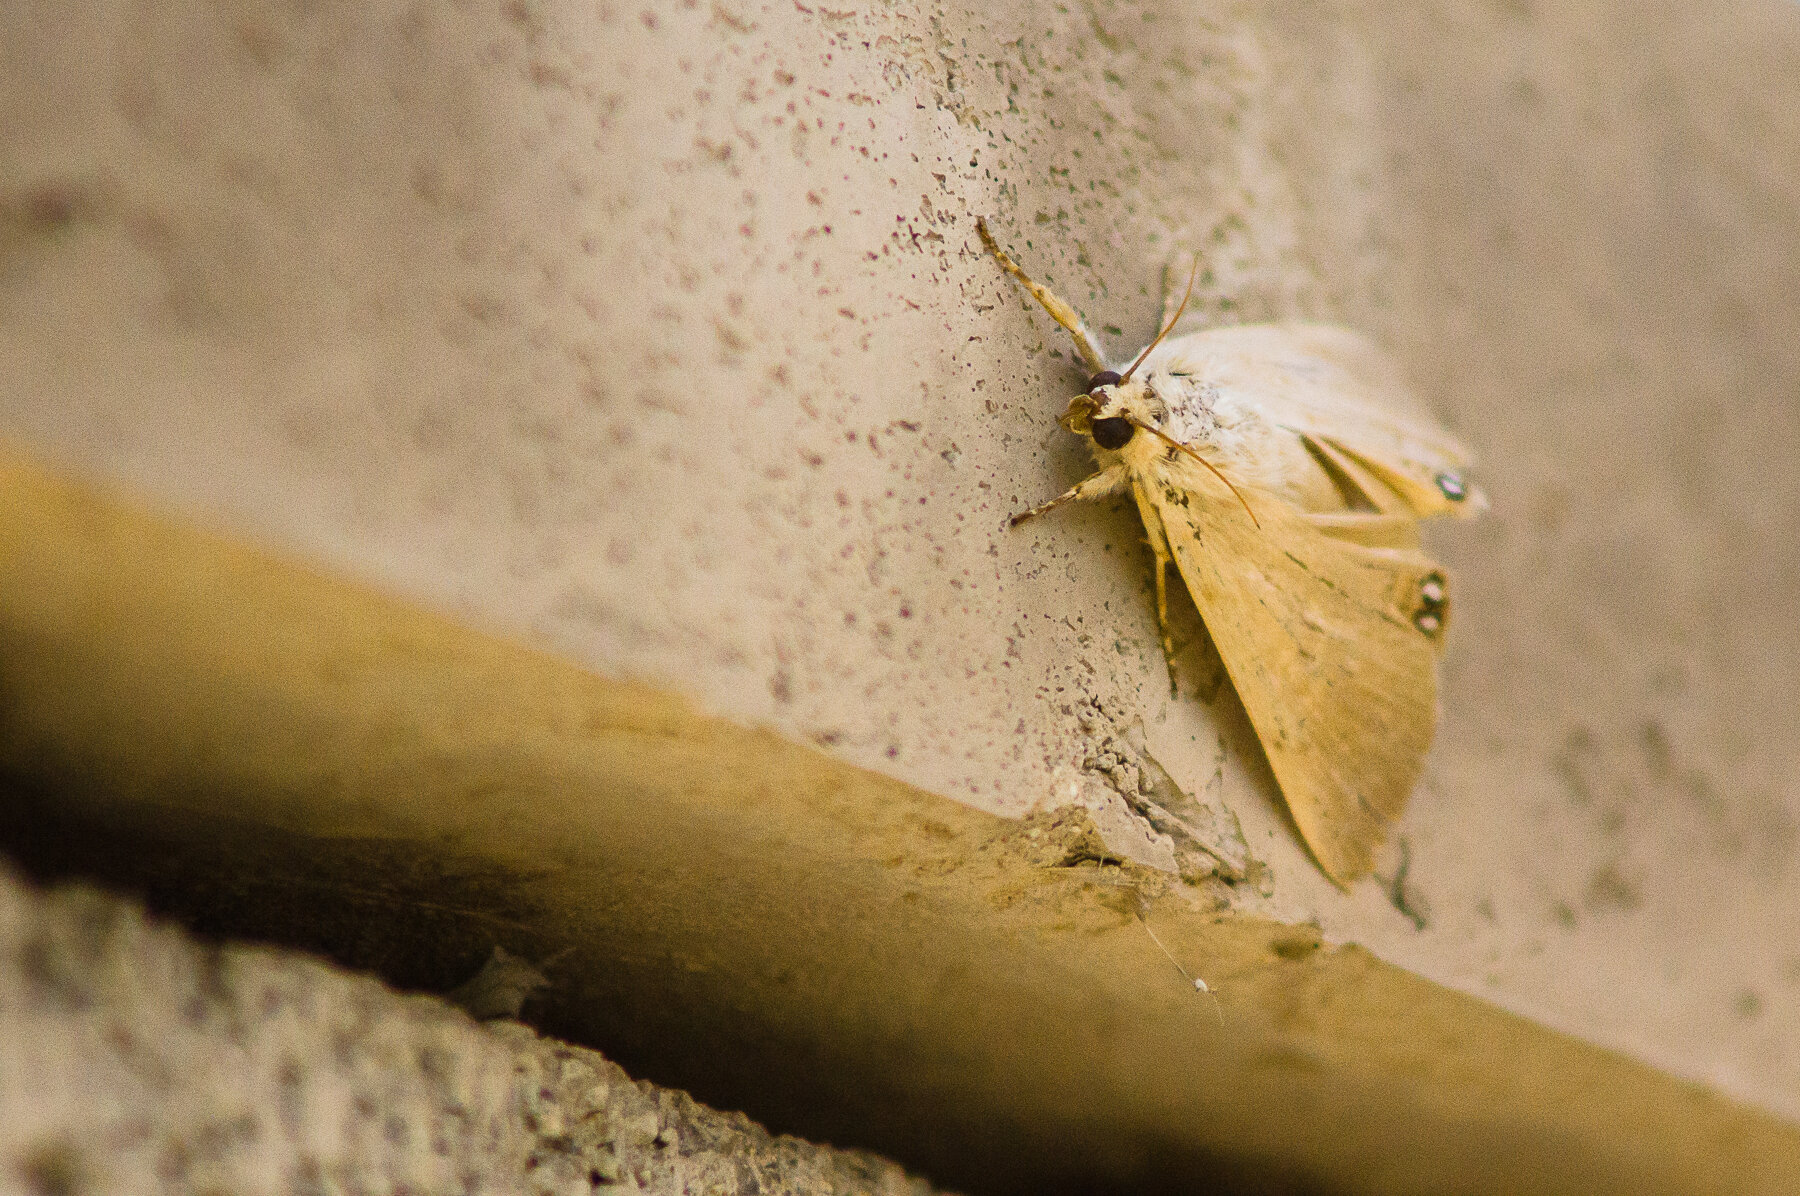
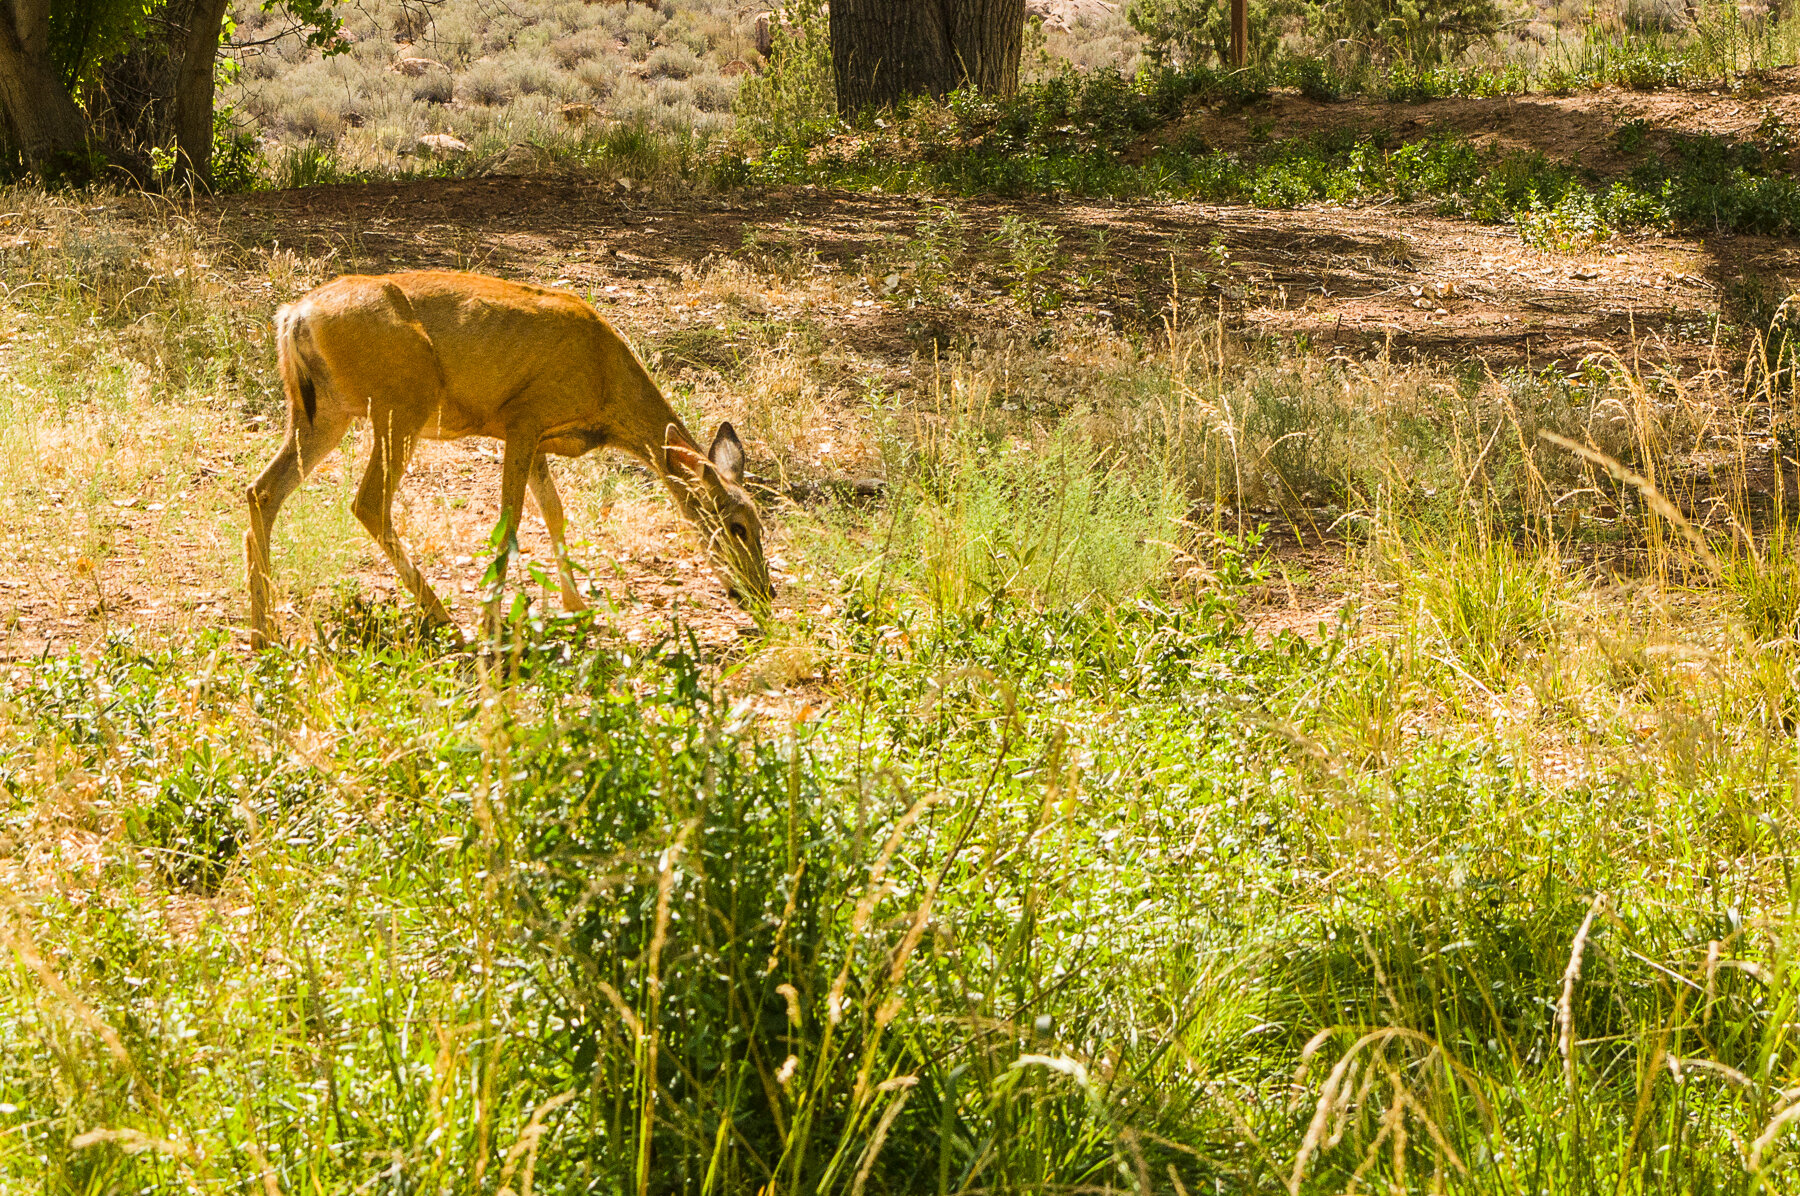
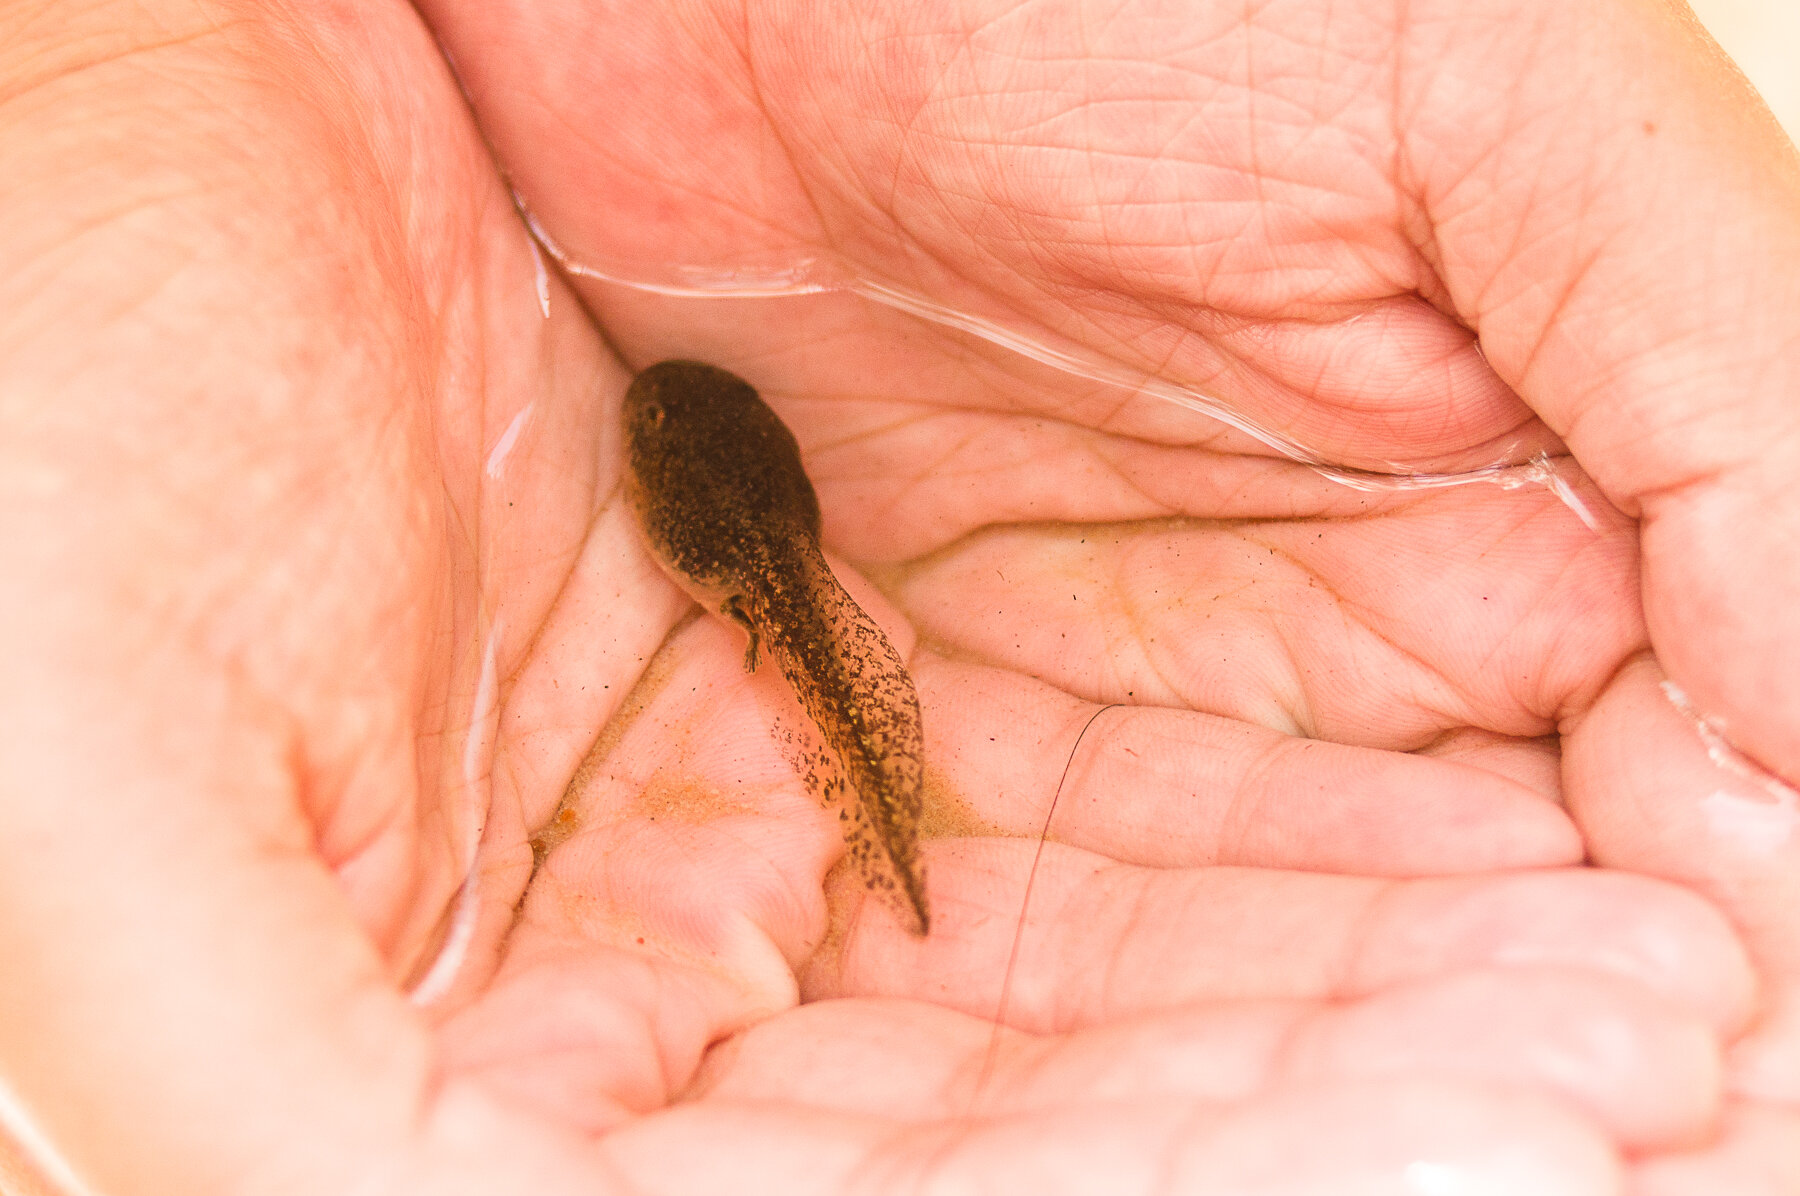
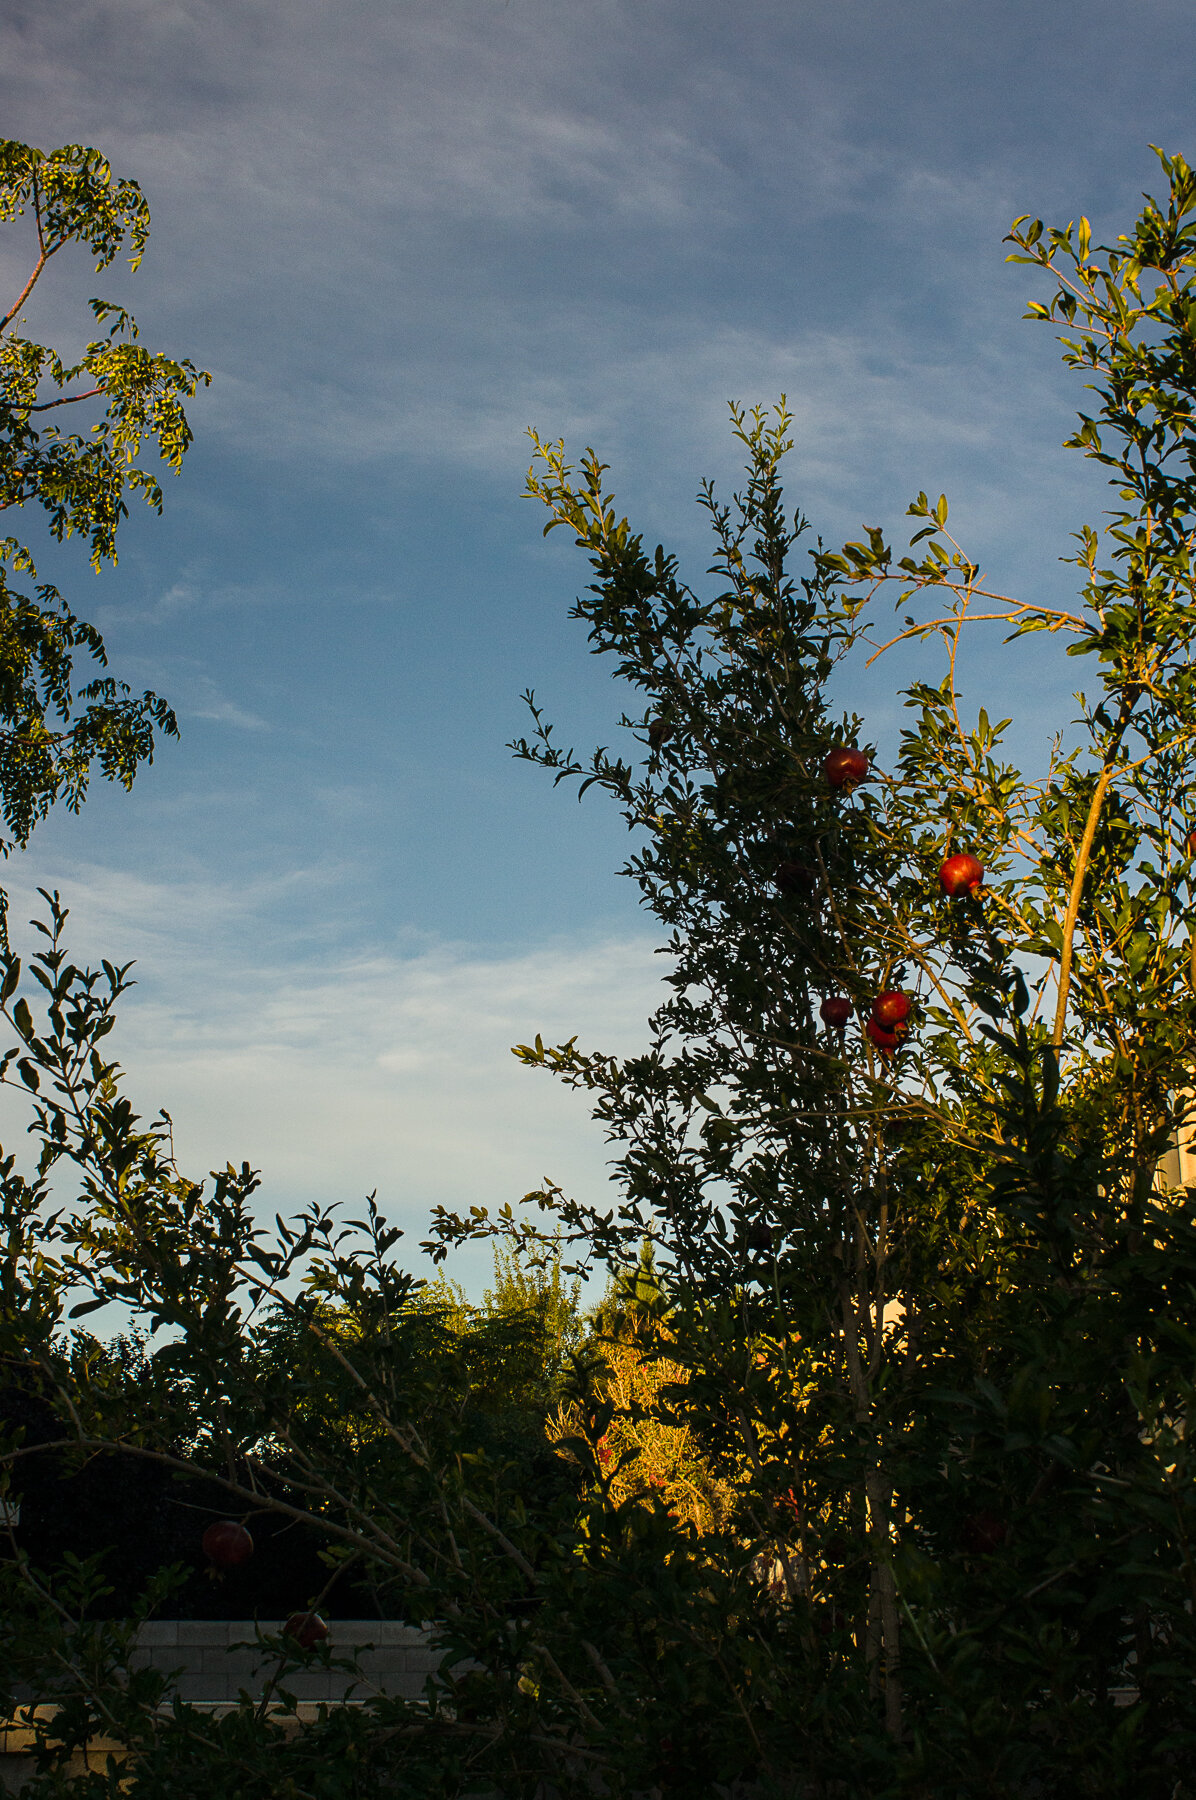
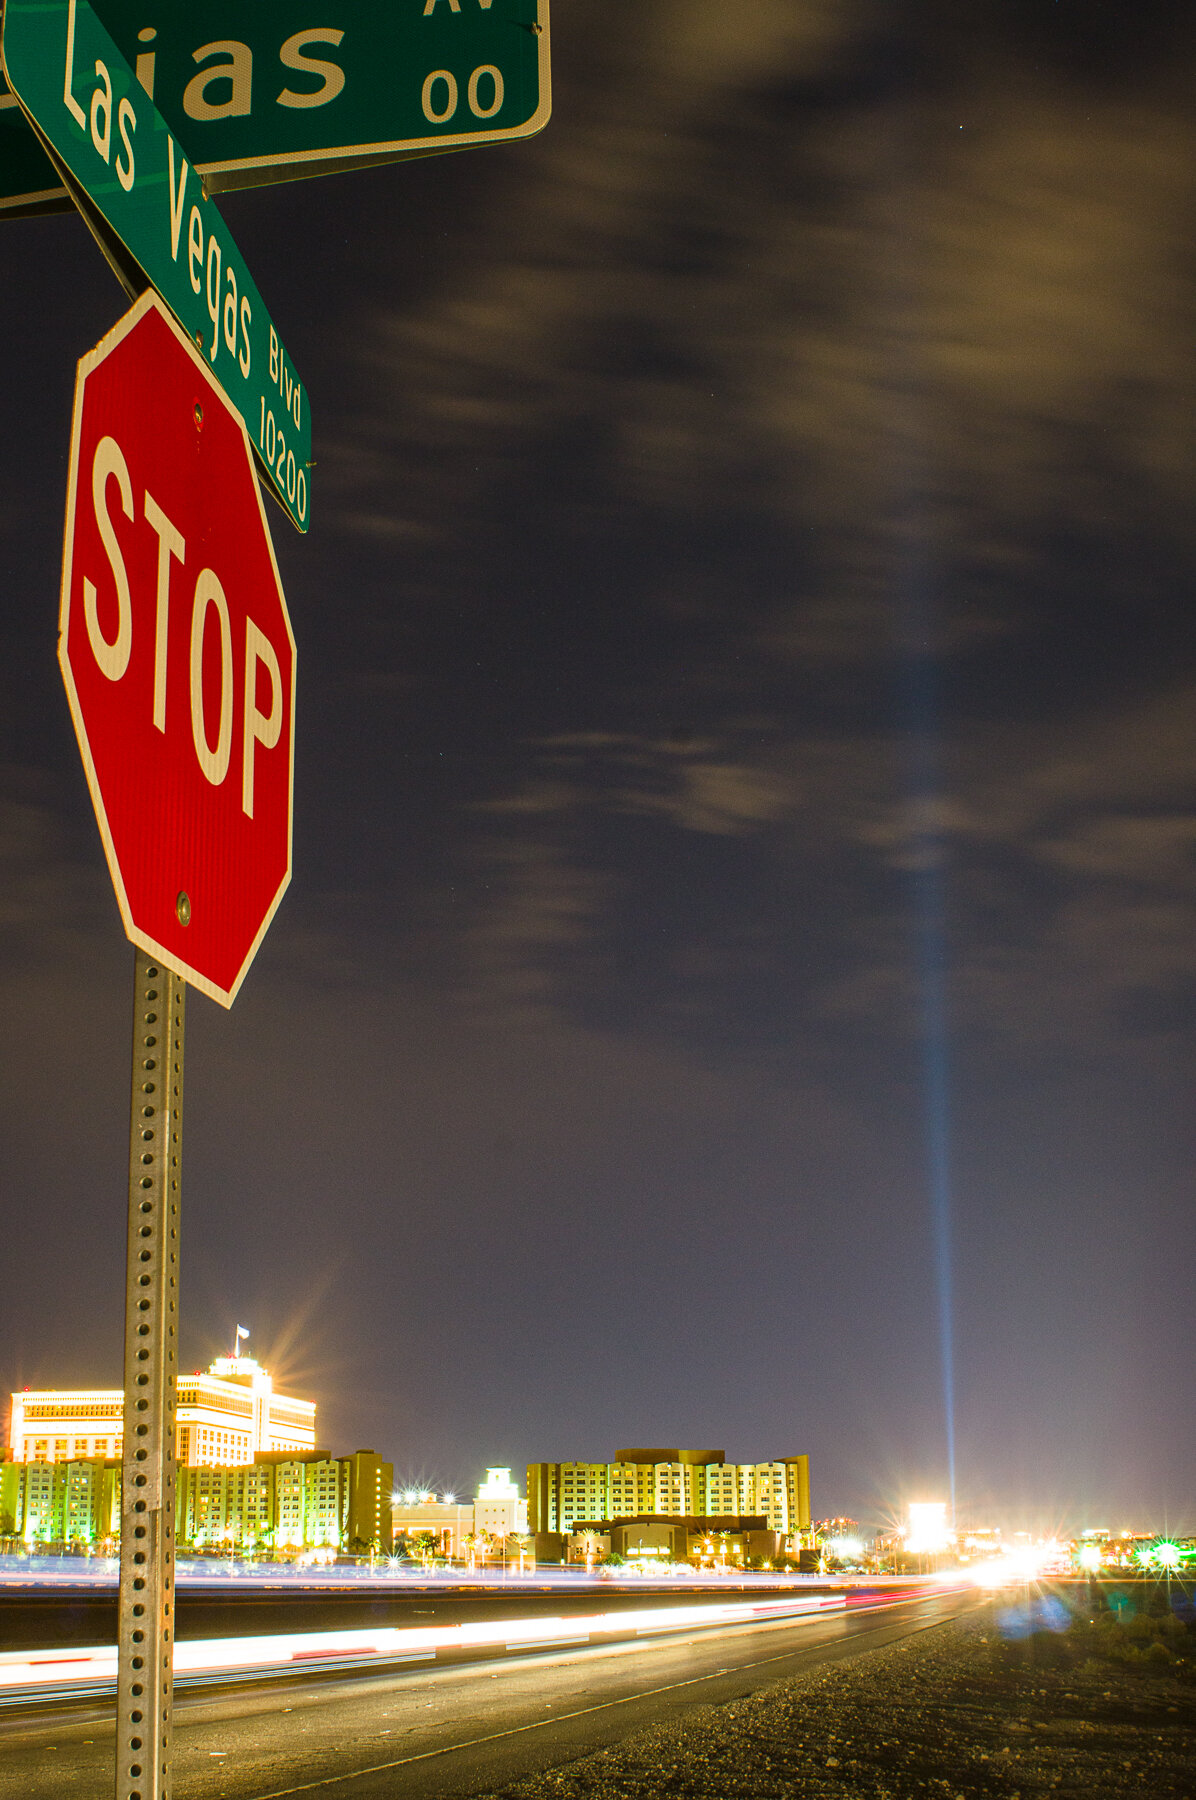
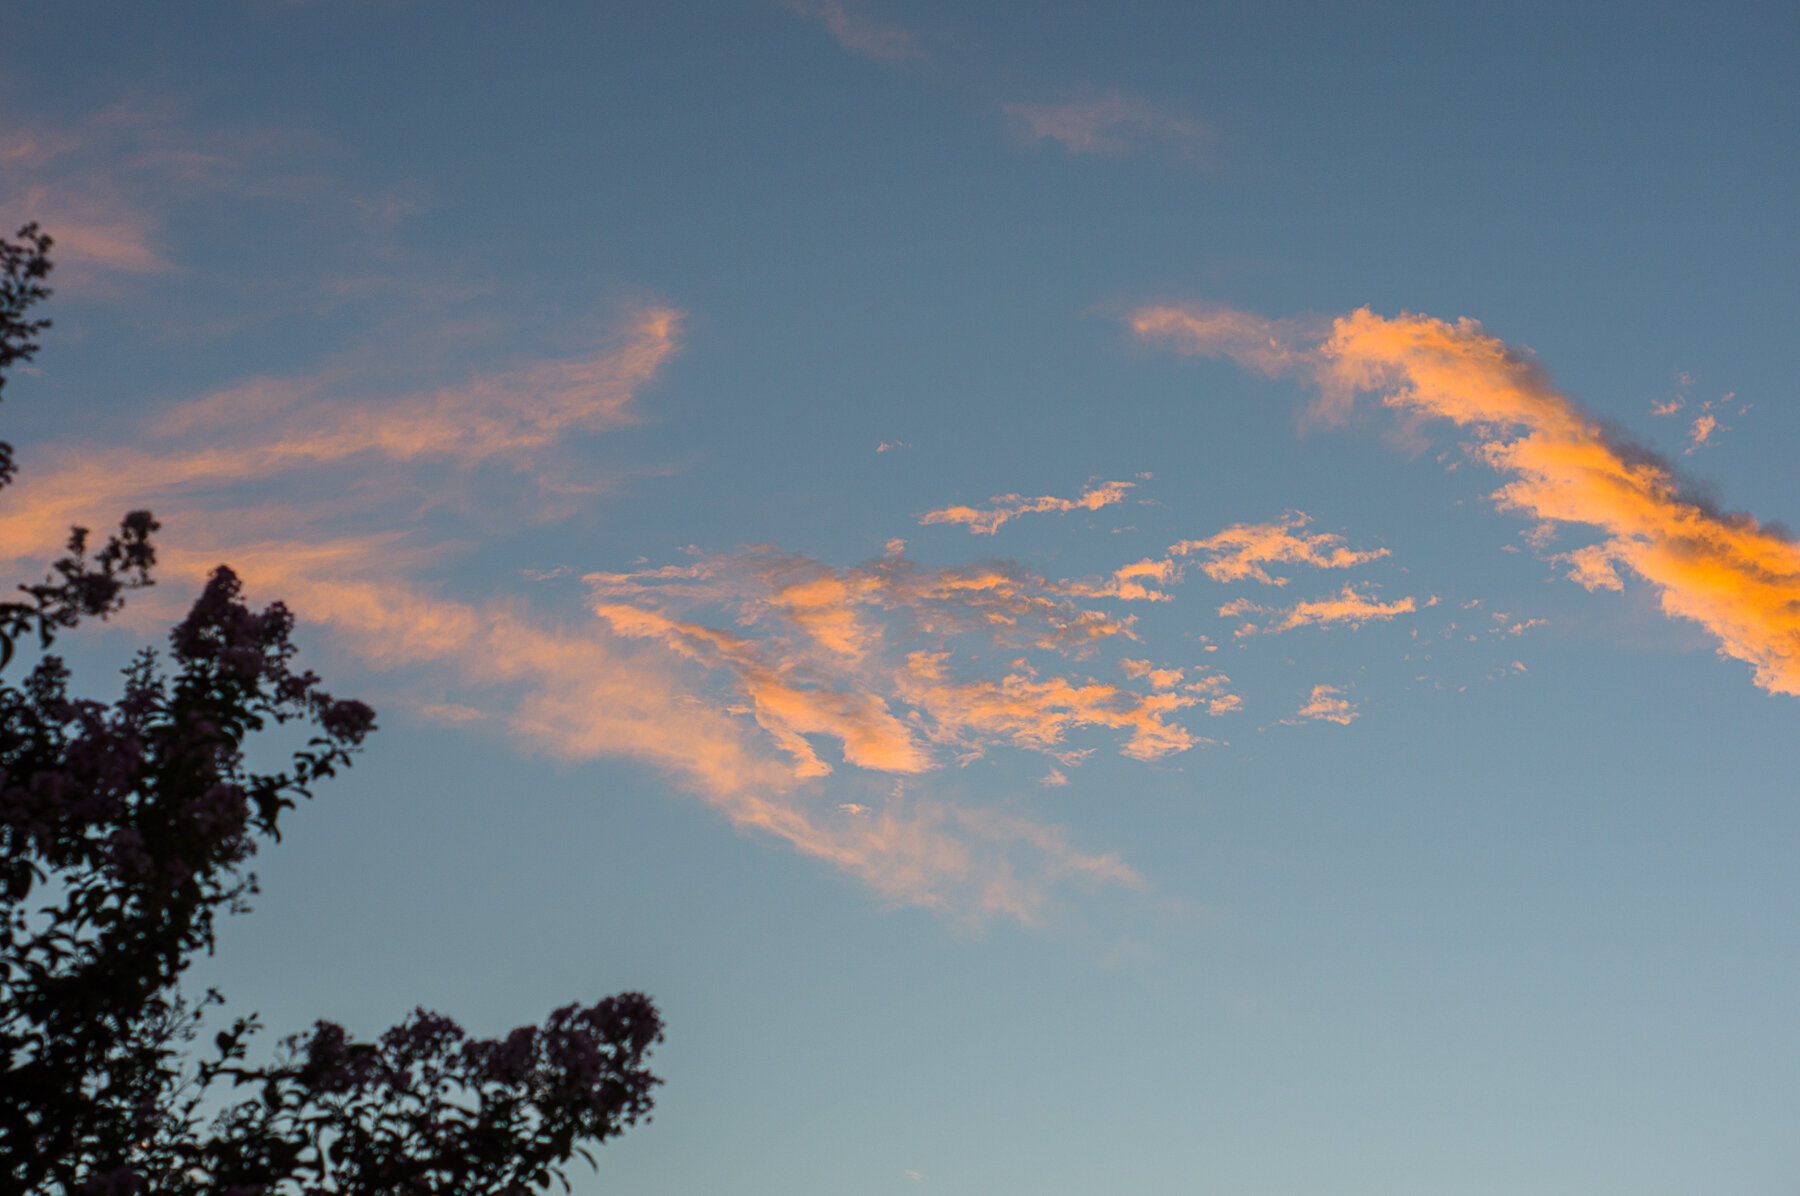
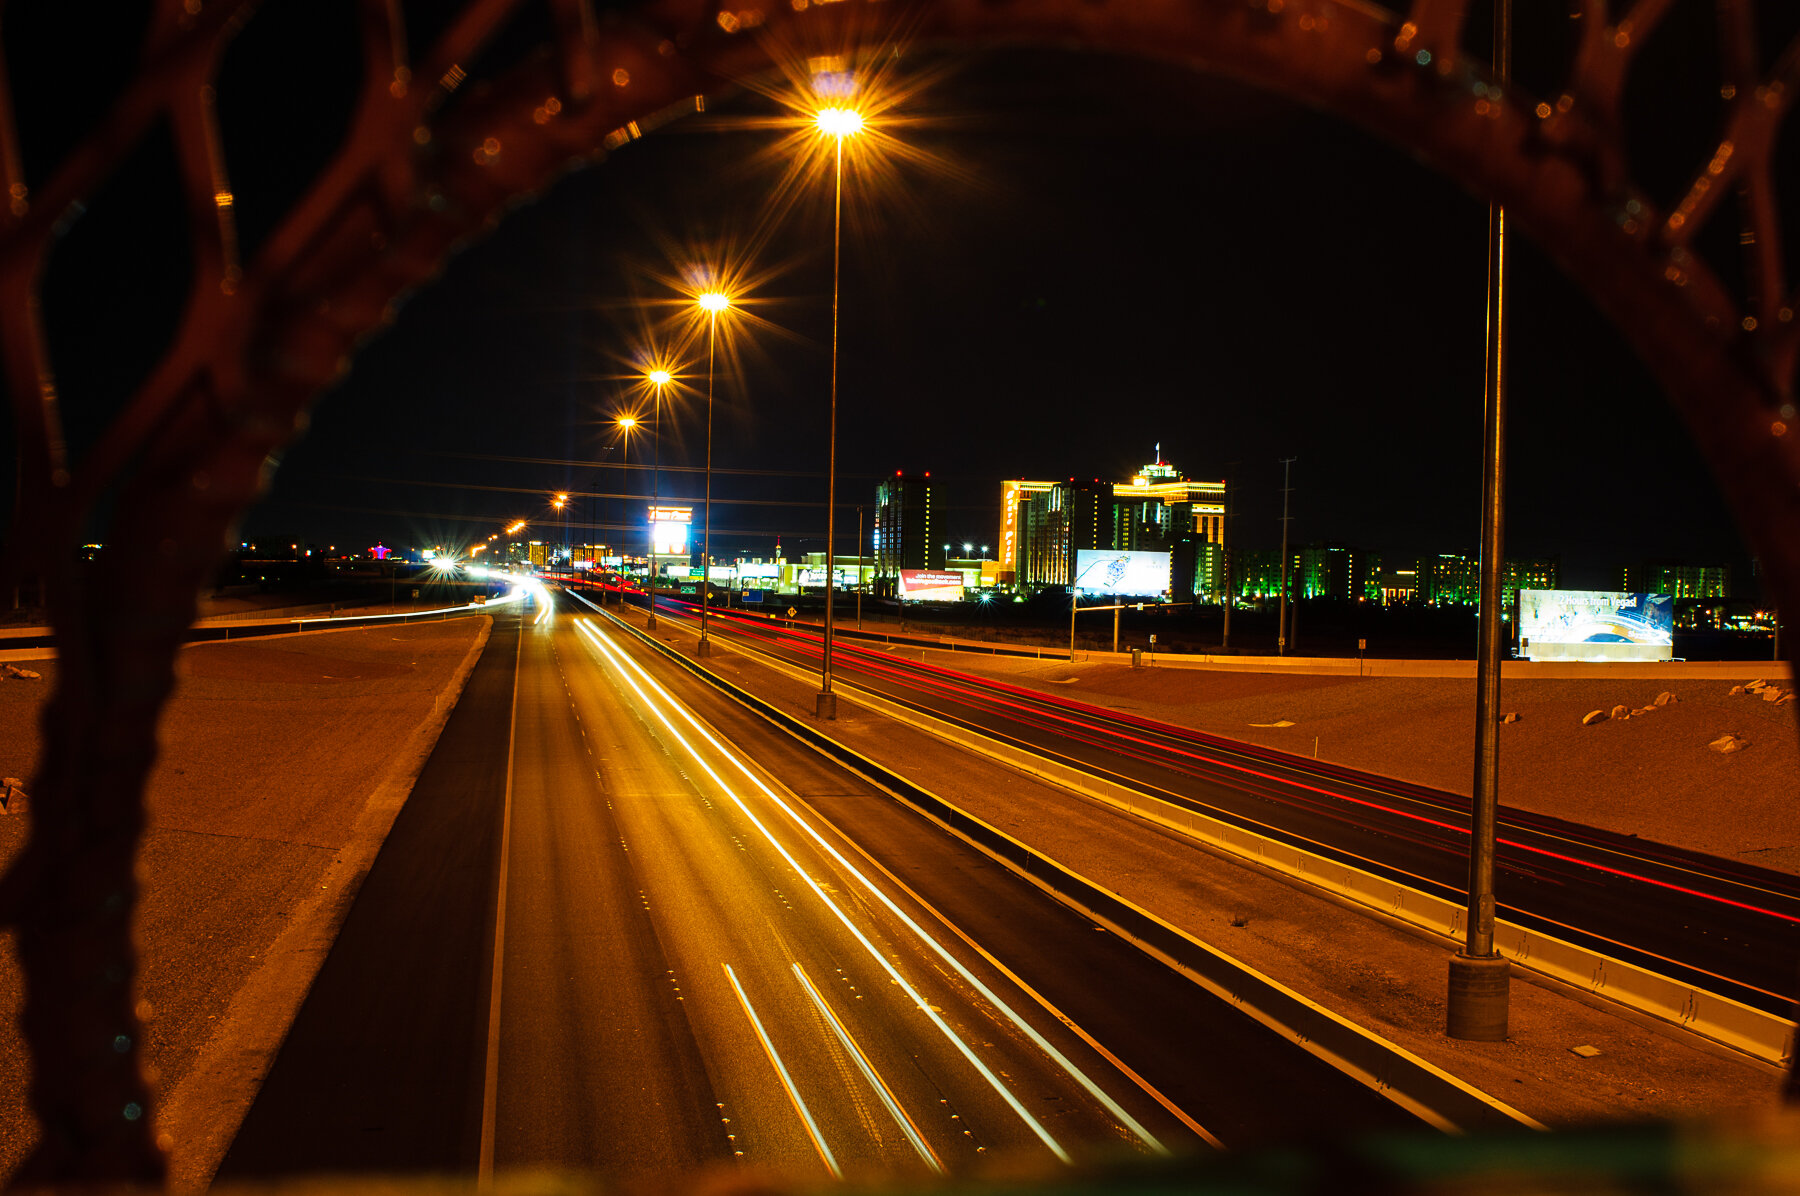
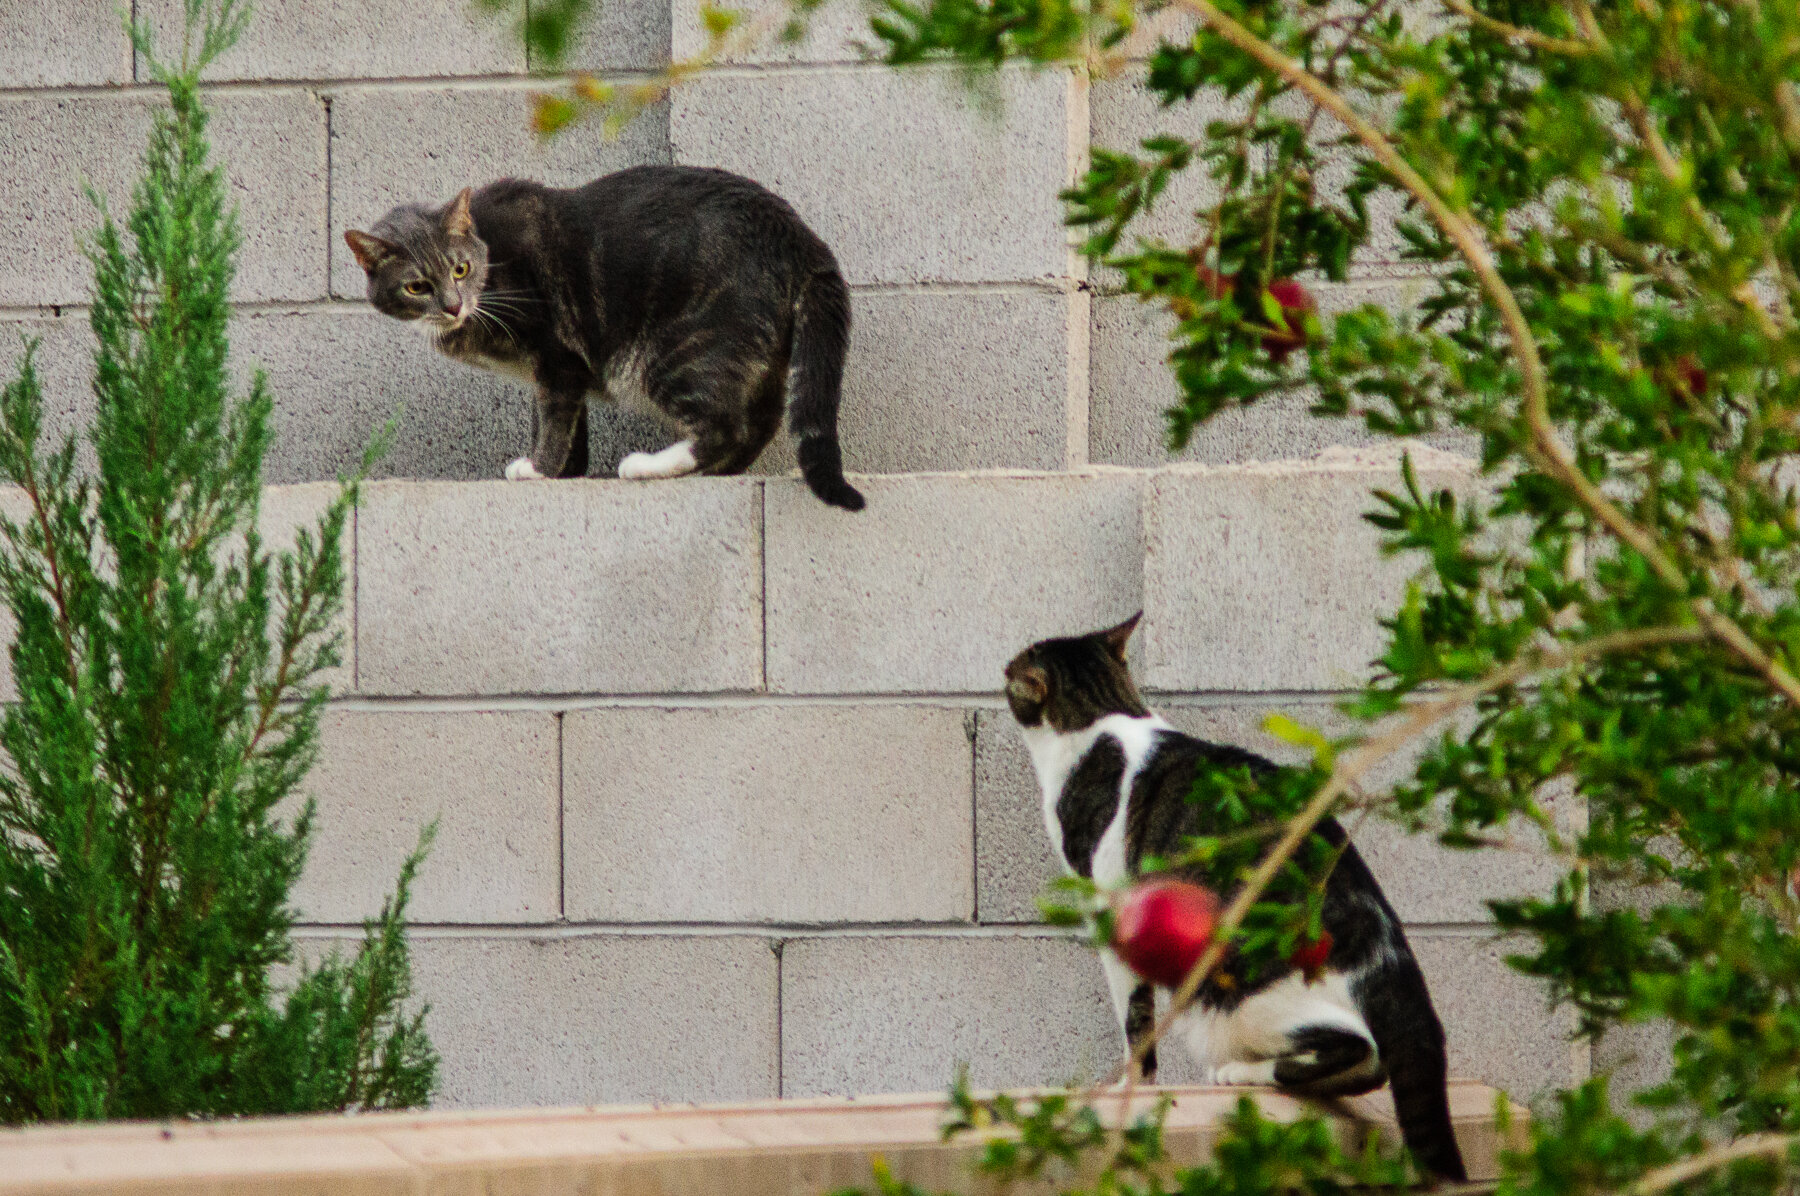
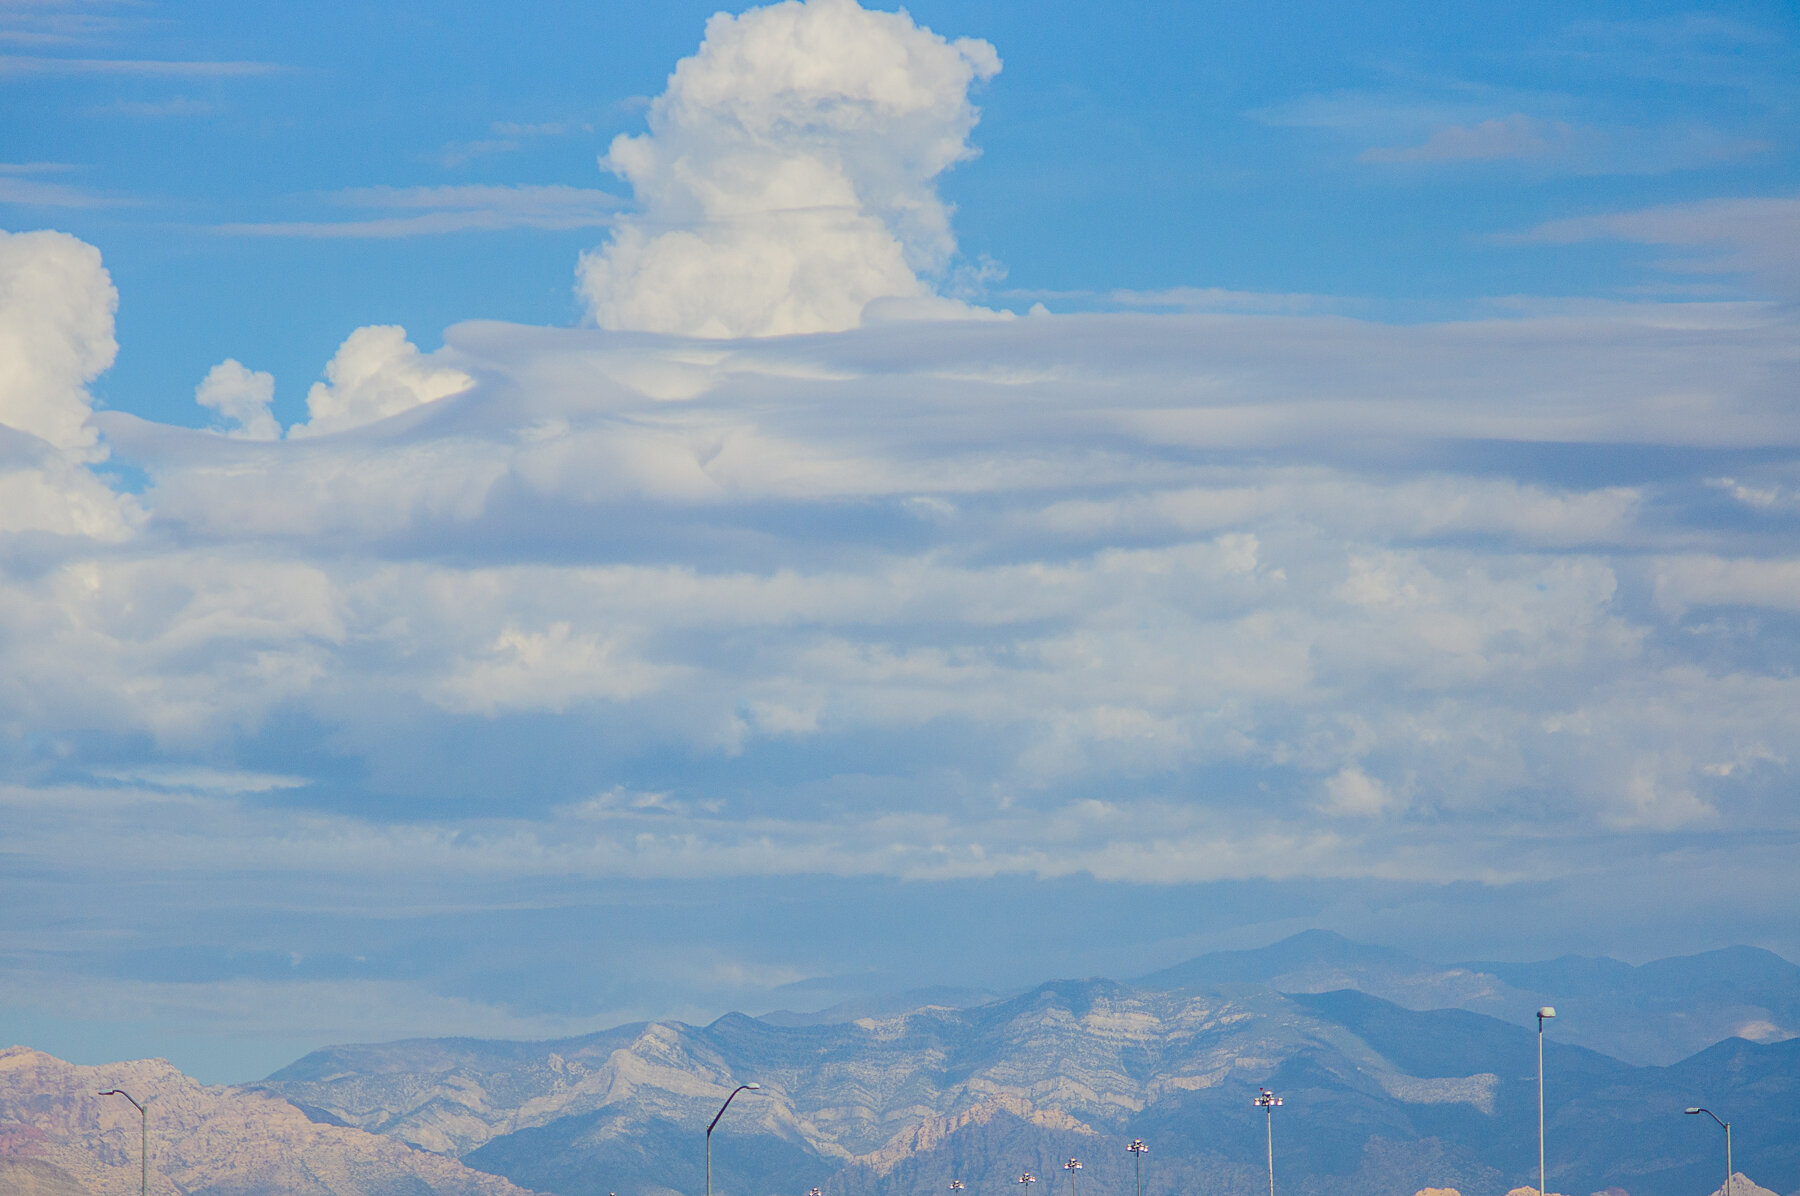
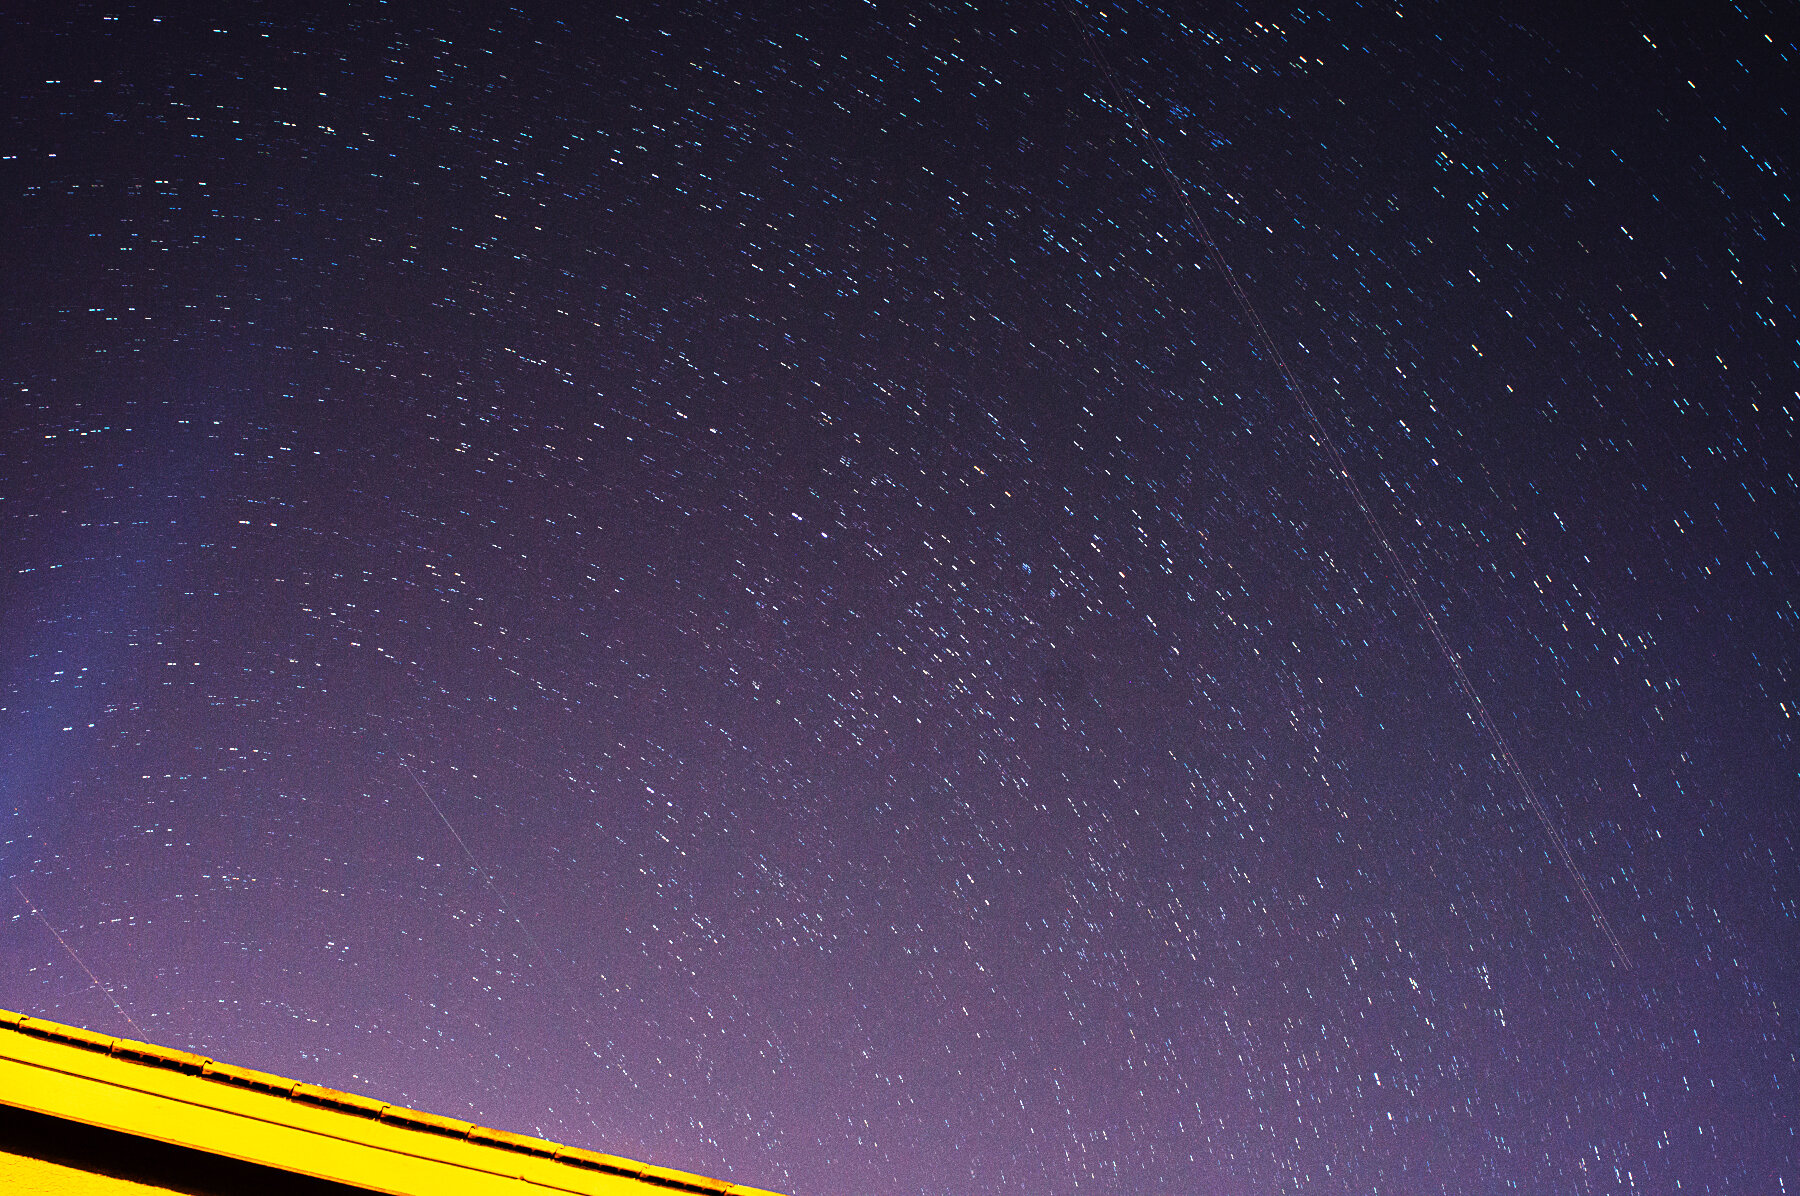
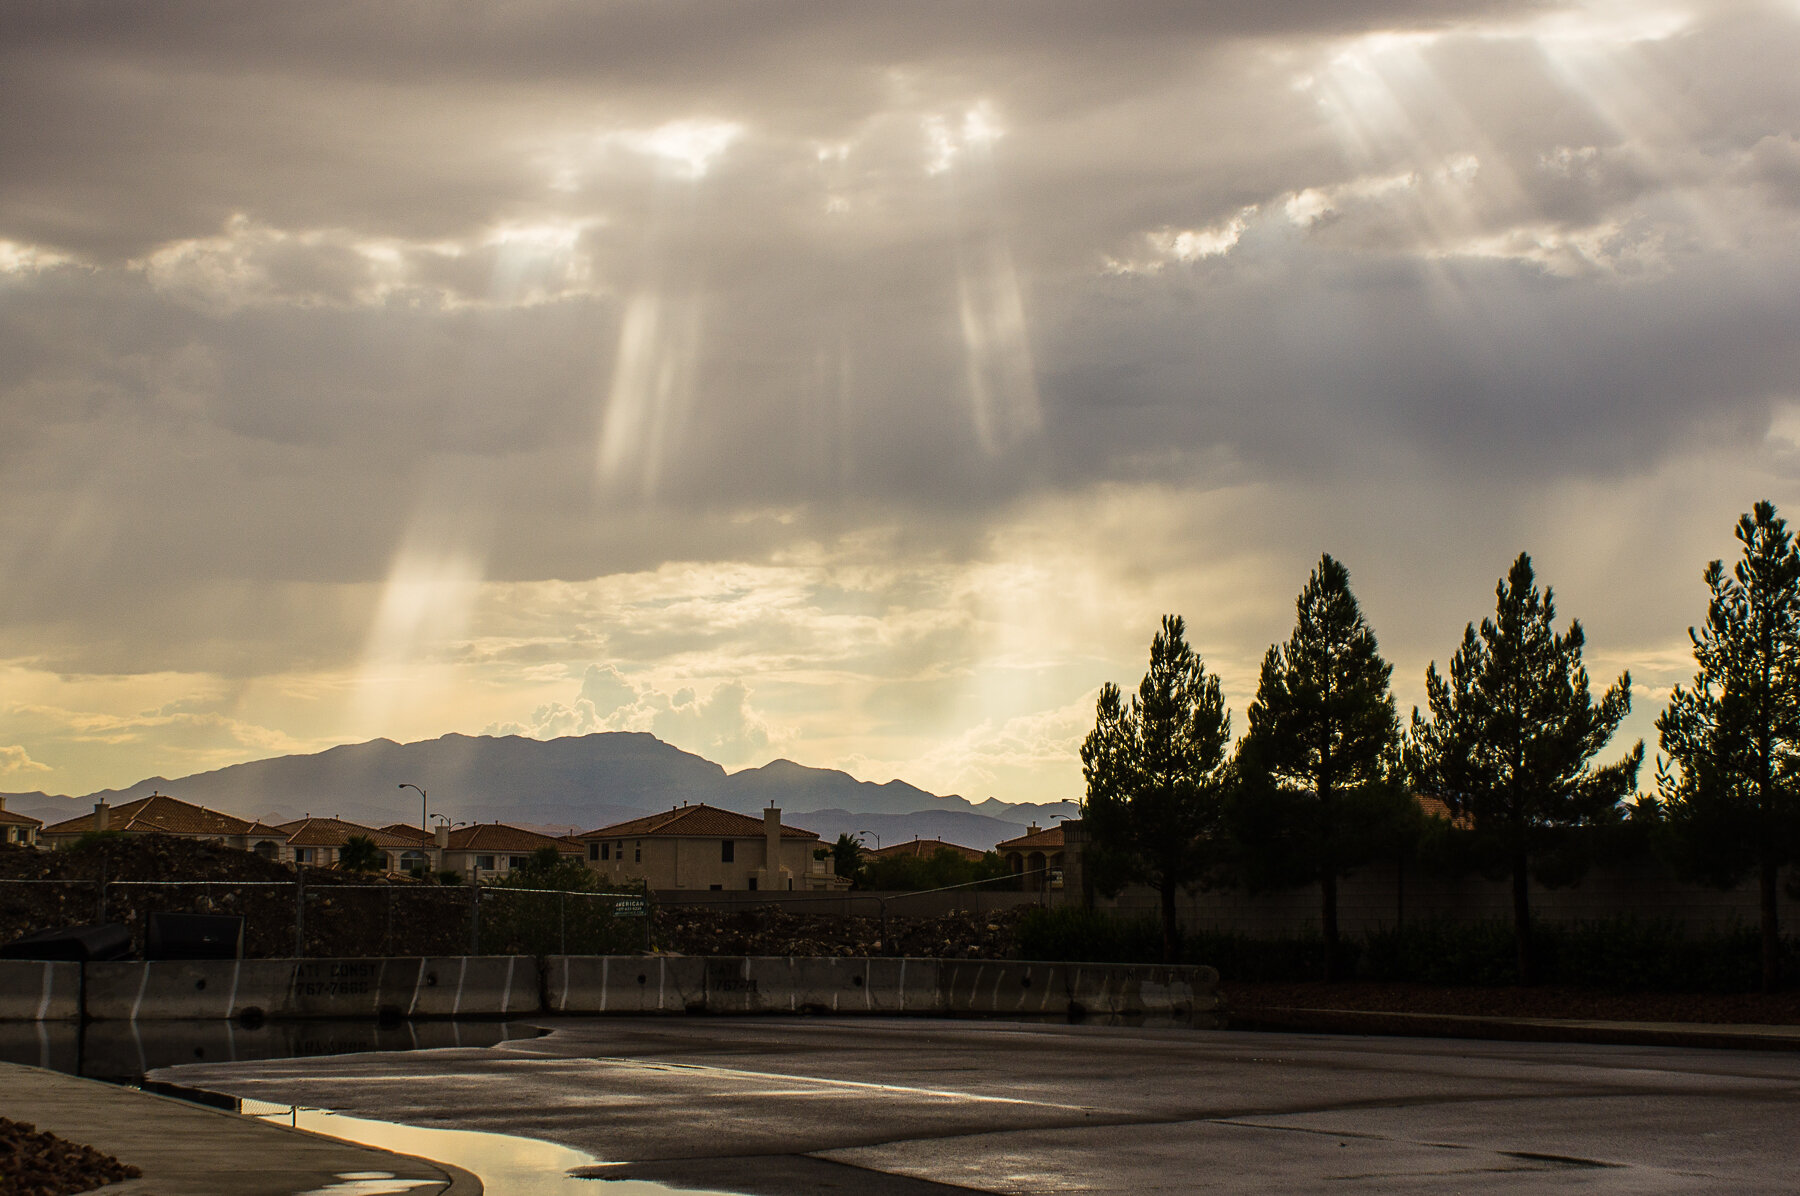
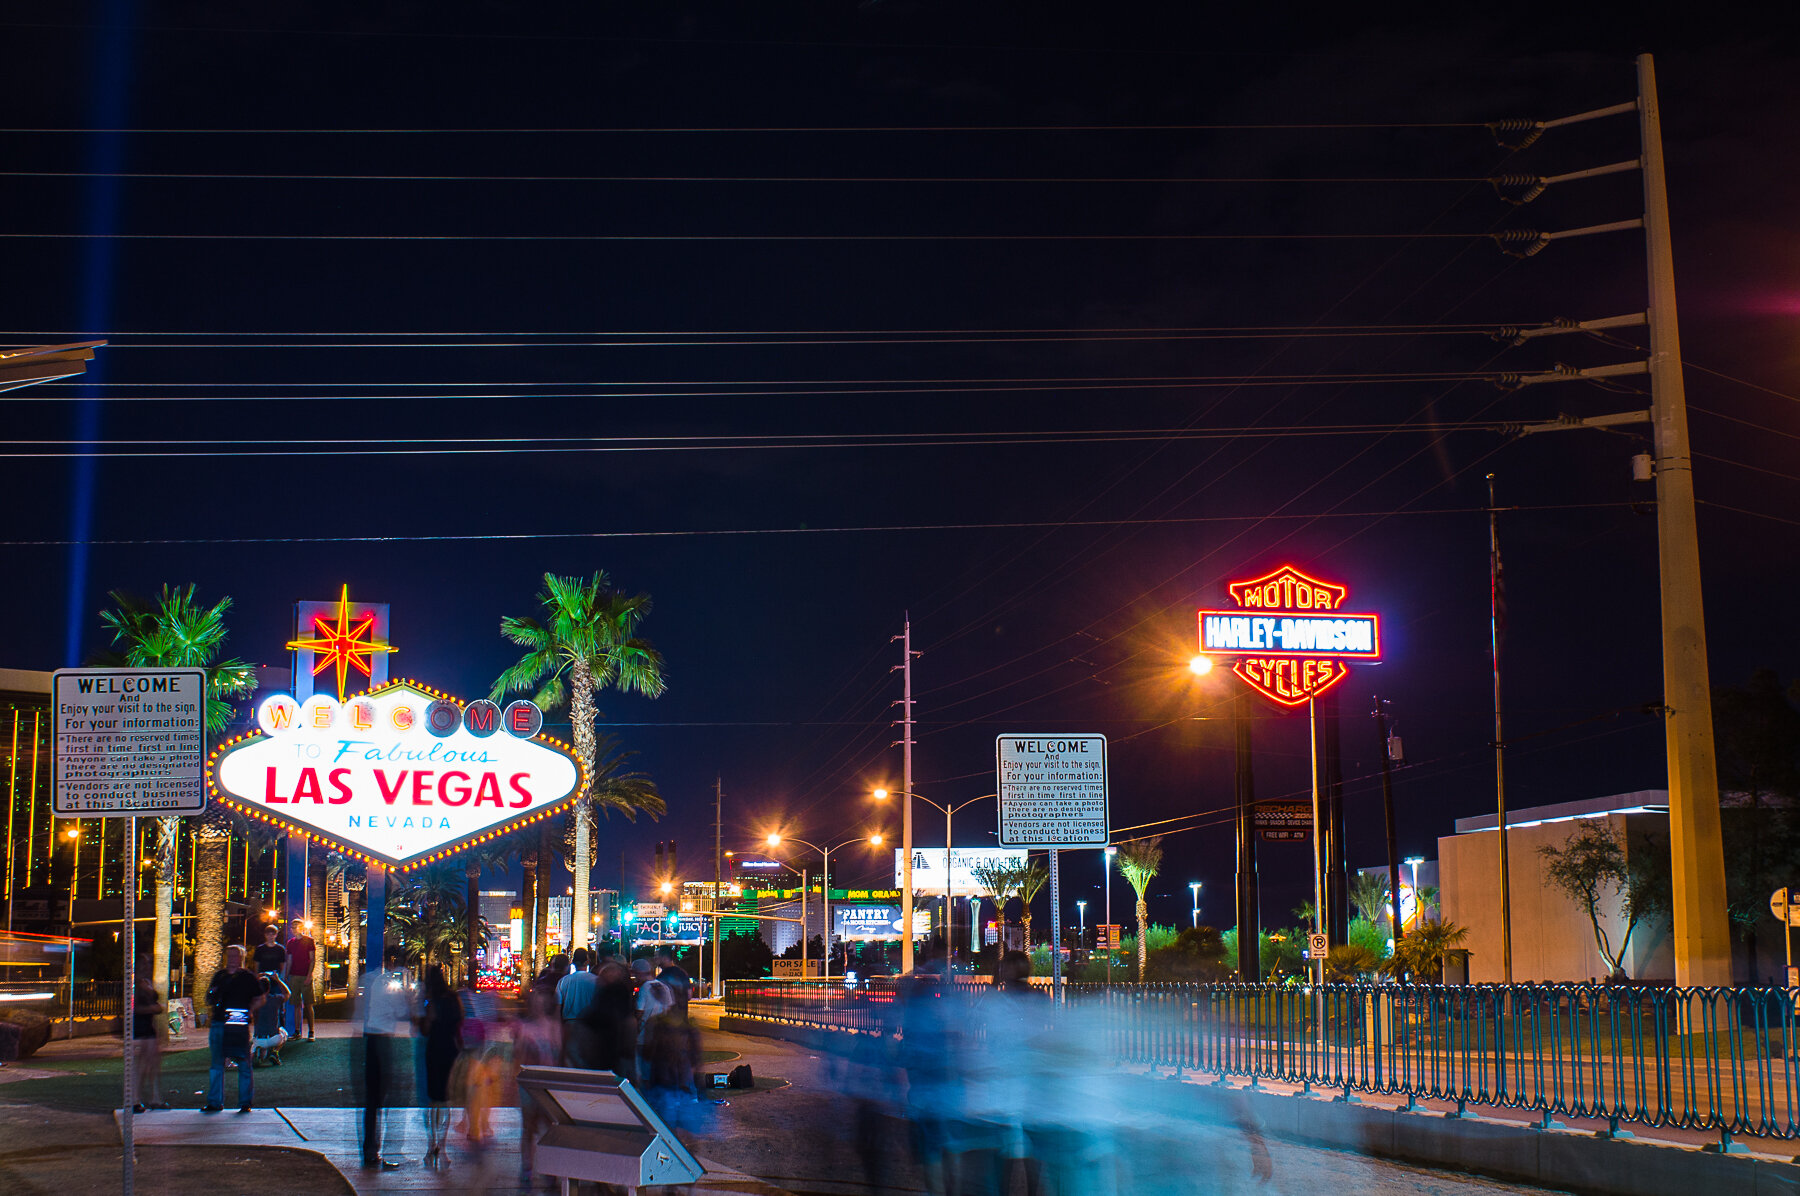
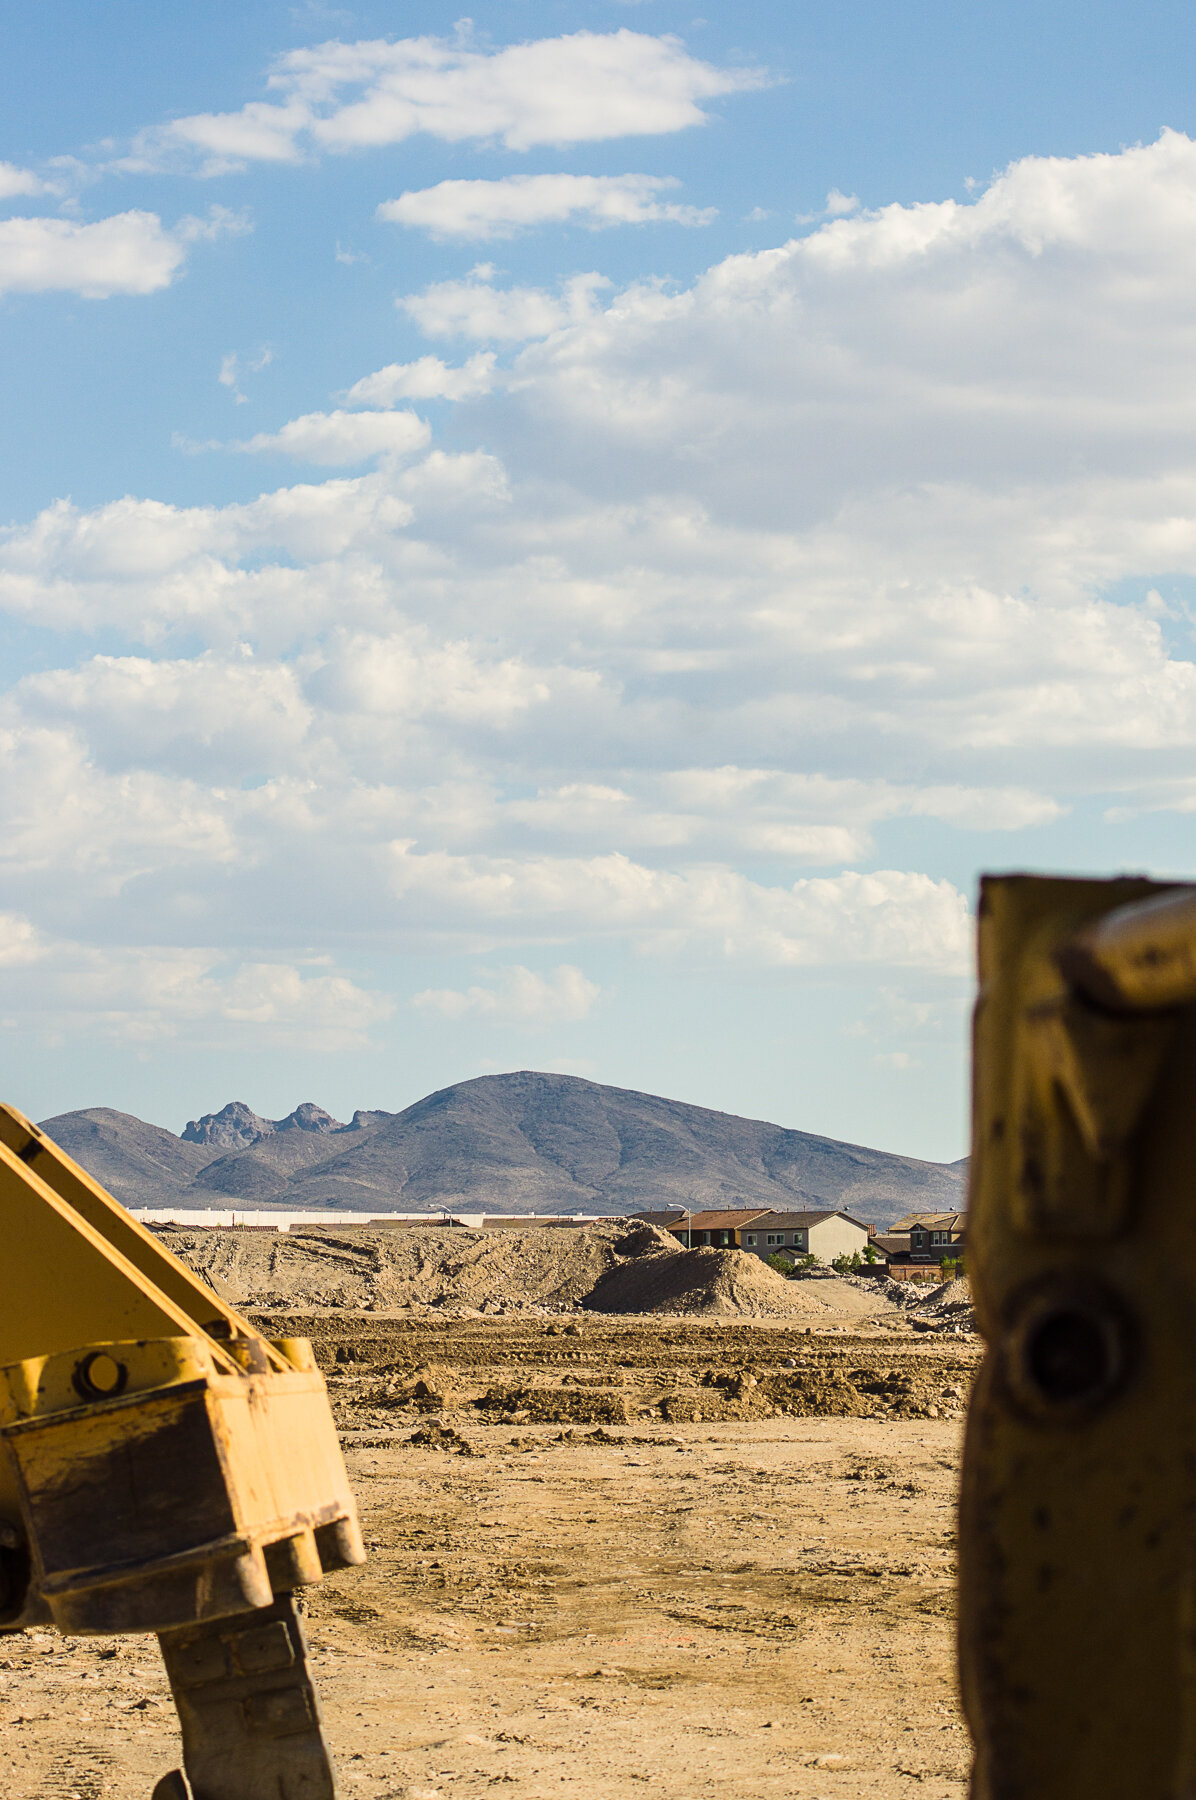
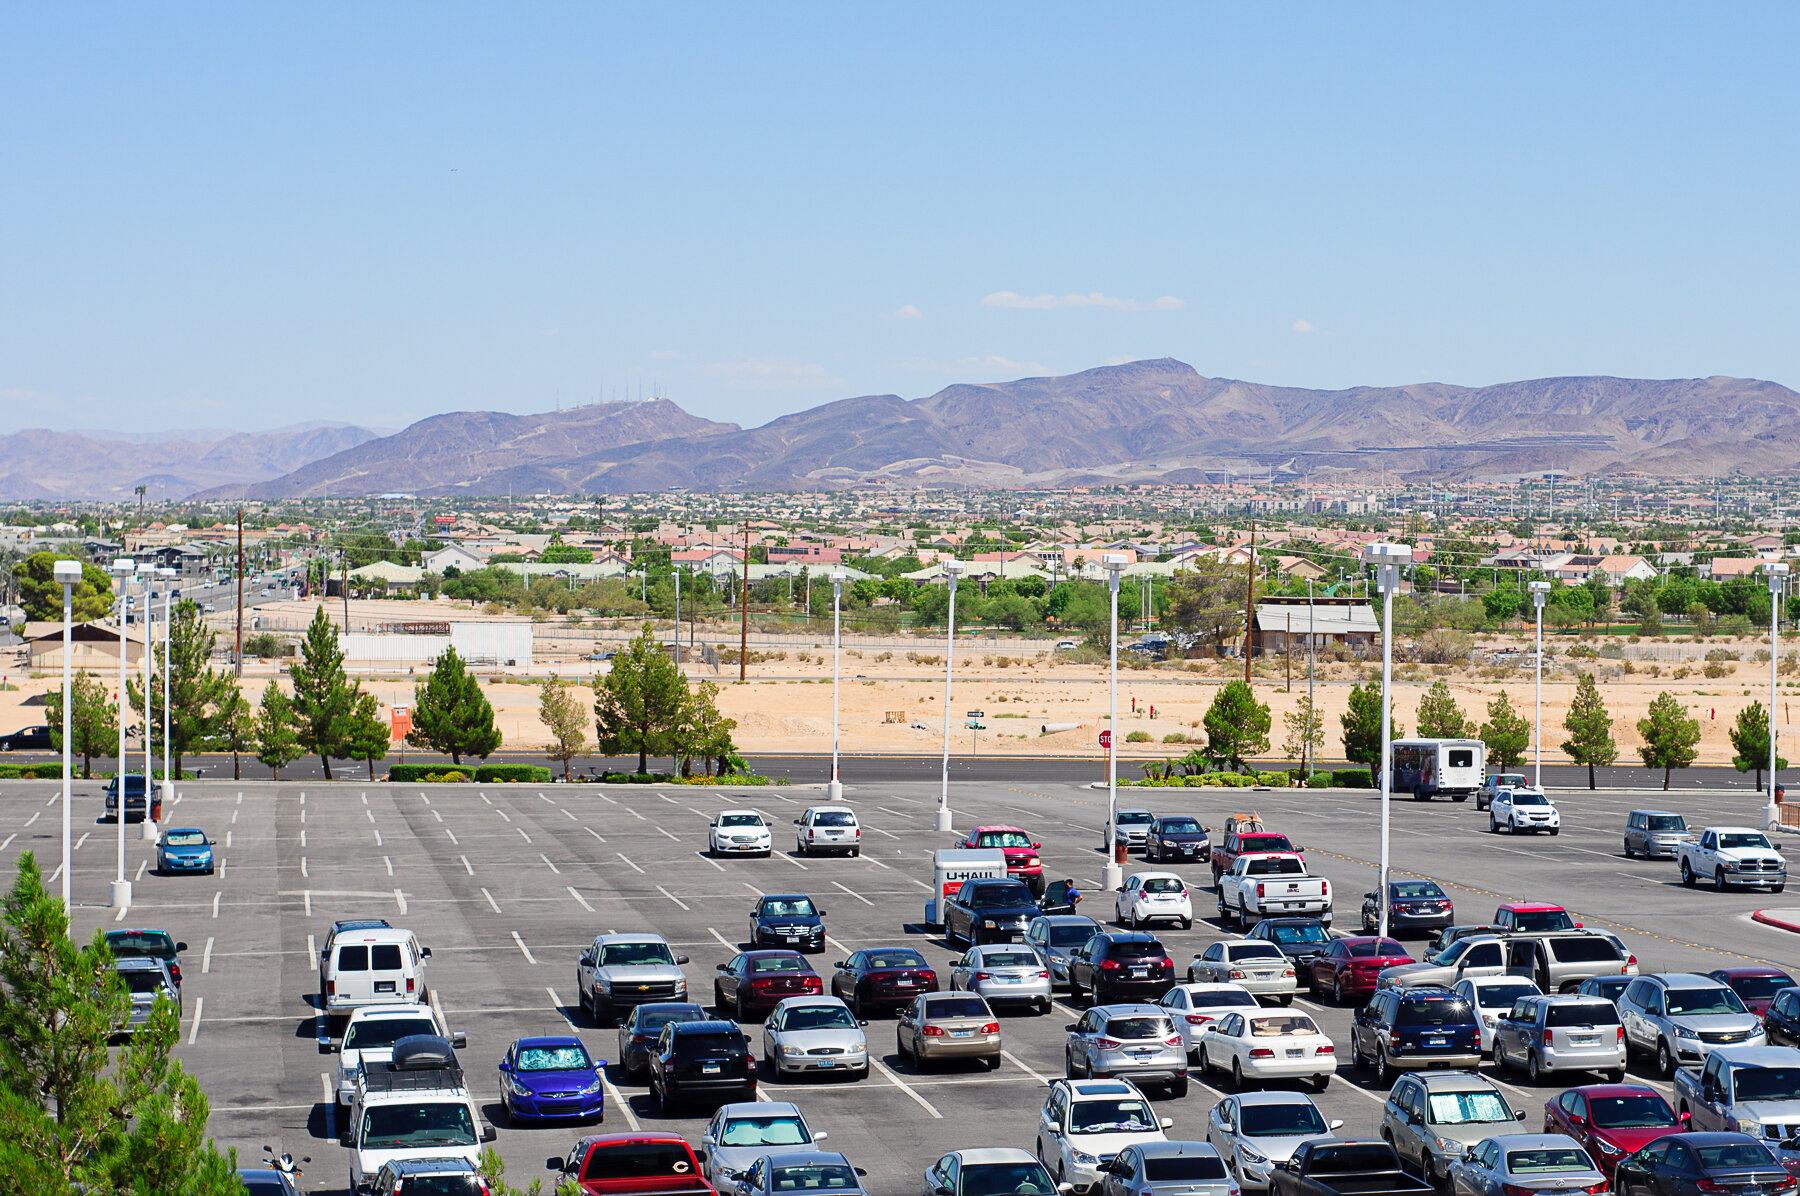
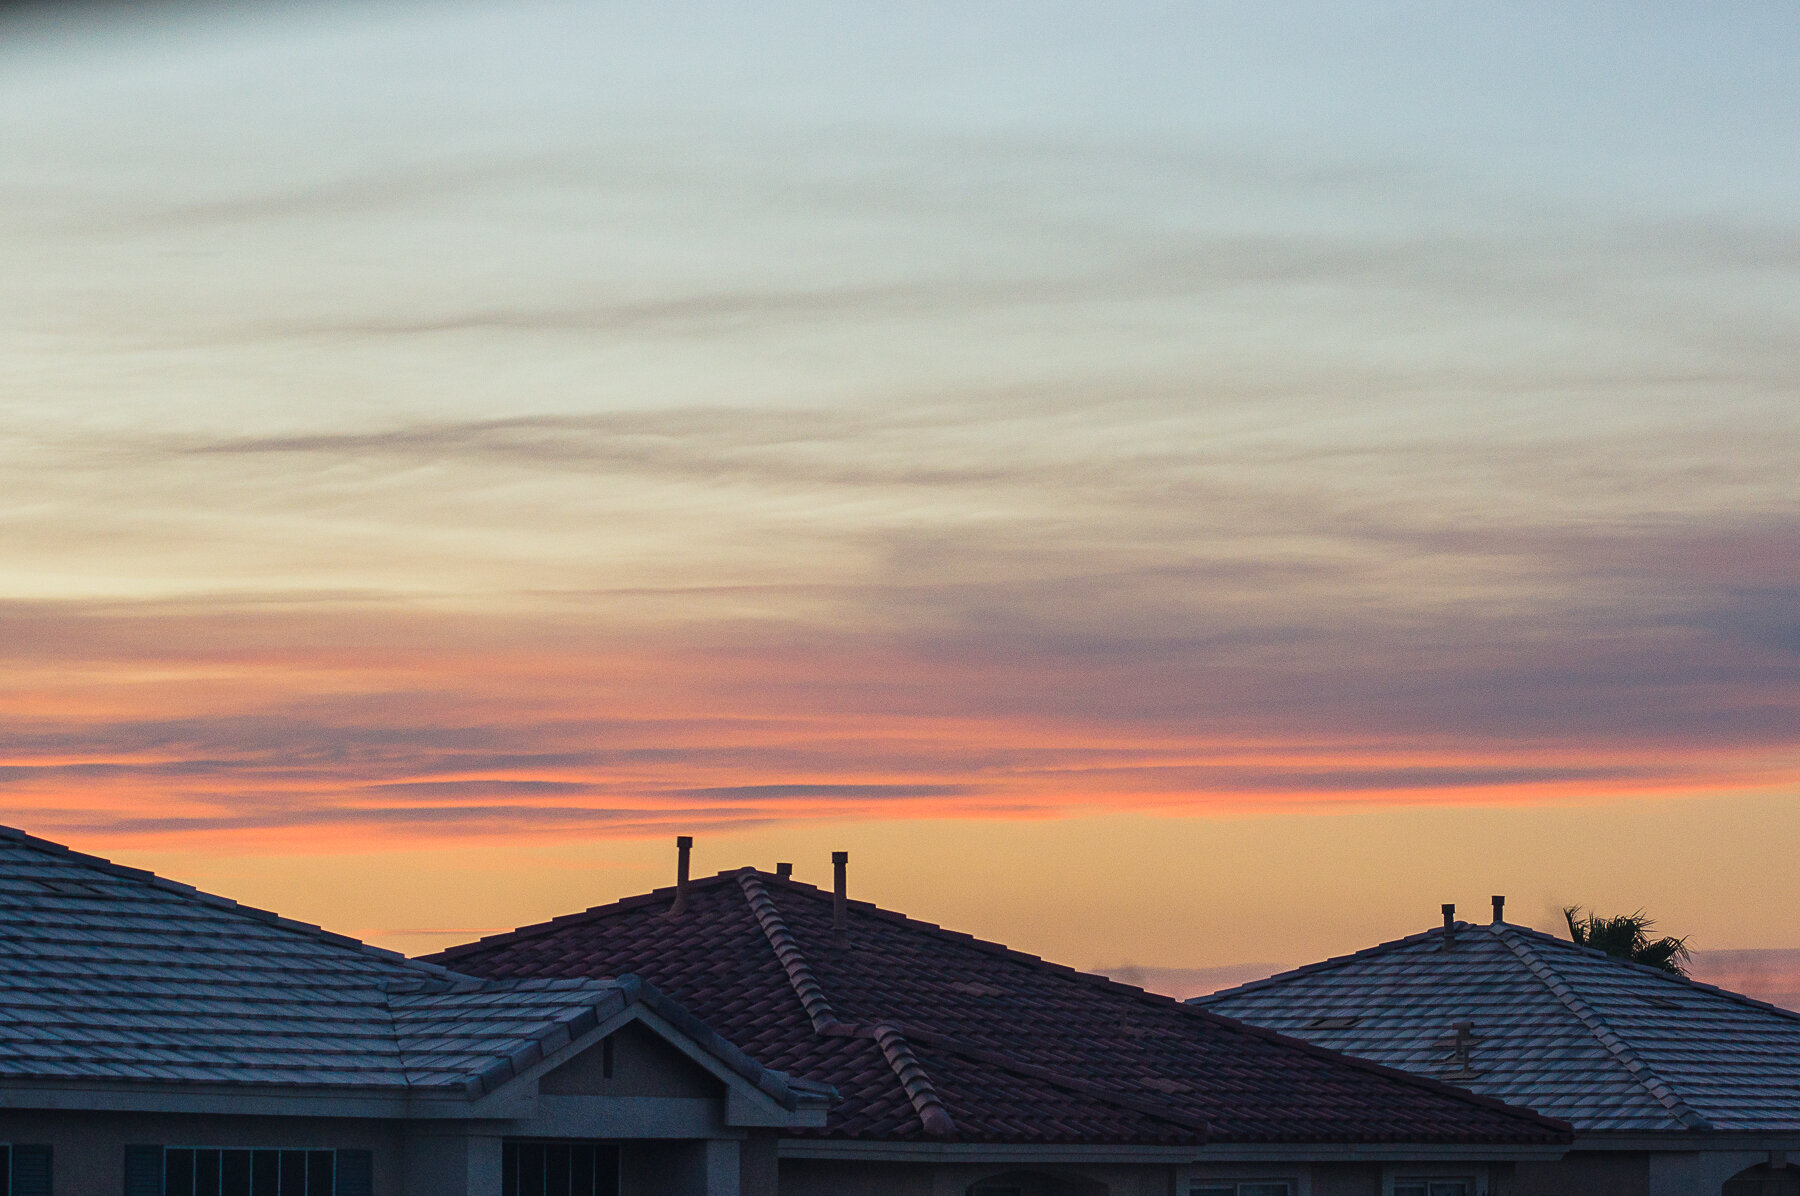
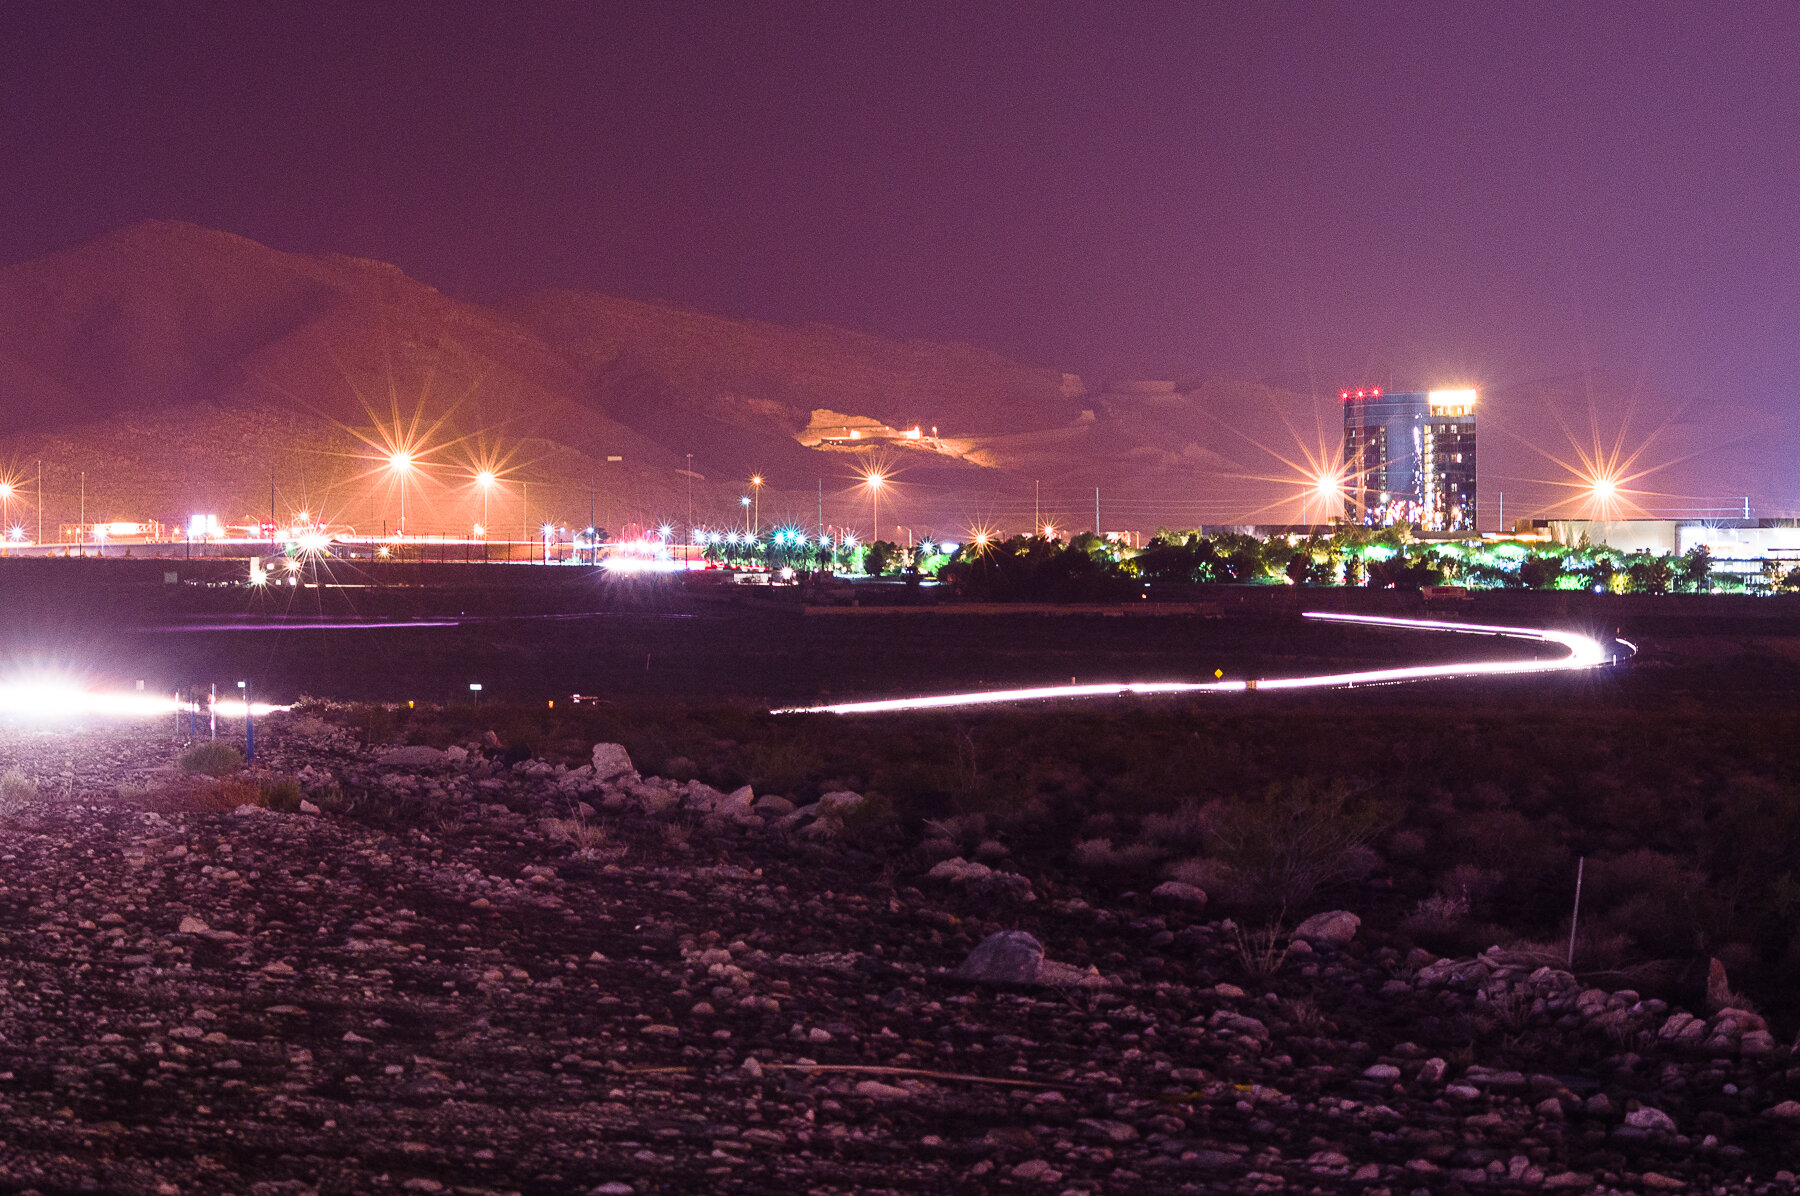
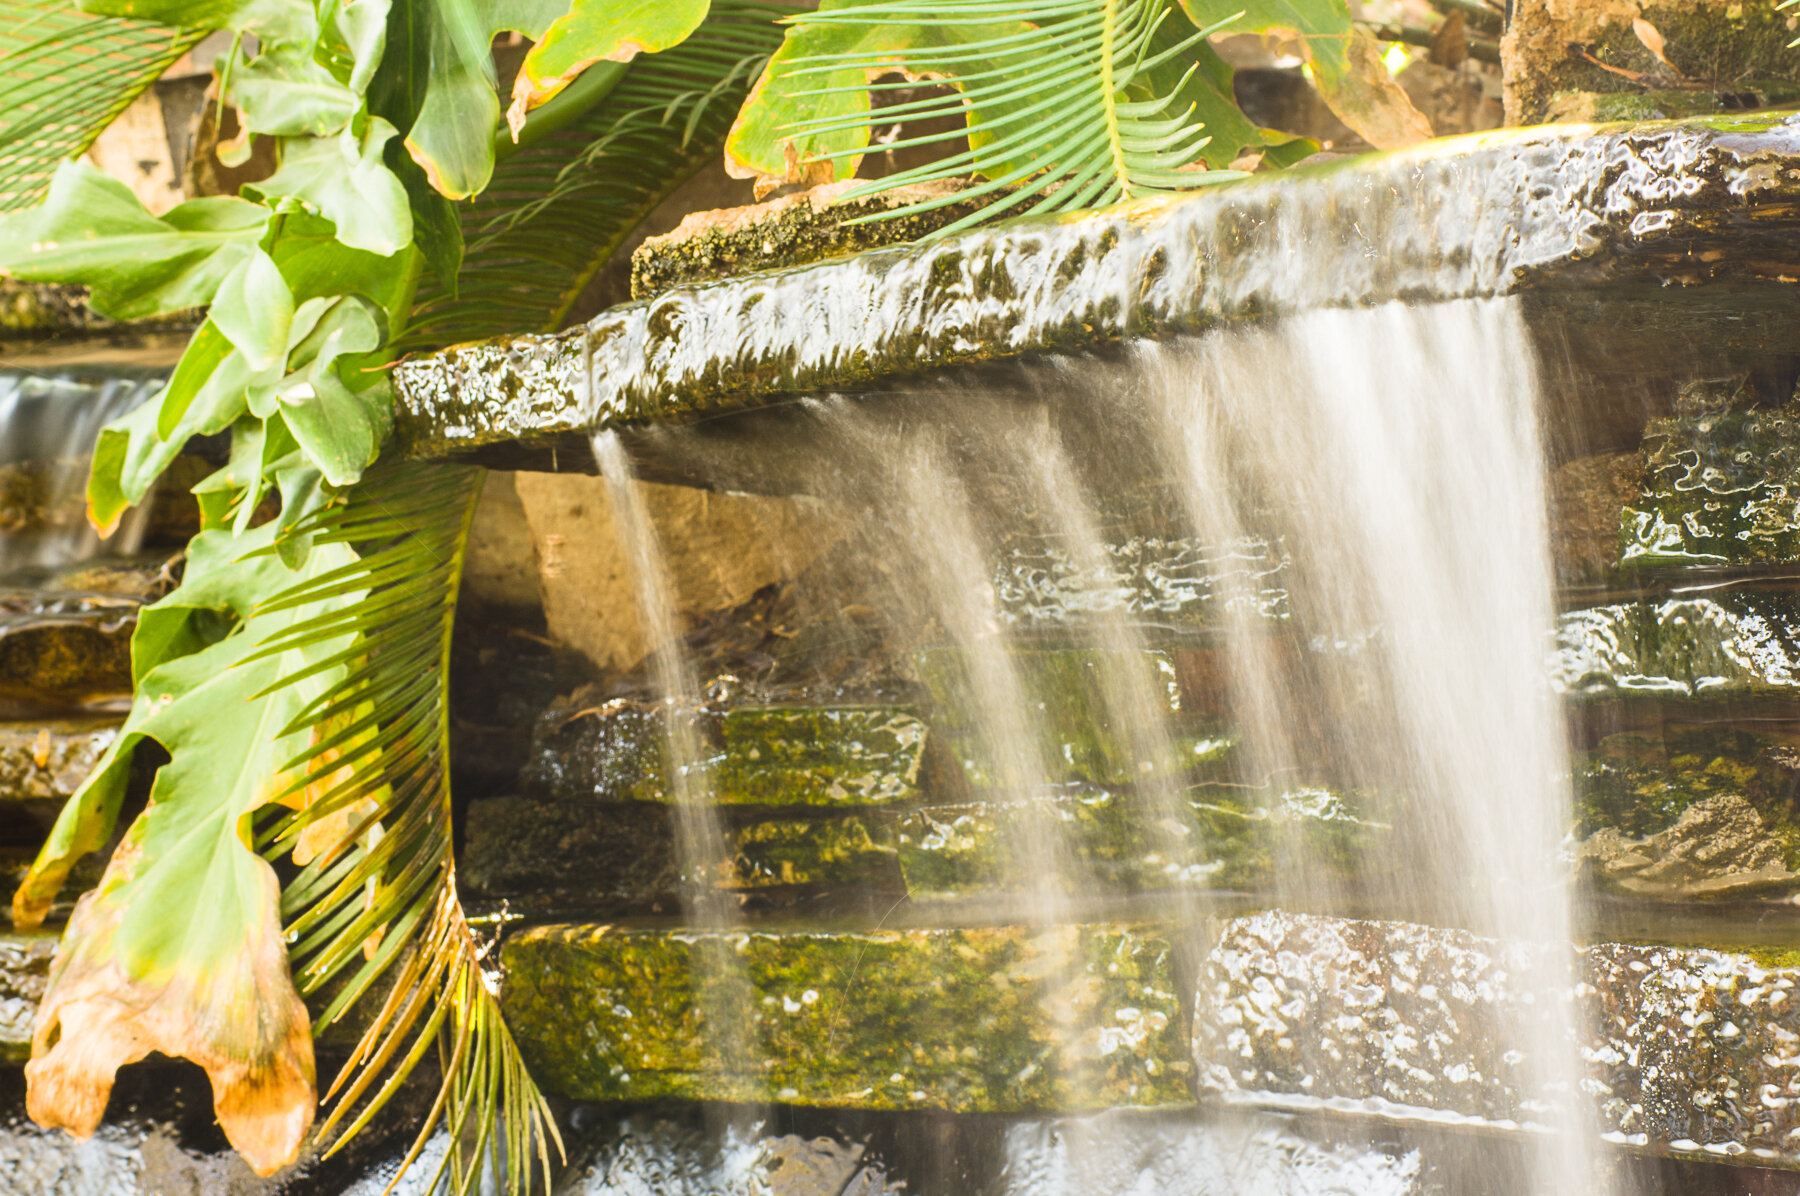
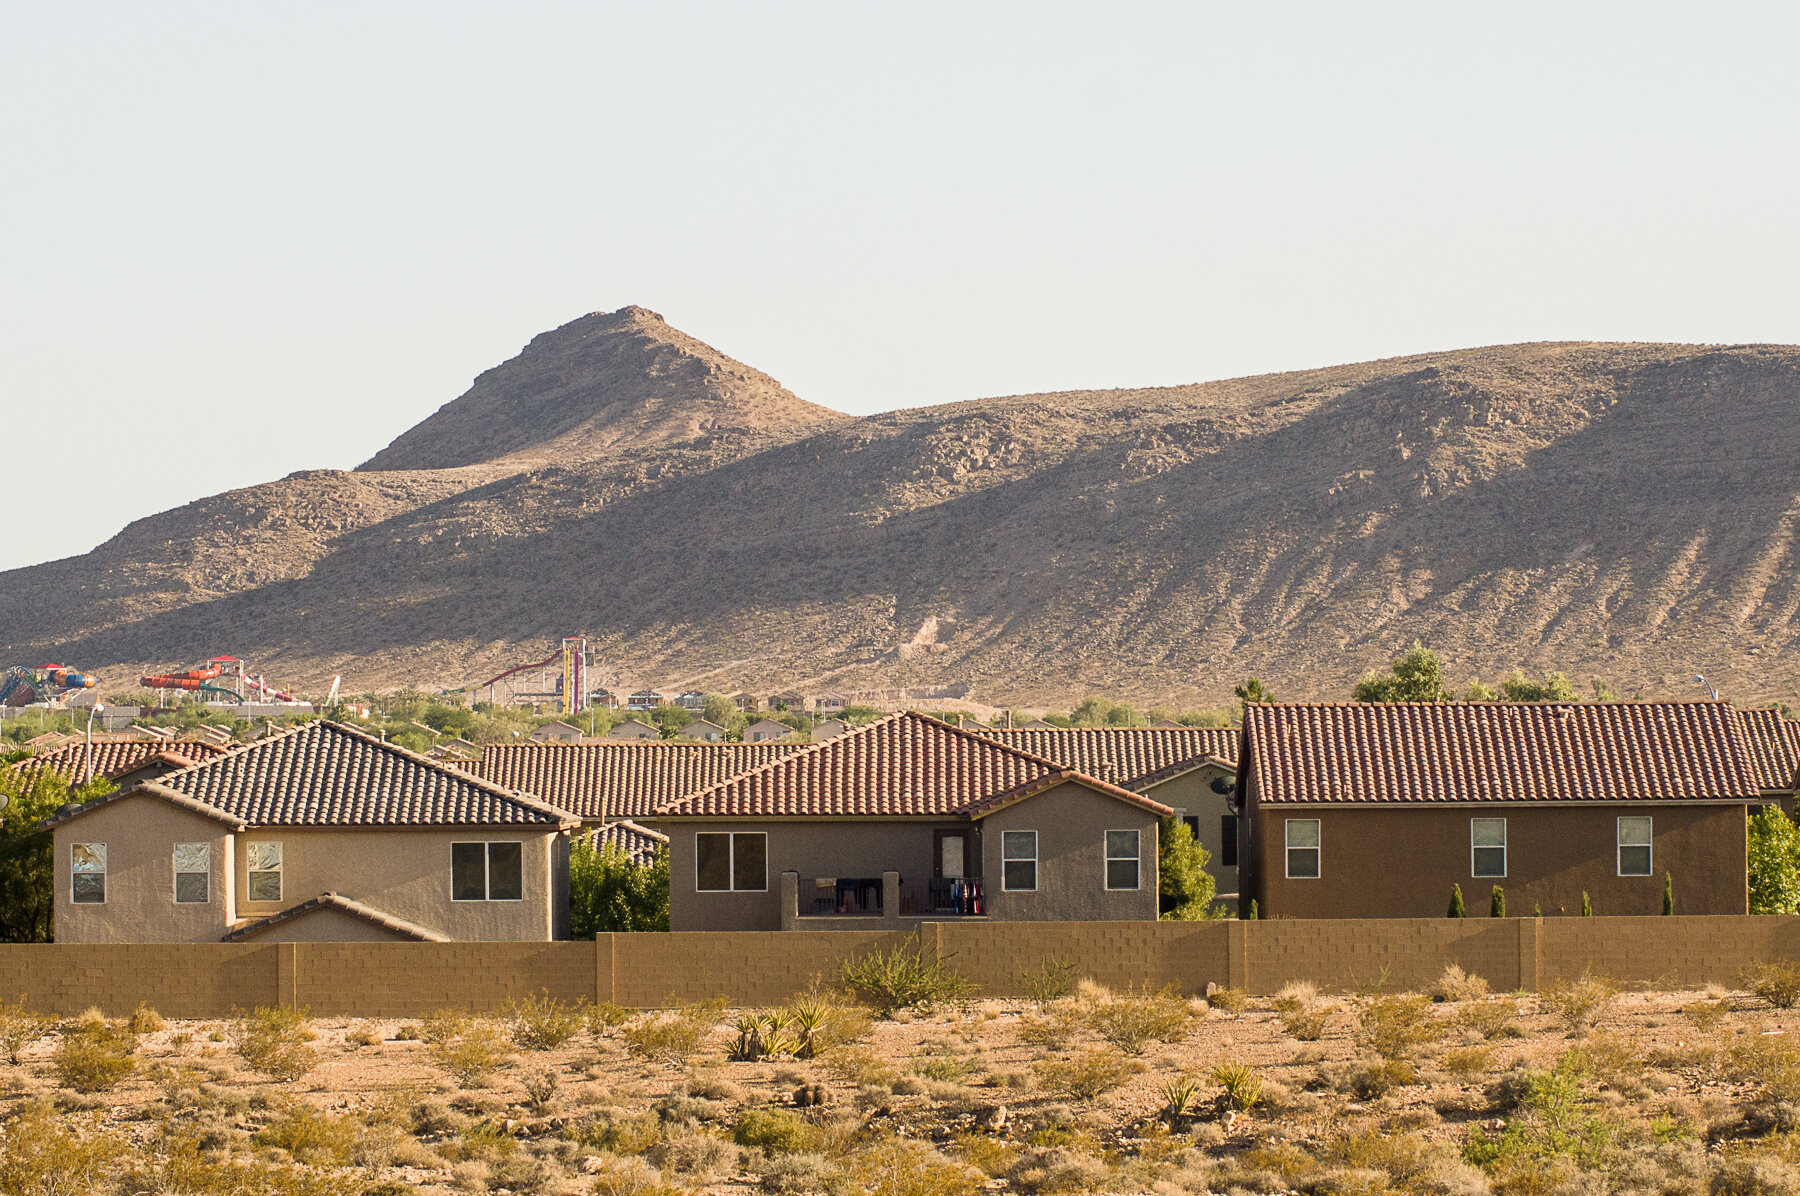
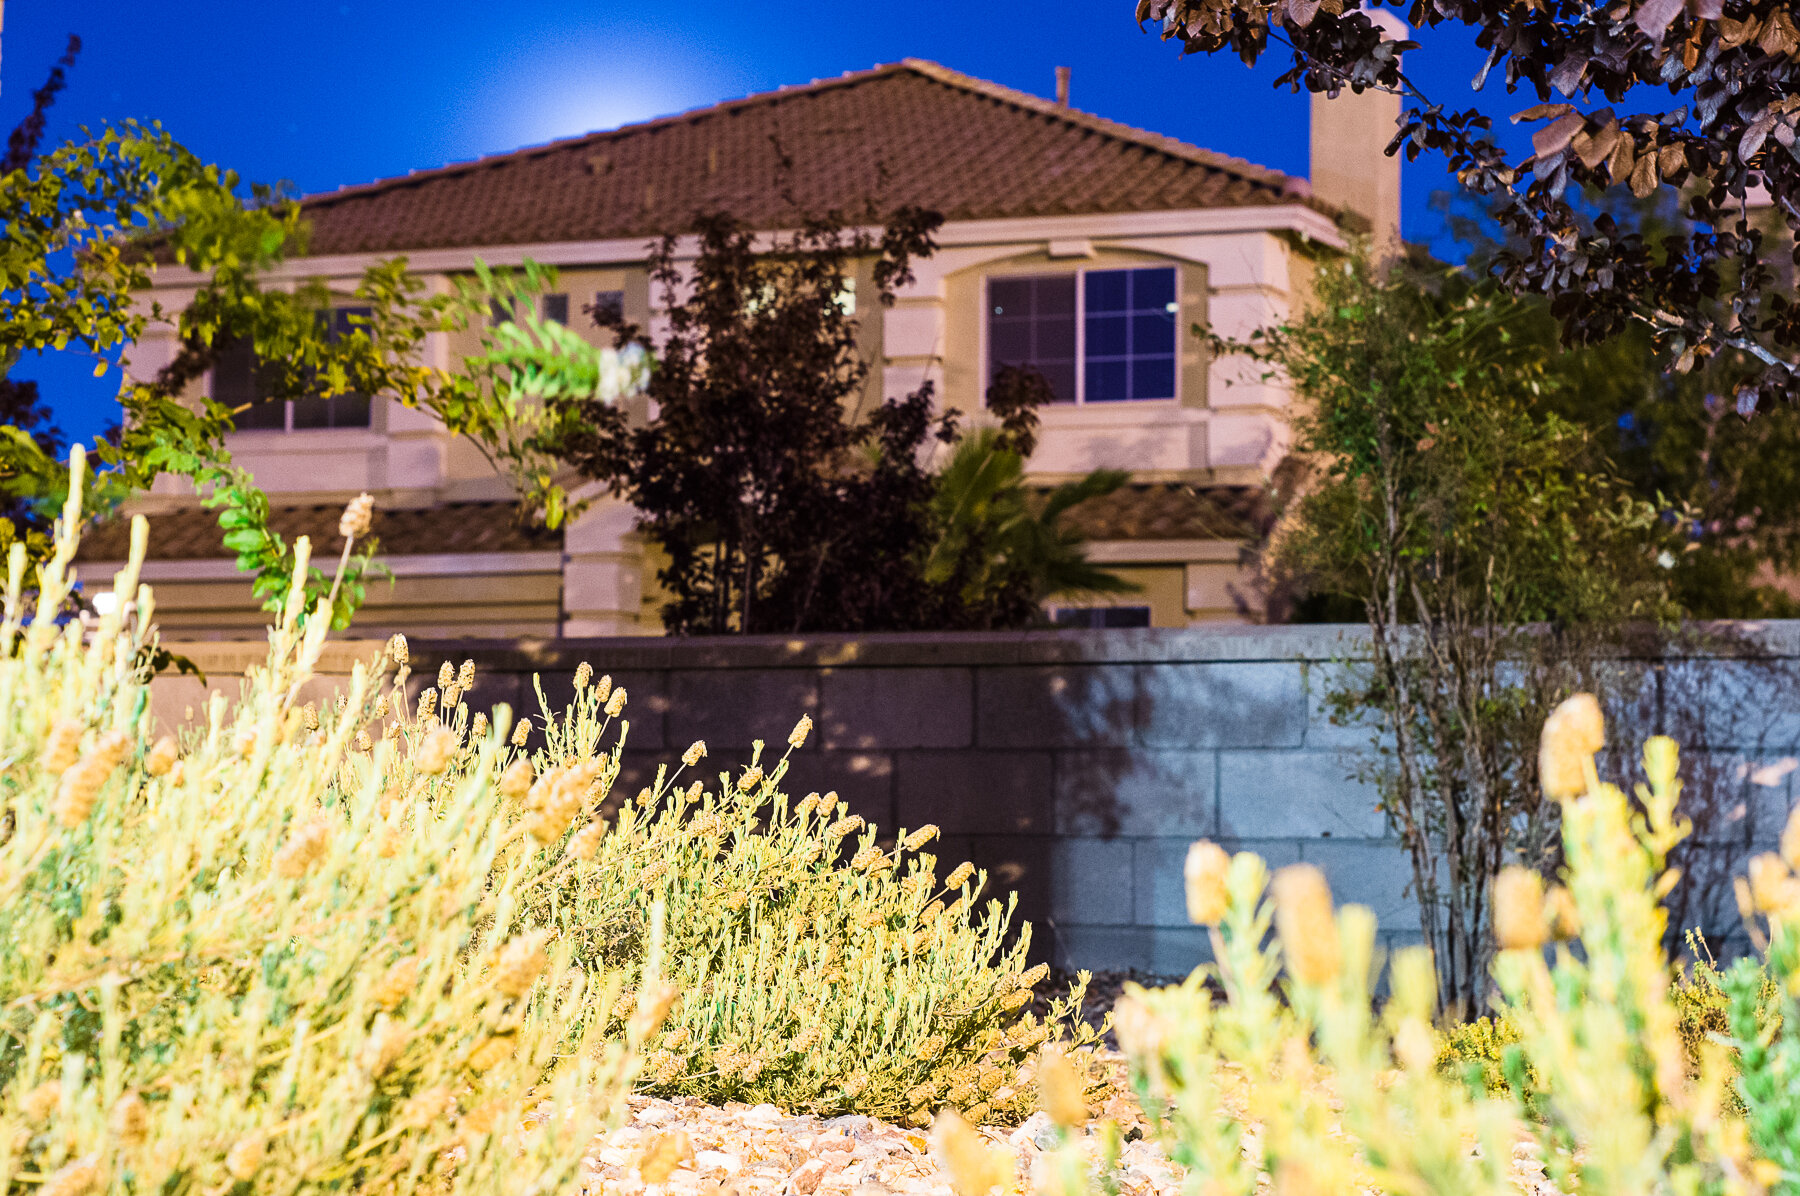
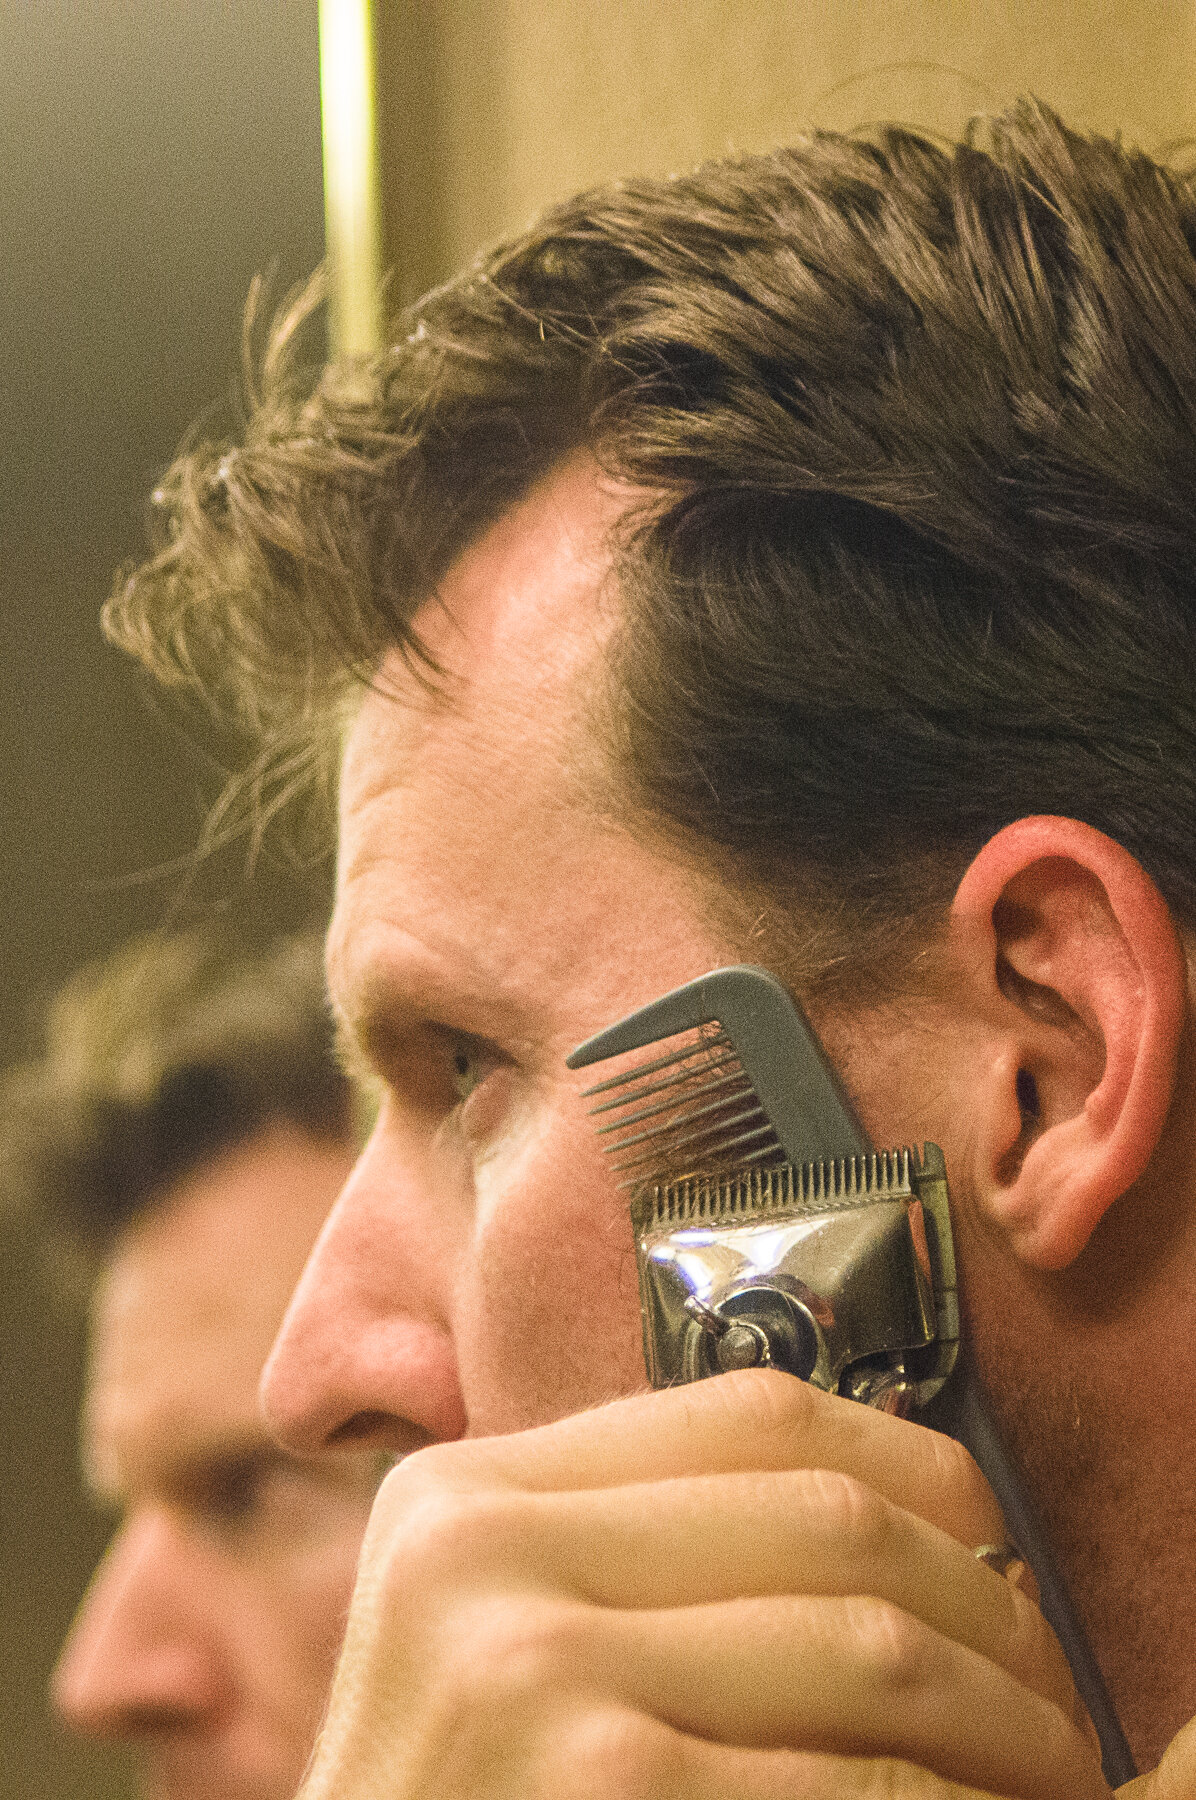
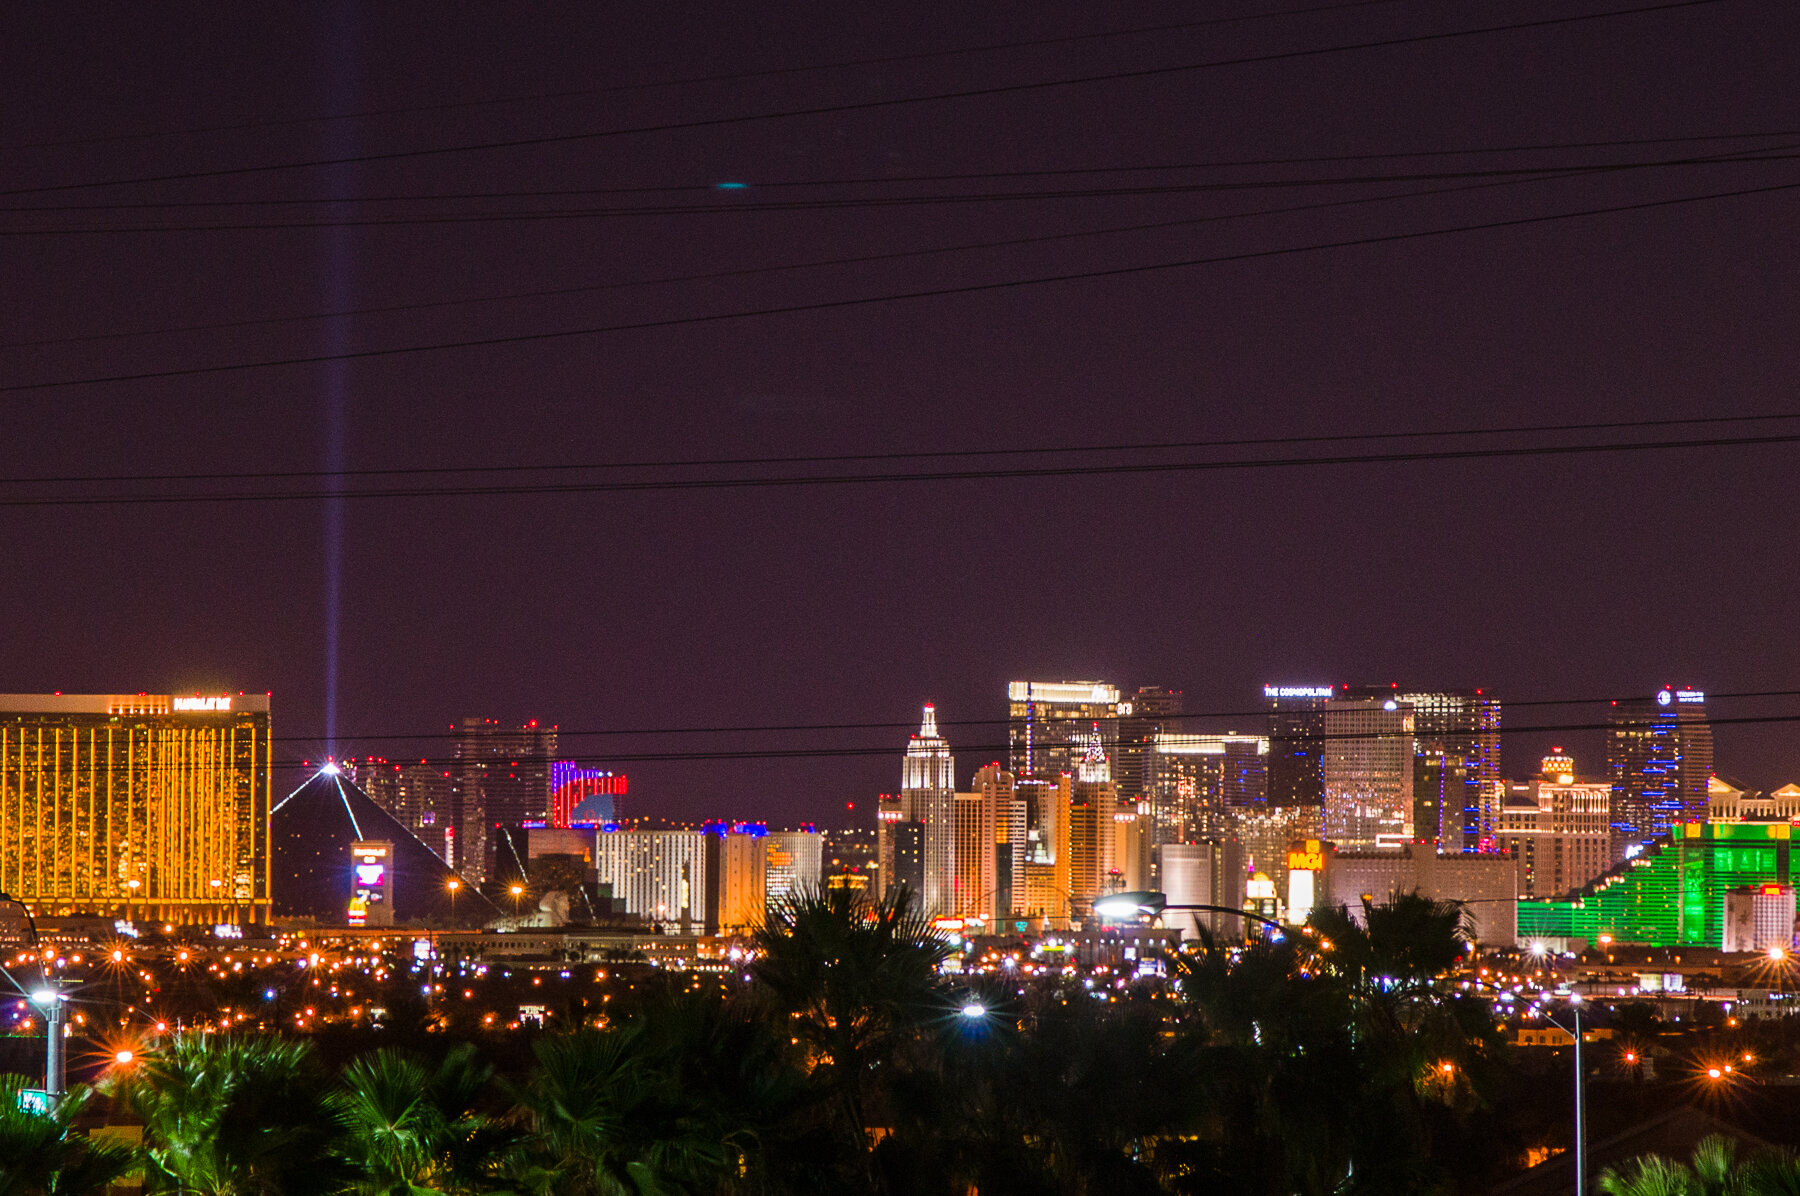
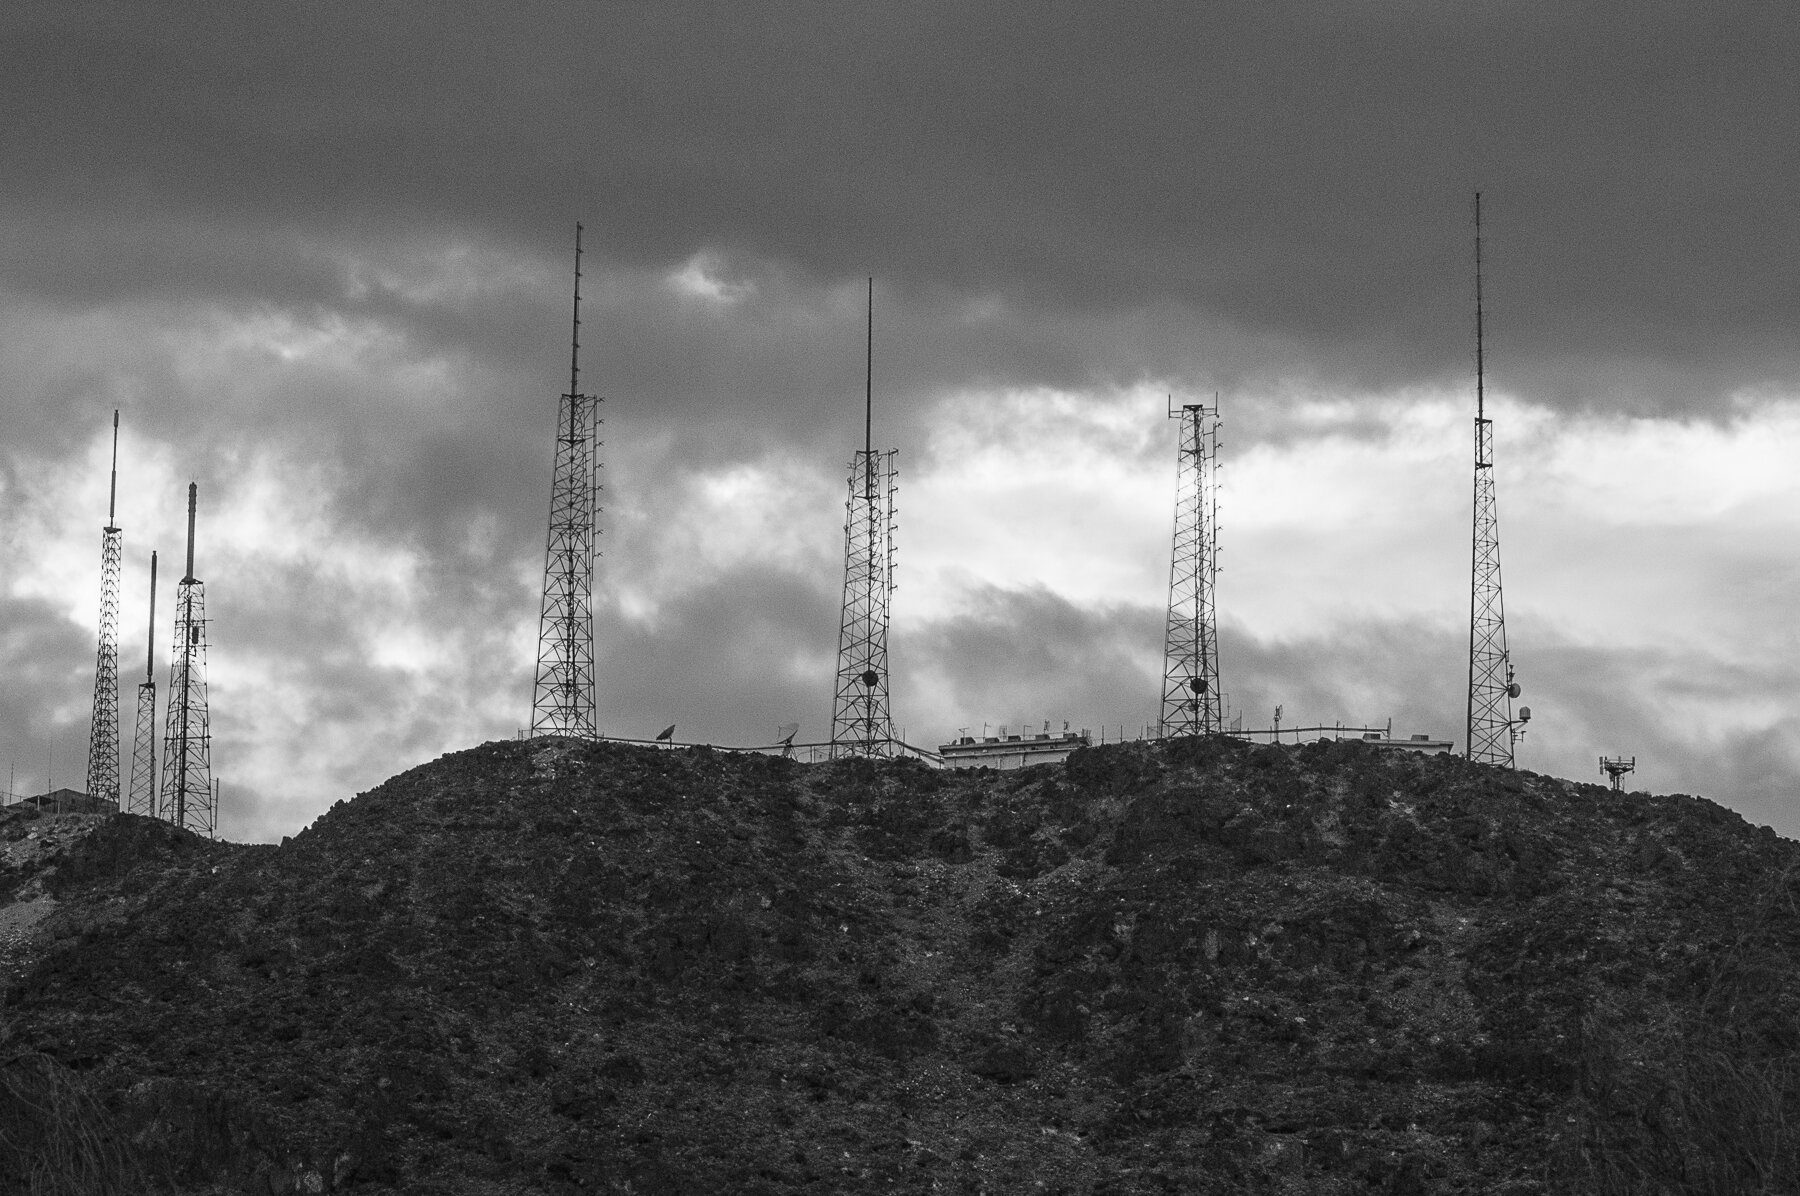
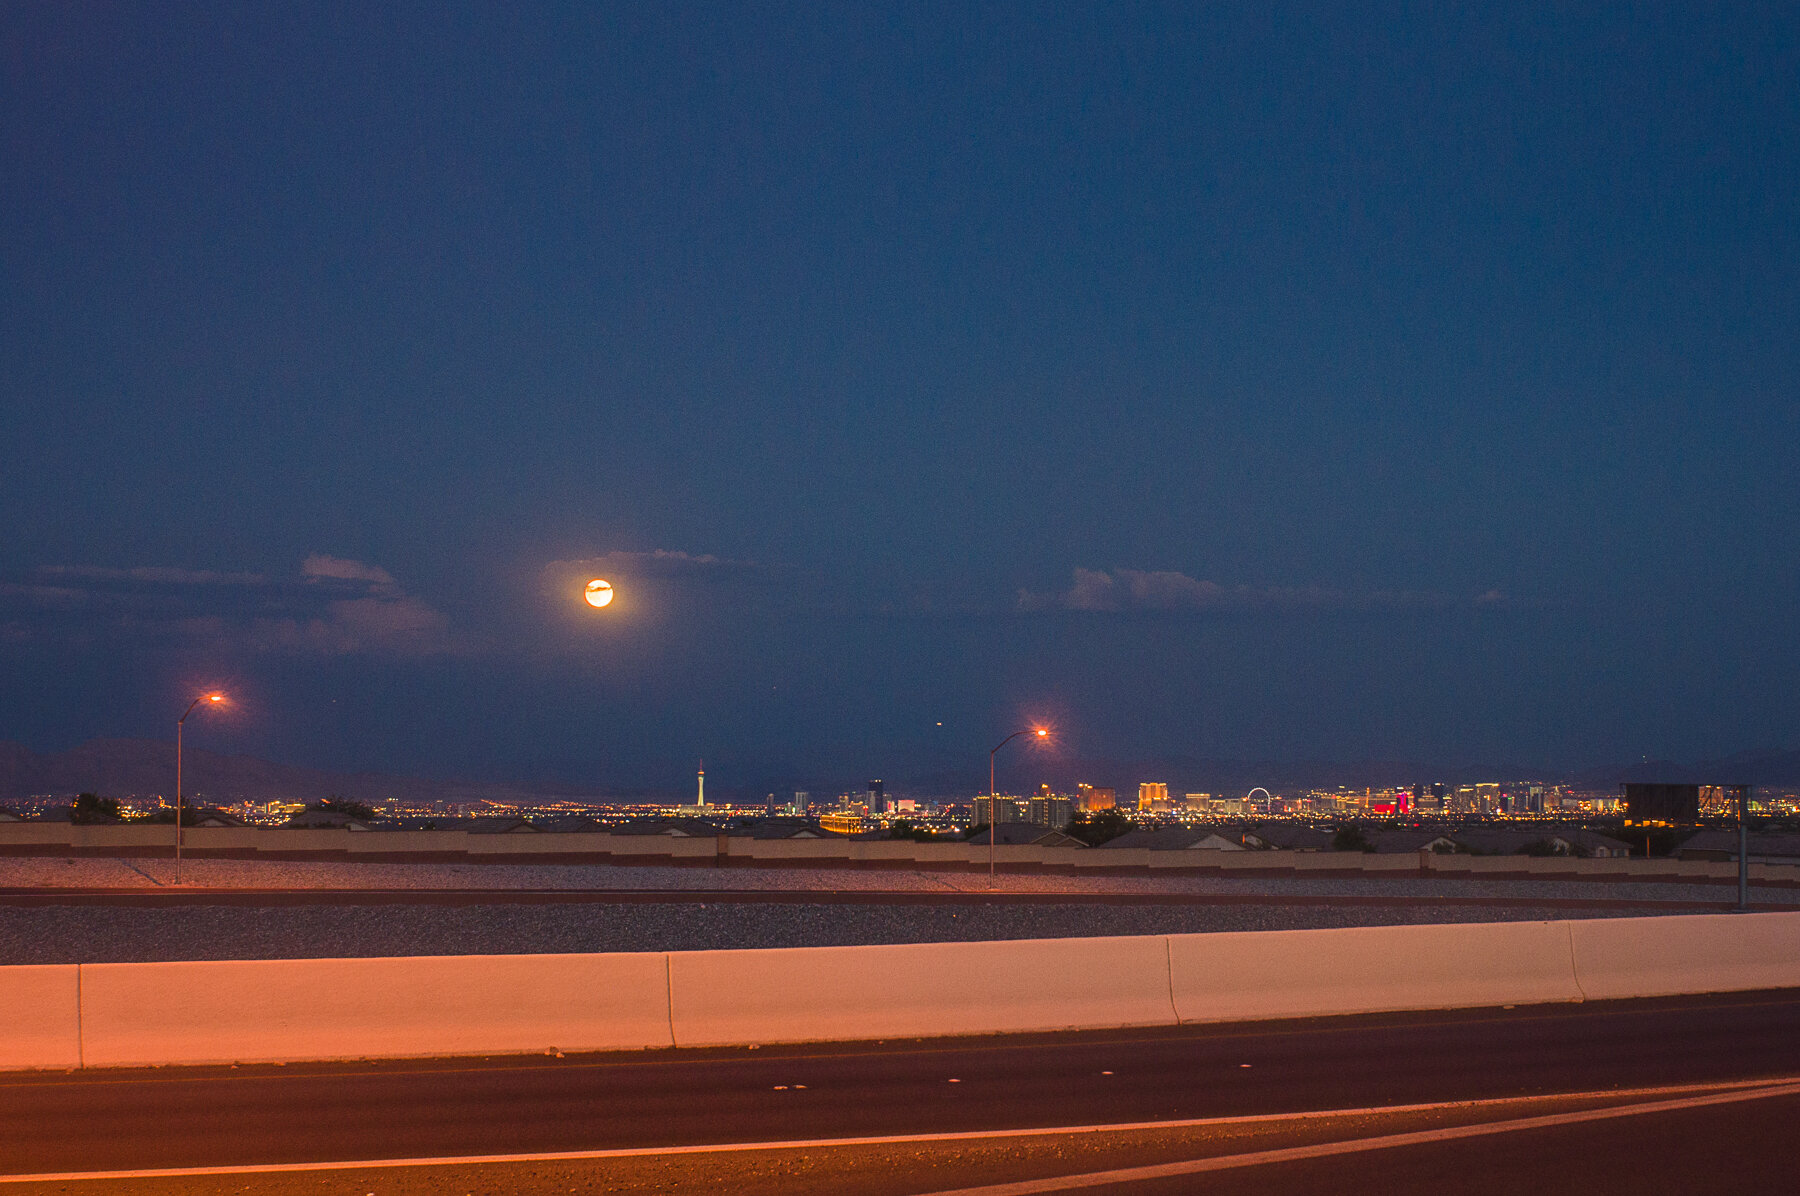
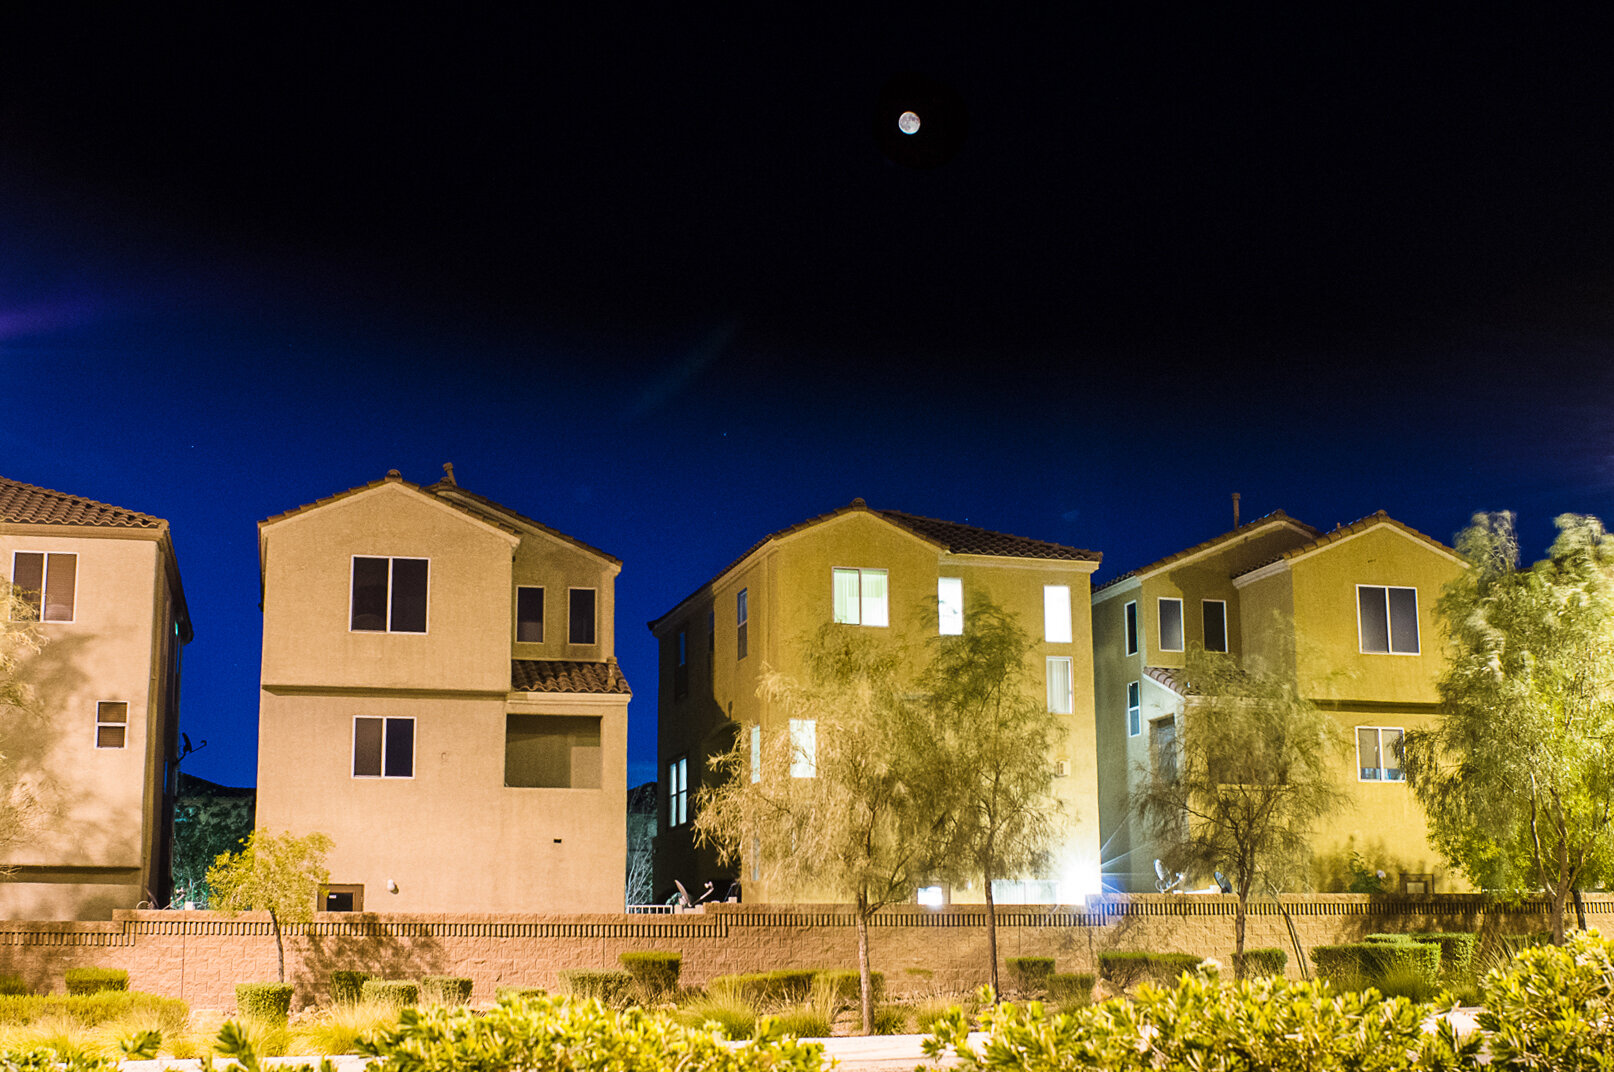
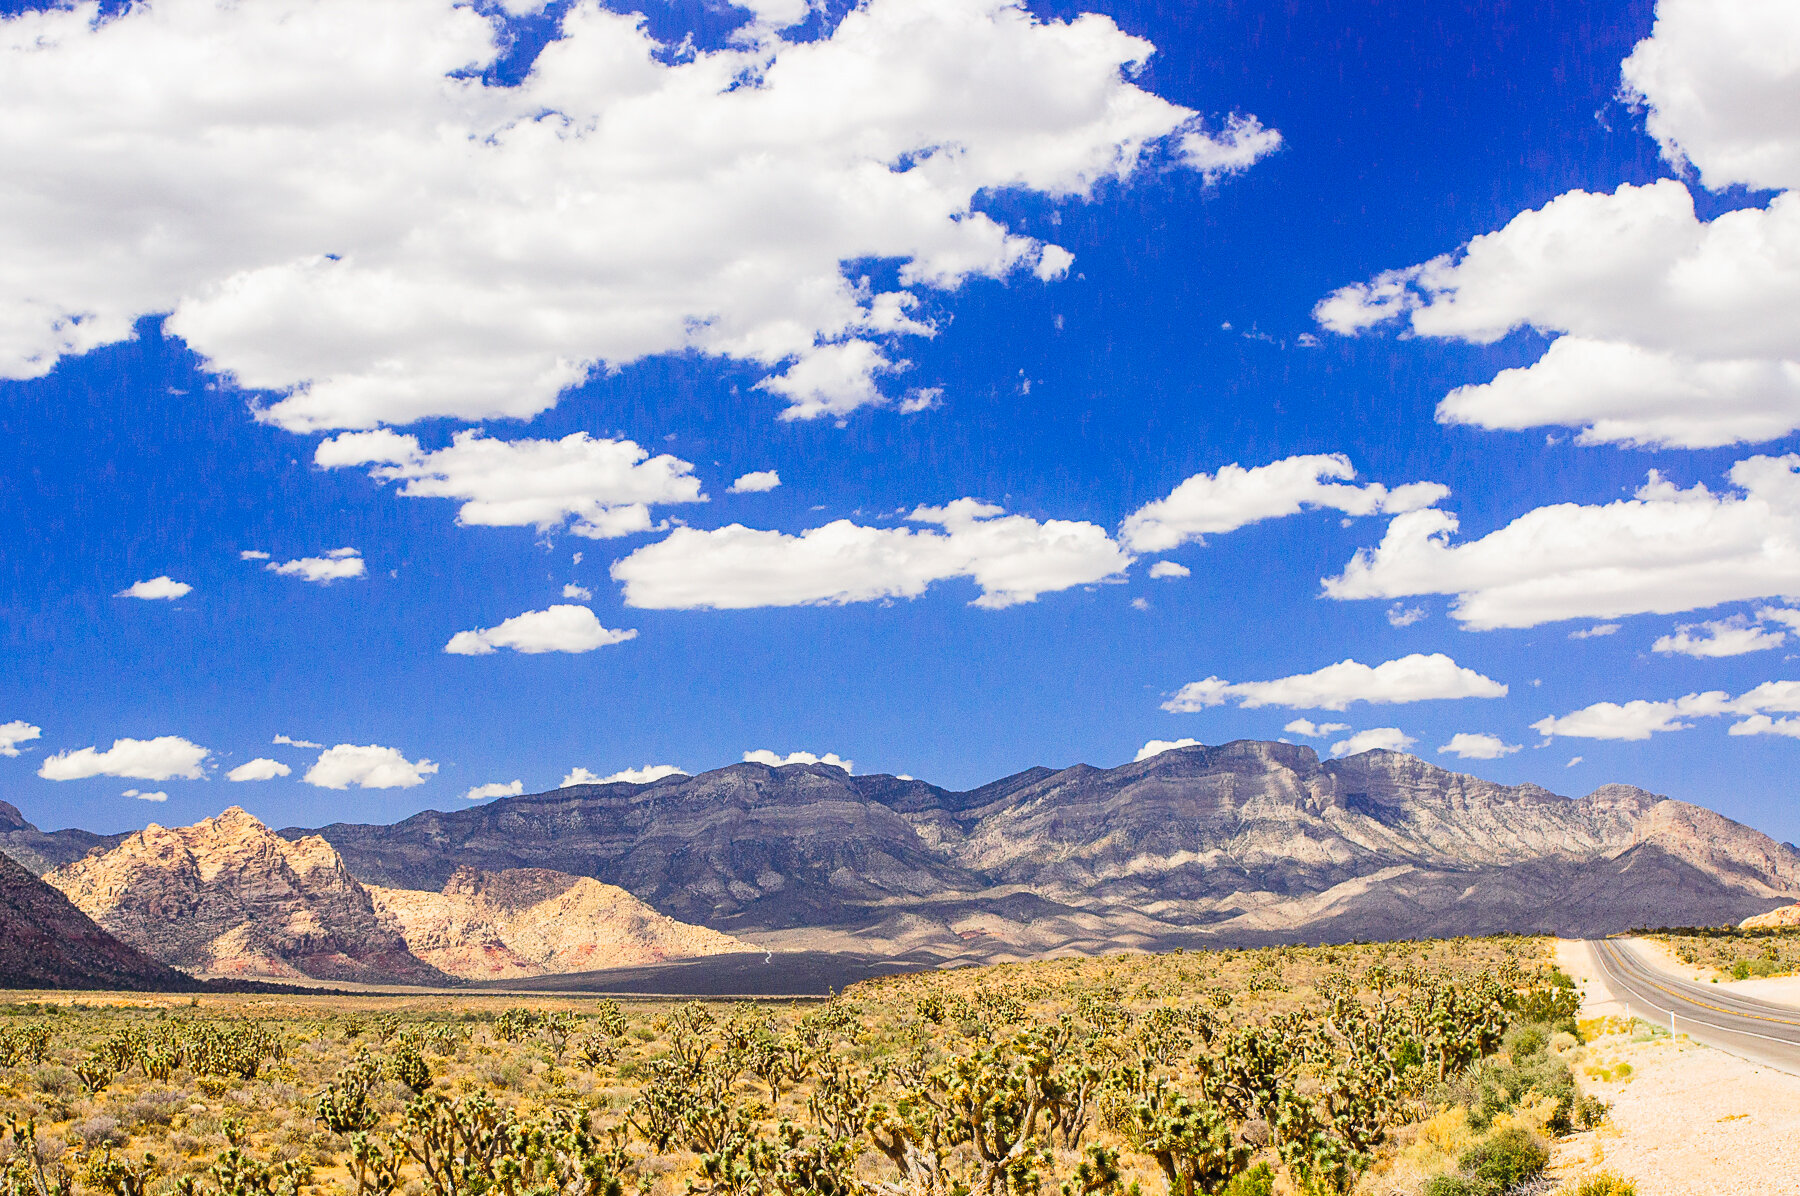
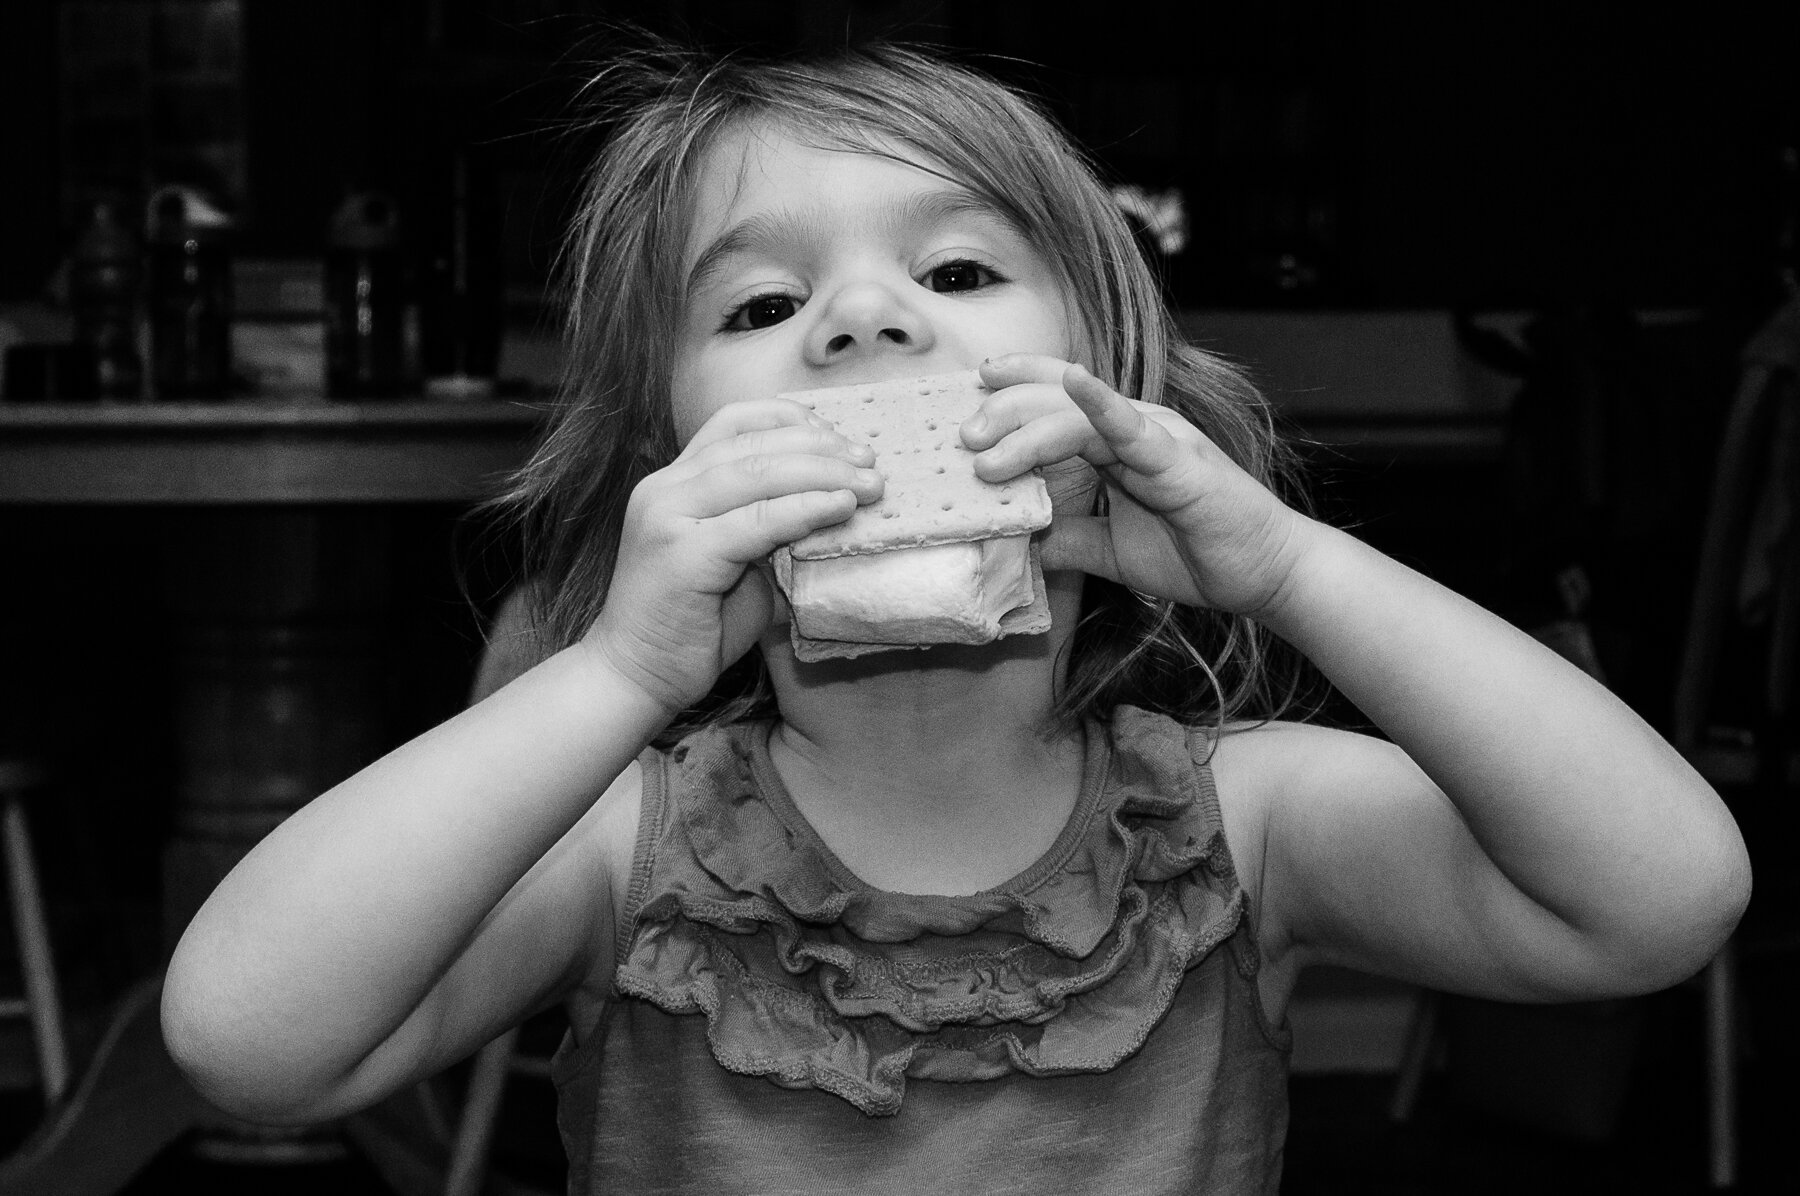
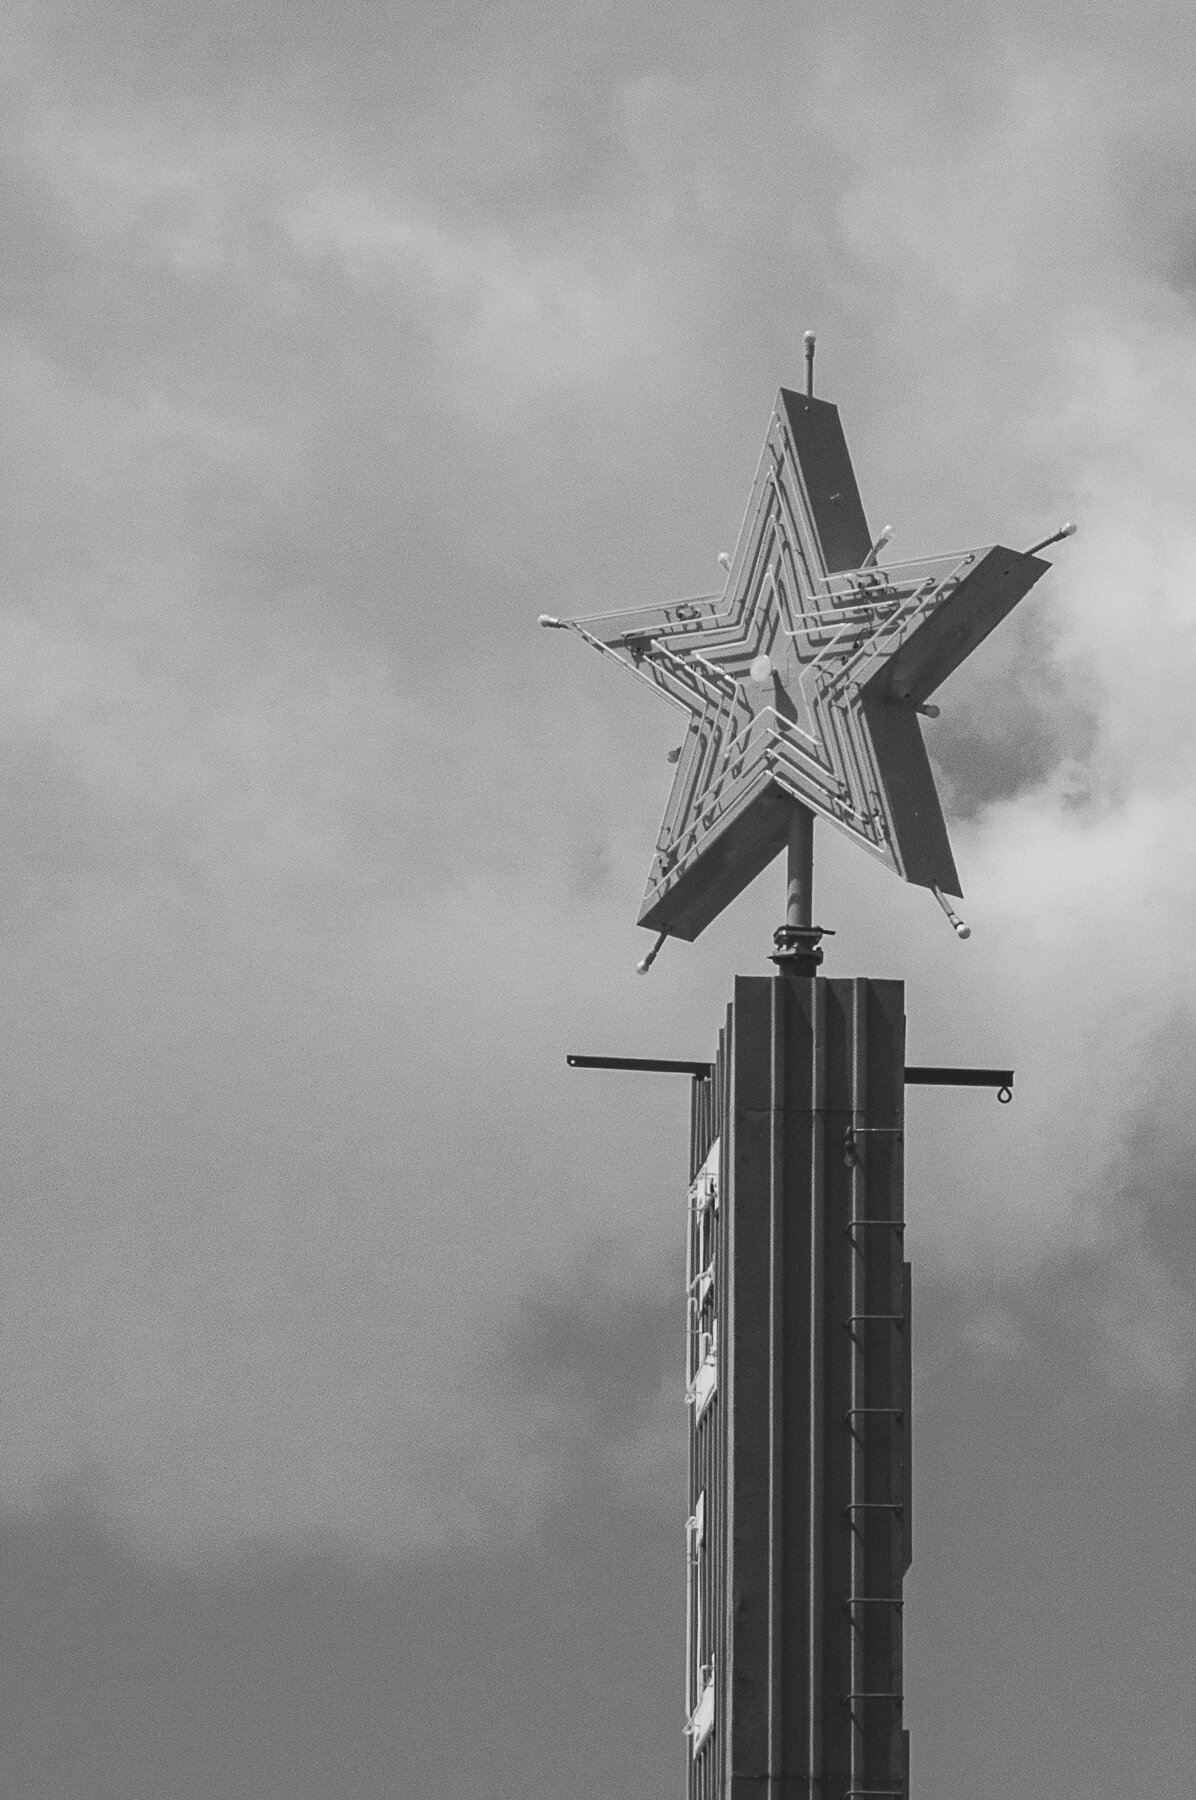
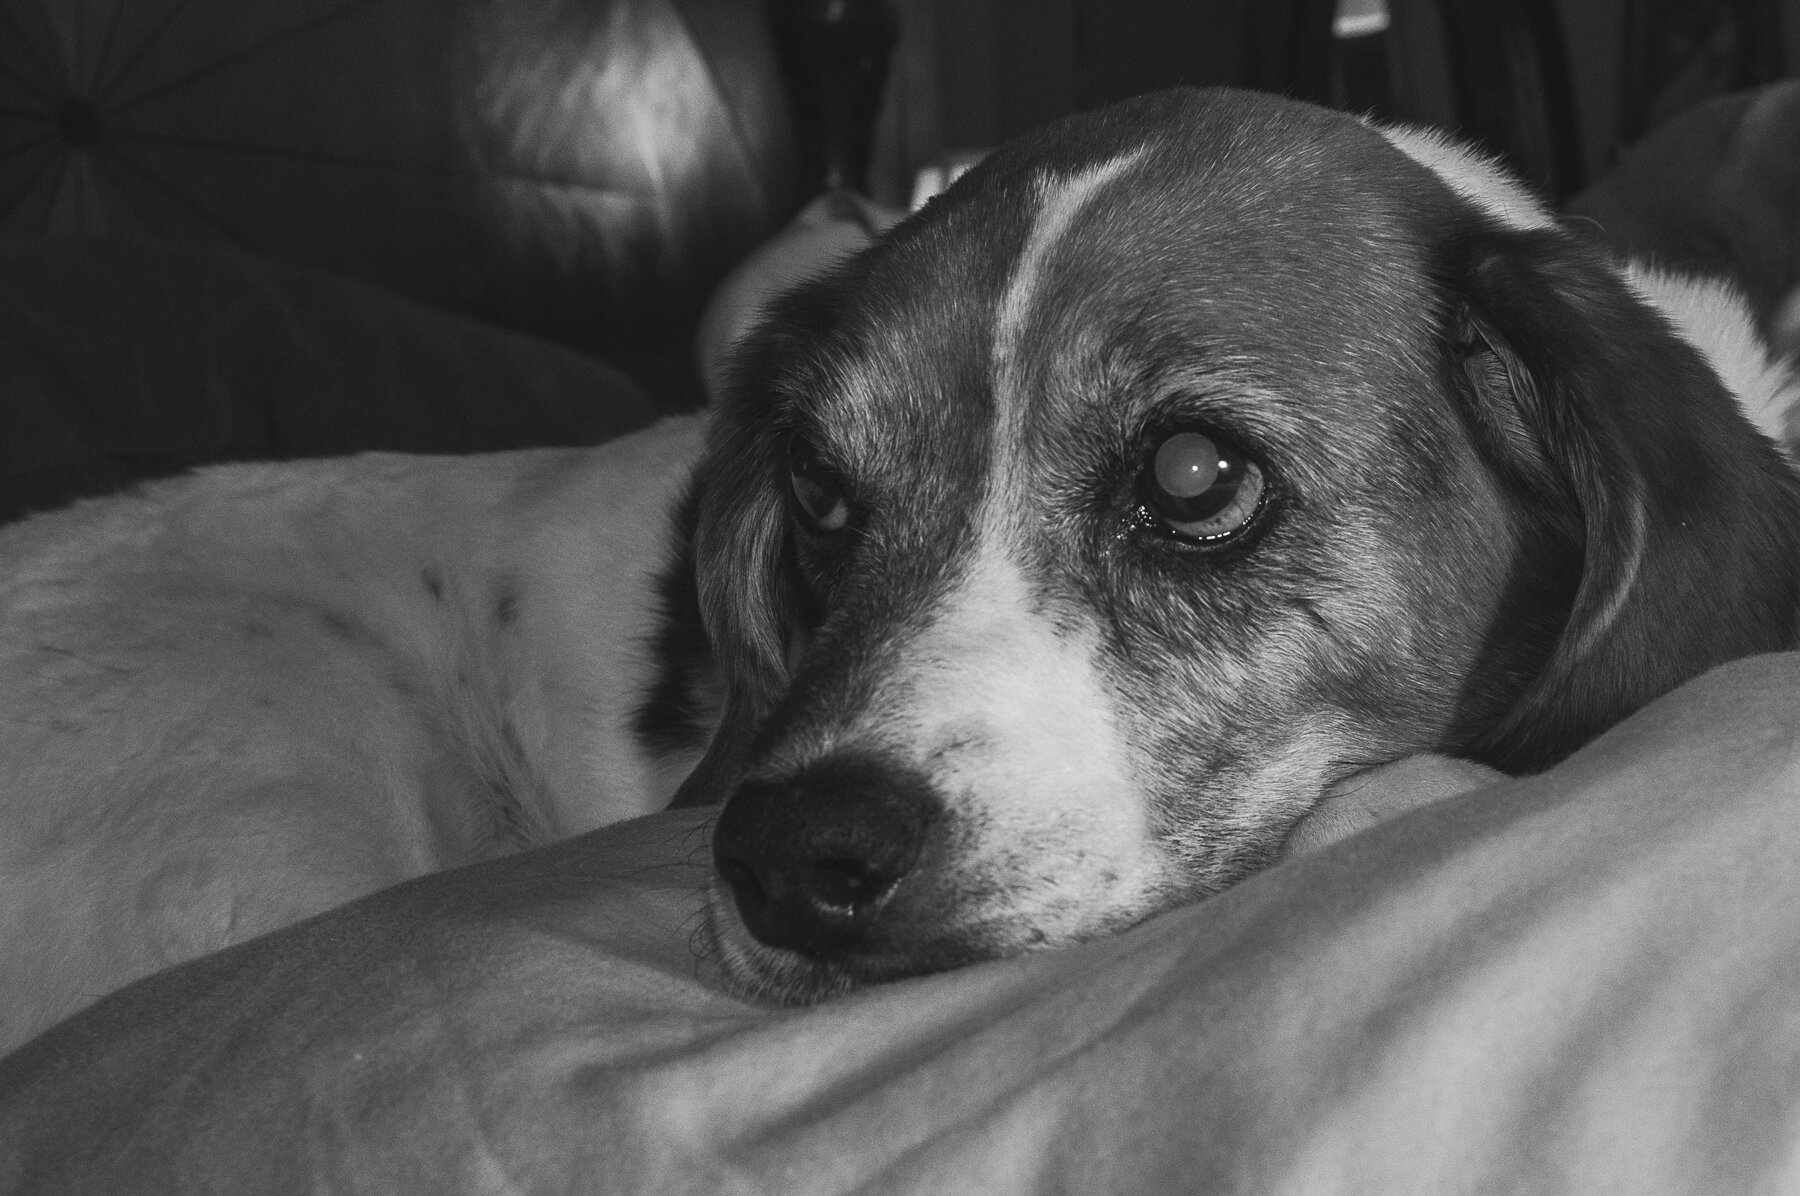
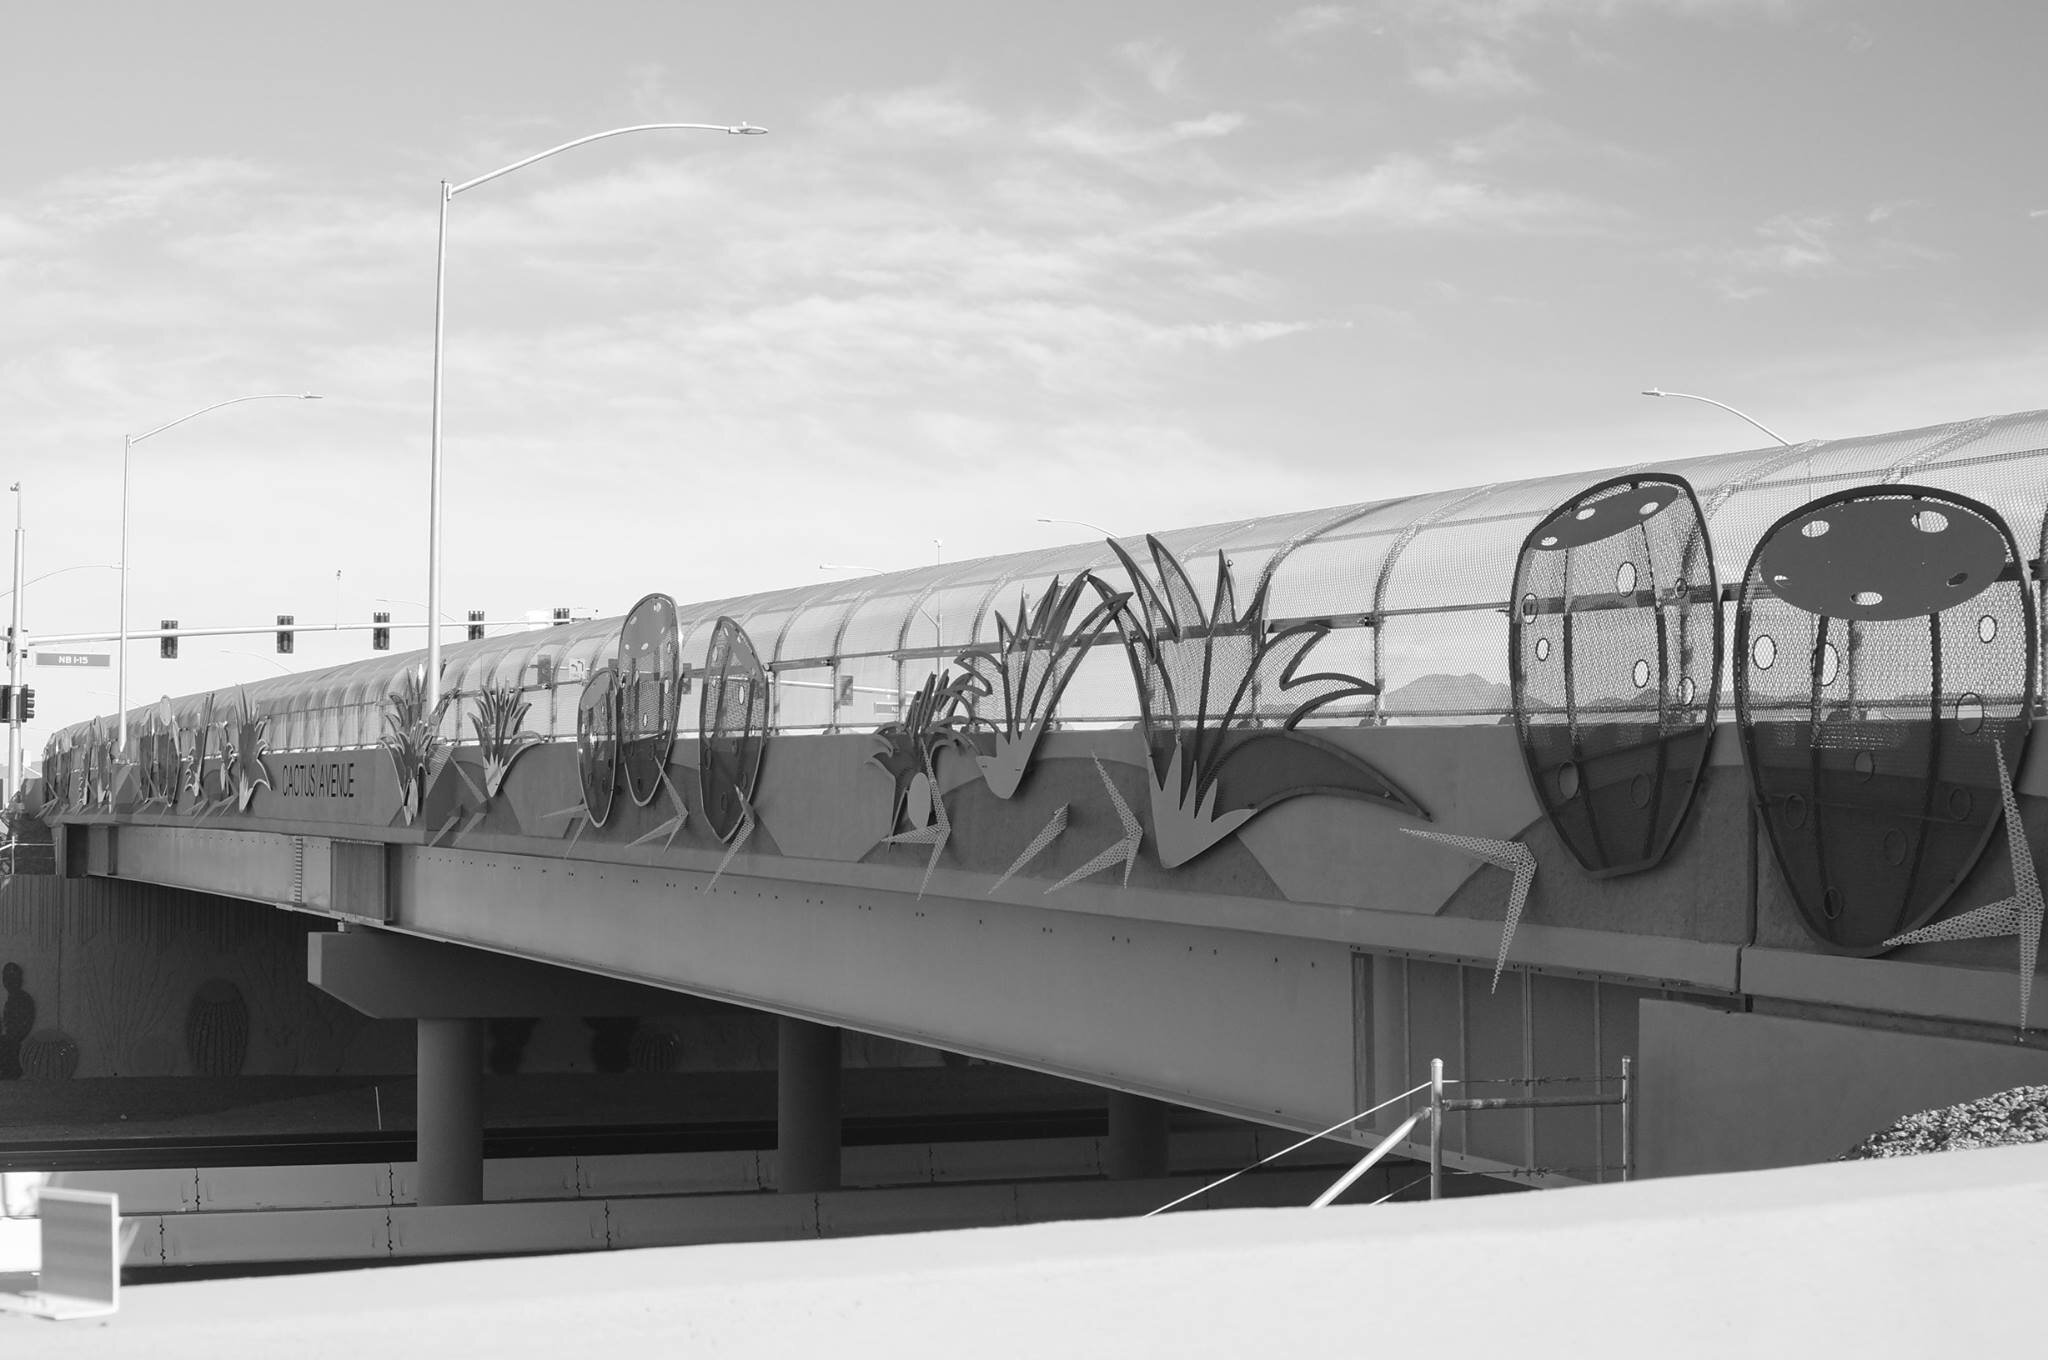
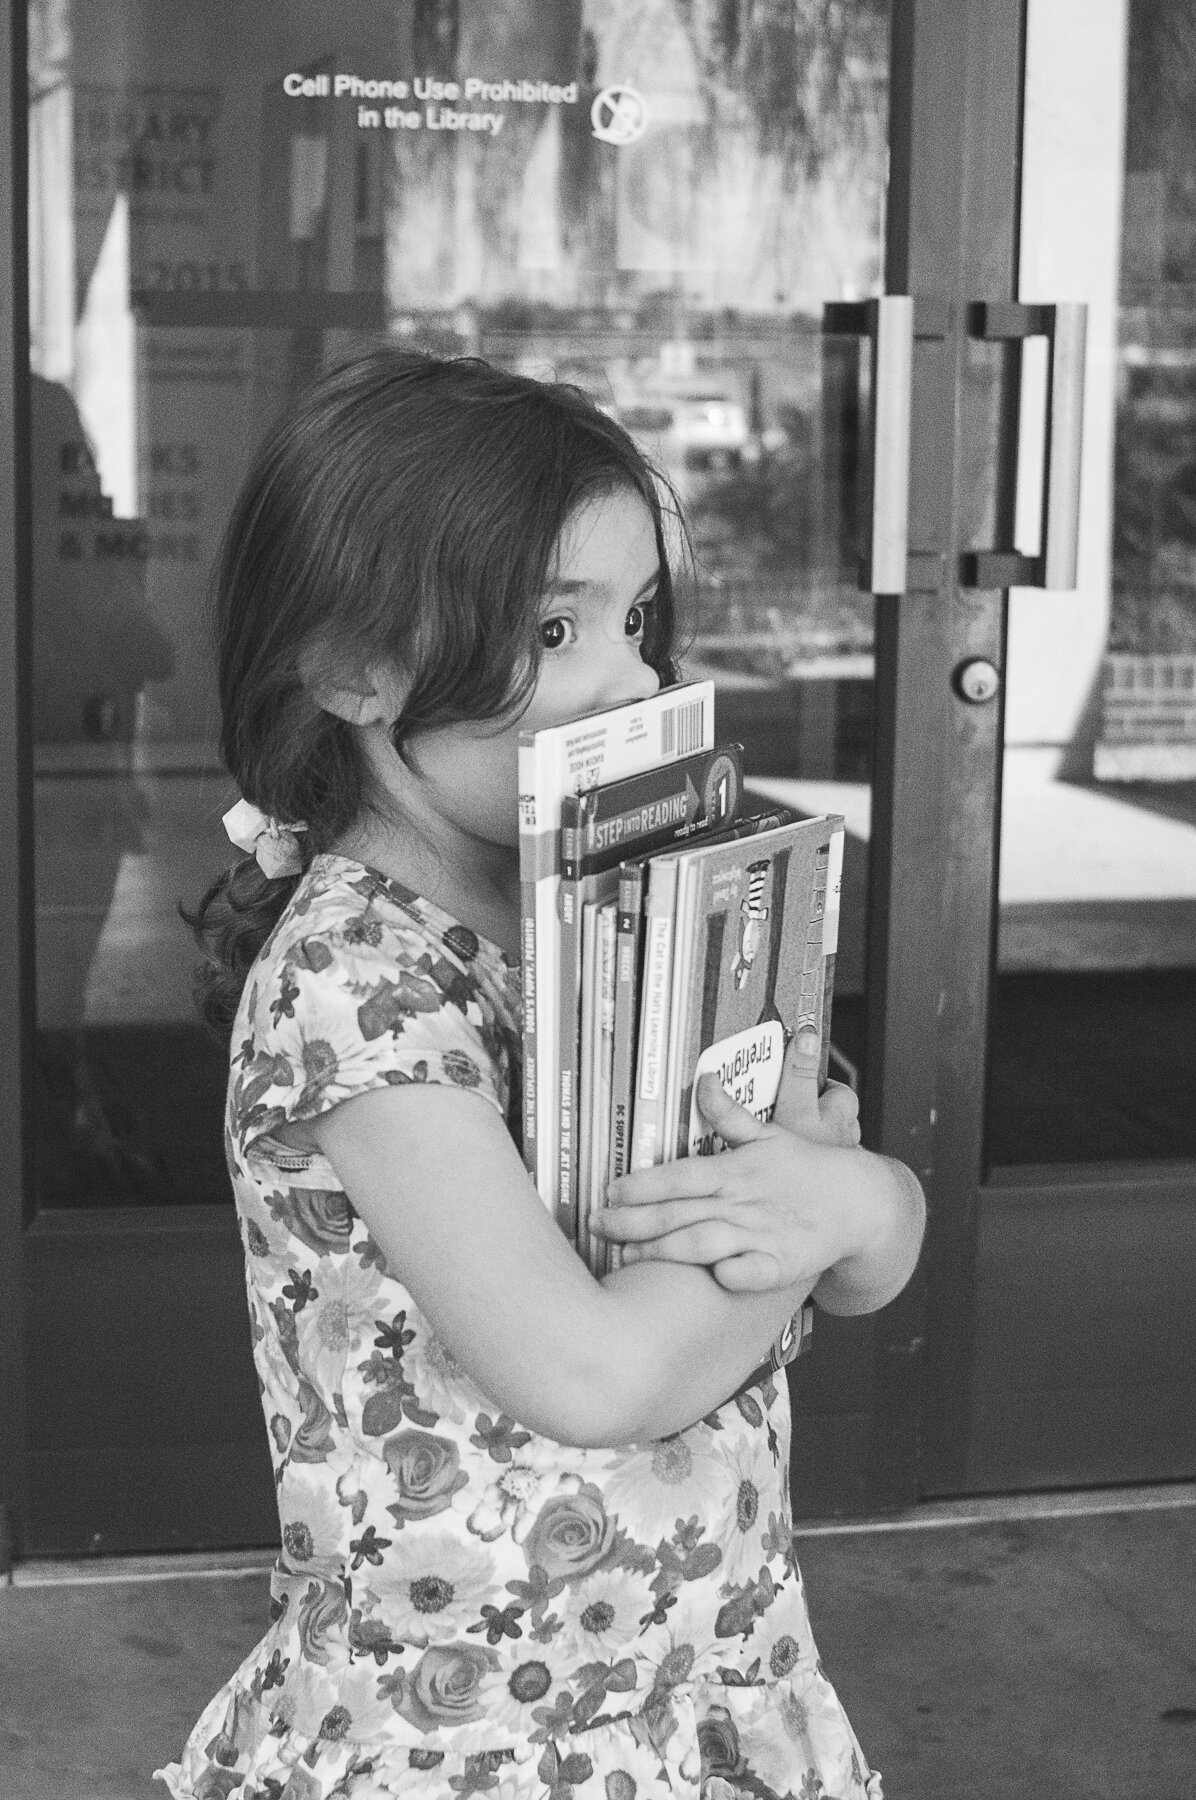
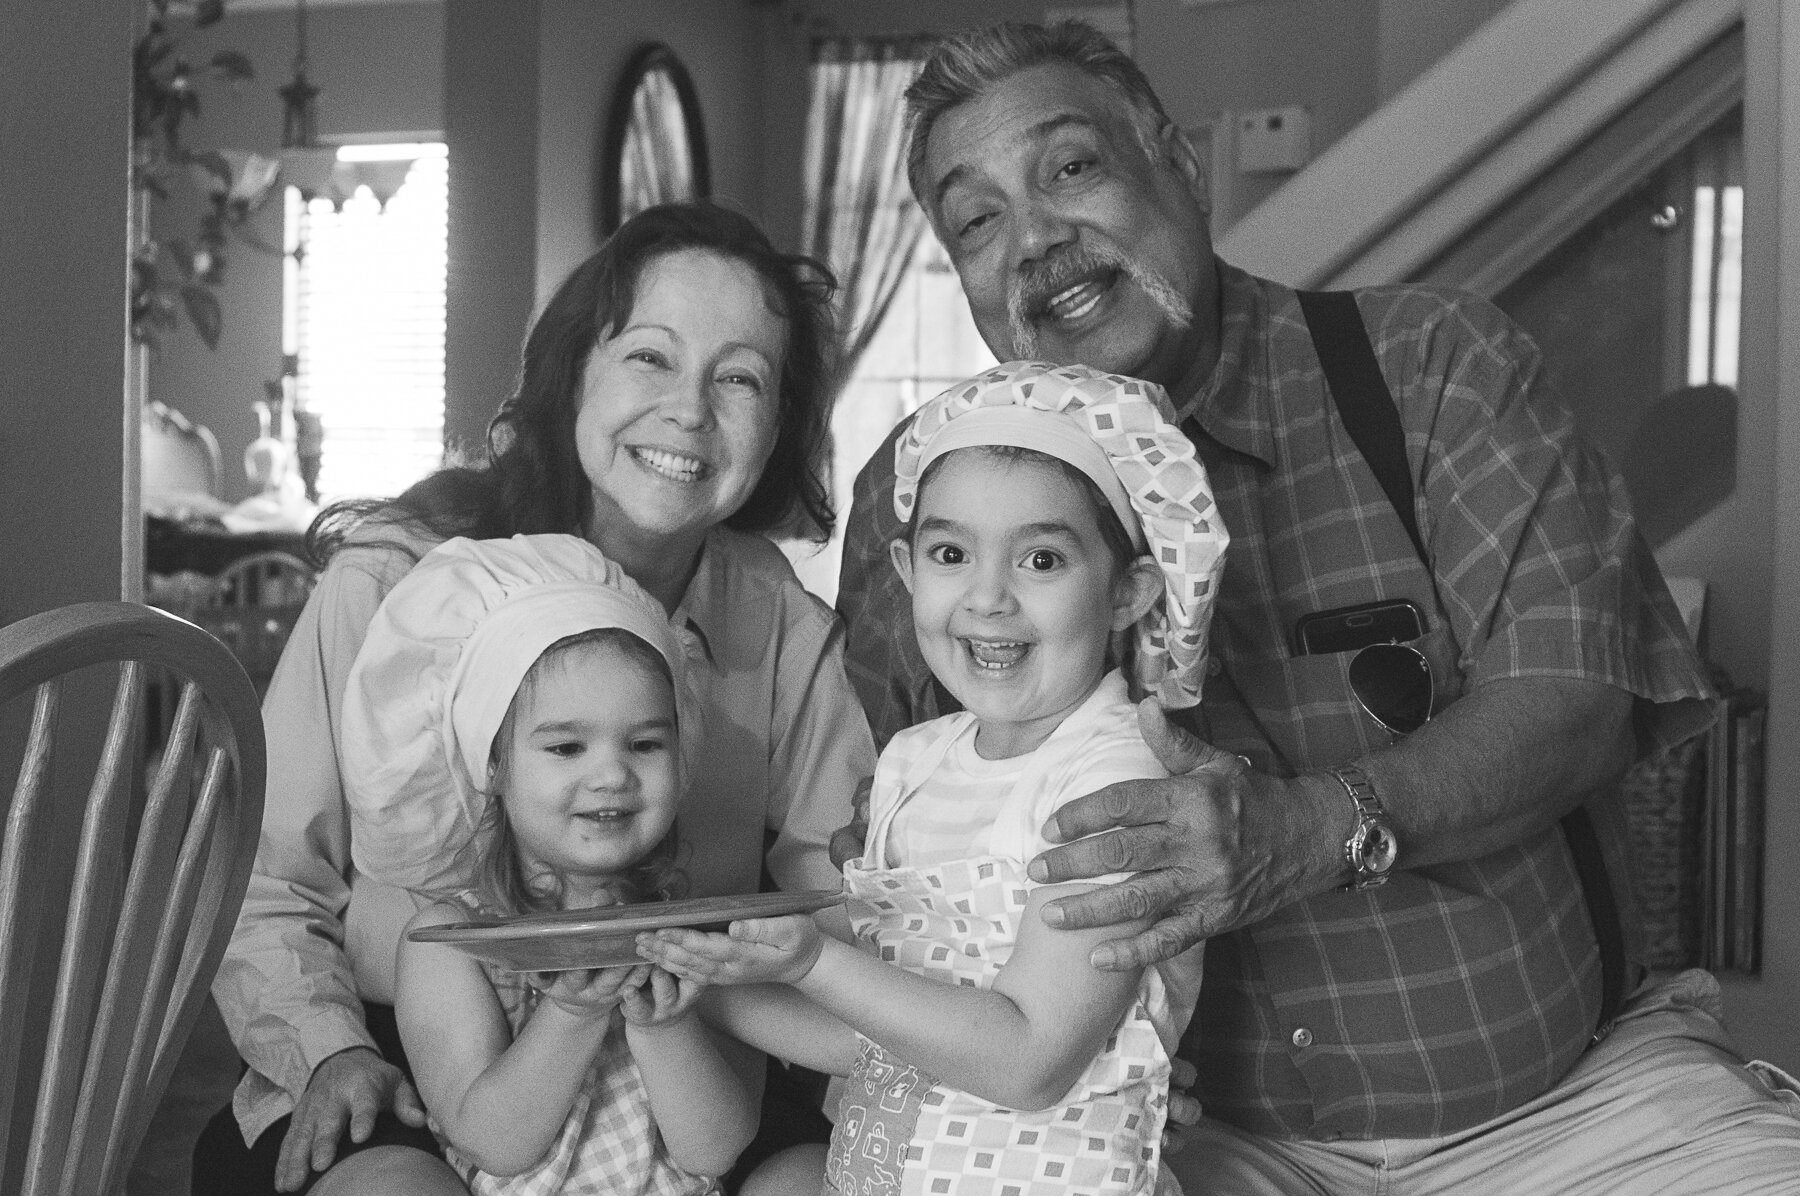
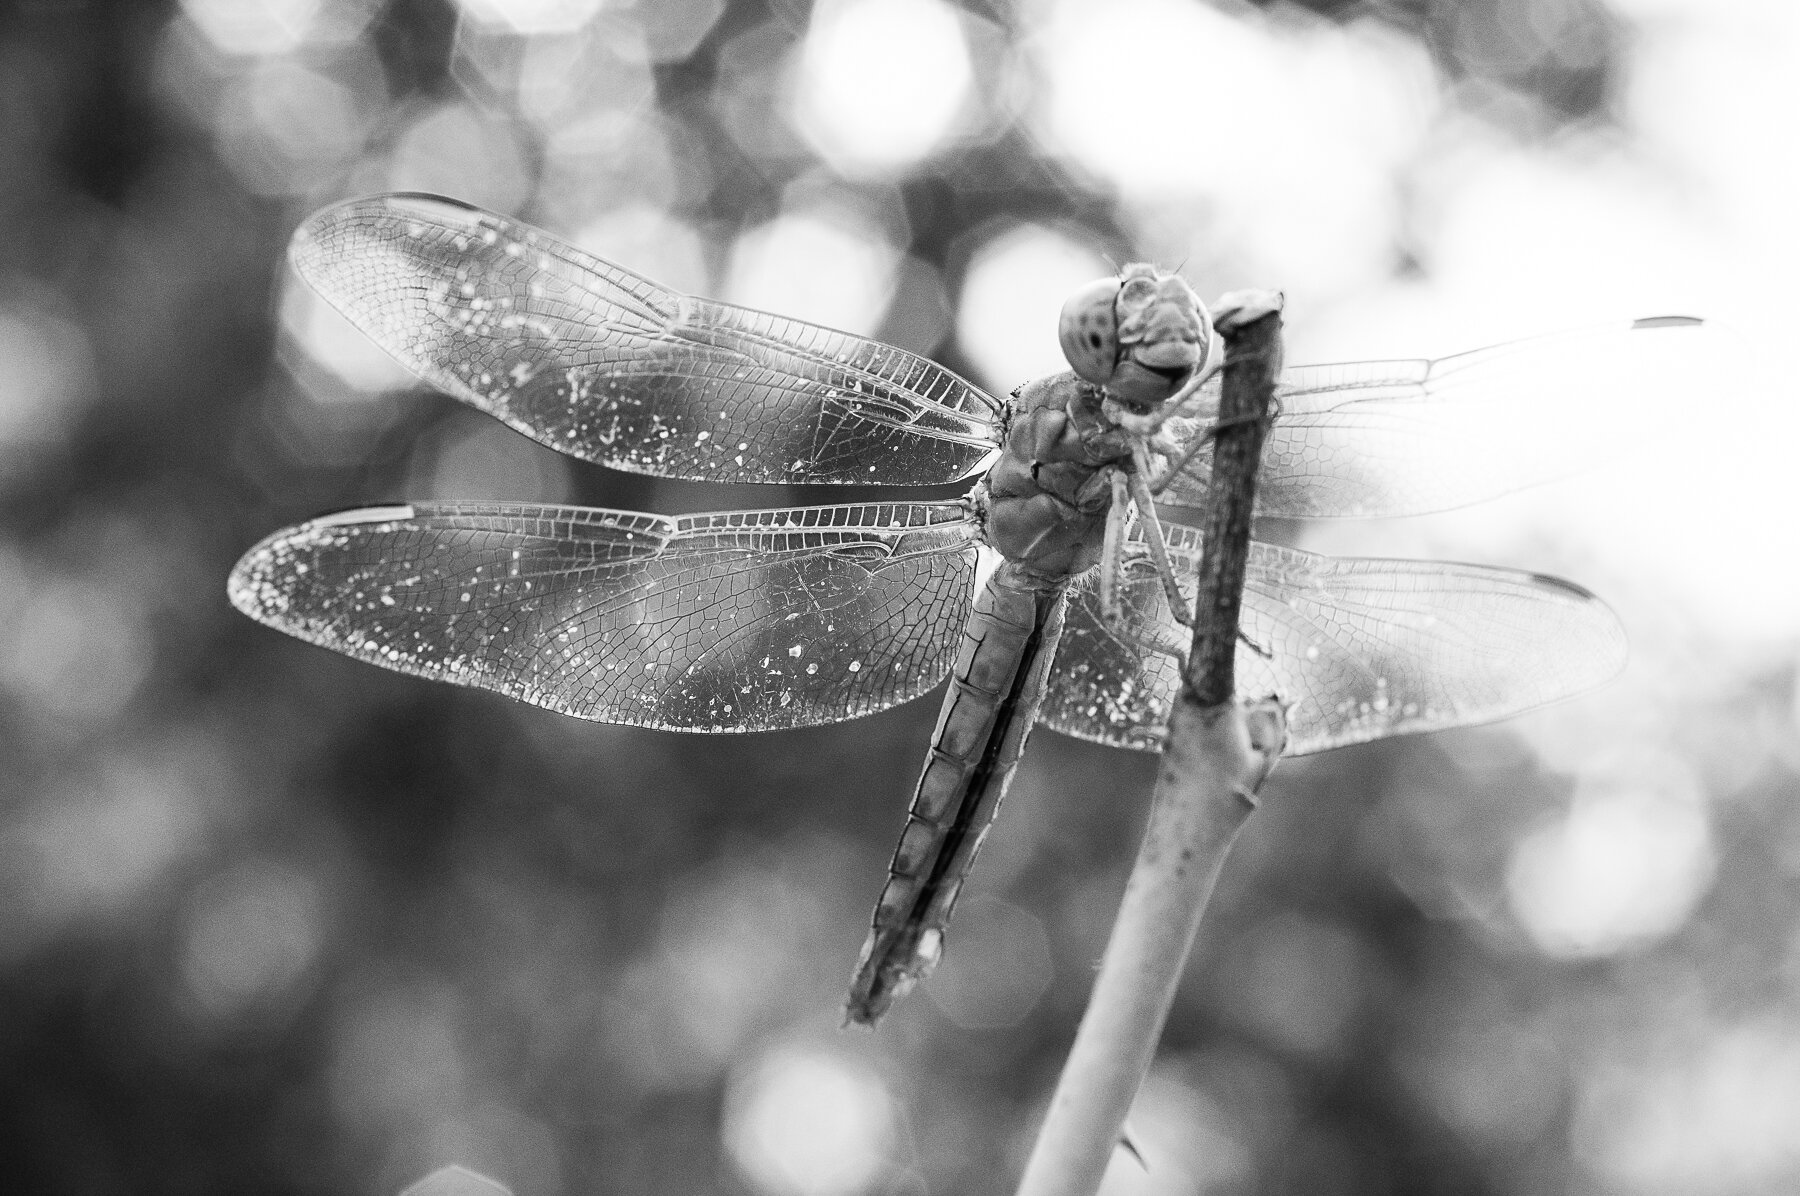
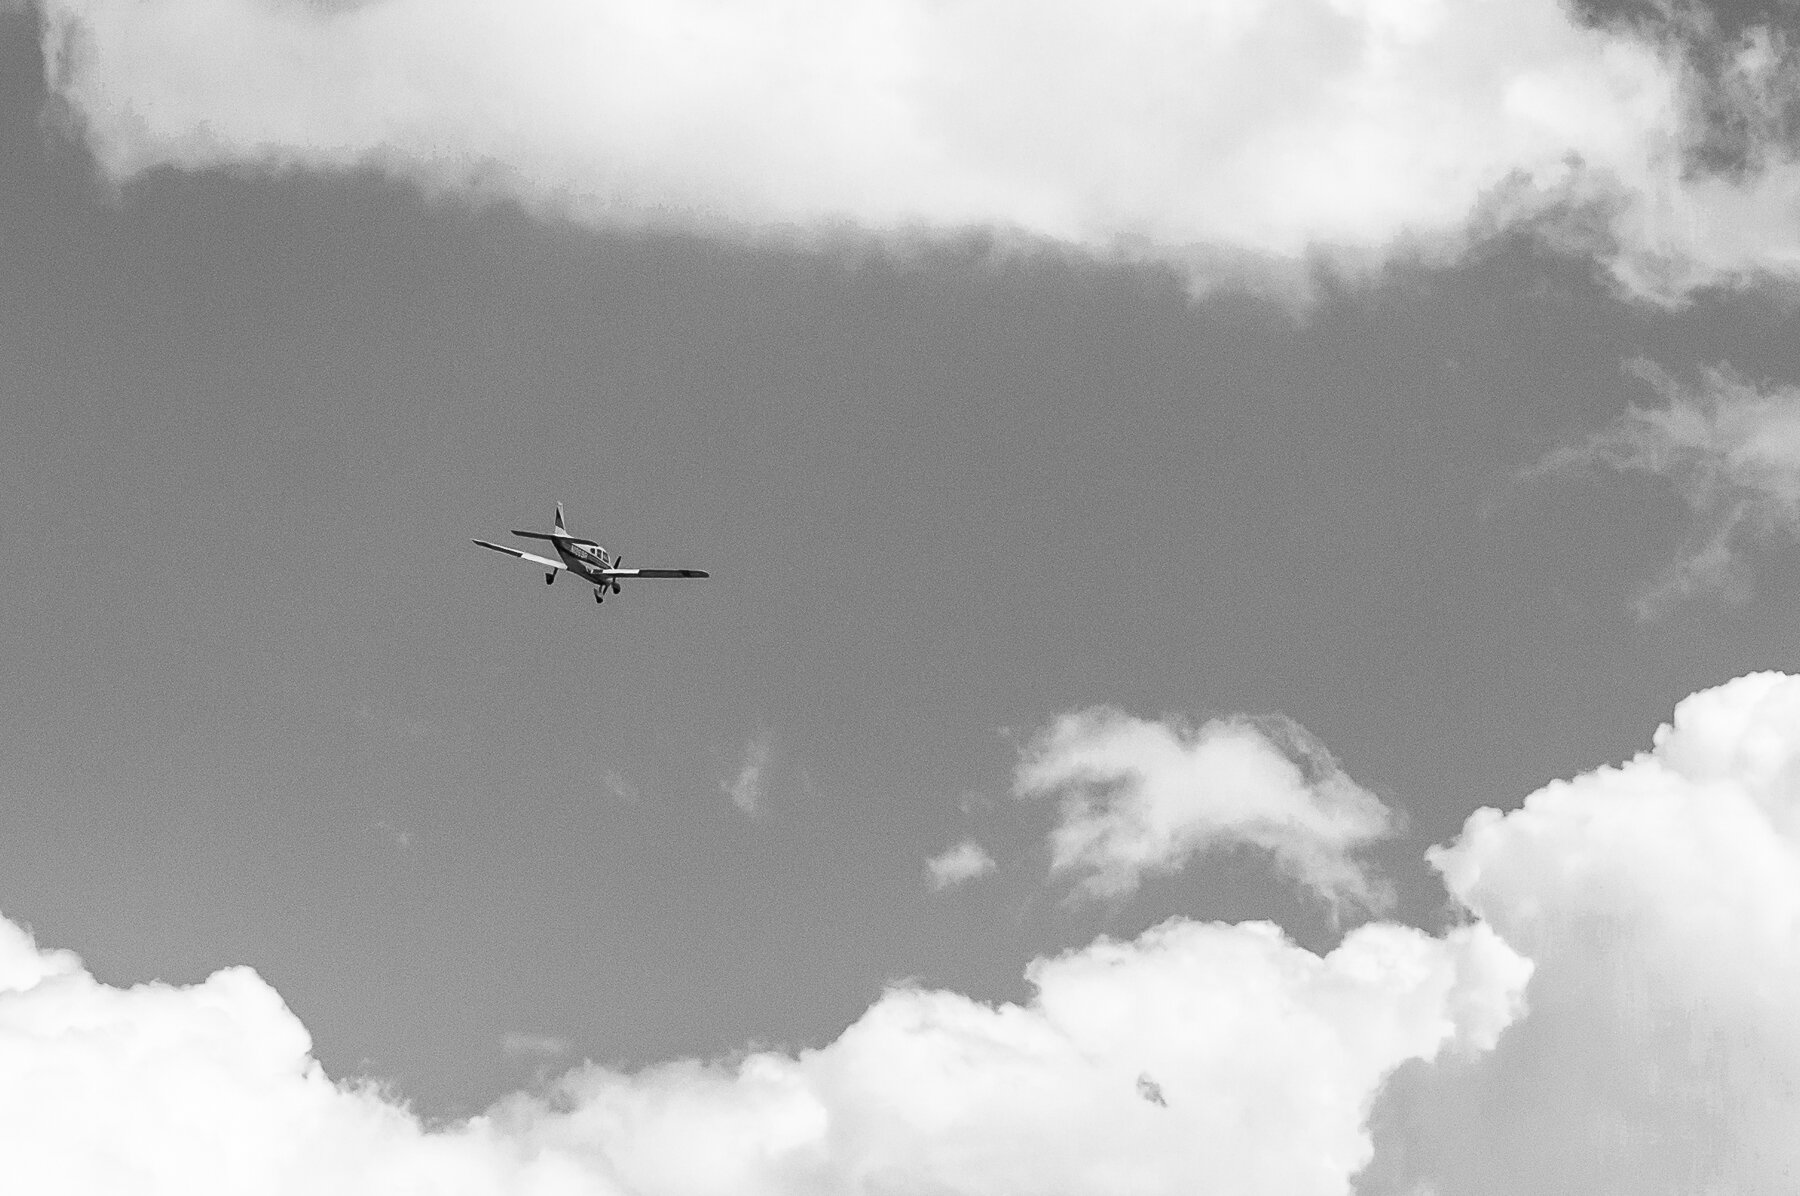
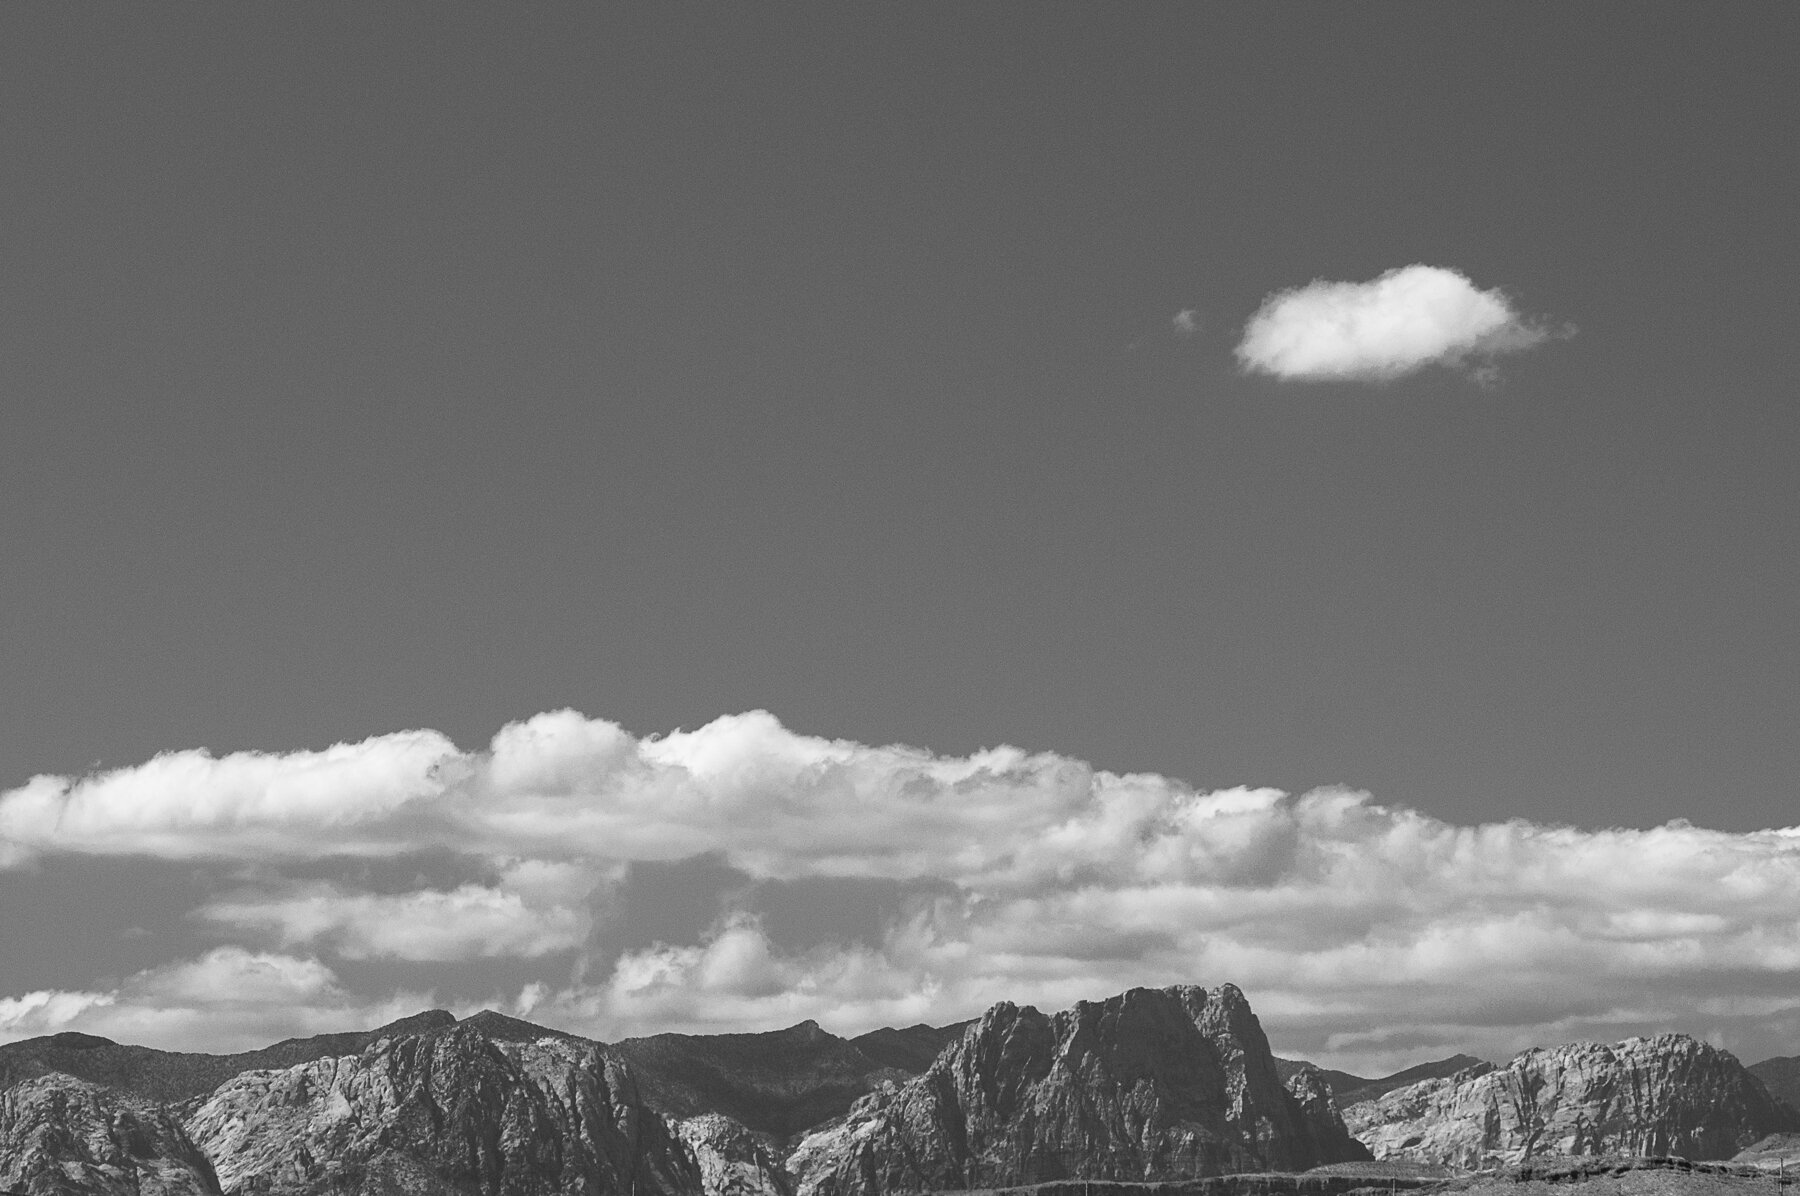
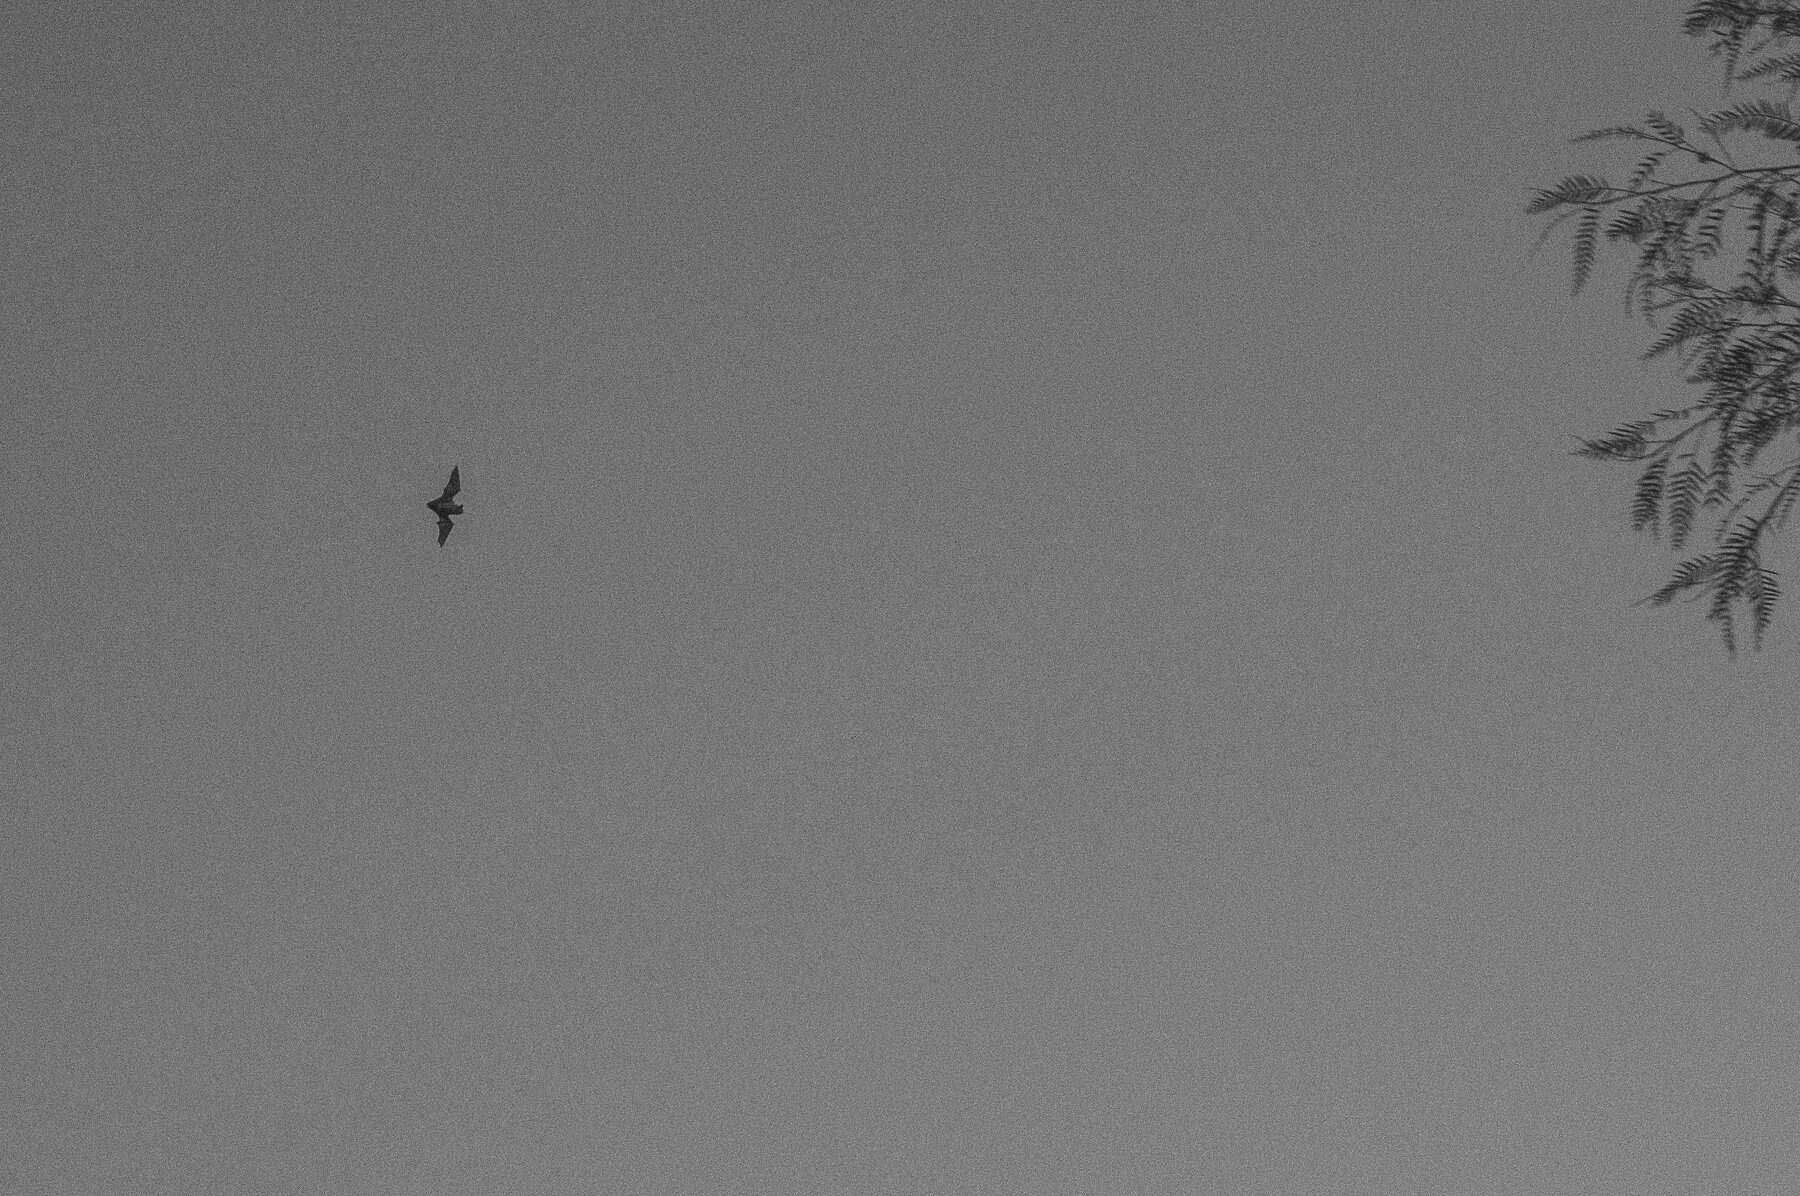
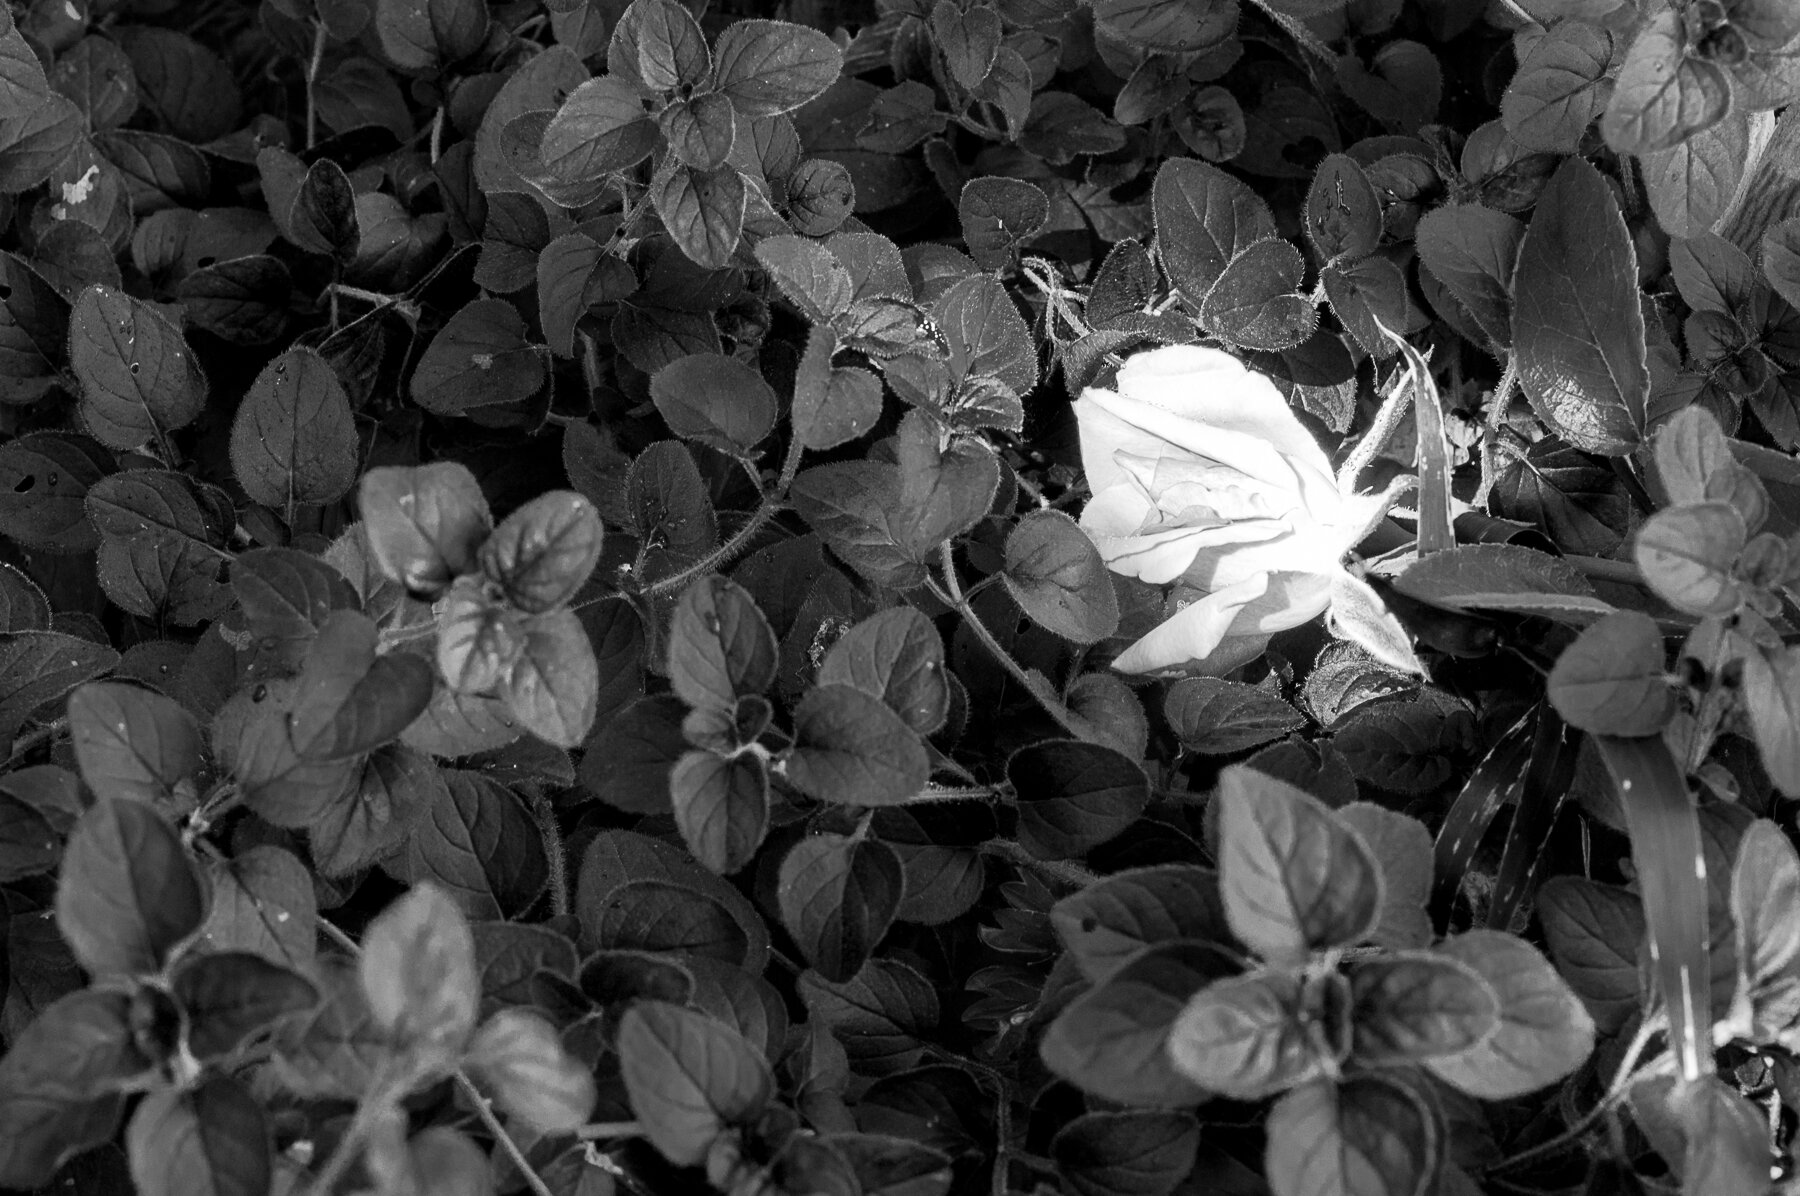
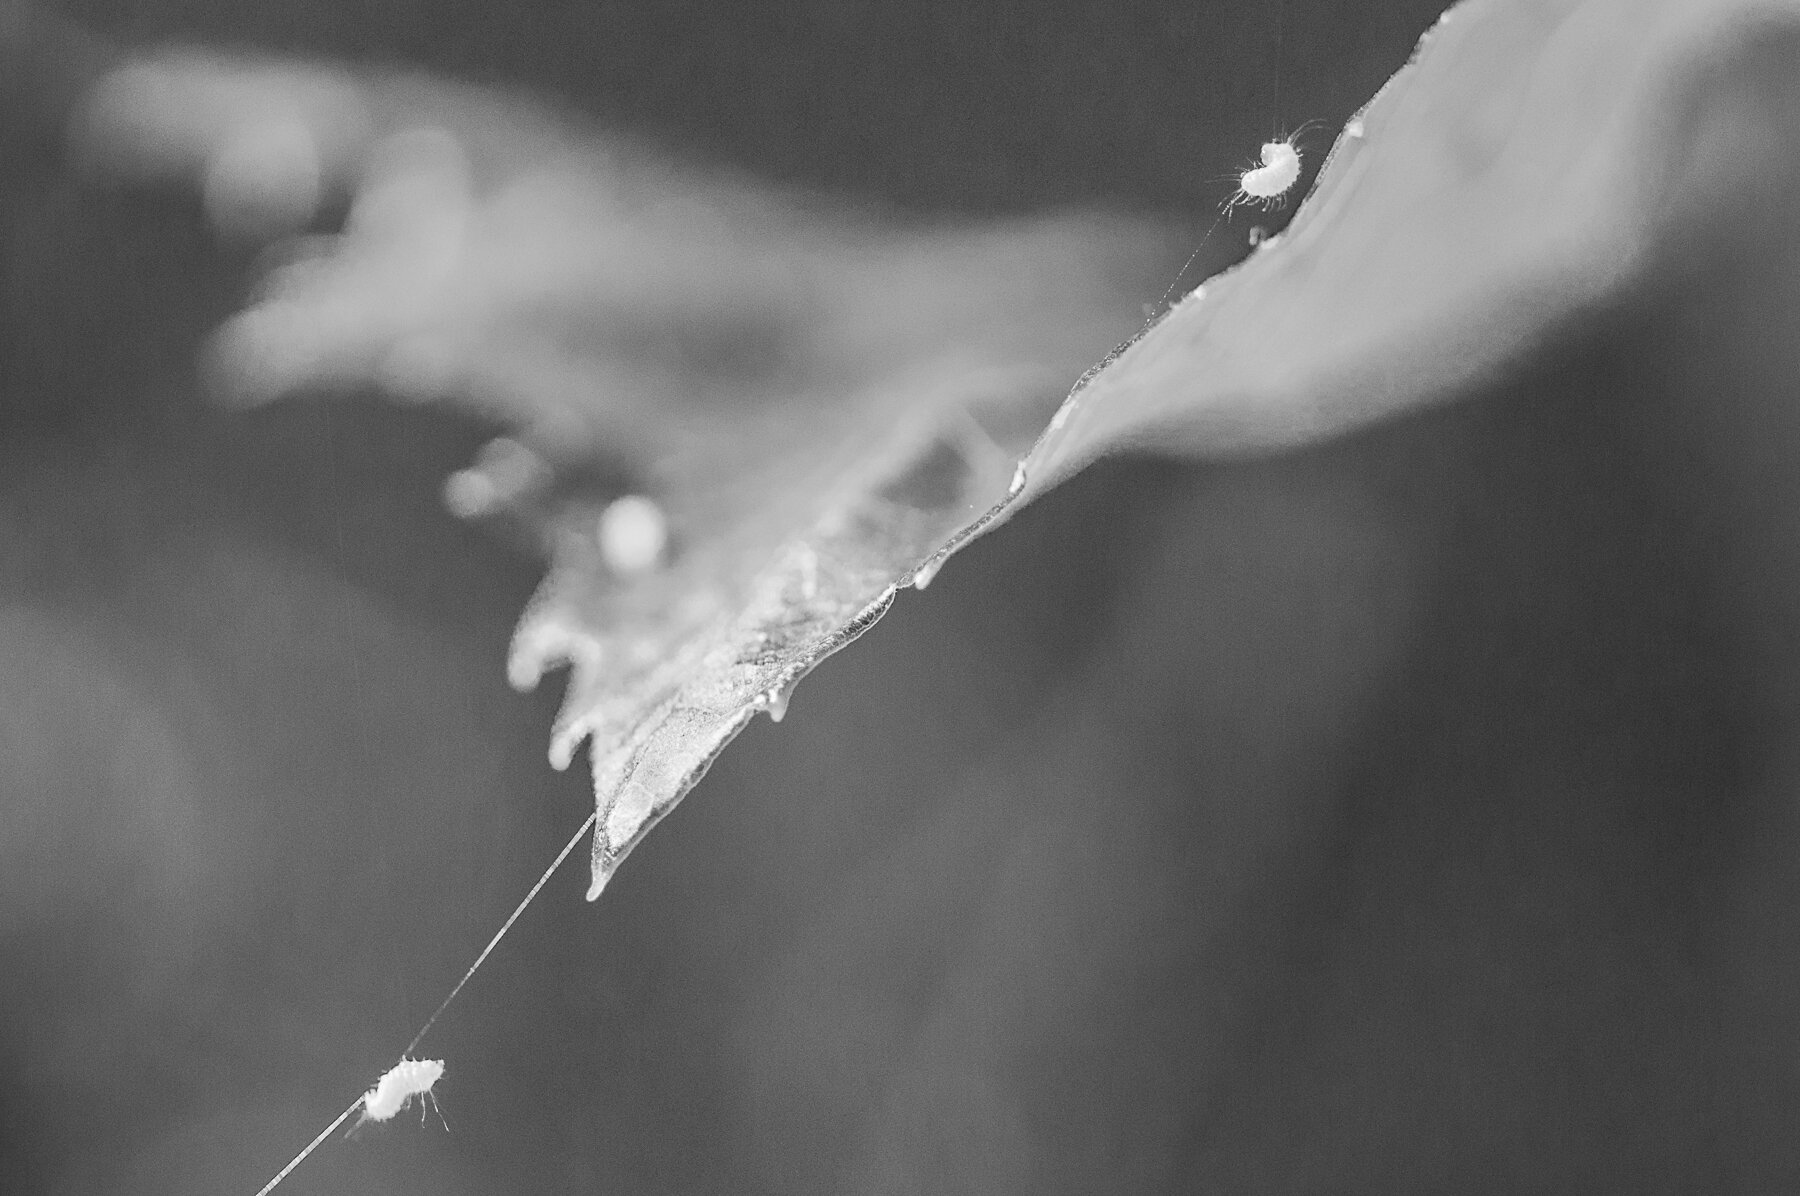
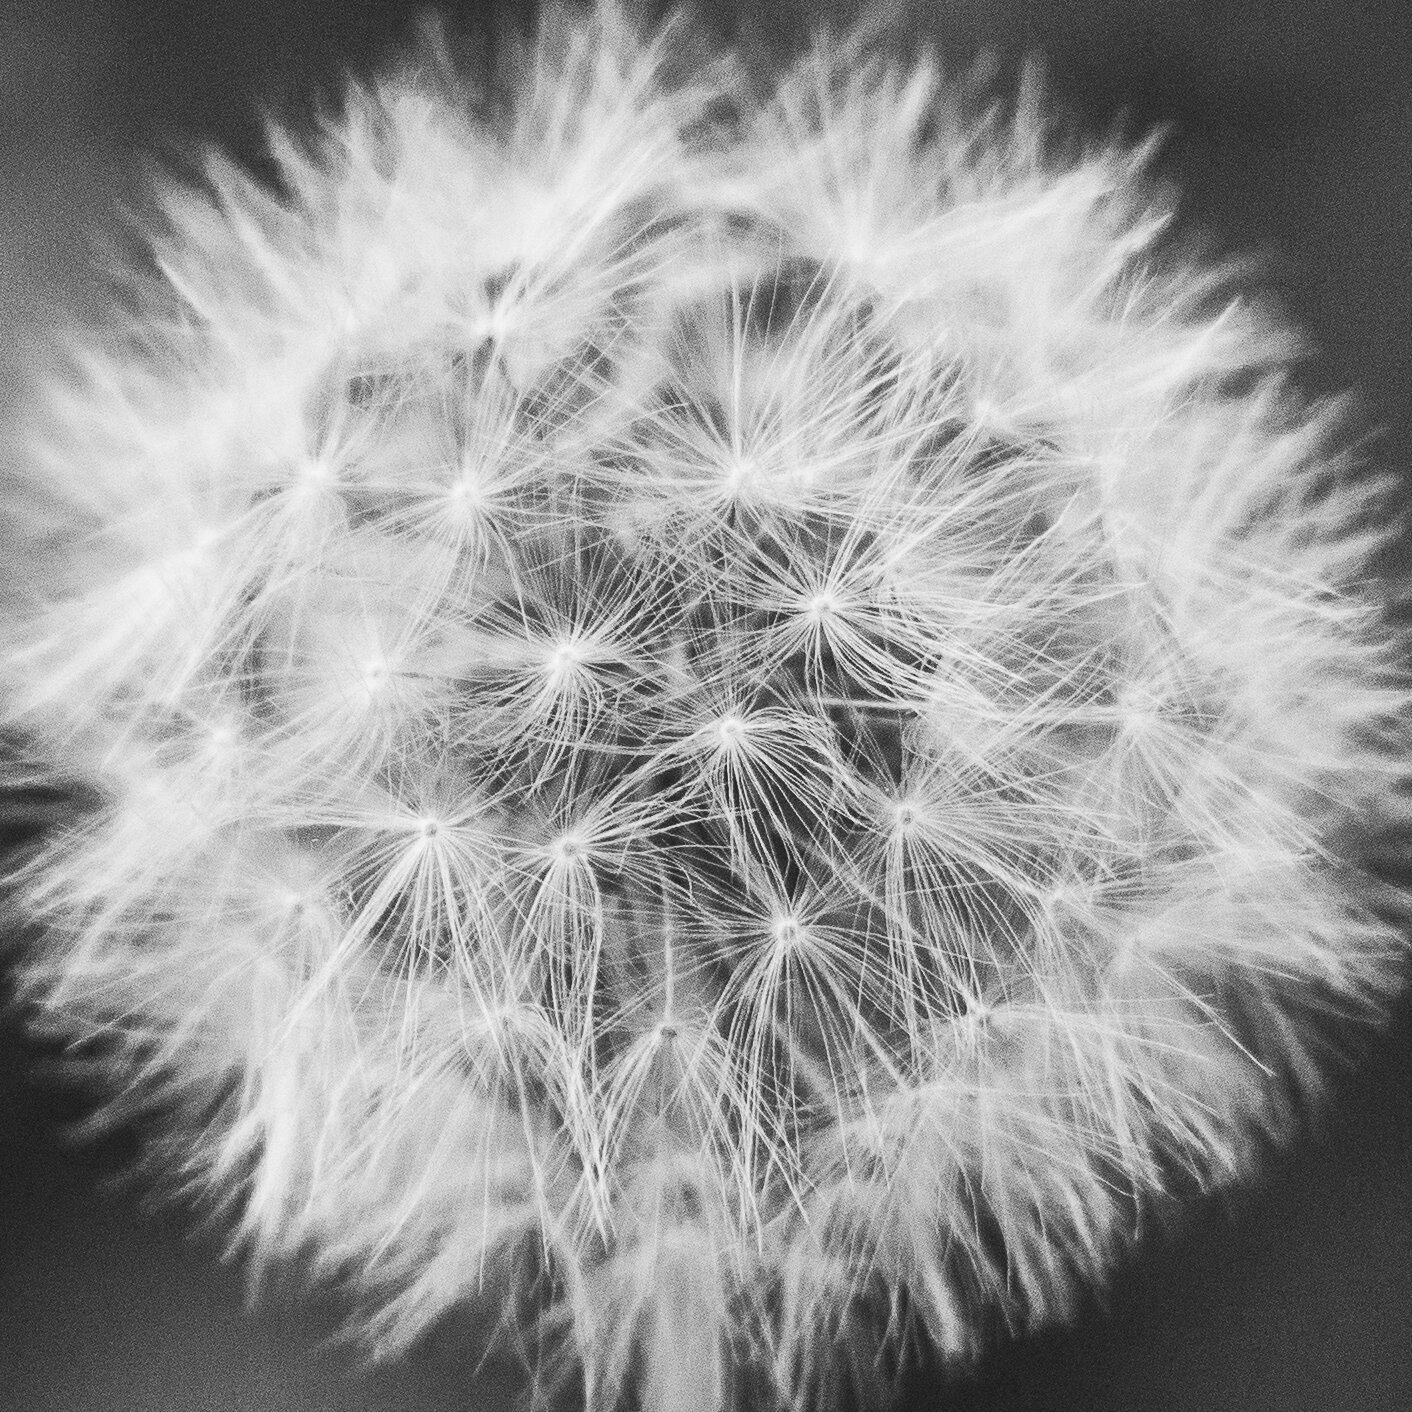
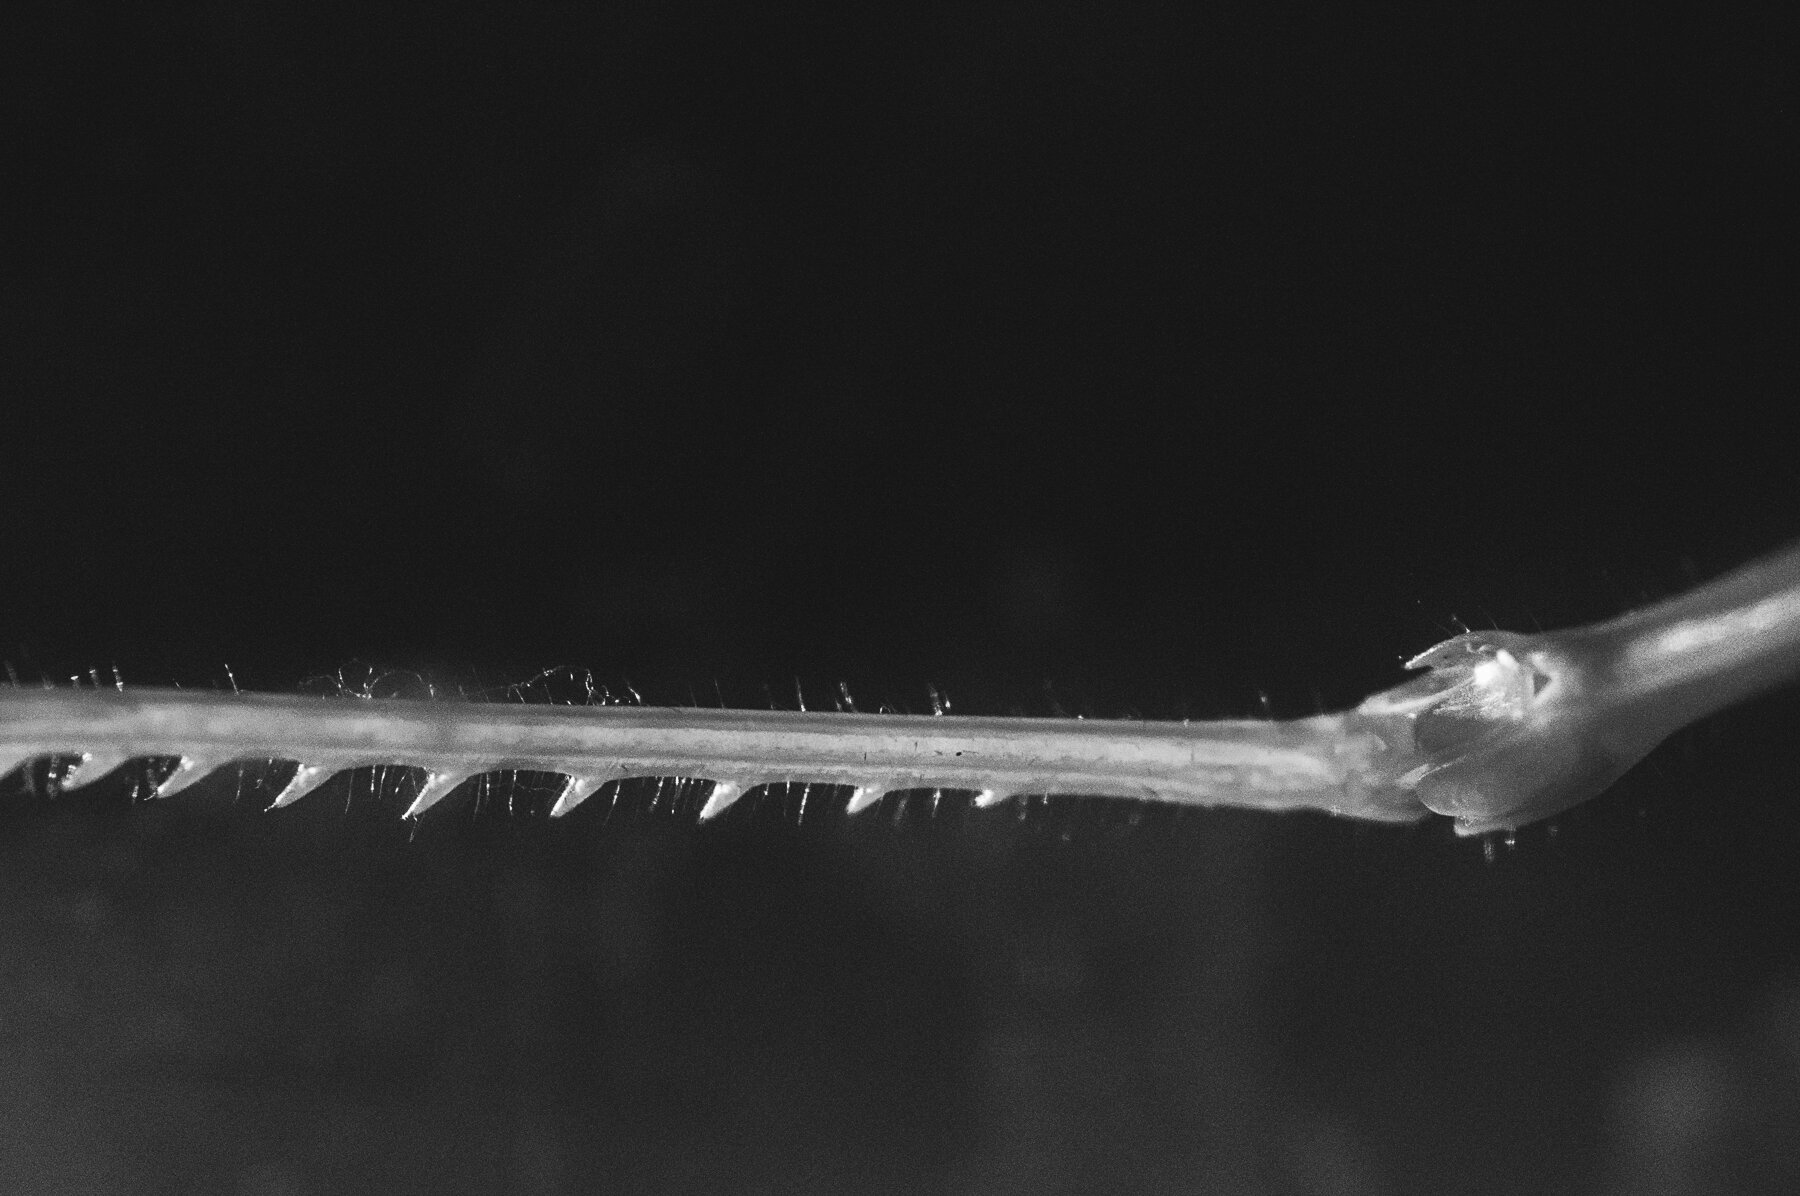
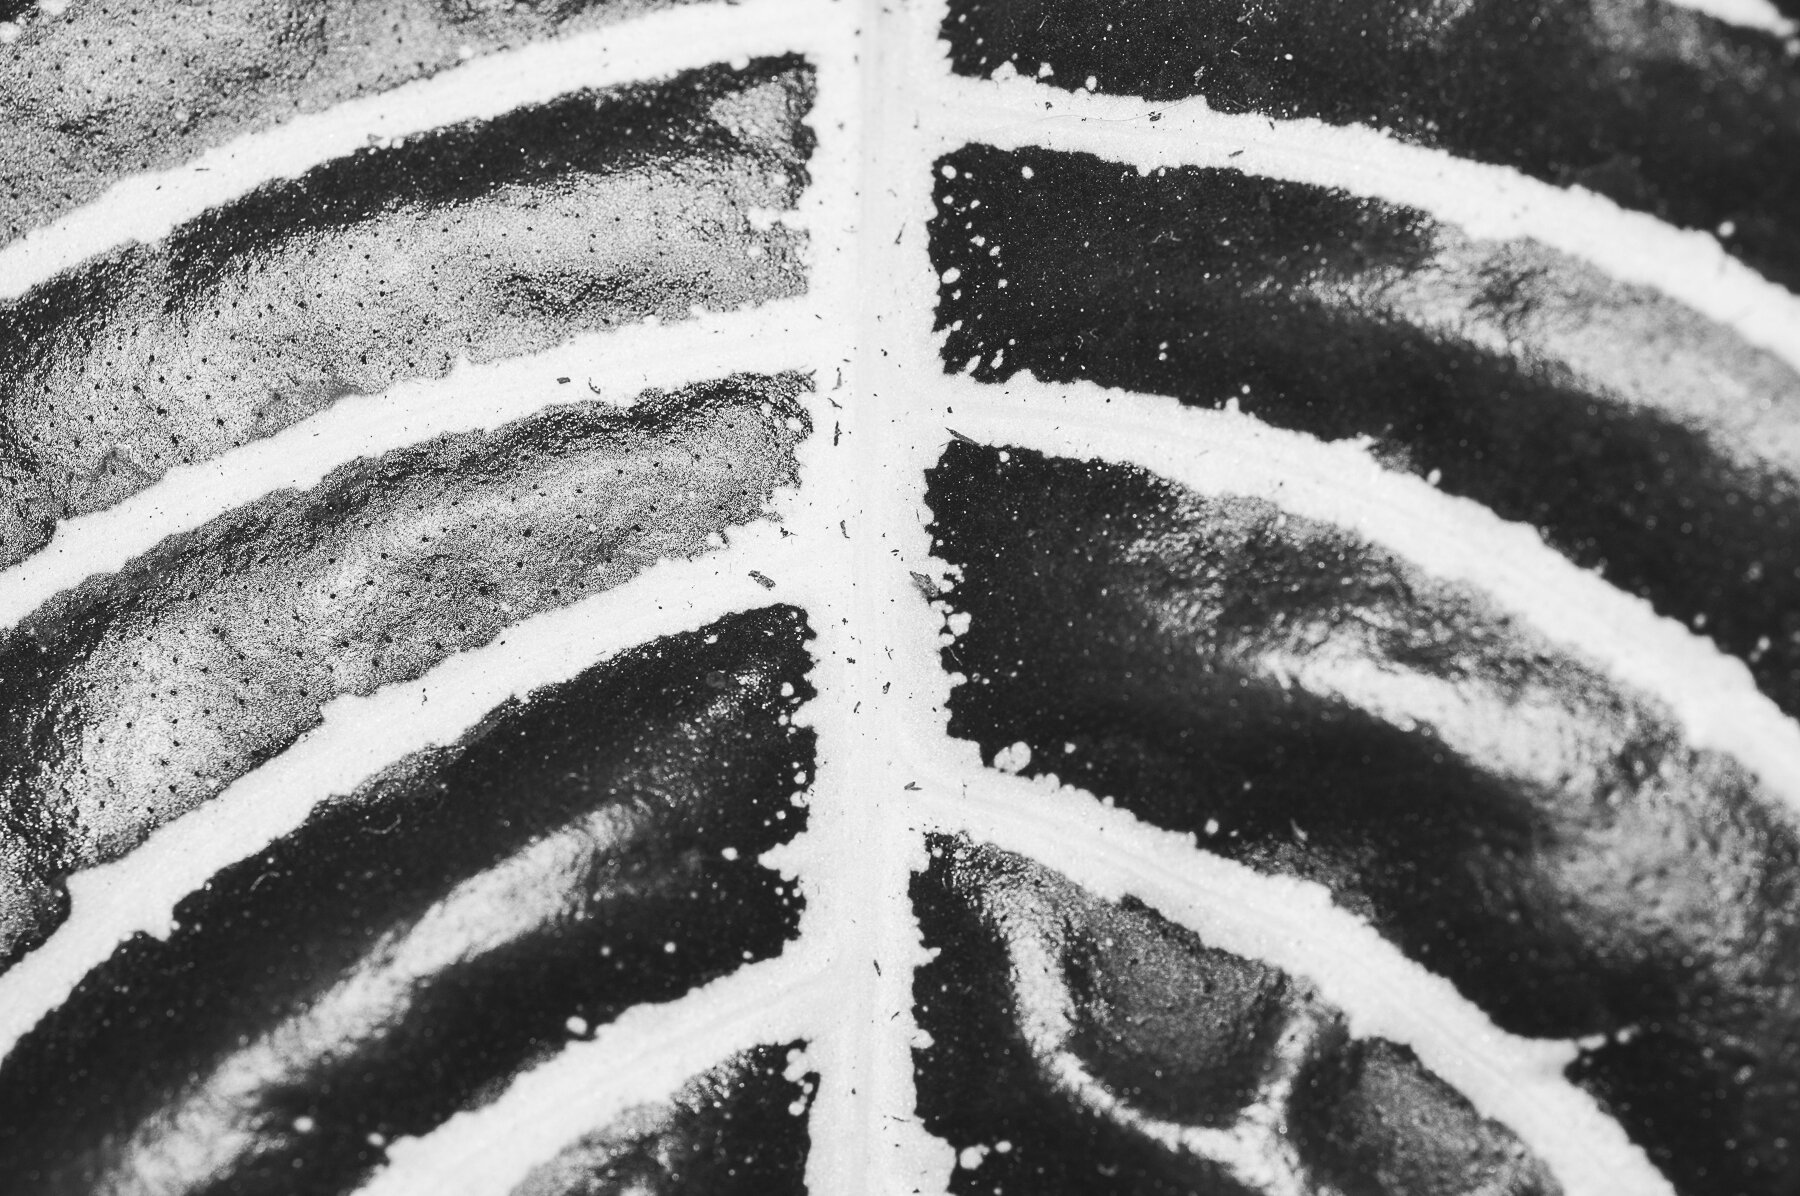
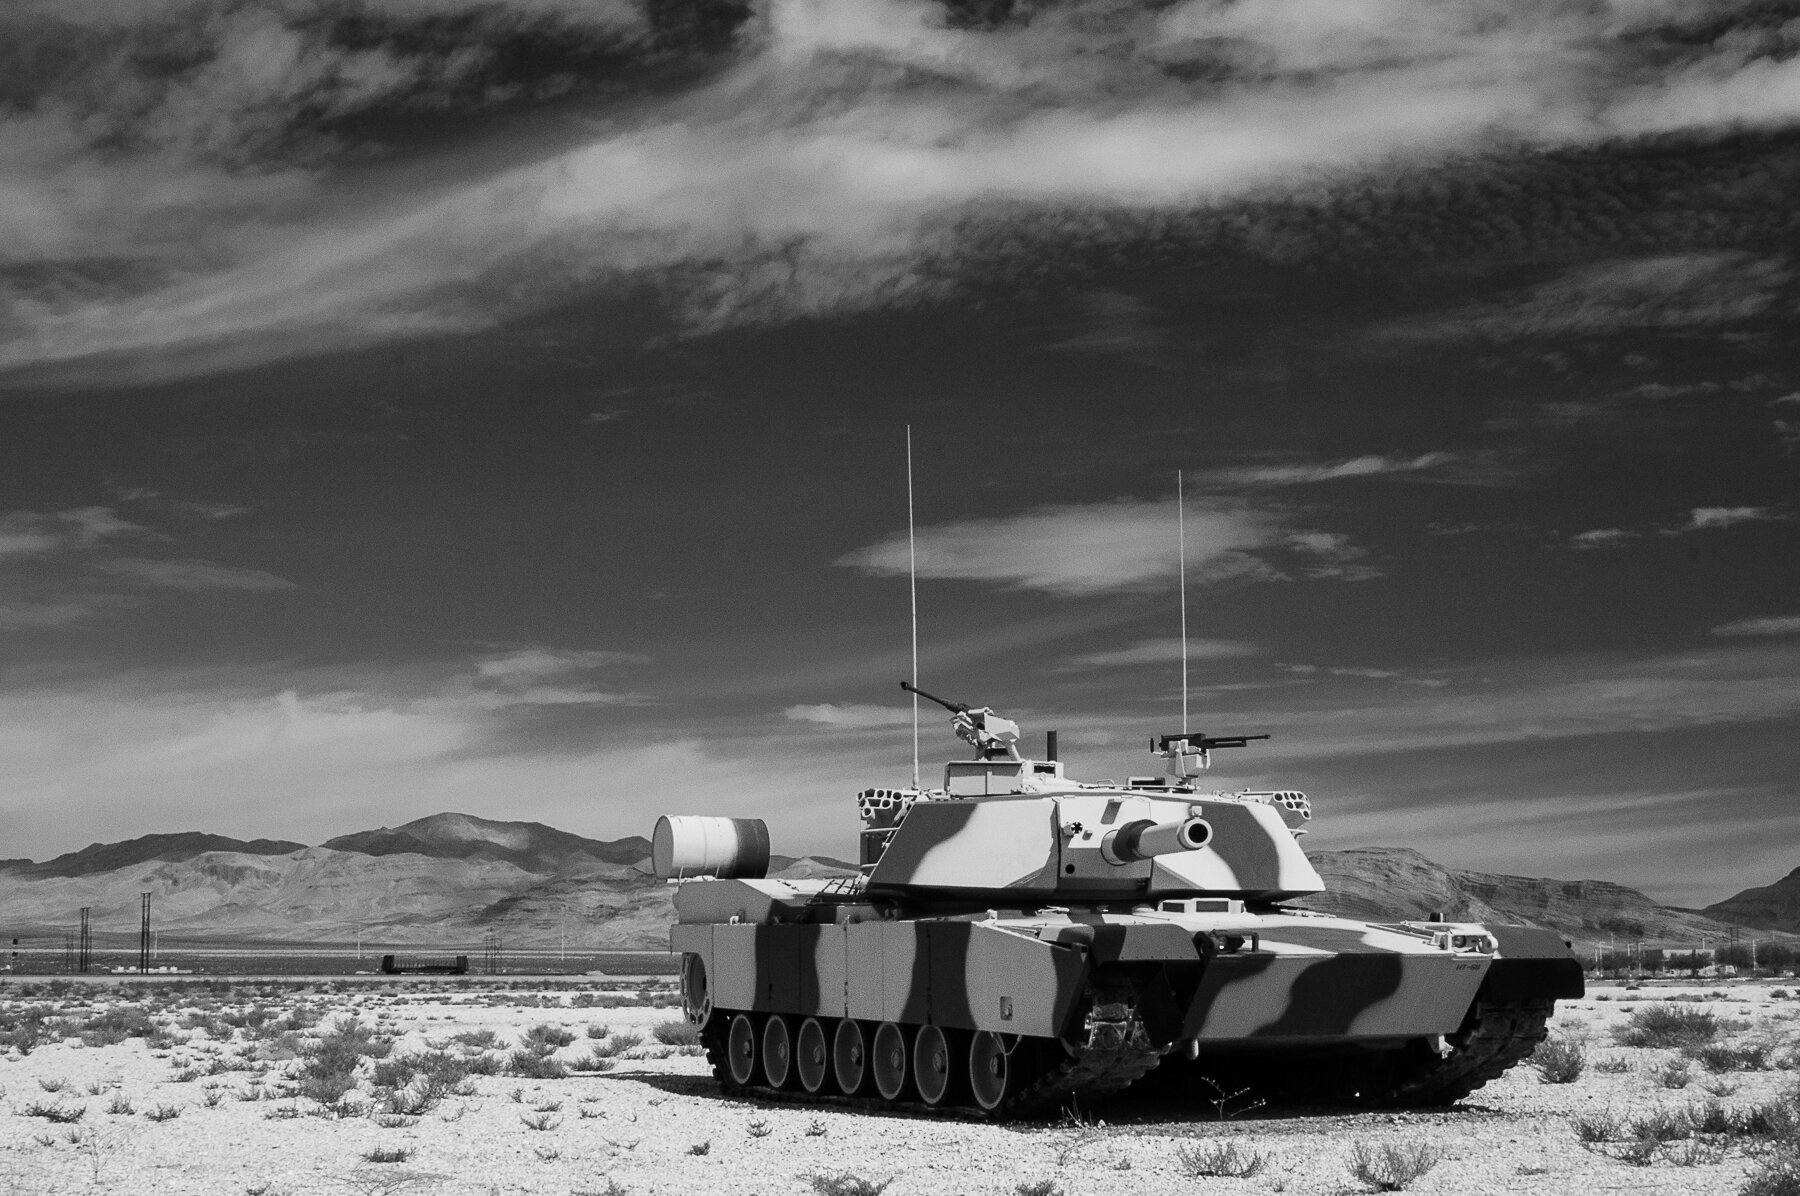
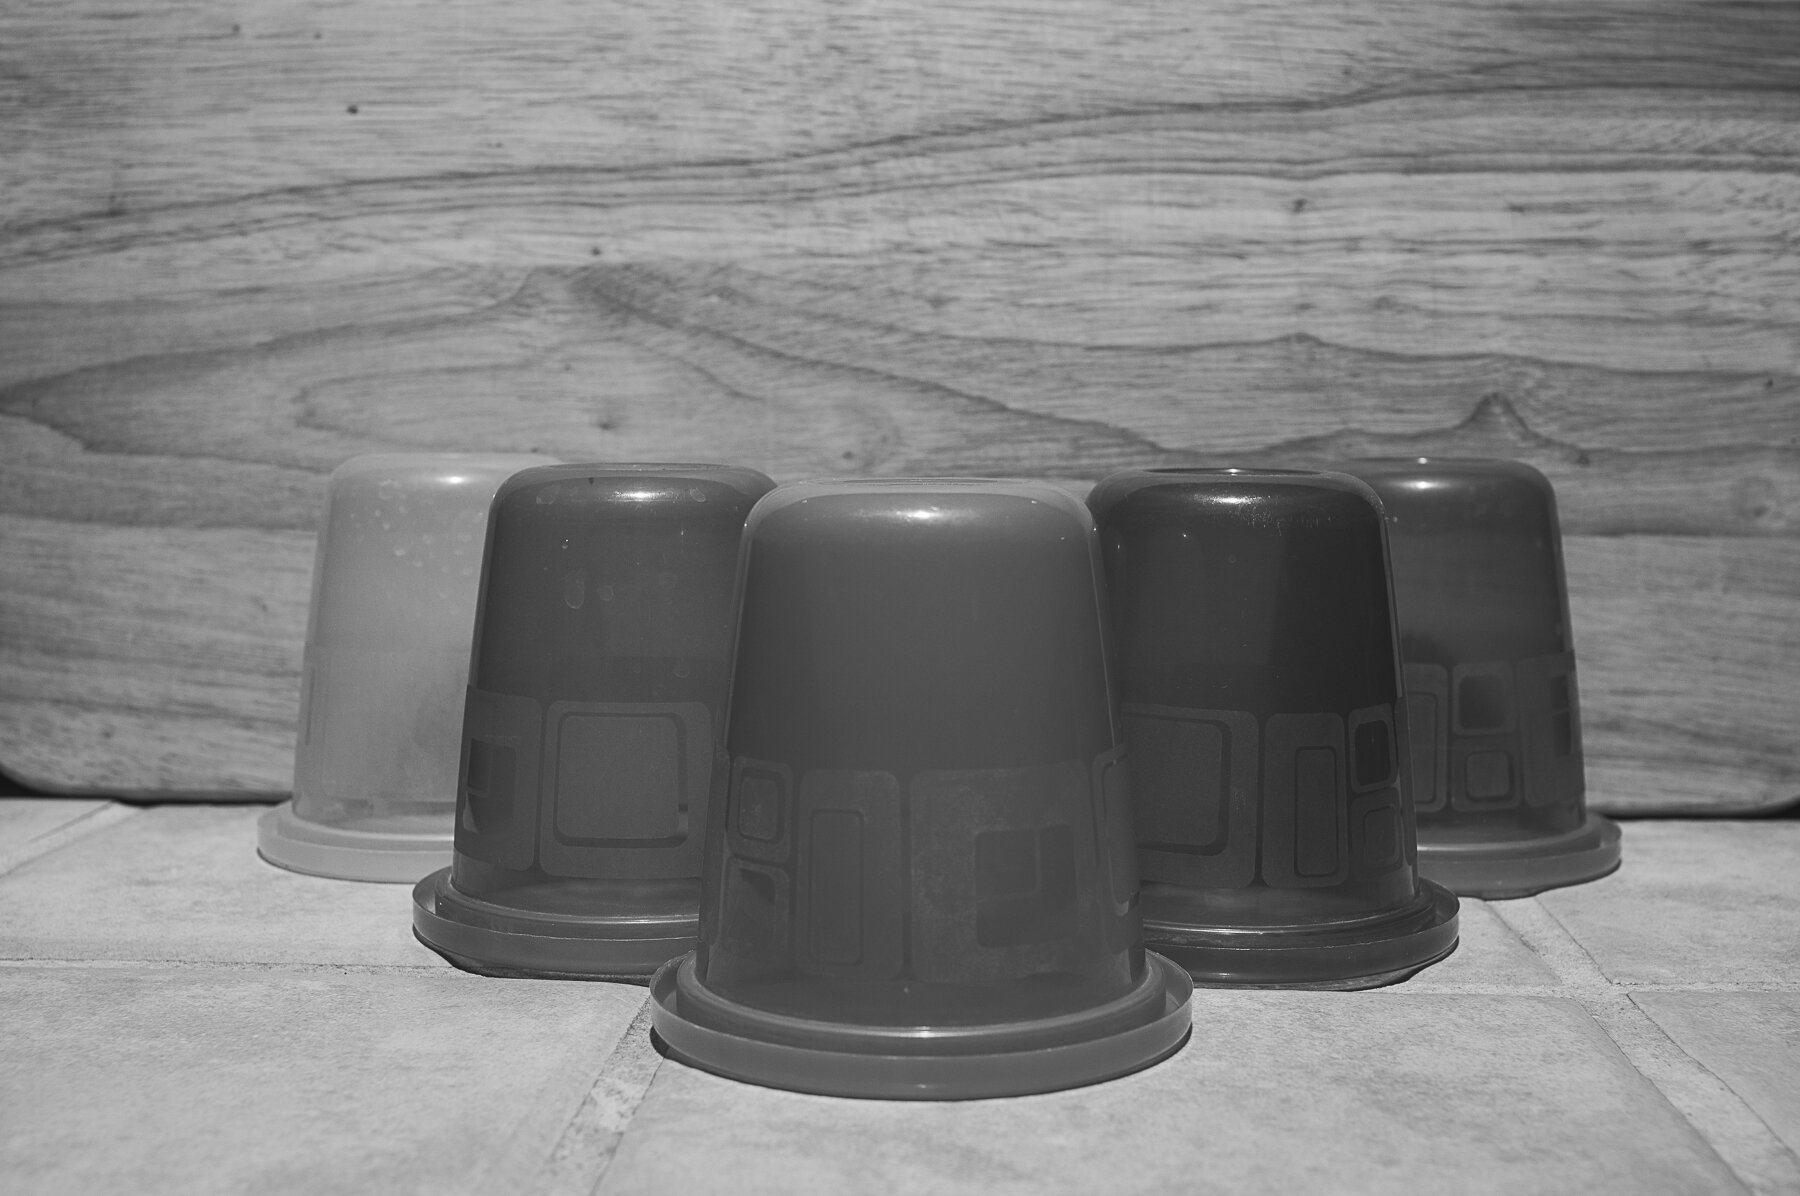
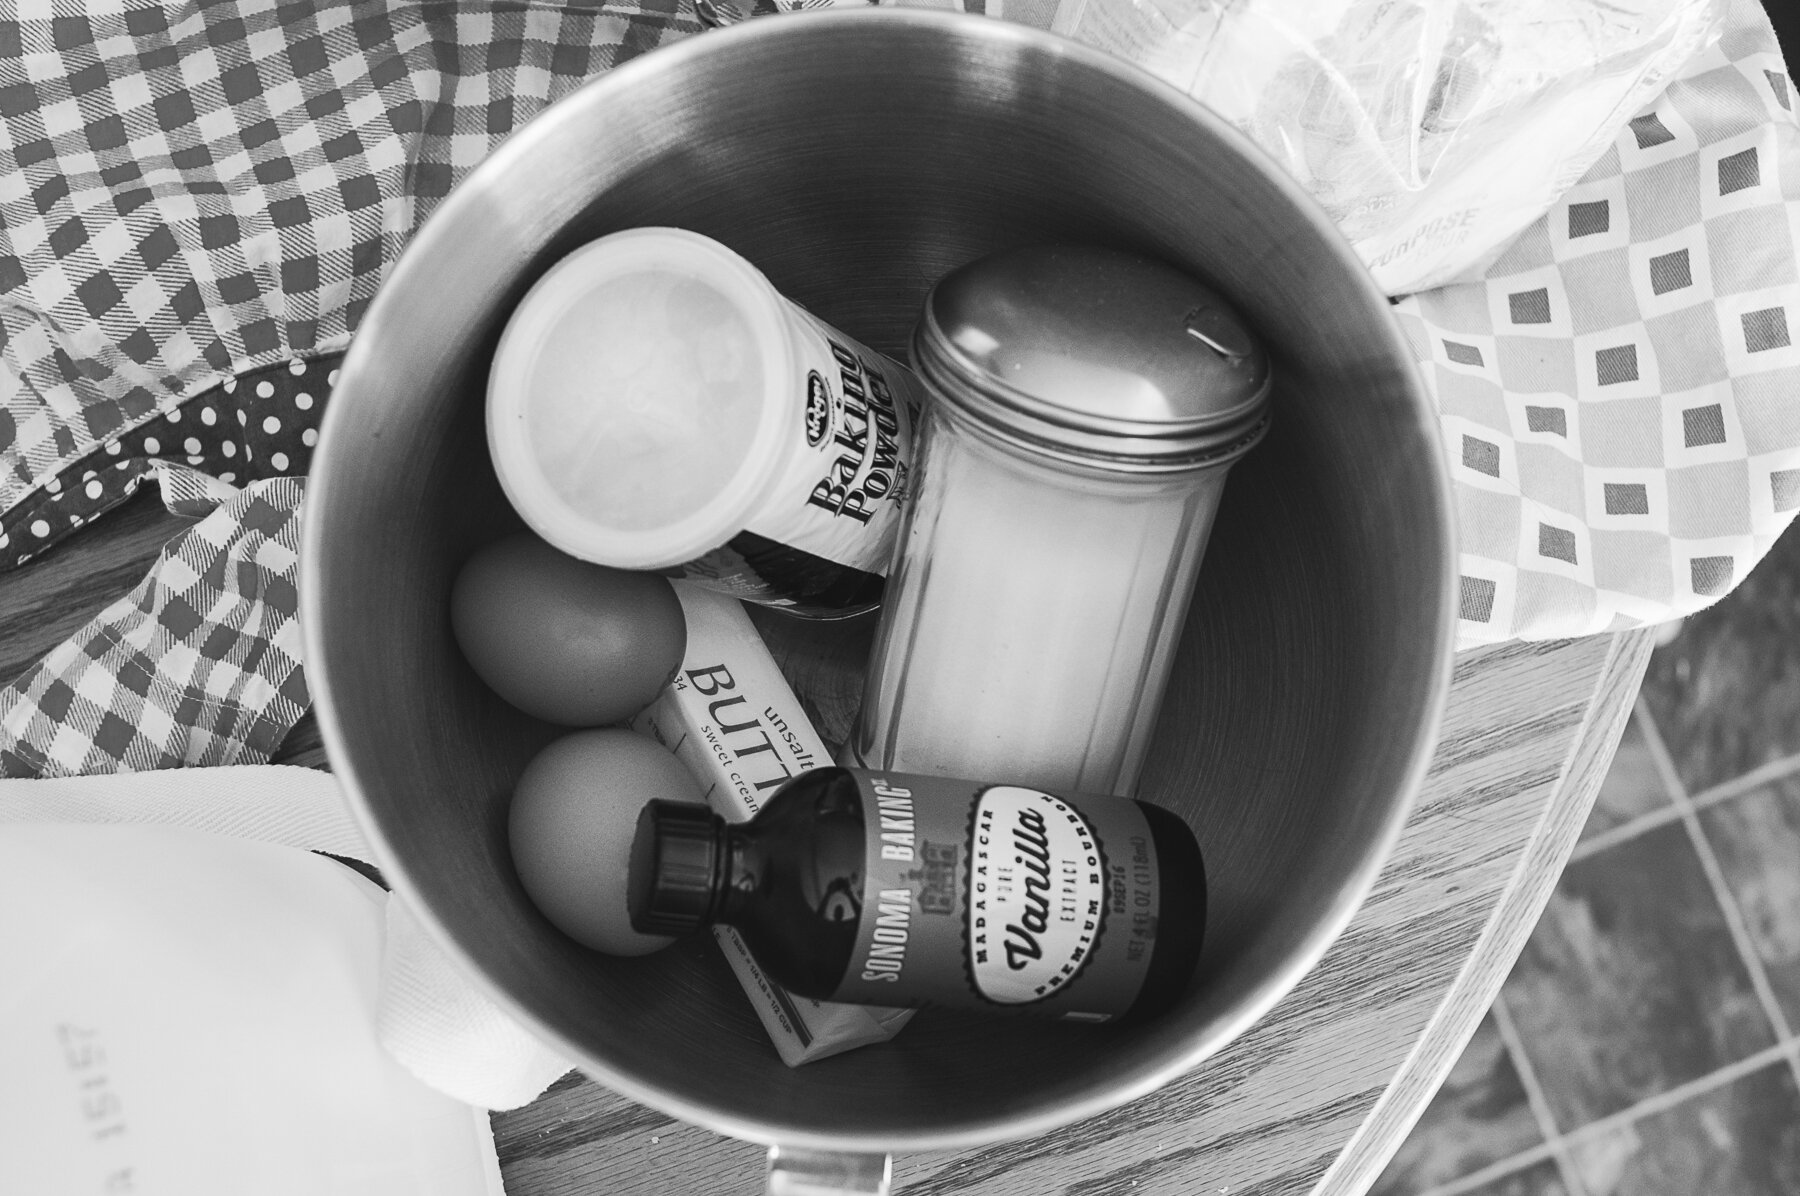
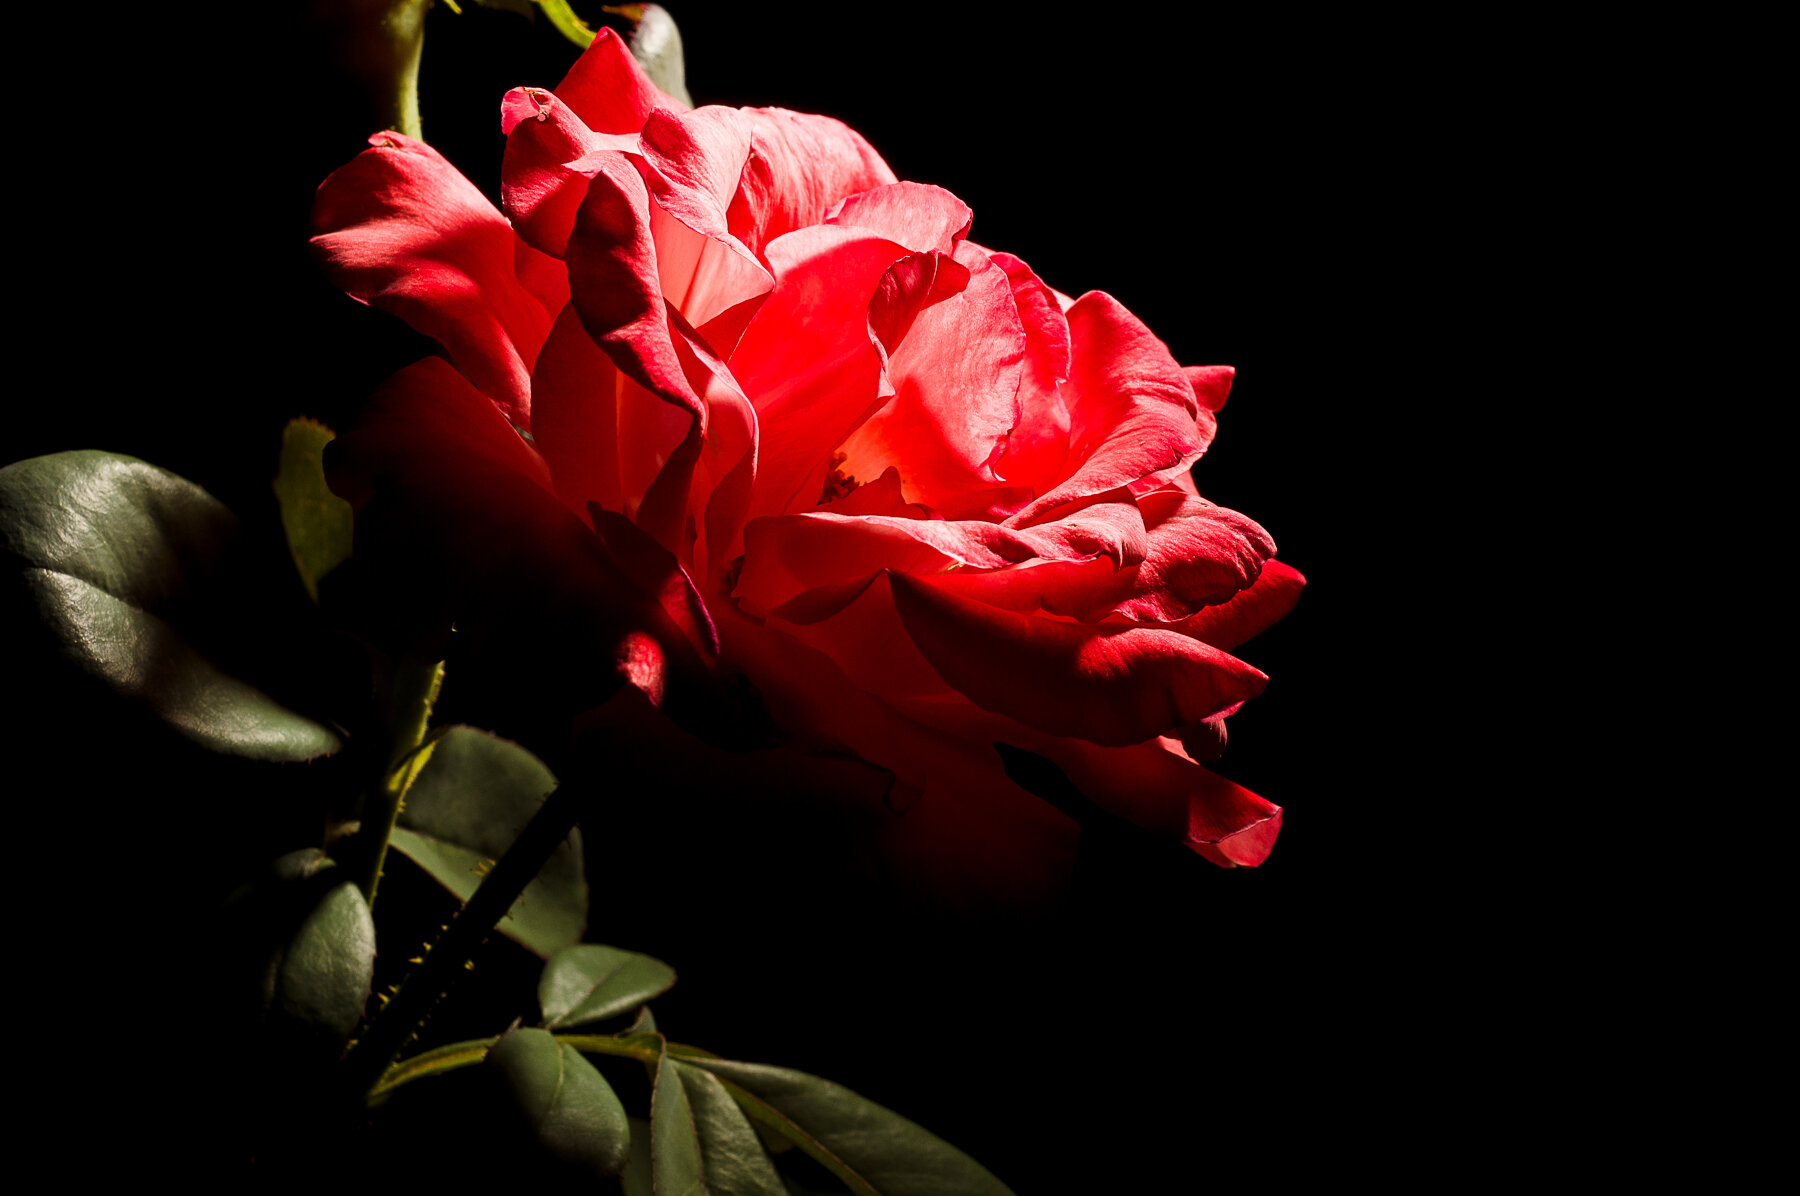
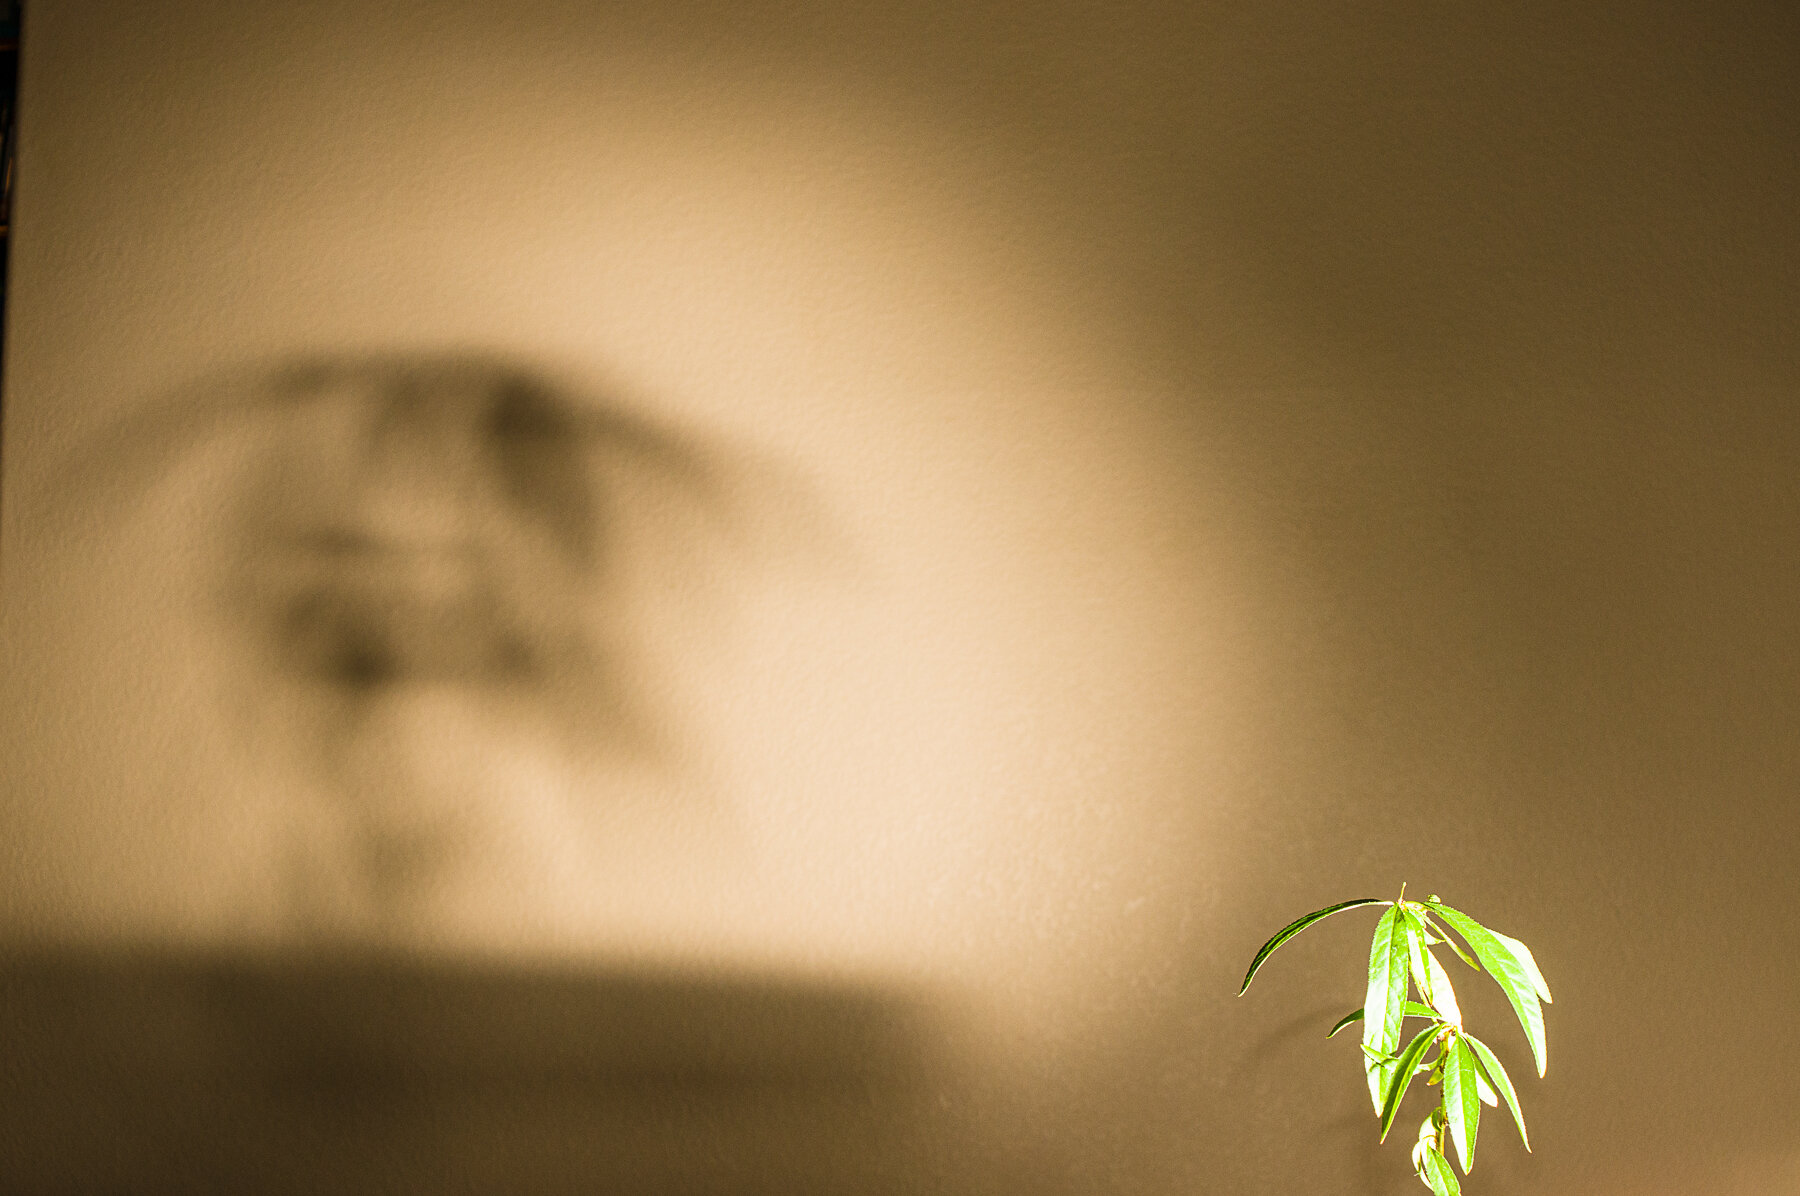
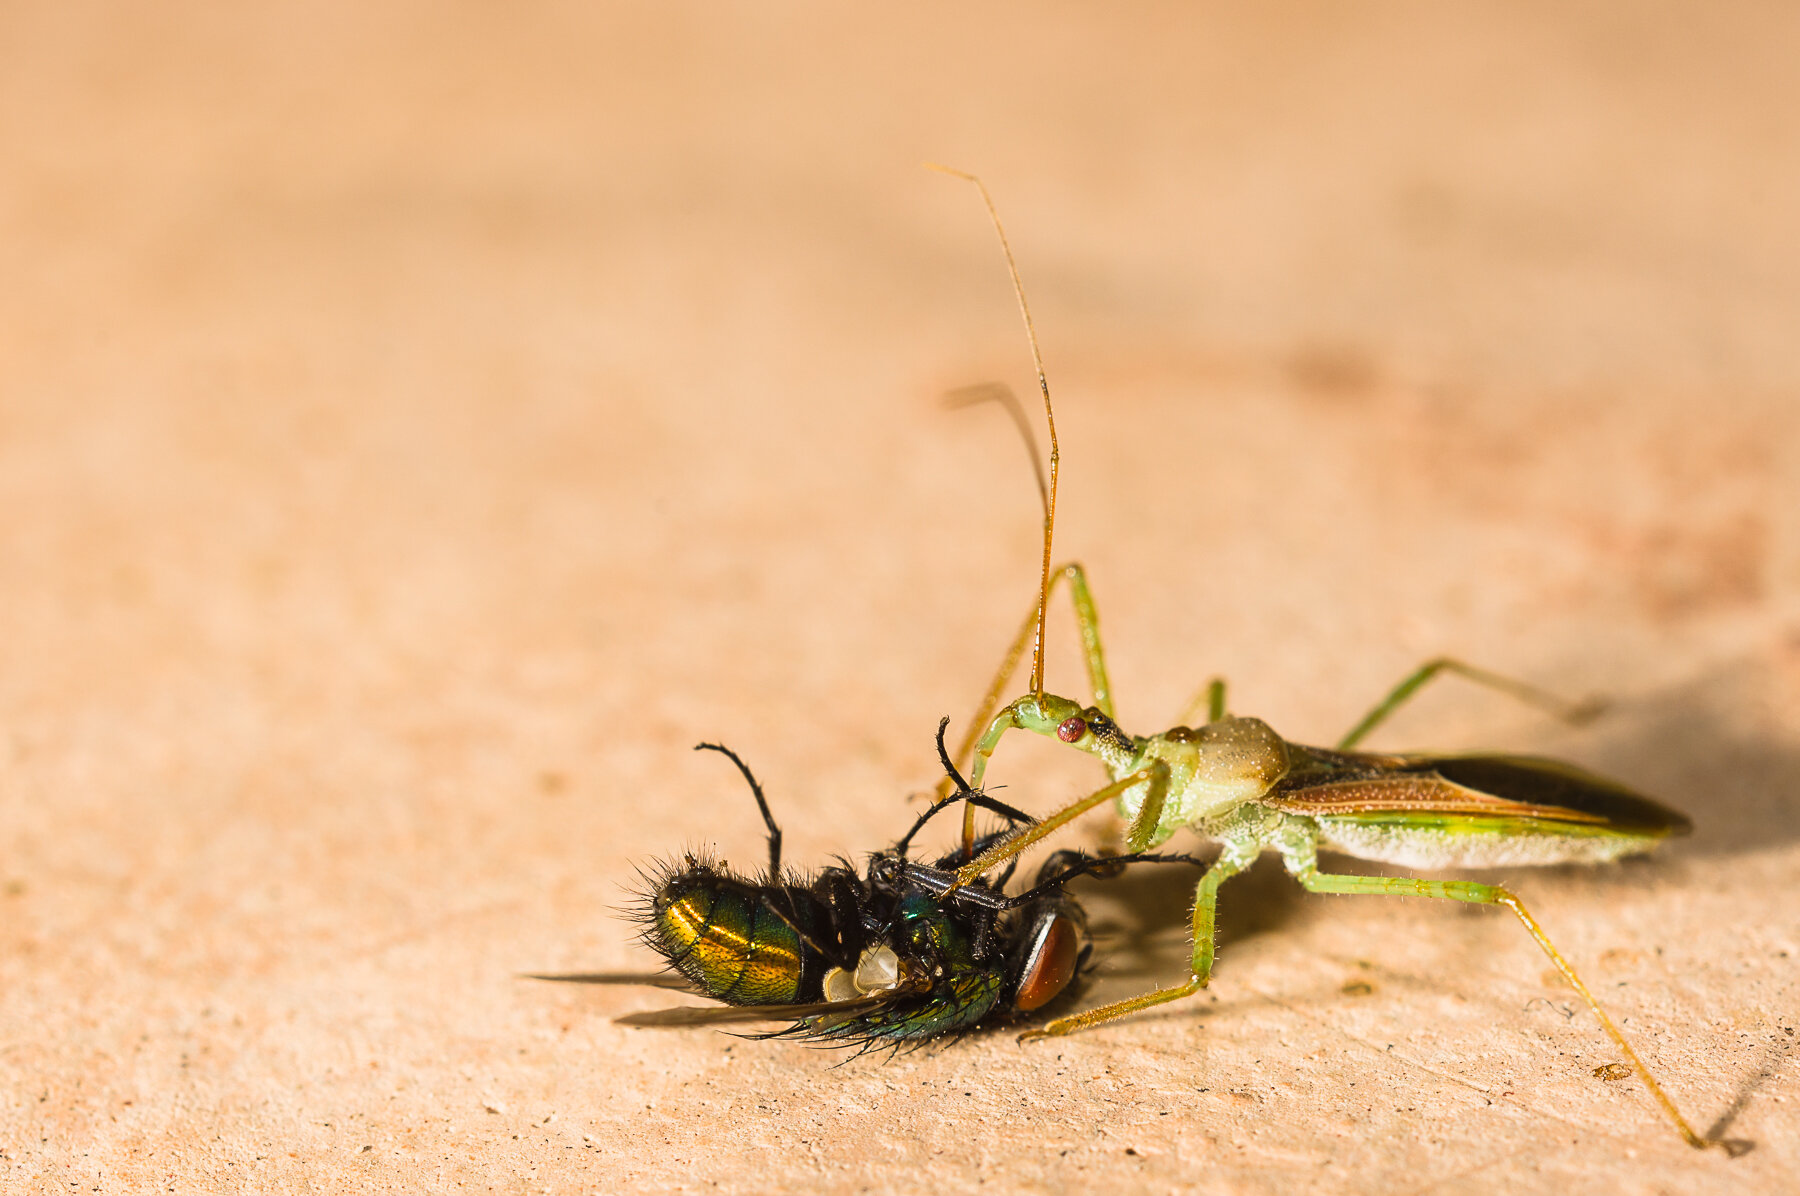
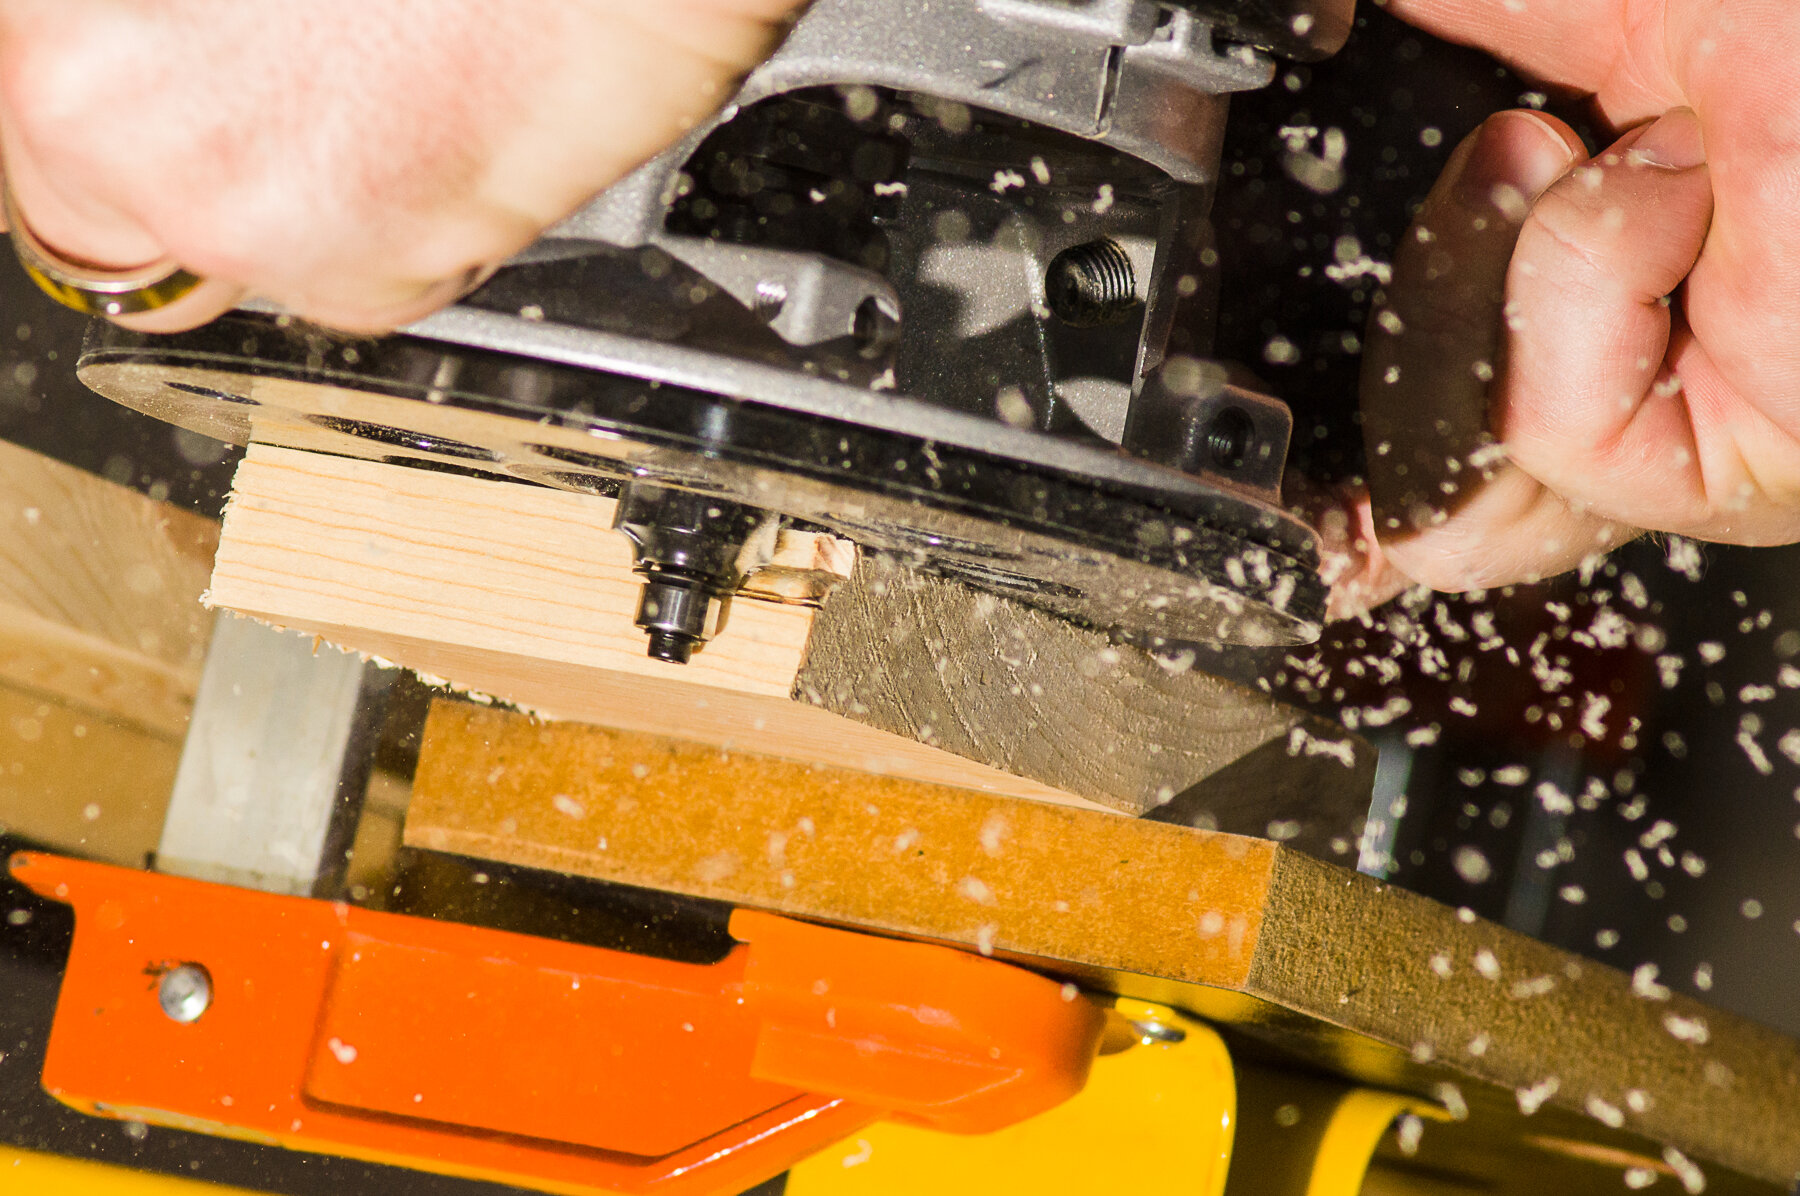
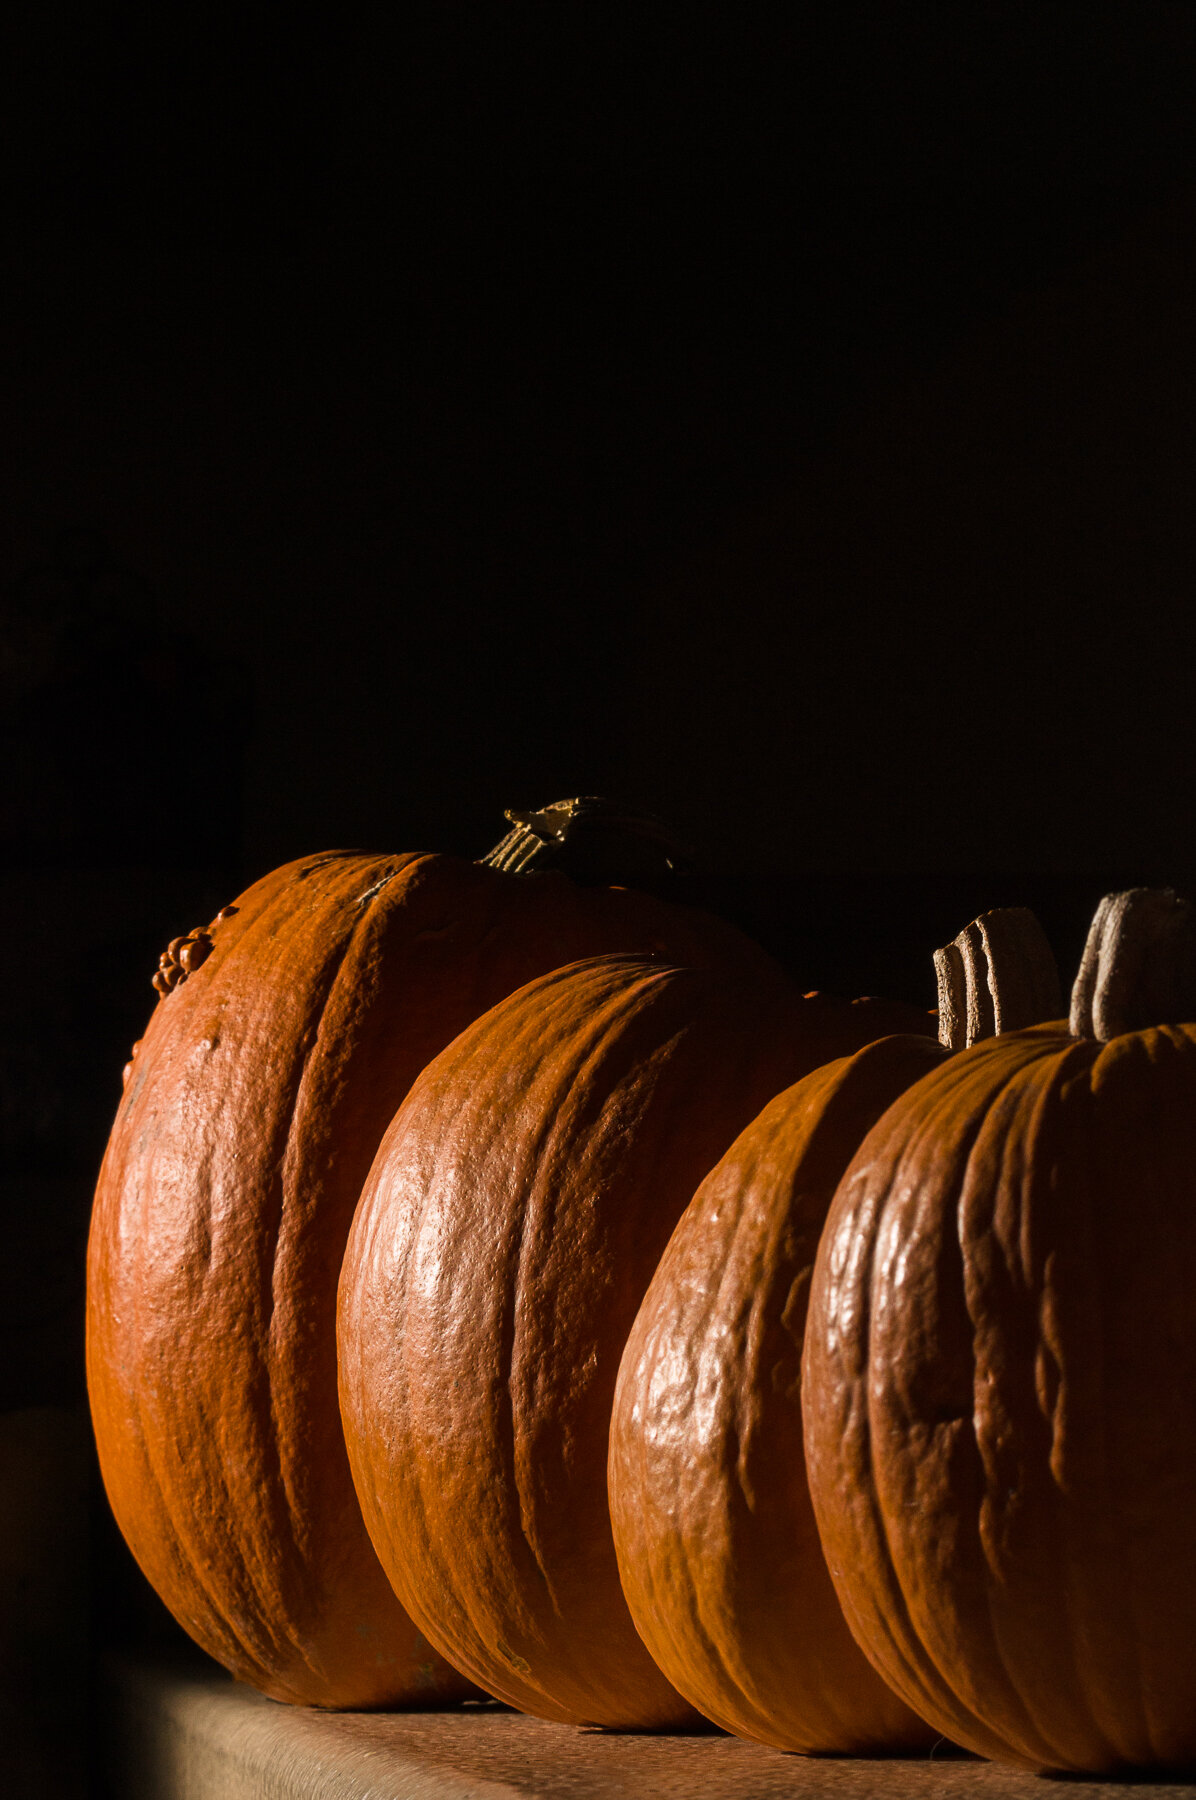
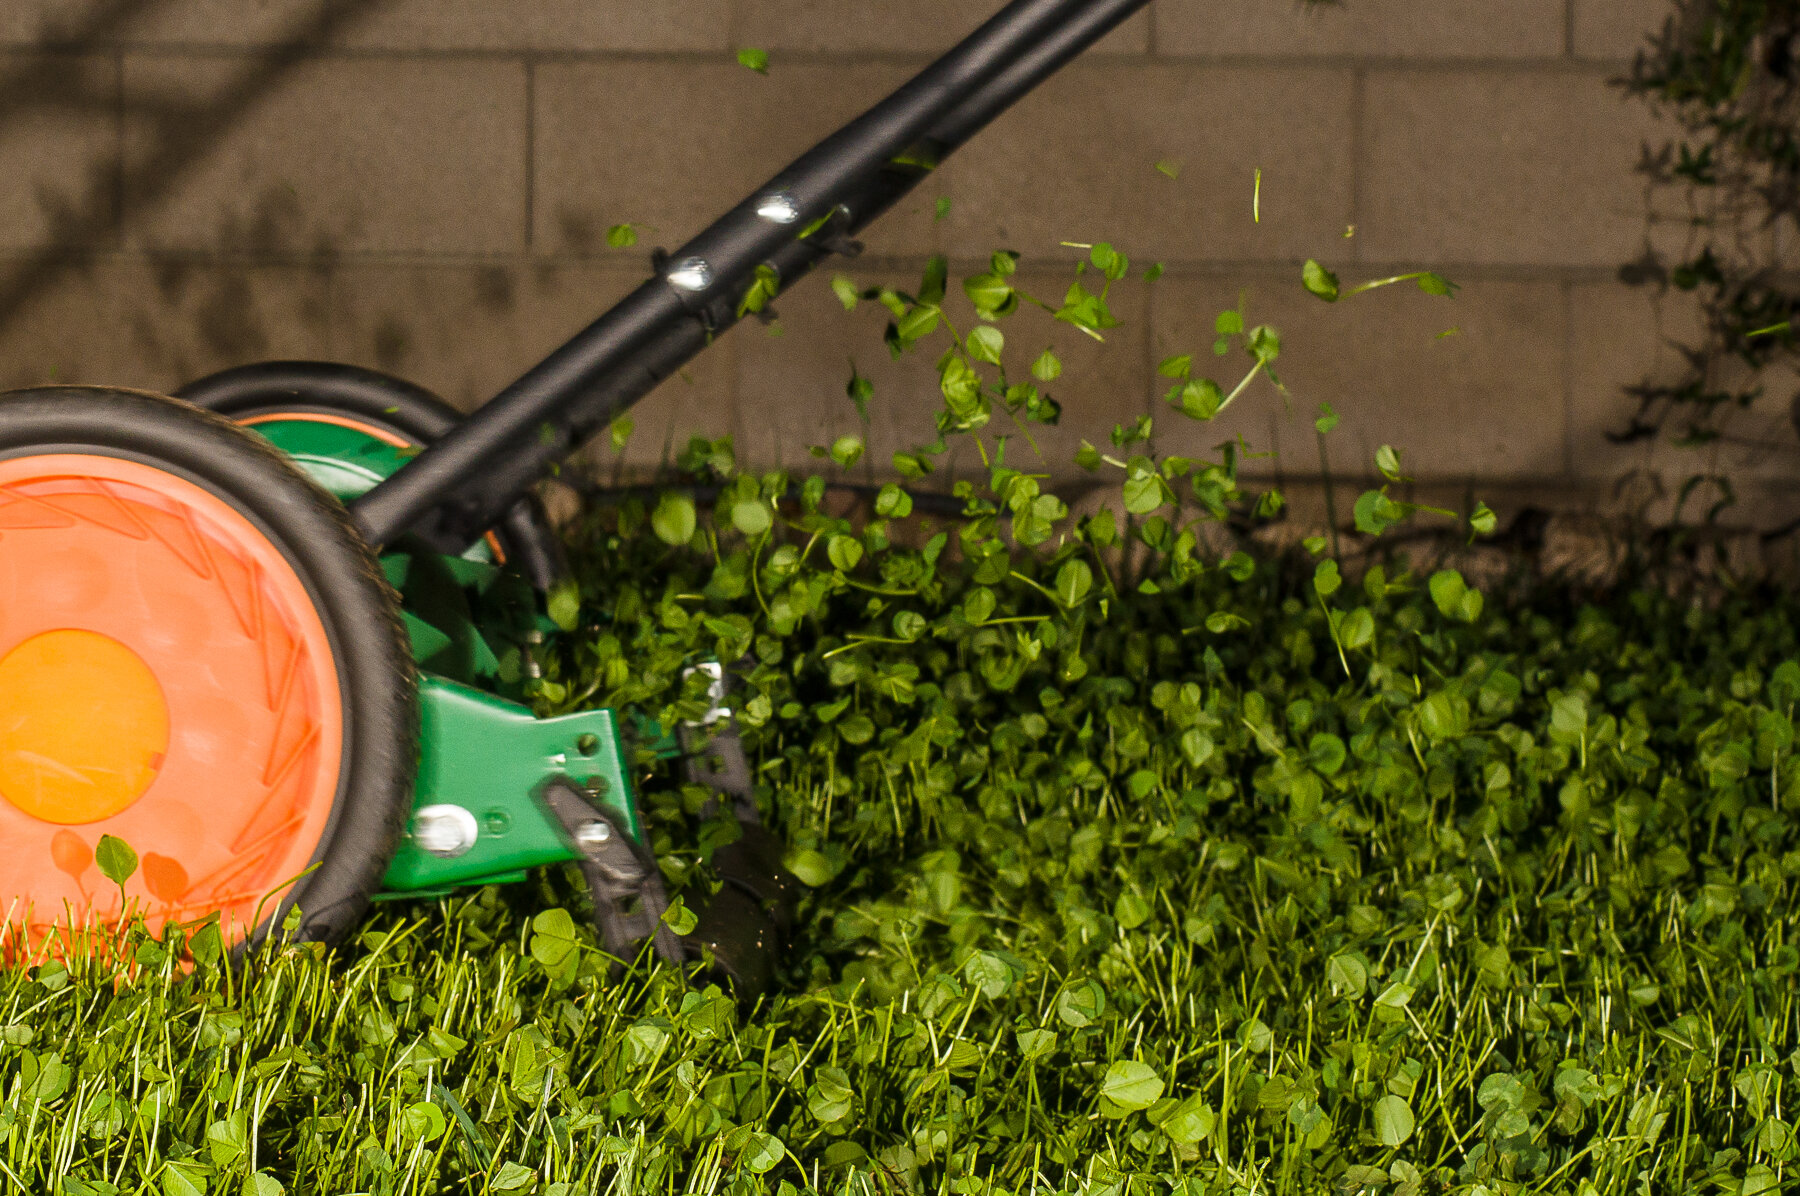
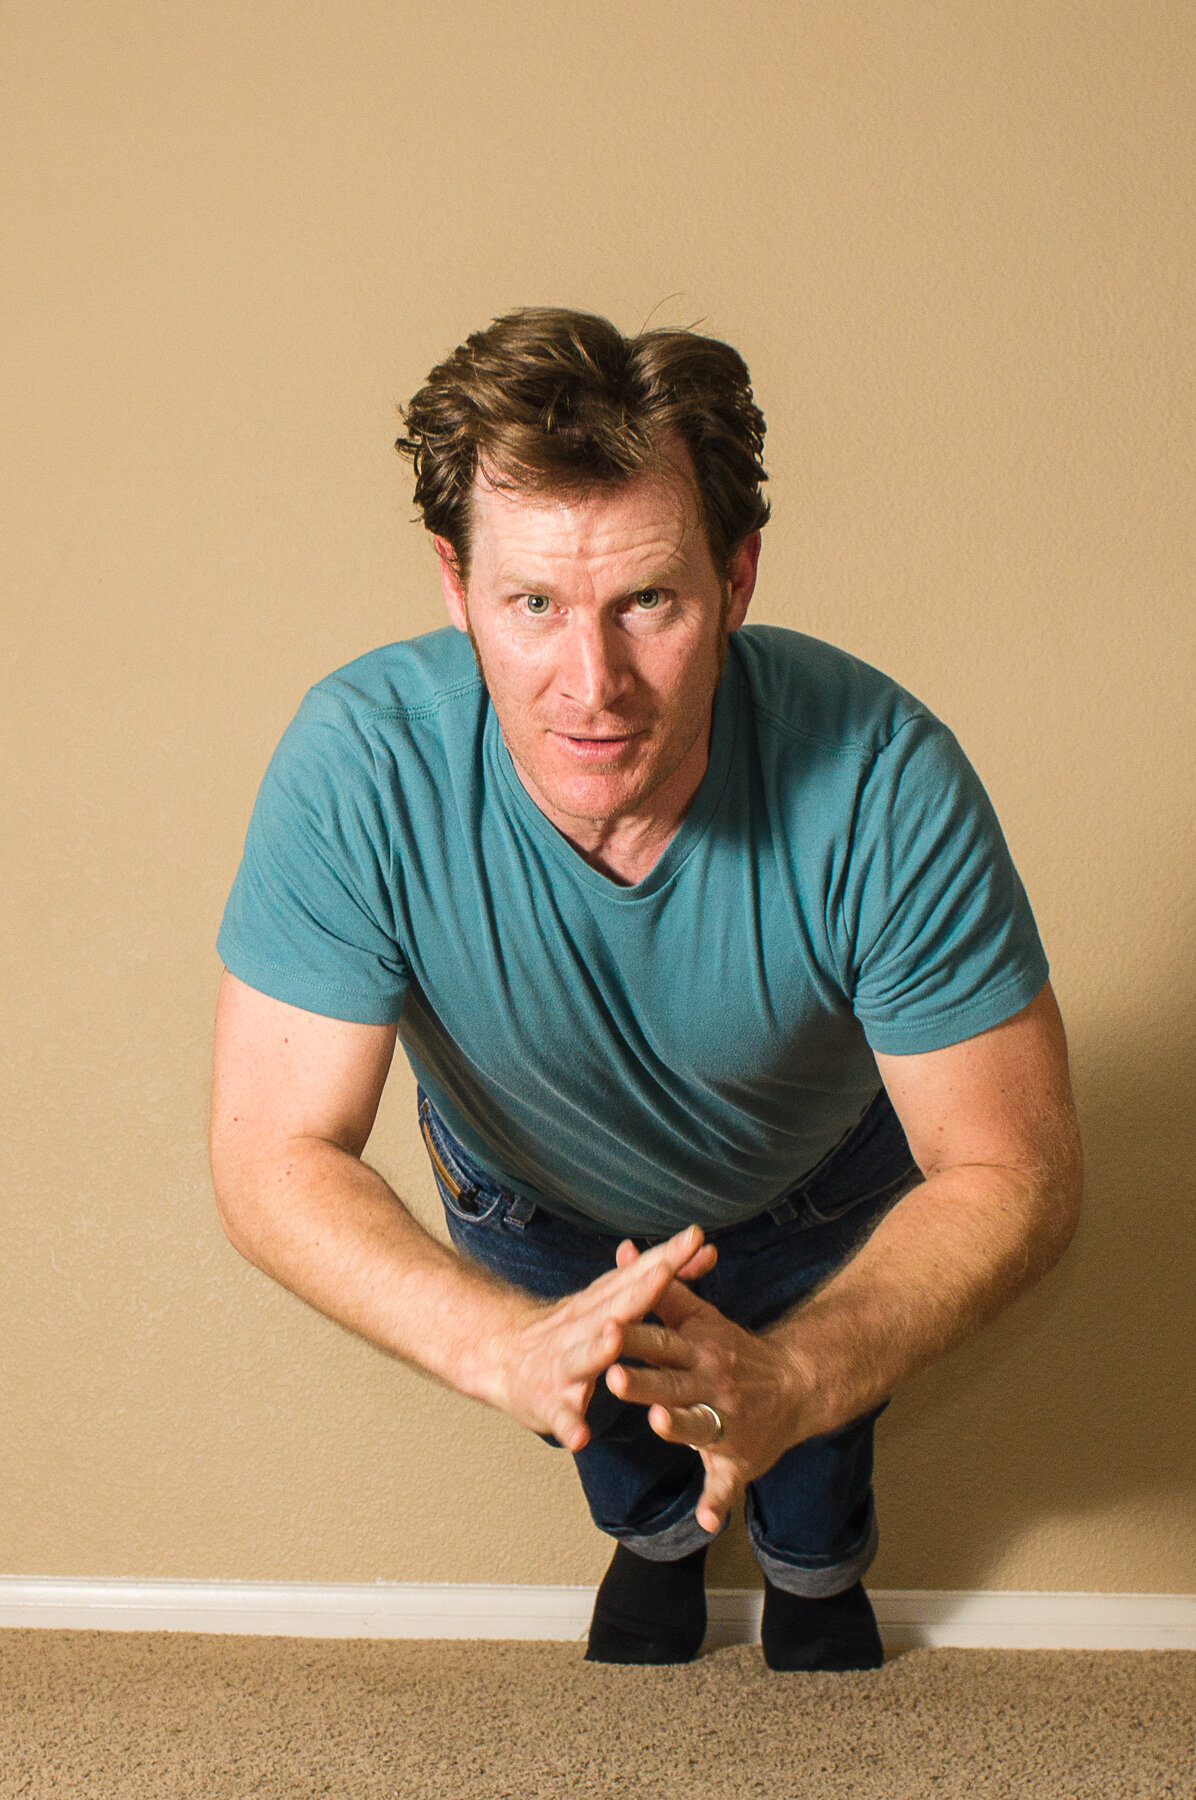
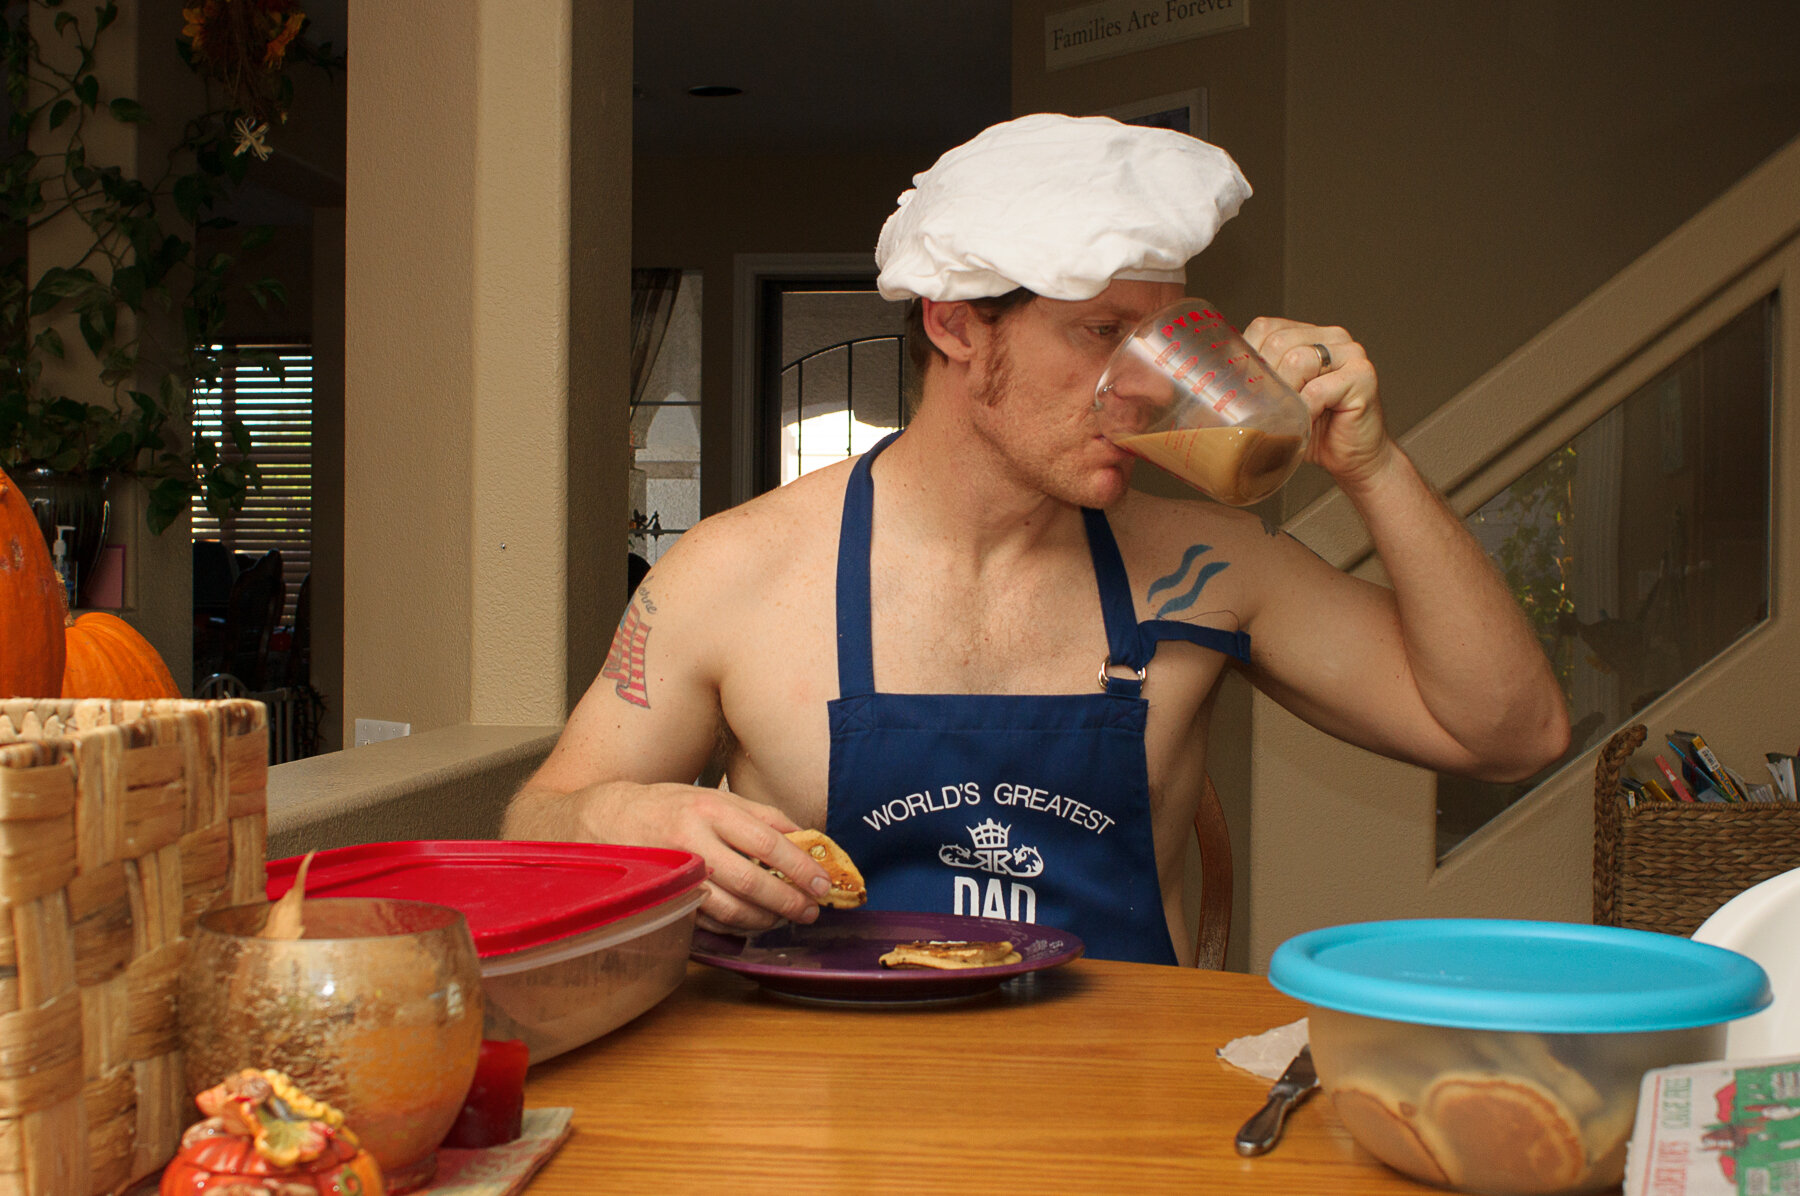
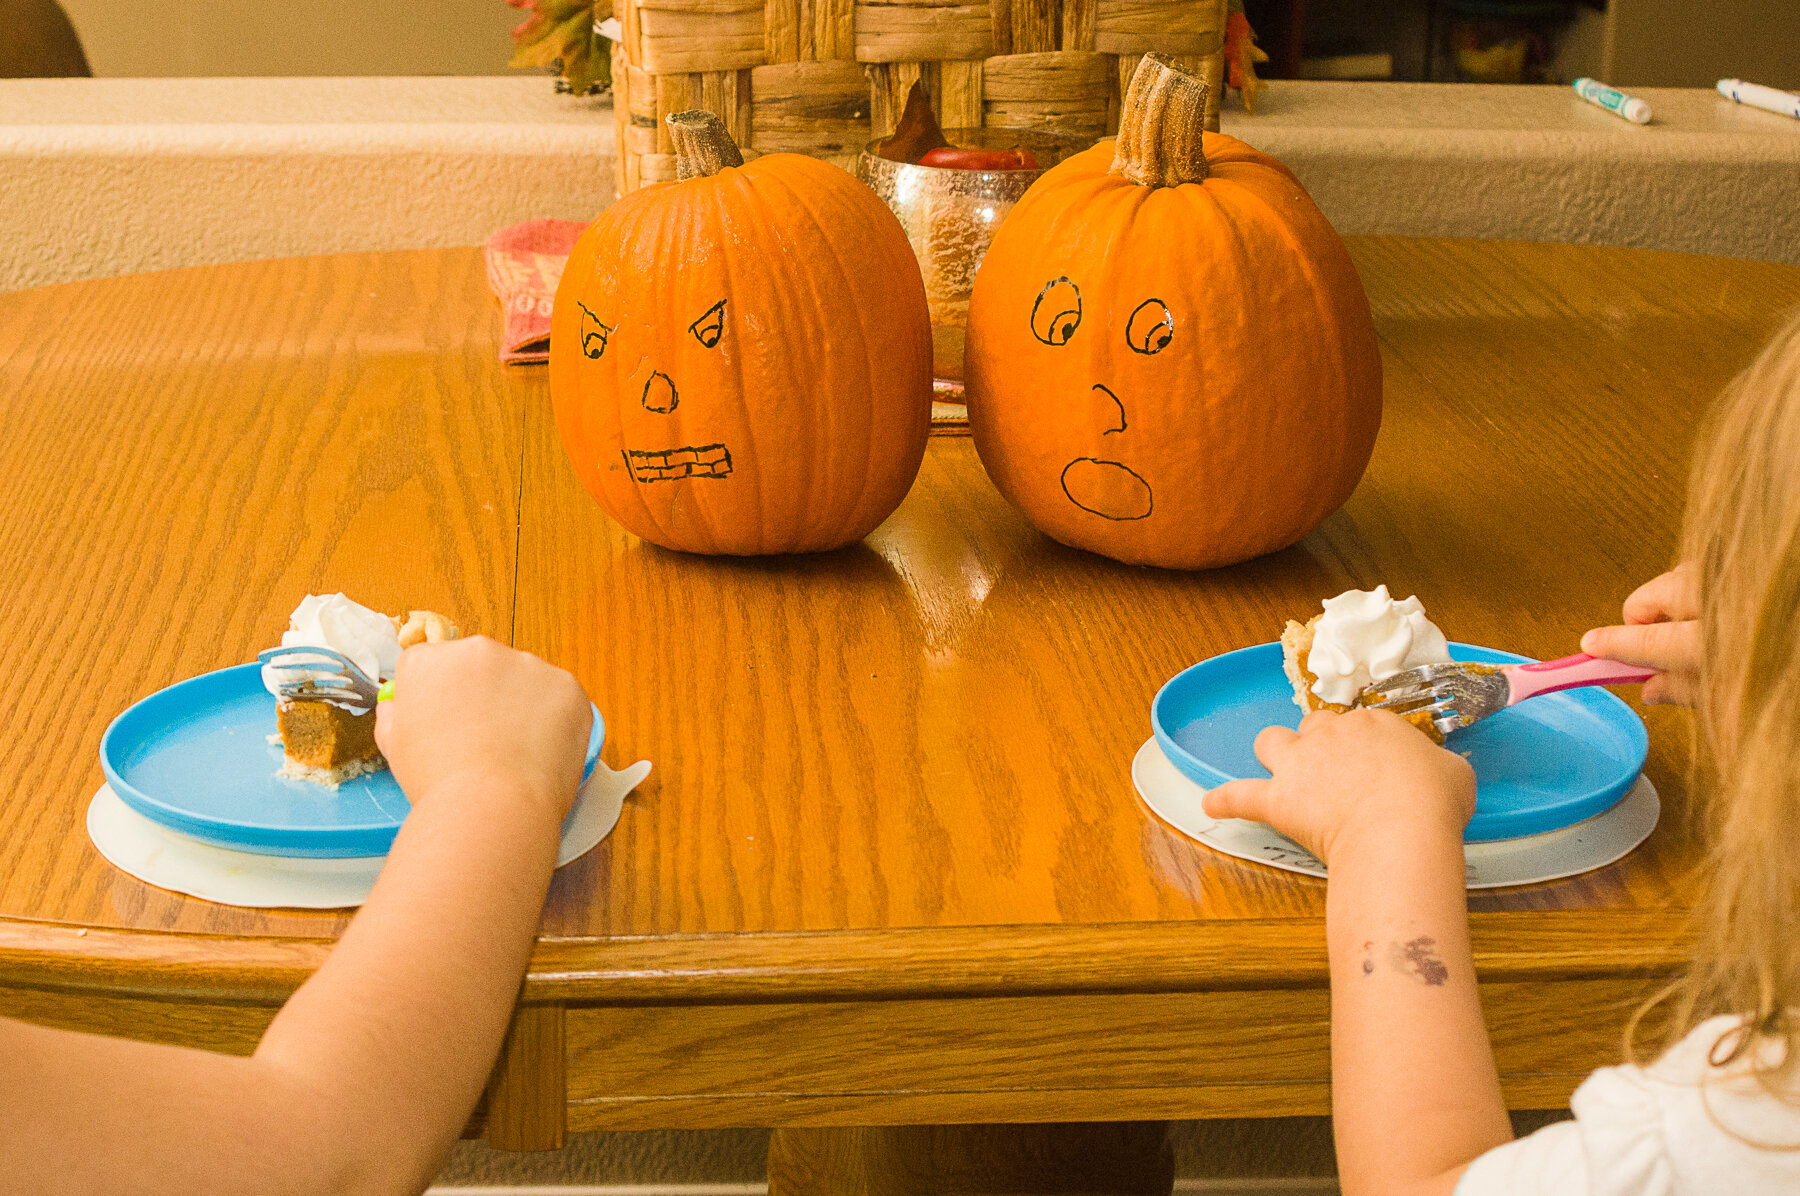
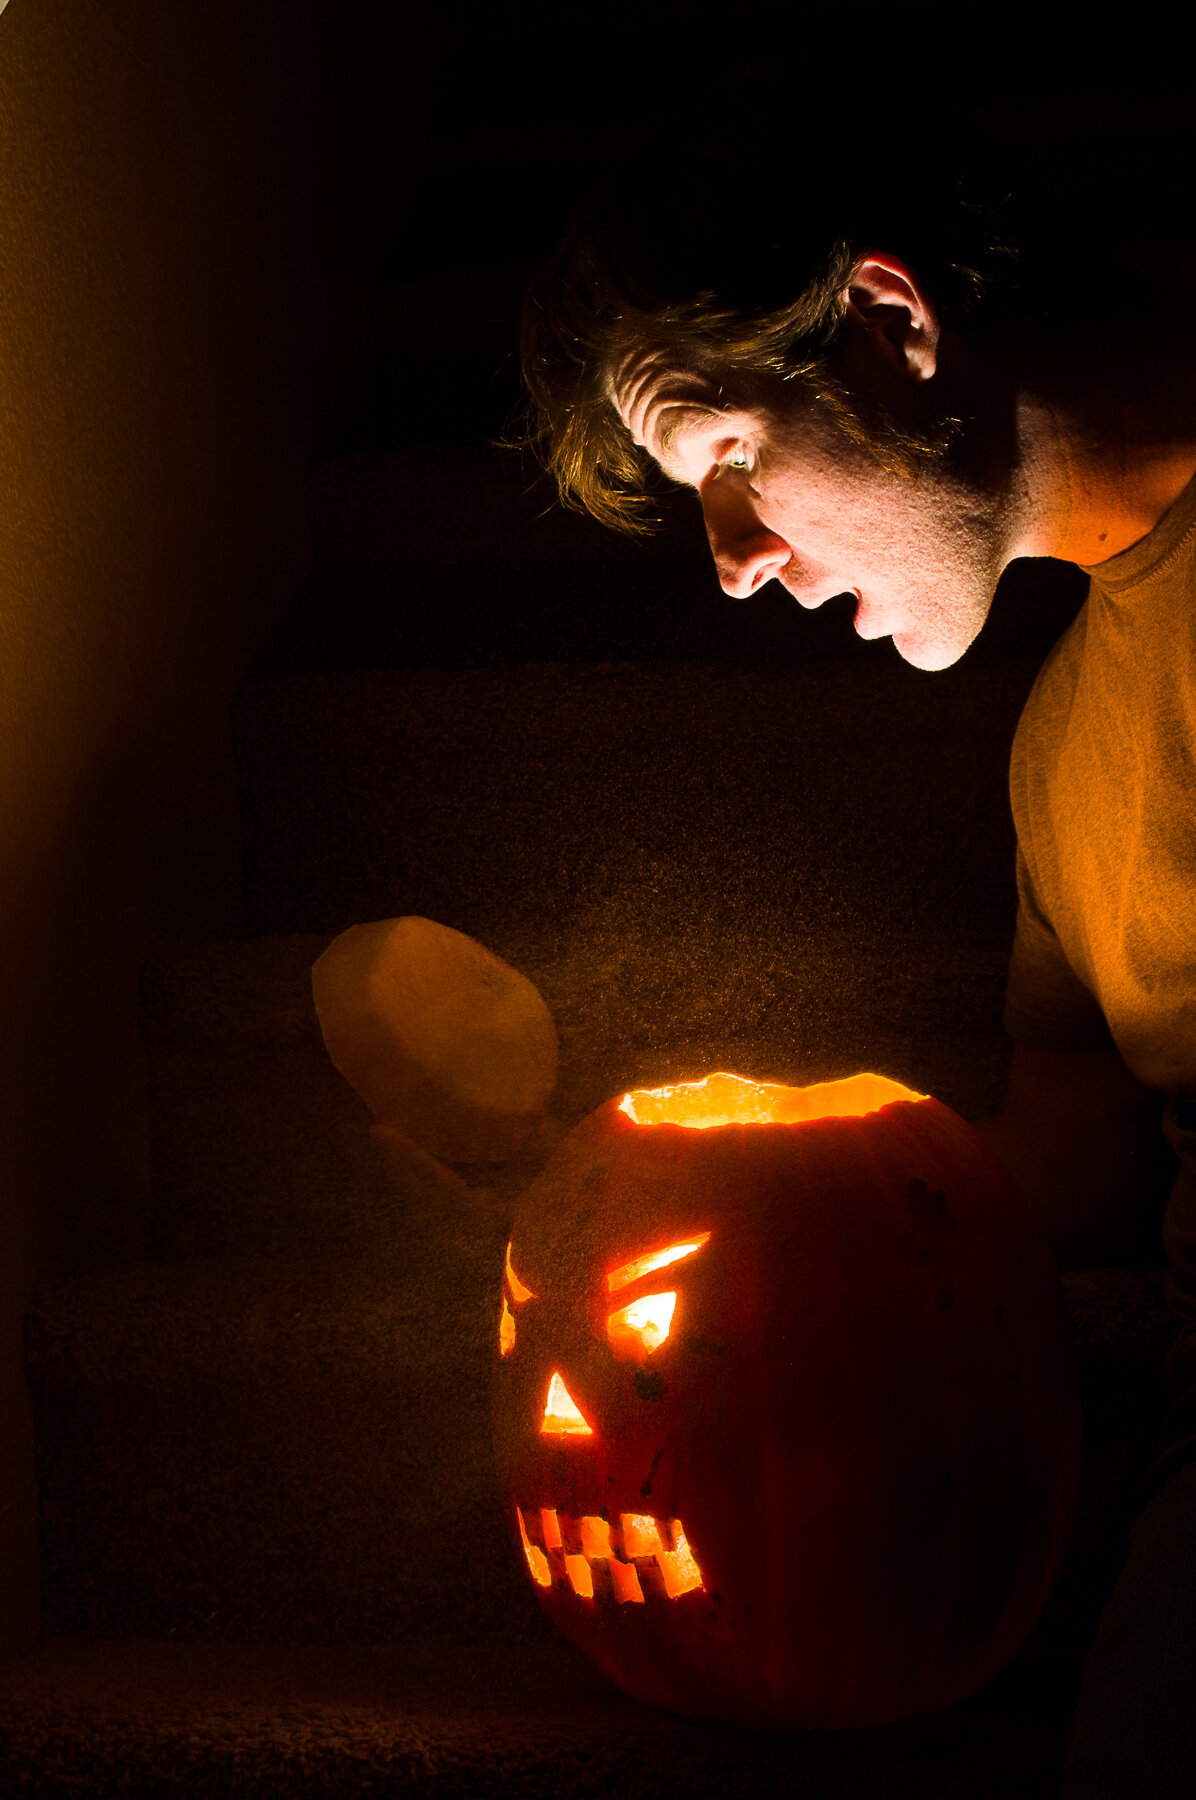
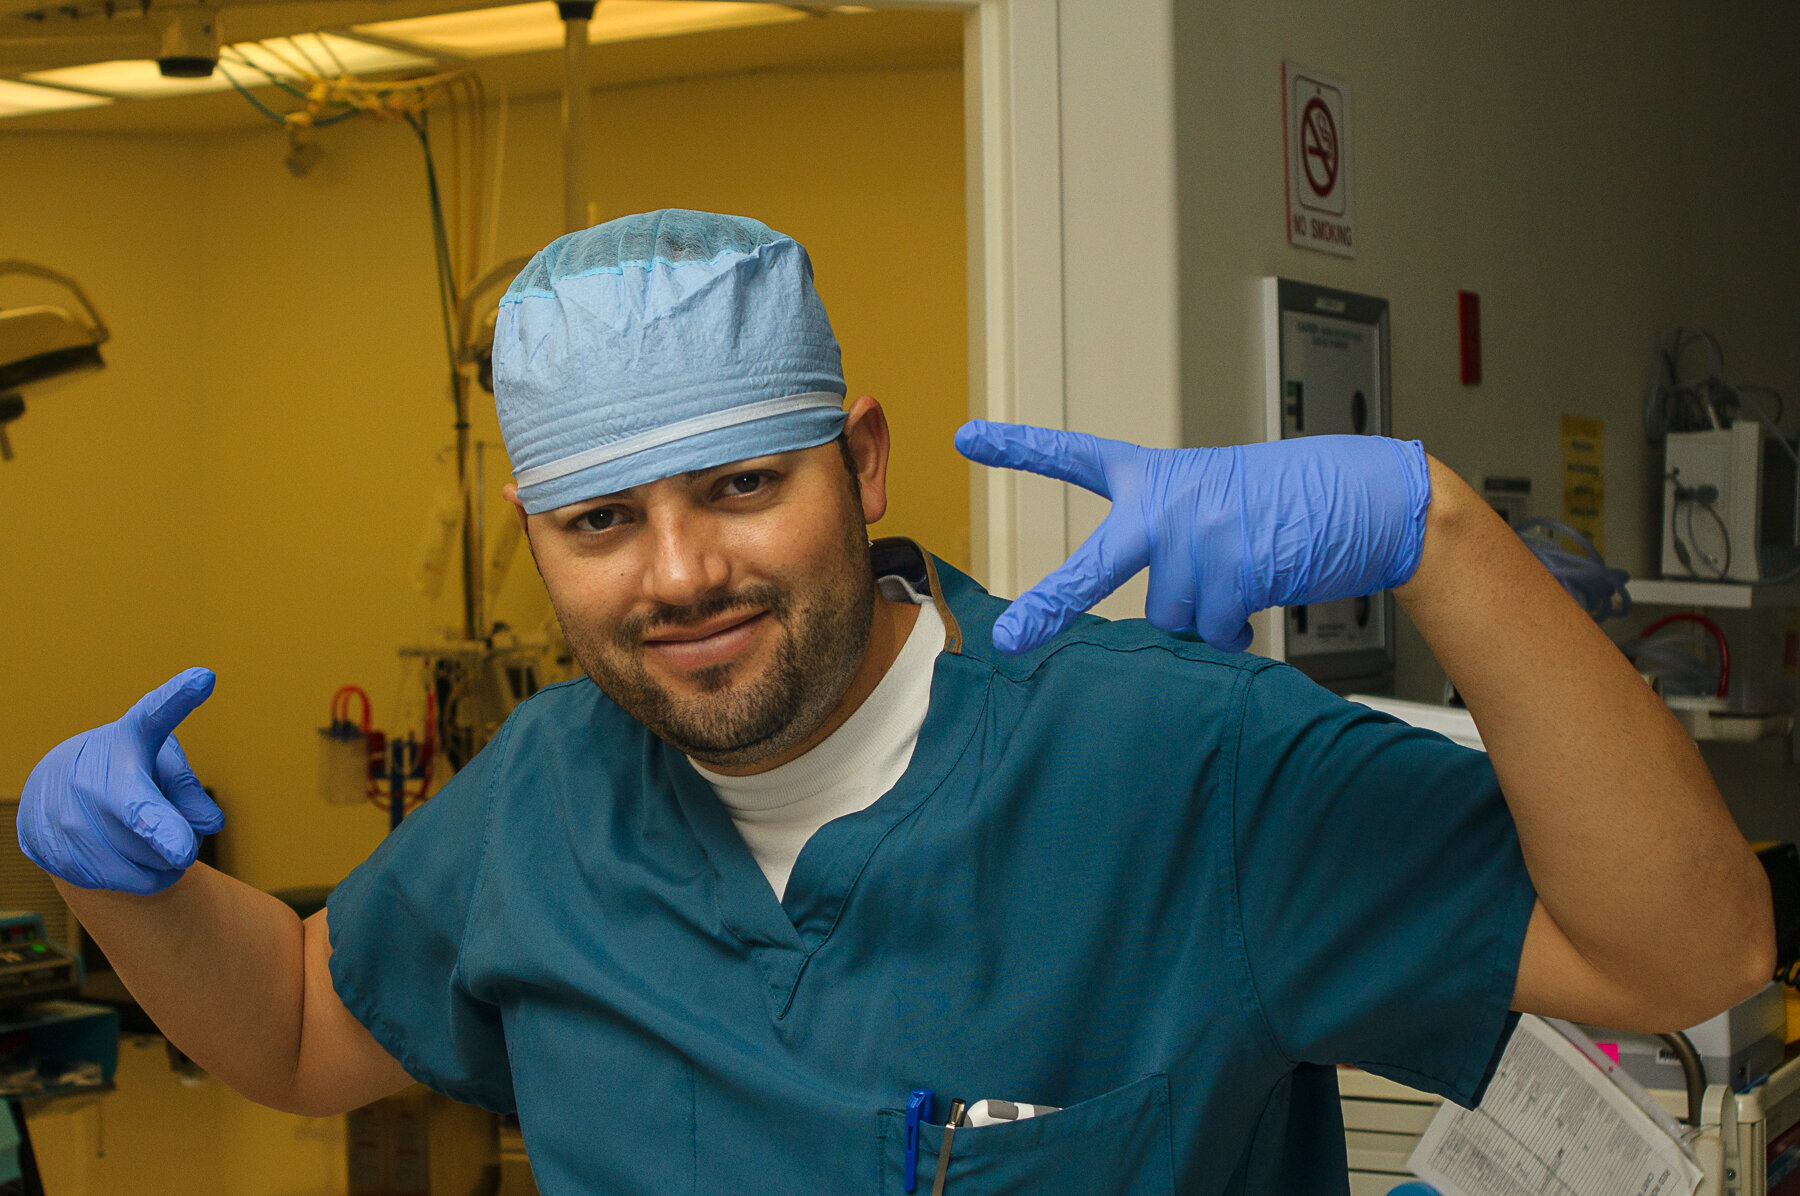
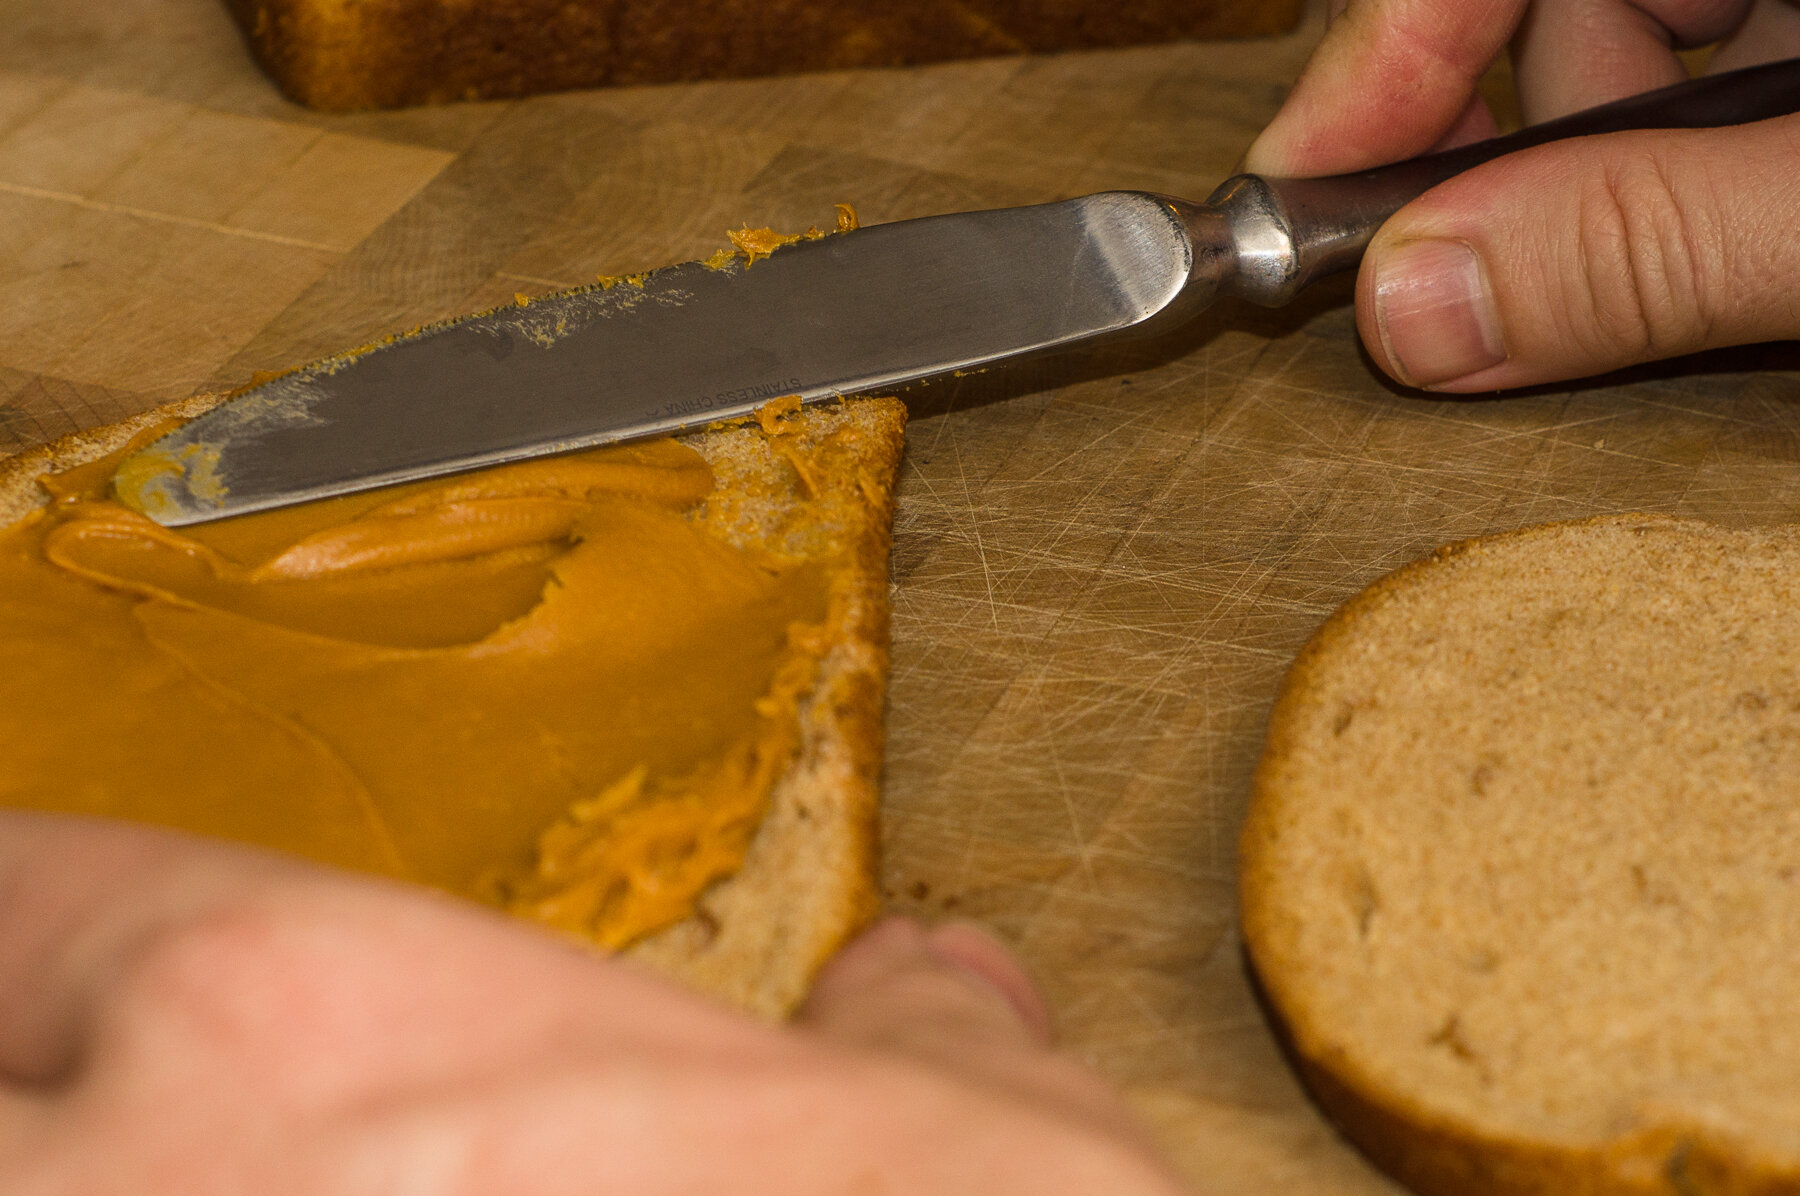
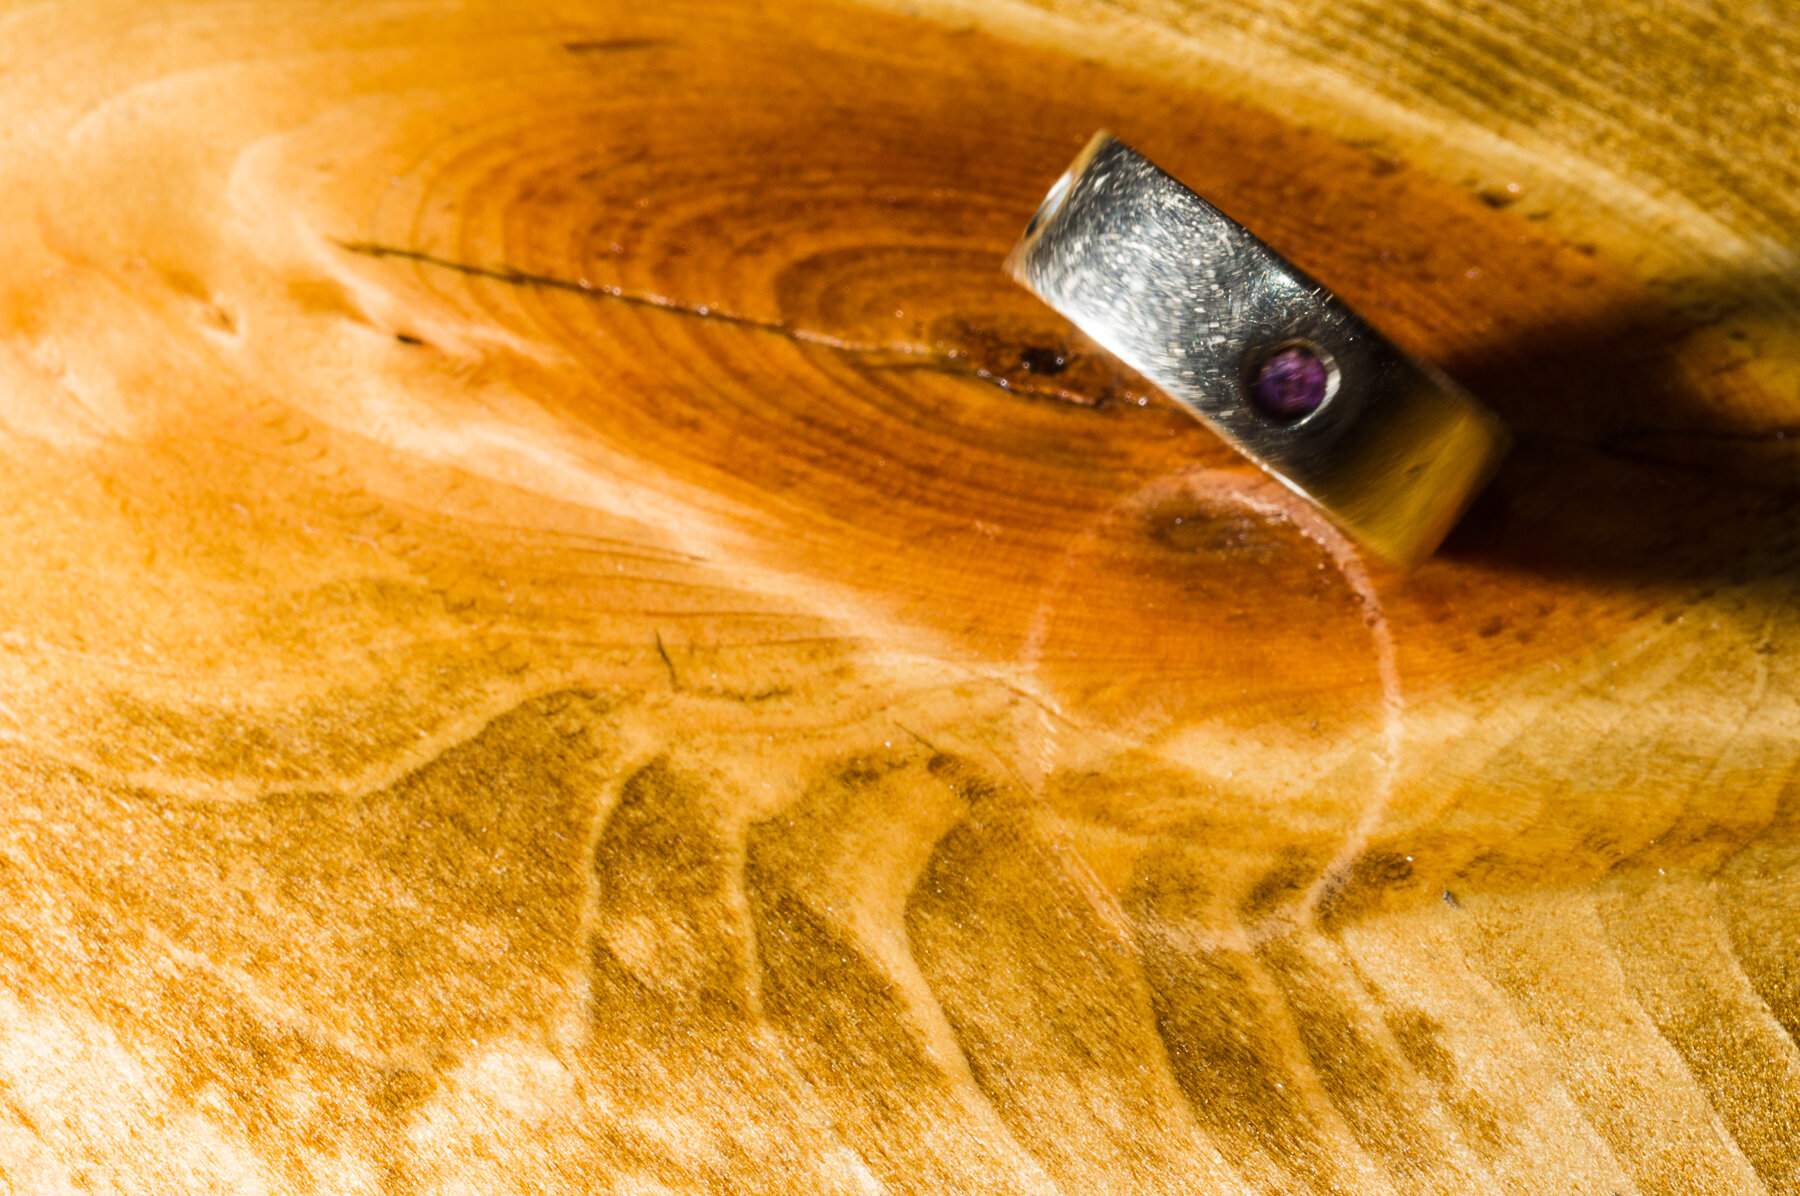
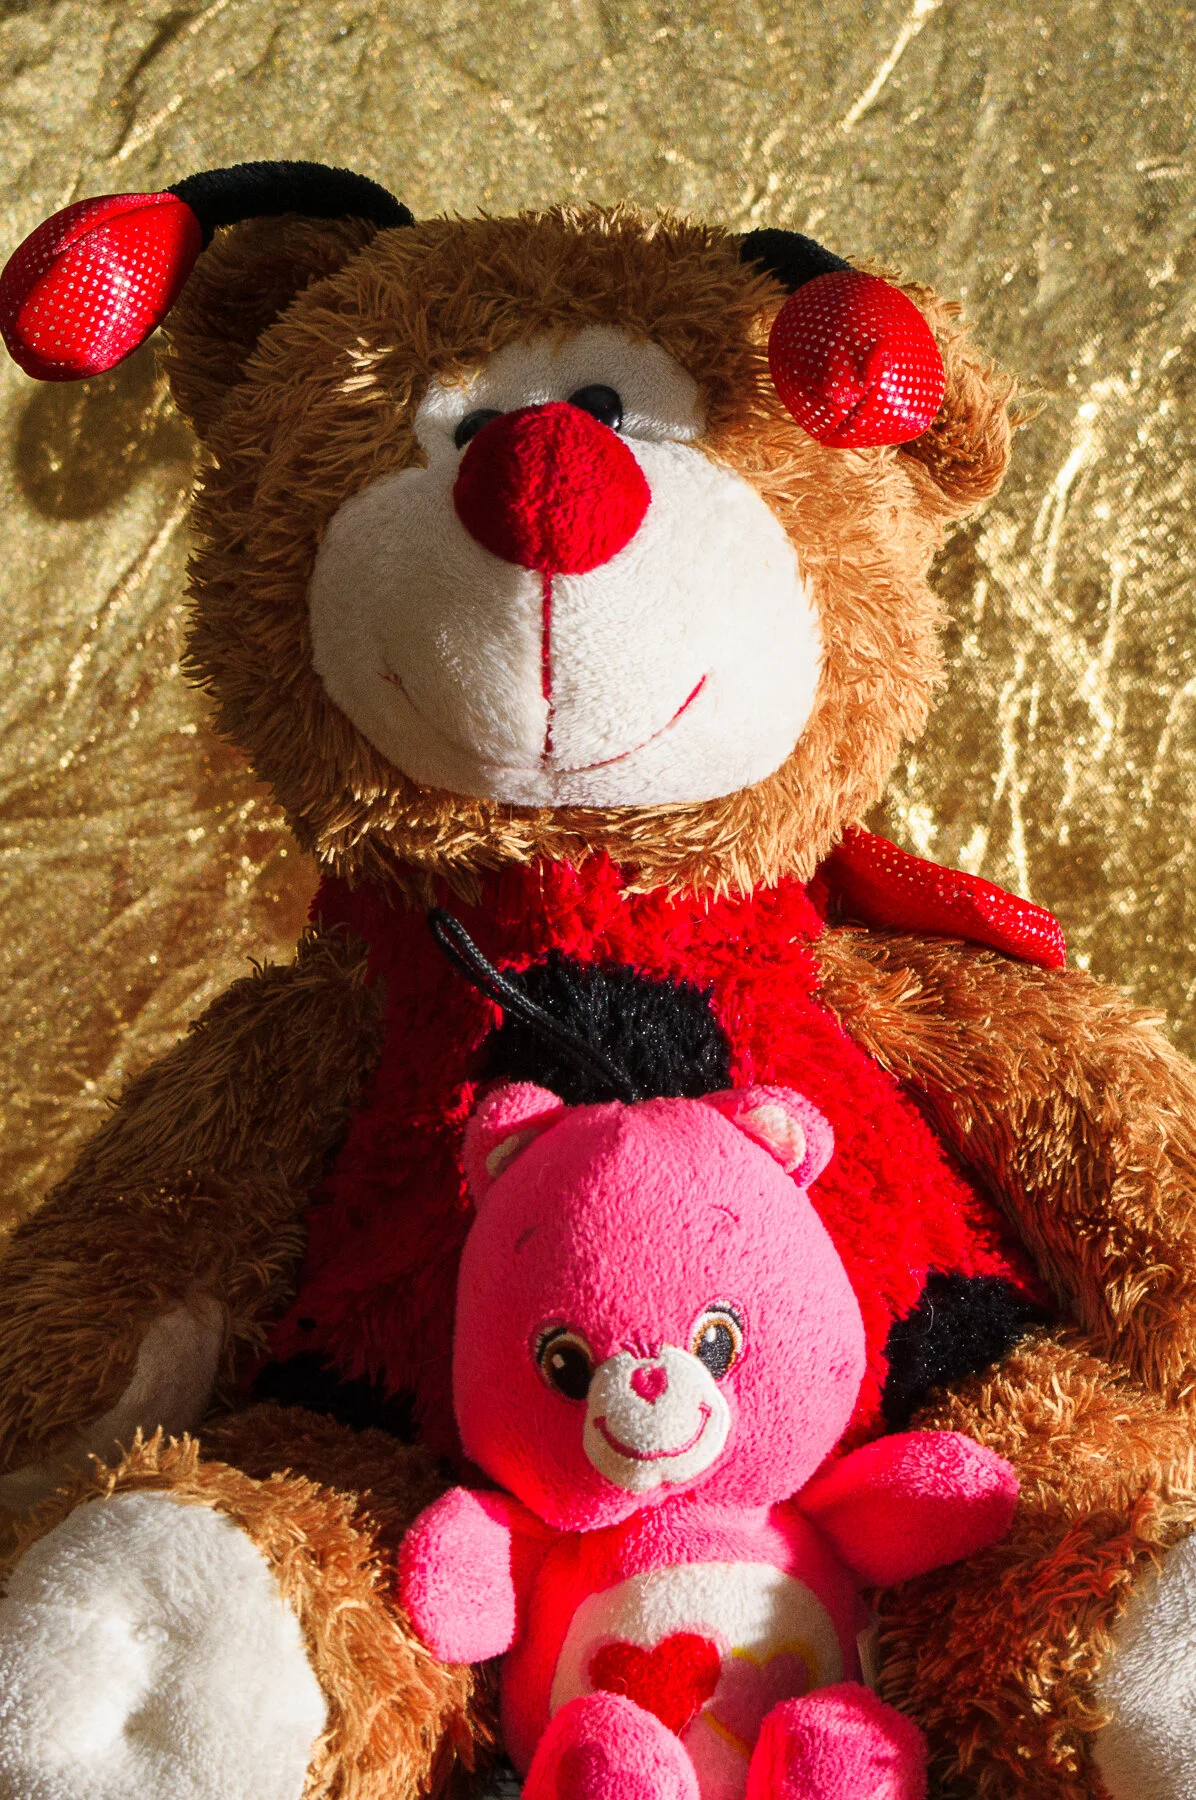
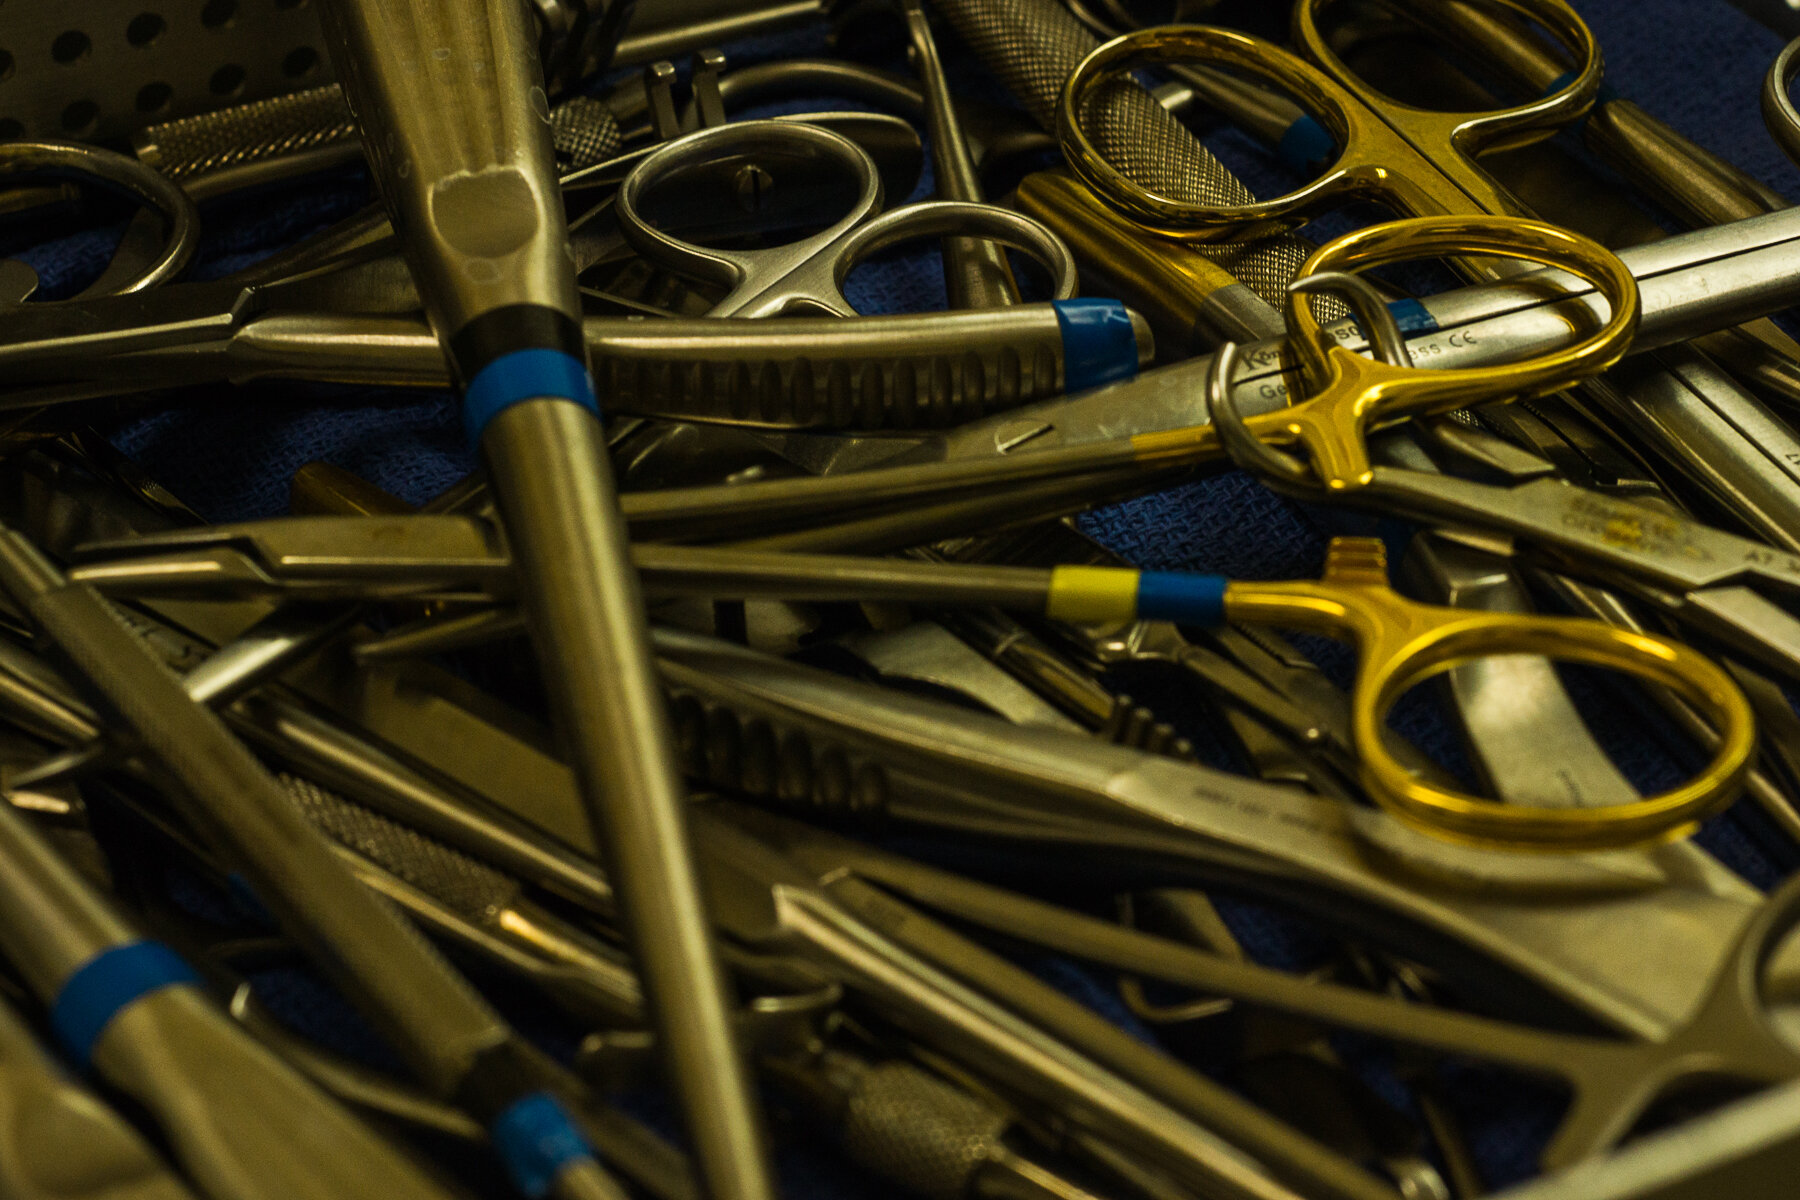
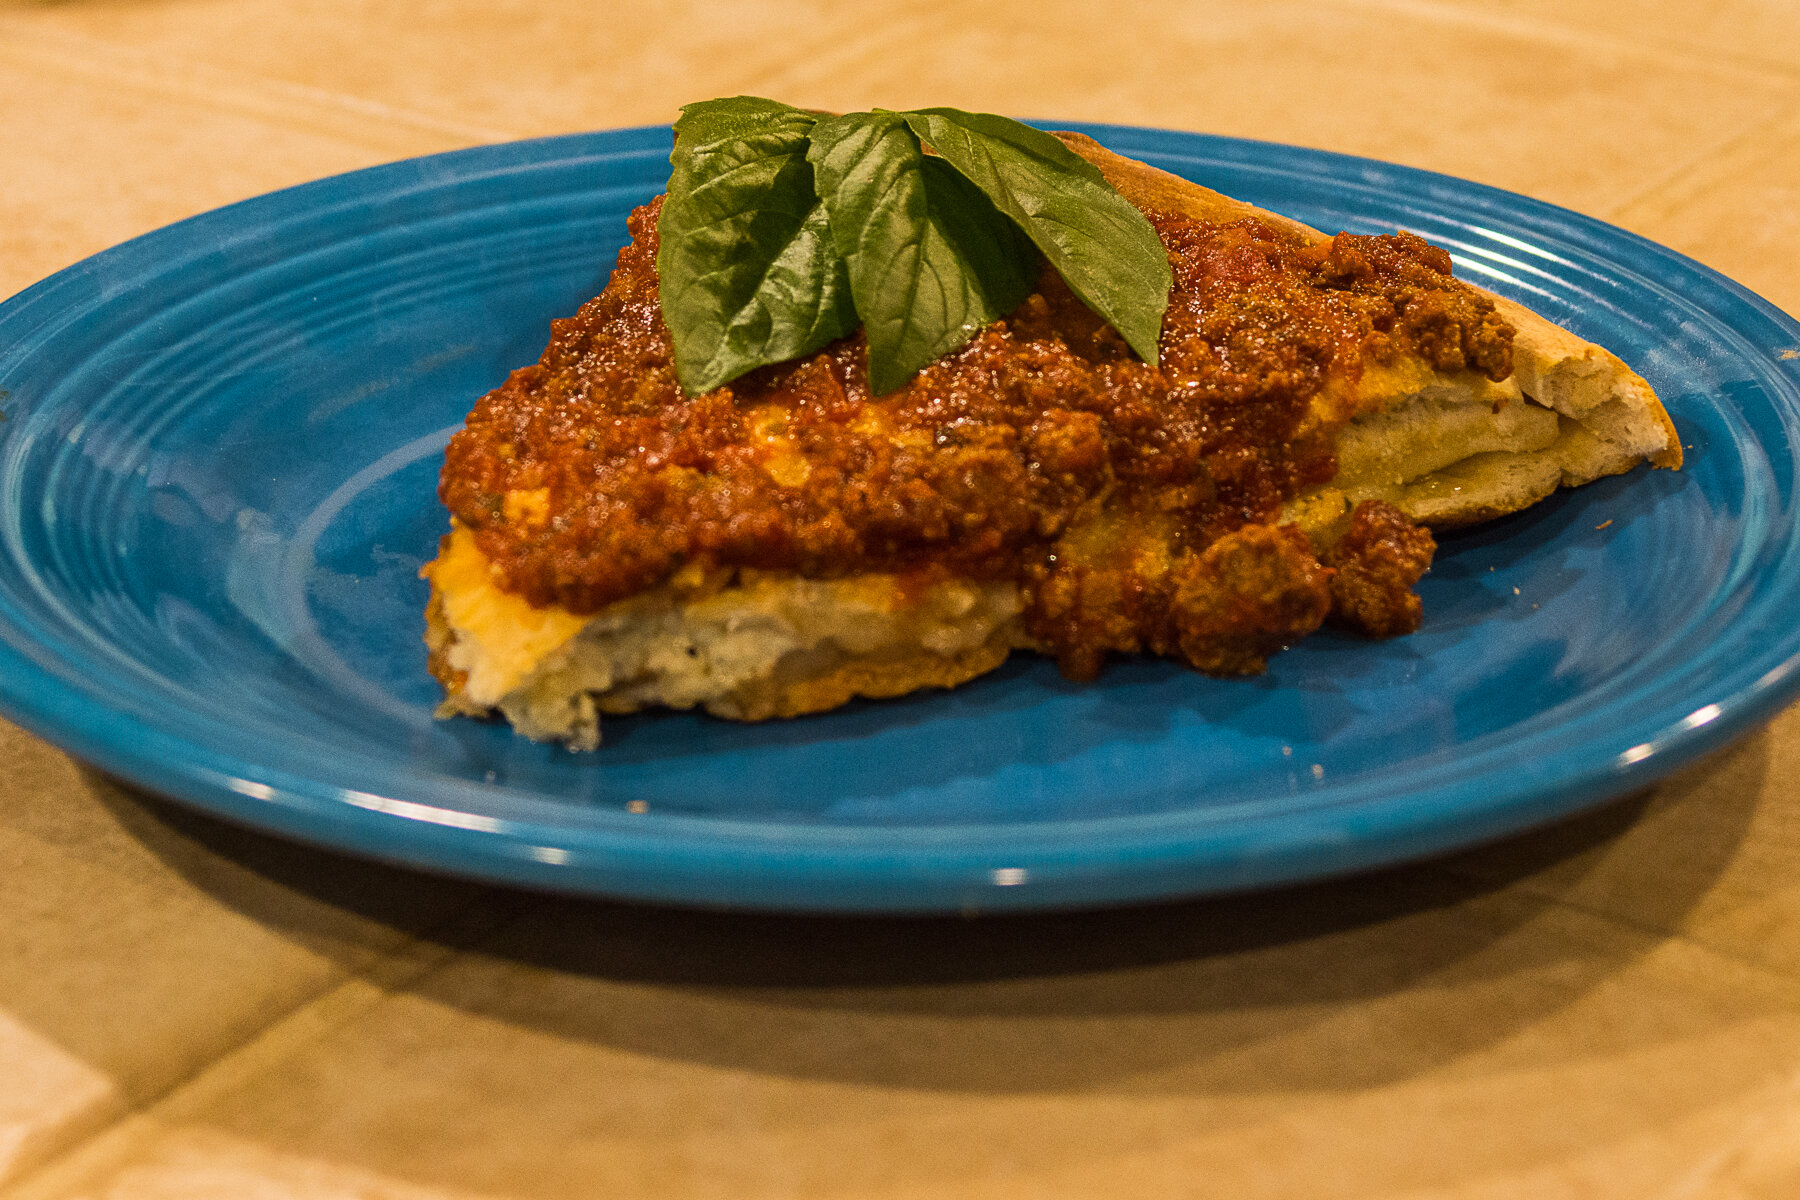
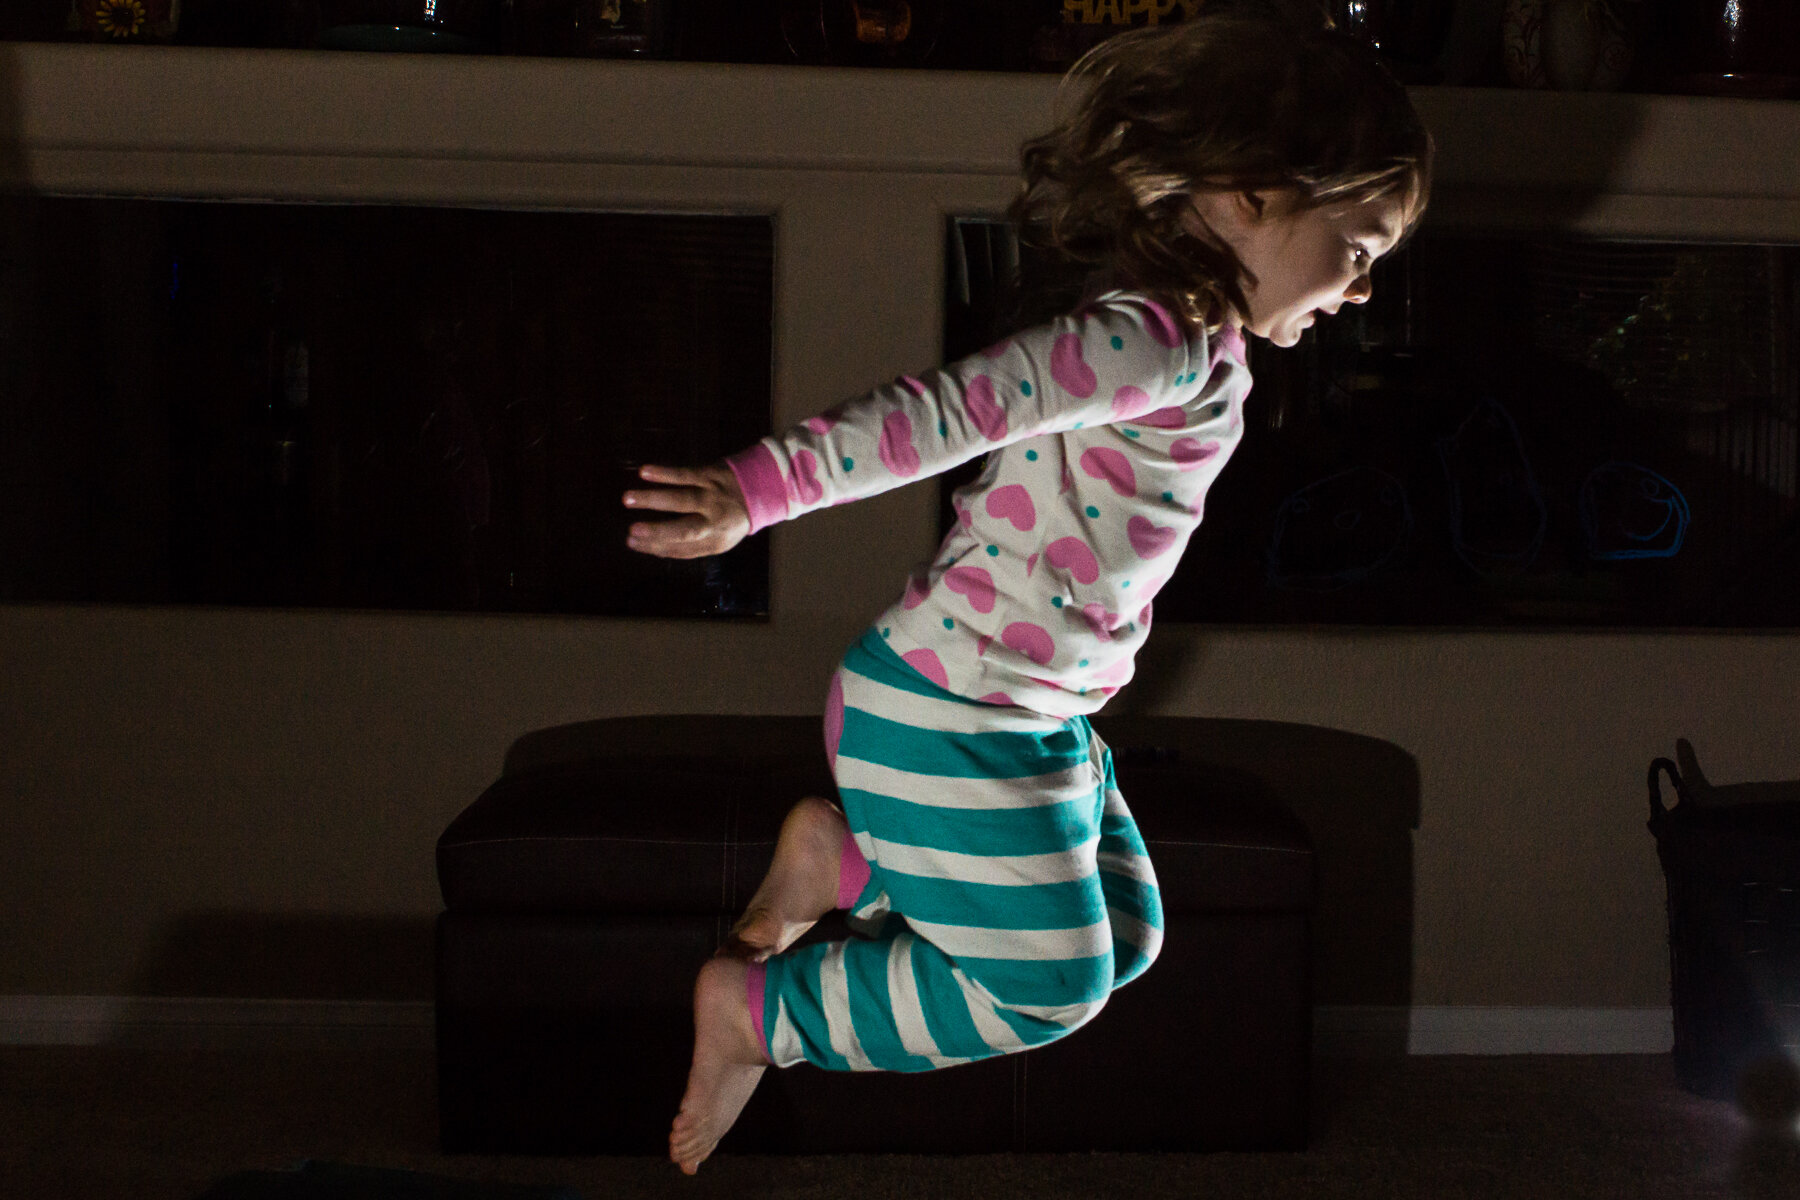
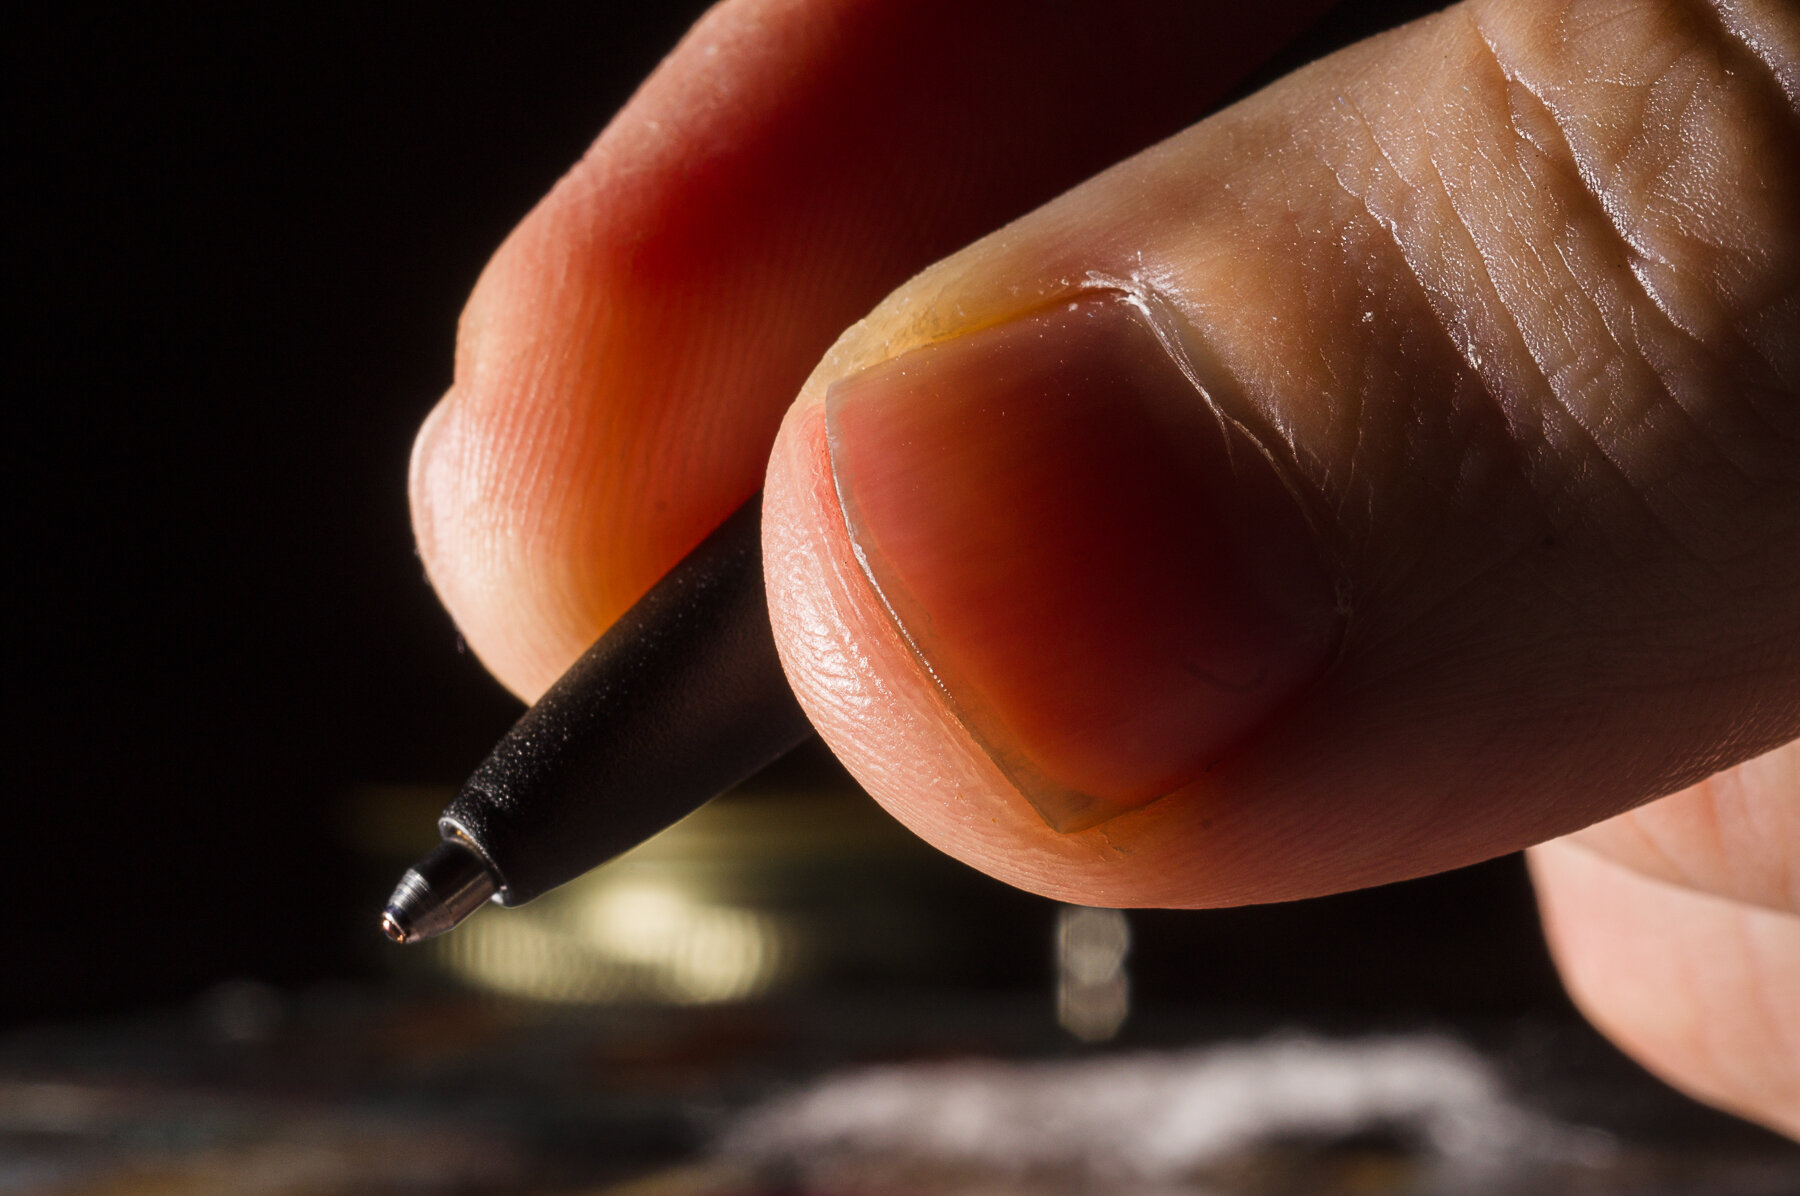
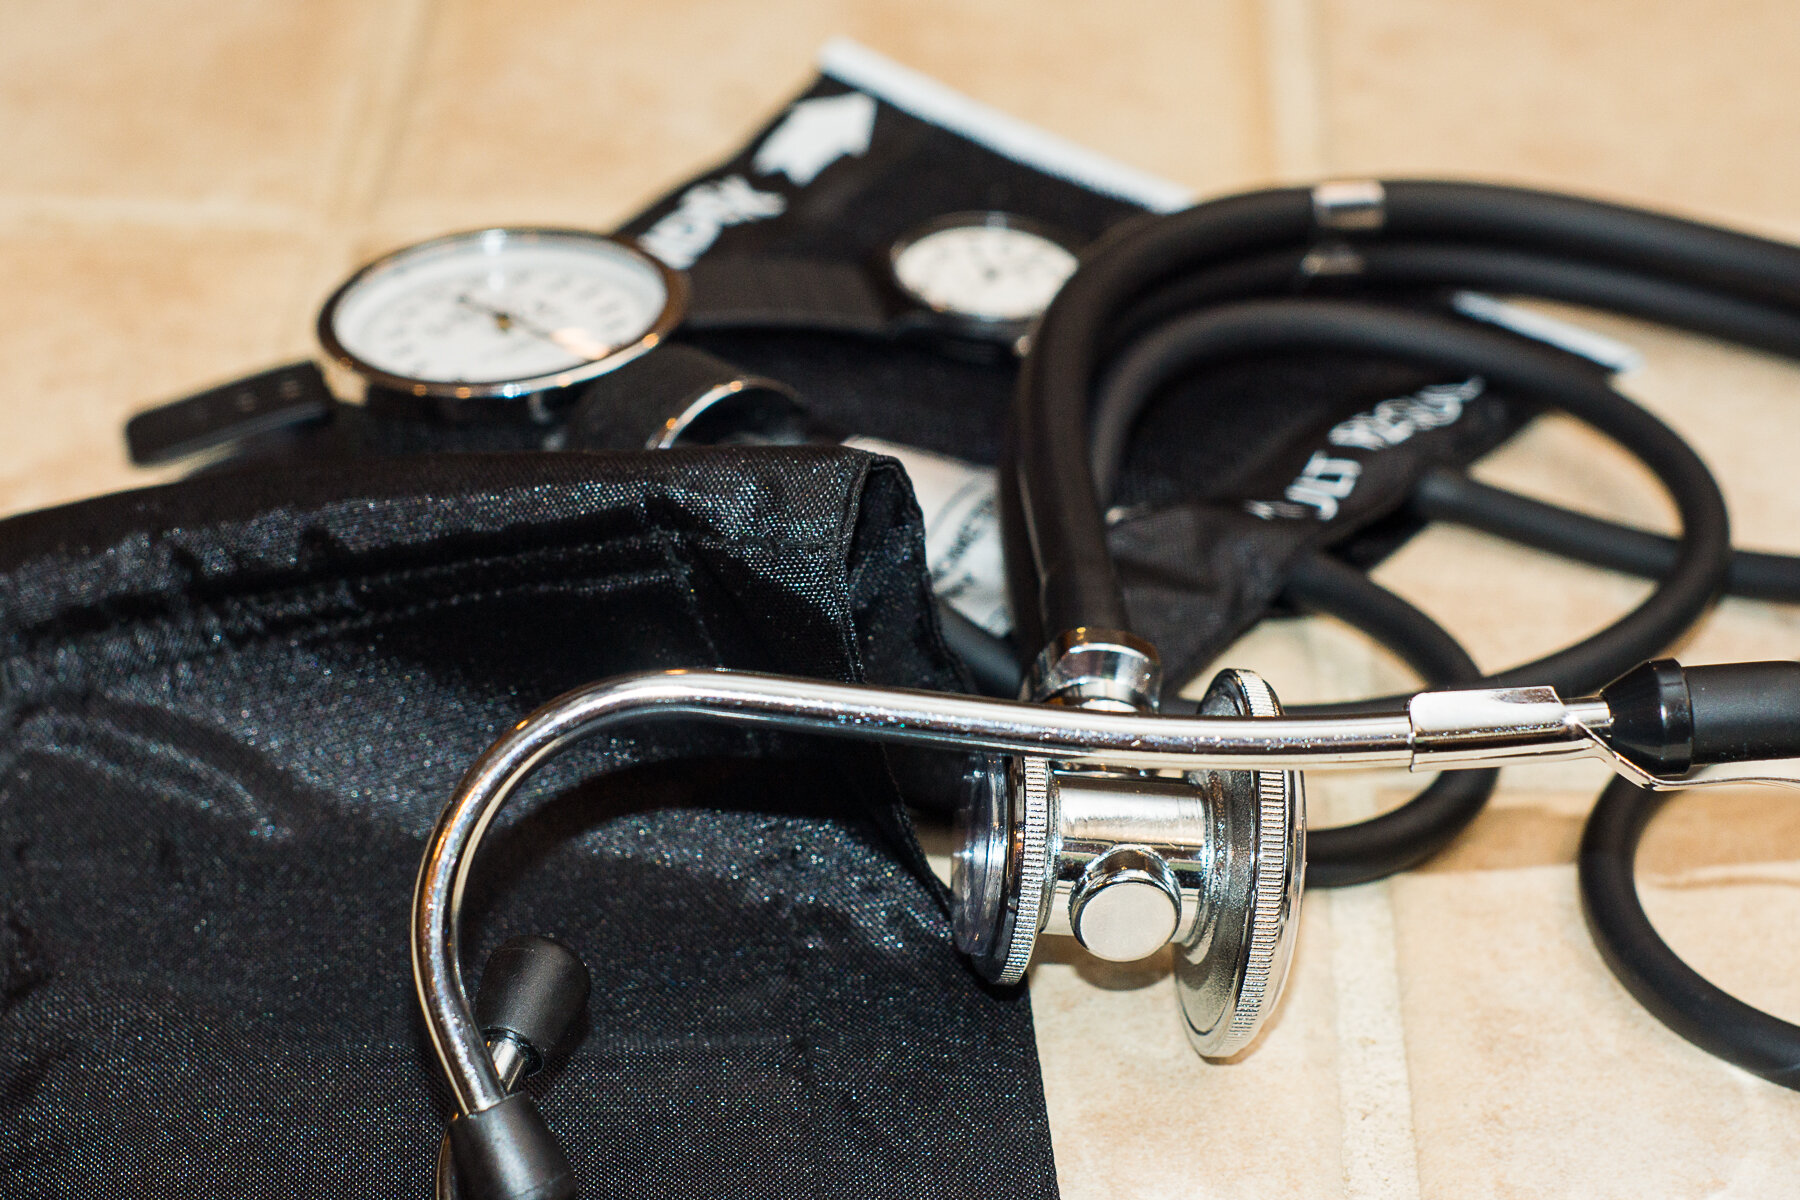
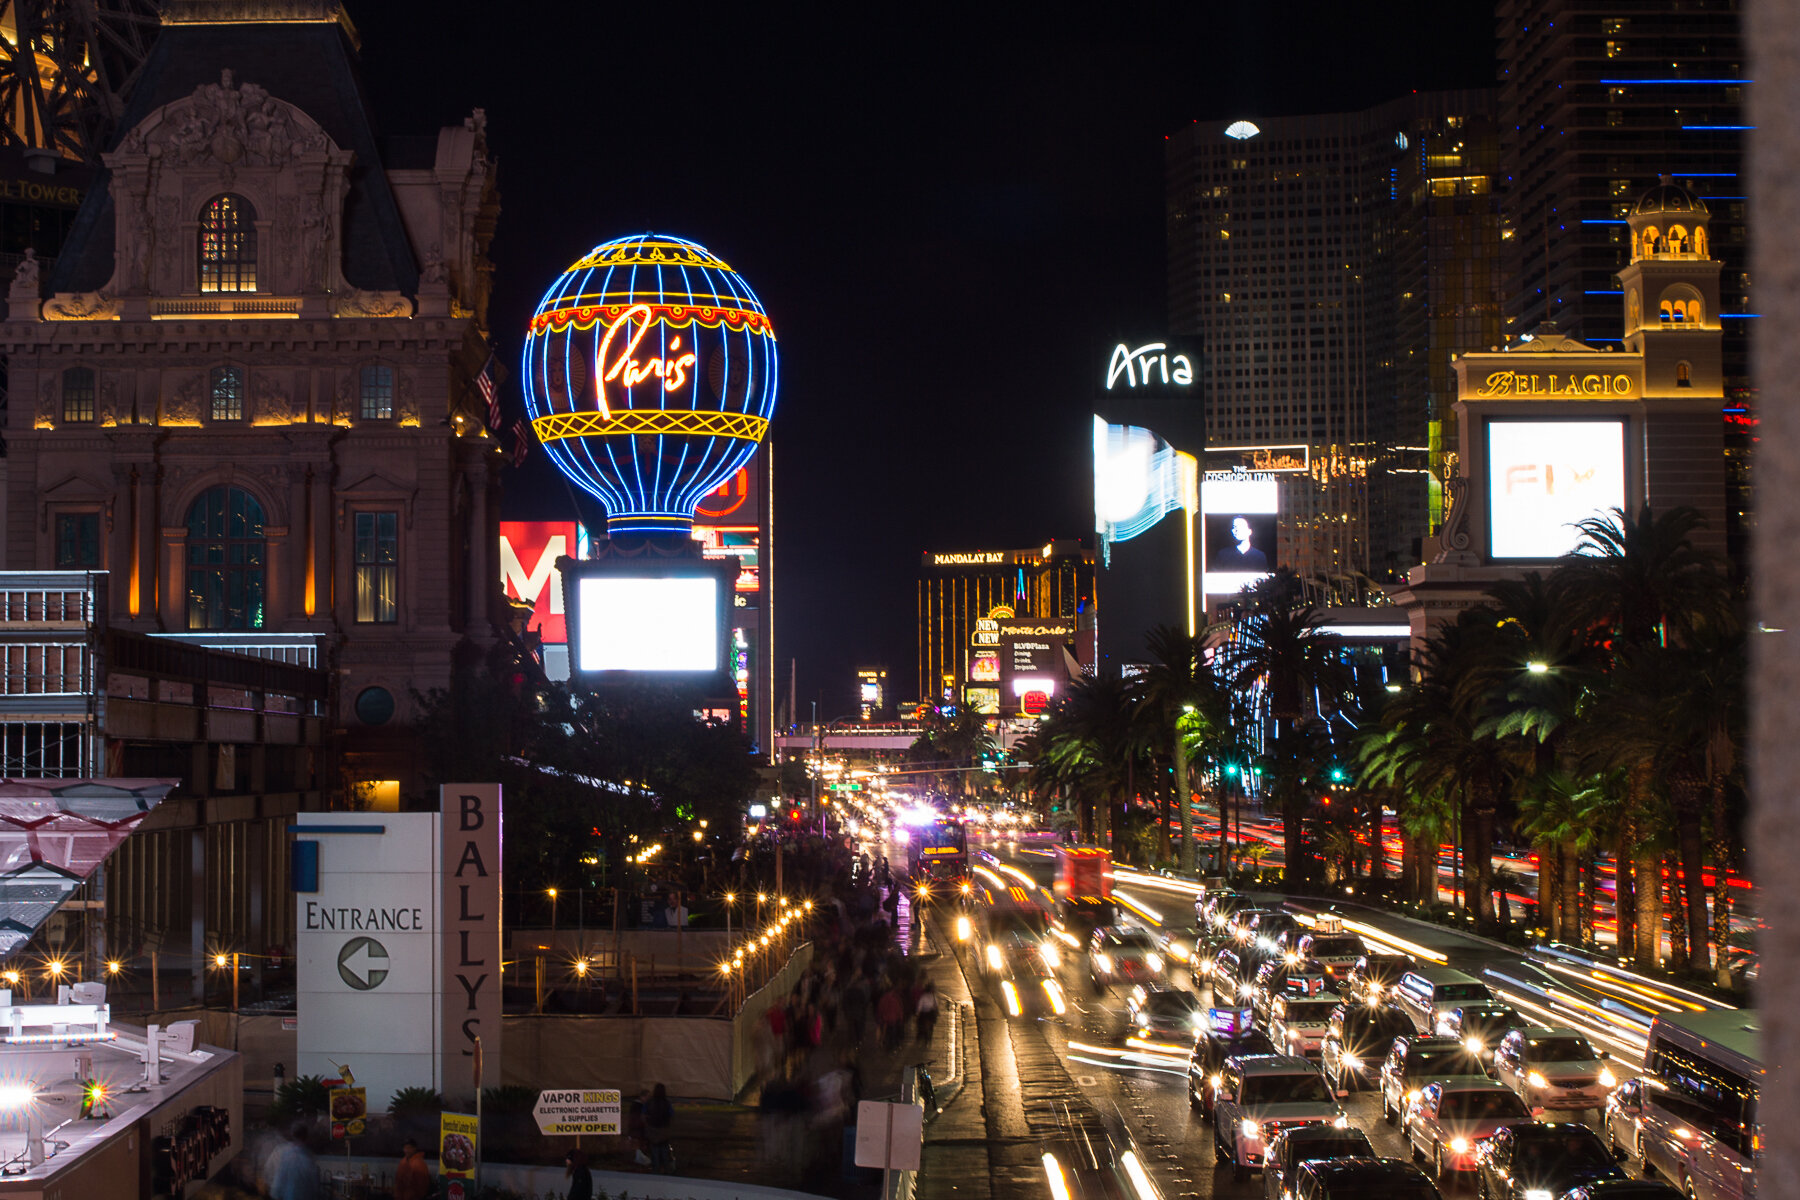
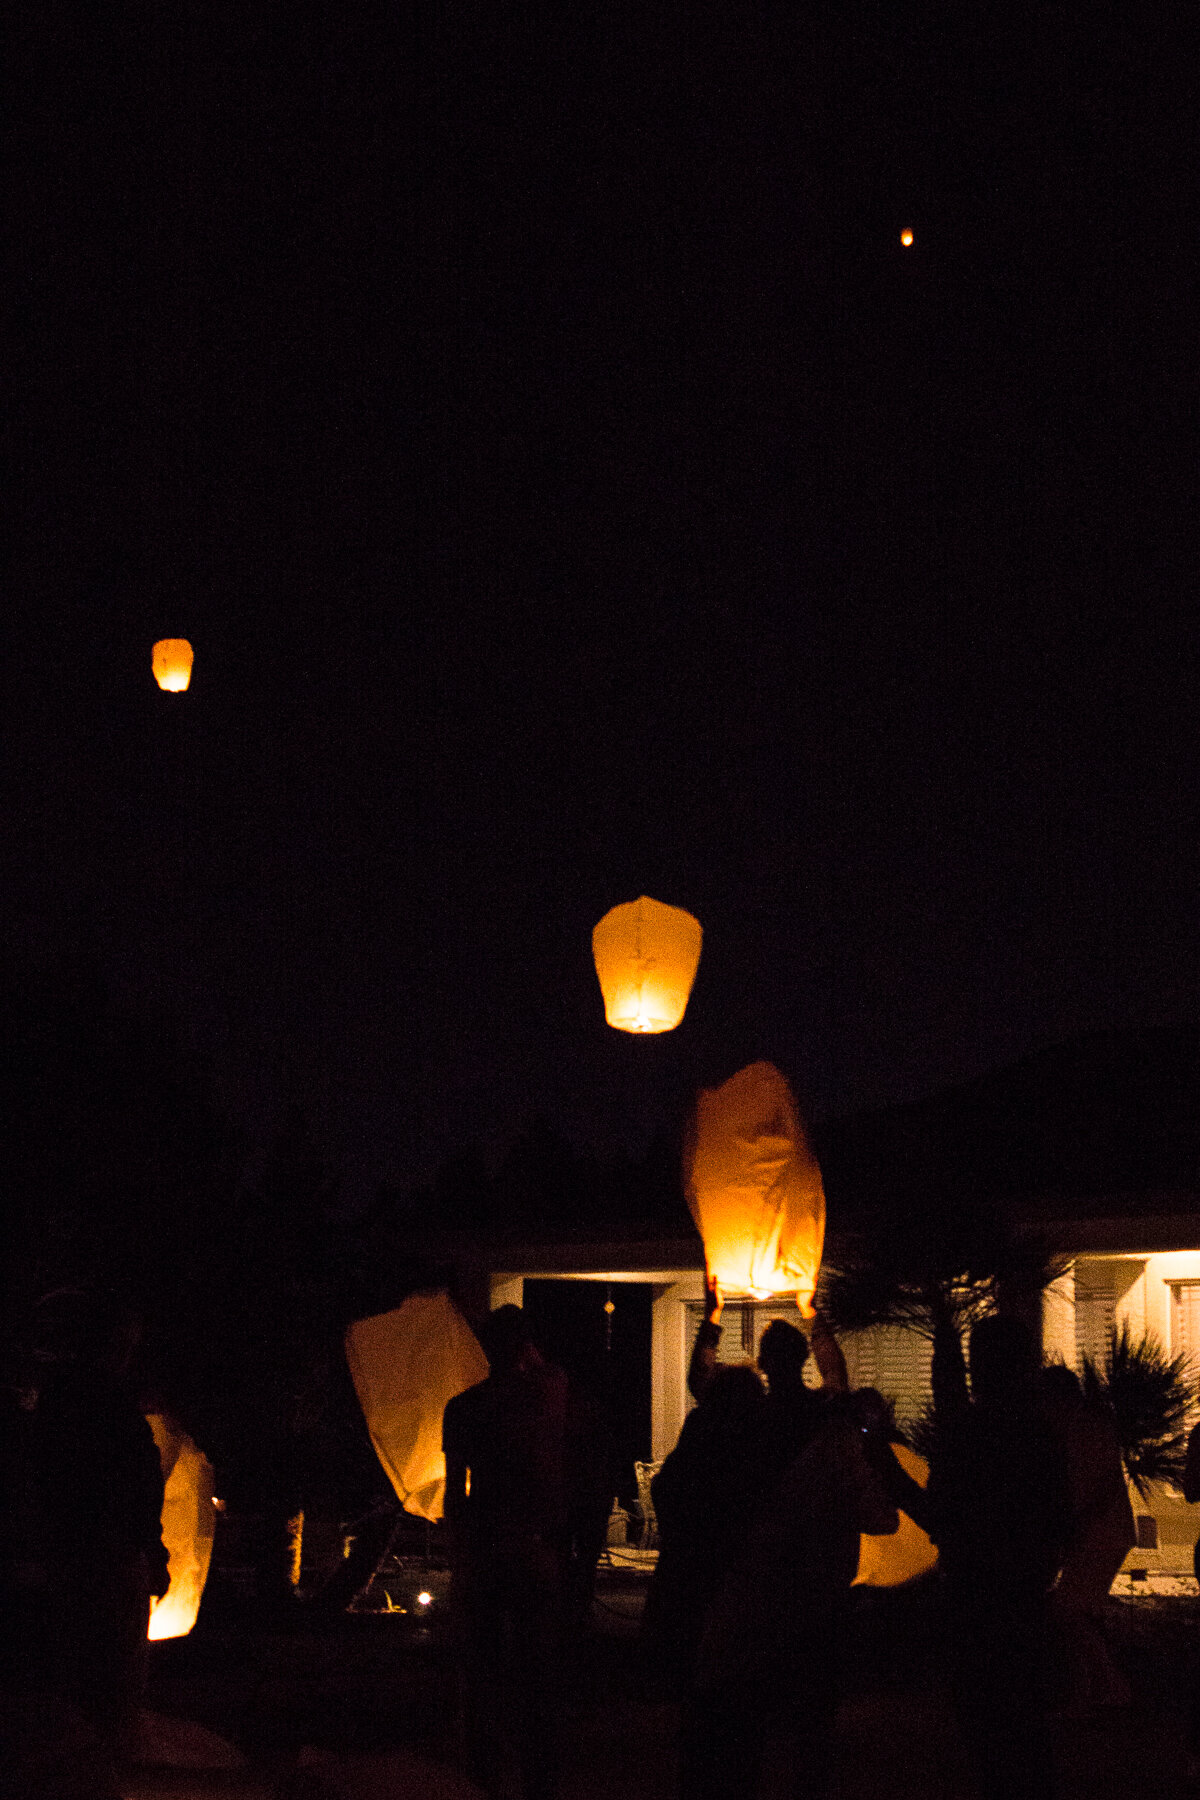
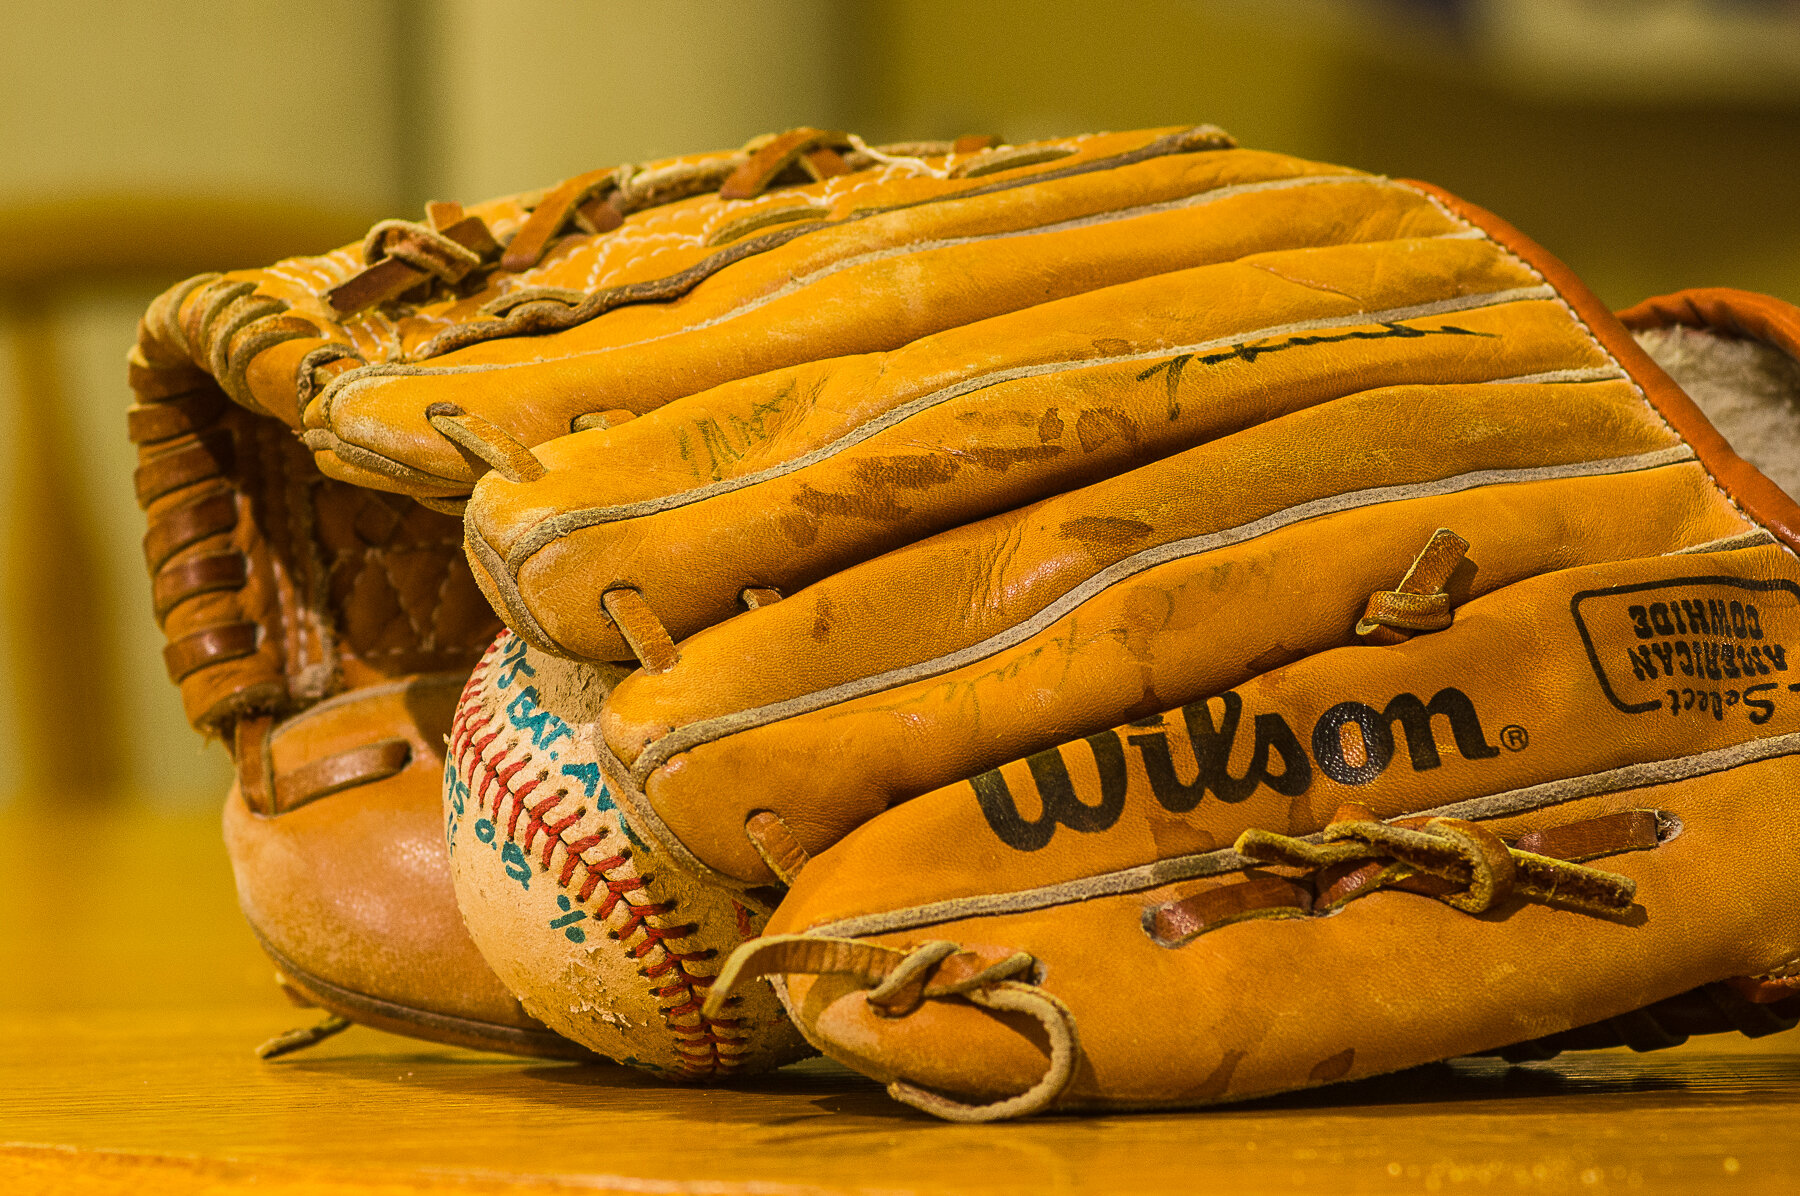
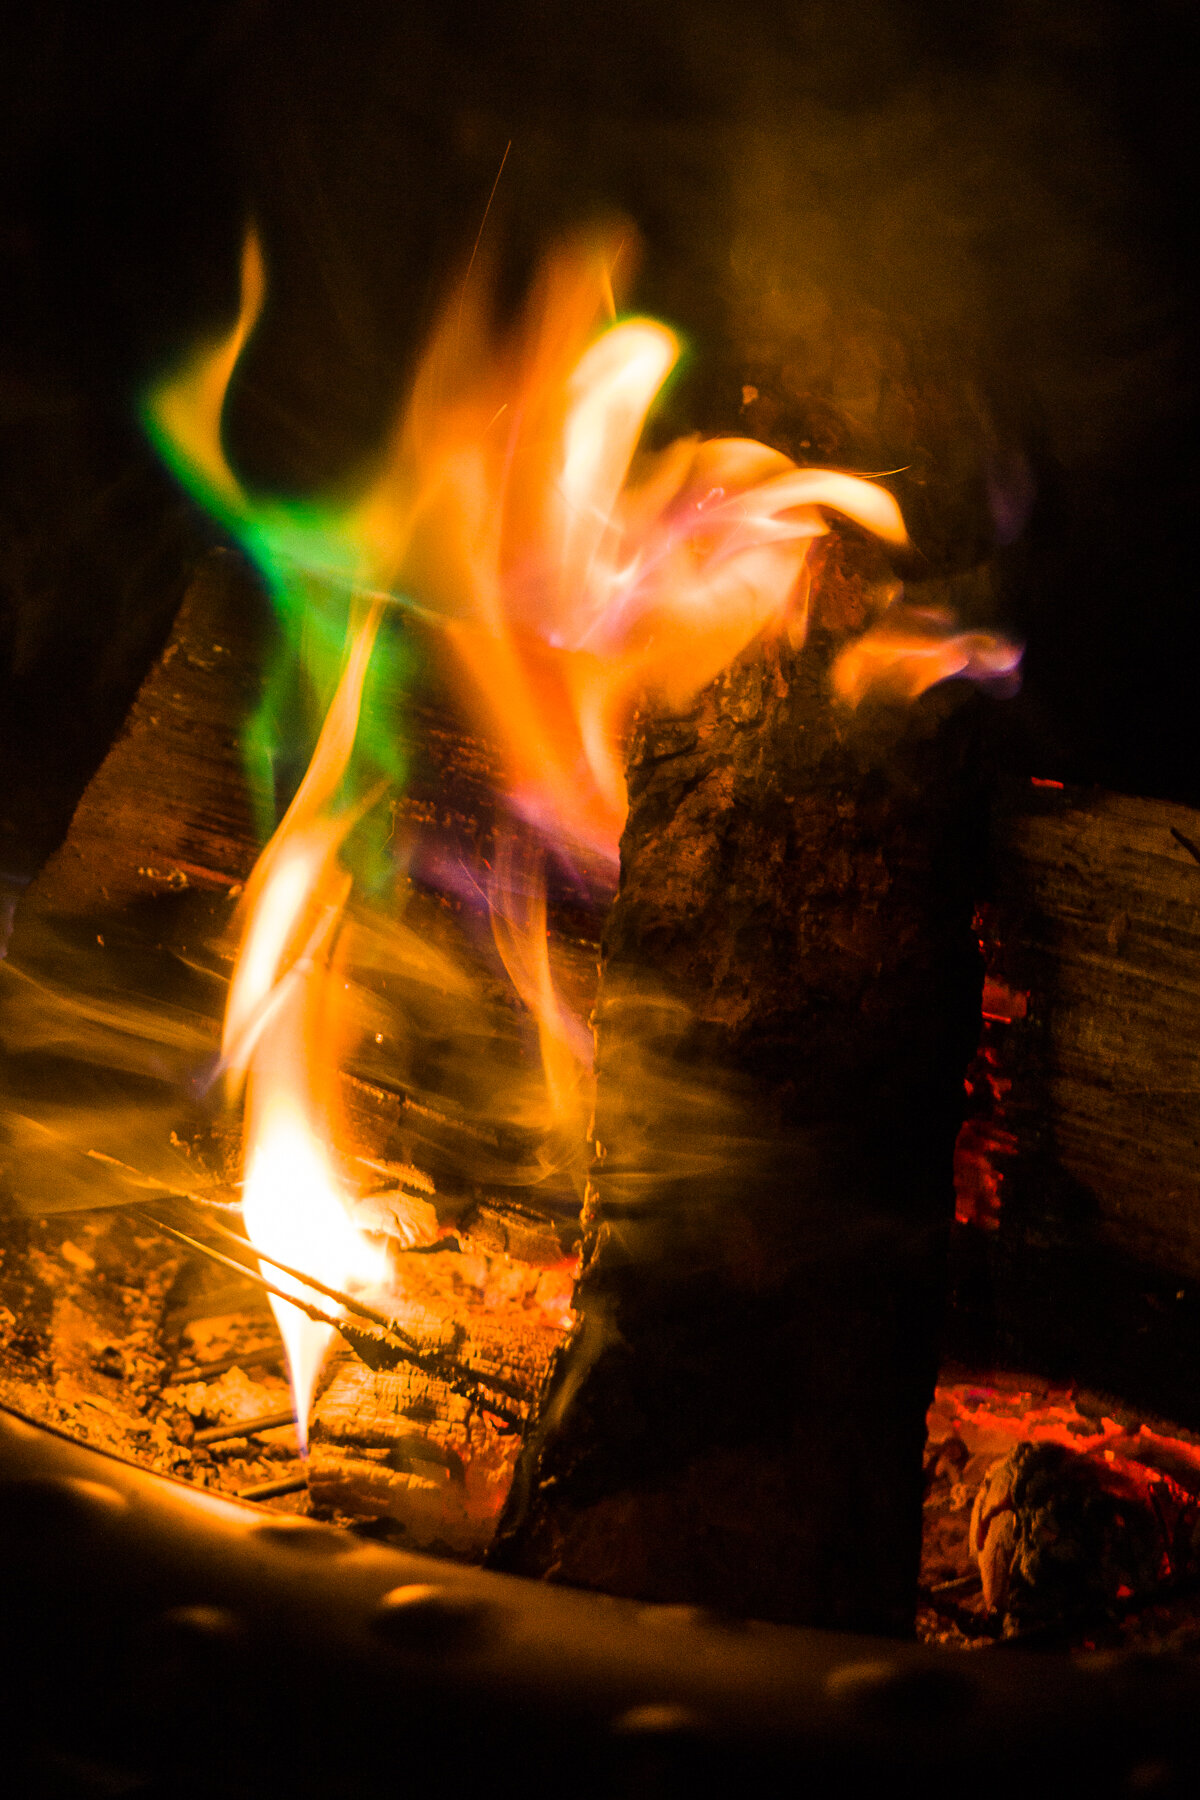
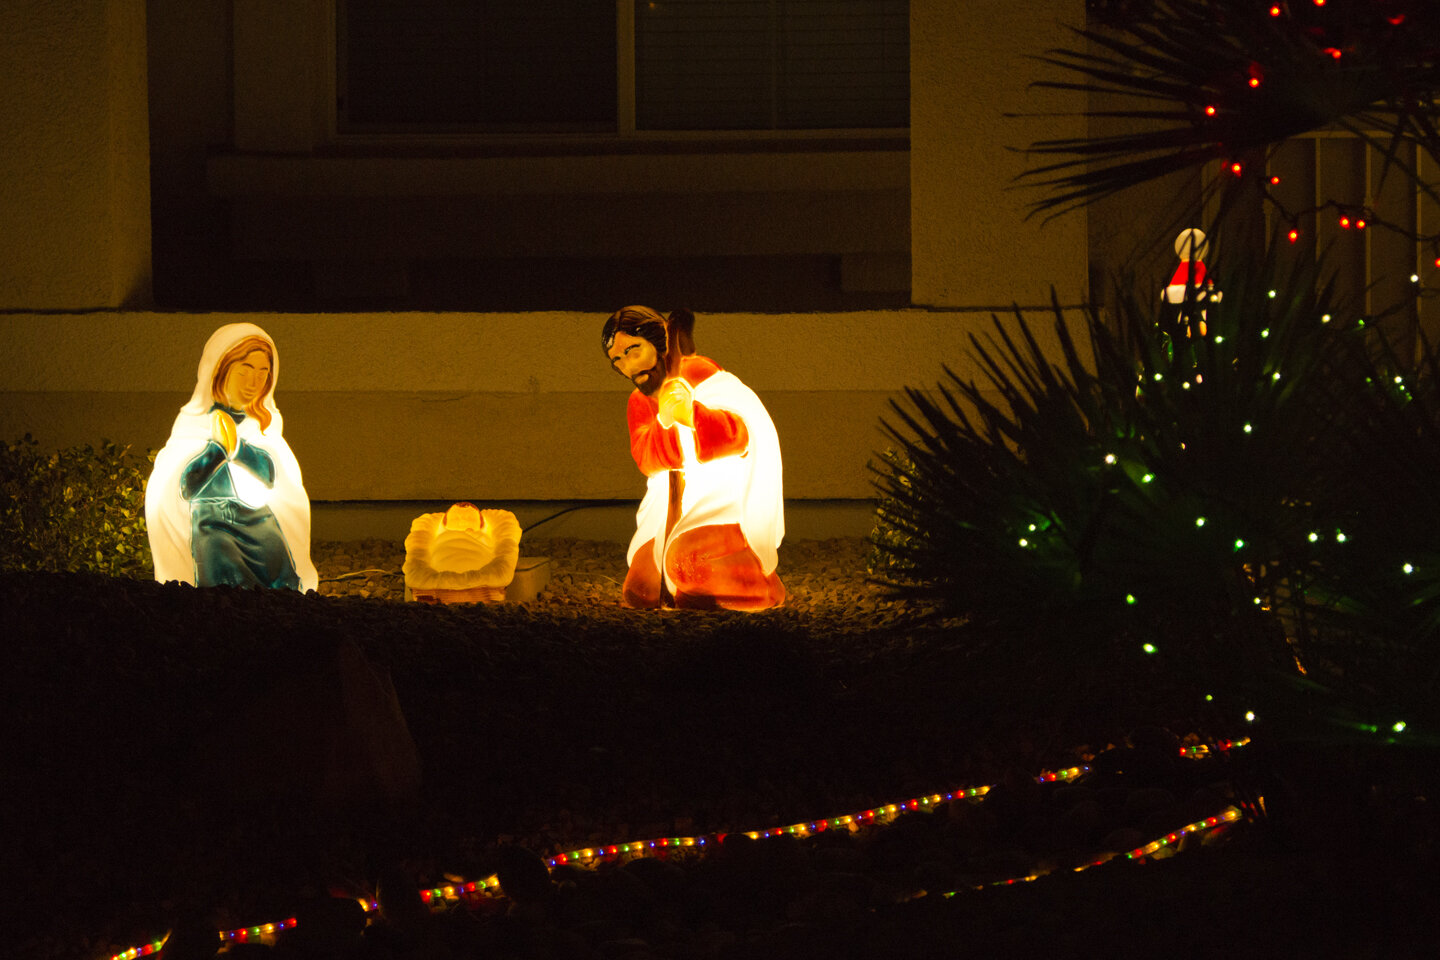
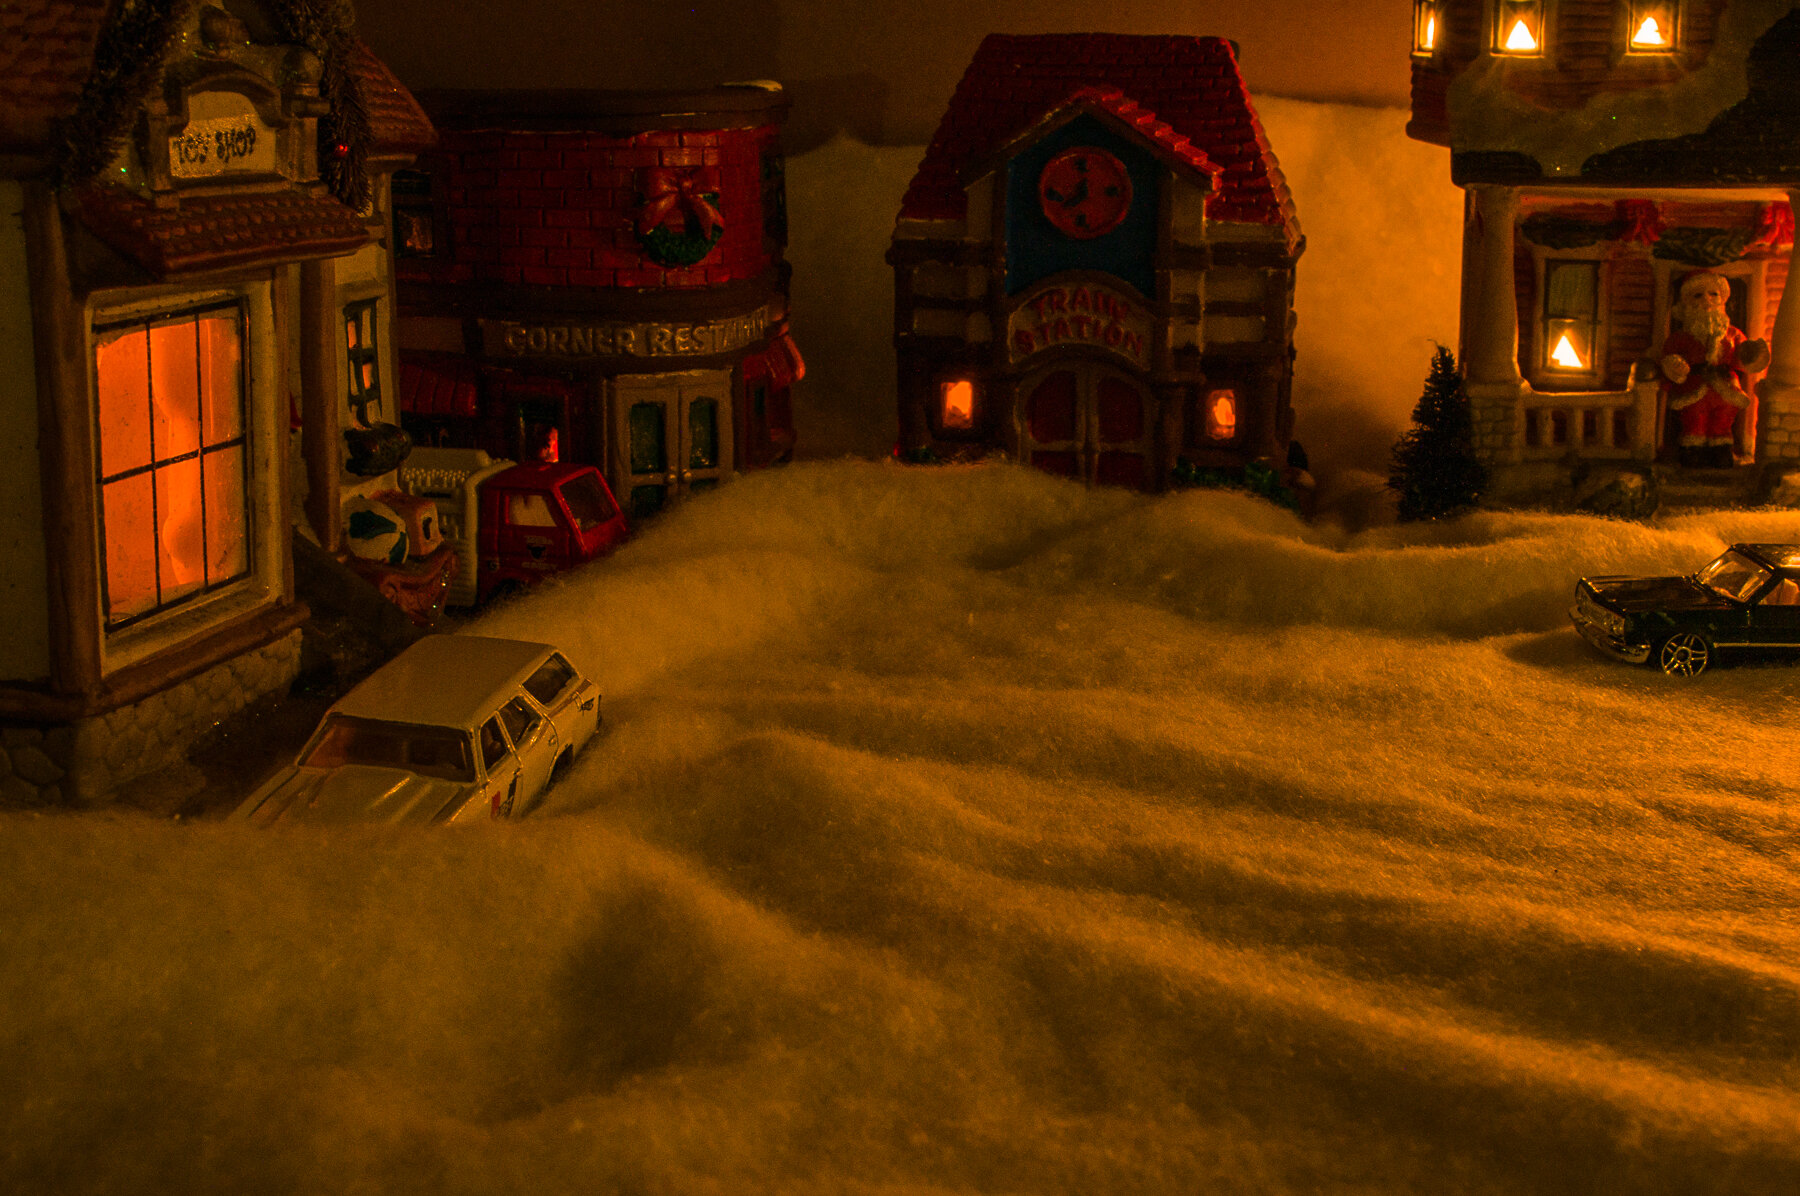
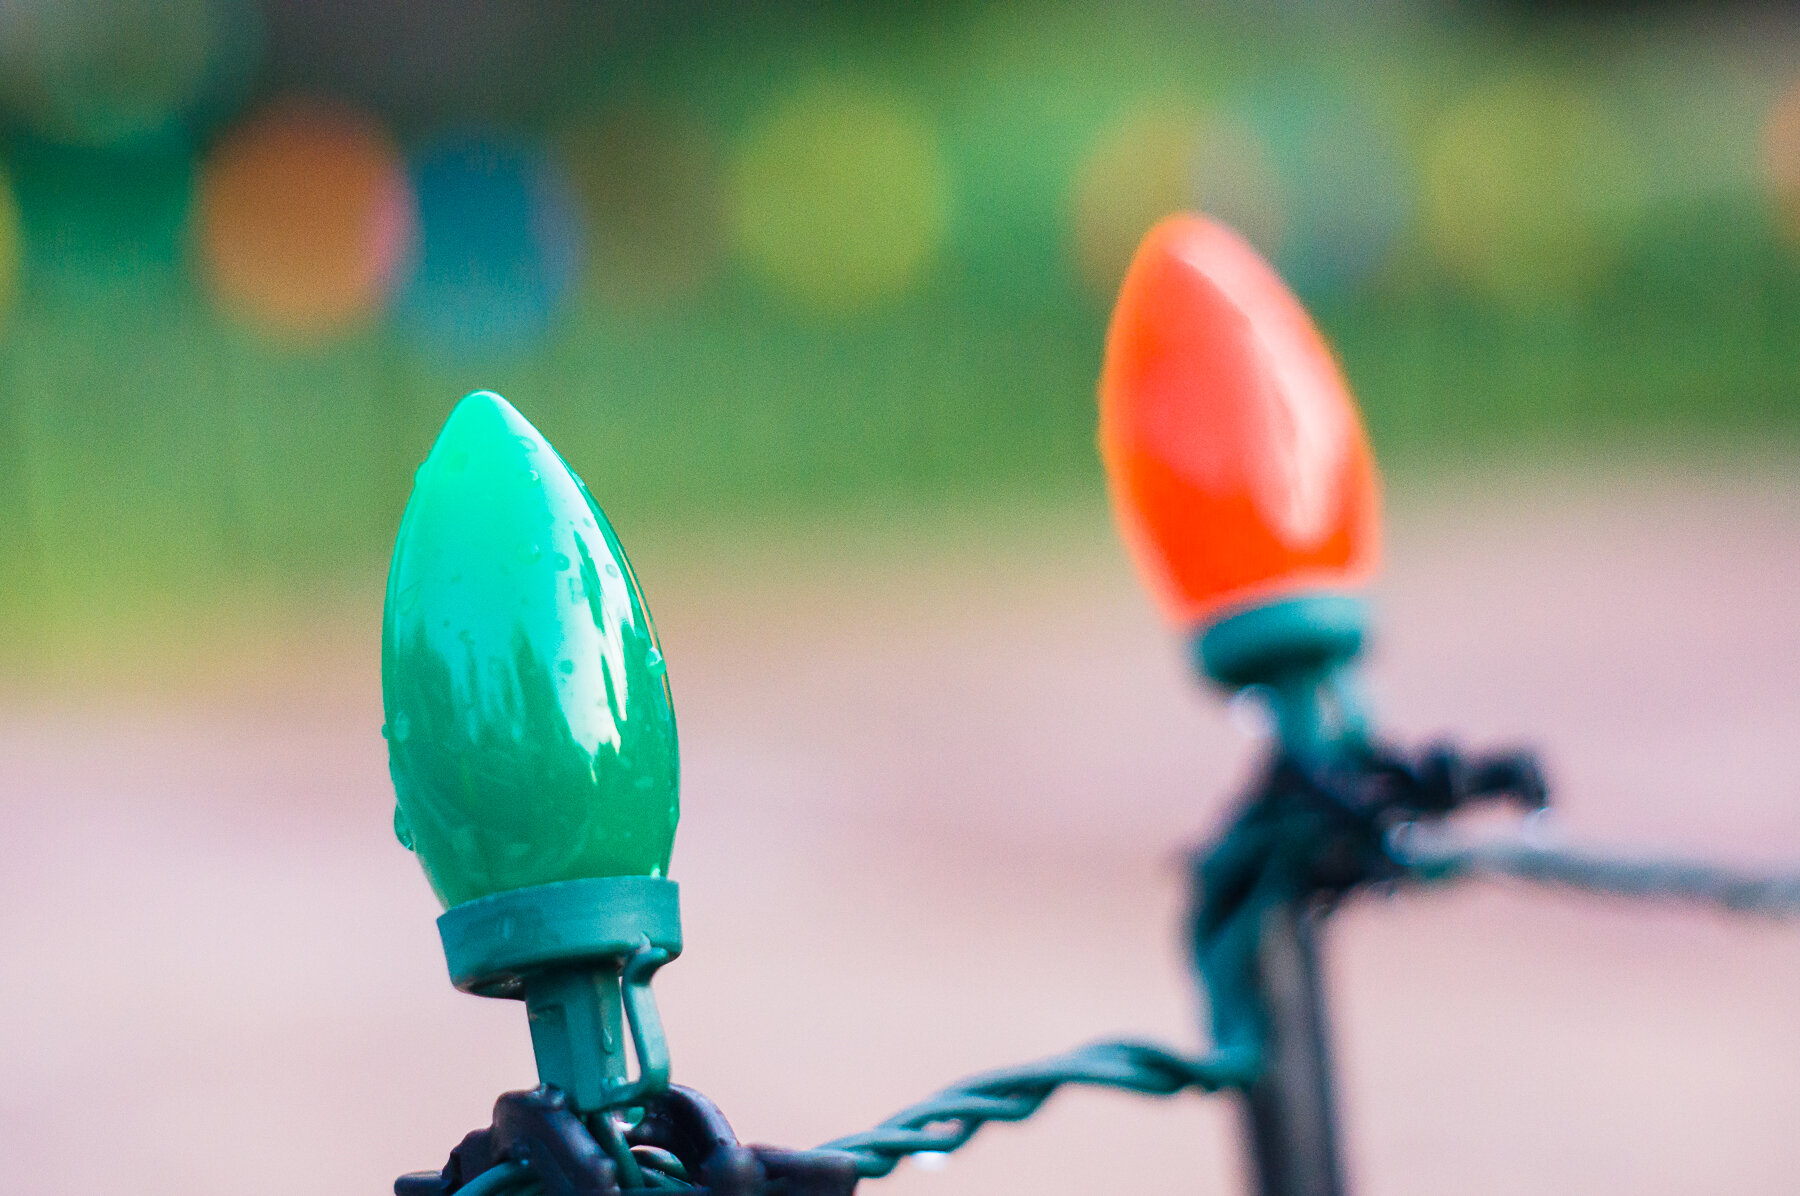
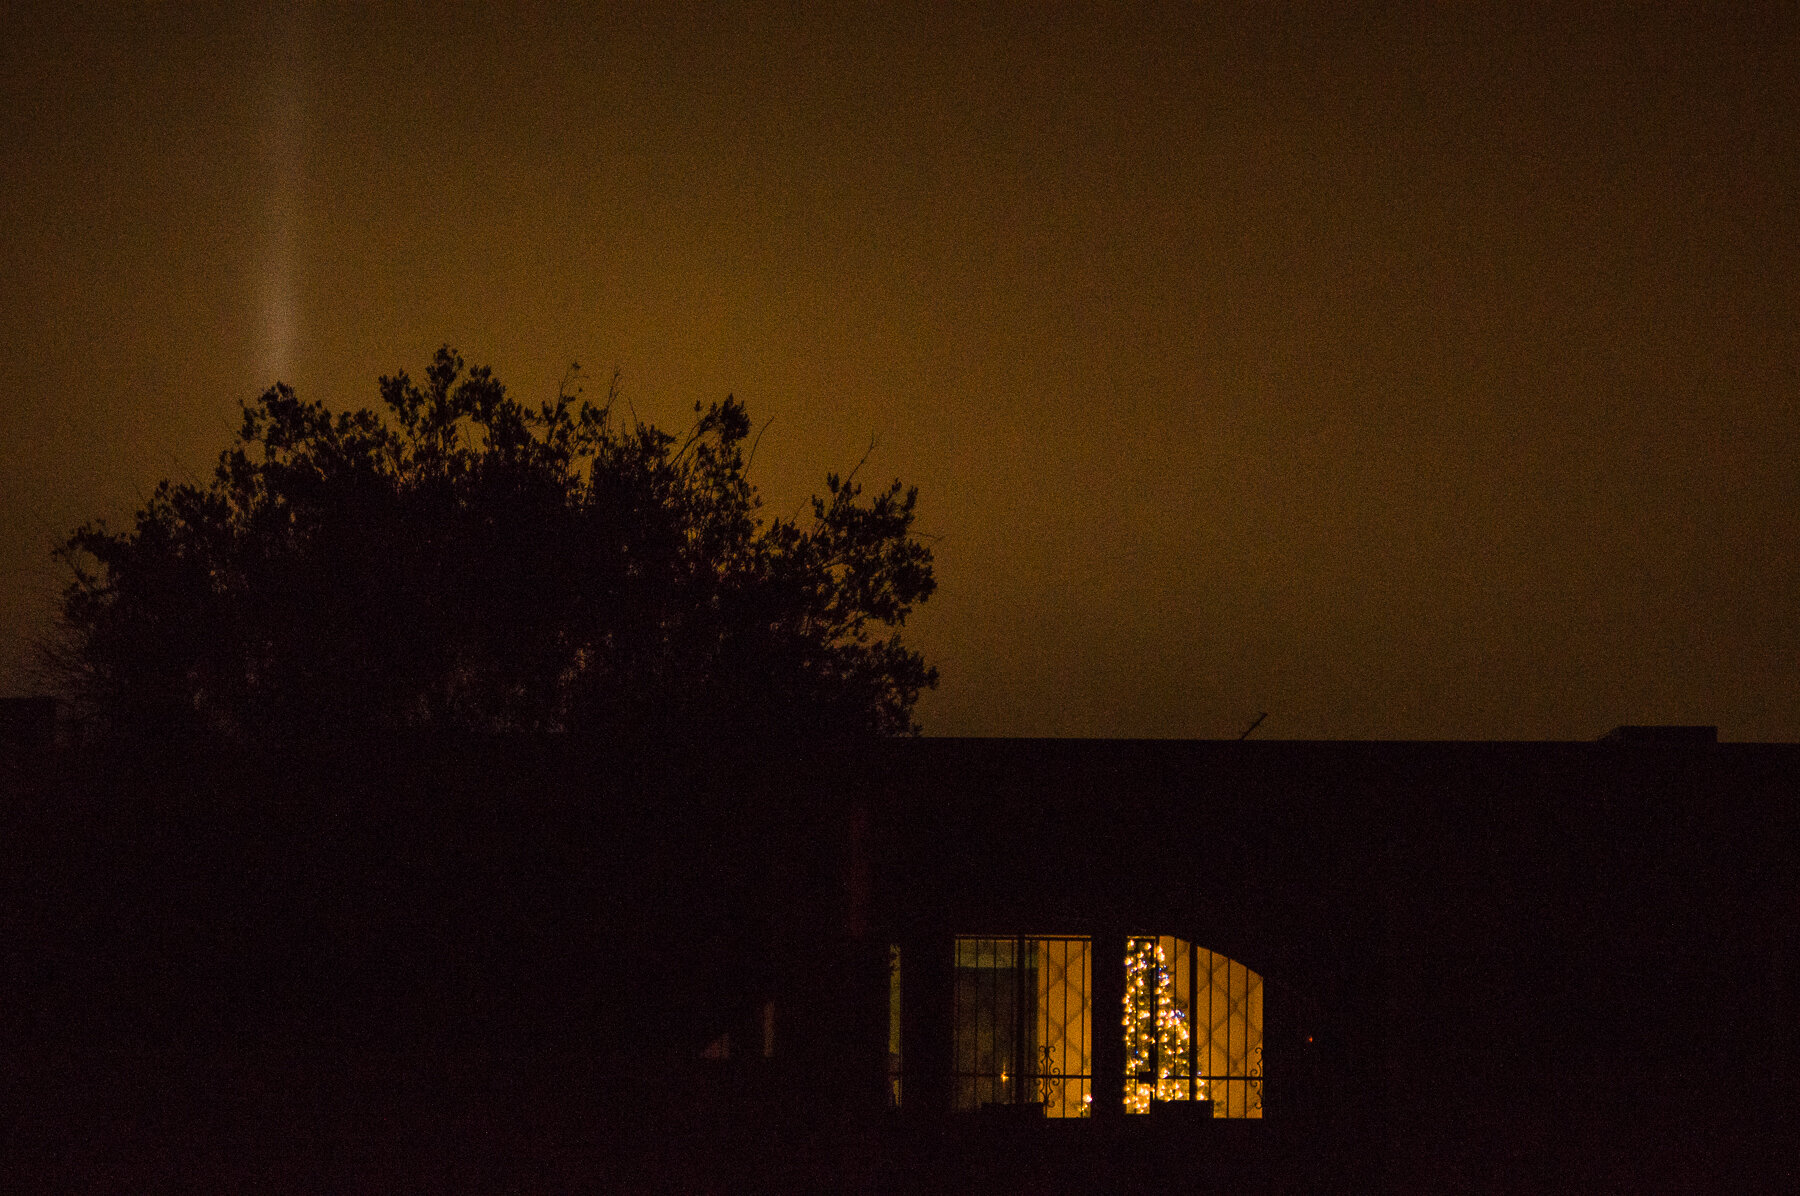
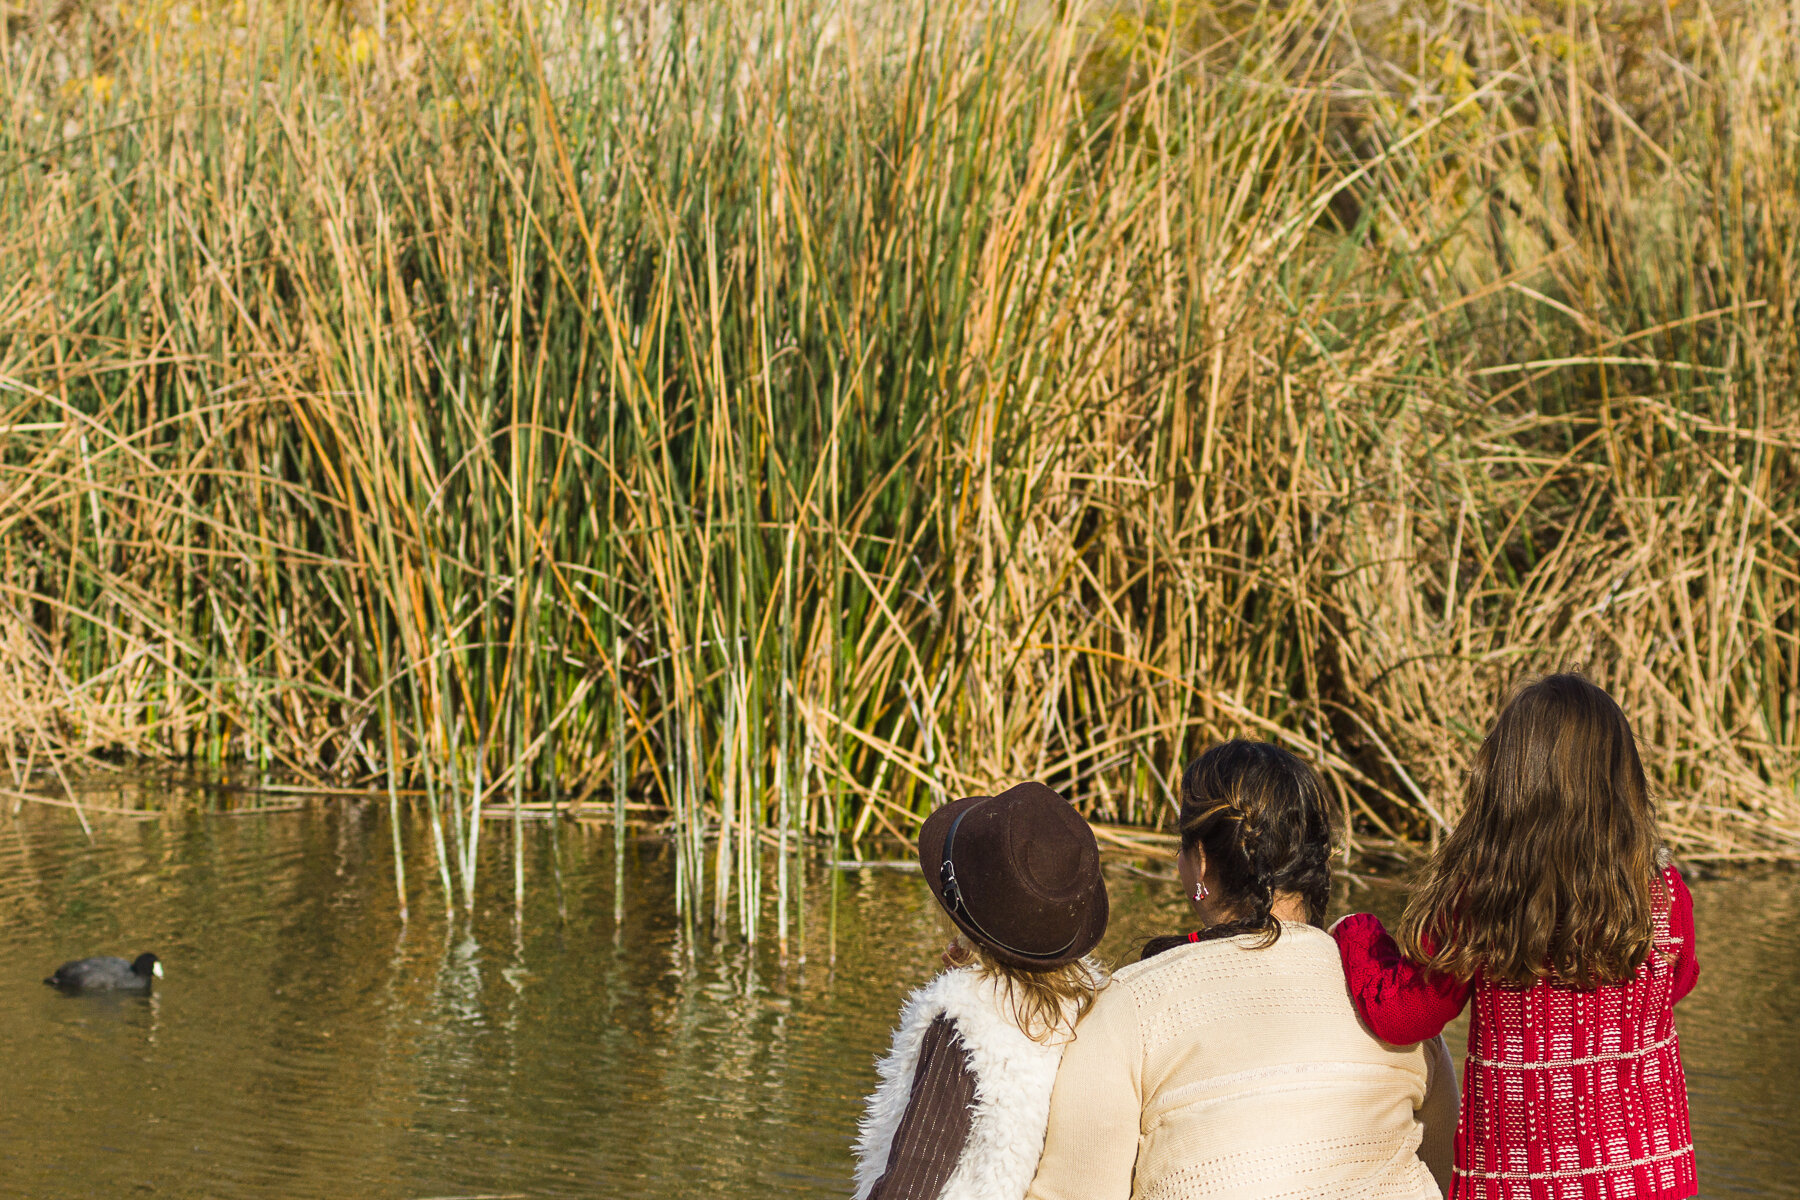
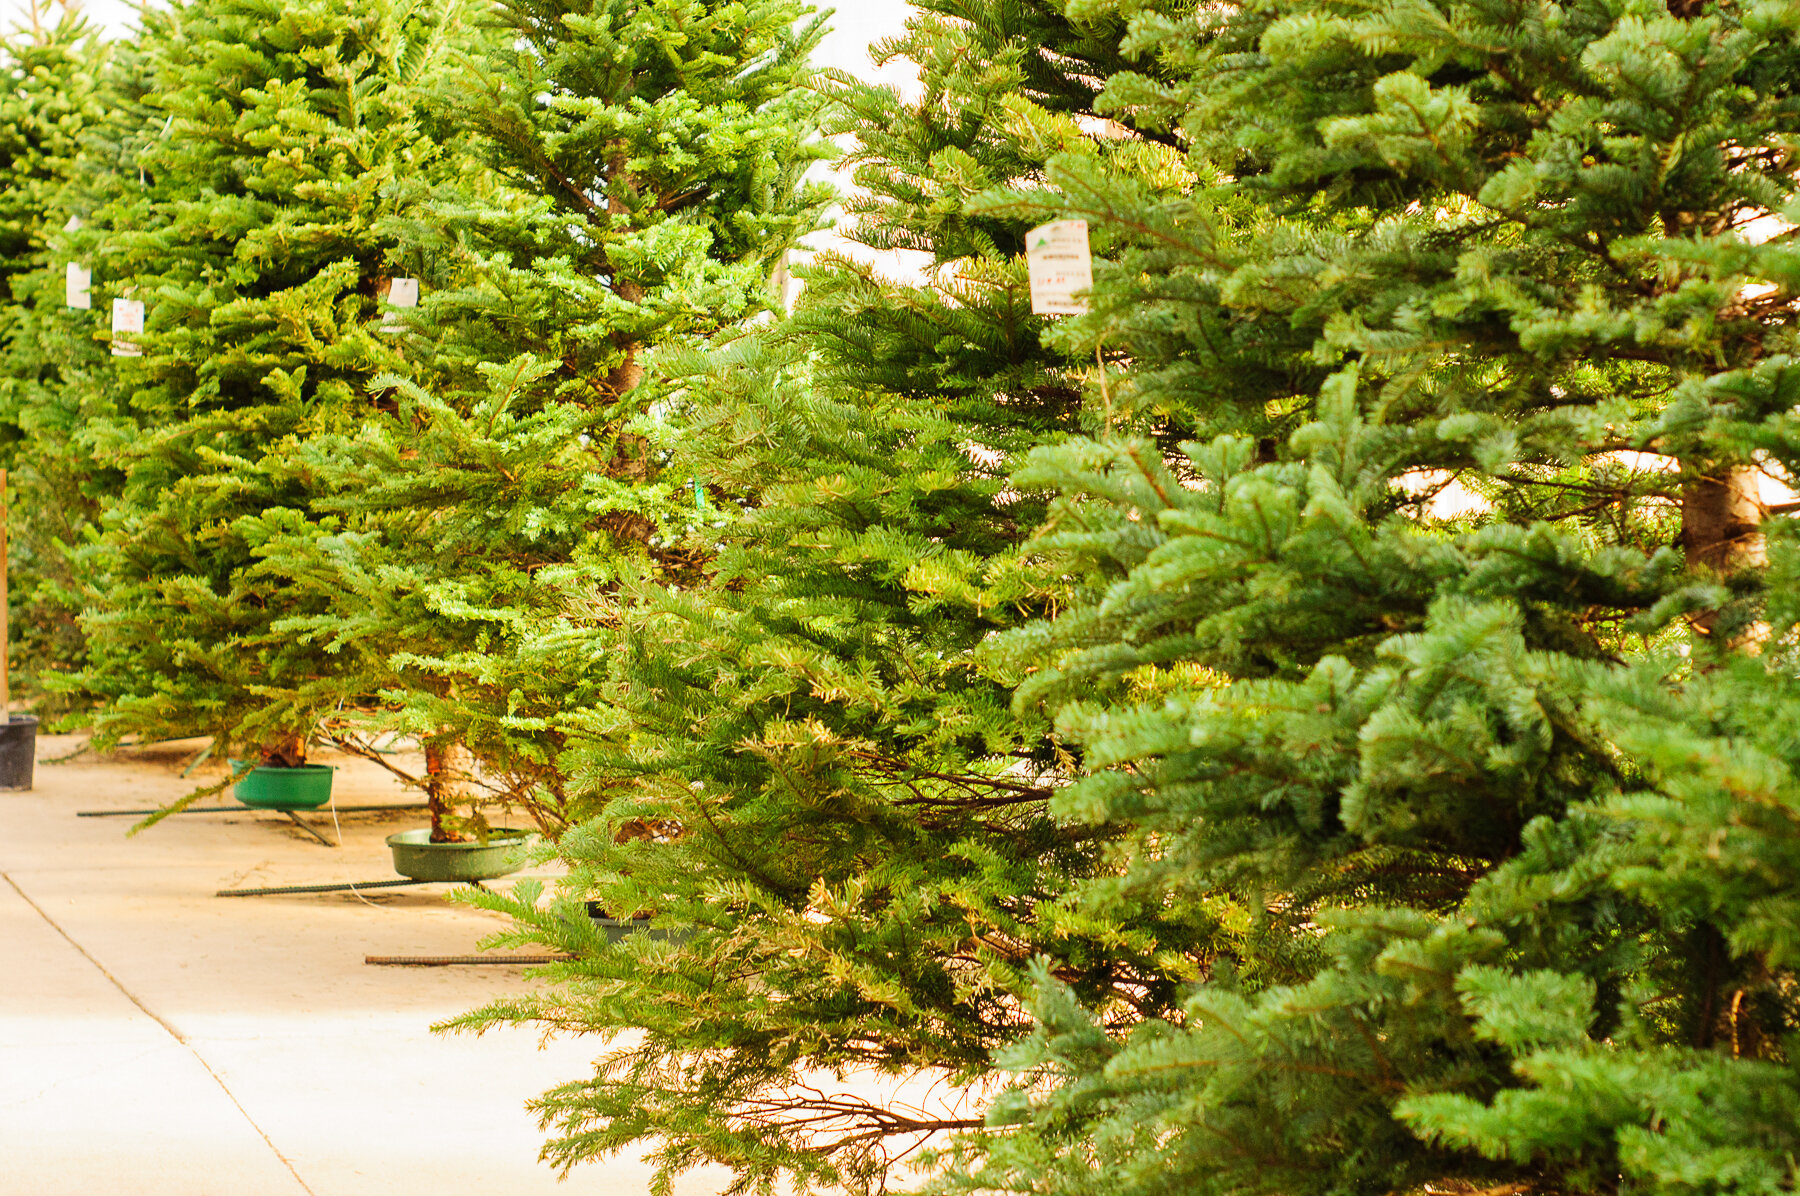
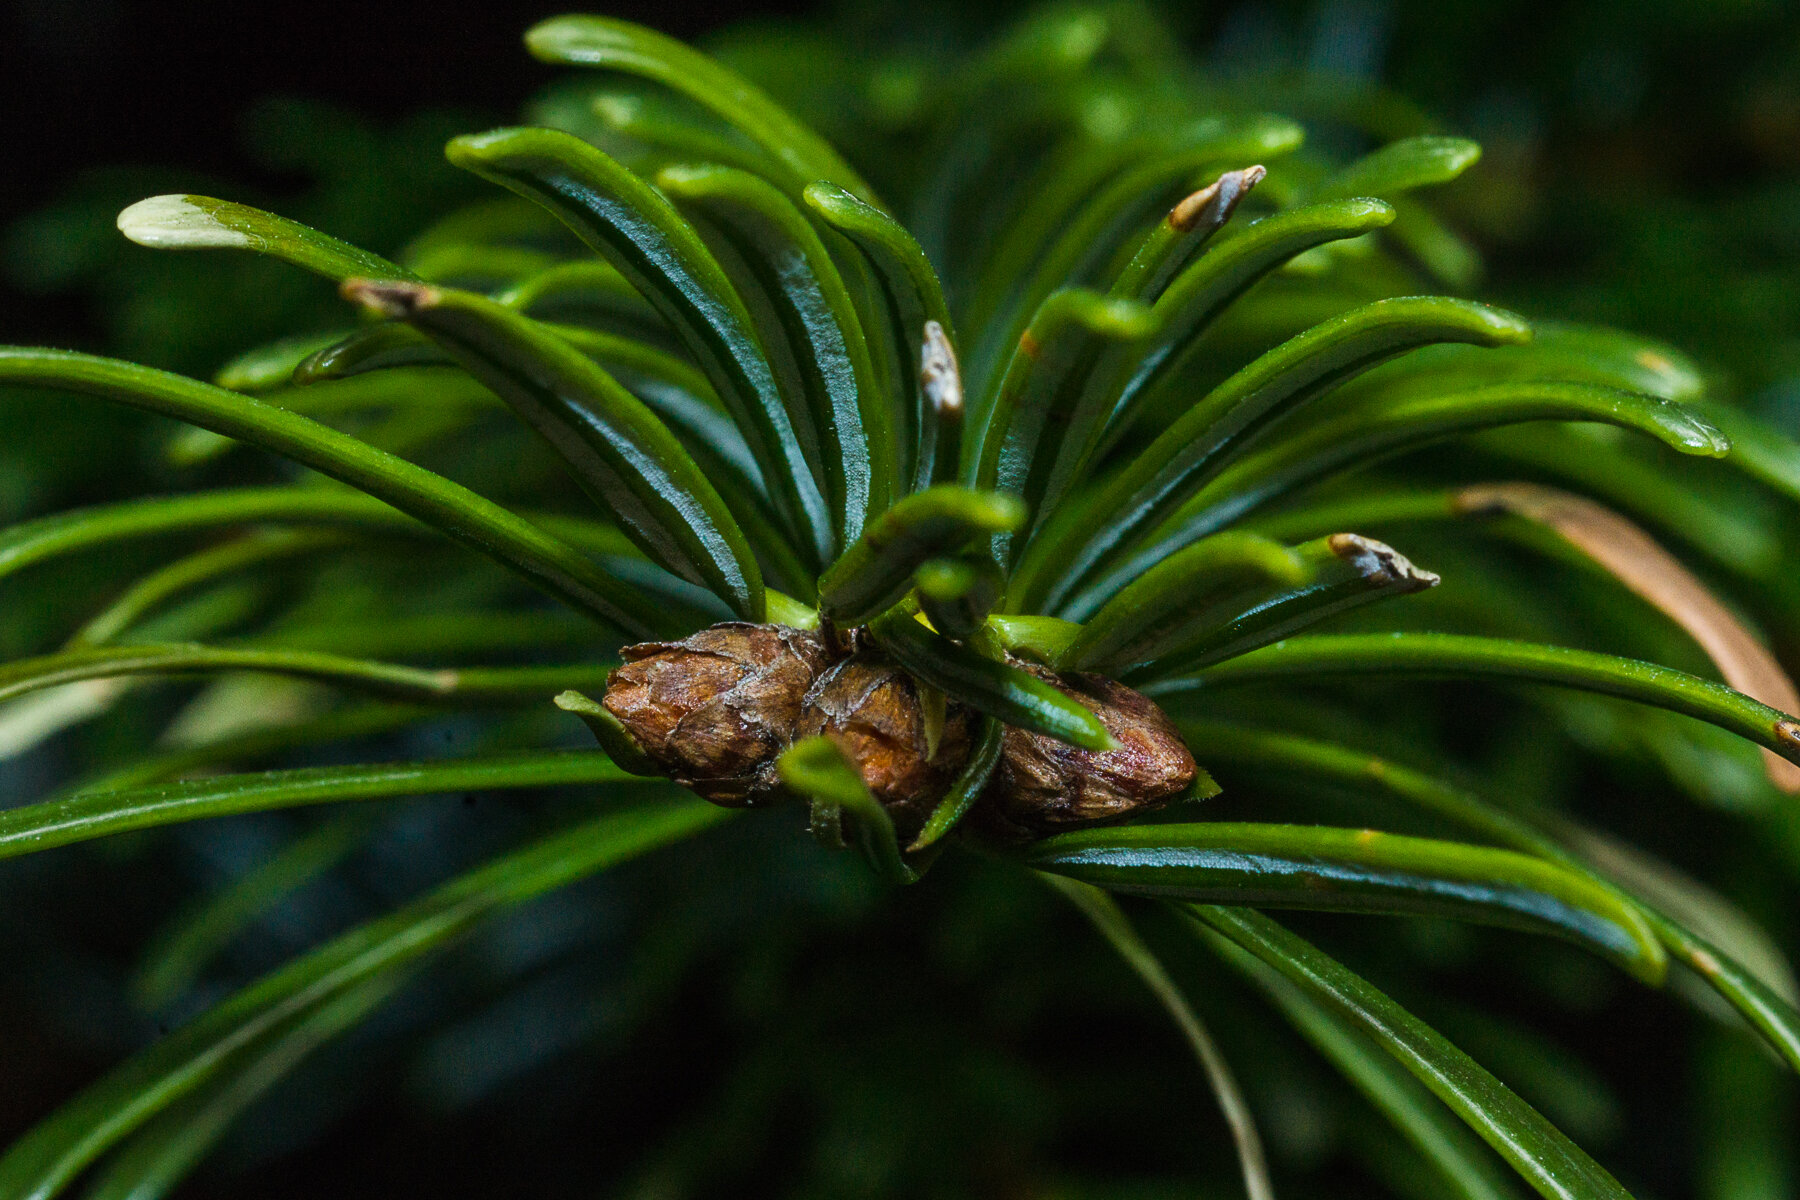
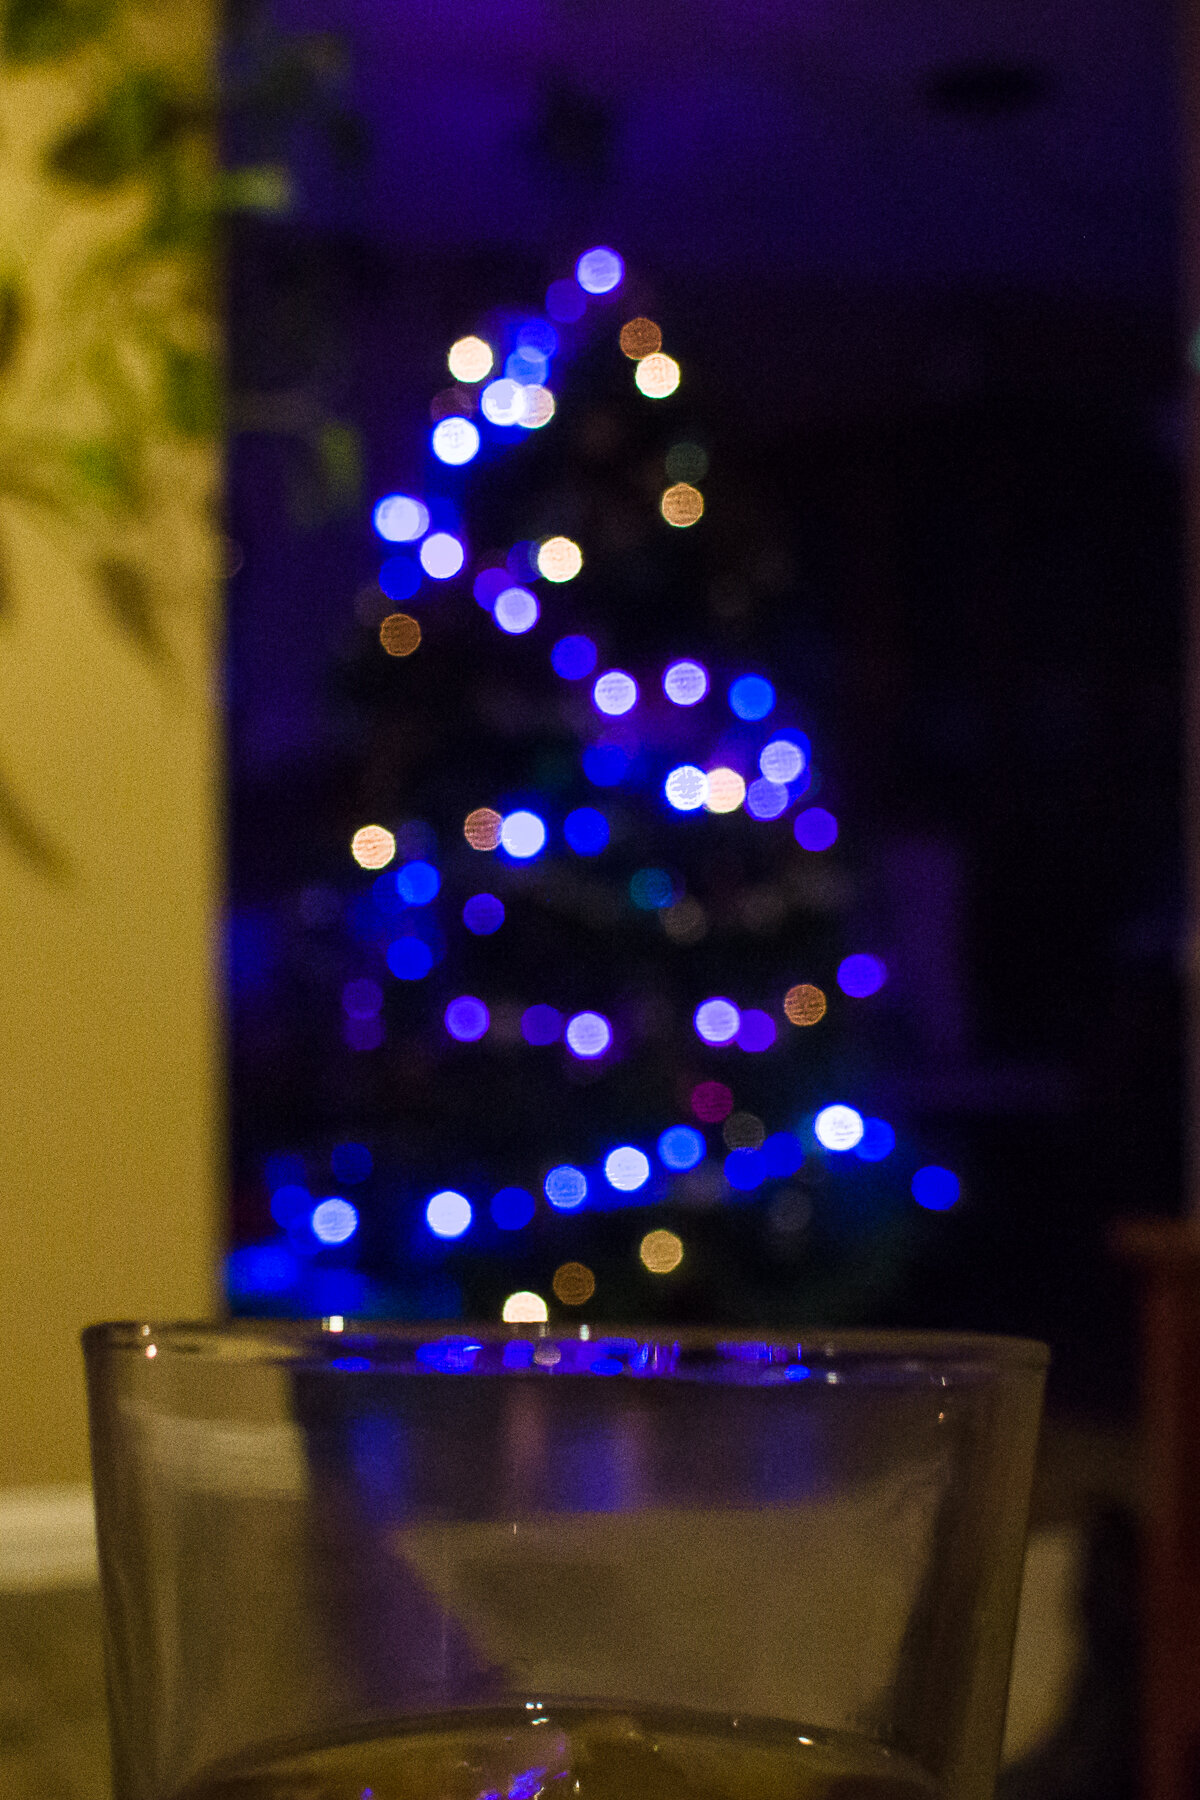
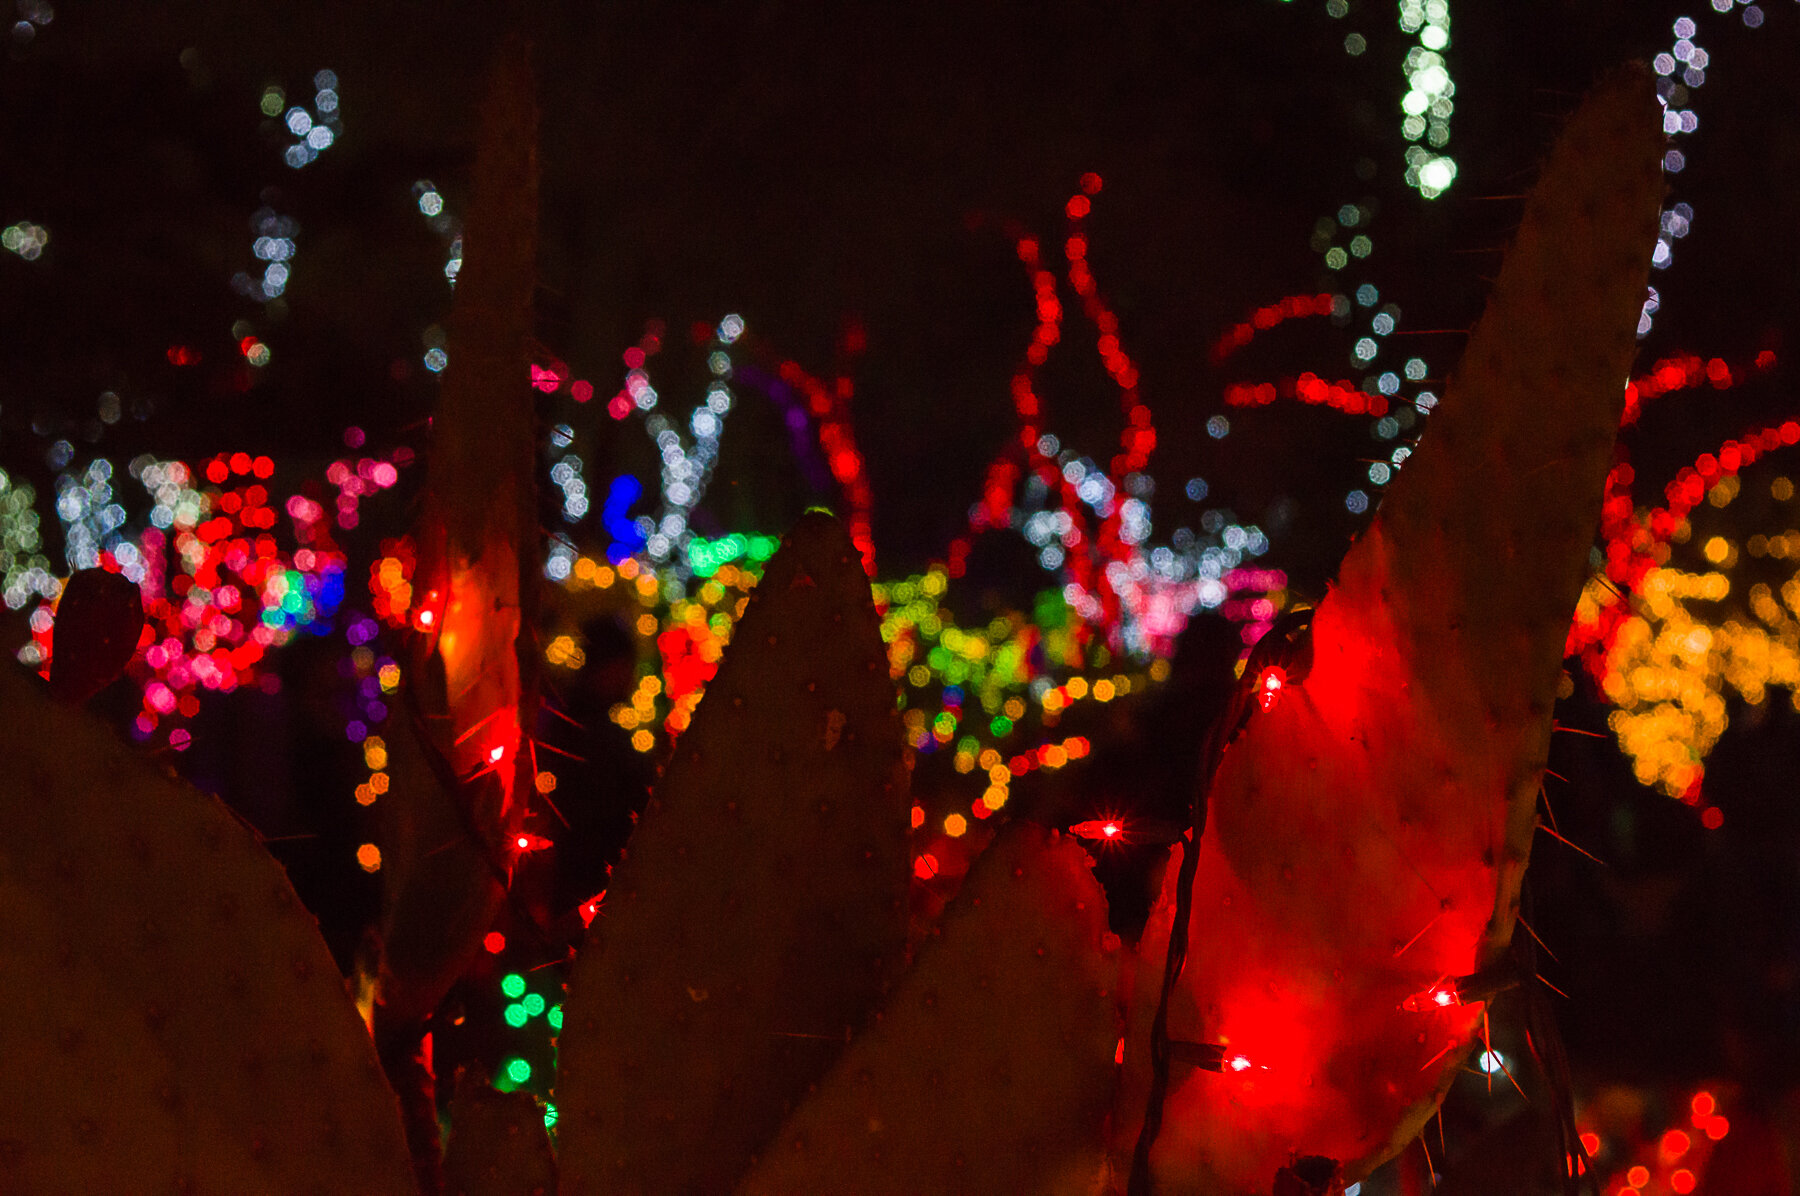
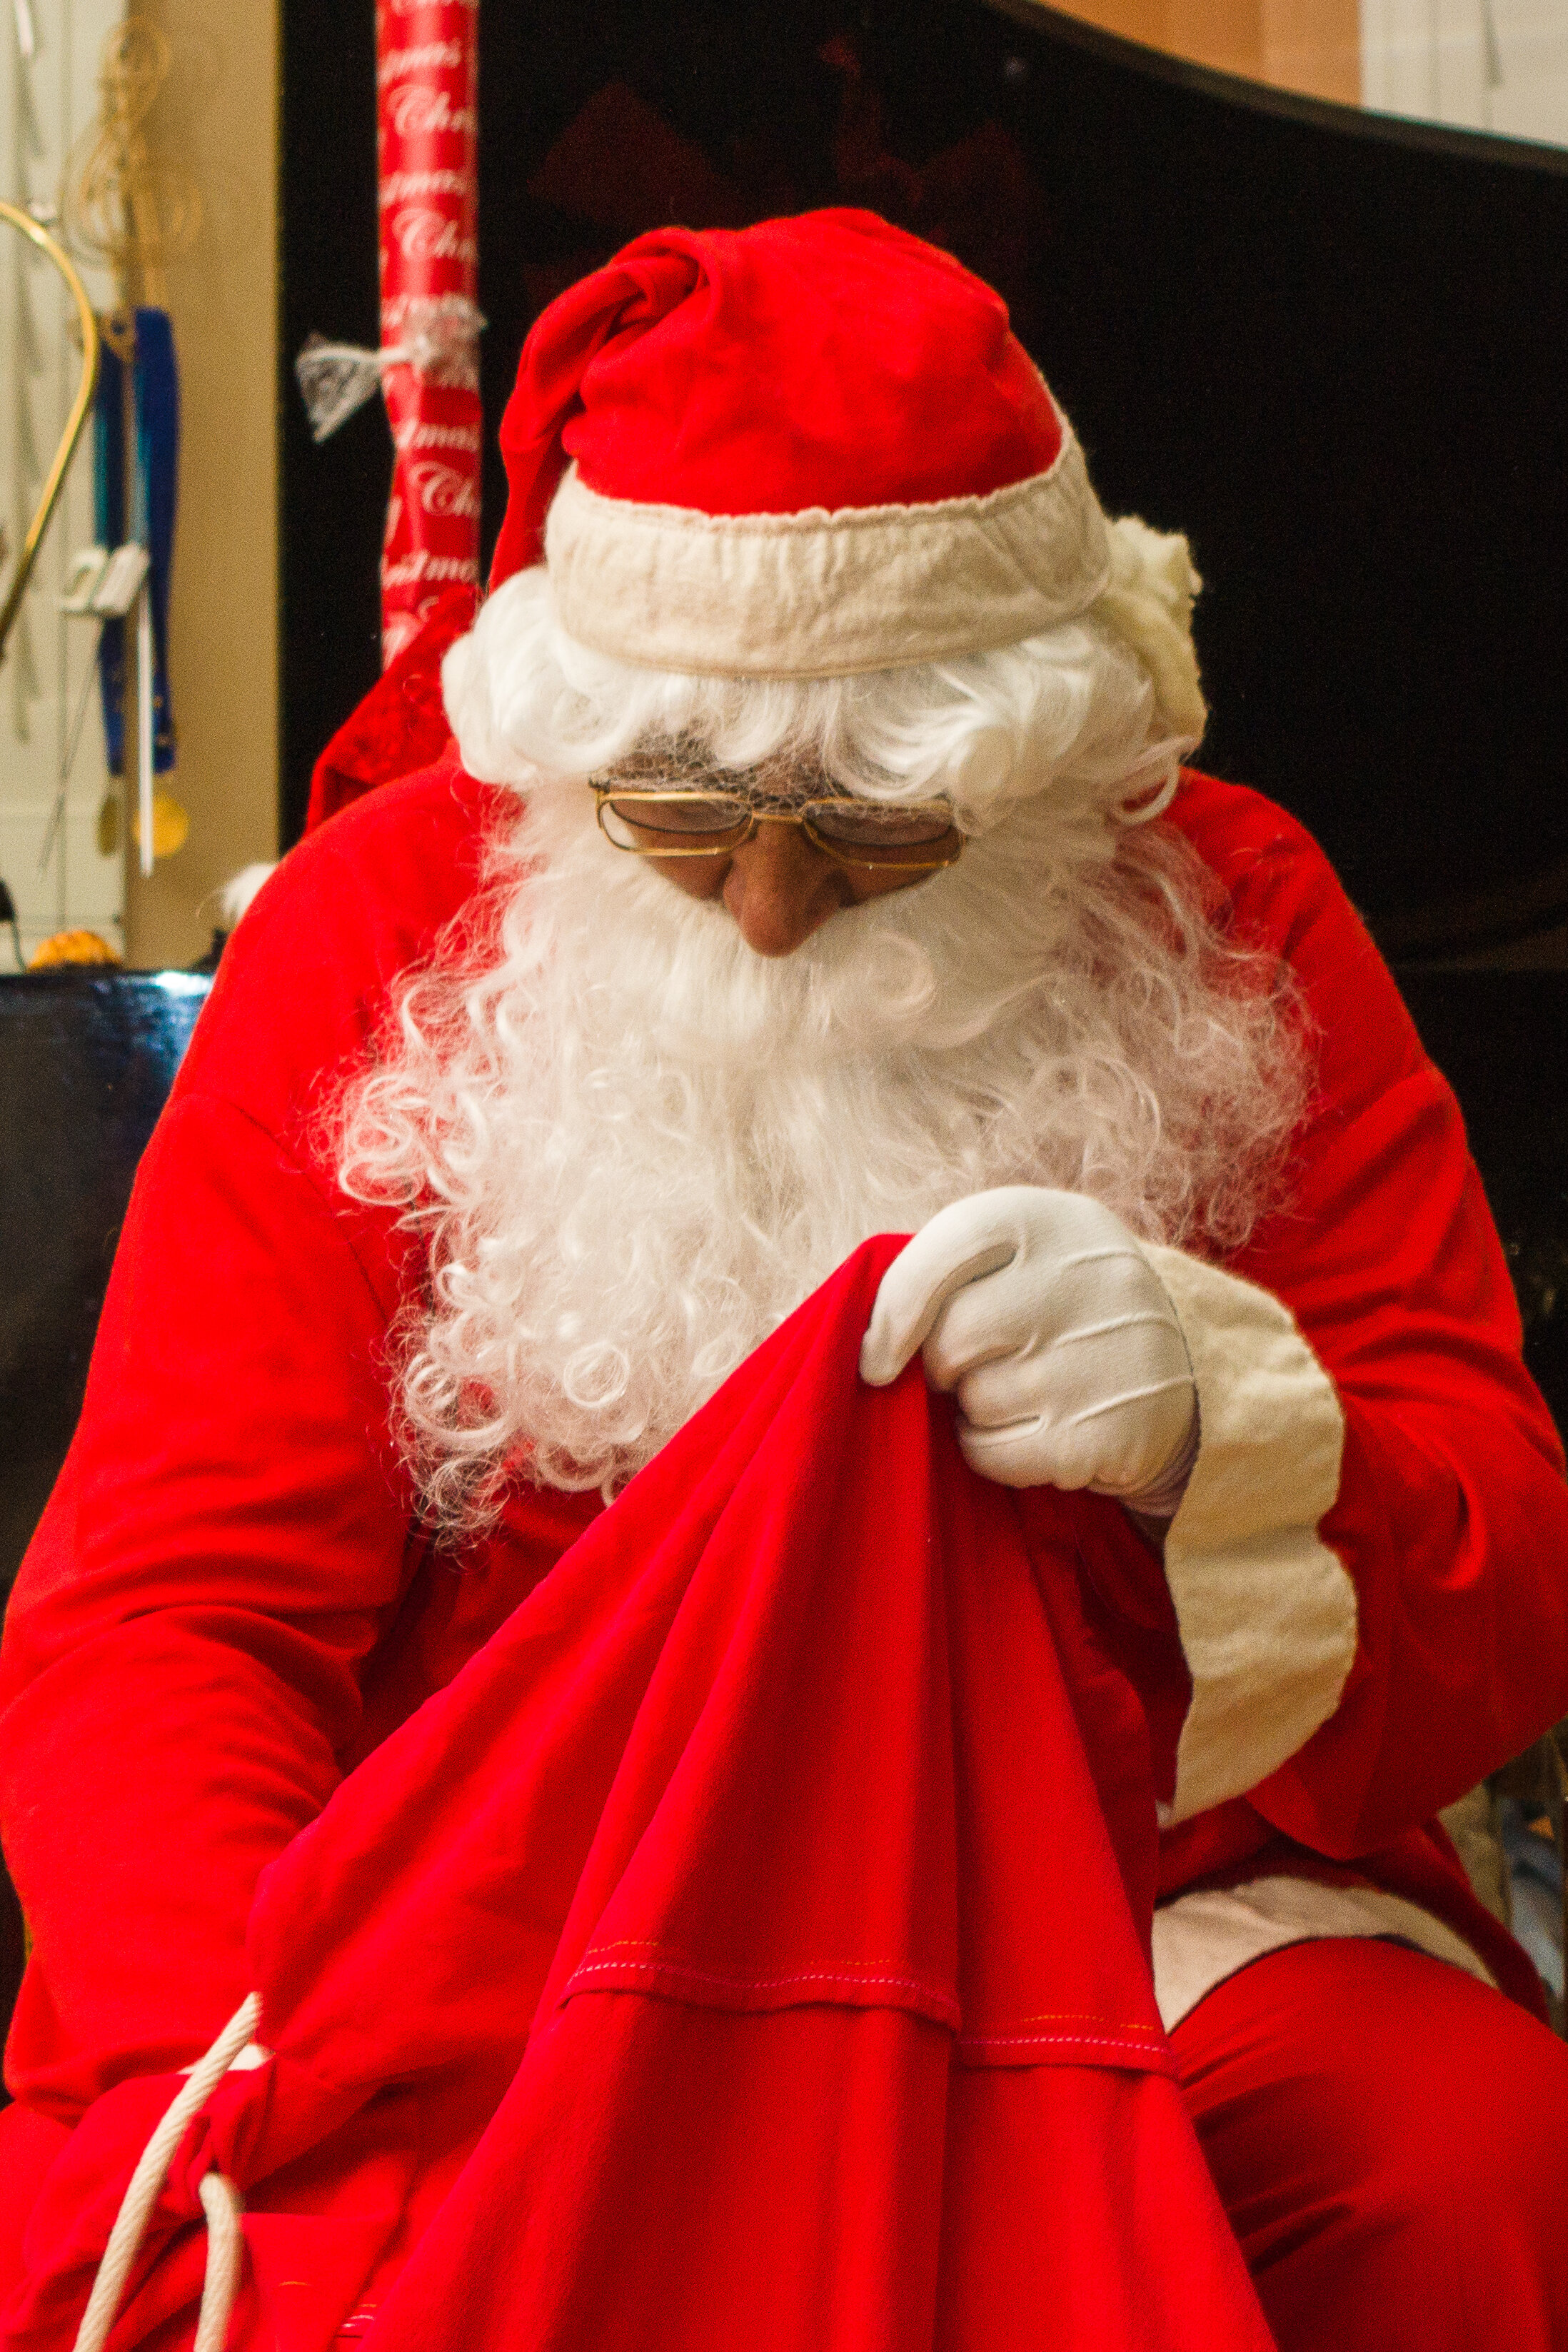
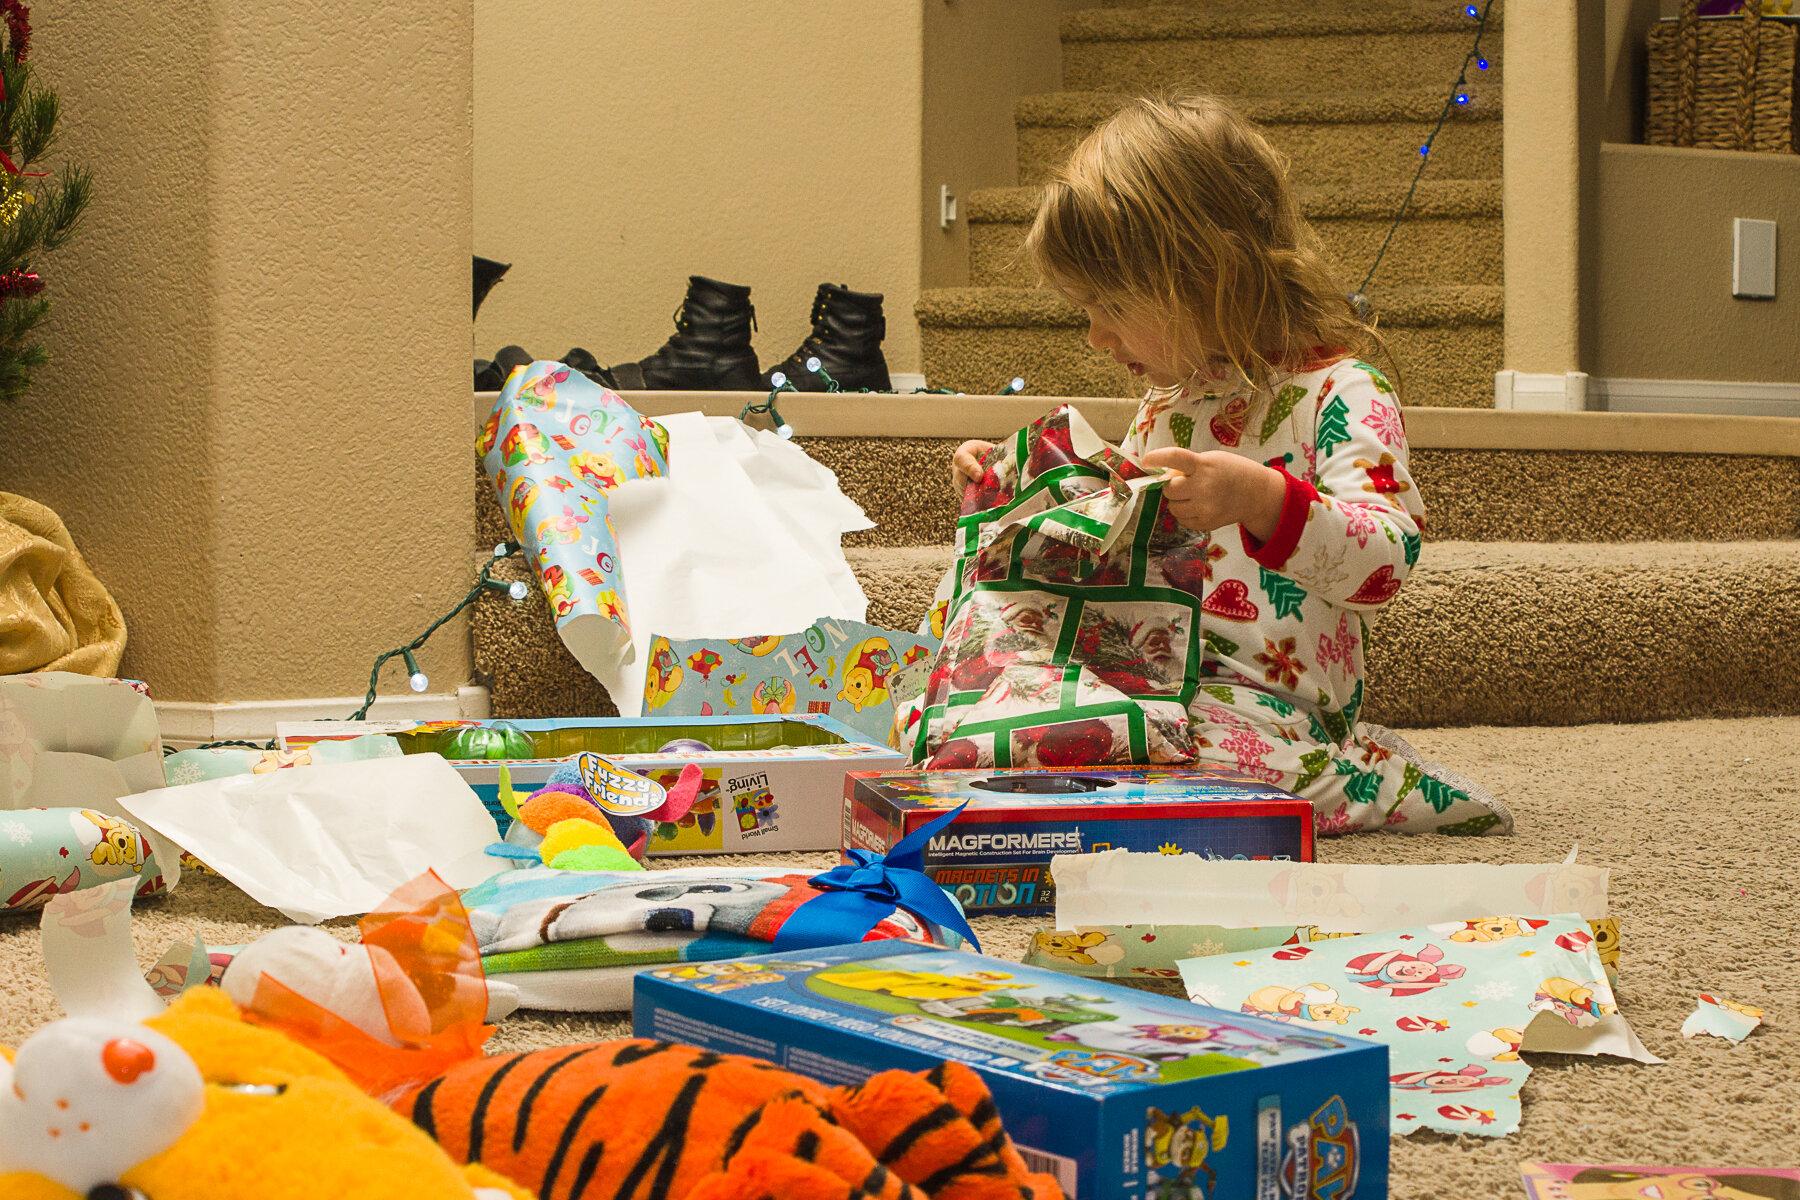
The first month was just taking pictures of my kids like I would do regularly without the 365. The next month I was taking pictures of plants and my garden in different ways which wasn’t abnormal either. The water month was a little trickier, you can only do so many water drop pictures and I live in a desert. Sky was alright, I picked it though because there was a lunar eclipse and a meteor shower during April. Las Vegas also gets some nice sunsets and sunrises too. Macro was easy because I had recently got a macro lens so I had a month of being forced to play with it. The food month was a little interesting and challenging because I had not ever been a person to photograph my food. I became one though and took some decent images. Animals weren’t bad or good because it was something I was familiar with already. The ‘scapes was fun because I enjoy taking landscapes and waterscapes. By now I was truly invested and having fun so I added a manscaping and escaping picture into the mix to throw people off. The B&W month presented some challenges because I didn’t really shoot in black and white. I learned some things like needing to have a decent contrast and the image story being told without color for effect. Some were good some, I even have one framed in the house, and some weren’t which I didn’t frame. I definitely learned during the flash month. I did a little with flash at the time and it was usually a similar set up. I had to learn new techniques to keep it interesting. The suggestions month was all over the place which kept it interesting. The holidays were fun because I knew the end was near and it was the holidays so there was always something to capture.

All in all it was fun. The hardest part was trying to get pictures edited and uploaded by midnight local time and just starting it. I learned a bit from it and the project challenged me. I recommend that most photographers do one for themselves.

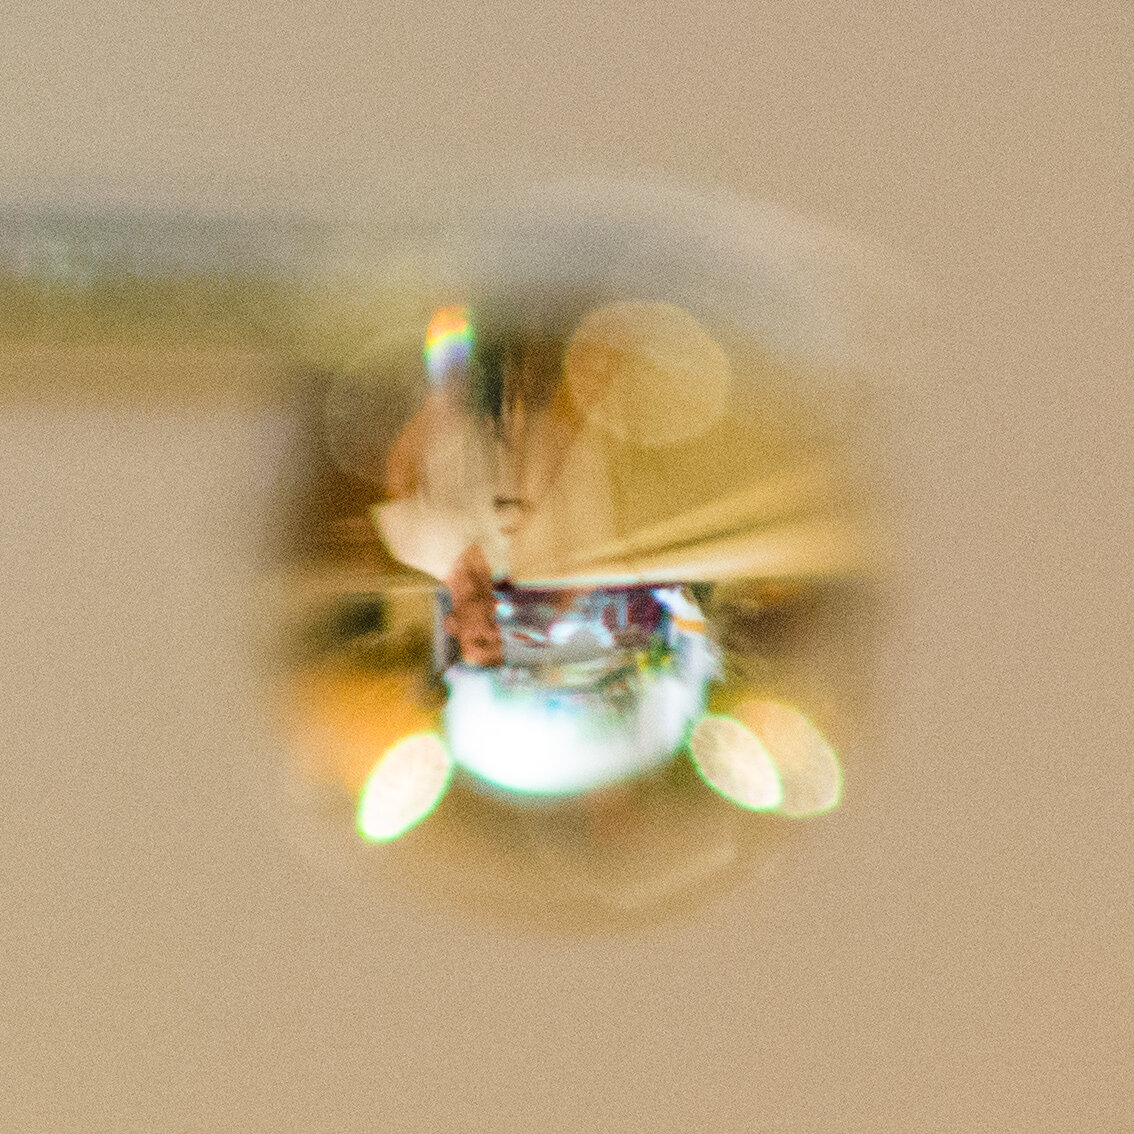
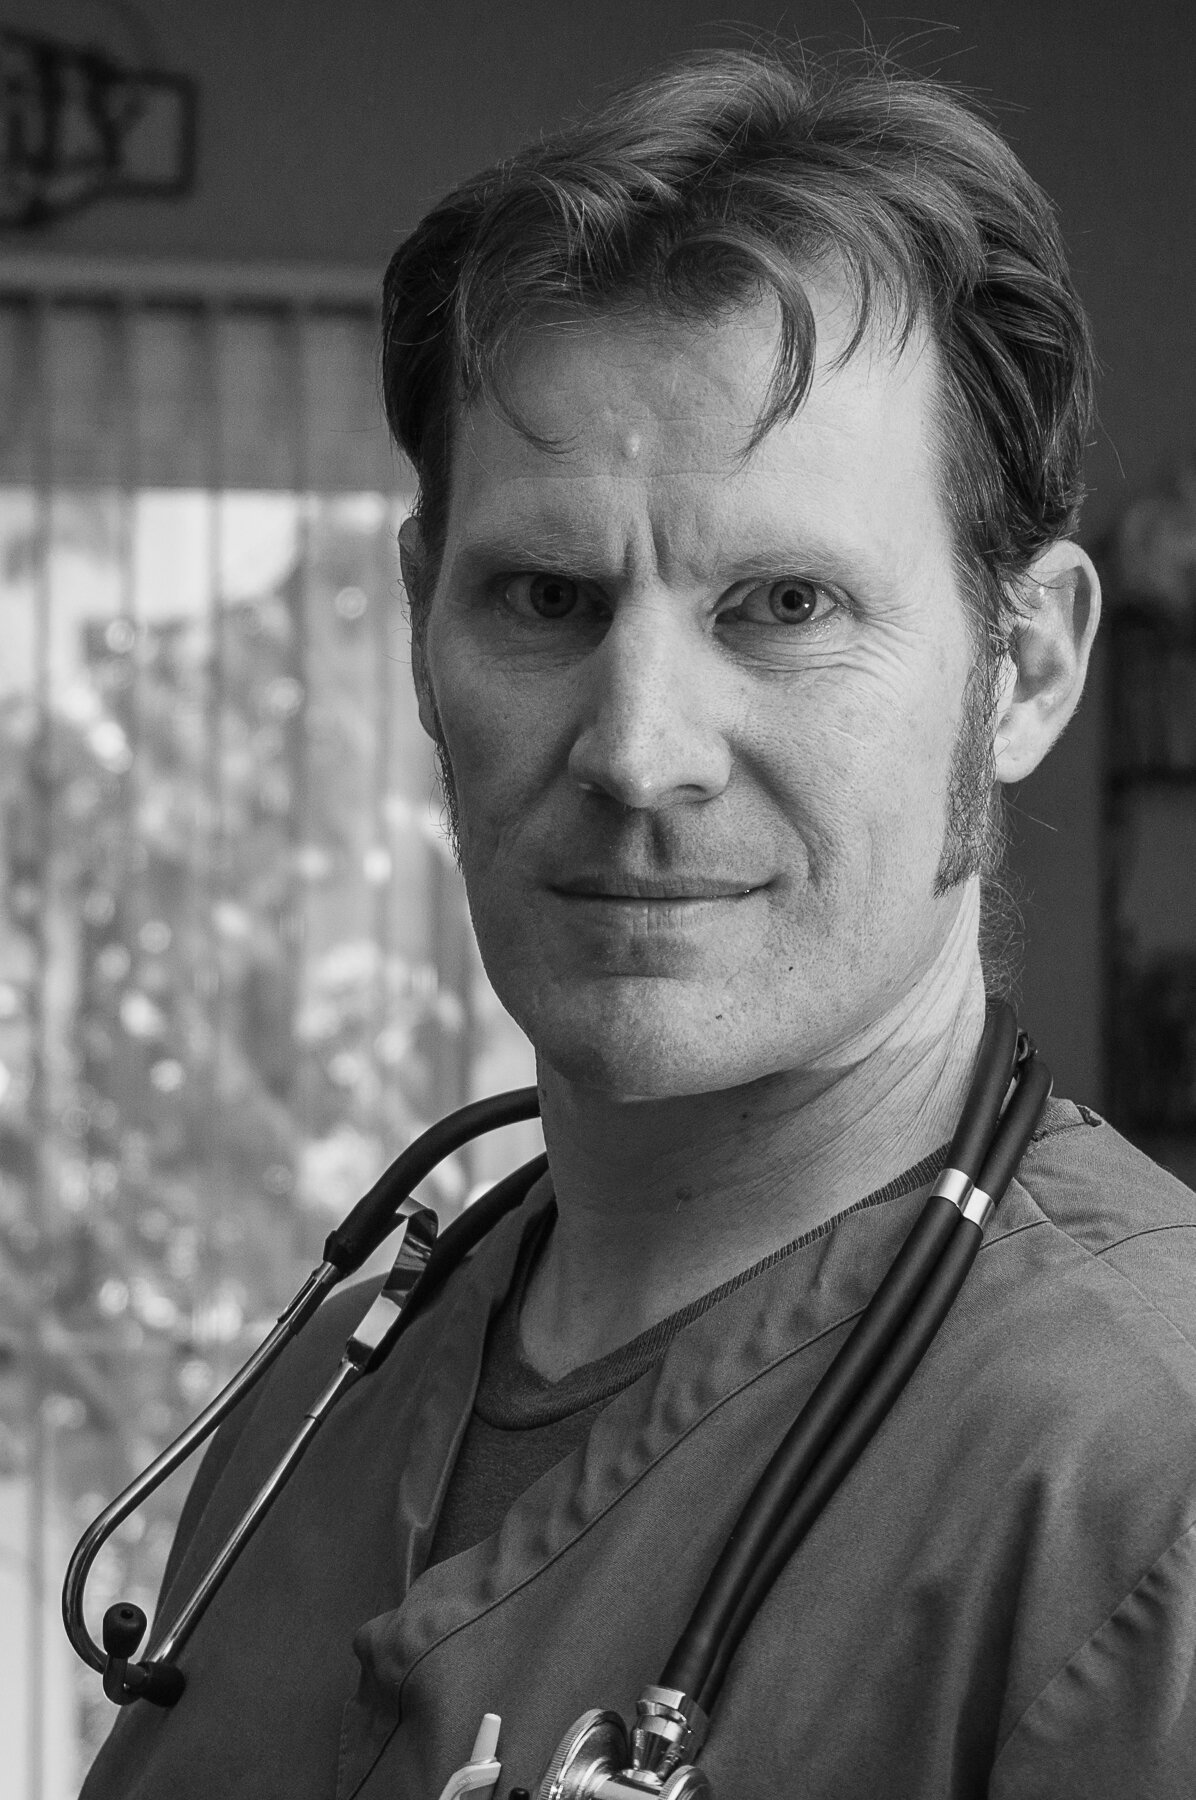
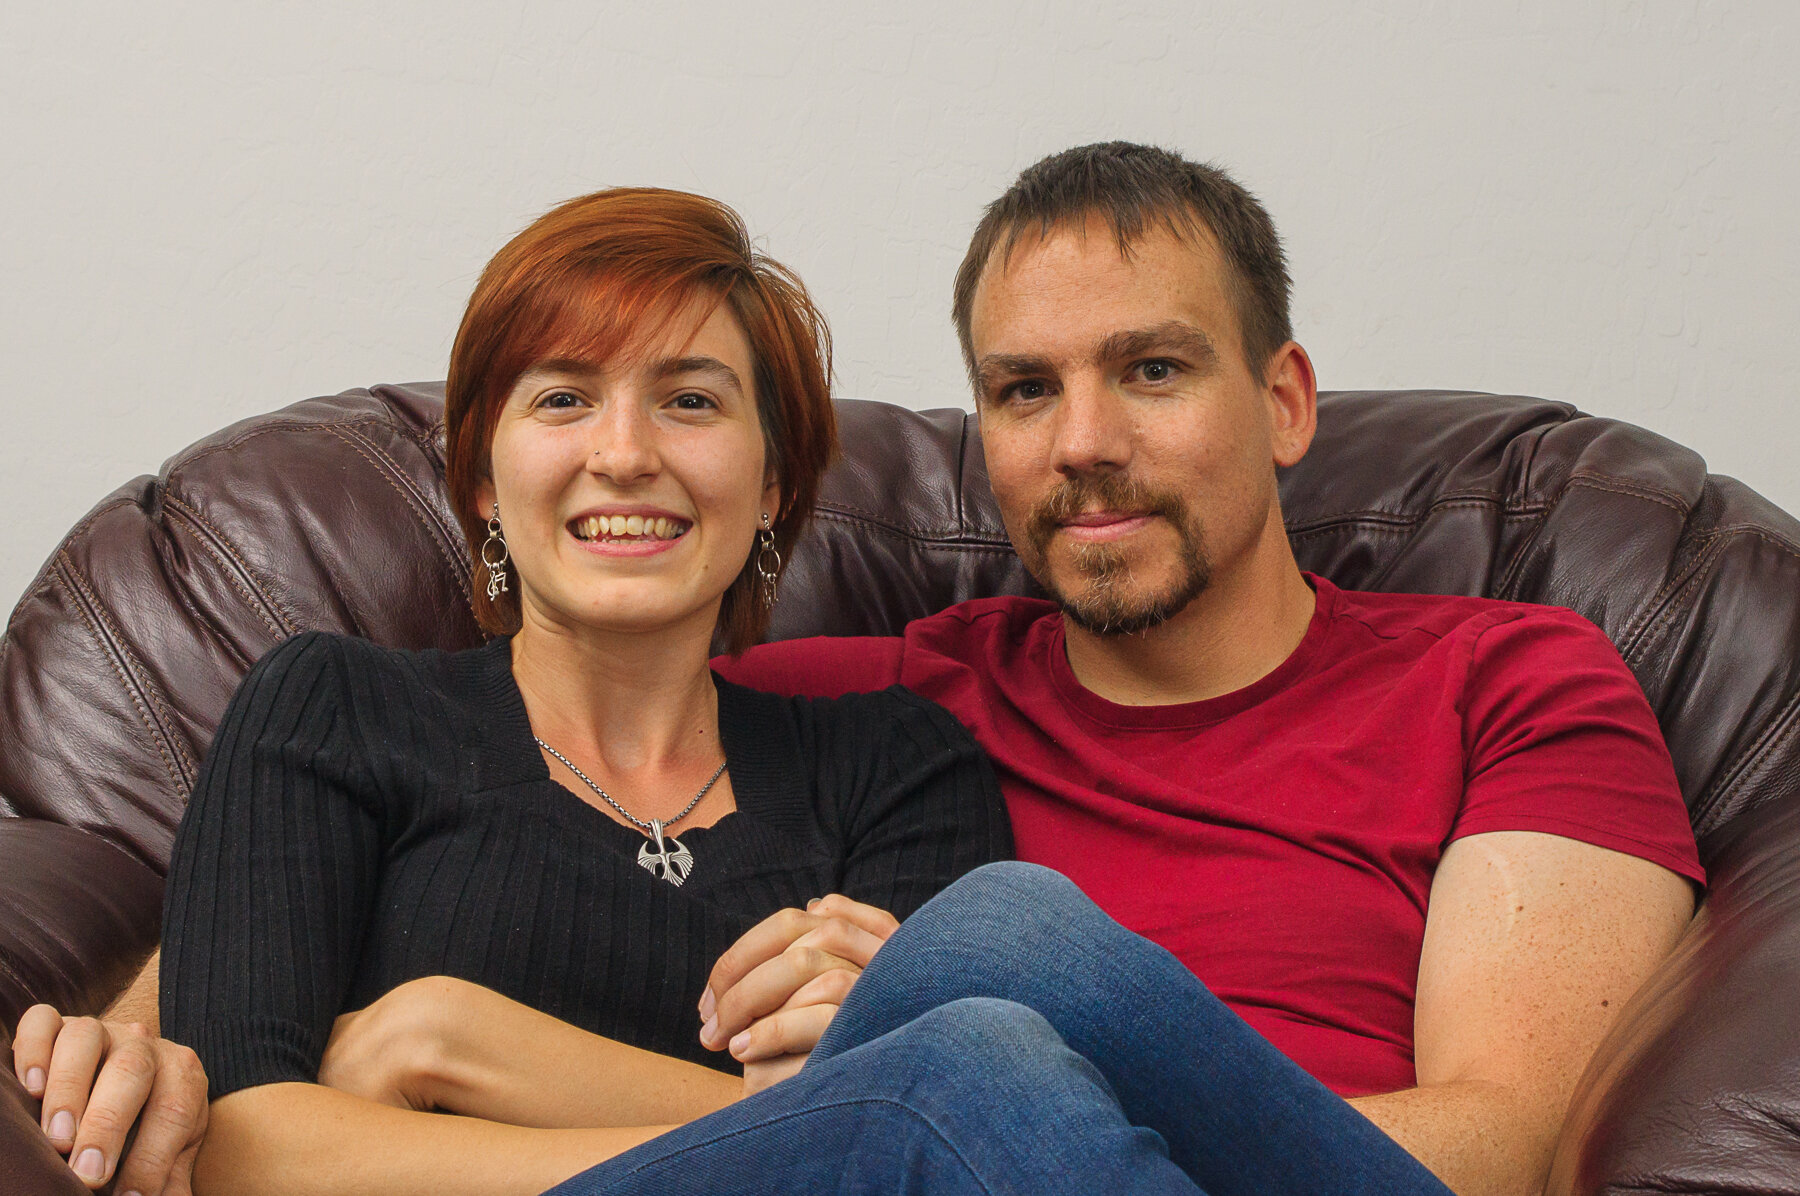
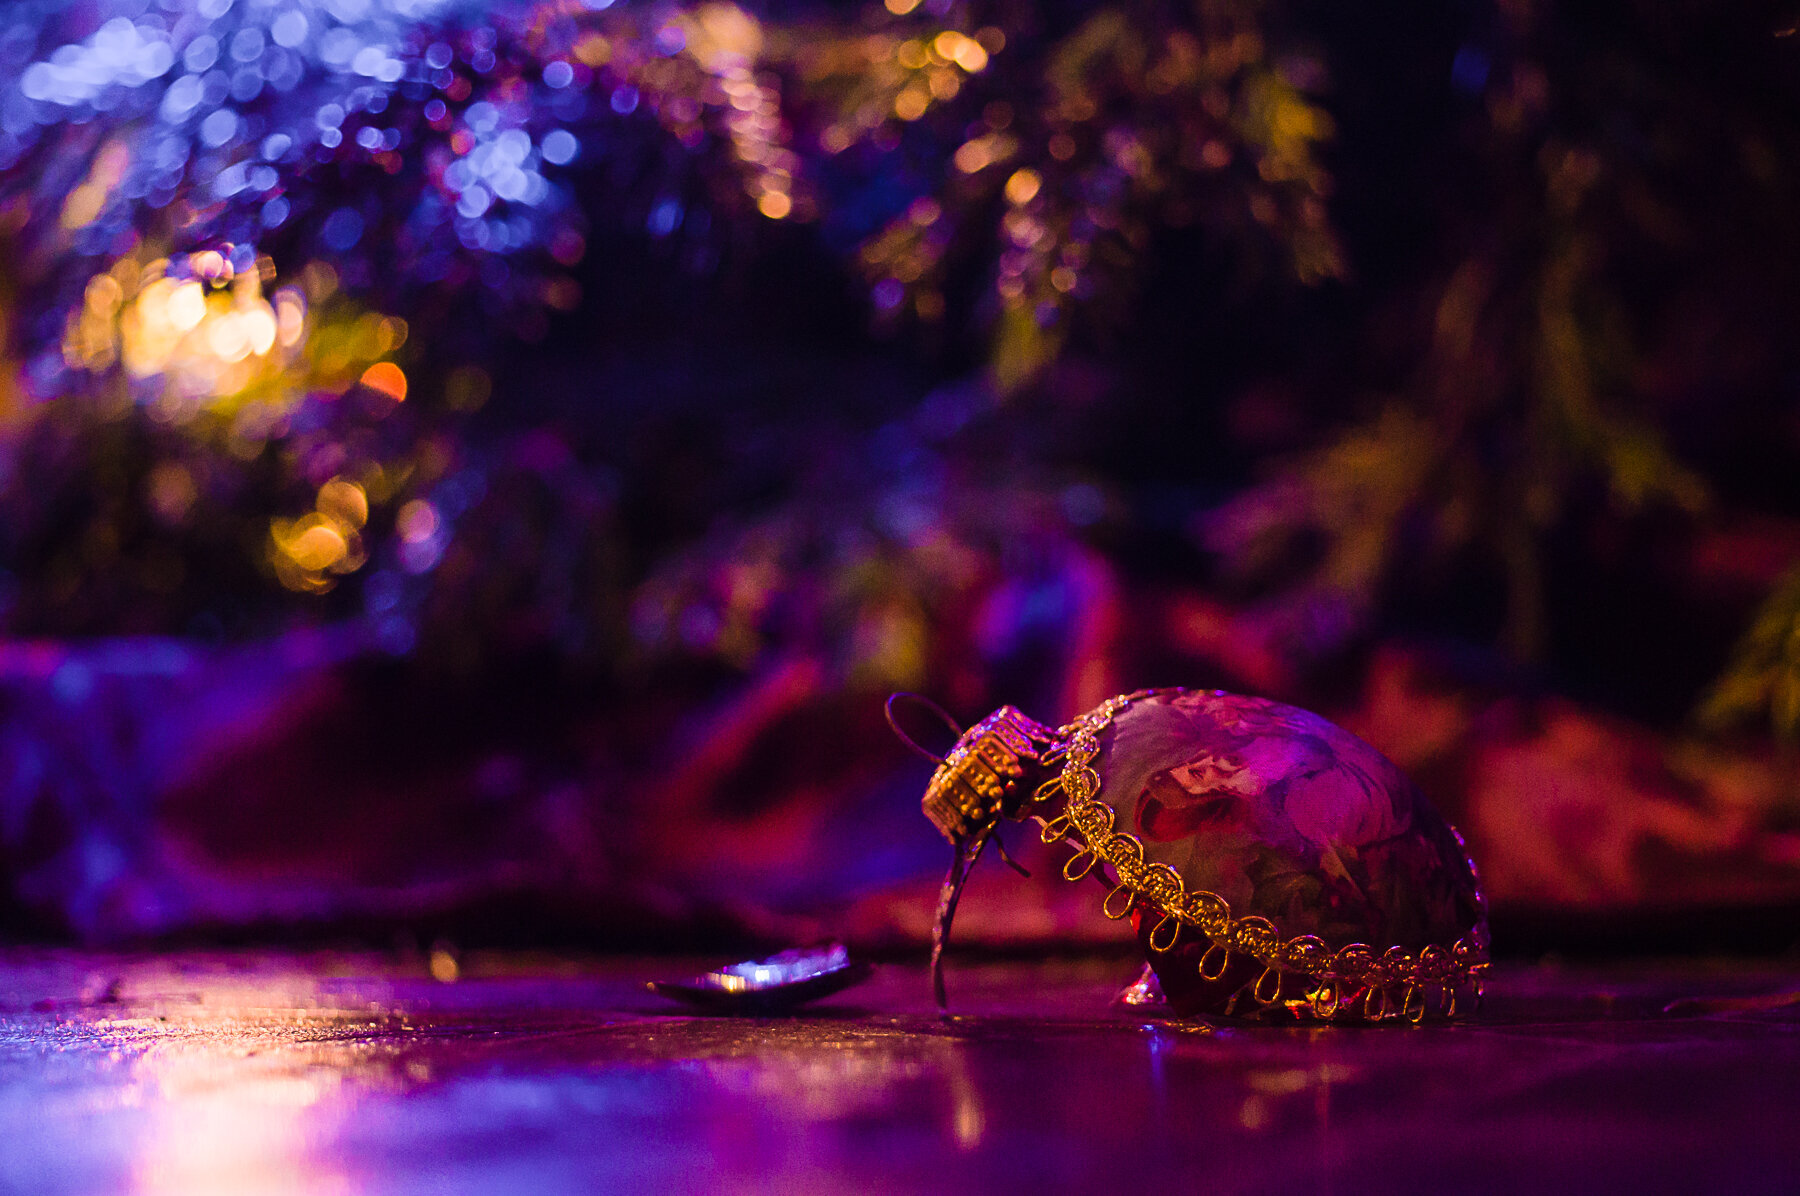
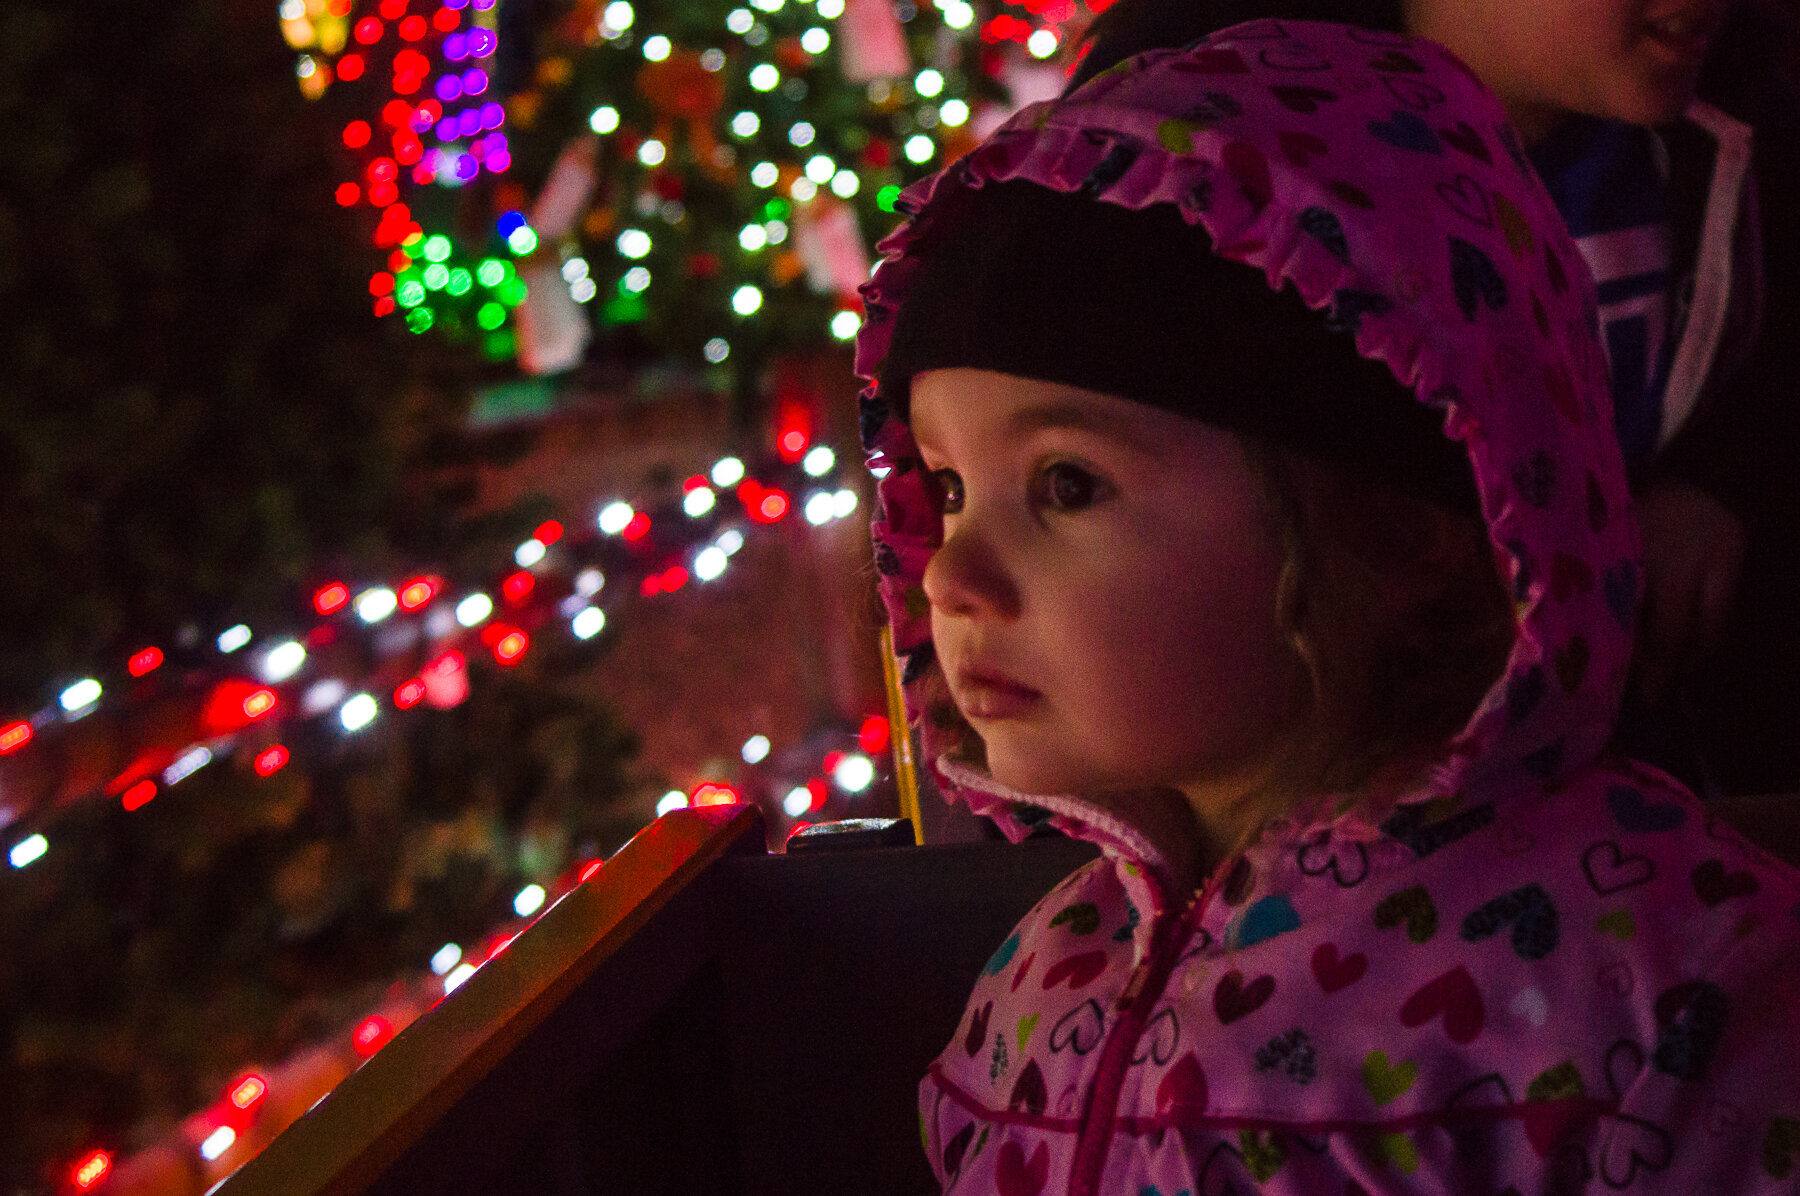
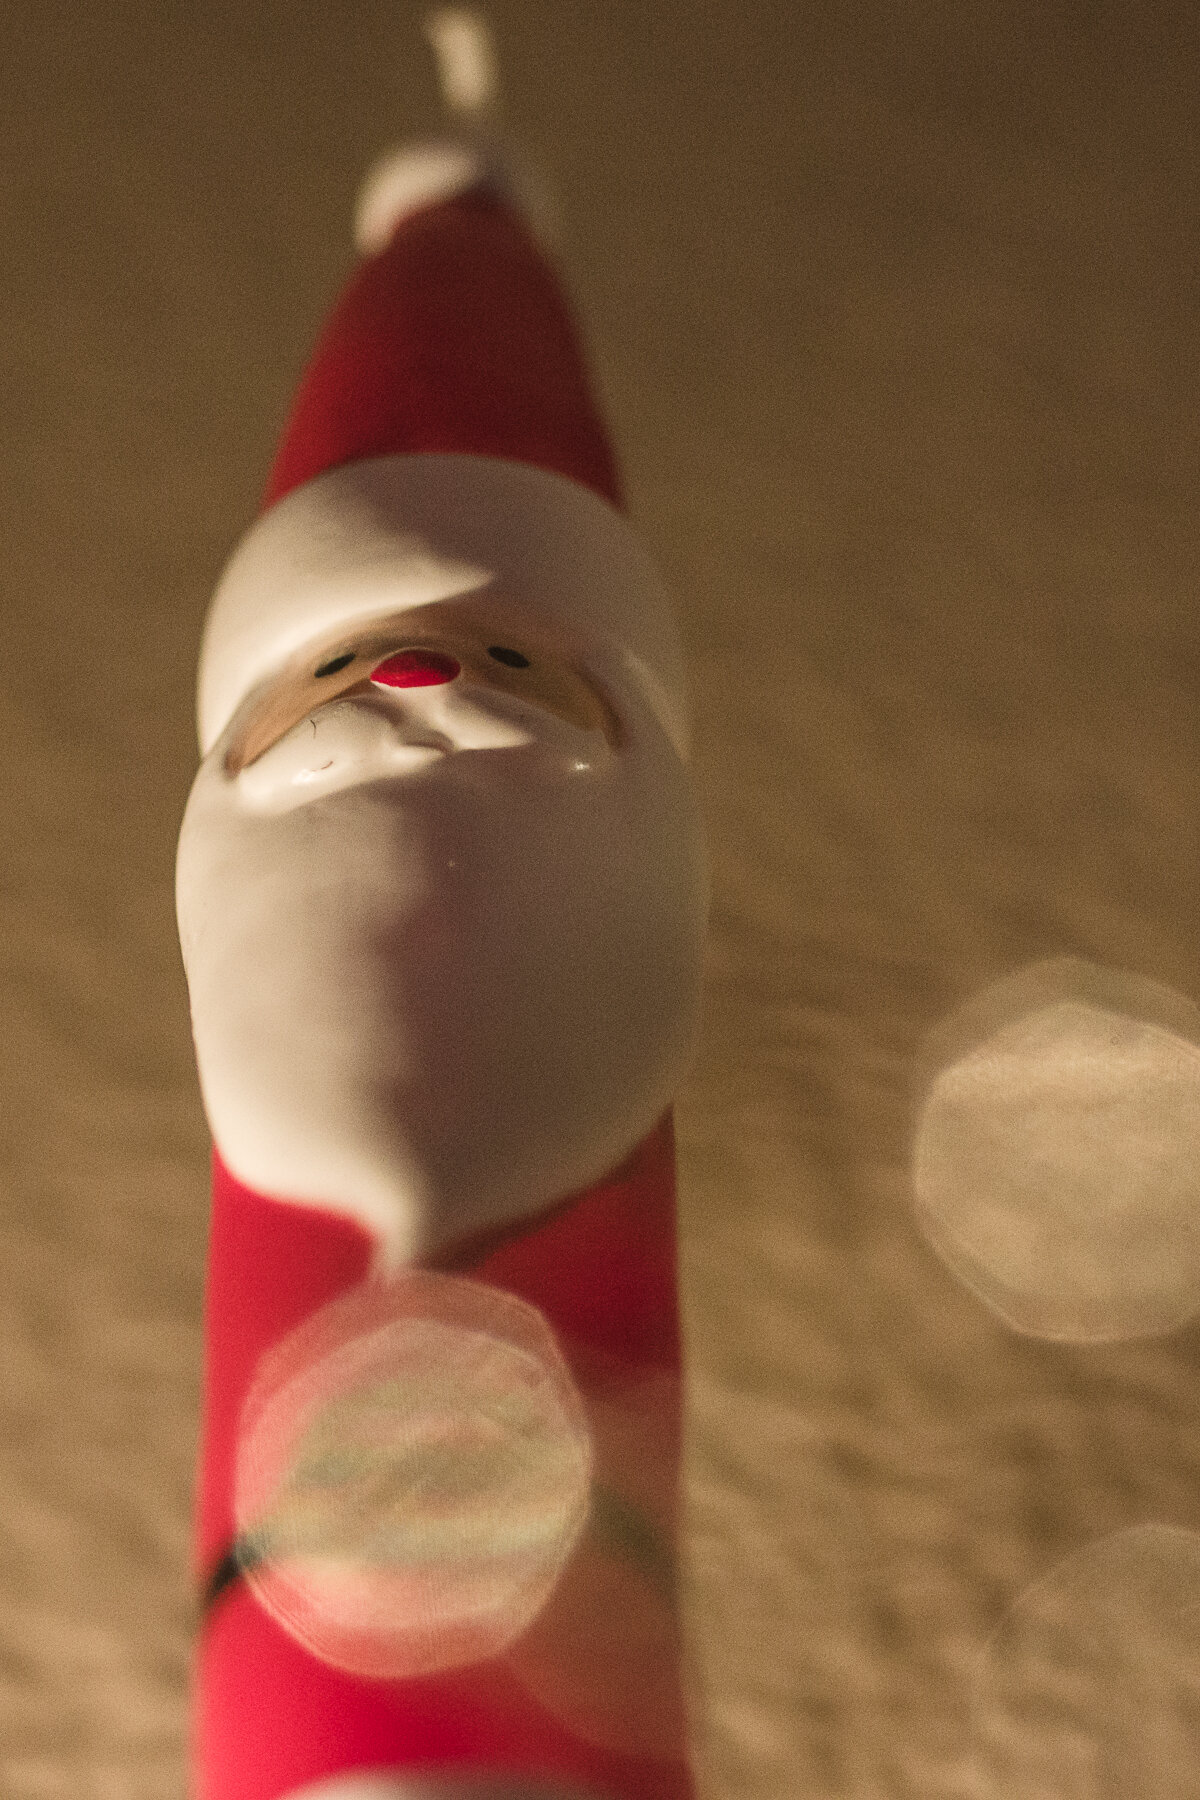
Below are the months in order it might not be in the order that the pictures were taken. I am too tired to make corrections to the order. I just realized that the portrait shots get cropped in here. I have the whole folder at https://www.deviantart.com/gonzo13 if you want to see bigger and complete images. There is also a 13th slide show that has all of the portrait orientation images. I excluded the square ones because I felt they were represented enough in the original slideshows.

001.jpg
002.jpg
003.jpg
004.jpg
005.jpg
006.jpg
007.jpg
008.jpg
009.jpg
010.jpg
011.jpg
012.jpg
013.jpg
014.jpg
015.jpg
016.jpg
017.jpg
018.jpg
019.jpg
020.jpg
021.jpg
022.jpg
023.jpg
024.jpg
025.jpg
026.jpg
027.jpg
028.jpg
029.jpg
030.jpg
031.jpg
032.jpg
033.jpg
034.jpg
035.jpg
036.jpg
037.jpg
038.jpg
039.jpg
040.jpg
041.jpg
042.jpg
043.jpg
044.jpg
045.jpg
046.jpg
047.jpg
048.jpg
049.jpg
050.jpg
051.jpg
052.jpg
053.jpg
054.jpg
055.jpg
056.jpg
057.jpg
058.jpg
059.jpg
060.jpg
061.jpg
062.jpg
063.jpg
064.jpg
065.jpg
066.jpg
067.jpg
068.jpg
069.jpg
070.jpg
071.jpg
072.jpg
073.jpg
074.jpg
075.jpg
076.jpg
077.jpg
078.jpg
079.jpg
080.jpg
081.jpg
082.jpg
083.jpg
084.jpg
085.jpg
086.jpg
087.jpg
088.jpg
089.jpg
090.jpg
091.jpg
092.jpg
093.jpg
094.jpg
095.jpg
096.jpg
097.jpg
098.jpg
099.jpg
100.jpg
101.jpg
102.jpg
103.jpg
104.jpg
105.jpg
106.jpg
107.jpg
108.jpg
109.jpg
110.jpg
111.jpg
112.jpg
113.jpg
114.jpg
115.jpg
116.jpg
117.jpg
118.jpg
119.jpg
120.jpg
121.jpg
122.jpg
123.jpg
124.jpg
125.jpg
126.jpg
127.jpg
128.jpg
129.jpg
130.jpg
131.jpg
132.jpg
133.jpg
134.jpg
135.jpg
136.jpg
137.jpg
138.jpg
139.jpg
140.jpg
141.jpg
142.jpg
143.jpg
144.jpg
145.jpg
146.jpg
147.jpg
148.jpg
149.jpg
150.jpg
151.jpg
152.jpg
153.jpg
154.jpg
155.jpg
156.jpg
157.jpg
158.jpg
159.jpg
160.jpg
161.jpg
162.jpg
163.jpg
164.jpg
165.jpg
166.jpg
167.jpg
168.jpg
169.jpg
170.jpg
171.jpg
172.jpg
173.jpg
174.jpg
175.jpg
176.jpg
177.jpg
178.jpg
179.jpg
180.jpg
181.jpg
182.jpg
183.jpg
184.jpg
185.jpg
186.jpg
187.jpg
188.jpg
189.jpg
190.jpg
191.jpg
192.jpg
193.jpg
194.jpg
195.jpg
196.jpg
197.jpg
198.jpg
199.jpg
200.jpg
201.jpg
202.jpg
203.jpg
204.jpg
205.jpg
206.jpg
207.jpg
208.jpg
209.jpg
210.jpg
211.jpg
212.jpg
213.jpg
214.jpg
215.jpg
216.jpg
217.jpg
218.jpg
219.jpg
220.jpg
221.jpg
222.jpg
223.jpg
224.jpg
225.jpg
226.jpg
227.jpg
228.jpg
229.jpg
230.jpg
231.jpg
232.jpg
233.jpg
234.jpg
235.jpg
236.jpg
237.jpg
238.jpg
239.jpg
240.jpg
241.jpg
242.jpg
243.jpg
244.jpg
245.jpg
246.jpg
247.jpg
248.jpg
249.jpg
250.jpg
251.jpg
252.jpg
253.jpg
254.jpg
255.jpg
256.jpg
257.jpg
258.jpg
259.jpg
260.jpg
261.jpg
262.jpg
263.jpg
264.jpg
265.jpg
266.jpg
267.jpg
268.jpg
269.jpg
270.jpg
271.jpg
272.jpg
273.jpg
274.jpg
275.jpg
276.jpg
277.jpg
278.jpg
279.jpg
280.jpg
281.jpg
282.jpg
283.jpg
284.jpg
285.jpg
286.jpg
287.jpg
288.jpg
289.jpg
290.jpg
291.jpg
292.jpg
293.jpg
294.jpg
295.jpg
296.jpg
297.jpg
298.jpg
299.jpg
300.jpg
301.jpg
302.jpg
303.jpg
304.jpg
305.jpg
306.jpg
307.jpg
308.jpg
309.jpg
310.jpg
311.jpg
312.jpg
313.jpg
314.jpg
315.jpg
316.jpg
317.jpg
318.jpg
319.jpg
320.jpg
321.jpg
322.jpg
323.jpg
324.jpg
325.jpg
326.jpg
327.jpg
328.jpg
329.jpg
330.jpg
331.jpg
332.jpg
333.jpg
334.jpg
335.jpg
336.jpg
337.jpg
338.jpg
339.jpg
340.jpg
341.jpg
342.jpg
343.jpg
344.jpg
345.jpg
346.jpg
347.jpg
348.jpg
349.jpg
350.jpg
351.jpg
352.jpg
353.jpg
354.jpg
355.jpg
356.jpg
357.jpg
358.jpg
359.jpg
360.jpg
361.jpg
362.jpg
363.jpg
364.jpg
365.jpg

I hope you enjoyed my 365. I enjoyed doing it for the most part, there were some days where I didn’t but pushed through anyway. If you have done one share a link in the comments.

~Scott

001.jpg
004.jpg
005.jpg
007.jpg
008.jpg
010.jpg
017.jpg
019.jpg
021.jpg
028.jpg
029.jpg
031.jpg
033.jpg
038.jpg
041.jpg
042.jpg
045.jpg
048.jpg
049.jpg
050.jpg
053.jpg
054.jpg
055.jpg
057.jpg
058.jpg
061.jpg
068.jpg
069.jpg
077.jpg
081.jpg
085.jpg
091.jpg
096.jpg
097.jpg
101.jpg
109.jpg
114.jpg
123.jpg
137.jpg
153.jpg
161.jpg
163.jpg
166.jpg
169.jpg
171.jpg
172.jpg
174.jpg
176.jpg
177.jpg
180.jpg
181.jpg
188.jpg
207.jpg
214.jpg
216.jpg
217.jpg
227.jpg
230.jpg
238.jpg
240.jpg
245.jpg
247.jpg
249.jpg
250.jpg
252.jpg
261.jpg
263.jpg
265.jpg
278.jpg
285.jpg
290.jpg
291.jpg
294.jpg
299.jpg
318.jpg
322.jpg
325.jpg
329.jpg
338.jpg
340.jpg
350.jpg
352.jpg
354.jpg
355.jpg
358.jpg
363.jpg
365.jpg
tags: 365, experiene, experiment
Thursday 11.07.19
Posted by Scott W Gonzalez
 

Light Pollution

Hello again,

So a question came up while talking about photographing the Milky Way. It was basically can the Milky Way be photographed when it can’t be seen because of city lights. My response was no because of the light pollution. I never really tried though so while going out of town to get some Milky Way images I decided to see what the images would look like to have my own proof to my statement. So I live in Las Vegas which is a pretty bright place with the strongest beam of light in the world coming from the Luxor on top of all the other lights coming from the Strip, Downtown, and the surrounding city. It is the biggest light polluter in the state of Nevada, with the help of a few smaller cities it ruins the night sky for most of Clark County going past the borders of neighboring states. So I was going to Big Dune which is about 2 hours away from where I live just South of Las Vegas. I made some stops and took some pictures with settings that I have used to capture the Milky Way.

All of these images were taken with the same settings 10 seconds, f2.8, iso 1600, 28mm and facing roughly South.

_DSC5764.jpg
_DSC5767.jpg
_DSC5770.jpg
_DSC5773.jpg

The first image was taken from an overpass roughly 15 miles from the center of the city some stars can be seen but the lights over power most of it. It picked up more stars than I could make out with my eyes though.

The second image was 10 miles later or 25 miles from the center of the city. It was actually facing closer to south. I had time to figure it out as I wasn’t illegally parked. That 10 miles decreased the city lights quite a bit, they can still be seen though and the truck driving by didn’t change it much. I had one with no lights going through the frame and it was nearly the same but I bumped the tripod so there was camera shake.

The third image was another 15 miles later or 40 miles from the center of town. The amount of stars increased drastically by adding that distance. At this point I am still seeing the light from the city on the left of the image.

The fourth image adds another 25 miles making it 65 miles North West of the middle of Las Vegas. The main difference now is that the sky is more black. It doesn’t seem like there are many more stars noticeable to me they appear more prominent in the blacker sky though.

Here is an image taken with the same settings and processed the same. This was from about 100 miles North West of the center of Vegas in Big Dune. It was aimed more South West than South though.

Here is an image taken with the same settings and processed the same. This was from about 100 miles North West of the center of Vegas in Big Dune. It was aimed more South West than South though.

The difference between 65 miles and the 100 miles might not be that great, to me it was less interference, no cars, the quiet, being able to take my time, and again the quiet. I wasn’t going out there to take pictures of just the stars I was doing it to get the Milky Way which is processed differently. The reason the above image is South West is because of the Milky Way.

_DSC5775-2.jpg
_DSC5764-2.jpg
_DSC5767-2.jpg
_DSC5770-2.jpg
_DSC5773-2.jpg

Above is all of the images edited the same as I would for the image of the Milky Way. To me the only one that looks right like this is the one of the Milky Way. The rest the stars look altered and the rest of the lights look either way too warm or purple. I was just doing it for comparison. I hope that I gave out some worth while advice. Again I would enjoy seeing images that were helped by this in the comments.

~Scott

tags: learning, light pollution, night, sky, stars, education, editing
Monday 09.09.19
Posted by Scott W Gonzalez
 

Slumps (1 focal length)

Hello,

So this time I have another way to get around slumps. It is using just one focal length for a day or week or month. What ever length of time you want and see how creative you can get with just that focal length. The zoom becomes your feet. It is best in my opinion to use one that you don’t use often to get out of your comfort zone.

Let’s say you are a landscape photographer who usually shoots with wides or superwides. See what you can do with a 50mm or 100mm or even a 300mm. Make your brain think of different ways to do what you enjoy.

_DSC4585.jpg
_DSC4588.jpg

Above there are two pictures of the same subject at different focal lengths and about 4 minutes apart. For the wide it is at 28mm f9 0.8 seconds, the telephoto is at 90mm f10 2 seconds. Both were taken with f2.8 fixed lenses as well from roughly the same location. The waves and waterfall were the main subjects. Zoomed in the waterfall and crashing waves have a more dominant and intimate place in the image, on the wide the ocean takes over the frame and the waterfall is nearly lost. I like both of them though. From my experience most landscape photographers don’t use the middle focal lengths and they can be very beneficial.

Now if you usually shoot telephoto images such as wildlife or sports then you could do the inverse and use a wider angle lens which would allow more of the environment around the subject to play a part in the image. Using the background or edges of the frame to help tell the story.

It’s just an idea that can be fun and frustrating to get out of the normal. You might not enjoy it and go back to what you regularly do or you might find a new way to take pictures that you enjoy.

~Scott

tags: fixed, focal length, slump, rut, challenge, change, test, bored
Friday 08.09.19
Posted by Scott W Gonzalez
 

High ISO for placement

Hello,

Today I wanted to talk about not taking extended periods of time to find the desired placement of a scene and also not using a flashlight and ruining your night vision. Those extra seconds can really add up when it is cold outside. I recently went to Mammoth California. There was still snow around and it got chilly at night. Now being far away from a city I wanted to get some night shots that included the Milky Way. I succeeded and had many minutes of being cold. While setting up the frame I didn’t want to turn on a flashlight and I didn’t want to wait 15 to 30 seconds a bunch of times to get what I wanted into the frame. So what I do is turn up the ISO to the highest setting, 16,000 in my case, and snap a shot and reposition until I get what I want in the frame. Then I drop the ISO a level that I am comfortable with and get the pictures.

ISO 16,000 28mm f2.8 1.6 second

ISO 16,000 28mm f2.8 1.6 second

Granted there is a ton of noise and the picture is basically unusable. It does provide the location for where aspects of the image are, such as the Milky Way, Boat, Waterfall and Tree line.

ISO 1600 (3.25 stops of ISO less) 28mm f2.8 15 seconds

ISO 1600 (3.25 stops of ISO less) 28mm f2.8 15 seconds

Now I know that it is not shown but there were about 6 or 7 pictures to get the placement the way that I wanted it. Seven 15 second exposures is doesn’t seem like a lot but when you are shivering because it is nearly freezing outside those seconds add up. Instead of 105 seconds plus moving the camera and checking the display I spent 11.2 seconds taking pictures. It’s pretty easy and only really usable in few situations but it is good knowledge to have.

tags: night, planning, high iso, iso, dark
Wednesday 06.26.19
Posted by Scott W Gonzalez
 

Slumps (10 ft challenge)

Good morning,

So we can all get into creative slumps or blocks or what ever you would like to call it. It is just a time when doing what you enjoy seems boring or pointless because you have “done it all before.” There are various ways to get around this. A common one is to buy some new gear which is always fun and exciting for at least a little while. Now we including myself aren’t well off enough to be able to do that often. So another option is to use what you have but in a different way.

So comes the 10 foot challenge. It is rather simple and doesn’t need to be exact. Step 1 grab your camera, Step 2 look around you in a rough distance of 10 feet to see subjects, Step 3 take a picture of something within that 10 foot radius. For most people this will be indoors, if you generally shoot outdoors then this will force you to change what you do. Then maybe go outside to start this. The main point is to get you out of your comfort zone and take a picture of something that you normally wouldn’t or take a photo of something that you already have but change the way that you capture it. Spend a few minutes to look around and turn a mundane subject into something interesting.

076.jpg
077.jpg
124.jpg
151.jpg
167.jpg
289.jpg
302.jpg
324.jpg

Above are a few examples of things that I did while I was doing a 365 a in 2015 with objects that were around the house. Most were types of photography that I had seen before but either never did it or didn’t have much experience with. Slumps suck and this is a way to get through one. Comments are open and I would enjoy seeing what you come up with.

Scott

tags: challenge, 10 foot, photography, photo, slump, bored
Wednesday 06.12.19
Posted by Scott W Gonzalez
 

Making a pinhole camera

Today I am going to talk about pinhole cameras and go over how I changed my camera cover into one.

To start a pinhole camera is basically a tiny hole that takes the place of the lens and has been around for longer than photography. It used to be used as a drawing aid, and later was used with film and light sensitive paper. Now when I say a tiny hole I am not talking about f22 or f32 I am talking around f160-f200.

My DIY pinhole “lens”

My DIY pinhole “lens”

With the aperture being so small the images generally turn out blurry because of the high diffraction. Diffraction in photography is basically light waves interfering with or bouncing off of each other because they are all trying to get through a small opening. It is way more complicated than that but that idea should suffice for my purposes here.

Valley of Fire State Park taken near the West entrance with the pinhole. With the size of the hole I made it is around an f200 and around 60mm this exposure was 1/5

Valley of Fire State Park taken near the West entrance with the pinhole. With the size of the hole I made it is around an f200 and around 60mm this exposure was 1/5

The same view a couple of minutes later at 60mm and f8 1/400. There is a 13 stop difference between the two

The same view a couple of minutes later at 60mm and f8 1/400. There is a 13 stop difference between the two

The pinhole, I feel is more like an Impressionistic painting than a photograph. One other thing with the pinhole is that if there is any dust on the sensor it will be very visible.

The pinhole cap that I have is old and beat up so I am going to redo it taking snaps along the way to show how it is done.

On to the making of one. Supplies needed are 1) a camera body cap 2) a drill with a 1/4 inch or so bit 3) fine grade sandpaper 4) foil 5) small gauge needle 6) tape

To start drill the hole in the center of the cap (it doesn’t need to be exact but get it close as you can) and sand off the rough edges (which can be seen on mine). Wash it and let it dry while getting everything else.

To start drill the hole in the center of the cap (it doesn’t need to be exact but get it close as you can) and sand off the rough edges (which can be seen on mine). Wash it and let it dry while getting everything else.

Cut a piece of foil big enough to cover the hole and then some.

Cut a piece of foil big enough to cover the hole and then some.

Tape it down tight, I have used medical tape and electrical tape. Electrical tape is better looking in my opinion any long lasting tape will work. If you run your finger over the foil an outline of the hole should appear.

Tape it down tight, I have used medical tape and electrical tape. Electrical tape is better looking in my opinion any long lasting tape will work. If you run your finger over the foil an outline of the hole should appear.

After finding the smallest pin or needle that you can get your hands on, insulin and subcutaneous needles work well they are less than half a mm this is a 27G needle which is 0.4mm hole, gently poke a perpendicular hole as close to the center of the…

After finding the smallest pin or needle that you can get your hands on, insulin and subcutaneous needles work well they are less than half a mm this is a 27G needle which is 0.4mm hole, gently poke a perpendicular hole as close to the center of the body cap as you can.

Put it on you camera and try it out.

It’s fun and gives a different look and feel for photography. If you try it share your pictures I would like to see them.

~Scott W Gonzalez

tags: DIY, pinhole, cap, body, art, impressionism, camera obscura, teaching, learning
Friday 05.31.19
Posted by Scott W Gonzalez
 

Flash 4 (Ceiling bounce flash)

Good evening,

Tonight I am going to go over one of the easy things that can be done with most flashes. Bouncing them. Stop don’t throw your flash on the ground. I am talking about the light off of something else then onto the subject. I slightly discussed this in my first Flash post some months ago. That was dealing with the on camera flash though. For this I used a hot shoe flash, a Sony HVL-F56AM to be precise.

It can tilt and swivel either separately or in conjunction with each other.

It can tilt and swivel either separately or in conjunction with each other.

So to bounce the flash off of the ceiling you just tilt the head to face the ceiling. It can either be done connected to the hotshoe or not and triggered remotely.

_DSC3923.JPG

Above we have Grumpy Bear with the flash pointed directly at him. The light looks harsh nearly over bright, detail has been lost in his fur, the high points (cheeks and snout in his case) lost color, and the shadow behind him is prominent.

_DSC3922.JPG

Again I have taken a picture of Grumpy Bear. This time with the flash pointing nearing straight up at the ceiling. The scene is more evenly lit albeit a bit darker. His fur detail is easily visible, the shadows are more naturally where one would see them during the day (under his chin mainly), the high points aren’t overly bright, and he appears closer to the color that he is.

Neither of these pictures to me is perfect, I was going straight out of the camera and did not adjust them at all. I am sure that if I did I could clear up some of the faults of each. I am a firm believer in getting it right in camera. It would be easier and look better to just brighten up the second image than to darken the highlights. Tilt or ceiling bounce is not hard and with practice it is easy.

tags: flash, teaching, photography, bounce, hotshoe, off camera, ceiling, tilt
Tuesday 04.30.19
Posted by Scott W Gonzalez
 

Long exposure to remove people

Good evening,

I am sure that most of those who are reading this have been in a situation where you wanted to photograph something striking, amazing, beautiful, or awe inspiring but have been thwarted by a plethora of people milling about so were resigned to taking a ho hum picture with people blocking parts of the subject. There is a way around this that can work for some of these situations.

The fountain in Downtown Disney near the tram to the parking garage. 1/30th second exposure.

The fountain in Downtown Disney near the tram to the parking garage. 1/30th second exposure.

Notice the dozens of people walking around, if I would have stepped back to get the whole fountain in the image I would have added quite a few people in the front of the image too.

A 15 second exposure taken within a minute of the other image.

A 15 second exposure taken within a minute of the other image.

The couple of people who can still be seen were more or less standing around. With this technique busy locations can be made to appear empty. For these images it was getting late in the day and it was overcast if I recall correctly. This won’t work it all situations, it is another reason to carry ND filters around though. All one needs is a steady surface and some patience. So go out and make those busy places look deserted.

Scott W Gonzalez

tags: long exposure, tripod, deserted, blur, crowds, people
Wednesday 04.24.19
Posted by Scott W Gonzalez
 

Macro and tripods

Good morning,

So I am trying to get back on schedule with these updates and I am finding that it is not the easiest thing. So with it being spring and all I have done my usual of getting a container of ladybugs for the garden to help control pests and to give the girls a couple of days to have ladybugs nearly on demand. They had their fun and I got to take some pictures using my macro lens. If you want to short version of this post here it is “Tripods can make macro photography easier.”

Now the idea for macro seems like it is easy. It did to me when I got my first true macro lens some years ago. After using it for a little while I realized that the closer to the lens one gets the smaller the depth of field gets. I recall taking a picture of my dog tags to test the lens and was not prepared for only 2 letters to be on the plane of focus.

This was at 50mm at f2.8

This was at 50mm at f2.8

Because such a small slice of area is on focus, hand holding a camera for macro images can be difficult. So I suggest using a tripod and if you want to get really fancy there are sliding tripod heads that make moving the camera for this type of work easier. I have yet to use one myself because I do not shoot a ton of macro, I have seen them though and they appear to make the process easier.

Now back to the ladybugs. So we let some ladybugs go, it was still a bit chilly out so they were moving slow. This was perfect for taking pictures of them.

_DSC1523.jpg
_DSC1539.jpg
_DSC1550.jpg

The first image was one of them walking and was shot at f4.0 and the small area of focus can easily be seen on the wood. I had multiple images where the ladybug moved just outside of the focus area. The second image is also at f4.0 and the whole ladybug isn’t in focus. The third image is was taken at f13 and a little farther away and now large portions of a leaf are in focus. When working with such a small area of focus and slow of not moving subjects a tripod helps maintain the focused area where you want it.

Hope you enjoyed the blog have fun with the new knowledge.

~Scott

tags: macro, photography, specialty, learning, teaching
Wednesday 04.03.19
Posted by Scott W Gonzalez
 

Gear Envy

Good morning,

Again it has been a while and I appreciate your patience.

I am sure that all of us has experienced it we see someone else with something that is better or newer or different than what we are using and there is that moment of “I wish I had that” or “If I had that lens/camera/flash/program I could capture/make that image.” I currently have it in regards to my friend Drew. His camera is tech from 2017 and my newest is from 2012. Now this doesn’t mean that his camera takes better pictures than mine is just means it is newer. Mind you I still would like a newer camera and it will happen eventually. There are advantages on both sides. Newer has better ISO capabilities, lighter, better battery, newer tech. The downside is I would have to buy new editing programs and new lenses or an adapter if I want to use my current lenses, I would need to learn a new camera as well.

Taken with my A77 (2011) on the way to meet up with Drew and his A7RIII (2017)

Taken with my A77 (2011) on the way to meet up with Drew and his A7RIII (2017)

The main point here is that sure there is always going to be newer or better gear than what we have unless you can buy the newest greatest thing every few months. Sometimes new things are needed other times the gains are minimal and not worth the cost. I say wait until you have outgrown what you currently have then get the new thing that is out. There are photographers out there that are making exceptional photographs with 35mm film. That from the 1900s. The first patent for a 35mm camera was in 1908. So currently I will stick with what I have any quietly envy other peoples’ newer equipment while at the same time honing my own skills by finding work arounds with what I have.

~Scott

tags: new, gear, equipment, photography, camera
Monday 03.18.19
Posted by Scott W Gonzalez
 

Self candids

It has been awhile,

I have been busy with kids school, being sick, kids being sick, currently the wife is, work, looking for more work, a birthday (42 feels the same as 40 and 41), looking into trips, working on a photo album, and just regular life. Looking at the photo album brought my attention back to a problem photographers have myself included. We are behind the camera more often than in front of it. I went through thousands of pictures to catch our family album up to date. I am in maybe 1/10th of the pictures, and that is a high estimate.

There are a few ways around this. First have a significant other that likes to take pictures as much as you do (it didn’t work out well for me in that department), trust strangers to use your camera (more on this later), use self timer, use a remote, use an intervalometer, or teach your child the craft.

If you have a significant other that takes pictures at the same frequency as you then you are one lucky person and can probably stop reading this right now. If you are in the same boat that I am in then read on.

Trusting strangers to take pictures for you can be a little complicated. I have had so many issues with this from the focus being off to things being in the frame to the exposure being way off etc. What I have found that works well is putting it on manual and taking a test shot of who ever else is going to be in the frame then I look at the pictures after they take them to make sure the focus is right and there wasn’t camera shake. It works well but is generally a posed picture.

A self timer is okay in a pinch, the worst part is running back after the shutter is pressed. Again better for posed pictures.

Using a remote is better, I have pulled off some candid looking group photos with them, it was usually trigger a bunch of times to get a single good candid. It is used in place of the camera timer release and is better for posed pictures.

The intervalometer can have great results for candid pictures. The trick is forgetting that it is taking pictures which can be harder than it seems. One of the best results using one like this was picking plums with my daughters in the backyard. There were over 300 pictures in about an hour which got narrowed down to 48. I was in them doing an activity with my daughters. It was worth it. One that I liked it seen below.

_DSC3809.jpg

The last option is to teach a child to take the pictures. I am working on this currently. I don’t recommend getting a children’s cameras because they are horrible quality and they usually have games and such on them. My children have had a few and they are only ever okay when outside in bright sunlight. I bought my kids some old film cameras. they loved them. Once they realized they would have to wait for the pictures they weren’t too happy with them. They did have fun shooting rolls of film though. It gave them a taste of what it was like back when I was growing up. They currently share a Canon Powershot that has a neck strap on it. They have taken some good pictures with it and they enjoy it. They have taken pictures with my DSLRs before again with the neck strap. Like seat belts it is a good idea to teach children safe camera handling at an early age.

I think that my 6 year old took this in Yosemite 2016

I think that my 6 year old took this in Yosemite 2016

So do what you can to make it into your photo albums candidly so when you are looking through photo albums in your old age it has some images of you. If you work it out right then the images of you won’t just be selfies and the occasional posed picture at an event.

tags: self, portrait, candid, timer, other people, photography, advice
Sunday 02.24.19
Posted by Scott W Gonzalez
 

Eclipses

Good morning,

There is an eclipse coming up on the 20th. I am hoping that it is not cloudy and I can see/photograph it. This is not my first go around with an eclipse. I have some photographs posted in the Celestial section on here. The set up for a Lunar and a Solar eclipse are a little different. I am just going to go with the Lunar right now.

There are a few ways to shoot an eclipse, a telephoto lens will capture it and show it off by filling the frame, a regular lens can capture some more of it and possibly a tight foreground, a wide angle can get a sprawling landscape with the moon in it as well. There can be a combination and photoshoping of multiple of these.

210mm and cropped to fill more of the frame. Without anything around it is rather plain.

210mm and cropped to fill more of the frame. Without anything around it is rather plain.

Here is the blood moon that everyone raves about at 300mm and cropped as well.

Here is the blood moon that everyone raves about at 300mm and cropped as well.

I like these and the memories associated with them however there is not much depth to them. What we can do to add more depth is add buildings, cars, or some other foreground interest. There is also another option. Long exposure.

This is a 6415 second exposure of a lunar eclipse at 50mm.

This is a 6415 second exposure of a lunar eclipse at 50mm.

Notice above I only have about half of the eclipse in the frame. If I would have been using a wide angle or super wide I could have gotten the whole thing in. The batteries probably would not have lasted the double the length of the exposure though. Make sure your batteries are charged completely.

Another option is to take multiple pictures and put them on a background in photoshop with layers. Spacing is key here and an intervalometer comes in handy for that part. I haven’t done this technique, I do plan on trying it. It should be roughly the same as the layer masks that I discussed back in December using car trails.

Good look with viewing the eclipse. I should have some pictures of it if the clouds stay away.

~Scott

tags: celestial, lunar, moon, eclipse, long exposure, telephoto, teaching, learning
Wednesday 01.16.19
Posted by Scott W Gonzalez
Comments: 1
 

Fireworks

I hope everyone that celebrates it had a Merry Christmas, or a Happy Hanukkah, Kwanza, Solstice, Yule, Bohdi Day, Pancha Ganapati, or any of the many other holidays celebrated in the Decemberish time. If I missed yours it is nothing personal.

So on to the topic, fireworks and how to capture them. As usual I recommend a tripod and a remote. It can be done without either it is more hit and miss. I will get an idea of where the fireworks will be exploding and if possible set up before nightfall. This is easier to do during the 4th of July than New Year’s Eve. This helps with setting up background and foreground if desired. Generally the fireworks are far enough away that focusing on infinity works well enough, if you aren’t a fan of that then focus on a building nearby the launch site then lock your focus. For aperture I use f8-f11 to keep the focus area large and a low ISO to keep the noise down. Here is where the tough decisions come in. If it is windy then a faster shutter speed will keep the definition of the fireworks better. Notice below the firework trails are being blown to the left and gravity is having it’s hand at pulling them down too.

iso 100 f6.3 11 seconds. I had a larger aperture to get more of the foreground lit.

iso 100 f6.3 11 seconds. I had a larger aperture to get more of the foreground lit.

Now I use a bulb setting so that I can control the shutter better. Sometimes I want a single firework other times I want multiple and often I am deciding while the shutter is open. If a set shutter speed is used the only way to control it would be to put a black card/think paper of the lens during the exposure. The few times that I used that technique I didn’t really enjoy it and took away from enjoying the show. It is an option though.

Another decision that needs to be made is whether a foreground interest will be in place. If so a way to do it is with two separate exposures. One of a properly exposed foreground then one of the fireworks. I recommend taking them around the same time so the blending process is easier. Using a rear curtain flash is also an option depending on how far the subject is.

iso 100 4 secs at f14

iso 100 4 secs at f14

Above notice that the lines are more defined, it was at least partially because of the faster shutter speed. I can’t recall if or how fast the wind was that night so that is out of the equation.

If you have the means a reflection adds more interest to the image,

If you have the means a reflection adds more interest to the image,

Fireworks.jpg
_MG_7757.jpg
_MG_7751.jpg

Above I took caught a picture with my Father in law and my nephew watching the fireworks. The first one is the composite, the second is the original, and the third is the orange firework. The same idea can be used with different foreground.

Lighting pictures are not hard once you know how to do them. Reading about it is one thing doing it is completely different. So with the New Year coming in there are usually some fireworks which is a good chance to try this technique out. Have a Happy New Year everyone. I would love to hear some comments or questions.

tags: photography, learning, teaching, fireworks, explosion, blend, exposure, example, experiment, editing, fun
Saturday 12.29.18
Posted by Scott W Gonzalez
 

Car Trails

Good evening,

So I realized after publishing the last blog that I am late on it and owe you all one. So car trails were brought up. Once you know how to do them they are easy and it becomes more placement of the subject and background than anything else.

The main needs are a steady camera, a long exposure, cars, and a darkish location.

Here is an 8 s exposure at f18. The camera was sitting on the median and I used a self timer because I did not have a remote.

Here is an 8 s exposure at f18. The camera was sitting on the median and I used a self timer because I did not have a remote.

Ideally a remote shutter and a tripod will be added. It gives some more control over the image. Instead of being limited to guessing on when a car will come into the frame, like I did in the above image, the shutter can be triggered when you want without disturbing the camera. Having a tripod will let you place the camera where you want for the image you are trying to create.

Below I had a tripod and remote shutter. So I was more focused on other aspects of the image than just when the car was coming into the frame. I knew the Milky Way and Luxor light were in the frame. I also placed the bush, that is illuminated by my tail lights to give the image more depth. On a side note that is not the sunrise, it is the lights from Las Vegas.

A tripod mounted 30 second exposure. The car was traveling relatively slow so I did a longer exposure.

A tripod mounted 30 second exposure. The car was traveling relatively slow so I did a longer exposure.

I have not gotten a really good capture of it but keep in mind that flashing lights from emergency vehicles can add a bunch of interest to a car trail image.

While getting ready to pull out I saw the flashing lights coming my way so I quickly grabbed my camera and set it on my dash, no timer and I had to stop it from sliding around on the dashboard. Not a sharp image it does show the lights well though..

While getting ready to pull out I saw the flashing lights coming my way so I quickly grabbed my camera and set it on my dash, no timer and I had to stop it from sliding around on the dashboard. Not a sharp image it does show the lights well though..

So have fun with it. Grab your gear after nightfall and find some cars hopefully with their headlights on.

PS if you have any questions about photography that you want me to tackle let me know in the comments or through the contact page.

tags: cars, lights, camera, photography, learning, teaching, long exposure, night
Monday 12.24.18
Posted by Scott W Gonzalez
 

Layer Masks

Good morning,

So a while back I went hiking with my daughters in Zion National Park, we completed the Canyon Overlook Trail. Impressive for a 5 and 7 year old. While looking over the Canyon I noticed the road and thought to myself “that would make a great night shot with car trails.” Since then I have seen pictures of it on photo sharing sites, and my first thought was “damnit I was going to do that.” In October I went camping and got a chance to take one myself. I feel that it turned out pretty decent.

It was a near full moon so the canyon was visible except where the shadow was.

It was a near full moon so the canyon was visible except where the shadow was.

So I went up there with my friend Drew. Sadly I forgot my remote so I was left with 30 second exposures with a self timer. Not exactly what I wanted but it worked. Around 40 pictures were taken and the cars were not cooperating. With the bright moon and about an hour of shooting the shadow of the mountain had moved from covering nearly half of the drive to covering about a quarter of it. So I chose the last shot to use as the background or base layer.

Here we have the base layer.

Here we have the base layer.

Then I added the other images onto it complete the light trail for the most part. Below are 4 of the images that I took.

_DSC6095.jpg
_DSC6096.jpg
_DSC6101.jpg
_DSC6106.jpg

So I cut and pasted each image onto the base layer and chose “lighten” in the blending option for each. I wanted the sky, canyon, and mountains to just be one image. Layer masks is the way to go to complete that task. In the “Layers” window there is a button that is a square with a circle in it called “Add Layer Mask.” Clicking it seems to do nothing except adding a white square next to the layer that you are on (It doesn’t work on the background layer). If we hit the “B” button then we can paint the layer and it will either hide of show what is beneath the layer we are working on. To toggle back and forth between hiding and revealing hit “X.” Alternatively if you want to see through most of the layer below hold “Alt” while clicking the Add layer mask button. You will have a box that is black next to the layer.

To sum up. I cut and pasted the pictures onto the background image, changed them to lighten, added layer masks, then painted the masks to keep the car trails that I wanted. Leading to this image below.

Complete.jpg

Photoshop is daunting with all of it’s options of what to do. I still only know maybe a quarter of what it can do. Layers and masks are a big part of what I use it for and from talking to other photographers it is a major thing to know and understand. I hope this helps you on your path to understanding photoshop.

~Scott

tags: photography, learning, teaching, photoshop, layers, masks, processing
Tuesday 12.11.18
Posted by Scott W Gonzalez
 
Newer / Older

Powered by Squarespace.