• Photography
  • About
  • Contact
  • Light Writing

Scott W Gonzalez

  • Photography
  • About
  • Contact
  • Light Writing

Layers

Good morning,

So I started writing a blog talking about how I made one of the more recent pictures that I posted and realized that the actions that it took had not been explained. Like layers. So I use photoshop and lightroom. They have become familiar and if you are a student or a teacher they have a discount on the software. I am not sure if it works with the subscription plan that they have now though.

So layers if you are not familiar are like putting a bunch of pieces of paper on top of each other. Depending on the paper it might not do all that much. If it is construction paper then you only see the top sheet, if it is tracing paper then you can see a few sheets down, if it is celluloid then the only part that you can’t see is the part that has writing or drawing on it. It depends on how you treat the layers in photoshop and if you use a mask (layer masks will be discussed at a later time).

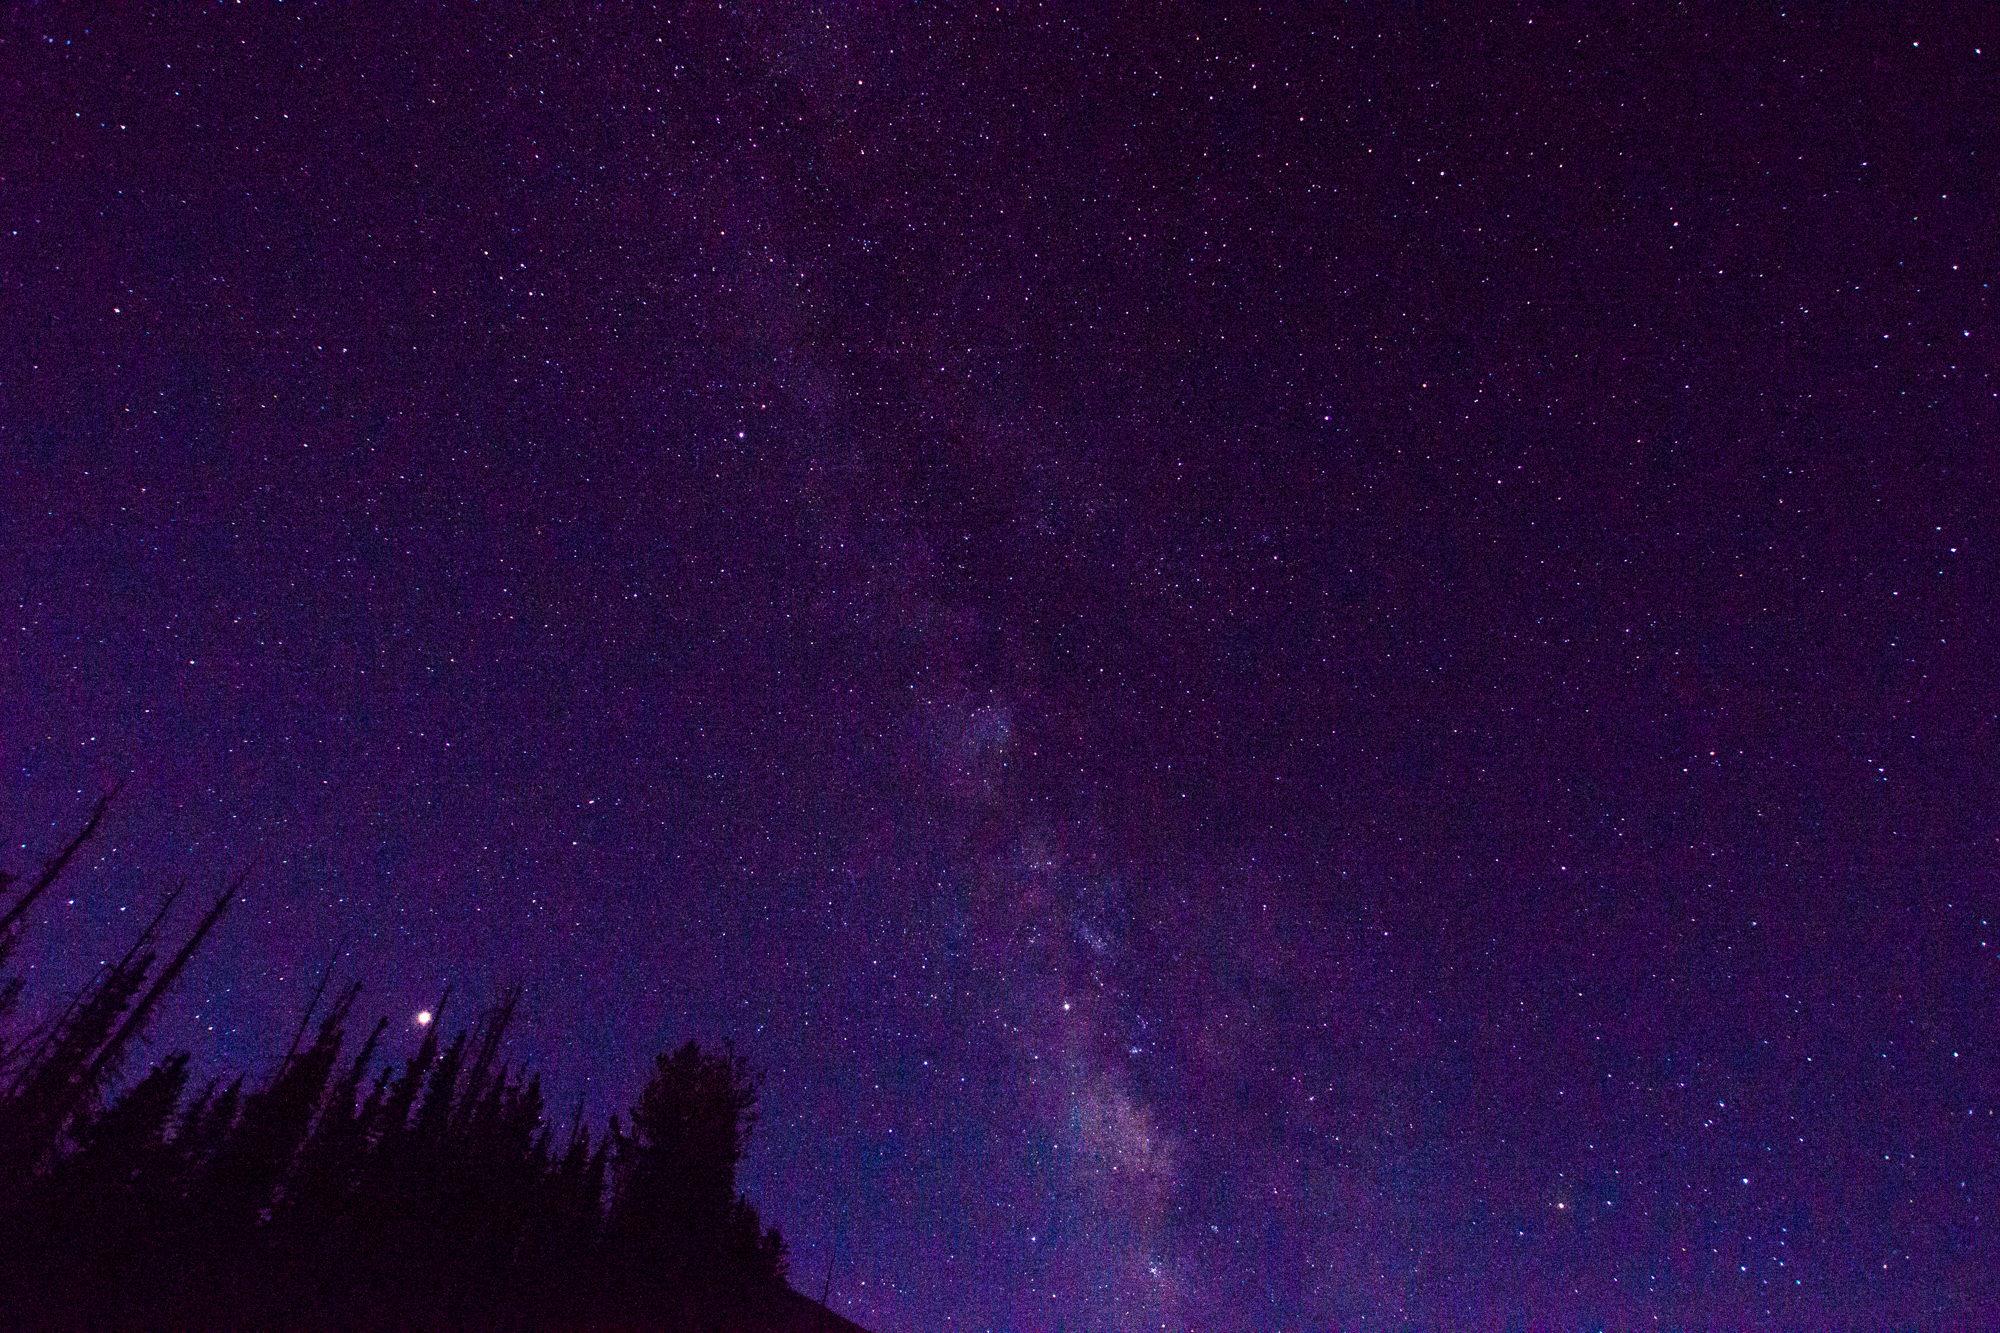
Let’s start with a star trail stack. After taking the images using a sturdy tripod or mount go into photoshop, cut and paste the images on top of each other. This will make layers starting at 1 with a Background. You could also got to File>Automate>Photomerge and pick auto. I have not had much luck with it I have met people who have. The results are similar though.

_MG_8606.jpg
_MG_8607.jpg
_MG_8608.jpg

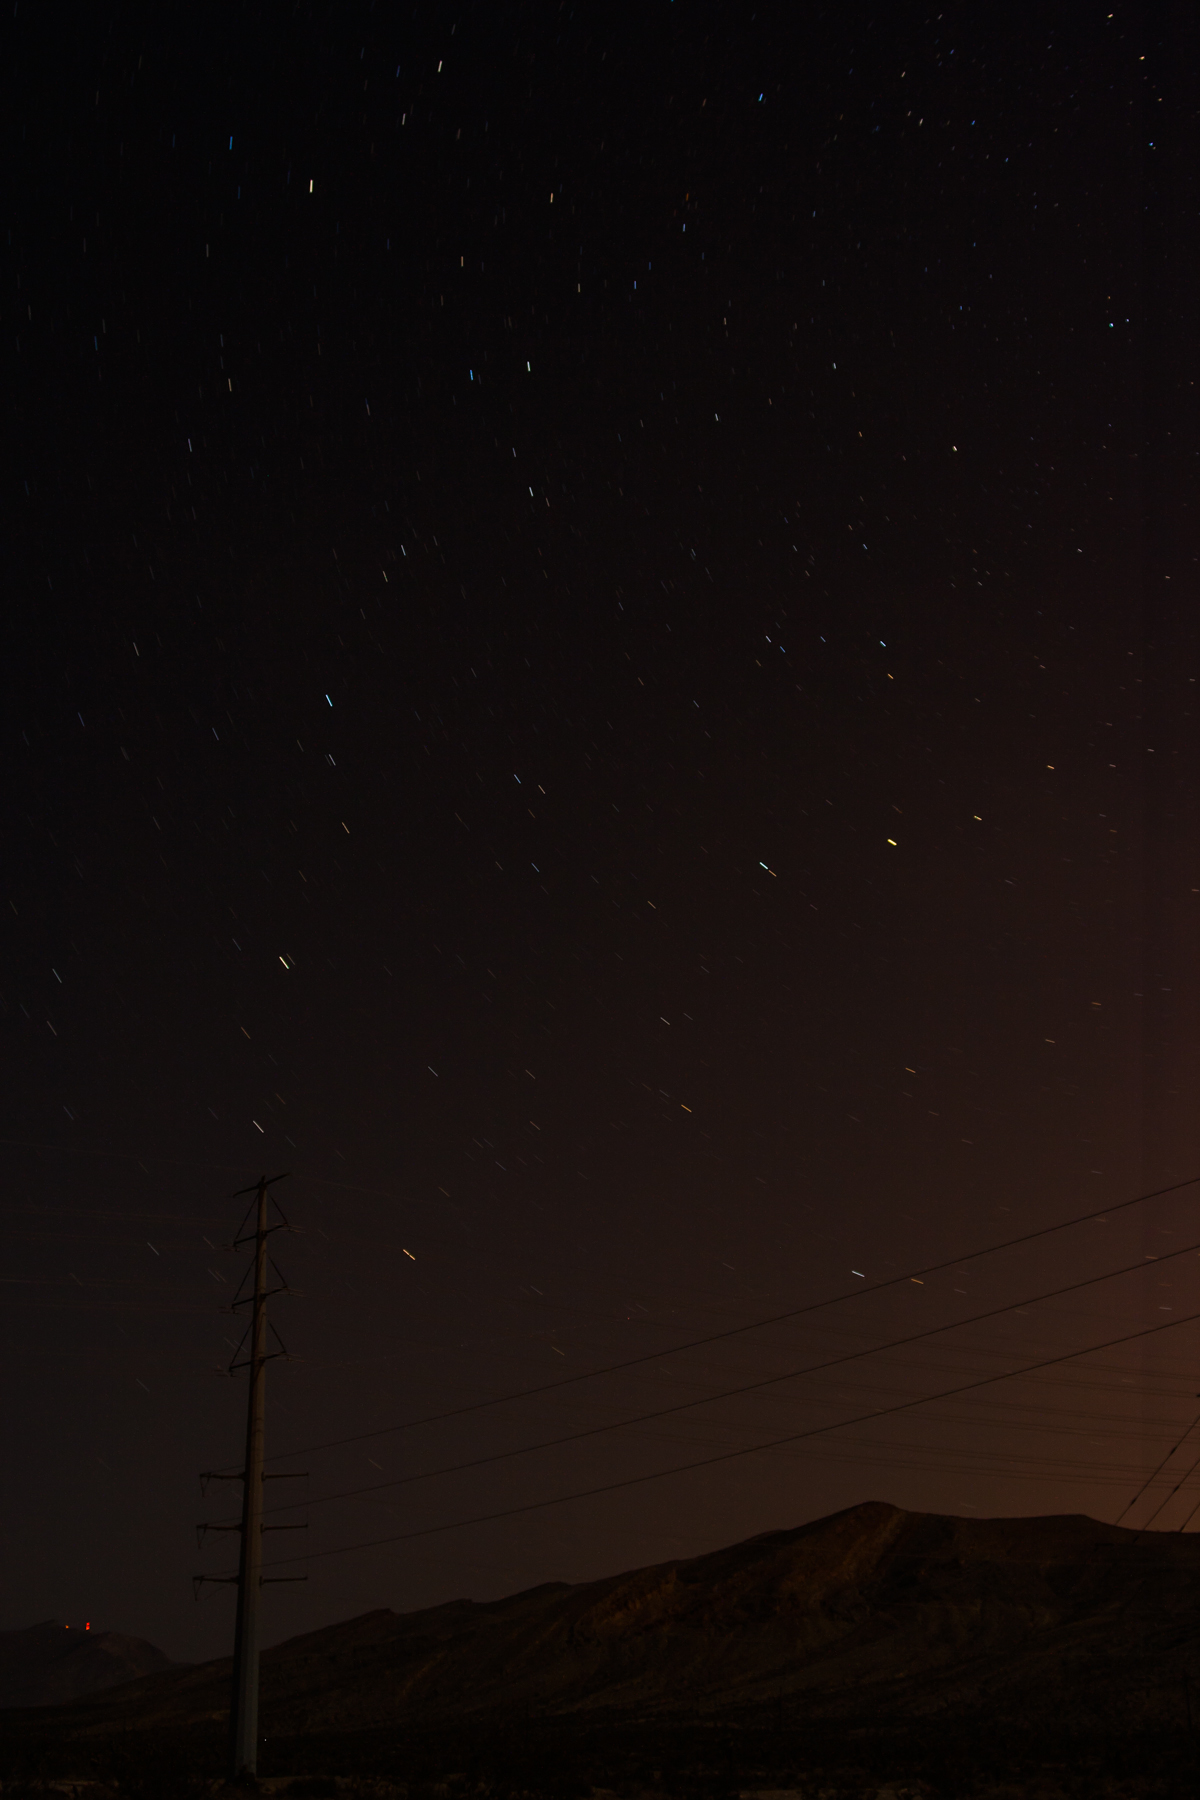
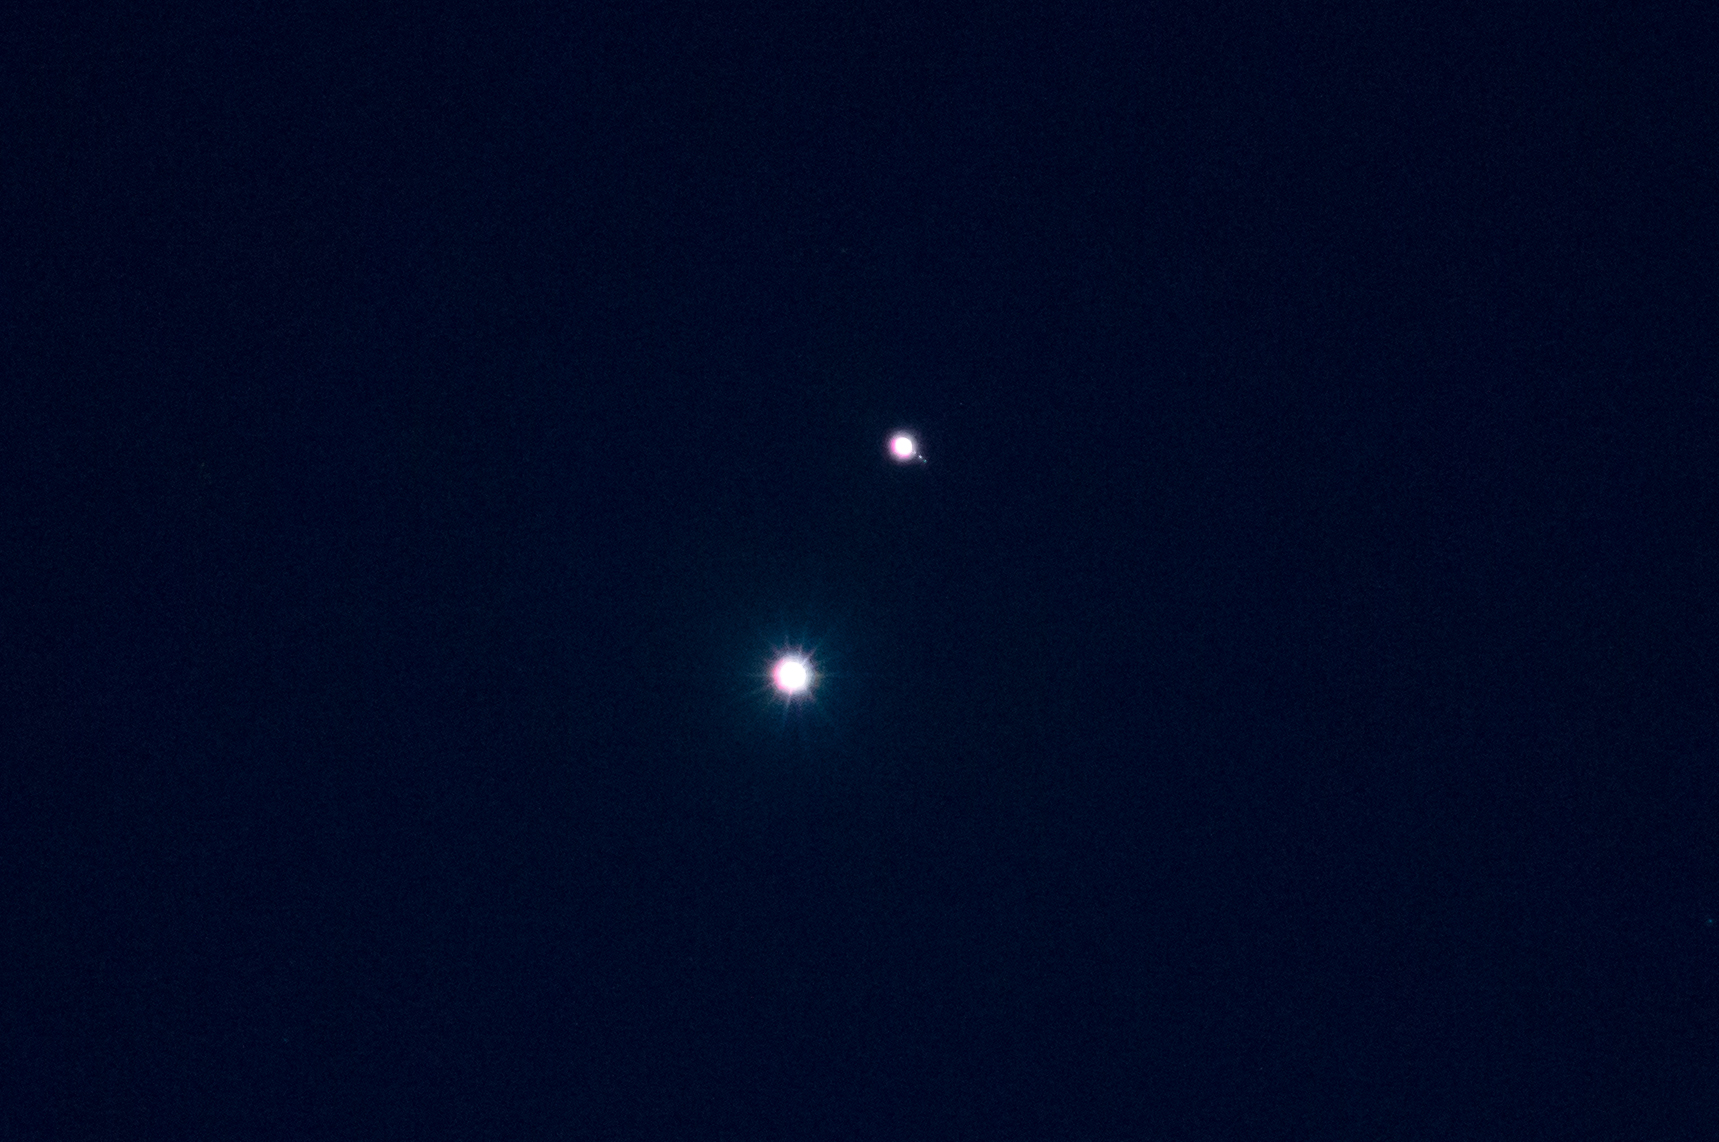
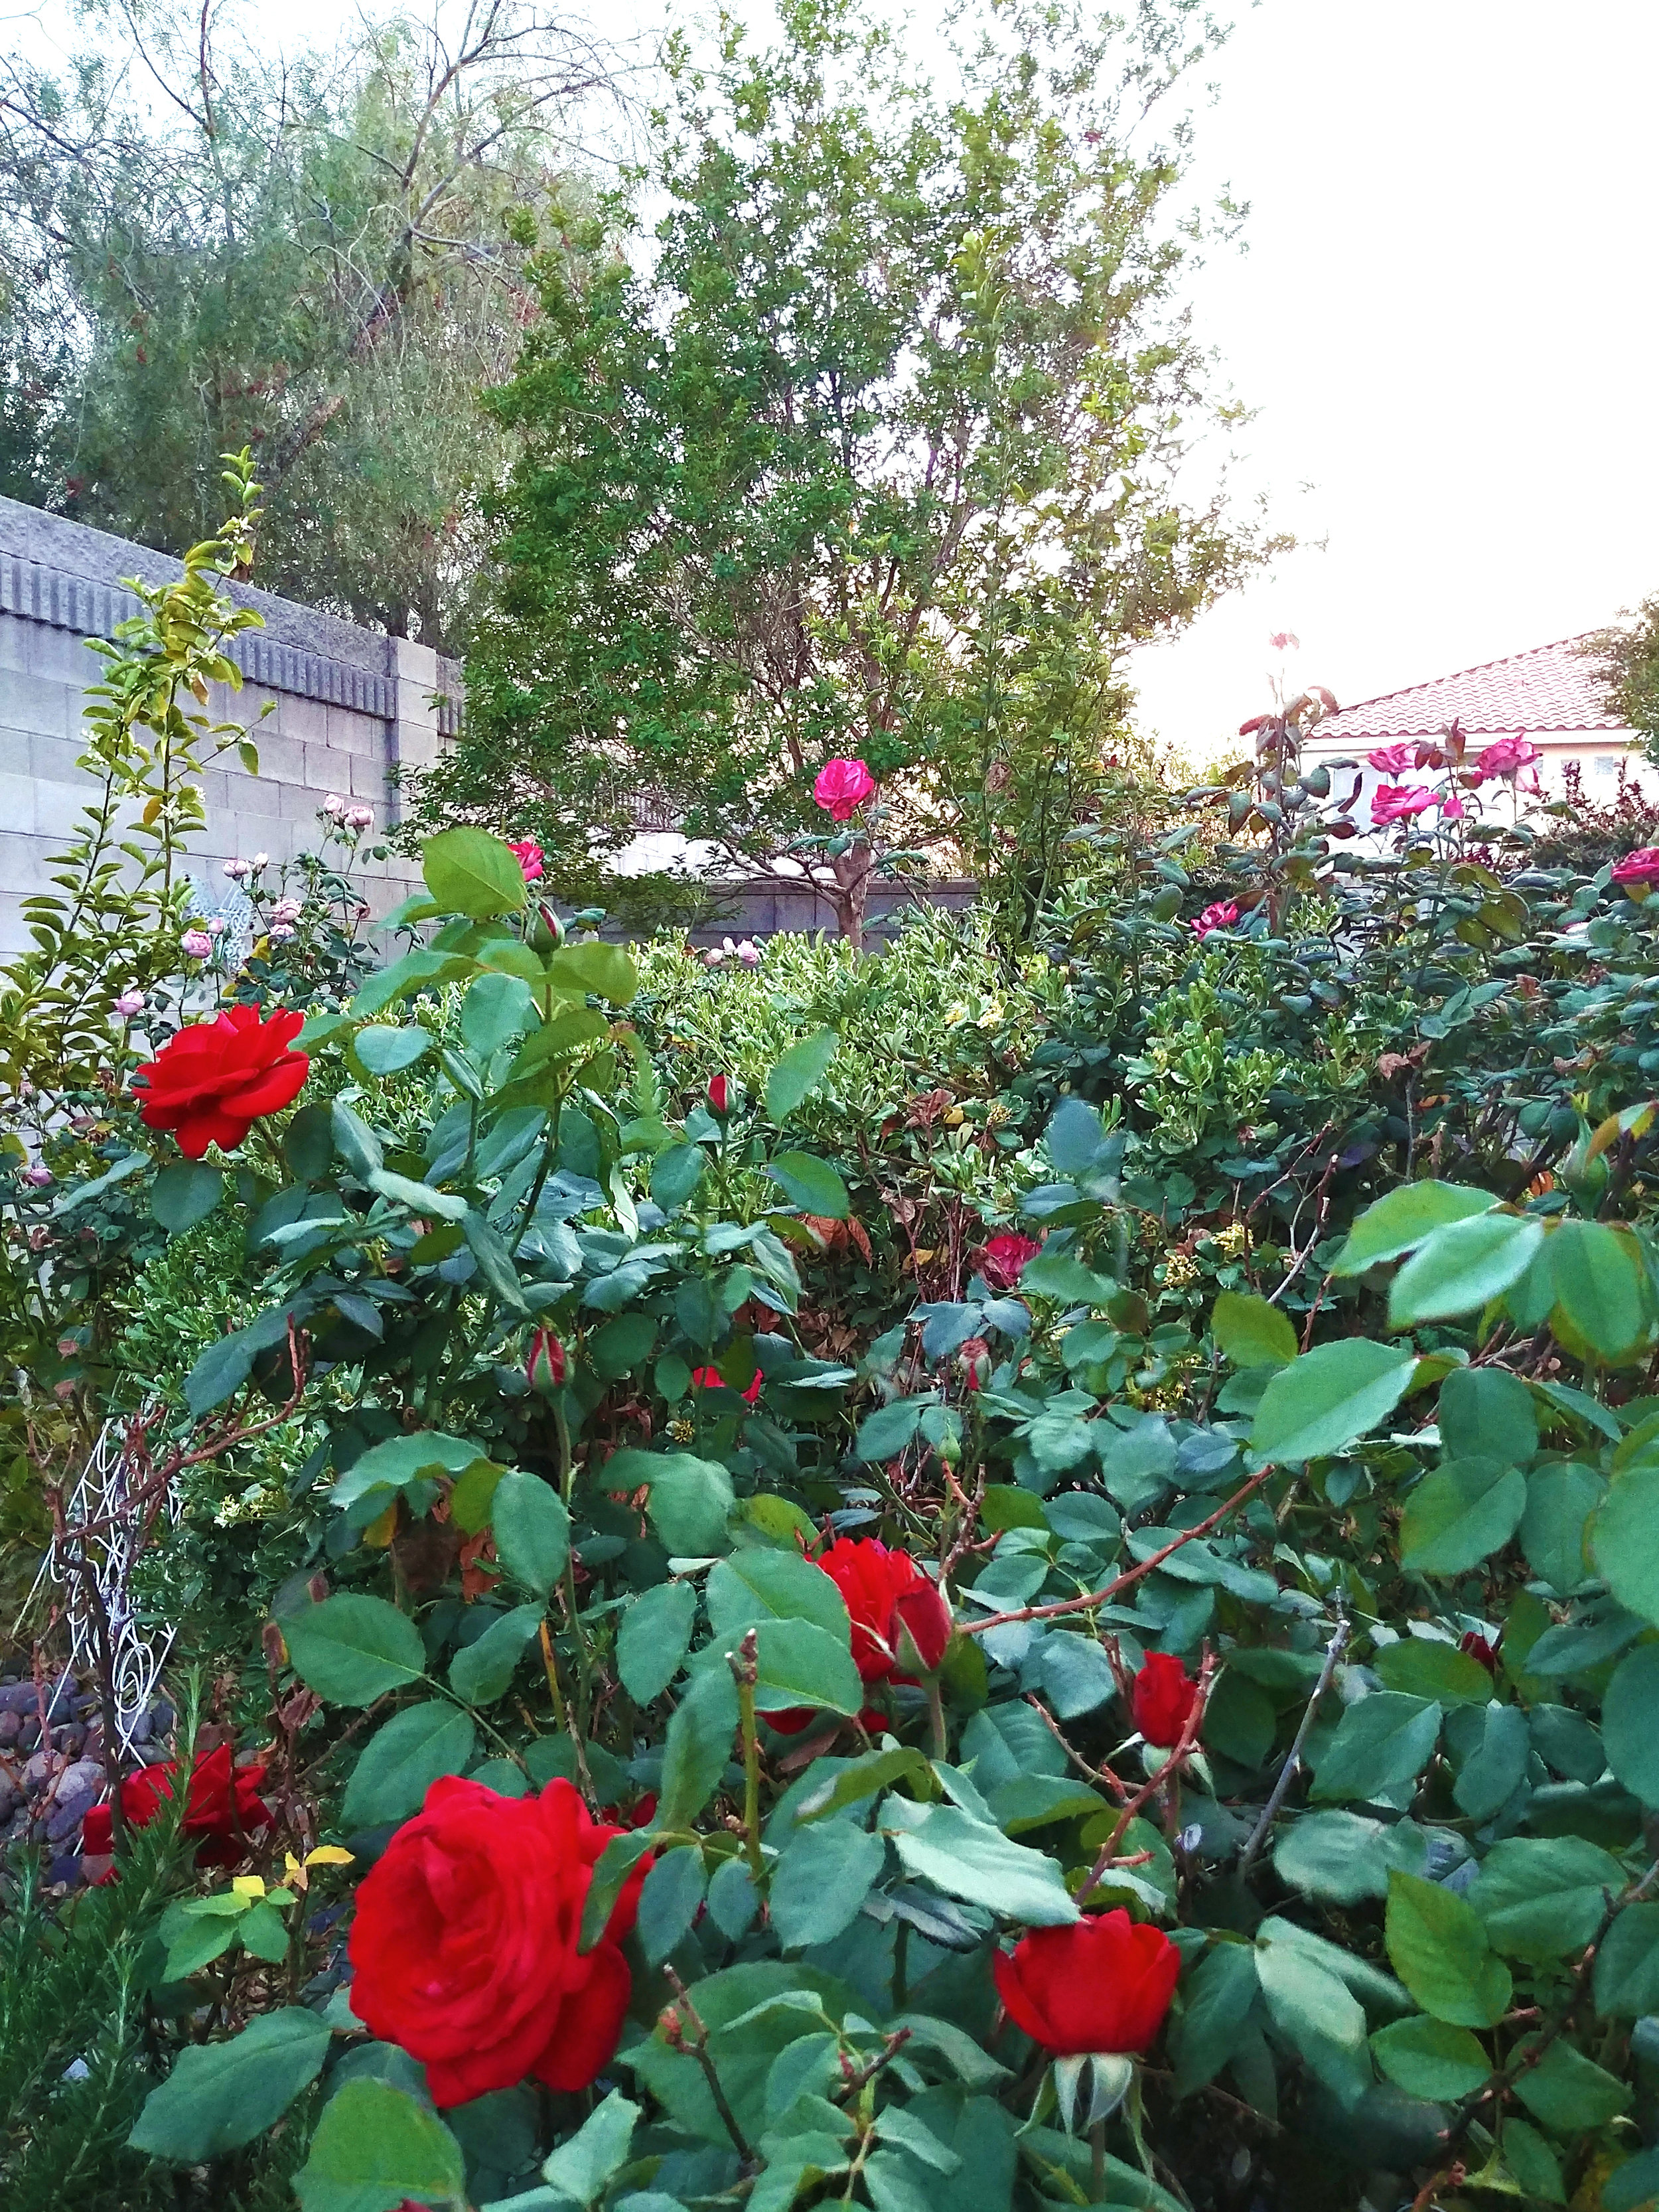
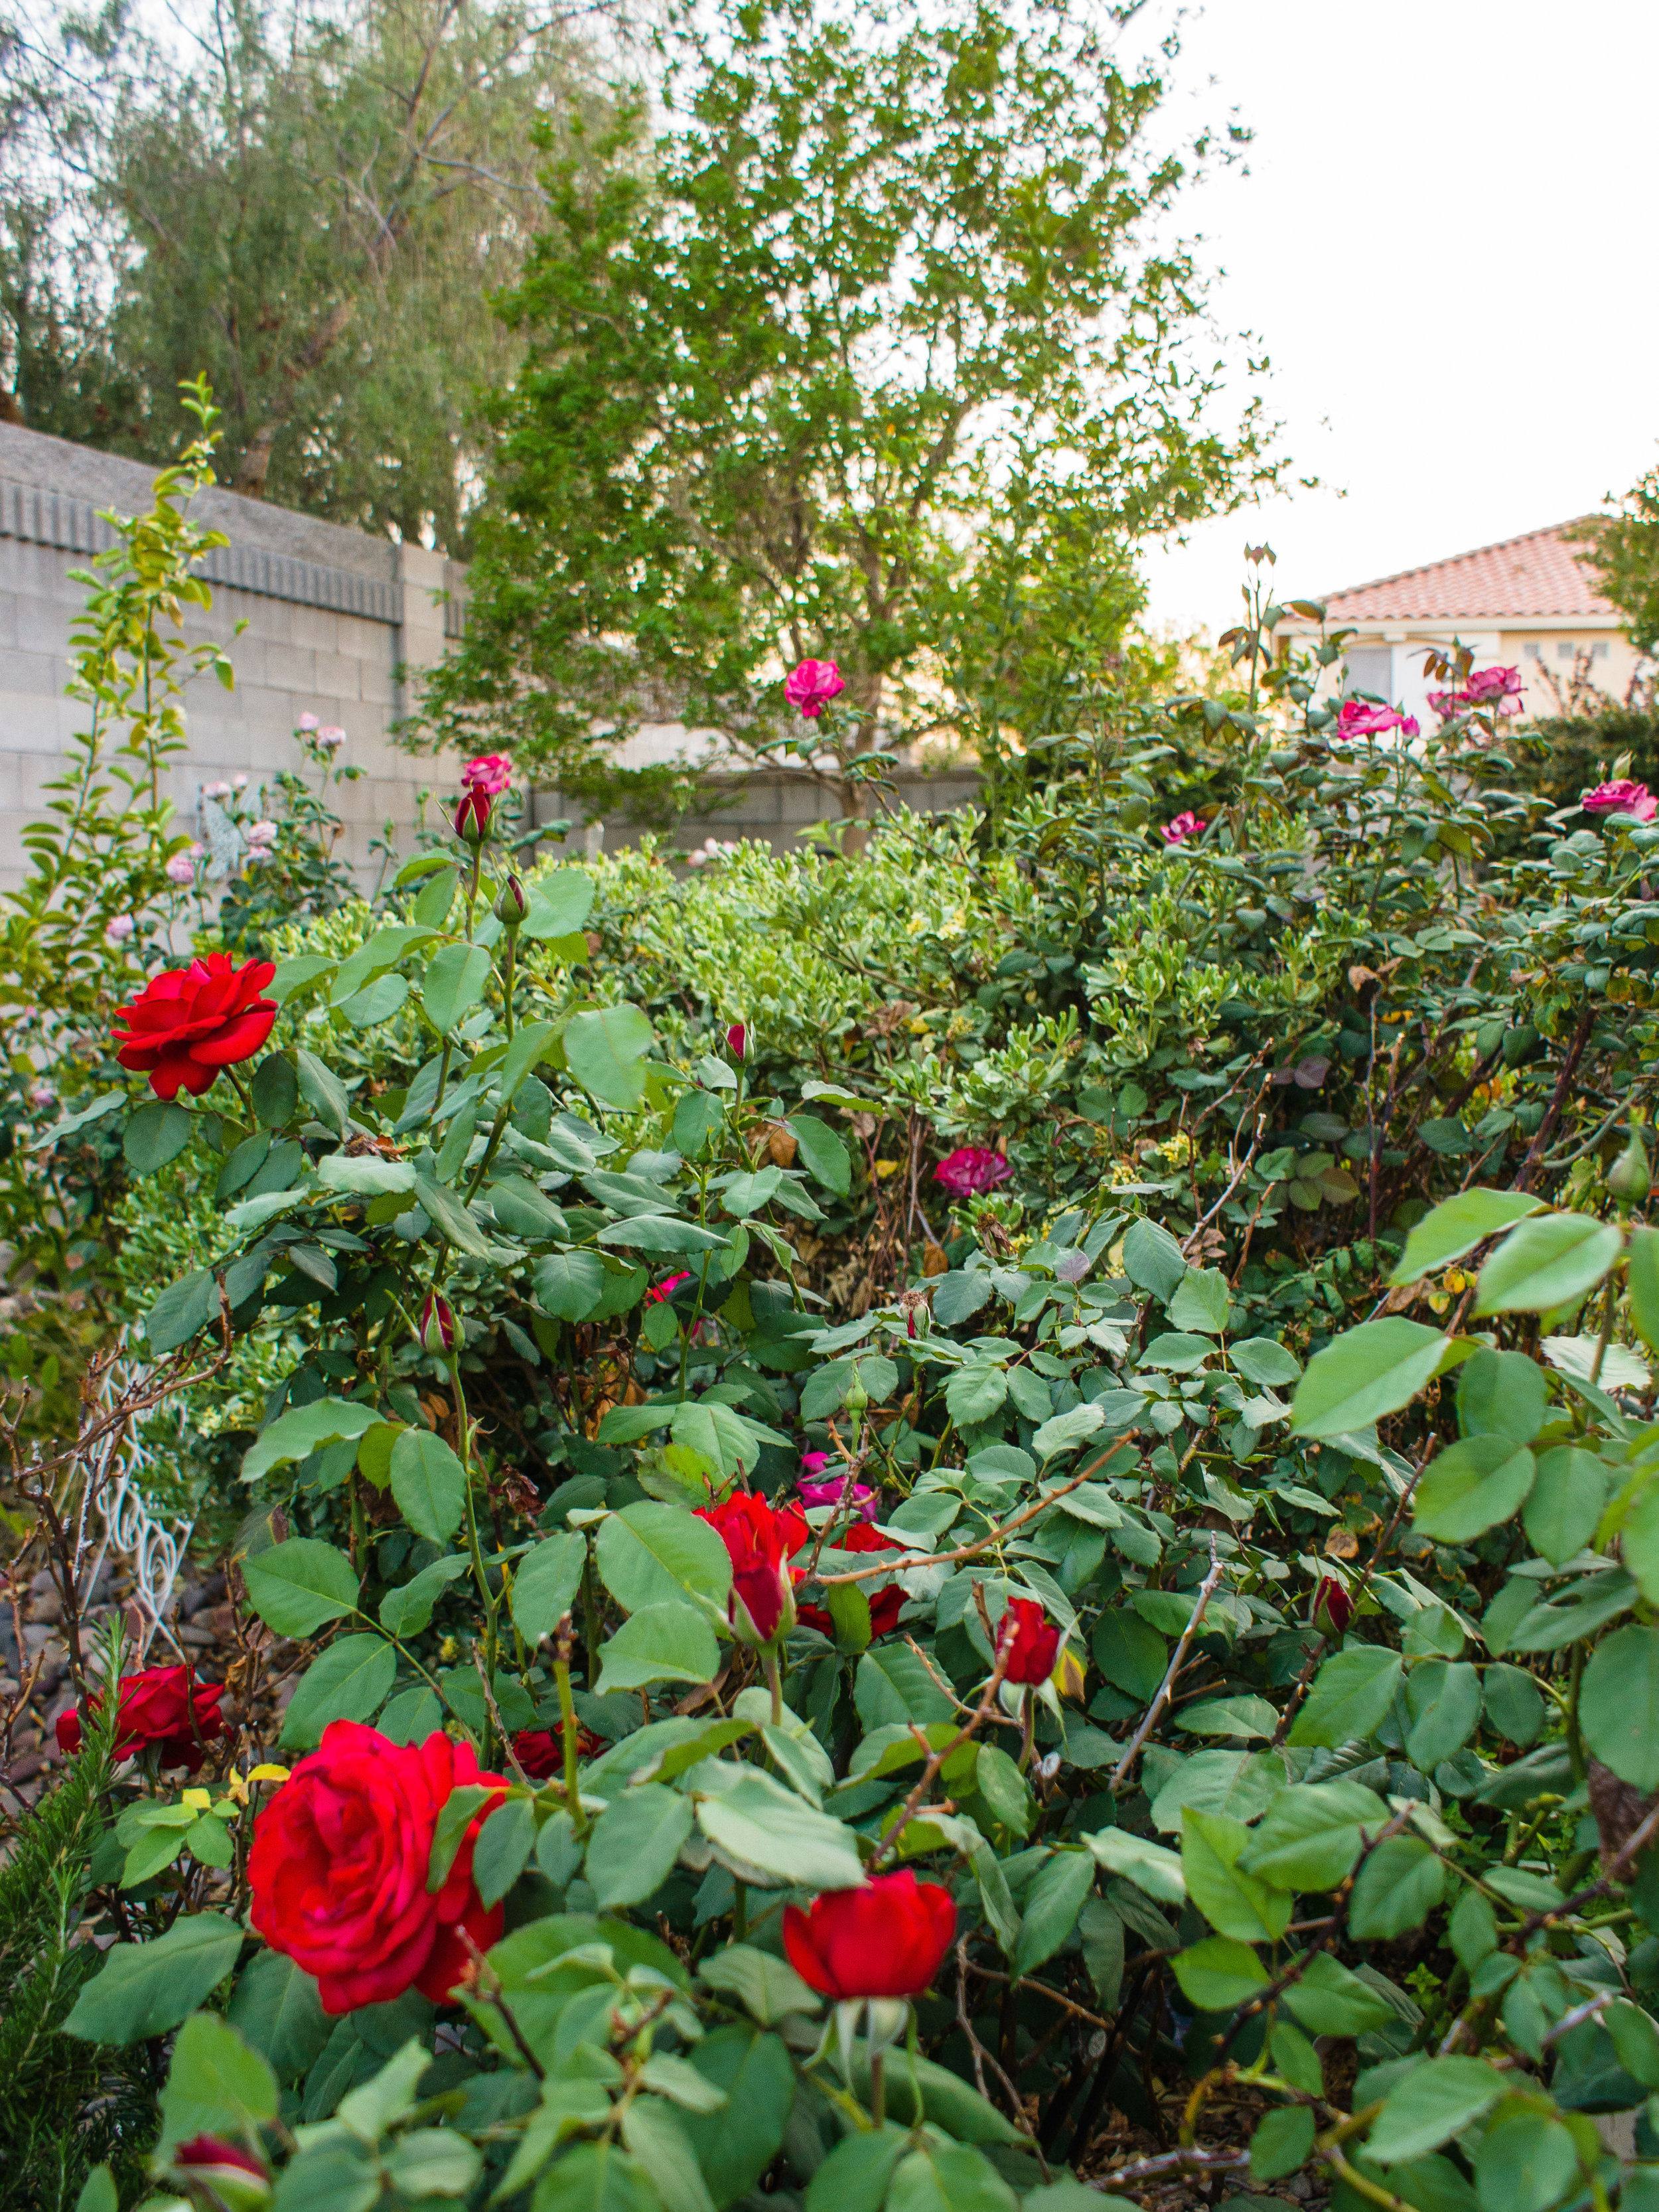
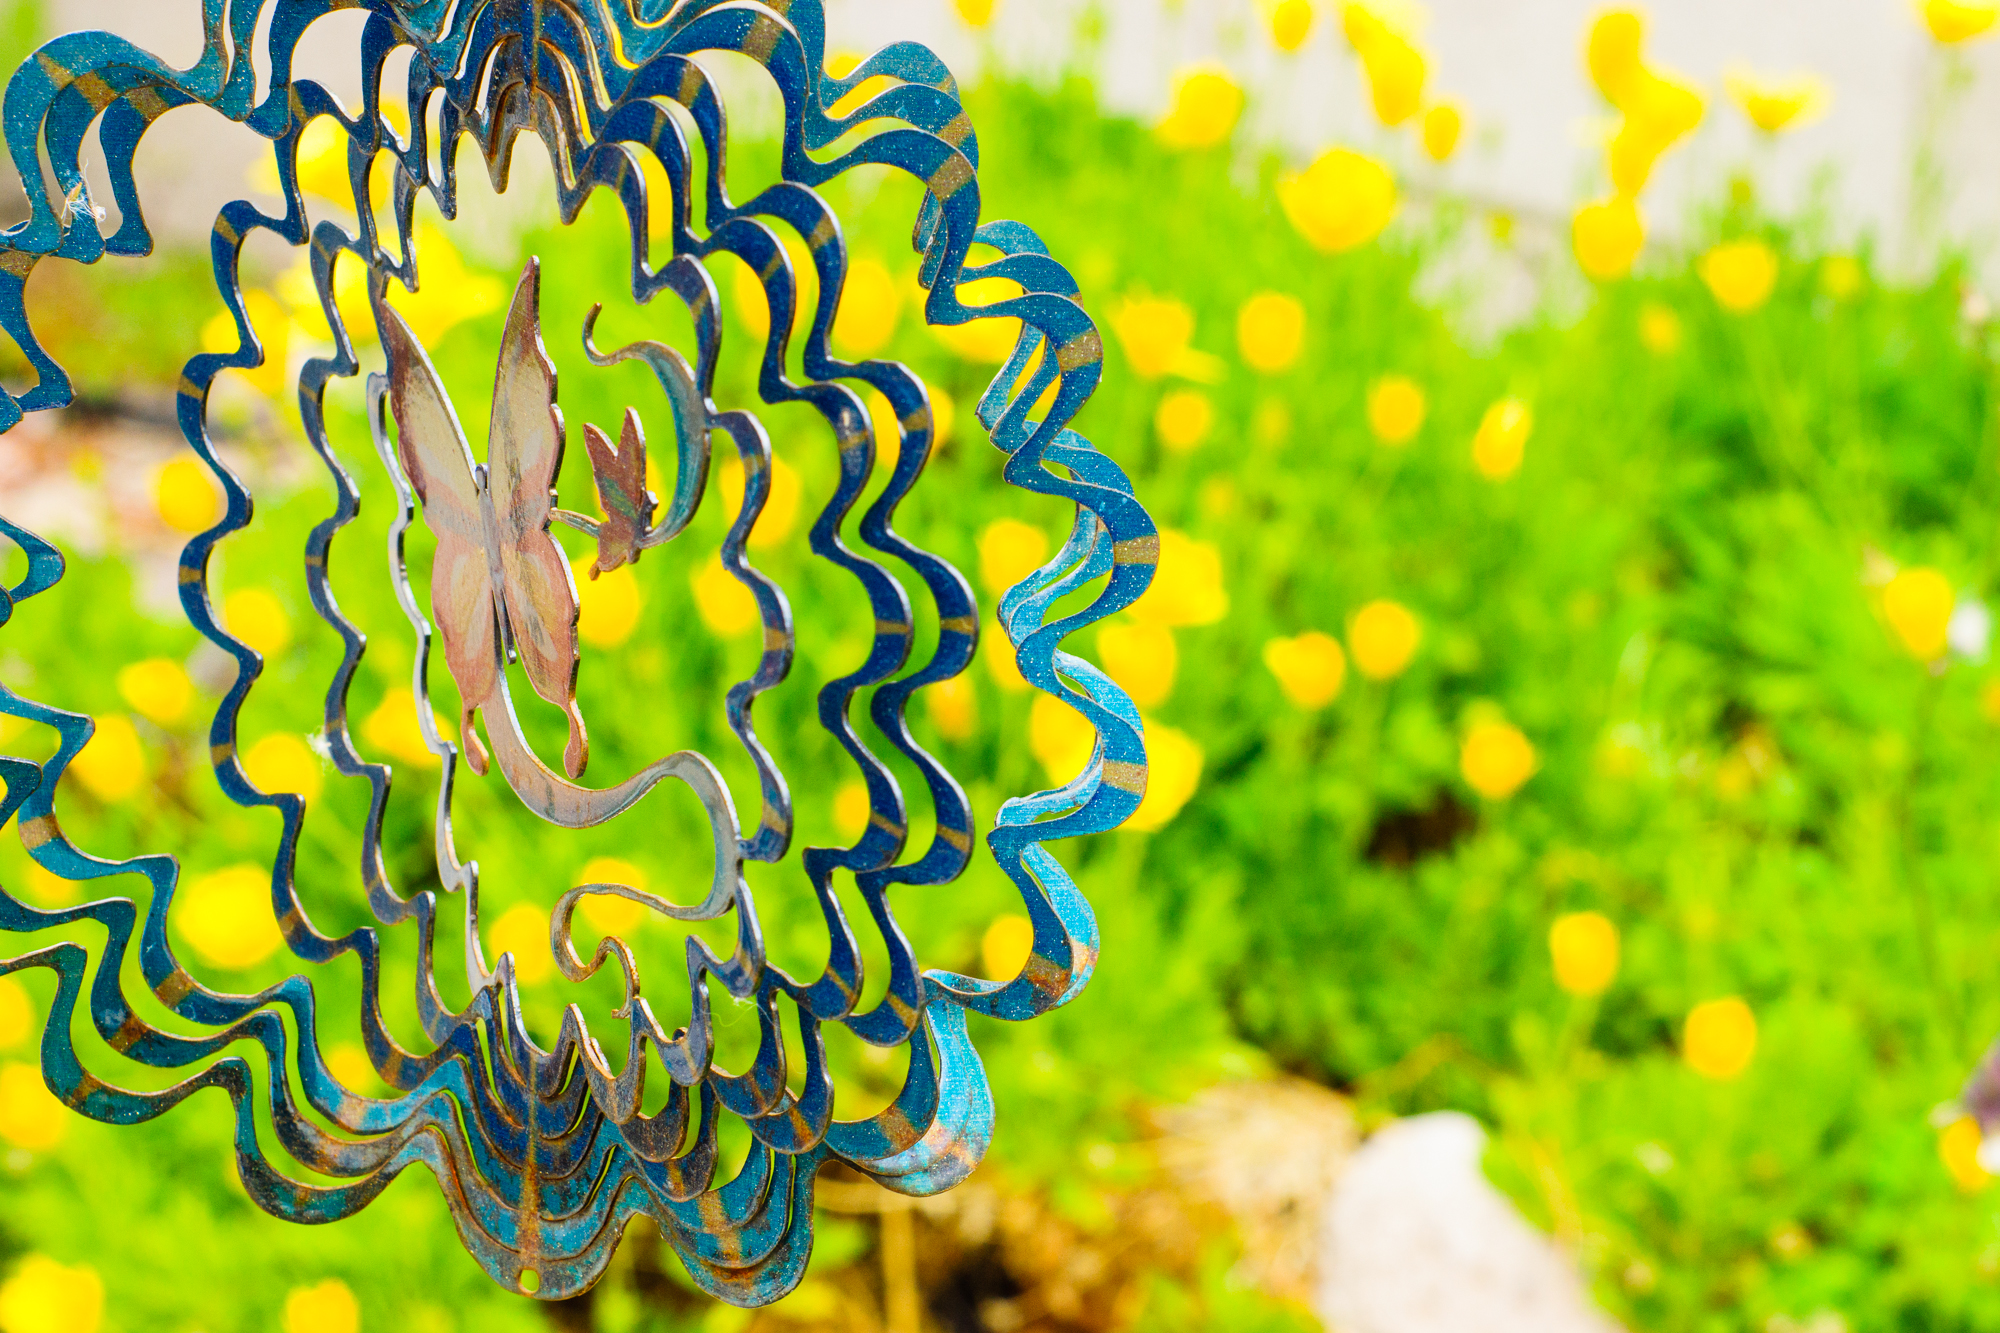
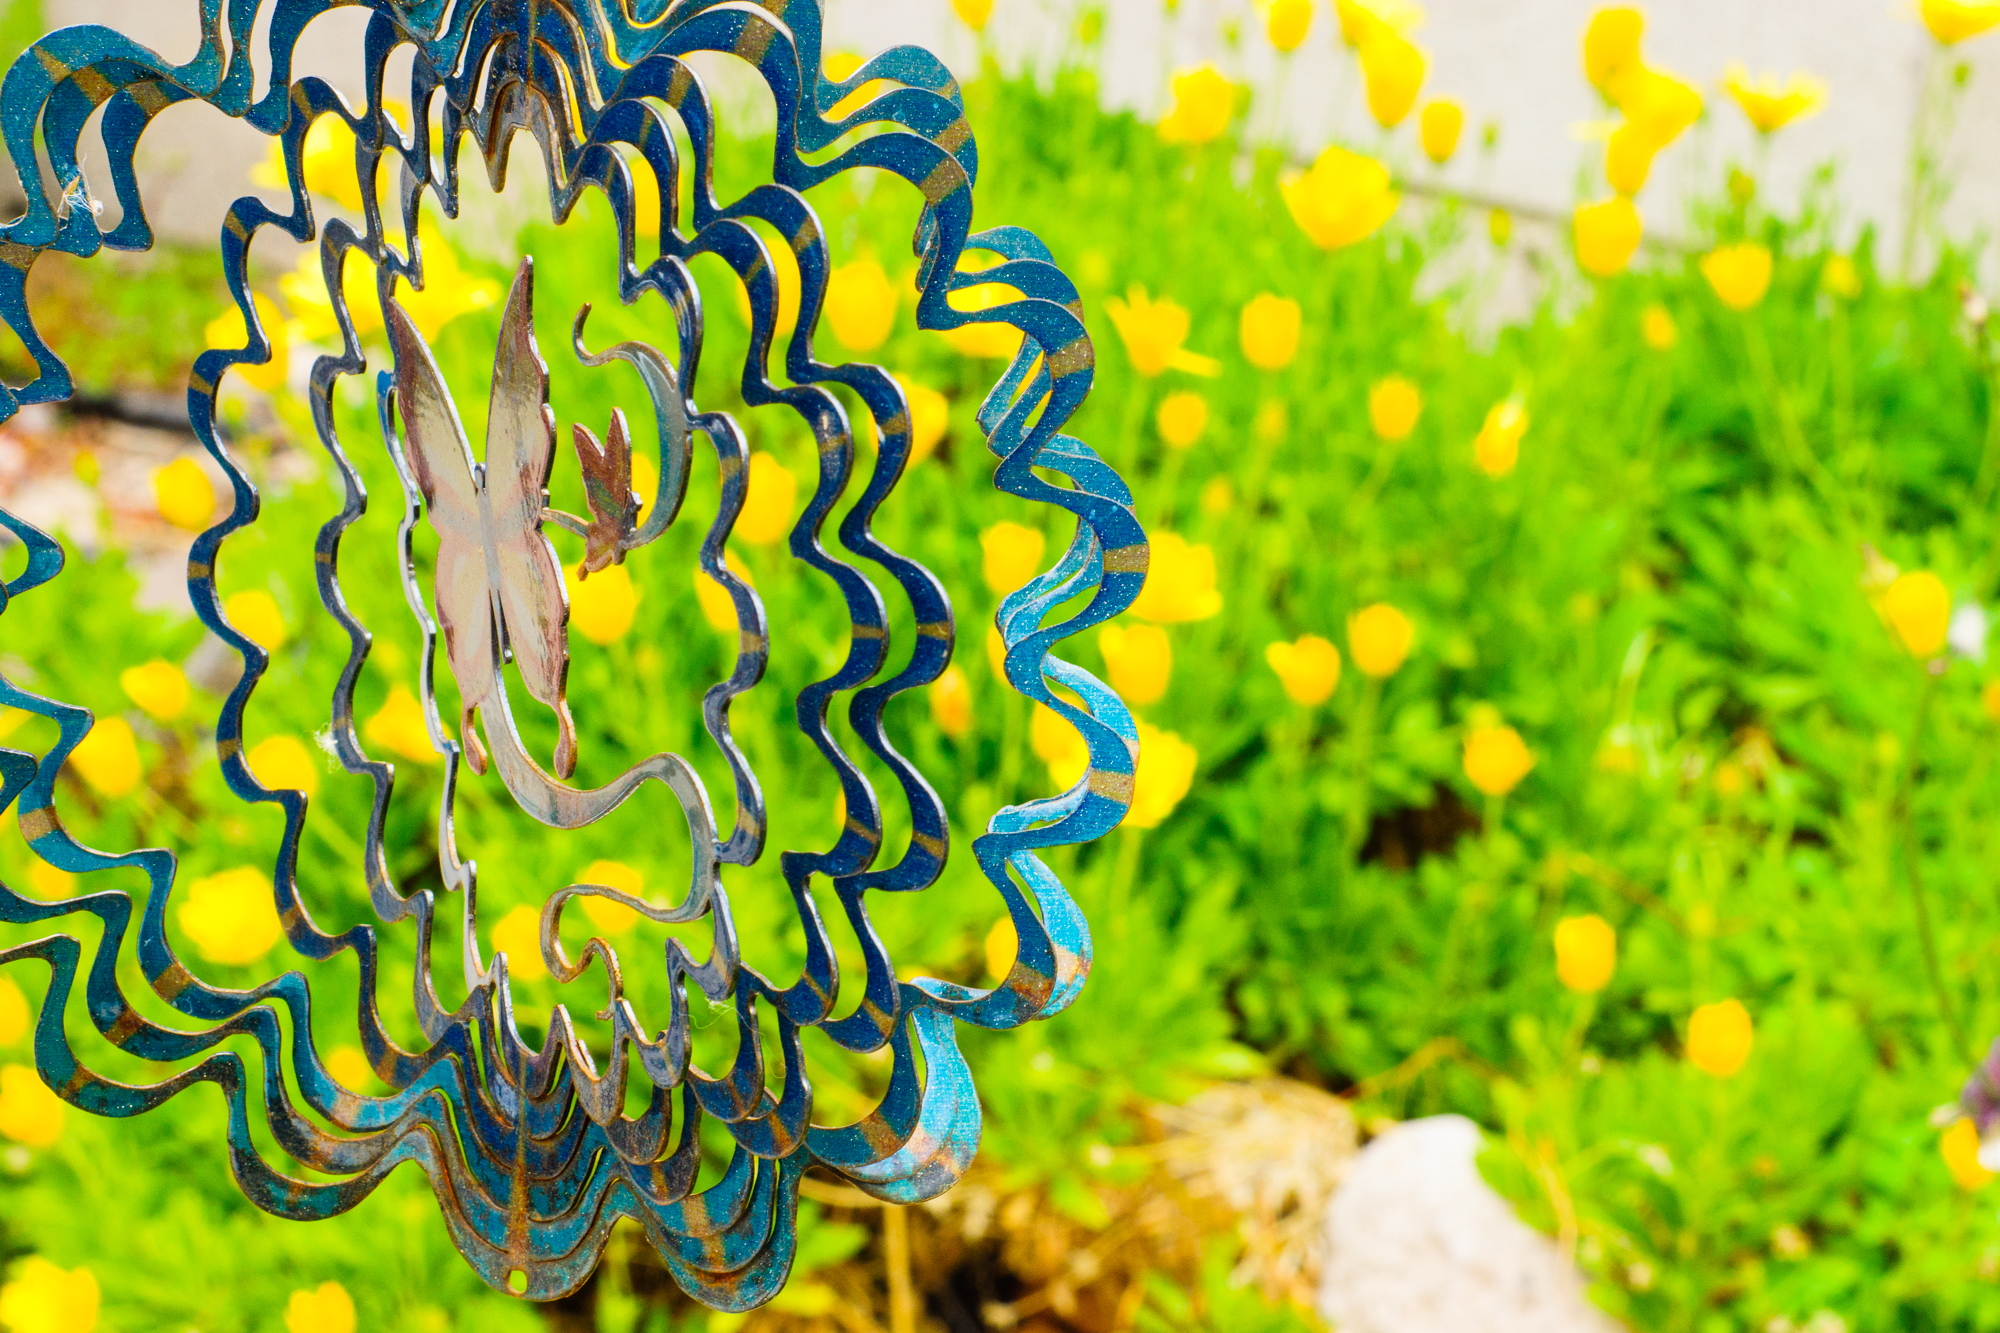
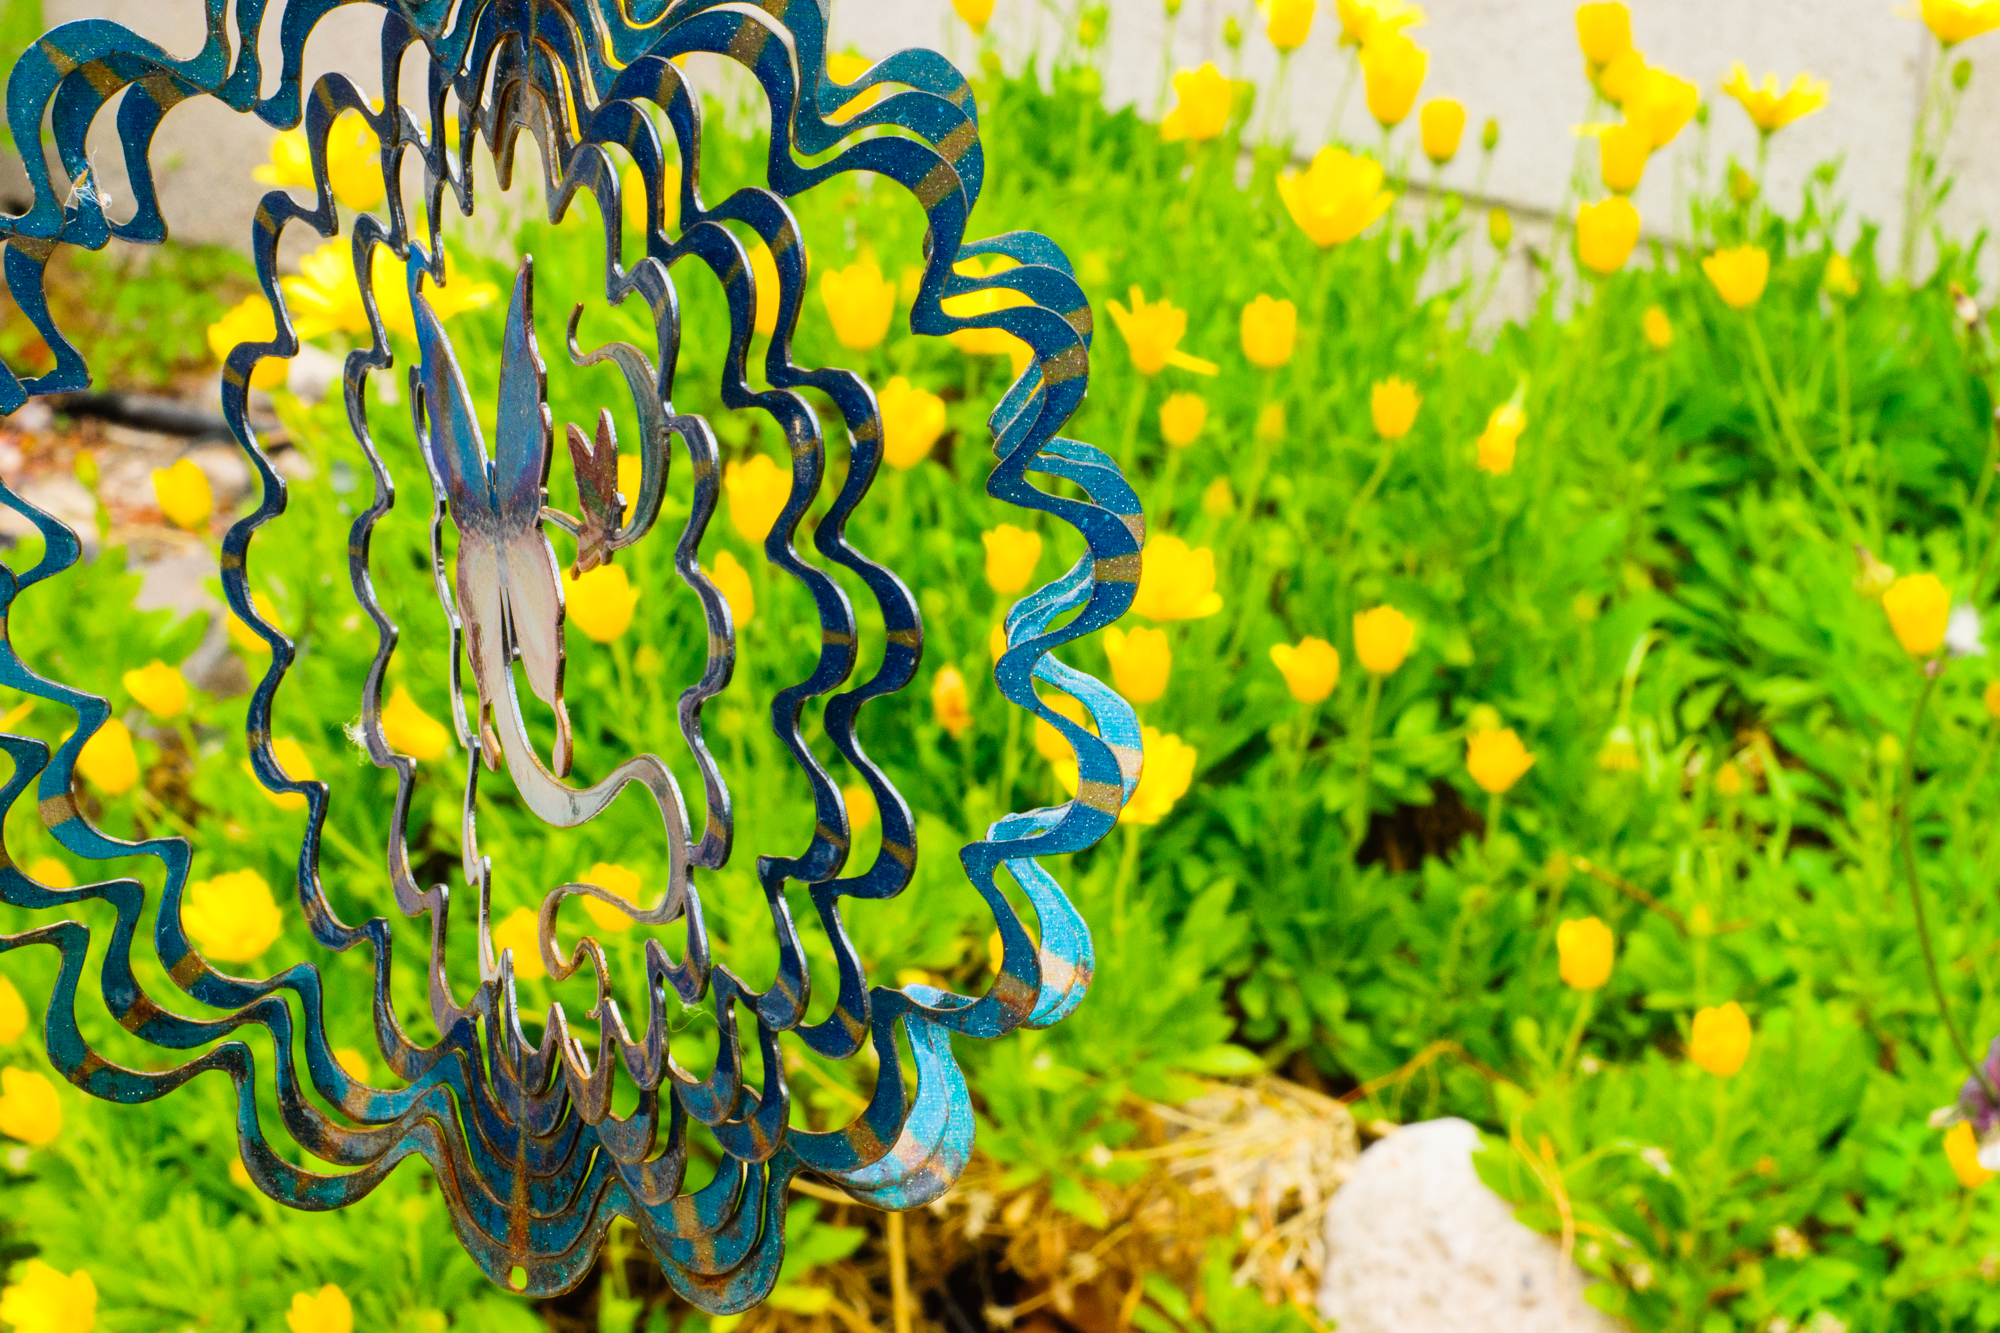
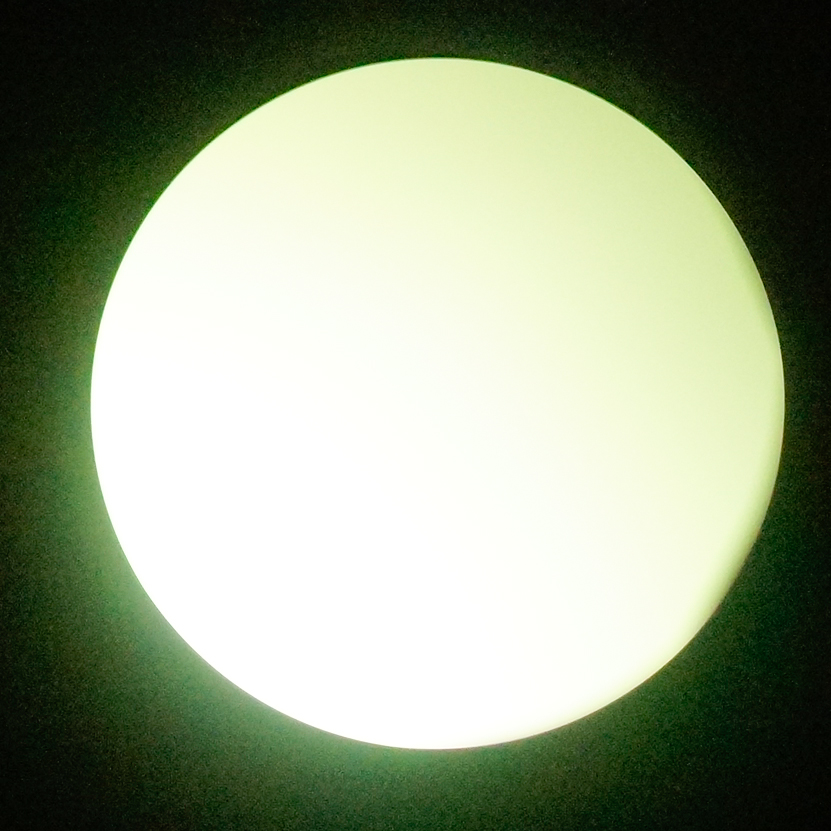
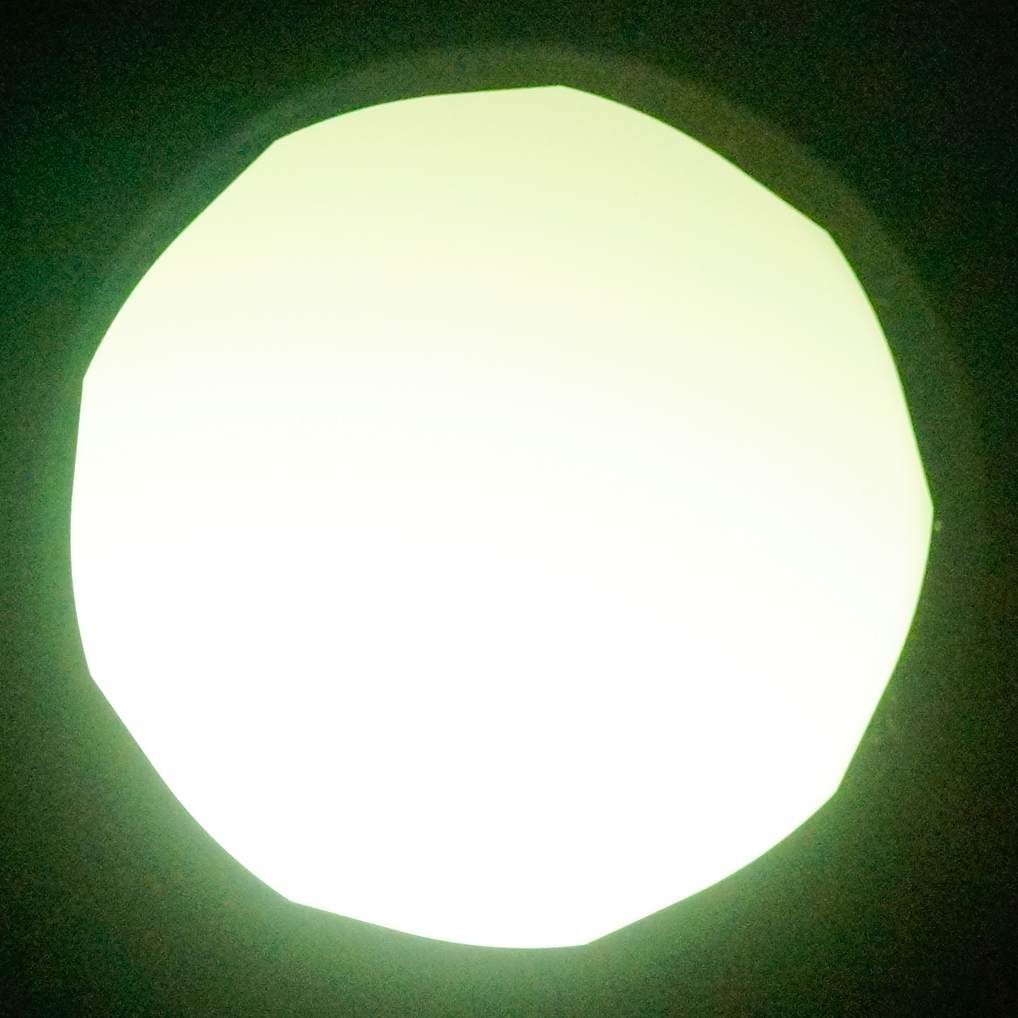
These three images add up to about 14.5 minutes of exposure. I put the same settings on all of them when converting to jpeg then stacked them in photoshop. After you do that then you will only see the top layer. There is a drop down menu in the layers tab/window that should say “normal.” The trick here is to go to that drop down menu and pick “lighten” for everything except the background. The parts of the image that add light will show up through the layers.

3.jpg

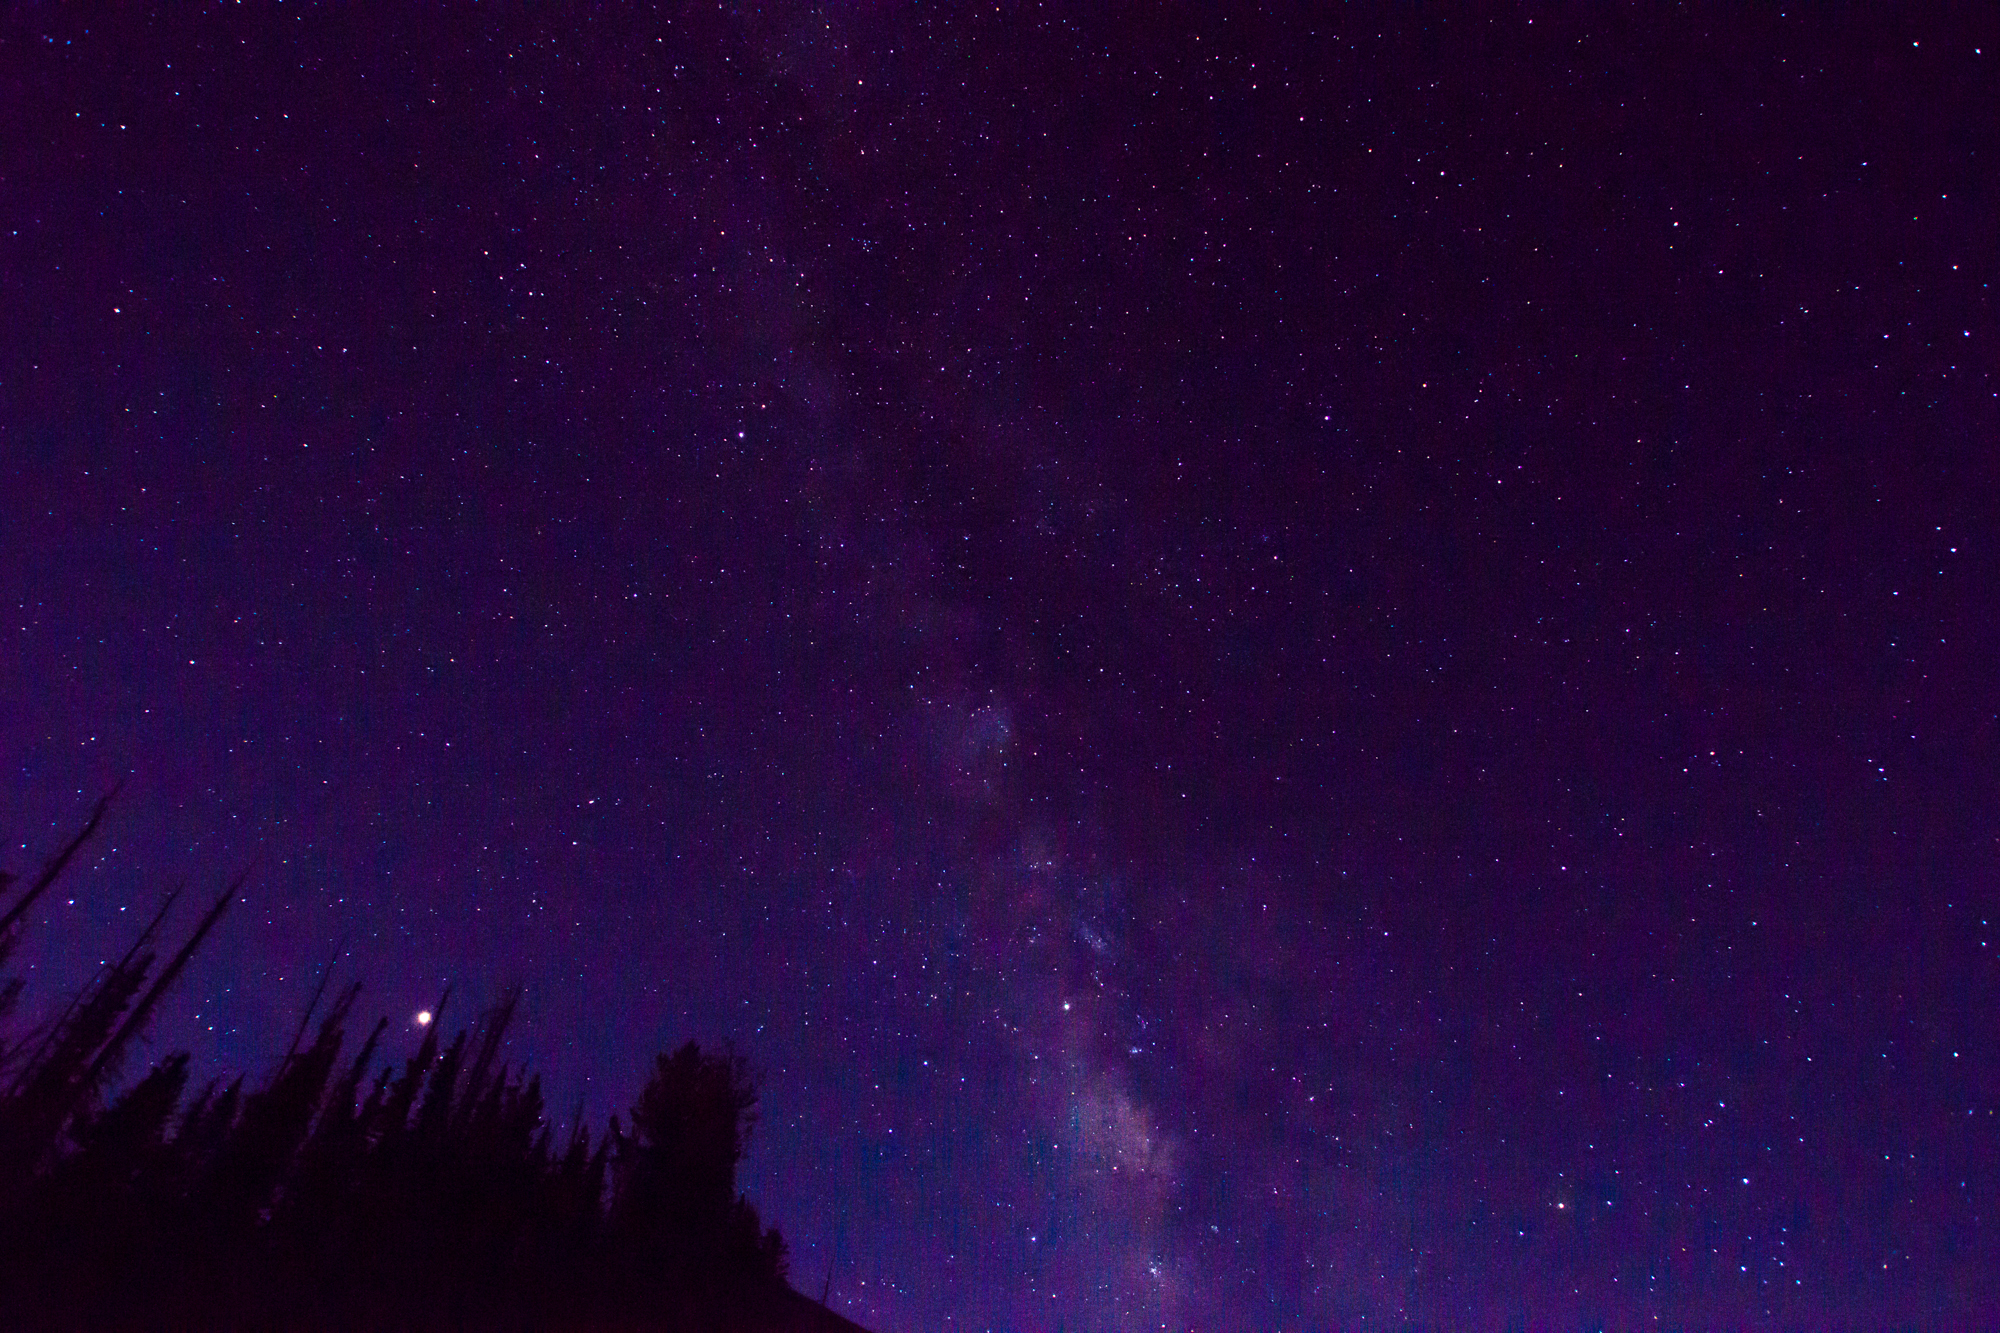
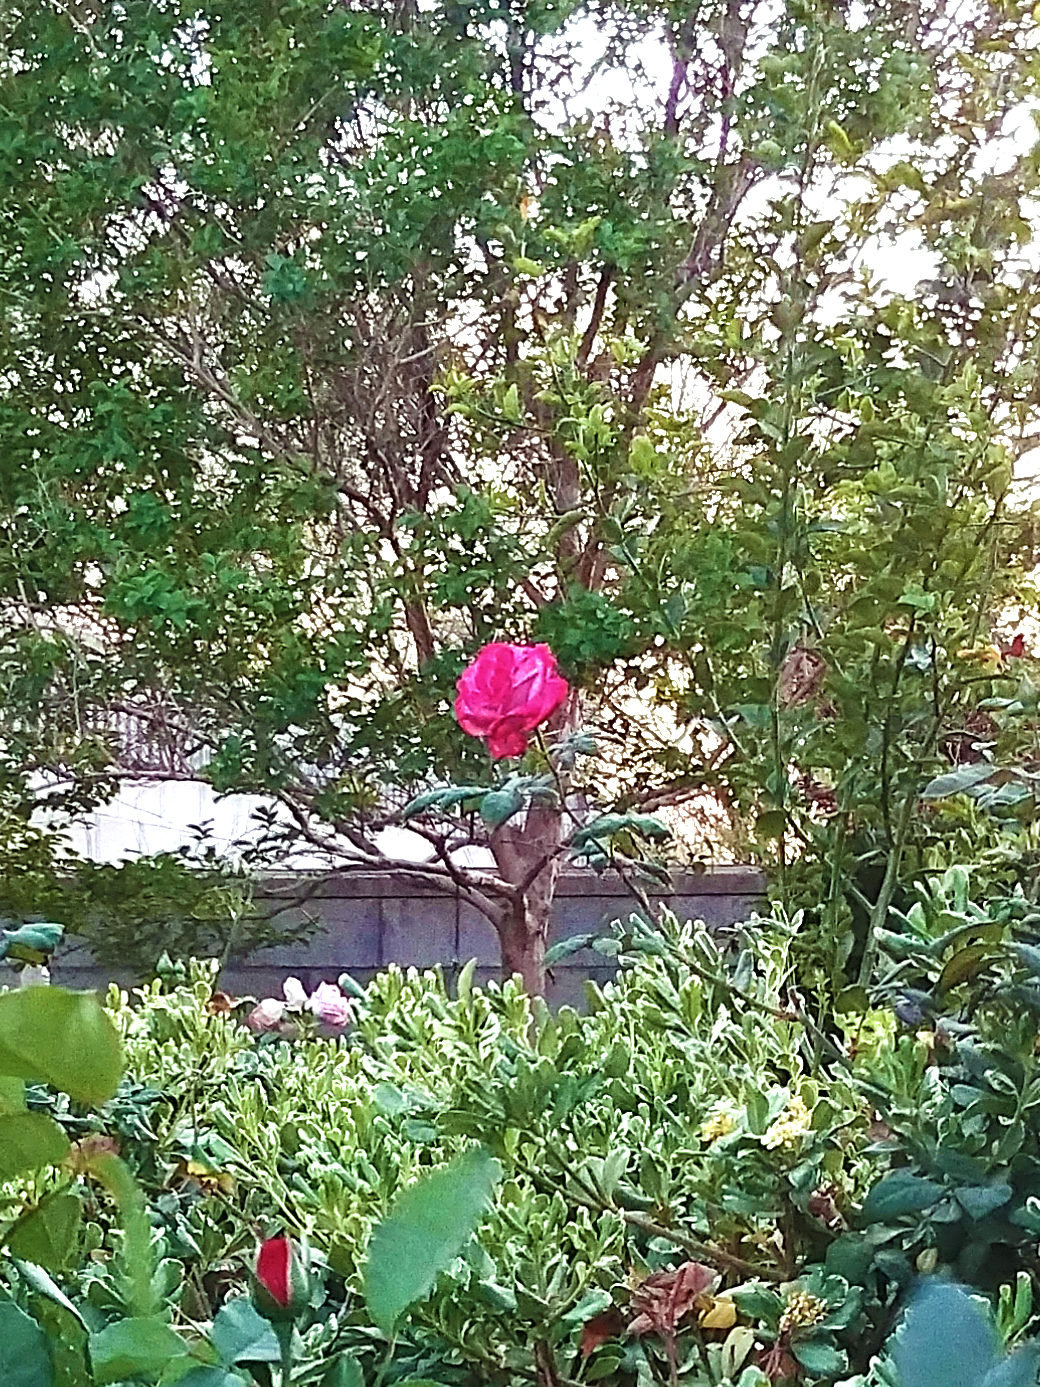
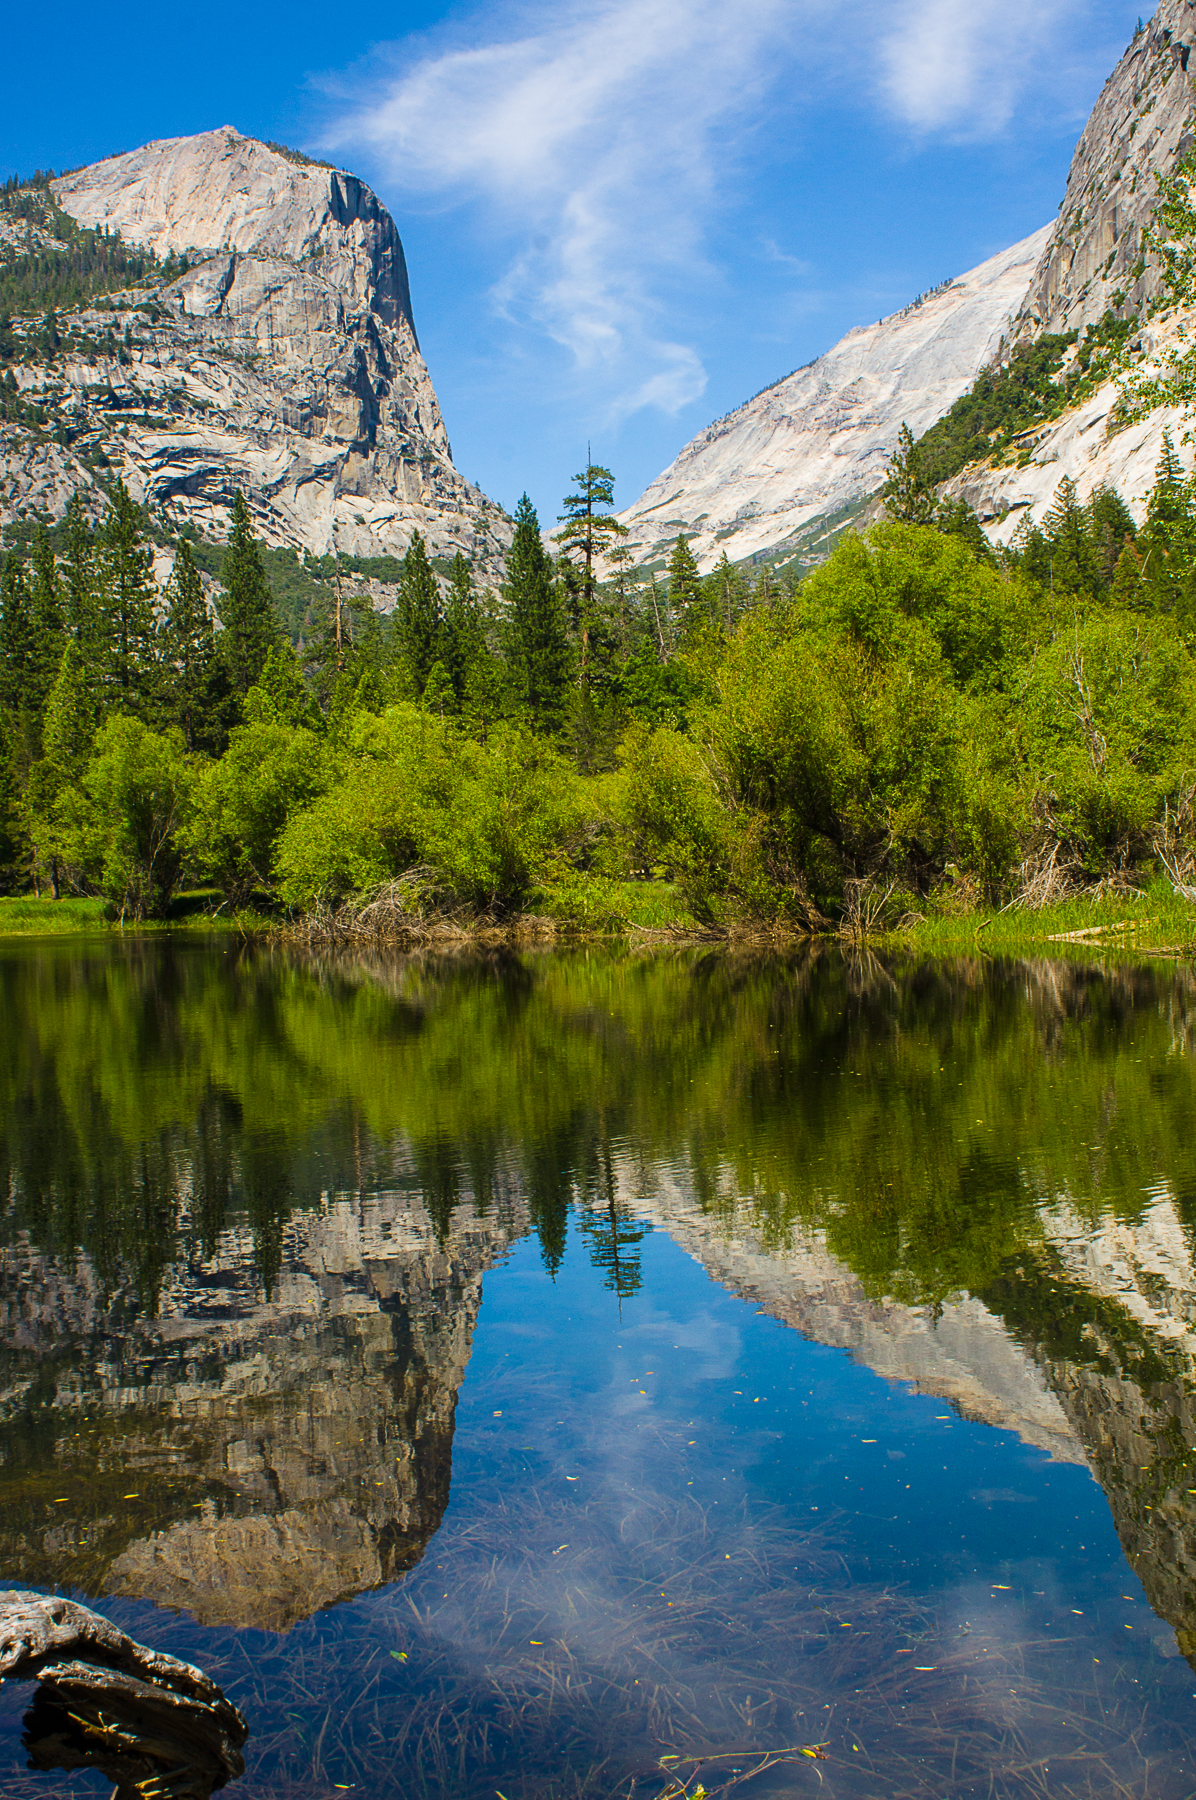
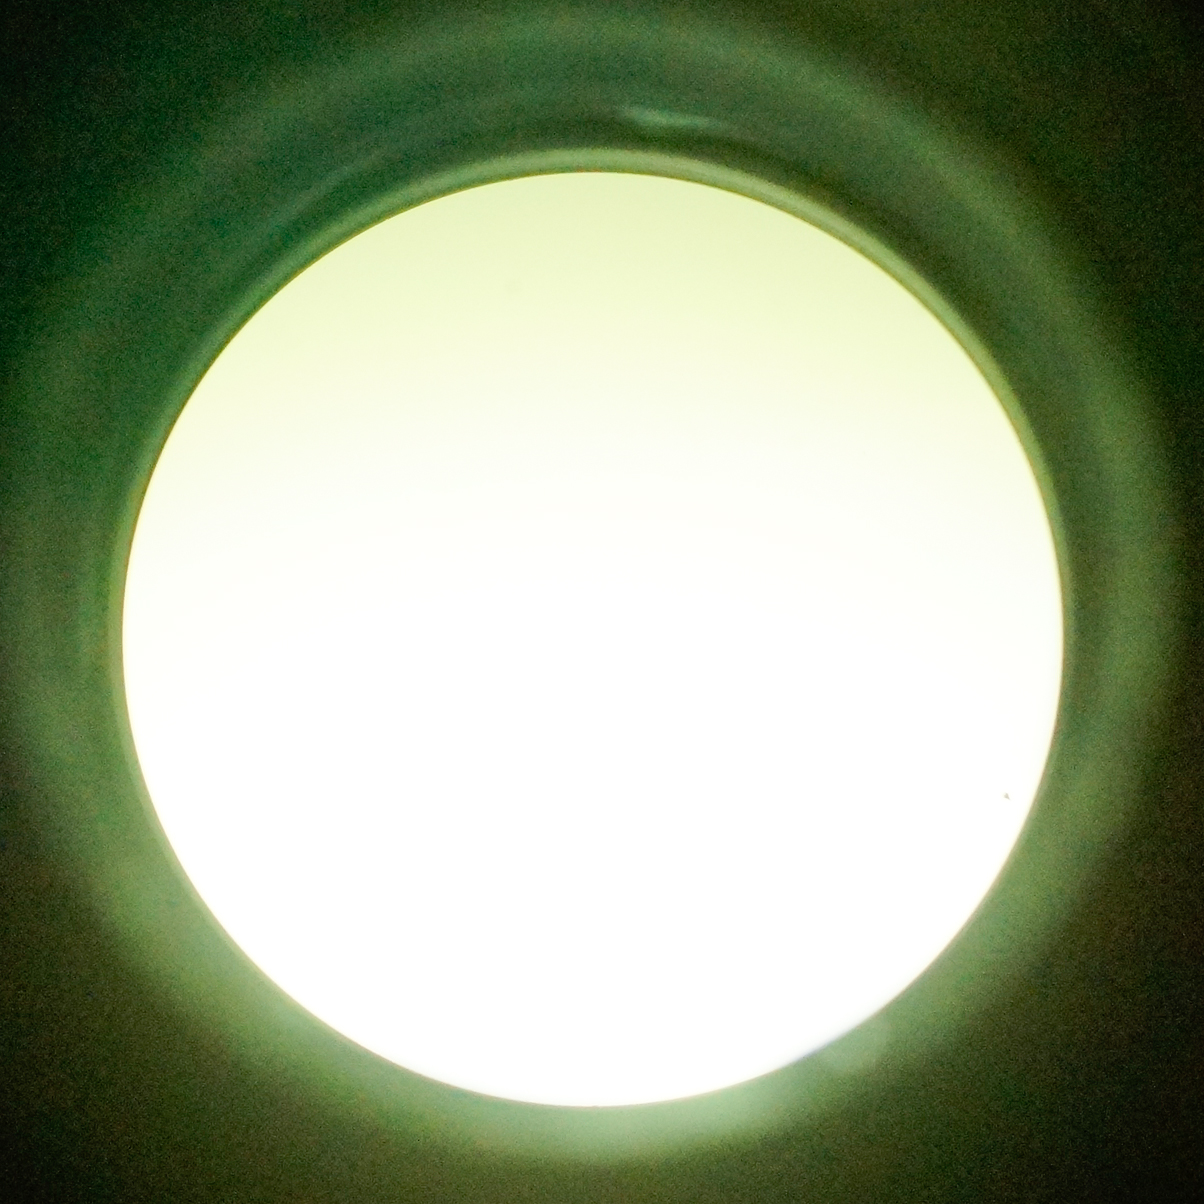
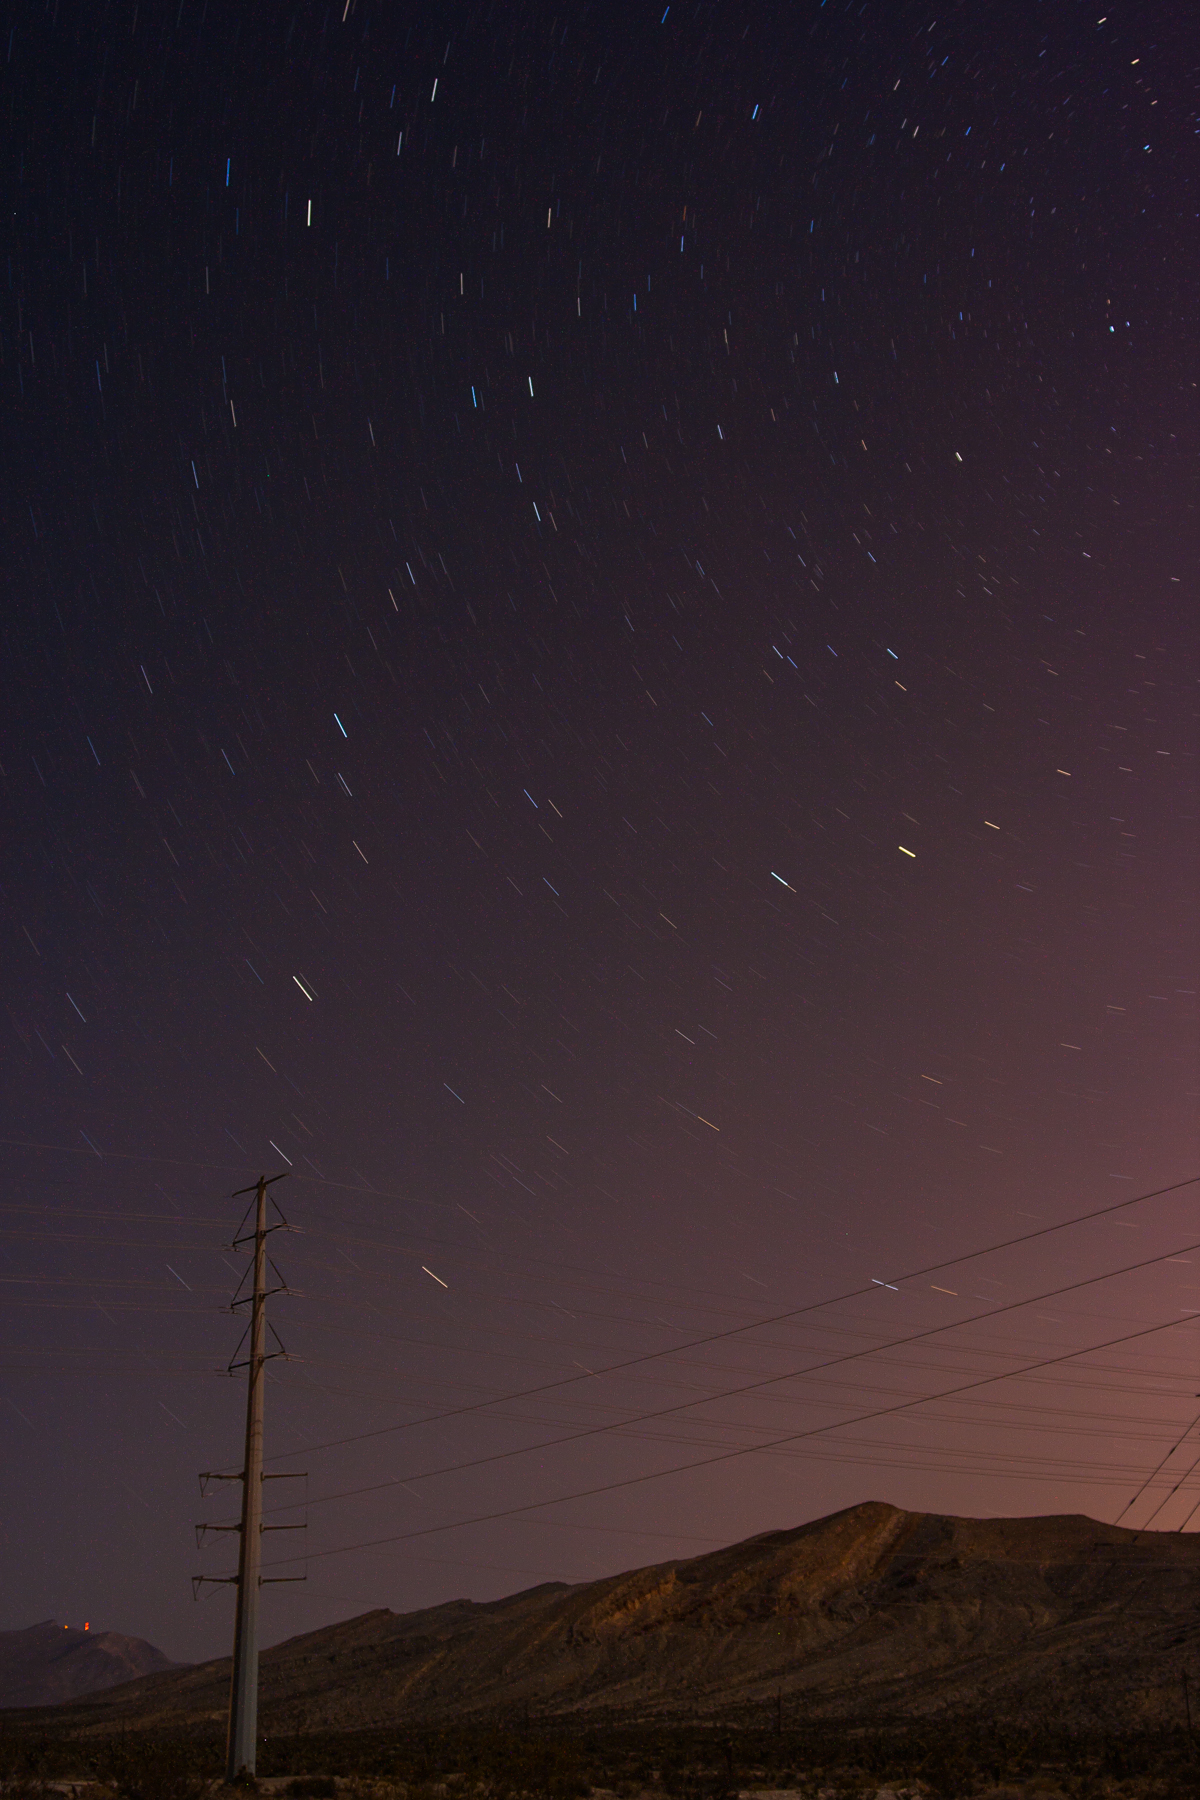
Above is all three images stacked with the “lighten” setting then I went to Layer>Flatten Image which will put all the layers together into one that can be saved as a tiff or jpeg. Notice that the sky got brighter from the light pollution, being near a bright city doesn’t work well with astrophotography. This will work with other times when trying put together multiple images, car trails, I even heard that it will work with water to mimic a long exposure (I haven’t tried it though). So grab a sturdy mount, a remote, your camera then go out and shoot.

~Scott

tags: teaching, astrophotography, stars, long exposure, photoshop, layers, stack, trail, editing, education
Saturday 11.17.18
Posted by Scott W Gonzalez
 

Flash 3 (flashfoolery)

Good morning,

I recently went back through old pictures and came across some flash photography from when I first started out using off camera flash. I have since put them in the Still Life gallery.

Below we have a jack o lantern. This particular one I was using a slave flash. The flash was inside the pumpkin facing the back. I had a hole in the top toward the back for a chimney as I was still using candles in my jacks back then. The trigger flash was covered with paper so it didn’t flash forward only up, which was enough to trigger the slave flash in the pumpkin. I set it on a timer so I could be by the front and out of the frame spraying a mist with a water bottle. It took more than a few times to get it right. The light on the left was intentional and from a second flash that was out of frame to give dimension to the pumpkin.

places with high humidity might not need a mister

places with high humidity might not need a mister

I also played with changing the color of the light as well. I saw the gels that were available and didn’t want to wait for something like that. So I tried putting colored paper over the flashes. It worked the way that I wanted and I never got gels. I put the flashes facing the flowers about 90 degrees from each other.

Blue on the right flash and pink on the left

Blue on the right flash and pink on the left

Photography has been a journey of discovery and experimentation for me. With digital it has become easier to learn, instant results and metadata have made it so much less time consuming and less expensive. Grab your flash, be prepared to experiment, then go out and shoot.

~Scott

tags: flash, experiment, photography, photo, fun
Saturday 10.20.18
Posted by Scott W Gonzalez
 

Flash 2 (Fill Flash)

Good evening,

So this is just a quick one. Fill Flash or using a flash in bright lit scenes to brighter the dark parts. Most often used in my experience is during a backlit portrait. Nice bright landscape that you want to include in the portrait or selfie except that the subject is too dark so you change the exposure to make the subject brighter then the background is lost in highlights. Fill flash to the rescue.

_DSC5553.jpg
_DSC5555.jpg

First one is no flash and the second one is with the built in camera flash. I had to change ISO from 800 to 200 because the shutter changed from 1/400th to 1/100th of a second. The settings in post are identical. If I wanted I could probably have made the non flash one better, I feel that it is better to get it right in camera than to try and fix it later in post.

Until next time. So grab your camera, pop the flash up, don’t fear those backlit portraits, then go out and shoot.

~Scott

tags: flash, photography, learning, teaching, fill flash, backlit, background
Thursday 10.04.18
Posted by Scott W Gonzalez
 

Flash 1 (probably)

Good evening,

Tonight I am going to talk about flash photography. It is a huge subject hence the "1" in the title. There is so much that it is intimidating, at least it was for me. I recall trying to do everything with natural lighting because it was more "real." I was doing it because flashes can be expensive, the flash that comes with the camera isn't good, and it was another thing to learn. Well after learning a little it was fun, I could make the light do what I wanted instead of placing my subject to suit the natural light.

The reason that it is intimidating is because there are new equipment and new terms to learn. For example; bounce lighting, fill lighting, background lighting, wireless, umbrella, soft box, remote lighting, reflected light, catch lights, ring lights, etc. 

It is best to start with the simple and go from there. Mind you I am not going to cover all that I listed in this post.

So the flash that we have built in to our DSLR usually sucks and gives a mugshot type image. See below.

Notice the shadow on the background that is 4 ft away, the flat lighting where depth in my face is lost except at the wrinkles in my skin.

Notice the shadow on the background that is 4 ft away, the flat lighting where depth in my face is lost except at the wrinkles in my skin.

Now this might sound and seem discouraging to the built in flash and that is not my intent. I am just trying to make the flaw known so it can be worked around. There are multiple modifiers out there from mirrors that bounce the light off of the ceiling (doesn’t work outdoors), to softeners that basically turn the flash into a small softbox (more on that later), to filters that change the color of the light, and other items to “fix” the flash.

The camera flash can be used as a fill flash in backlit situations, in documenting subjects, street photography, and my favorite as a trigger for wireless flash photography.

Again this is the same built in flash with a modifier. There is more depth to my face and the wrinkles appear less prominent. The coloring is better in my opinion too but that can be changed in post. The shadow is still there, it not as obvious thou…

Again this is the same built in flash with a modifier. There is more depth to my face and the wrinkles appear less prominent. The coloring is better in my opinion too but that can be changed in post. The shadow is still there, it not as obvious though.

So in the second image I used an inexpensive modifier, a piece of wax paper set at about a 45 degree angle in front of the built in flash. Some of the light bounced off the ceiling and most of it went through the wax paper. Both of the images were shot in jpeg with the WB set to flash. I will go more into discussing flashes at a later time. So grab your camera then go out and shoot.

~Scott

tags: flash, photography, built in, teaching, learning, photo
Tuesday 09.18.18
Posted by Scott W Gonzalez
 

Star Trails

Good afternoon,

Today it is onto star trails which are very different from getting the stars to be static. Similarities are; needing a sturdy tripod, know what you are trying to capture, a foreground interest can make a picture, and planning helps.

Now the differences; a high ISO is not needed, a large aperture is not as important, and a remote release is important. After about 15 seconds or so the stars can be seen as more than a dot. With trails we want that so that is why ISO and a large aperture aren't as big of a deal. 

Here is a stack of 30 second exposures taken back to back from a balcony in Lake Tahoe. Pointed North - Northeast. Around 140 images put together for a total of a 70 minutes exposure, each photo was 30 seconds each, 28mm, f2.8, 200 iso.

Here is a stack of 30 second exposures taken back to back from a balcony in Lake Tahoe. Pointed North - Northeast. Around 140 images put together for a total of a 70 minutes exposure, each photo was 30 seconds each, 28mm, f2.8, 200 iso.

So there are 2 ways to go about star trails. Either taking a bunch or photos and stacking them afterward like above. The benefits are; less noise, if frames have something unwanted (planes, satellites, UFOs, etc) they can be left out. The down side it is time consuming in post.

Below is the other way which is to keep the shutter open for a really long time. I have heard of all night exposures. Personally I have gone with a couple of hours at most with good results. The benefits are it has more of a set it and forget it approach, and post processing is just a couple of images (if combining exposures of a separate foreground and background). The bad part is if something goes across the frame it is a pain if even possible to remove it and there could be more noise from the long exposure.

This was taken in Death Valley, I light painted the tree. I was trying to capture some meteors in the shot and failed. This was a 29 minute single exposure. 28mm, f5.6, 1759 seconds, 400 iso.

This was taken in Death Valley, I light painted the tree. I was trying to capture some meteors in the shot and failed. This was a 29 minute single exposure. 28mm, f5.6, 1759 seconds, 400 iso.

Experiment and see which you prefer. There are programs that are designed to make the stacking process easier, I just use photoshop because I don't take this type of image often. So find a night sky, grab your tripod, shutter release, camera then go out and shoot.

~Scott

tags: star, sky, night, teaching, education, trails, long exposure, tripod, shutter release
Tuesday 08.21.18
Posted by Scott W Gonzalez
 

The Stars

Good afternoon,

More or less back on schedule. So I was at Cedar Breaks with the family a bit ago. If you are not familiar with it, Cedar Breaks is a designated an International Dark Sky park. The night skies are amazing there. After posting some of the pictures I was asked "How did you capture this?" and a response was placed by a friend "Read his photo blog." So I knew that I had to write about it.

For shooting the stars there are a few things. 1st know what you are trying to accomplish. If we are trying to have static stars then a wide aperture is important, star trails not so much. 2nd have a sturdy tripod and for best results a timer setting or a shutter release. 3rd Foreground interest sets a scale. The sky is a big place, if there is nothing but sky it doesn't seem as big. 4th planning helps, I use Stellarium (www.stellarium.org), and Google Star Maps. 5th Having an idea of what you want to capture. And 6th Knowing the Moon and Sun rise/set times.

Tripod mounted, a57 3200 iso 1/6 second 210mm f4 with a cable release. Venus is on the bottom and Jupiter is on the top with 3 moons.

Tripod mounted, a57 3200 iso 1/6 second 210mm f4 with a cable release. Venus is on the bottom and Jupiter is on the top with 3 moons.

Today I will talk about getting the stars static. So a wide aperture lens and a high ISO are goals here. Focal length can vary greatly with what we are trying to capture. When Venus and Jupiter had a conjunction a few years back I used a telephoto zoom and a high ISO. 

For the Cedar breaks pictures I was using an 11-18mm lens. Again I used a high ISO and as wide of an aperture as I could, to collect more light I used a longer shutter. Now with the higher ISO you risk losing some stars with noise reduction or having noise. I am okay with losing some stars especially if I am in a dark location. Below the noise can be seen and in the second image noise reduction has been applied. ISO 3200, 10 seconds, f4.5. With a focal length like this I have found that 10 seconds in about the longest that I can go and not see streaks or the beginning of trails. If you go and look around you might come across a "Rule" called the 500 rule. I feel that it is bogus, it says to divide 500 by the focal length. In this case it would be 500/11 which would equal 45 seconds. While I was taking pictures I decided to see how long I could go before seeing trails. It was 13 seconds which is a far cry from 45.

_DSC3848.jpg
_DSC3848-2.jpg

So to answer the question of how I took static images of the stars and Milky Way it was using a high ISO, a tripod, a wide aperture, less than a 10 second shutter speed, and just playing around with settings. So find a dark sky, grab your largest aperture lens, then go out and shoot.

~Scott

Again I would enjoy seeing readers photography.

tags: teaching, question, answer, night, star, Q&A, photography, astrophotography, aperture, focal length, rule
Tuesday 08.07.18
Posted by Scott W Gonzalez
 

The Unexpected

Good evening,

So this is turning into an almost a monthly thing. Sorry I will do better.

People say it all the time and to me it seems clique. We as forward thinking humans are supposed to "expect the unexpected." Realistically expecting what is unexpected would make it expected so it wouldn't be unexpected anymore. To me it has to do more with going with what is happening than trying to ponder all of the things that could not be in order. So I was on vacation with the family. A beach house that backed up to the ocean to the point that waves would crash over the back wall during high tide.

My 7 year old watching the waves.

My 7 year old watching the waves.

It seemed like the perfect place to do some astrophotography over the ocean. They can't be made out in the image but some of the Channel Islands could be made out on the horizon. The HOA has a policy for external lights to be turned off at 10pm too. My plan didn't quite work out how I wanted it to for various reasons. Such as oil rigs with lights on and people not caring too much about the 10pm light policy. So the skies were not all that dark. I didn't let it stop me though I just rolled with it and decided try and use some of the lights to my advantage.

Waves crashing in the foreground, an oil rig in the mid ground, and Scorpius in the background. I feel that it works for something a little different.

Waves crashing in the foreground, an oil rig in the mid ground, and Scorpius in the background. I feel that it works for something a little different.

Now this is not what I was expecting to accomplish when I planned the shot. I was thinking a darkish sky nothing like Cedar Breaks but something darker than this. I feel that it worked out. The oil rig lights I could expect the outside lights being left on not so much. If we spend all our time wondering what the worst case scenario is and how to work around it we will never even grab our camera. So be prepared for things to go not the way you want not to the point of stressing so much you stop enjoying the process though, grab a camera, roll with what comes your way, then go out and shoot.

~Scott

tags: unexpected, roll with it, teaching, patience, expectations, learning
Saturday 07.21.18
Posted by Scott W Gonzalez
 

Deleting photos

Good Morning,

Sorry it has been a while. School is out and 2 kids are time consuming. Today is just a tip for a pain in the but process I have been dealing with. I have had many times where I took way more pictures than needed to get the shot that I wanted to capture. Like blowing out candles during a birthday party, hitting the ball  during a game, a first kiss during a wedding, etc... Taking a plethora of pictures in this day and age is easy. It is also easy to let a few days build up then a few weeks then a month or two and if you are not careful it can turn into a year or more. In years 2014 and 2015 I took over 13000 pictures each year. Realistically at most about half of those were good quality, in focus, and not a near duplicate image. That brings it down to 7500 each year. While spending hours going through and deleting these I realized that it would have been easier to go through them after uploading. With our megapixels increasing hard drive space becomes limited, a 2 gb card will hold around 115 raw files from a 16mp camera or 57.5/GB. One terabyte would only hold around 58,000-59,000 of those same files. 16mp isn't even a large image size either anymore, a quick search showed a 50mp camera from Canon. My advice here is to delete the photos that aren't your best after uploading them. It takes a few minutes and give you time to enjoy your photos. If it becomes a habit then you don't have to look through thousands of photos all at one time because you are running out of storage space.

_DSC9118.jpg
_DSC9122.jpg

These two images were taken 1 second apart and there were 3 captures between these images and about 20 captures total. I kept five or around a quarter. Delete, free up some space, grab your camera then go out and shoot.

~Scott

tags: camera, teaching, storage, space, learning
Wednesday 06.27.18
Posted by Scott W Gonzalez
 

Film

Good Evening,

I still shoot with film sometimes. Granted it is not often due to costs, time, ease of digital. I recall the magic of it though. While in high school I worked on the newspaper and the yearbook. Taking a few pictures but printing them often. It might be nostalgia, seeing an image come into being after putting it into developer was mesmerizing. If you get the chance do it first hand. I introduced my daughters to it however they were born into a digital age and never had to wait for pictures, or pay for them. I do not have the ability to develop prints at home even though it is something that I would like to have them experience.

The advantage of film is that it has nostalgia, each film has a different look and feel to it, shots have to be thought out, you are limited to how many images you can take, and all of those add up to us slowing down.

Some of this can be done with digital. The nostalgia not so much, but during outings with our cameras if we limit ourselves to 36 exposures while turning off the preview some of the feel of film can be captured. If you want to go a step further limit the WB and ISO. Back in the day the only way to get a new ISO or WB was to change out the roll of film. Getting the look of the film is still a little difficult. There are some profiles out there that are decent, I haven't tried too many. Another way to get it is to shoot the same thing and the same time with digital and film then copy the look from the film. It is time consuming to do but I feel the look is better.

Here are a couple that I took and edited after. The size difference is from using a crop sensor on the digital camera and roughly the same position I believe. Without exif data I can't say for sure what lens I was using.

31520018.JPG
_DSC7955.jpg
31520004.JPG
_DSC7008.jpg

A couple of recommendations that I have if you are going to shoot film. Find a lab with a good price and good reviews (I used Willow Photo Lab for these on Ektar 100 film), and be prepared for the price. I sent in 10 rolls to develop/scan/print and with shipping it was $7.00+ per roll, with a single roll it would have been $7.50 per roll without shipping. First time using them and the work was good. Get some nostalgia going on or if you are too young to have ever shot film learn what us old timers had to go through before digital photography by borrowing or buying a film camera. If that is too much lock settings in and turn off your preview then wait a couple of days before looking at your pictures. What ever you decide to do just pick up a camera then go out and shoot.

~Scott

tags: film, teaching, nostalgia, old school, waiting, photography, pictures, cost, learning
Thursday 05.24.18
Posted by Scott W Gonzalez
 

Instruction Manuals

Good evening,

I am a week off. I was ill and now one of the children is ill and someone was ill before that I lost track. I realized that it is a pain to talk in the "we" and "our" terminology and I have decided to not do it as much. I learned something new today though that I feel I should share. It goes along with the comparison from the last blog. We all know or should all know that the effective focal length changes with the crop factor, well the effective aperture changes as well. So the f1.8 on an LG G6 is closer to an f13 because the crop factor is 7.37 which explains why so much is in focus with the camera. Also the 4mm is closer to a 30mm. This was explained in greater detail at photographylife.com. 

So instruction manuals, the boring part of getting a camera. Most of the time the cameras are roughly self explanatory especially if you have experience with that kind of camera before. The other day I bought a Nikon off of an acquaintance with the idea of selling it for more money. She got more that she was asking and I should get more than what I bought it for. I have never used a Nikon DSLR before and realized how different it is from Sony, Minolta, and Canon cameras. Thankfully the manual came with it and I could figure it out. Before picking it up though I spent 30 or so frustrated minutes trying to change the ISO off of auto and changing the focus points on the camera. After looking through the manual for a few minutes I figured it out and I recalled a decade or so ago I found some interesting things from the manuals. Like how to take multiple exposures on a single frame of film, add picture styles to the editing program, use the AE-L button effectively, and other things that I can't remember having learned from the manuals. So my advice is look through your manual the thing that you might not know your camera can do might be the thing that will make some great shots. Again I would love to see some pictures in the comments. So get your camera's manual, peruse it, see if there is anything new, grab your camera, then go out and shoot.

~Scott

I had to change the setting to take this photo so I could see how well the camera worked before trying to sell it.

I had to change the setting to take this photo so I could see how well the camera worked before trying to sell it.

tags: instuctions, manual, learning, teaching, reading, Camera, basics, photography
Tuesday 05.08.18
Posted by Scott W Gonzalez
 

Best Camera

Good Evening,

A question often asked to photographers is what is the best camera. A common response is "The one you have with you." This is a little misleading because it doesn't actually give any new information. If we only have a camera phone with us to catch a moment then it is the best camera. That doesn't mean that we should just take a phone with us to capture a special event like a wedding, birthday, party etc... especially if it is a planned event. It doesn't make sense. Yes great images can be made with cell phones. How many times do we see a great or even good photographer going out to a location with just a cell phone. What we are planning on doing with the image is also critical. Posting online or making small prints, it doesn't matter as much. Making large prints, the cell phone might not cut it.

This is more about knowing the limitations on equipment rather than bashing the idea of a highly portable and relatively inconspicuous camera. A cell phone has a smaller sensor (some as small as 4.54 x 3.42mm) compared to most other cameras but often the same amount of megapixels. Which means it has less space to fit all those pixels (think of each pixel as a bucket to capture light), meaning more noise in the image, less low light capabilities, and most likely less dynamic range (the HDR option can help). Full frame DSLRs have a 36 x 24mm sensor and regular DSLRs have 23.60 x 15.60mm. If there was the same amount of pixels on all three the the regular DSLR would have over 23 times the sensor surface and the full frame would have over 55 times.

Below we have relatively the same image taken with an LG G6 and a Sony a77. Trying to match the color was a pain.

g6 roses.jpg
SLT roses.jpg

Some might see it as good thing others might see it as bad. With a DSLR one can select the area that they want in focus, with a cell phone not so much, most everything is in focus. The difference can be seen in the images above.

Below are some crops of the images above. The differences in detail, transition from in and out of focus areas, and how they are rendered by the programs. The order goes LG then Sony through the slideshow.

g6 rose colored.jpg
SLT rose colored.jpg
g6 roses left.jpg
g6 rose bottom.jpg
SLT roses bottom.jpg
SLT roses left.jpg

Now some good things about cell phones. Pictures can be shared to social media, emailed, or texted right away. To get the most out of a DSLR processing of the image needs to be done. Selfies are so much easier with them too. Just like with everything there are good and bad things. So pick up the camera that you have then go out and shoot.

~Scott

tags: cell phone, camera, compare, best camera, dslr, teaching, learning
Friday 04.20.18
Posted by Scott W Gonzalez
Comments: 1
 

Scouting Locations

Good Morning,

Let's start with an apology for this being late.

I was about to go on vacation and had an idea for a post, that didn't pan out, so I held off the blog. If you follow my instagram you probably already knew.

I was about to go on vacation and had an idea for a post, that didn't pan out, so I held off the blog. If you follow my instagram you probably already knew.

Now that that's out of the way. Today we are going to talk about scouting locations. This can be as simple as acknowledging that a location would be great for a photo at a different time. Taking a picture on a cell phone and adding a note works great, GPS coordinates might already be there and seeing the picture again can jog the memory. It can even be low tech with a note pad and a writing utensil. These are both great for locations that we have been to.

On the other hand sometimes we are going to a new place with just the internet to help us. St Louis was the destination and the full moon and Gateway Arch were the subjects. Timeanddate.com provided the azimuth and time of moonset, and google maps and streetview provided locations that could see through the arch on that azimuth. Upon arriving to St Louis double checking the bearing was done with a compass and test shots were done. Then hoping the weather cooperated was the last step before the event 3 days later. The weather gods graced the idea by clearing the skies. Arriving early helped with showing the arch wasn't as small as hoped for against the backdrop of the moon. Again google maps helped with locating another location. Arriving even earlier would have helped but alas it was not done.

This was the second shot that I did. To see the arch I had to lose detail in the moon. I was not happy with that. I took another couple of shots with the idea that if my move to a new location didn't work I could combine the photos. My friend in St.…

This was the second shot that I did. To see the arch I had to lose detail in the moon. I was not happy with that. I took another couple of shots with the idea that if my move to a new location didn't work I could combine the photos. My friend in St. Louis says this is the best image of the Arch he has ever seen.

Below is the first photo with the whole arch in the frame from the first location. It was shot at 100mm to get the arch. The second photo is at 300mm without the whole arch because the trees were in the way. Even with well laid plans things sometimes don't work out the way we would like. Just like the original idea for a post. Make some plans, scout locations, grab a camera, then go out and shoot.

_DSC2062.jpg
_DSC2068.jpg
tags: planning, teaching, learning, scout, location, plan, photography
Tuesday 04.03.18
Posted by Scott W Gonzalez
 

Reflections with CPL

Good evening,

Tonight we are going to talk about reflections. We can add a new dimension to an image with a reflection. There are plenty of images out there with reflections, quite a few would just be okay without out the reflection. Once it is added though the image grabs the attention of the viewer. 

If this was just the top half of the picture it is okay, with the reflection it makes the mind think for a second and hold the viewer's attention. With the CPL turned the vegetation under the water would be more visible.

If this was just the top half of the picture it is okay, with the reflection it makes the mind think for a second and hold the viewer's attention. With the CPL turned the vegetation under the water would be more visible.

CPL filters as discussed before can alter reflections on non metallic surfaces. Reflections can be controlled easier with a CPL in place. Below we have the same scene taken first with a CPL on then with it off. The focus point was different because the subject changed and can e noticed in the detail on the hose.

_DSC8812.jpg
_DSC8814.jpg

Can this effect be mimicked in post processing? Probably, having a CPL to do the job saves a plethora of time especially if there is a series of images. Can we still get reflections without a CPL? Sure. 

My Daughter reflected in a pool. If I was using a CPL then her reflection probably would be more defined and less of the rocks would be visible.

My Daughter reflected in a pool. If I was using a CPL then her reflection probably would be more defined and less of the rocks would be visible.

Reflections in the desert is one of the reasons to go out after it rains in Las Vegas. Again quality filters are recommended, a rule of thumb is to purchase the most expensive one can afford. I would love to see some pictures from you. Grab a filter then go out and shoot.

~Scott

tags: CPL, polarizer, circular, reflection, water, teaching, learning, equipment
Thursday 03.15.18
Posted by Scott W Gonzalez
Comments: 1
 

Bokeh

Good evening,

Today we are going to get into bokeh. I probably should have done this one before the shaped bokeh one.

Bokeh is a dramatic sci-fi movie that did not get good reviews (sorry it popped up while searching for the actual definition). Bokeh comes from the Japanese word boke which has multiple meanings such as stupid, unaware, or clueless. It can also mean funny man in a double act comedy. As for photography though it is used in regards to the out of focus area in a photograph. It shows up as bokeh with an "H" to show that it is pronounced bok-ay. 

It is a lens trait and not the camera. Some lenses produce a nice smooth looking blurred area others not so much. The effect can be seen in movies too, just keep an eye out during dramatic scenes with a limited area of focus. The lights in the background will be a blur but have a shape, octagon, heptagon, hexagon, pentagon, and every once in a while a circle. In a movie it is not as noticeable because of the moving images. Pictures though can be studied and savored so more focus can be placed on it.

Below is a series of pictures of a wind spinner with yellow flowers in the background. Going through them we can see that they come into focus but also loose that nice round blurry shape.

_DSC1043.jpg
_DSC1044.jpg
_DSC1045.jpg
_DSC1046.jpg
_DSC1047.jpg
_DSC1048.jpg
_DSC1049.jpg
_DSC1050.jpg

Lenses and aperture are the creator of bokeh. Wide aperture (f1.8 or less) lenses are more common to have good bokeh. However it depend on the aperture blades too, the number and whether they are curved or not. 

Here is my 50mm f1.7 Minolta lens aperture. It is open about 1/3 or maybe 1/2 of the way. I am using it to show the blades and how bokeh changes through the range. 7 blade which appear to have a curve.

Here is my 50mm f1.7 Minolta lens aperture. It is open about 1/3 or maybe 1/2 of the way. I am using it to show the blades and how bokeh changes through the range. 7 blade which appear to have a curve.

50mm.jpg
70-210.jpg
75-300.jpg

Here we have lenses wide open and back lit with a white translucent cap on them. First is a a Minolta 50mm at f1.7 notice how it looks like a perfect circle. Next is a 70-210 (Beercan) at f4 it still looks round there are a couple of dark spots around the edges which I believe are the corners of the aperture obscuring the light it still has good bokeh. Last is the 75-300 at f5.6 and the 9 aperture blade edges are obvious depending on the subject this could have a visible effect, for most things it would probably be fine. These photos of the aperture were a little rushed, just wanted to get this out today.

So grab a large aperture lens then go out and shoot.

~Scott

tags: bokeh, teaching, telephoto, aperture, learning, Lenses, lens, wide open, blur, background
Tuesday 02.27.18
Posted by Scott W Gonzalez
 

Slowing Down

Good Evening,

So today we are going to slow down a bit. In this day and age getting things done quickly has become the norm. 10 frames per second, faster focusing, live view. Sometimes it is better to slow down and think about what we are taking a picture of. Contemplate the image we want to create or capture, scan the frame to see if there are any elements that are not wanted, and see if the elements that are there serve a purpose. Would a different angle provide a better image? Would better lighting? Would waiting for people to clear the frame help or would waiting for a person to walk into the frame make the image stand out?

Back in the days of film every image cost money, it took time to process and get back. People would take their time with their pictures because of these things. With digital we have a tendency to take lots of images without a thought or care then delete the ones we don't like.

_DSC1618.jpg

One way that we can slow down is by using a tripod. It takes a little time to set up so we don't have a choice but to slow down there. Once it is set up it is in most of our natures to not want to put it away until we have the picture that we want that is close to perfect for us. Now we don't need a tripod to slow down it is just a helpful tool. Buy the sturdiest tripod that one can afford. A good one can last years possibly even decades. Grab a camera, take your time, go out and shoot.

~Scott

tags: tripod, teaching, training, time, slow, down, waiting, film
Thursday 02.15.18
Posted by Scott W Gonzalez
 
Newer / Older

Powered by Squarespace.