• Photography
  • About
  • Contact
  • Light Writing

Scott W Gonzalez

  • Photography
  • About
  • Contact
  • Light Writing

High ISO for placement

Hello,

Today I wanted to talk about not taking extended periods of time to find the desired placement of a scene and also not using a flashlight and ruining your night vision. Those extra seconds can really add up when it is cold outside. I recently went to Mammoth California. There was still snow around and it got chilly at night. Now being far away from a city I wanted to get some night shots that included the Milky Way. I succeeded and had many minutes of being cold. While setting up the frame I didn’t want to turn on a flashlight and I didn’t want to wait 15 to 30 seconds a bunch of times to get what I wanted into the frame. So what I do is turn up the ISO to the highest setting, 16,000 in my case, and snap a shot and reposition until I get what I want in the frame. Then I drop the ISO a level that I am comfortable with and get the pictures.

ISO 16,000 28mm f2.8 1.6 second

ISO 16,000 28mm f2.8 1.6 second

Granted there is a ton of noise and the picture is basically unusable. It does provide the location for where aspects of the image are, such as the Milky Way, Boat, Waterfall and Tree line.

ISO 1600 (3.25 stops of ISO less) 28mm f2.8 15 seconds

ISO 1600 (3.25 stops of ISO less) 28mm f2.8 15 seconds

Now I know that it is not shown but there were about 6 or 7 pictures to get the placement the way that I wanted it. Seven 15 second exposures is doesn’t seem like a lot but when you are shivering because it is nearly freezing outside those seconds add up. Instead of 105 seconds plus moving the camera and checking the display I spent 11.2 seconds taking pictures. It’s pretty easy and only really usable in few situations but it is good knowledge to have.

tags: night, planning, high iso, iso, dark
Wednesday 06.26.19
Posted by Scott W Gonzalez
 

Scouting Locations

Good Morning,

Let's start with an apology for this being late.

I was about to go on vacation and had an idea for a post, that didn't pan out, so I held off the blog. If you follow my instagram you probably already knew.

I was about to go on vacation and had an idea for a post, that didn't pan out, so I held off the blog. If you follow my instagram you probably already knew.

Now that that's out of the way. Today we are going to talk about scouting locations. This can be as simple as acknowledging that a location would be great for a photo at a different time. Taking a picture on a cell phone and adding a note works great, GPS coordinates might already be there and seeing the picture again can jog the memory. It can even be low tech with a note pad and a writing utensil. These are both great for locations that we have been to.

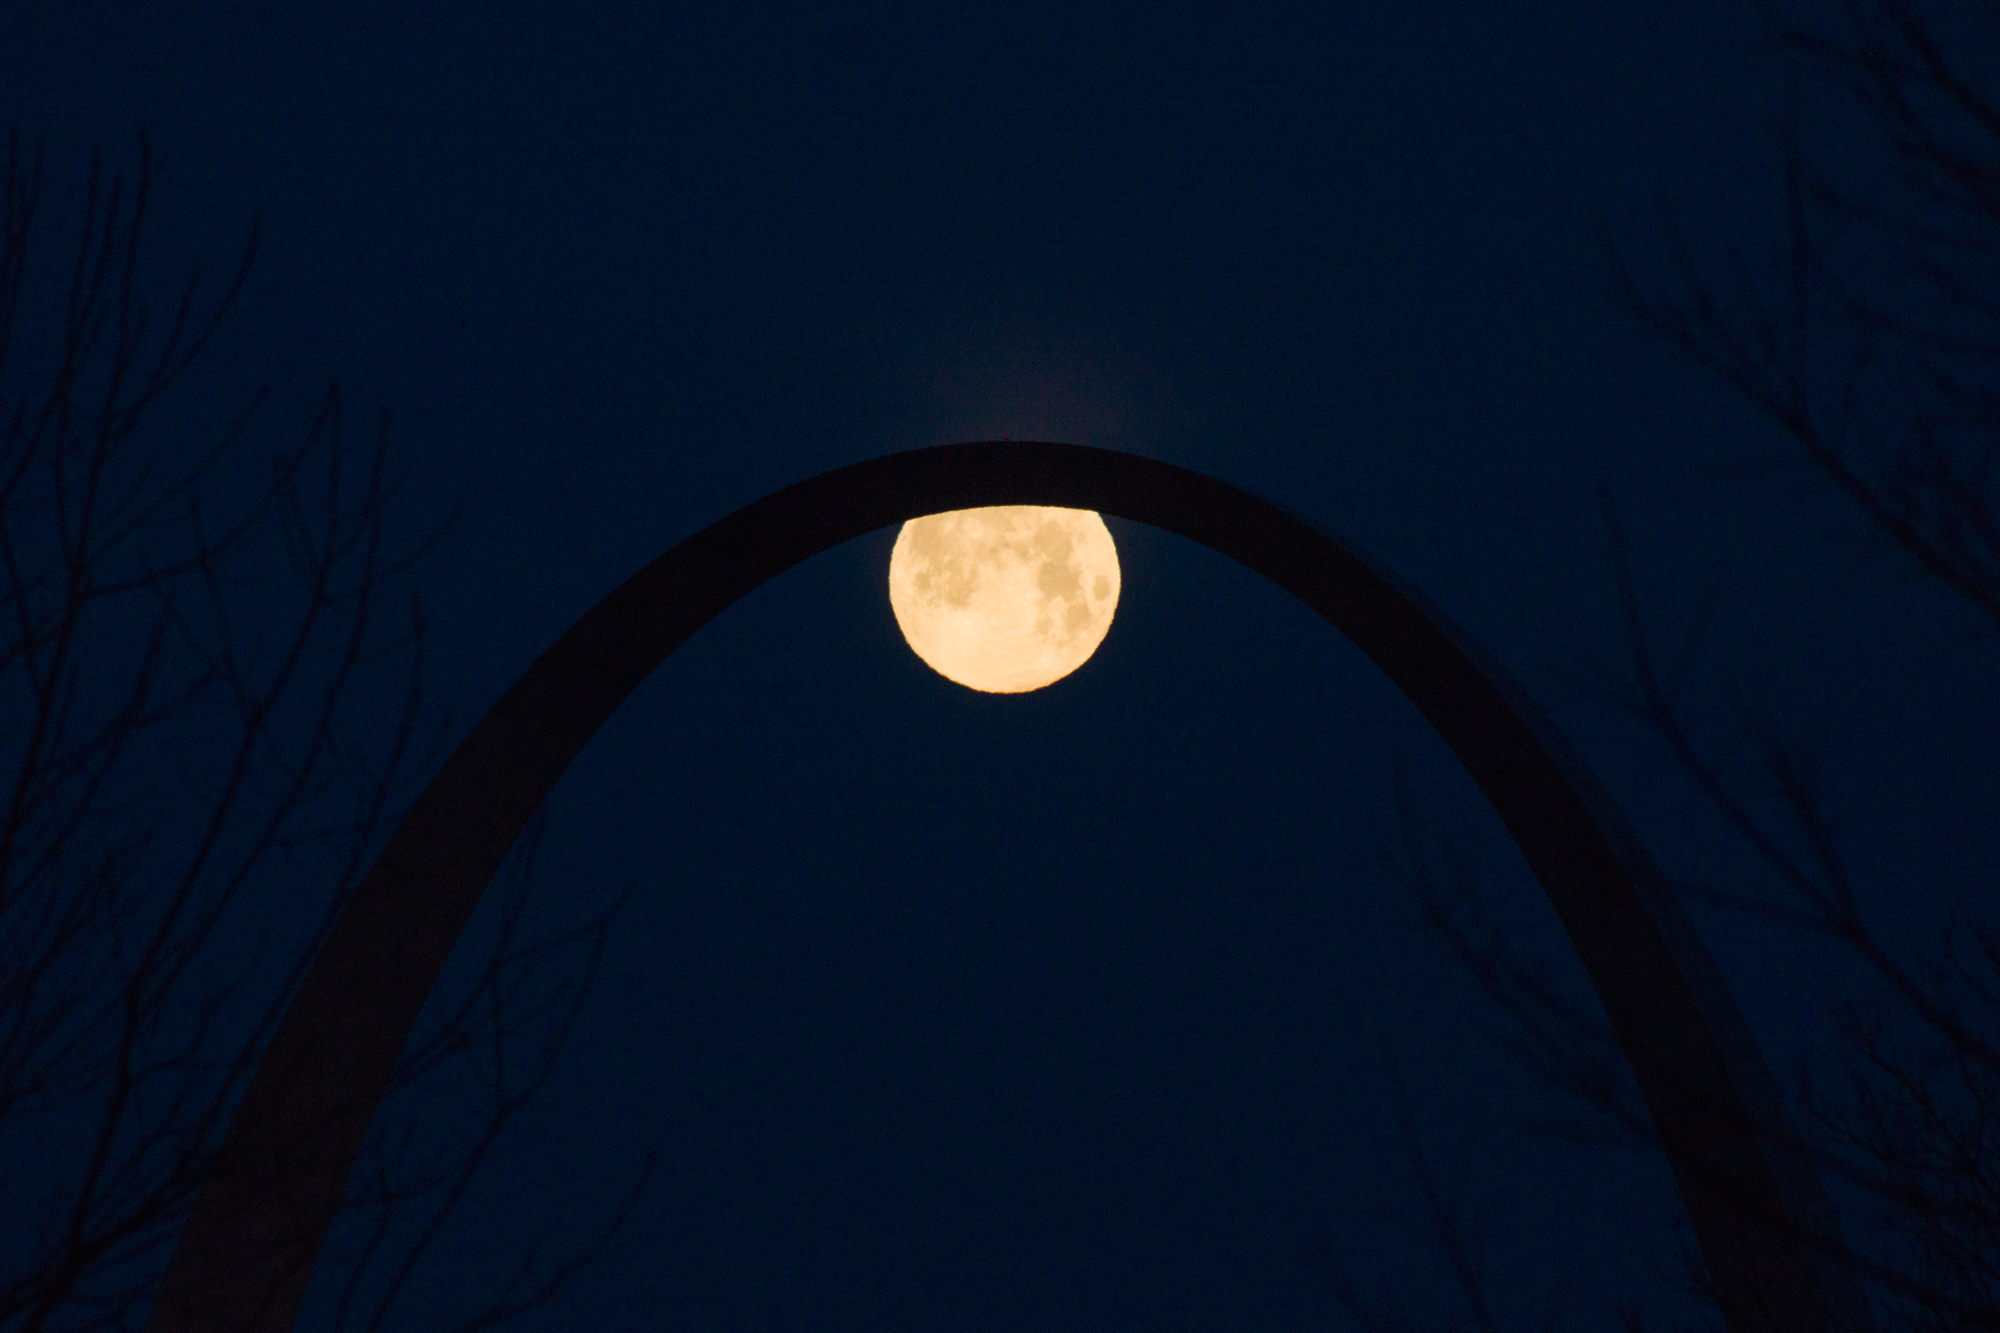
On the other hand sometimes we are going to a new place with just the internet to help us. St Louis was the destination and the full moon and Gateway Arch were the subjects. Timeanddate.com provided the azimuth and time of moonset, and google maps and streetview provided locations that could see through the arch on that azimuth. Upon arriving to St Louis double checking the bearing was done with a compass and test shots were done. Then hoping the weather cooperated was the last step before the event 3 days later. The weather gods graced the idea by clearing the skies. Arriving early helped with showing the arch wasn't as small as hoped for against the backdrop of the moon. Again google maps helped with locating another location. Arriving even earlier would have helped but alas it was not done.

This was the second shot that I did. To see the arch I had to lose detail in the moon. I was not happy with that. I took another couple of shots with the idea that if my move to a new location didn't work I could combine the photos. My friend in St.…

This was the second shot that I did. To see the arch I had to lose detail in the moon. I was not happy with that. I took another couple of shots with the idea that if my move to a new location didn't work I could combine the photos. My friend in St. Louis says this is the best image of the Arch he has ever seen.

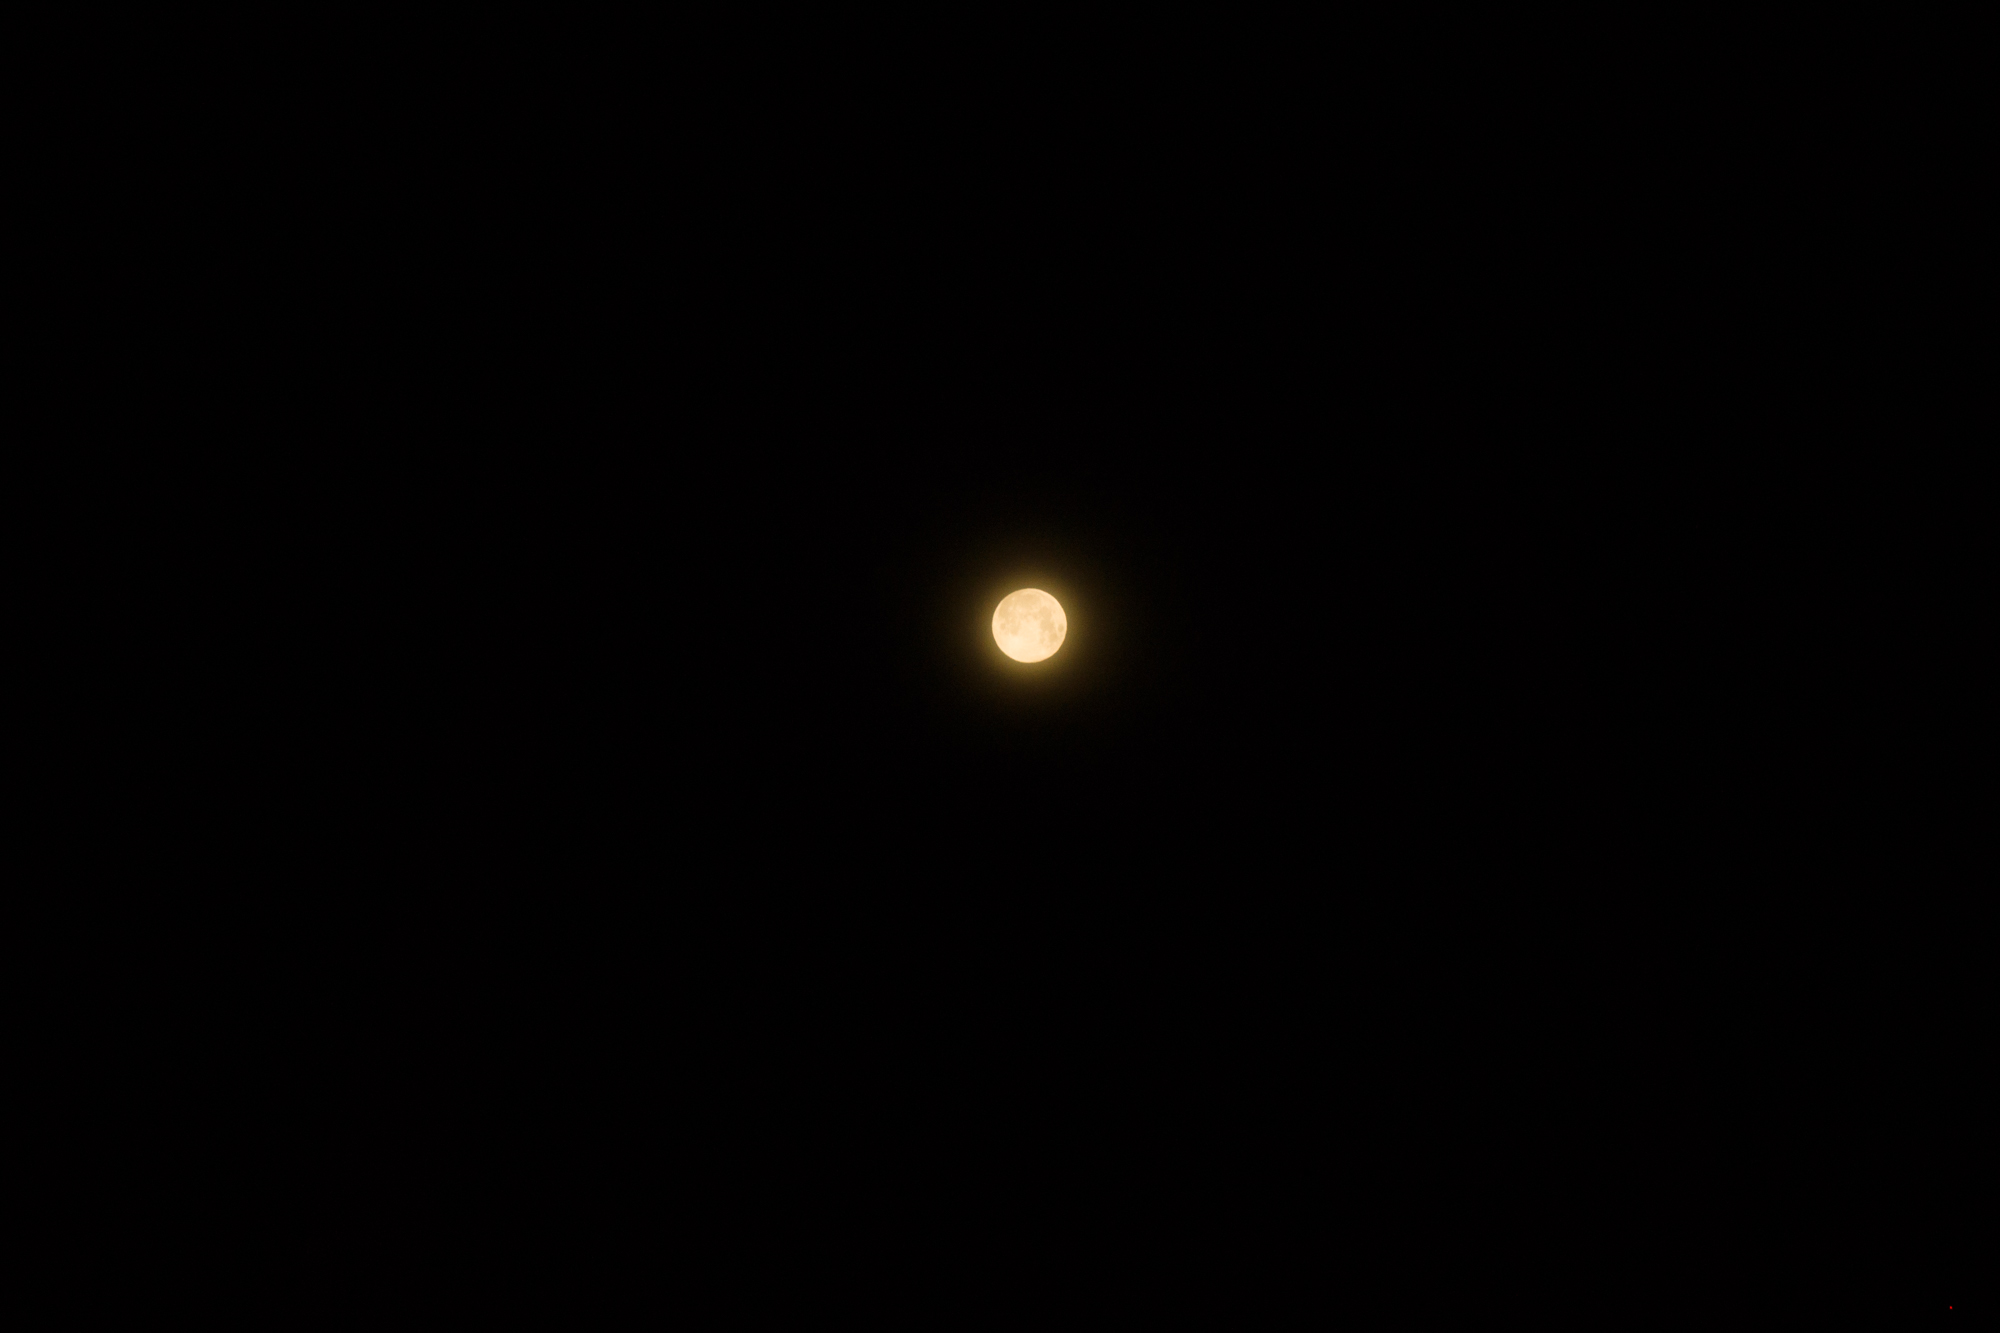
Below is the first photo with the whole arch in the frame from the first location. It was shot at 100mm to get the arch. The second photo is at 300mm without the whole arch because the trees were in the way. Even with well laid plans things sometimes don't work out the way we would like. Just like the original idea for a post. Make some plans, scout locations, grab a camera, then go out and shoot.

_DSC2062.jpg
_DSC2068.jpg
tags: planning, teaching, learning, scout, location, plan, photography
Tuesday 04.03.18
Posted by Scott W Gonzalez
 

Powered by Squarespace.